Got Rooks for me and my wife from a Wallbuys' special. I tired of the parasitic drain soon after. I attempted the incredibly creative fix from The Last Katun's Rook mod thread a couple of times. Both failed after time from scouring by the cells. I blame the failures on my choice of plastic materials in both cases, not on The Last Katun's mod.
One time when removing cells, I found one cell was completely drained while the other 2 were full. Investigation showed the plastic deformed under pressure from the cells, but returned to position when unscrewing the battery tube. The thought of my wife unlocking this tightly built light in such a situation chilled me. I shelved both lights despite being very fond of their compactness and beam pattern.
Now, thanks to this 18500 deal alert thread by Gj, I scored some like-new 18500's at an incredible price. Thanks Gj!. This motivated me to finally attempt to fix the fatal flaws of this light (multiple 14500's and parasitic drain) and yet still maintain Ni-mh compatibility and even the ability to use 14500's in a pinch.
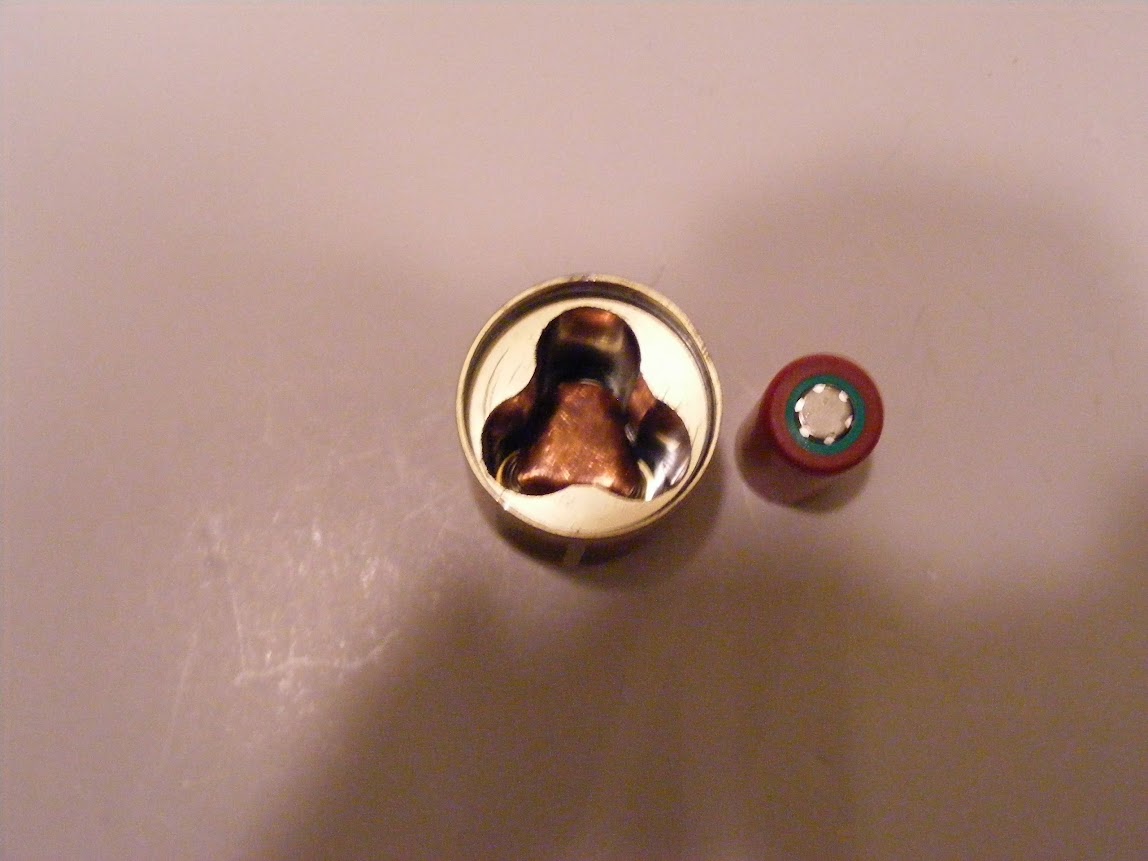
This mod is simple. Bore out the center to allow a 18500 to fit and replace the springs with copper domes so the light has a twistie lock out. No modification to the driver is necessary as it accepts positive at the center contact pad.
Here are pictures of mods so far. The final pictures shows a way the light can be used without the lockout mod. I will post the lock out mod once I finish it.
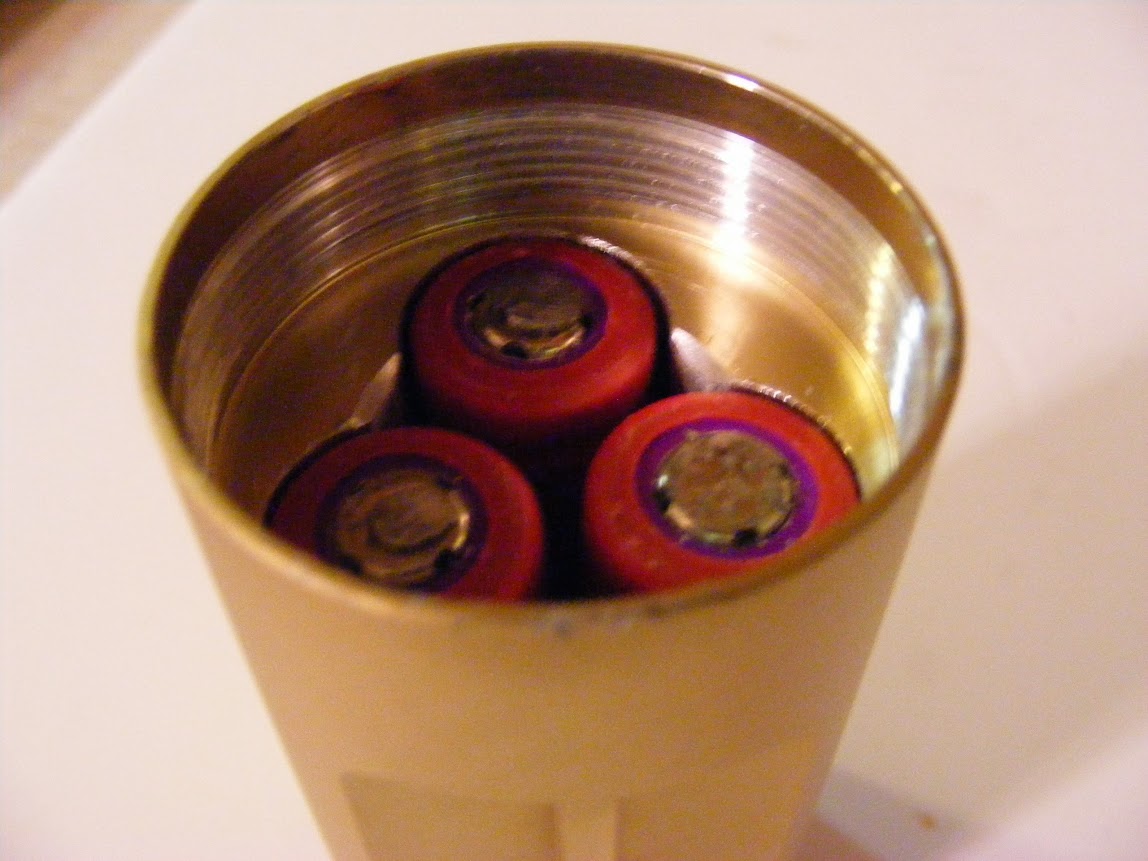
Unmodded:
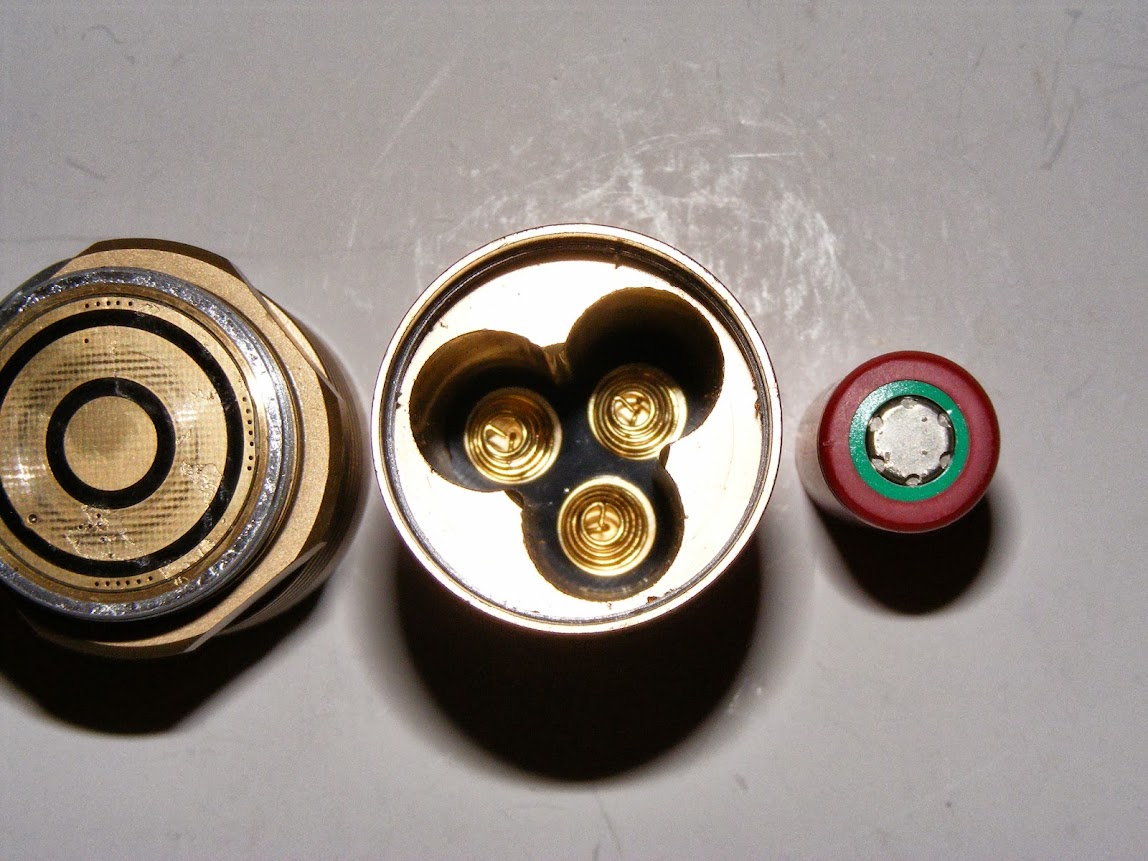
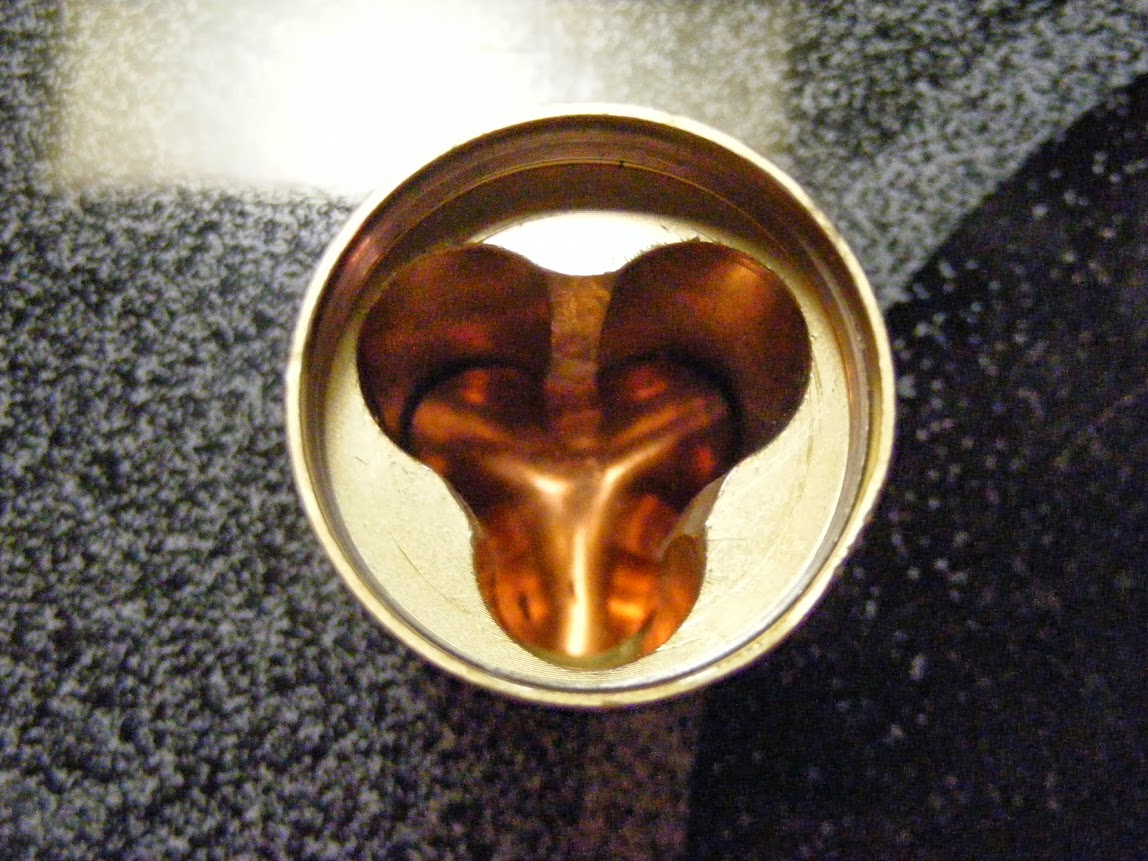
Bored out with dremel grinding stone and a hand file:
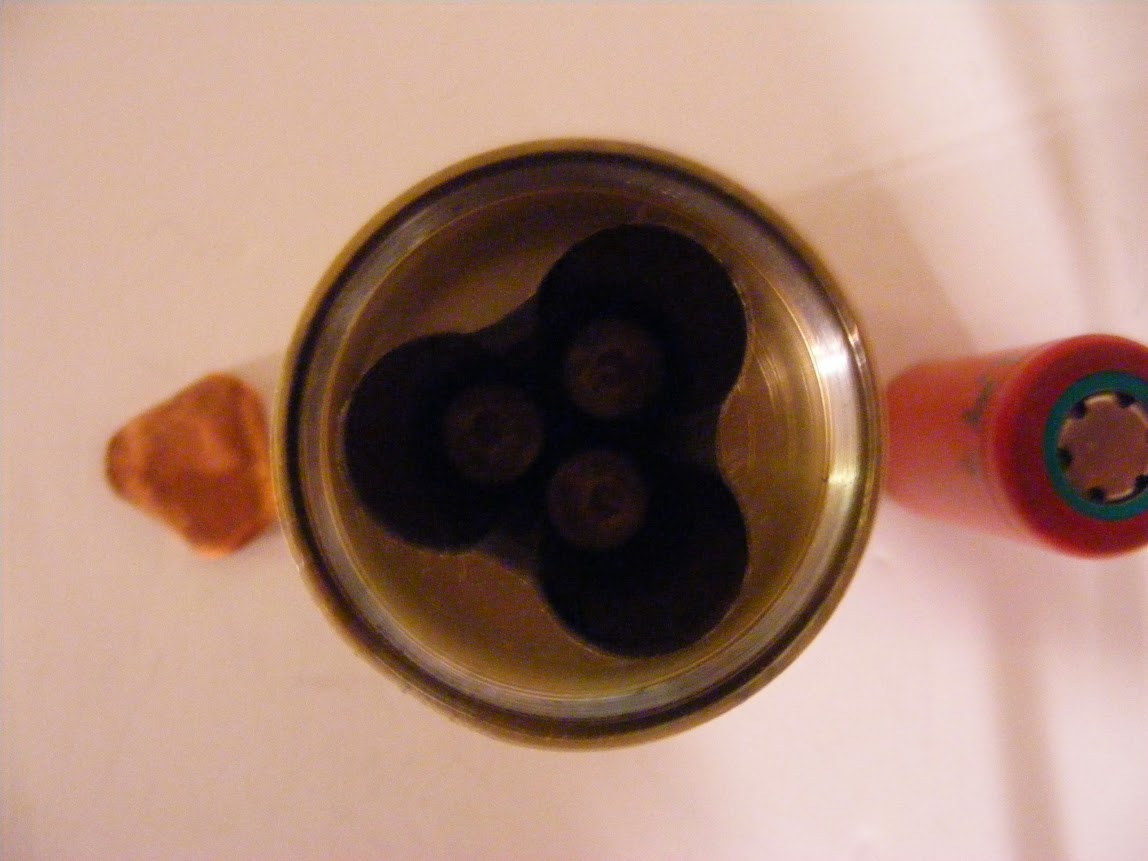

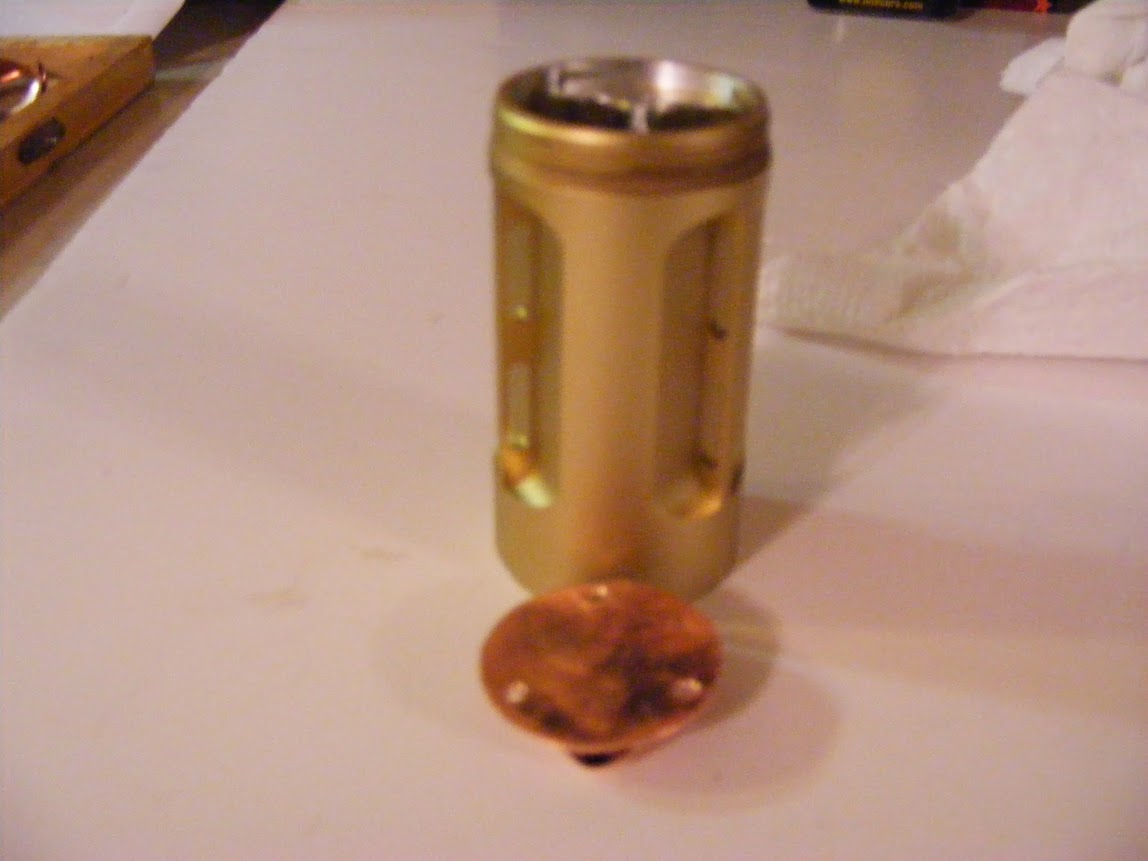
The below pictures will not be part of the final mod. They are just a quick and dirty way to use an 18500 without doing my lock out portion of the mod. Here is a great, simple, reliable tail lockout created by DenBarrettSAR. If you combine this mod with his, you probably will need to Kaptan tape the bare aluminum in the battery tube and also on the sides of the copper disk.
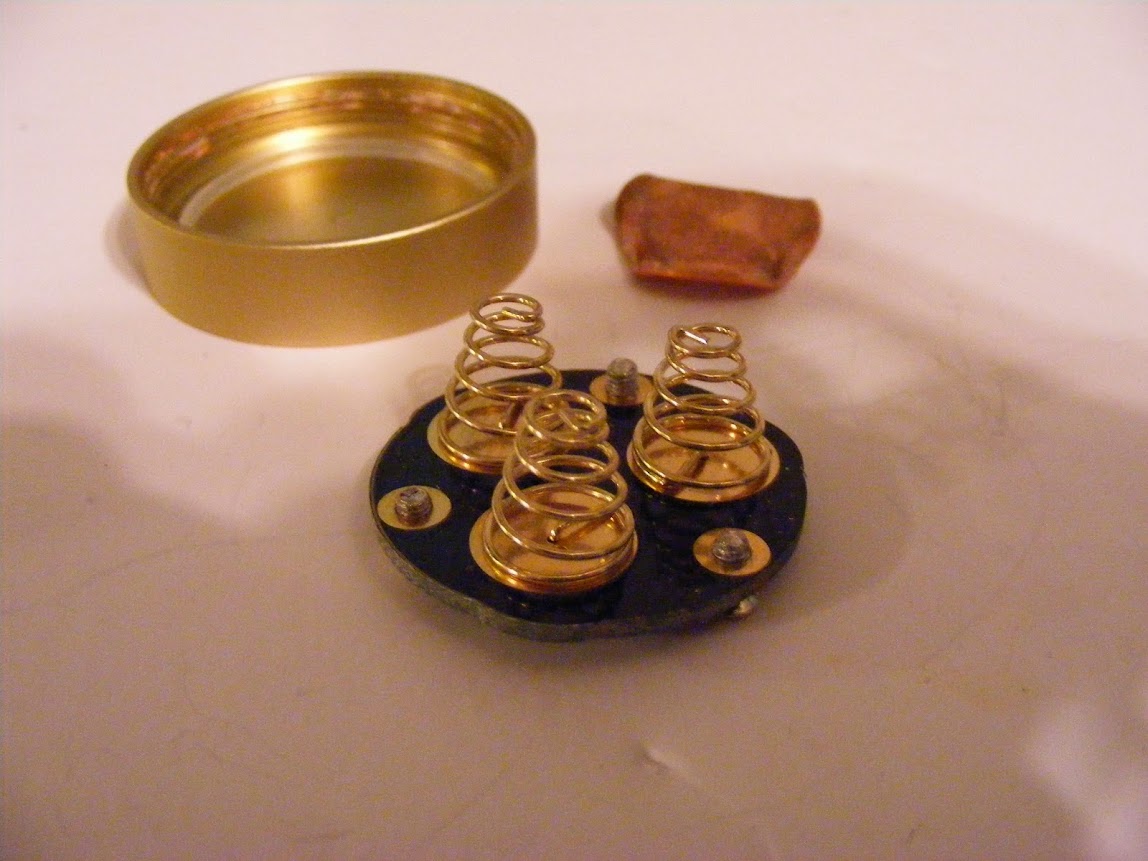
The cell contact plate is just a copper disk with 3 tabs bend down to clear battery tube.

Lockout Mod:
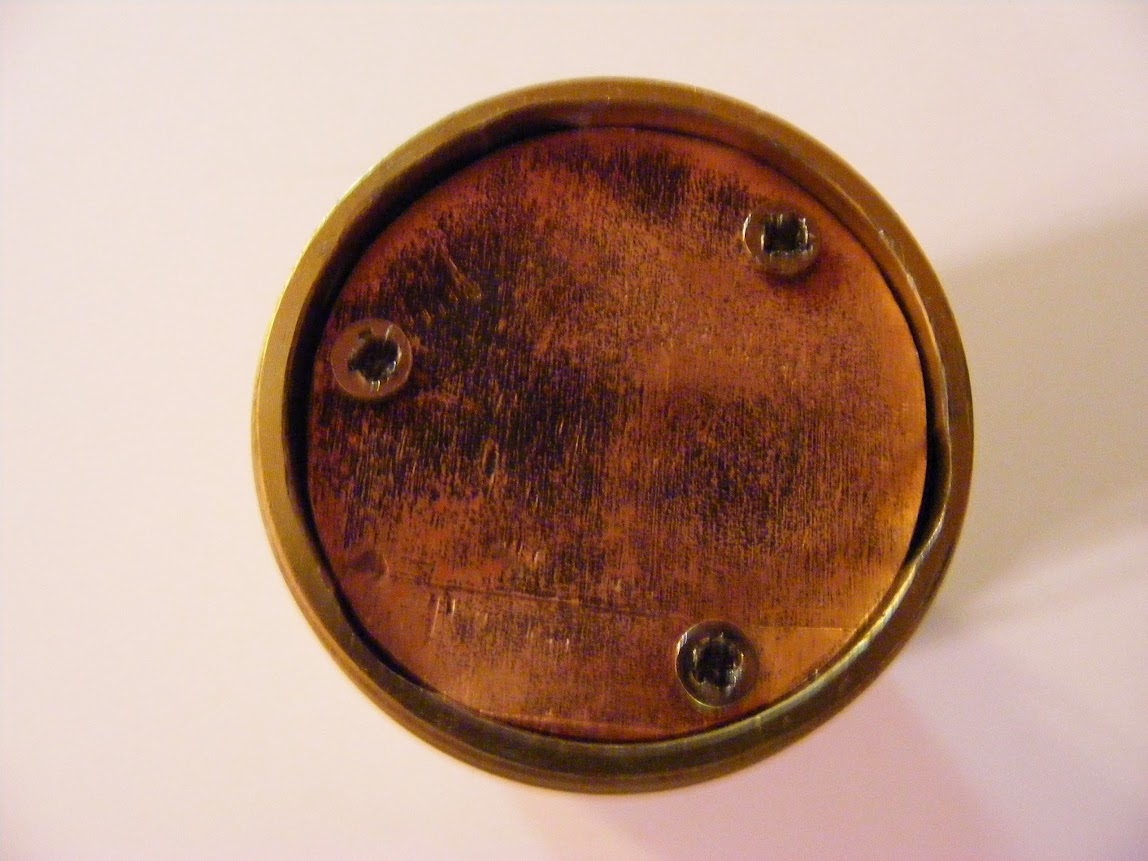
Made a copper plate with copper domes to replace the negative battery board above. Made a flat plate to fit under it for added support. Drilled holes for the 3 mounting screws. Sanded off the anno on the battery tube where the plates mount. Assembled.

Spring wasn't used:

Softest screws I have ever encountered:
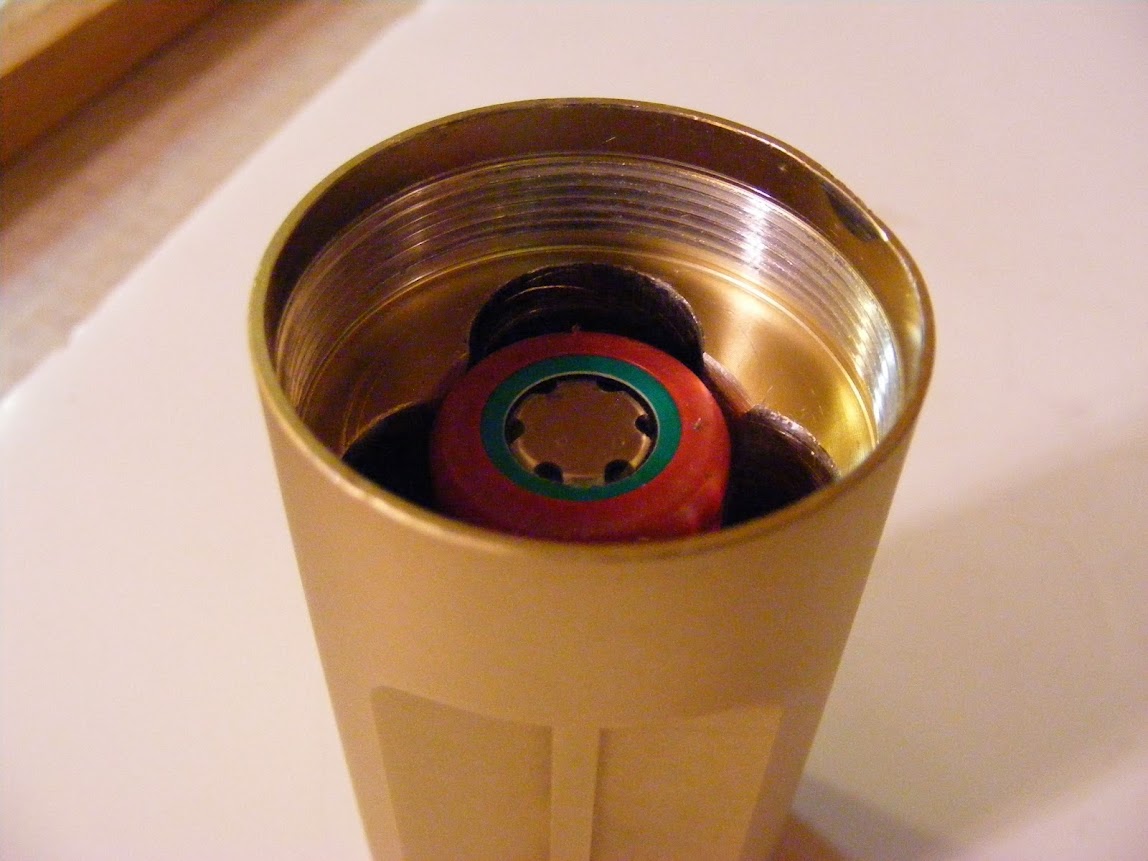
14500's sit lower because I forgot to put contact bumps in plate for them. That will have to wait until the next time I open the light. I got to get some sleep for work tomorrow.
Other than 14500's, the light works great. Just slightly unscrew head and its locked out. I imagine you can't get a much lower resistance tail setup than this. For using 14500's, I like DenBarrettSAR's lockout mod better. His mod will keep the 3 cells in contact with each other an in balance.
