slider,
Thanks for doing this Mod.
Being how easy it is to make the change, maybe BLF community could convince Skilhunt to make up a batch?
Don’t know if they are receptive to this kind of request but there sure is a need for low output AAA since the Sofirn C01 dried up.
Still would rather have 2 mode but that would require them to retool driver.
Fenix E01 also 3 levels. I have had one on my keychain for years. Head never has come loose in my pocket. I also have not had any issues with it coming on in a pocket when it is not supposed to. It just works. Maybe not the smallest AAA, but small enough that it doesn’t get in my way. Having the three levels more than makes up for the size difference for me.
I have a couple of each i3E and EDC01 lights sitting in a drawer… FWIW
Sofirn CO1, the mentioned Olight (head is very easy to twist, the Aliexpress Boruit types (loads of modes and complicated button presses plus captive battery).
Lumintop Tool AAA is probably a favourite, but it’s quite long. My copper one is usually on me but in a case.
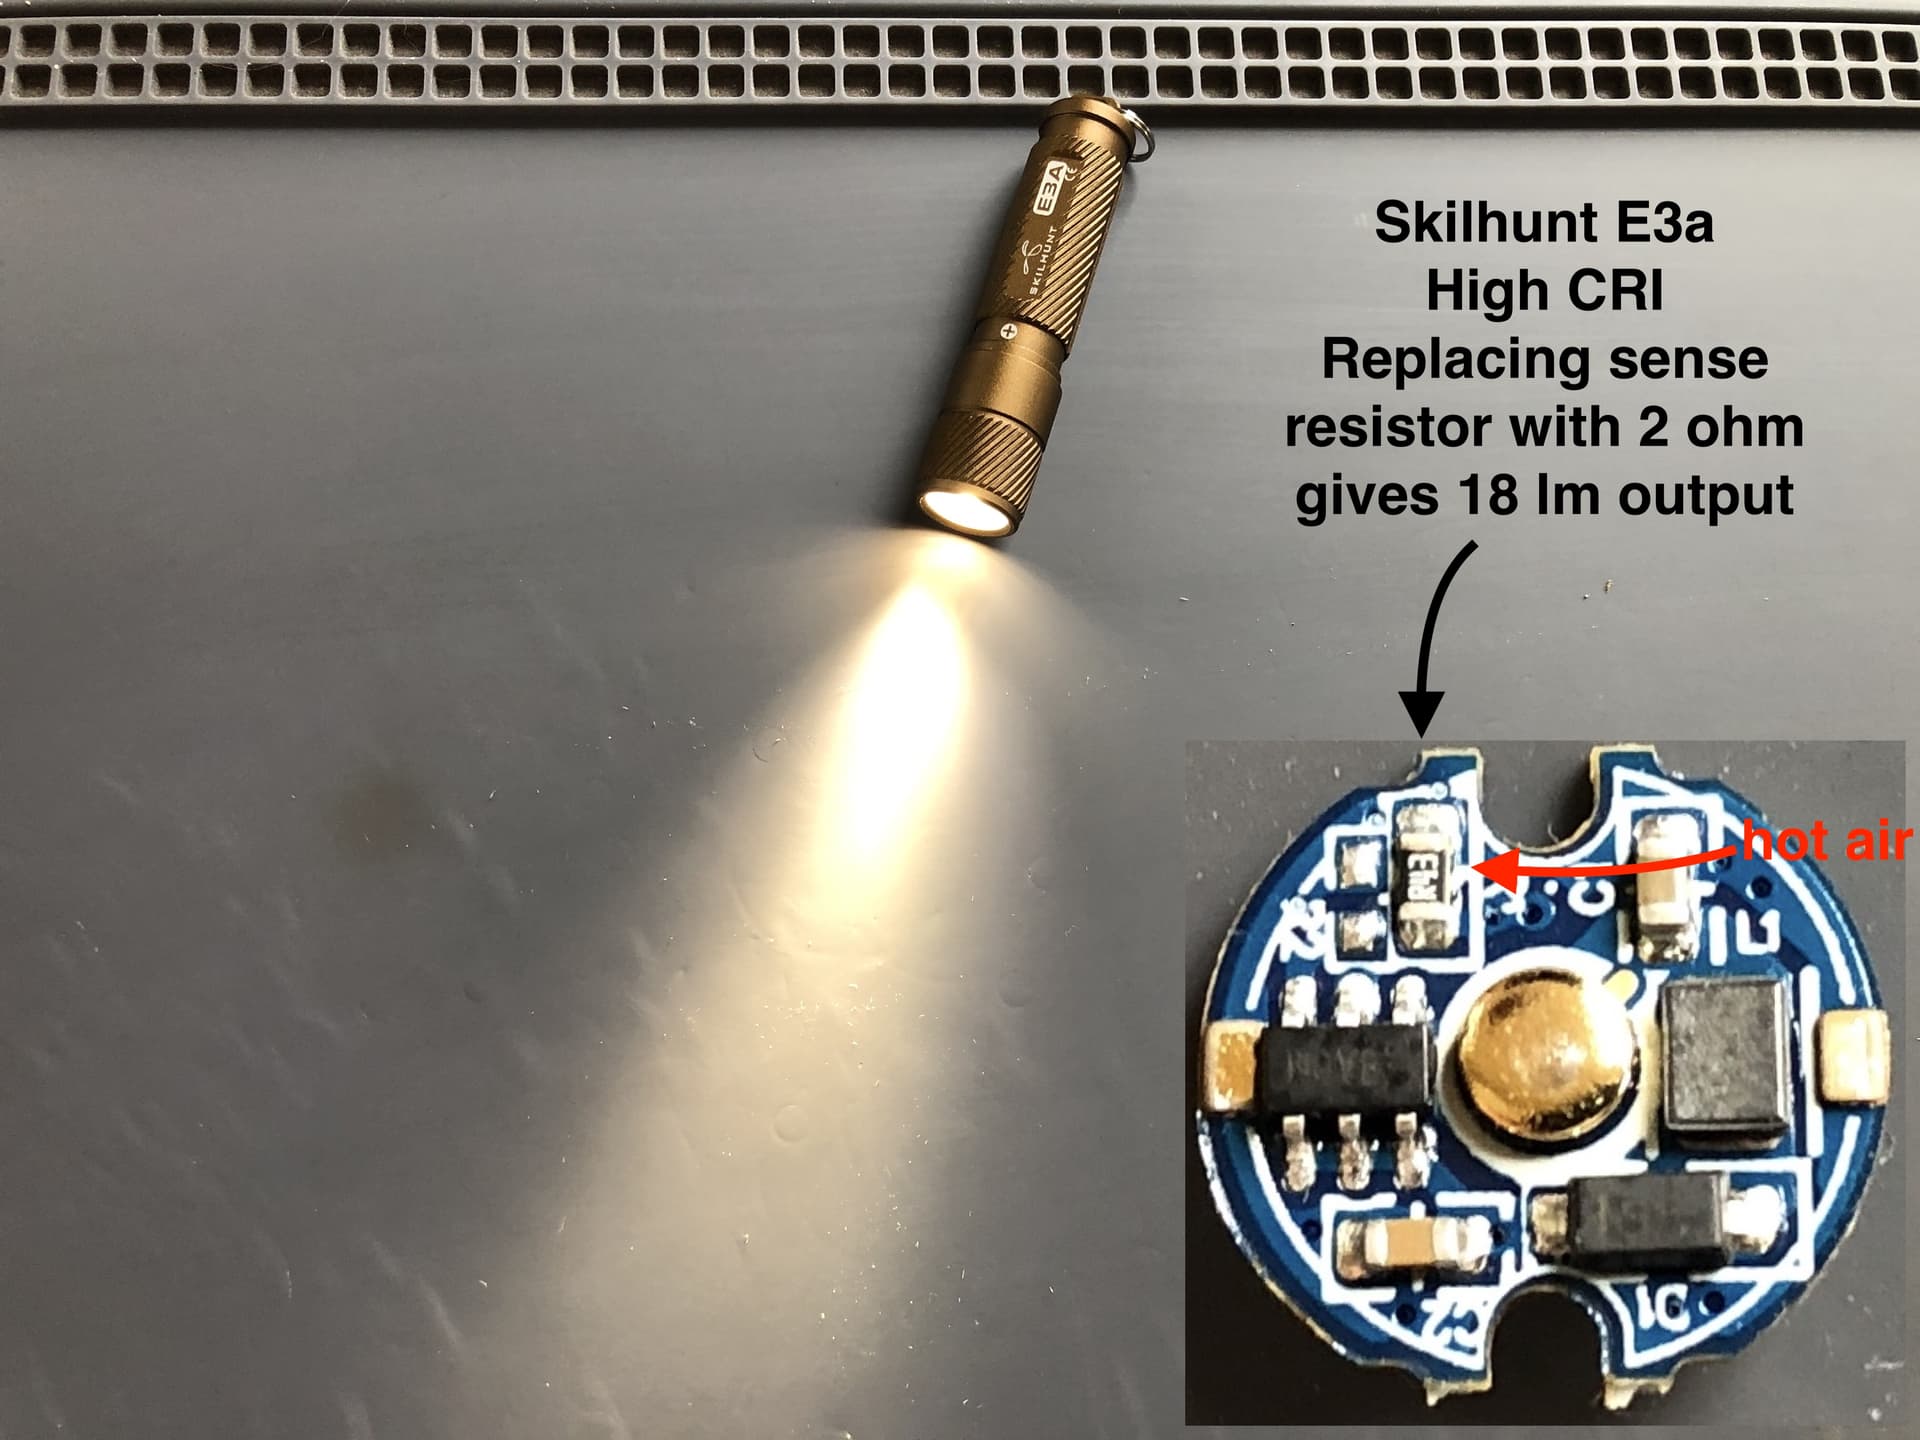
E3A high cri with alcaline.
In comparision with Fenix E05 2014. Which has 25 lm stabilized and then 1 lm near 4h 15m. E05 has not warm tint, is 5 mm longer, has several modes (what for twisty format I do not prefer).
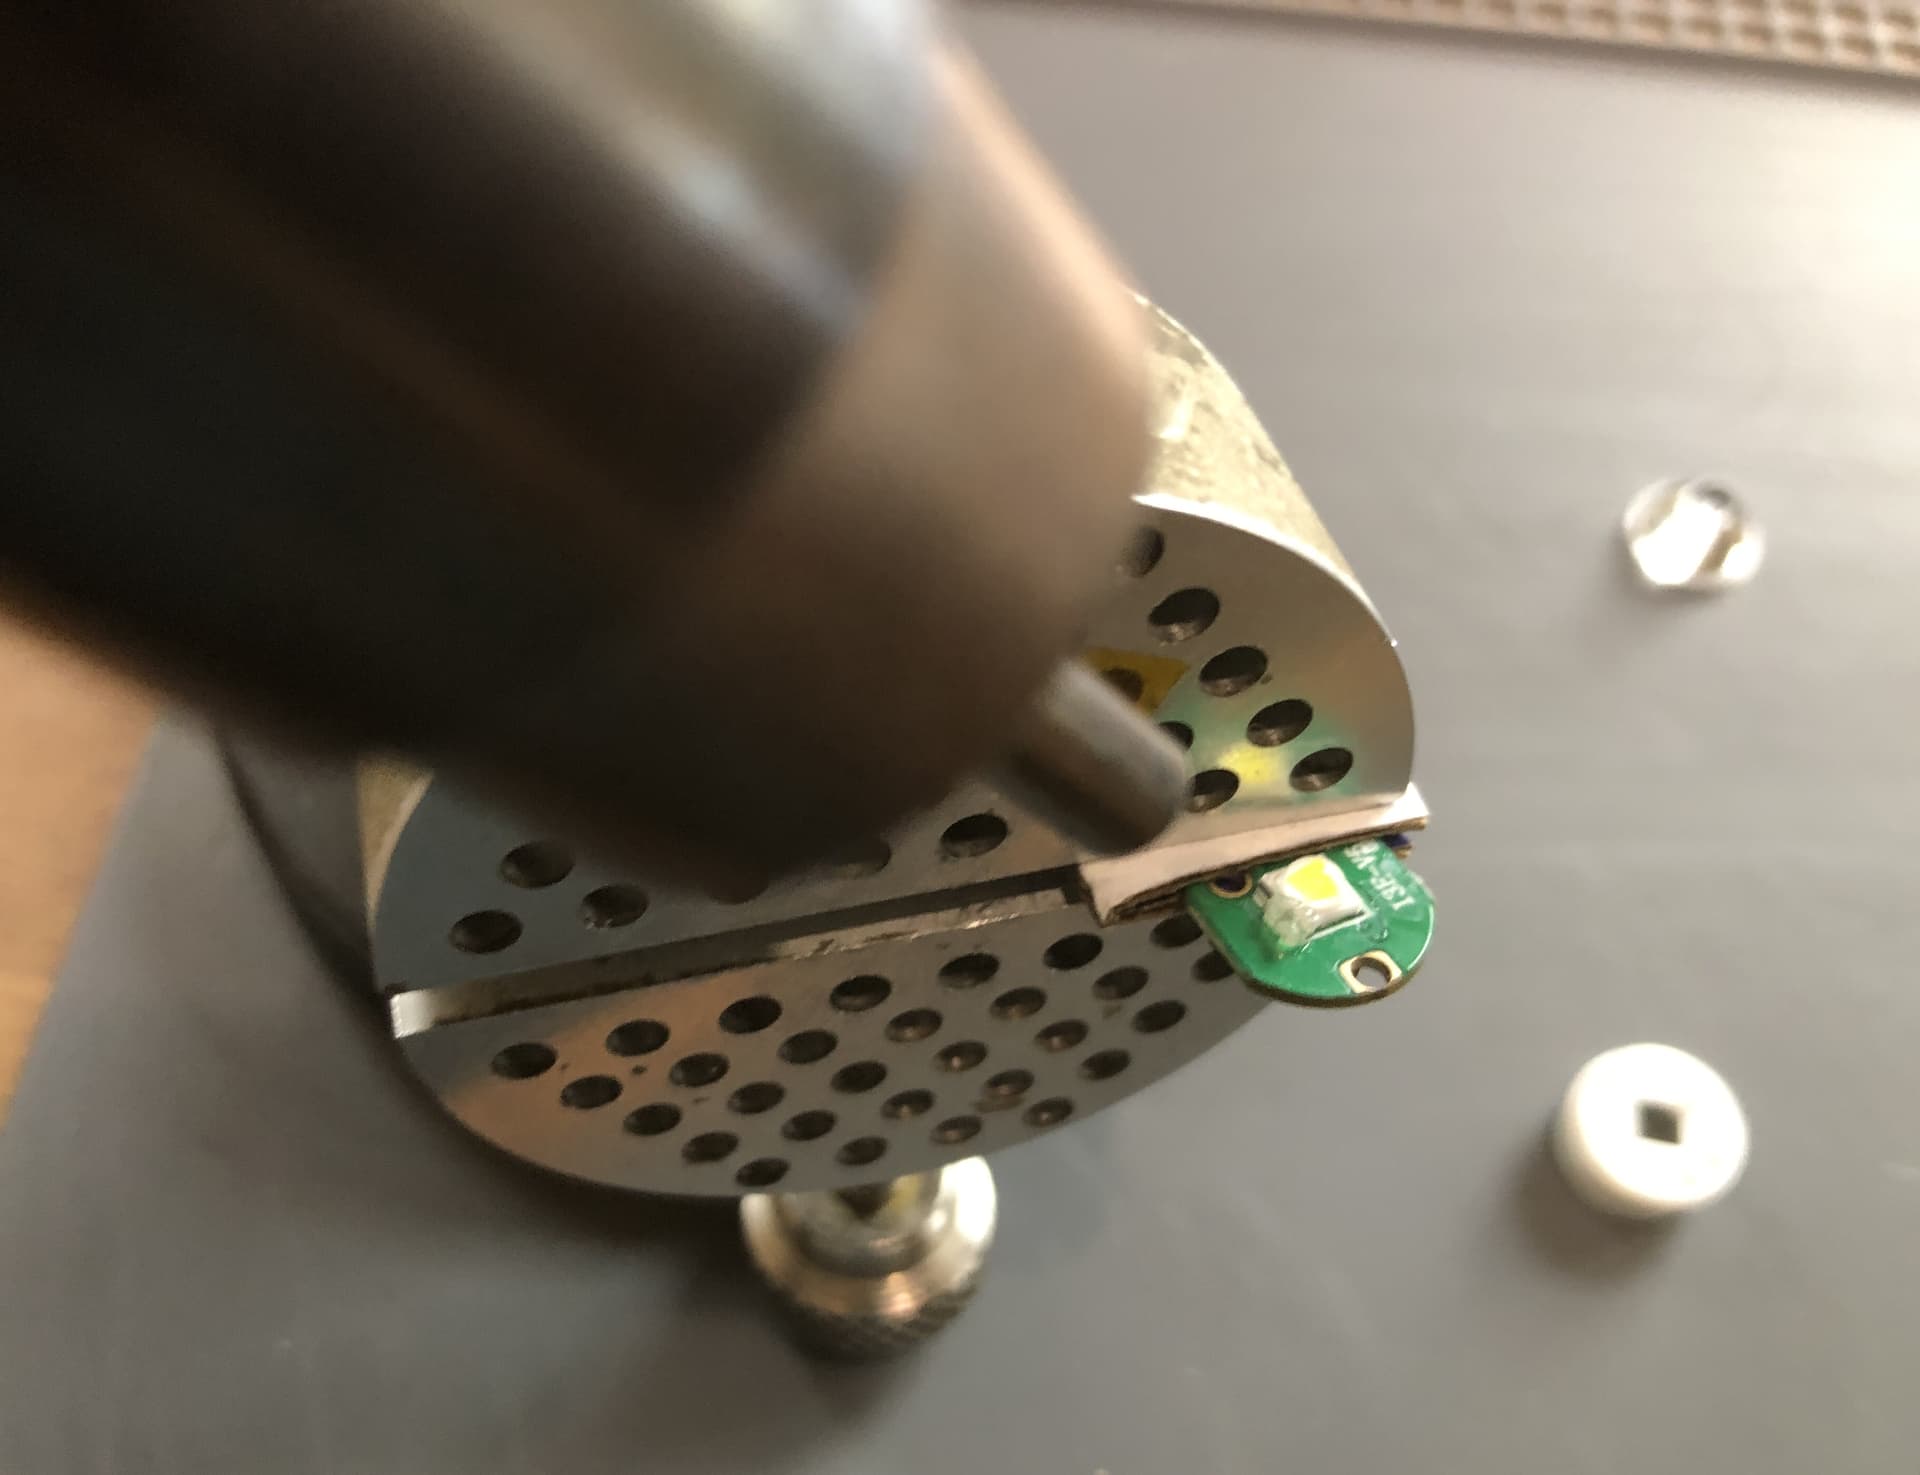
The module is easy to be removed (for later moding) by thin pincette twisting: no glue or soldering. It’s also easy to try different lenses.
To change SMD 0603 resistor costed 50% flashlight’s price in electronic repair service. Resistors in electronic shops have low cost.
For edc is enough light on 5 m to see a road near during walking, for what ~25 lm fits. Producer claims 75 lm.
After replacing the resistor R1 0.43 → 1.5 Ohm the calculated result is 0.43 / 1.5 * 75 = 21 lm.
Stabilized runtime on alcaline Energizer AAA is ~3h 30m. Plus ~30 min with slow lowering to probably ~5 lm. Somewhere on another 30 min the light becomes too low. The battery may go < 0.8 v.
Light power is evaluated as seen by eyes. Runtimes were calculated in 20-25 C temperature. The conditions of 10 C and below may give the difference of tens %.
An alcaline battery can do many self-recharging cycles where it restores to lesser voltage.
For that Energizer and resistor mod. If after 5 min of alcaline battery was discharged and rested to switch the light again, it may give usable light (for keychain tasks) during some minutes. Since 2 hours of been switched off, the usable light is up to 30 min. Longer self-recharging adds a little, where full may take 24 hours. After ~5th self-recharge the voltage is < 1 V , when the light is useful up to 1 m (or more without details) during some minutes. Since < 1 V self-recharges reduce initial voltage slower, alike -0,01 V.
So, in case of hard battery supply problems you may still use discharged alcalines for keychain tasks, for lesser time and mb with lesser light.
To reduce the risk of battery leakage it may be useful to use alcaline batteries which have 10 years of promised store time. Hypothetically, more discharged alcaline battery have higher risk of a leakage.
Resume:
E3A with 1.5 Ohm modification gives light power and runtime close to Fenix E05 2014 (in middle mode). With adding the advantages described above.
If to set 3 Ohm on R1 this will give ~10 lm, what original Fenix E01 had. Stabilized runtime on alcaline will be ~8h 20m plus ~30 min of usable light. 10 lm is not bad for 2m distance and normal roads (or for slow moving), what may fit main tasks for a keychain/edc light.
I have taken a look at Malkoffs implementation of a high-low light, and believe it might be possible to implement such a mechanism in a small aaa twisty. I have spare watch springbars and whatnot, so hopefully someone beats me to cobbling one together.
It has not been done, then…I want a sofirn c01 format with 2 modes; the max 6-8 lumen mode, then a sublumen mode of 0.25 lumens. I also don’t want to have to cycle modes to get between high and low, so either a multi stage resistor or hall sensor setup would work. And considering the proximity to magnets/ferrous objects, the hall route is a no-go…i was looking at the olight i2r’s and they exhibit a similar switching mechanism with a 2 stage contact, one motion to get from low to high without the need for repeated cycling through modes.
Yep, it always comes down to money and profits. Funny thing is that I would have paid double their asking price. They’re that damn good. Glad I still have a few of each.