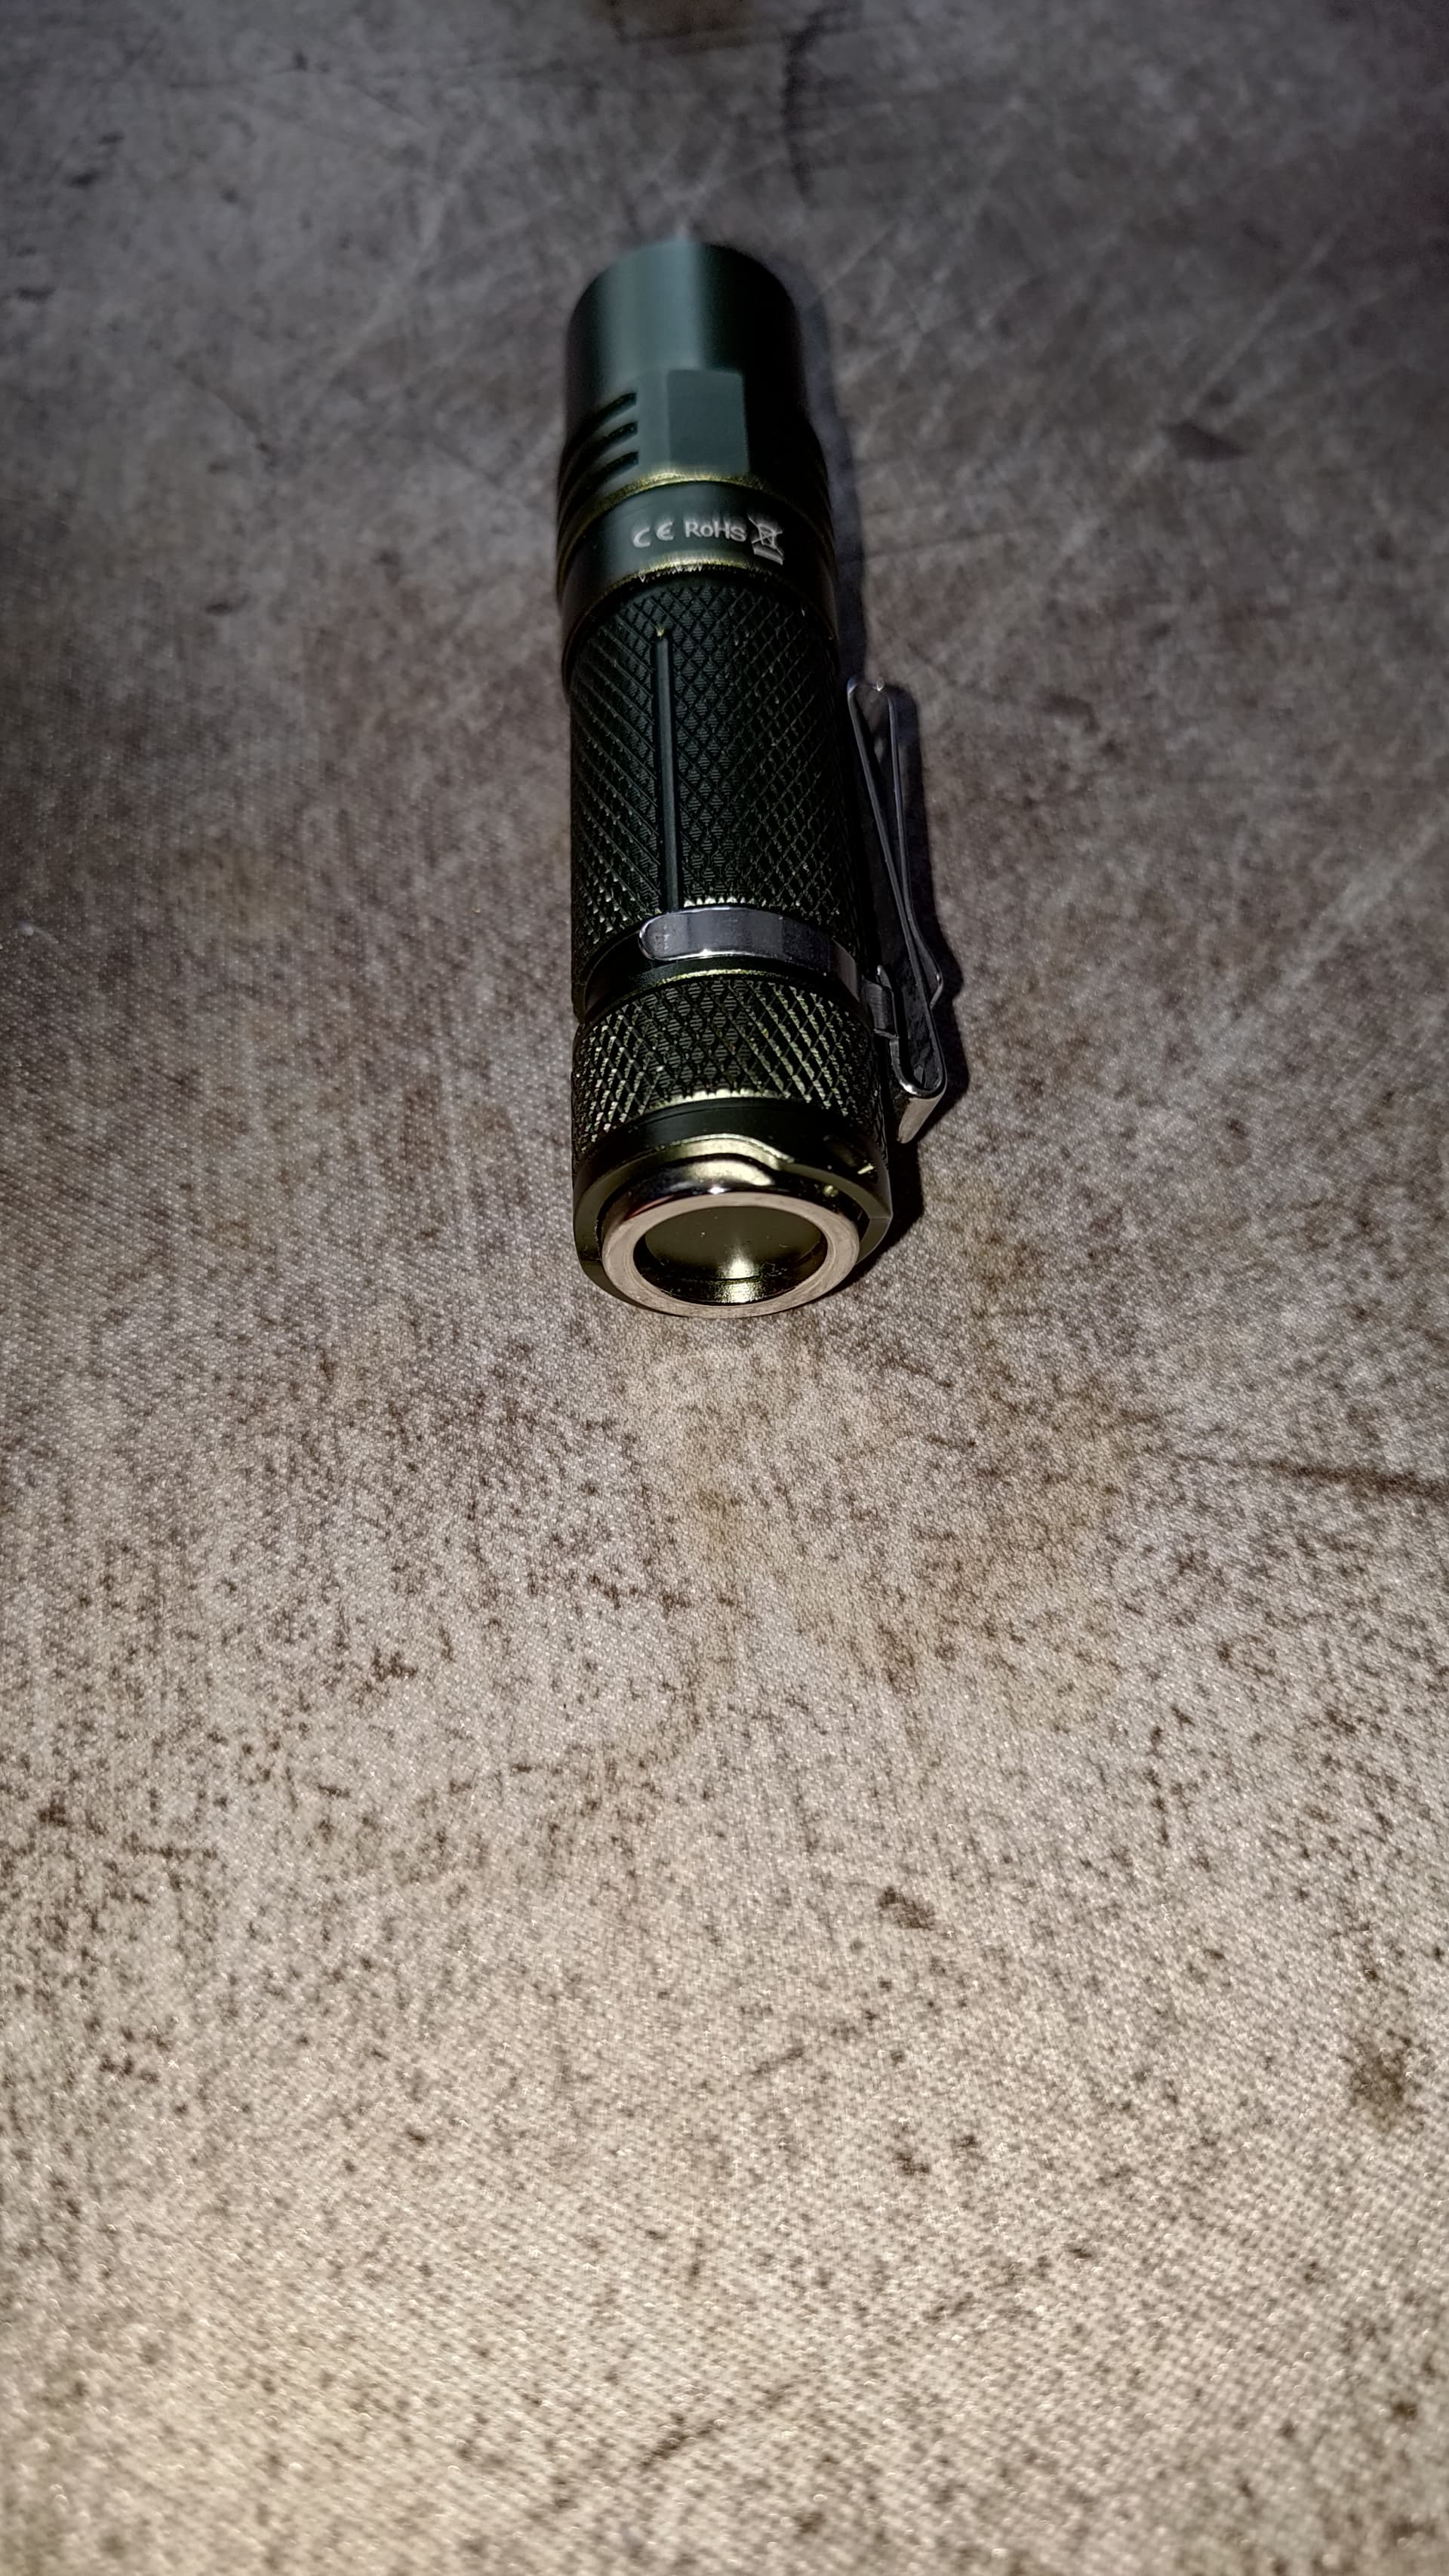
This thread reminded me I hadn’t fixed this for my SP10 Pro.
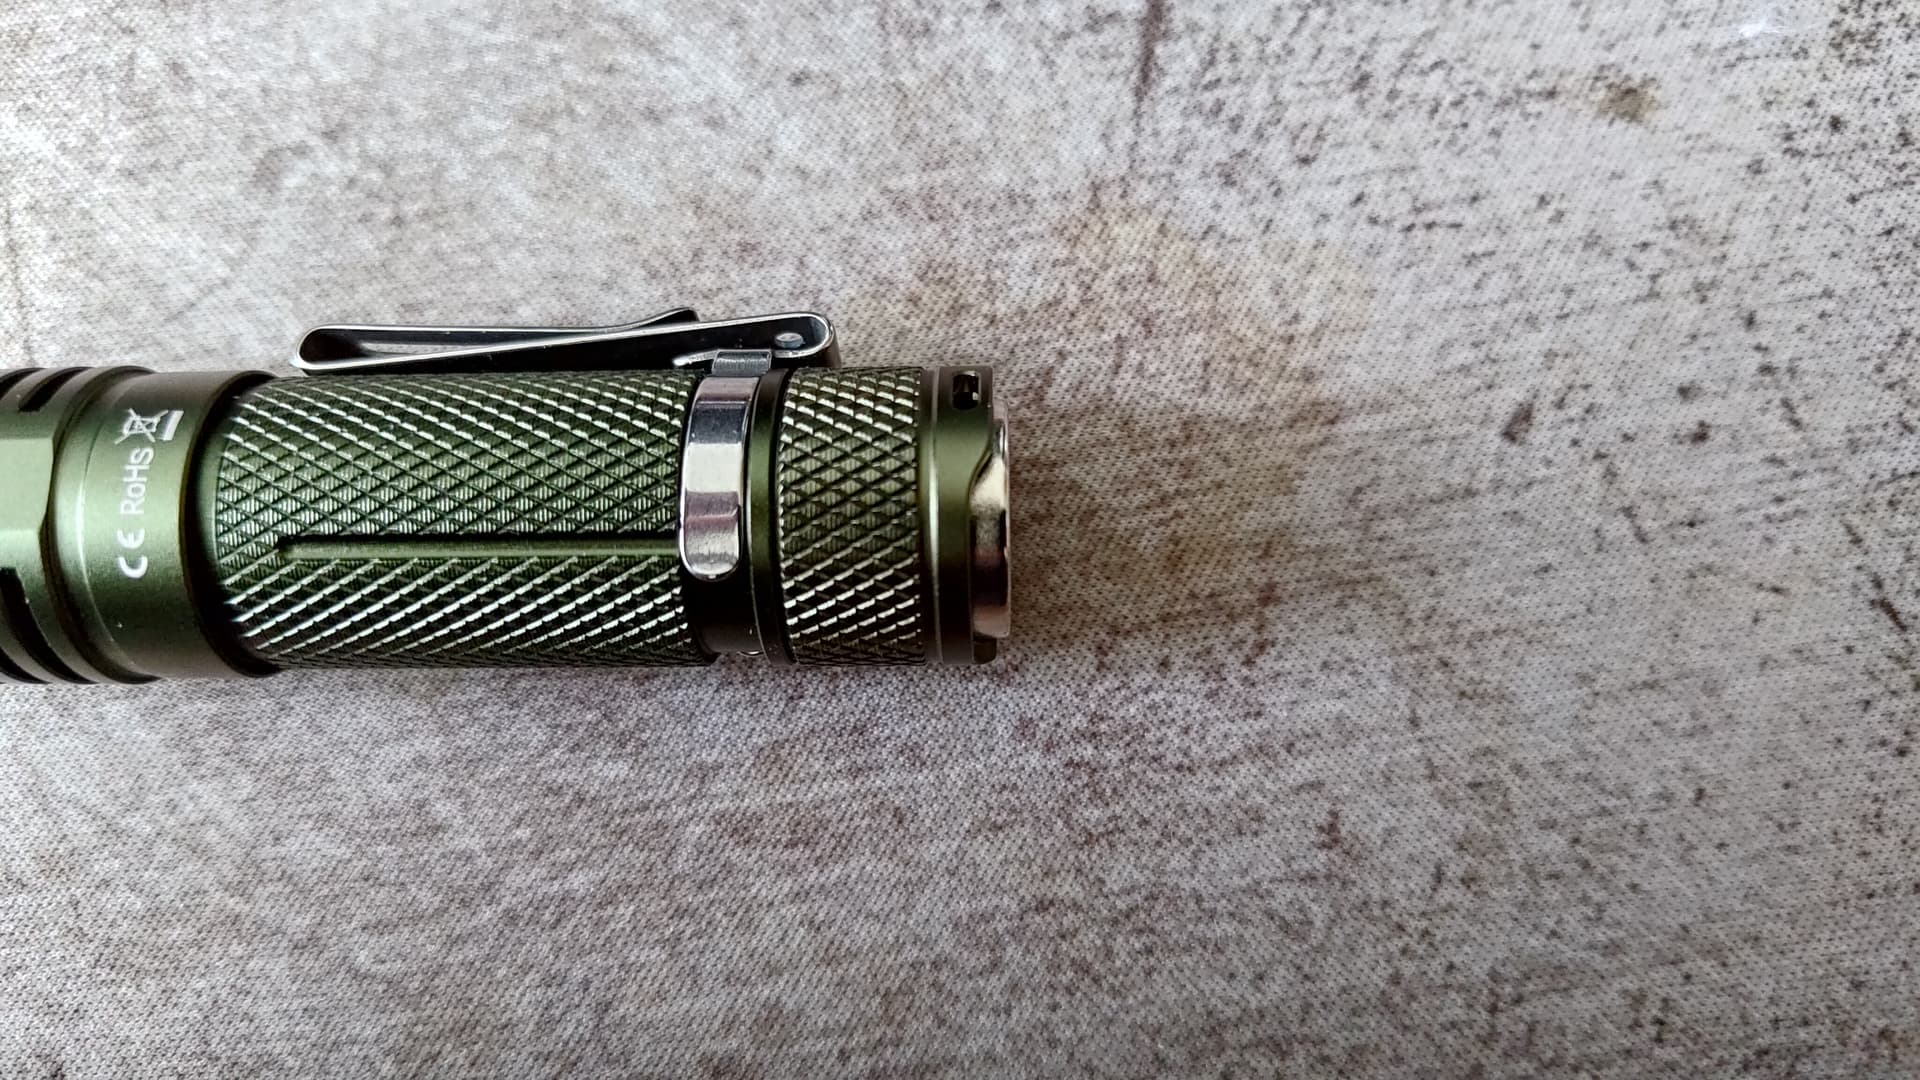
I went a different route since I need the magnet AND the lanyard loop, something that is apparently a foreign concept to Sofirn. (Although some of their caps do have both so I really have no idea what their problem is.)
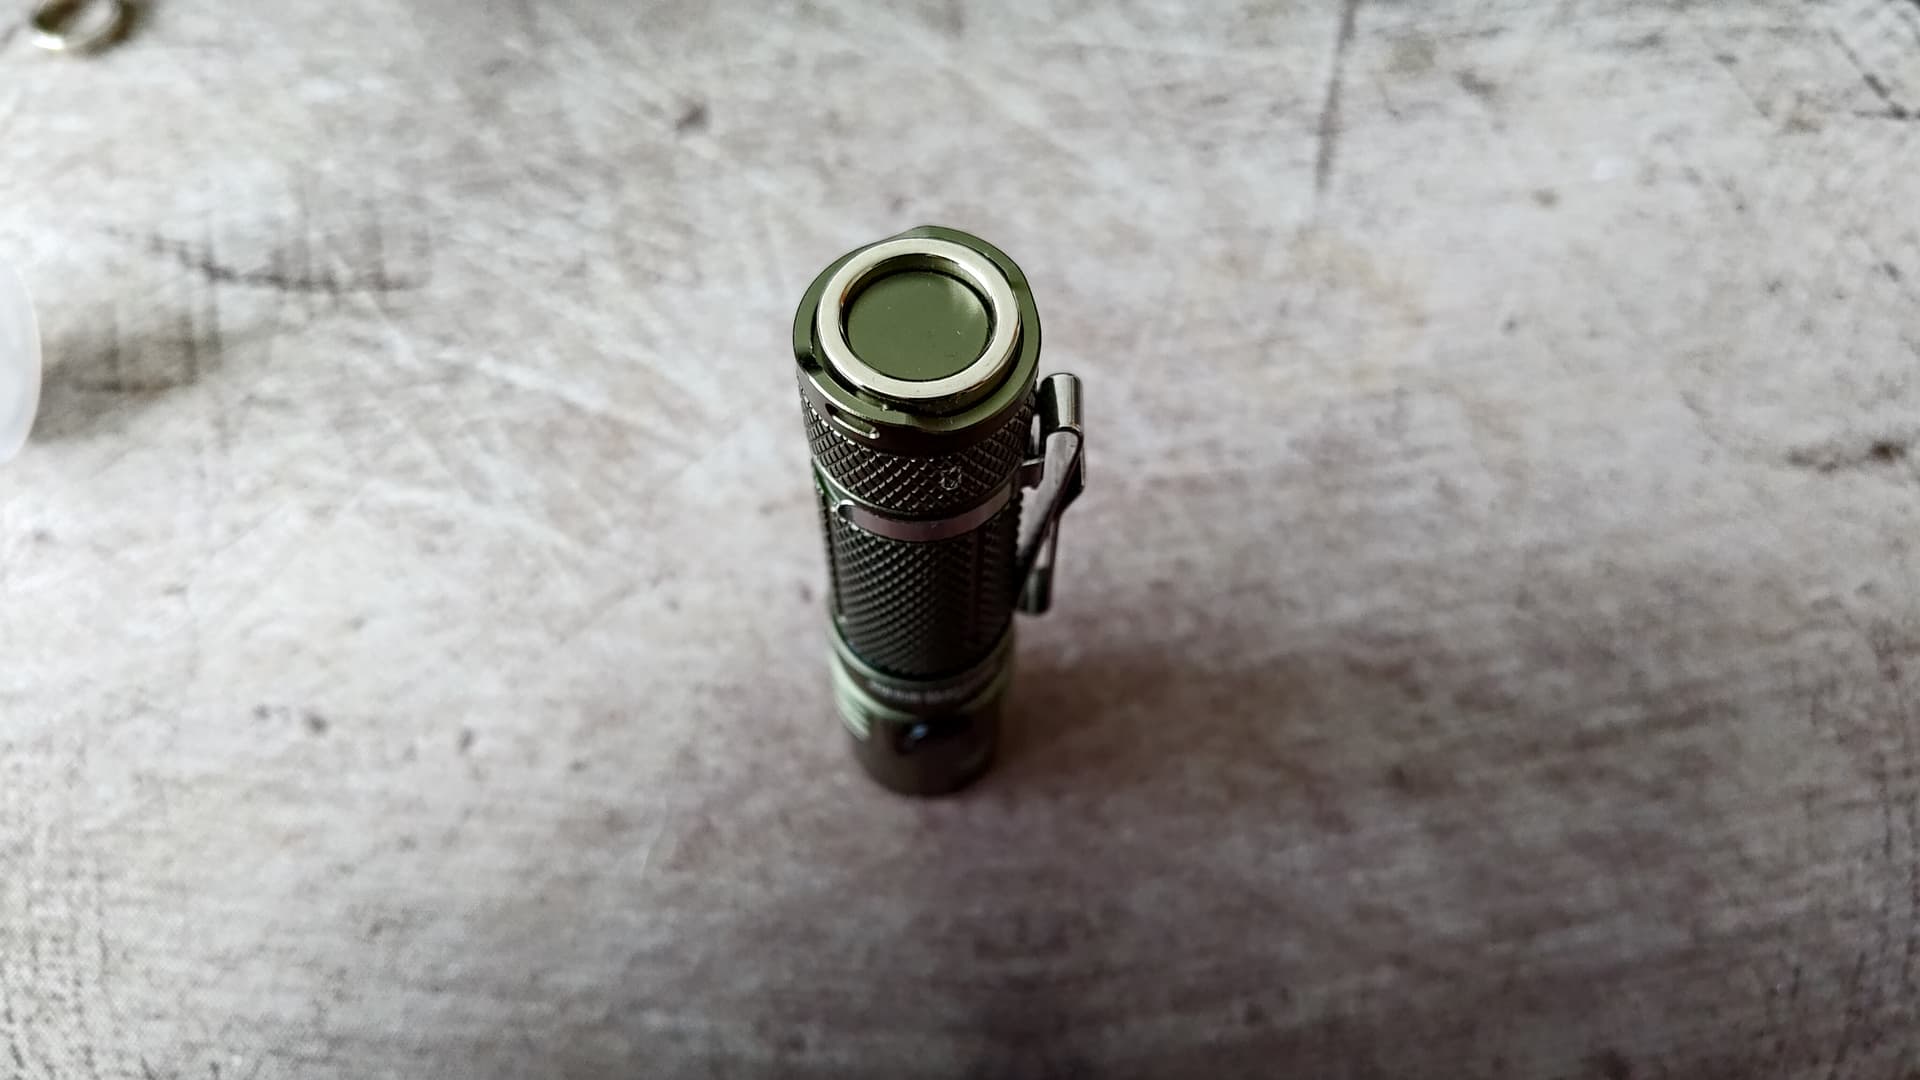
Mine is 3D printed.
Designed and modeled in OpenSCAD, sliced in Cura and printed on an Elegoo Neptune 2S in black PLA.


I do have two forms of red but I was proto typing in black, it was easy to just print the final in it.
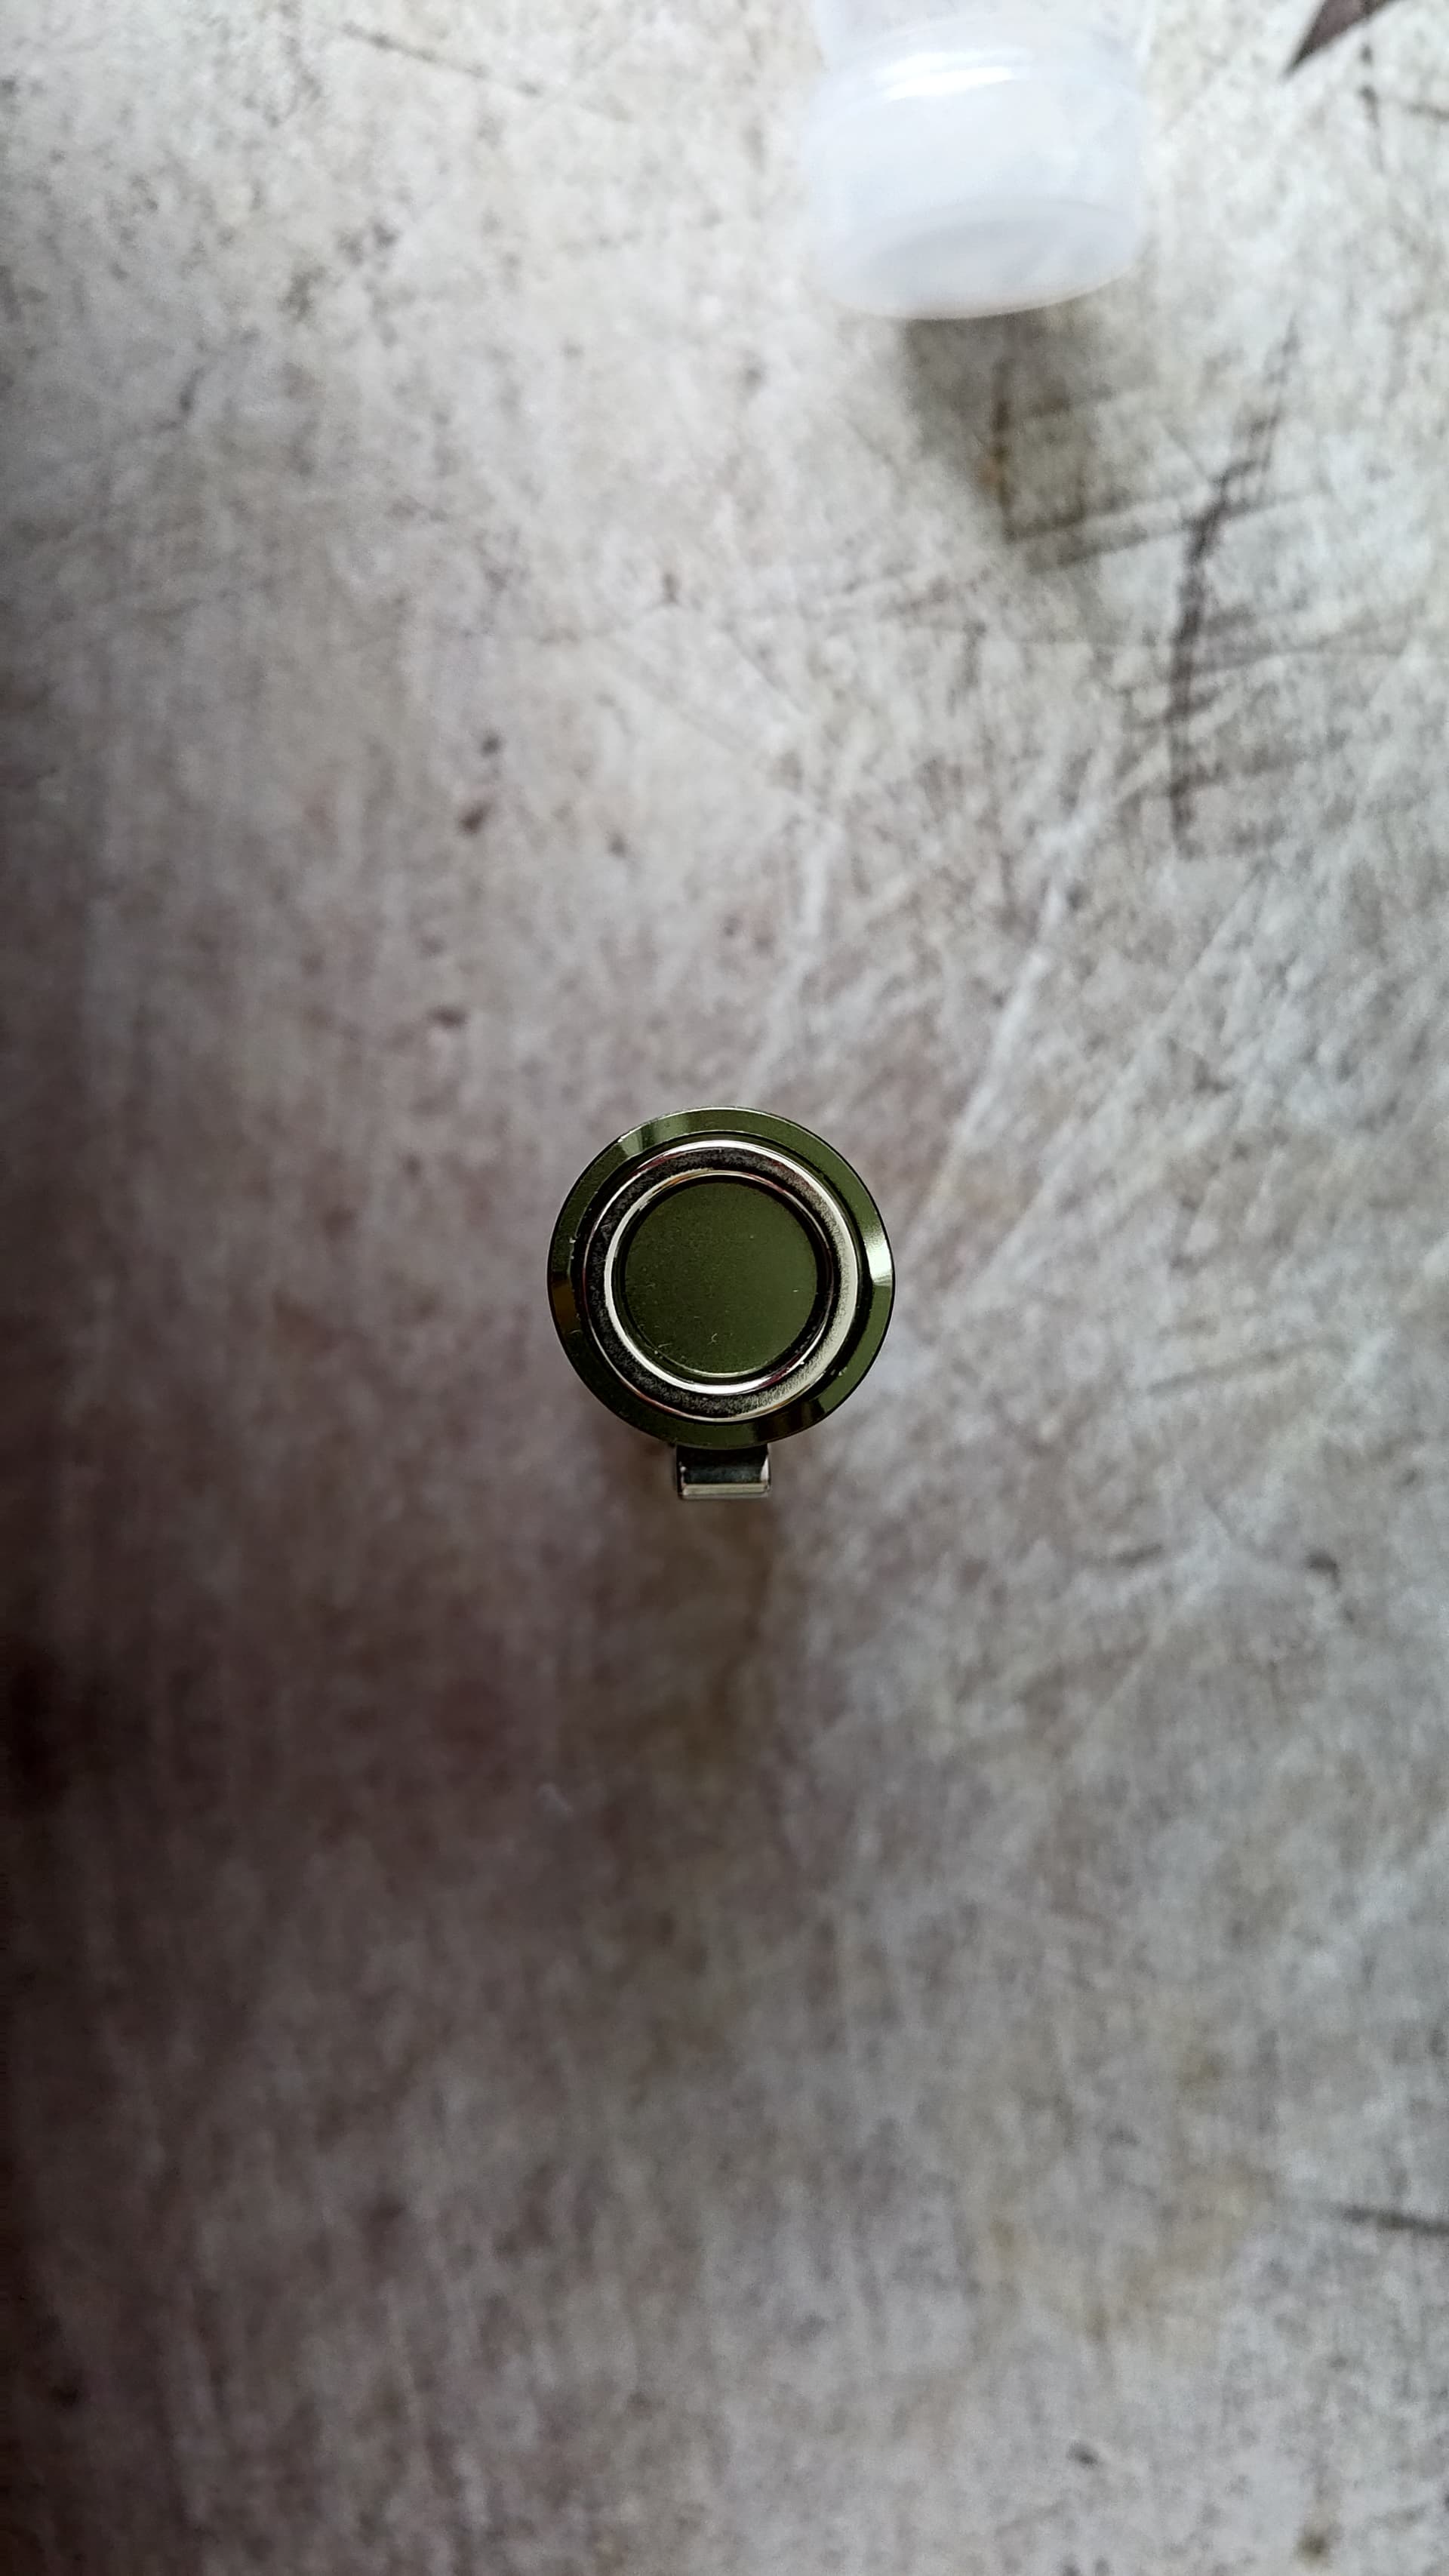
2 stacked 2mm X 16 mm N52 magnets sit in an end pocket. Tooth washer was the right dia to catch the end of the body tube and provide continuity. Stock spring is free floating but upside down.

I might solder the spring/washer/magnets stack together. Then again I might not. It hasn’t been a problem with a loose stack in the SC31 pro cap I made 5 months ago. But it has onboard charging, this might get annoyed taking the cell in and out.
And as a side, here are some of the progression of test pieces getting the threads and clearances right.

Final product costs me less than a buck in plastic. All total maybe 3 times that including waste.
Its several hours overall in modeling, printing, testing, repeat, but its cool, it combines several hobbies I have, I hardly notice the time passing.
It was a lot less work this time around, since I modified some of the process and code used for the one I did for the SC31 Pro last fall. That one took weeks and 3 versions, to get right, but I was learning the machine and all the software then too. (I should note I am using someone elses SCAD code to generate the threads to measured ISO specs… that kind of modeling is still beyond me! )