The redo is finished except for the driver.
I have had these ideas for some time now and I finally got a started on building my first XHP-70 light. From reading about the other mods and builds here, it seems to me that the most difficult part of building one of these is coming up with a way to power the LED. The XHP-70 can be configured to run on 6V or 12V, I am choosing 12V 6V. Ideally I suppose, running a 6V configuration with a 2S configuration and a driver is ideal. 2S hosts are common and easy to come by. What is more difficult are the 2S3P hosts, and if more than 1 LED is used then 2S3P is definitely preferred for it’s capacity and run time.
EDIT: A 12V drill pack will only DD an XHP-70 at a little over an Amp when fully charged and will drop rapidly as the pack discharges. I am going to use the same 12V drill packs but with a buck driver. ImA4Wheelr has offered to help with this.
Building high current cell carriers is difficult and there can be all kinds of issues with contact resistance, springs etc. Besides, it’s just a lot of work. So I thought, why not use a cell pack that is already available, has to contact issues, springs etc. A 12V drill pack. The other advantage is that if one has the mating charger, charging is fast and easy. Also drill packs are already intended for very high current outputs, perfect for driving high power LED’s such as the XHP70 or MTG2. And I almost forgot, they are already protected from over discharging. They simply shut down.
The following is NOT intended to be a finished product but rather just some of my ideas on how to pull it off. There will probably be many changes before I finish, the first being that I will use+ Black ABS rather than White PVC
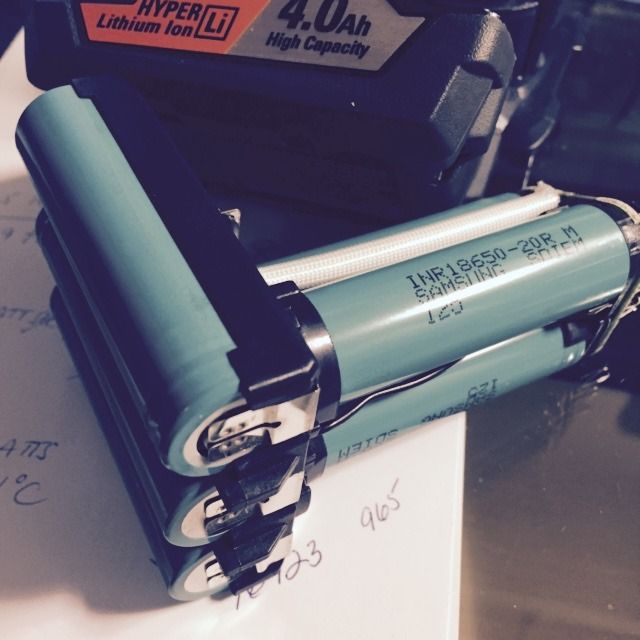
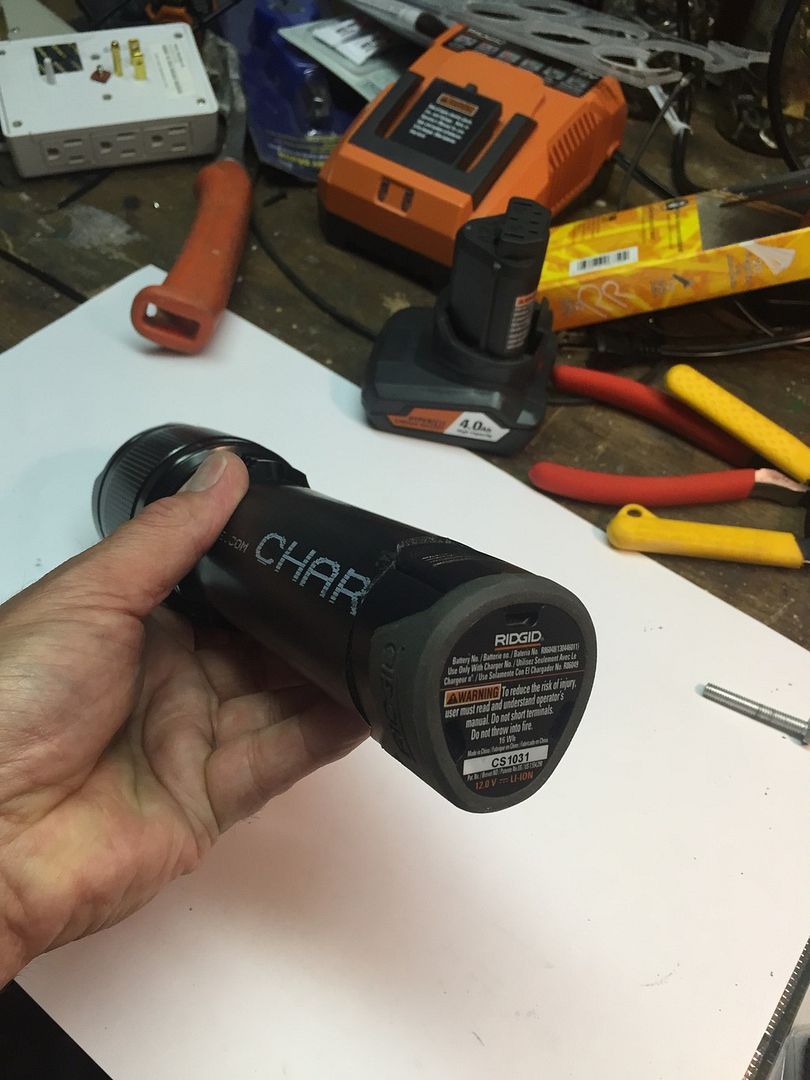
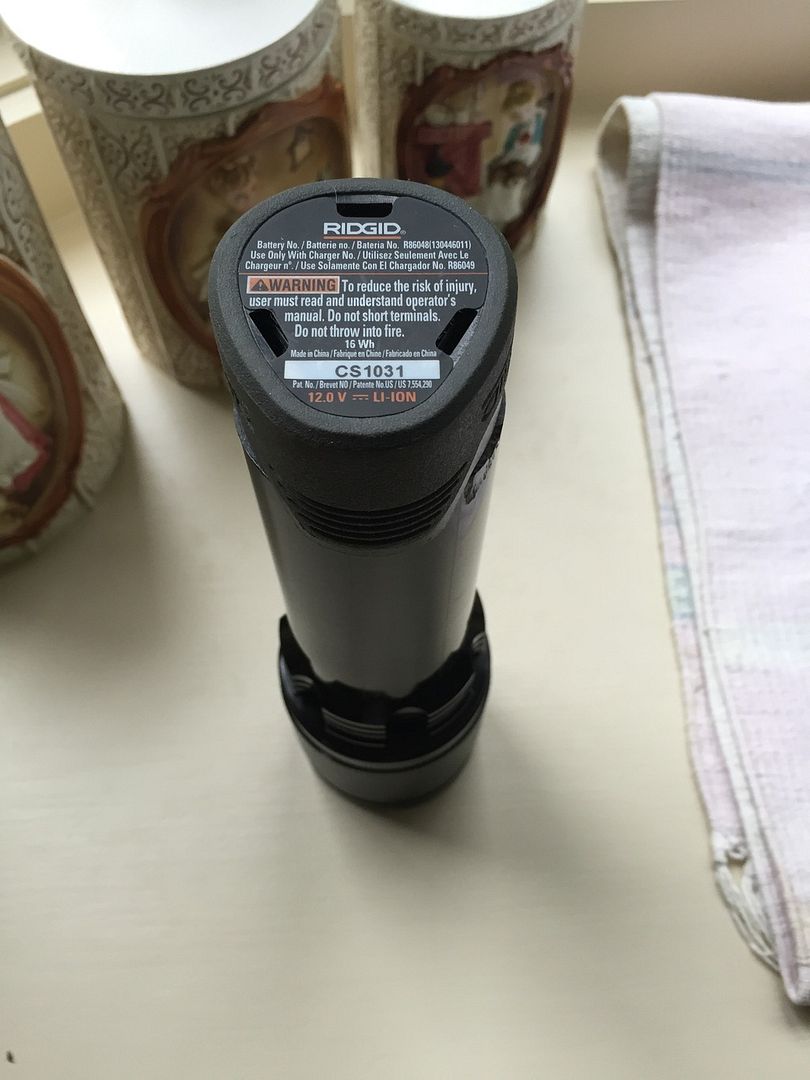
It just so happened that I was able to come across a good number of 12V 4AH Ridgid drill packs at a VERY good price. Normally a 6 cell, 3S2P pack, would sell for $69 each. These packs contain 6 Samsung 20R cells. Plenty of capacity to drive an XHP70 (or 3!) I, and others here, were able to pick these up at Home Depot for $18.02 for a 2 pack. That is just $9 per 6 cell pack. Because of that price, in my opinion, these just scream for use in a flashlight build.
Remember now, this is just a proof of concept build, it won’t be pretty.
The deal. Originally, buy one pack for $69 get 1 free. Here are the 2 for $18.02
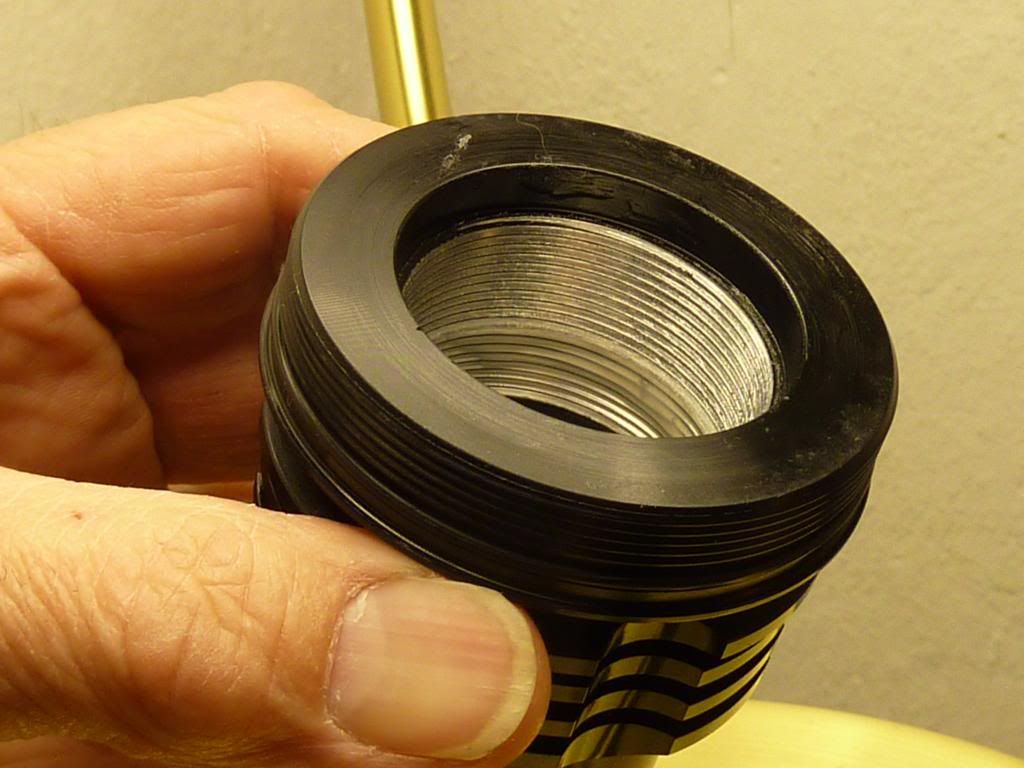
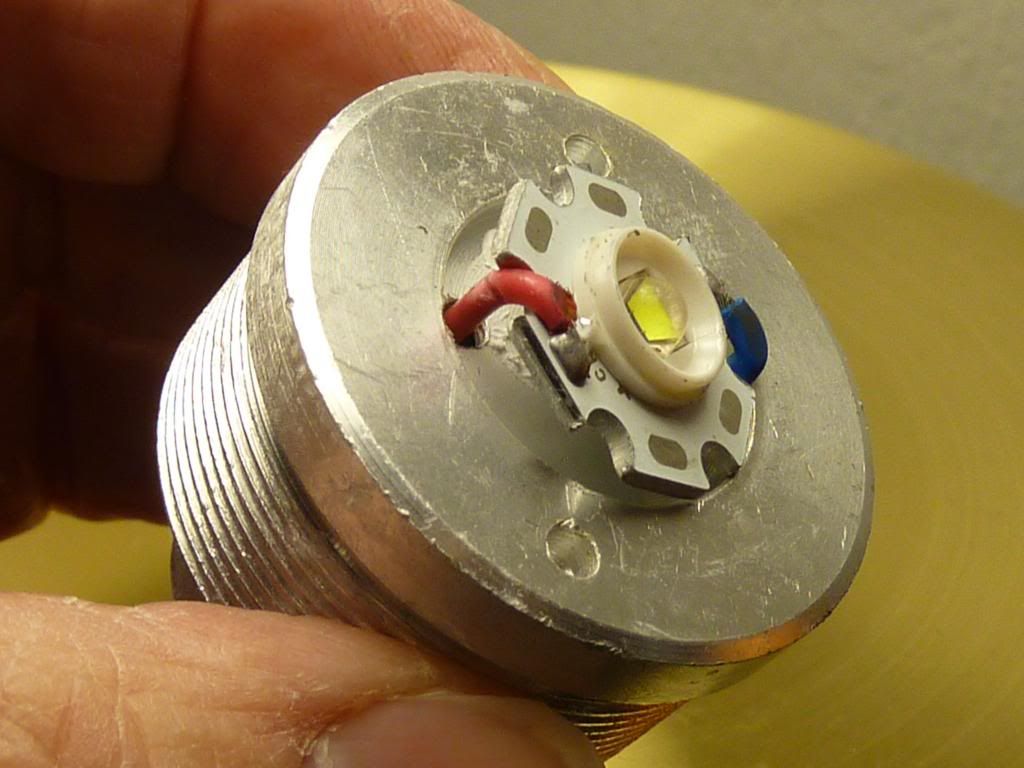
For the host I will use the head of a Defiant 3D from Home Depot. I chose this because I already have some and they have a big head and a massive pill that takes a 20mm star.
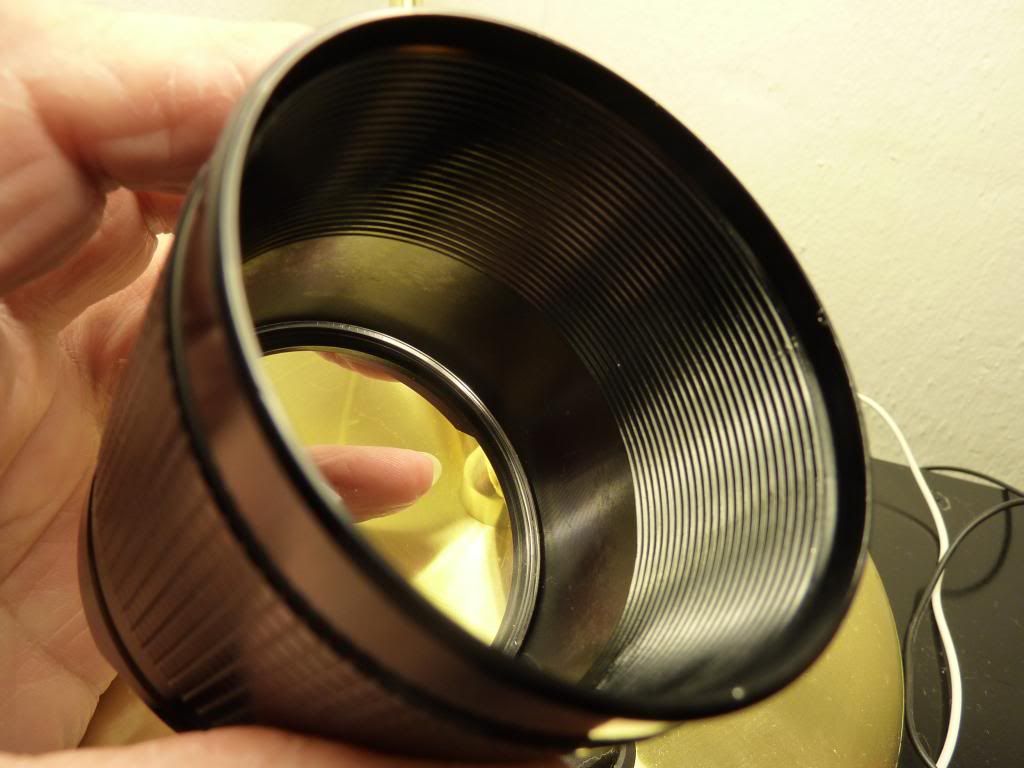
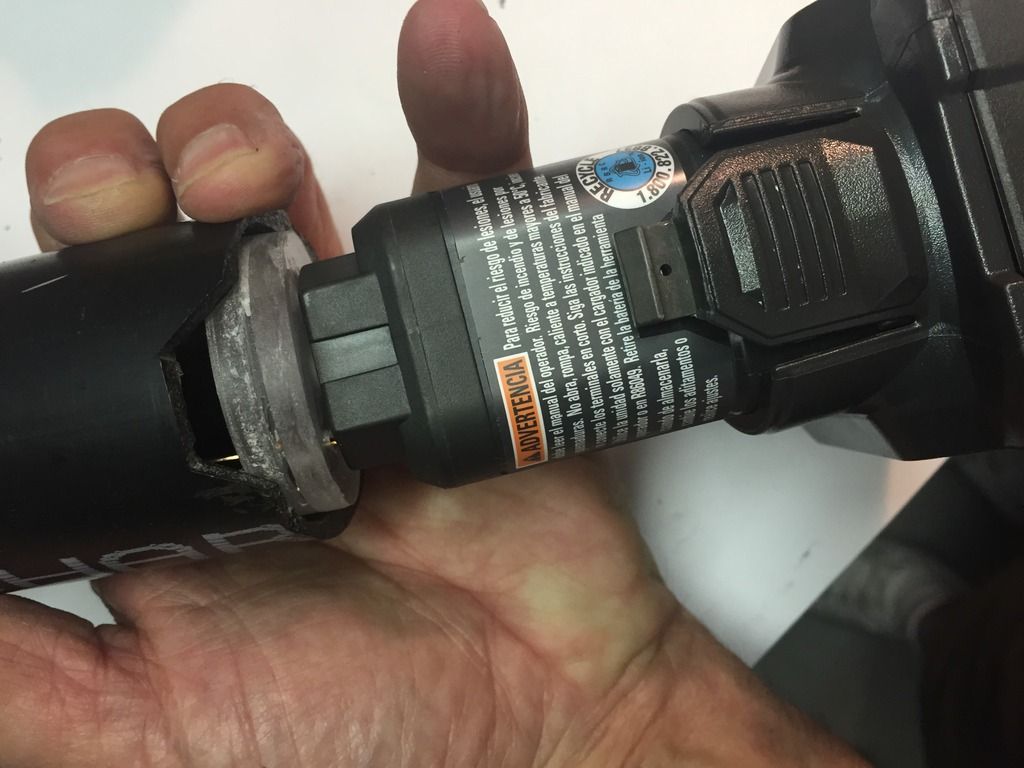
What I need to do is mate this head to one of the 12V Ridgid packs. Also, I must be able to change out the Ridgid packs easily for charging. In other words, they must plug into the light just as they do when used in a tool.
Now pics of the redo.
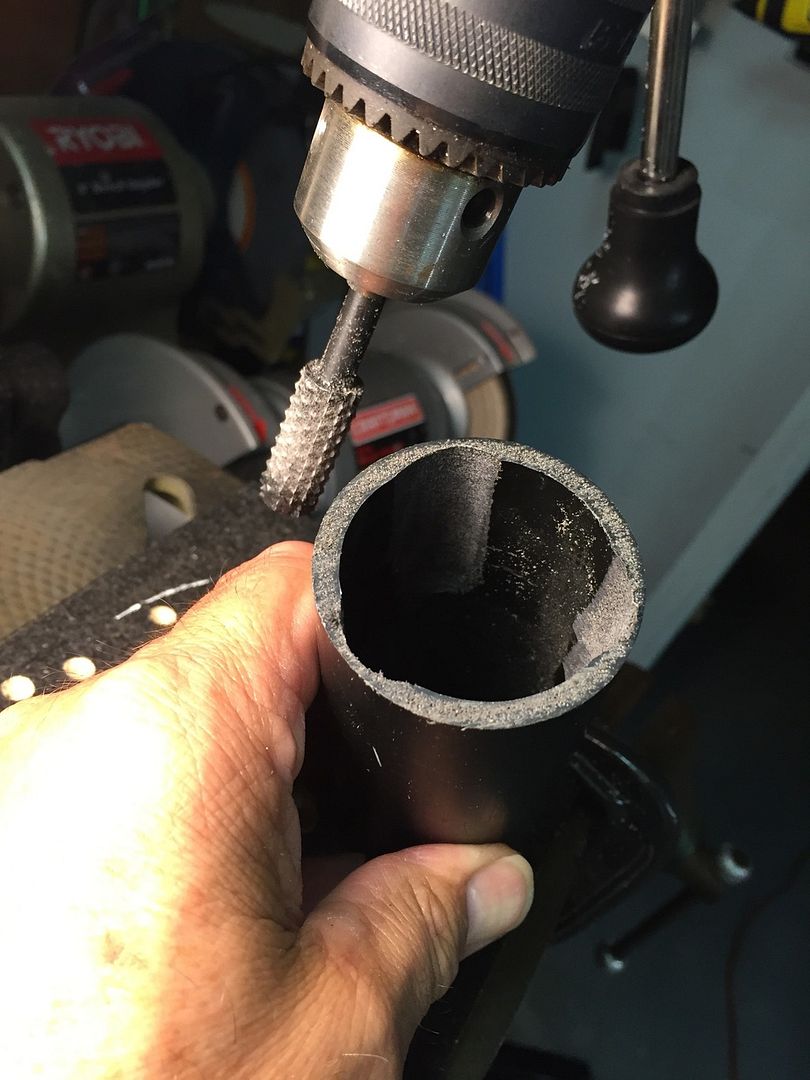
As before I had to bore out the ABS tube for the drill pack.

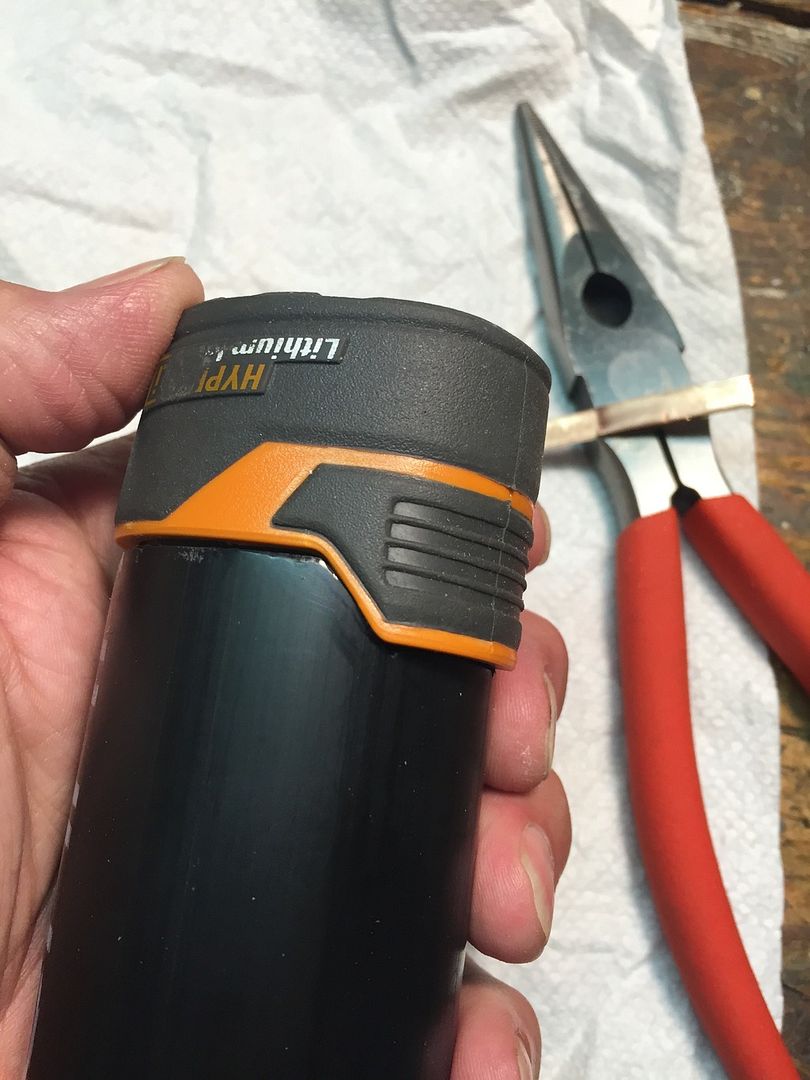
Once it fit I then had to notch it for the locking clips.

Then I had to make a “socket” for the drill pack to plug into. The point of this build is use a power source that is already constructed and easily swapped out and recharged.
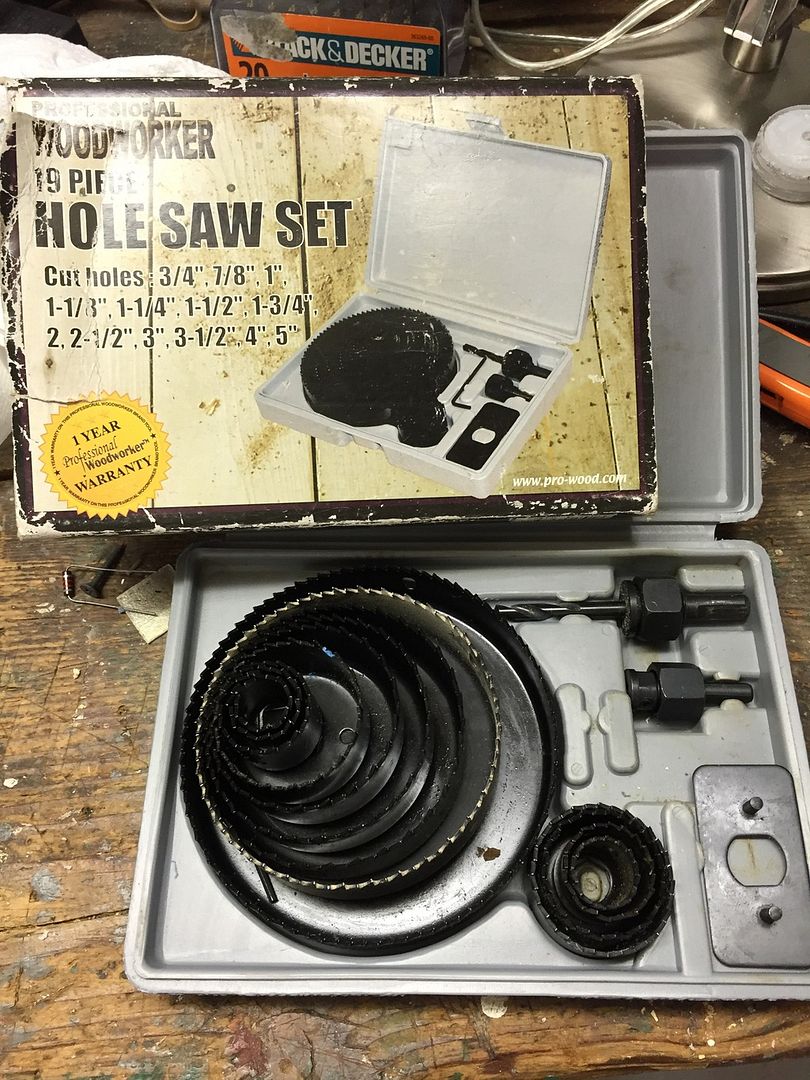
This 19 piece hole saw kit I got years ago comes in handy often. Having the ability to choose 19 different sizes comes in very handy and usually I can find a good match. I think what is an identical kit can be ordered online at Home Depot and shipped free to your nearest store. I got mine from one of those traveling tool shows, you know, where they pull into a motel or parking lot with an 18 wheeler and sell out of the back of the container.
I used clear Lexan so that after I cut out this disk I could see through it to know where to cut the holes for the copper plug connectors. That disk coming off the hole saw is a perfect fit!

I made 2 just in case……
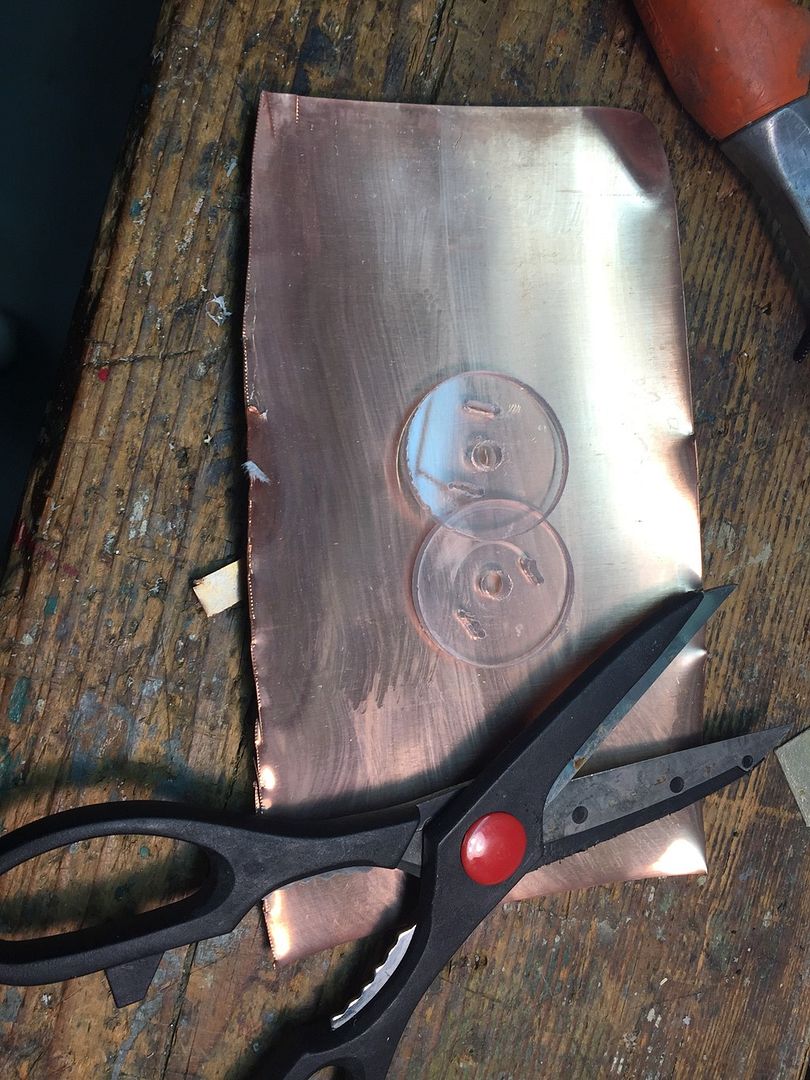
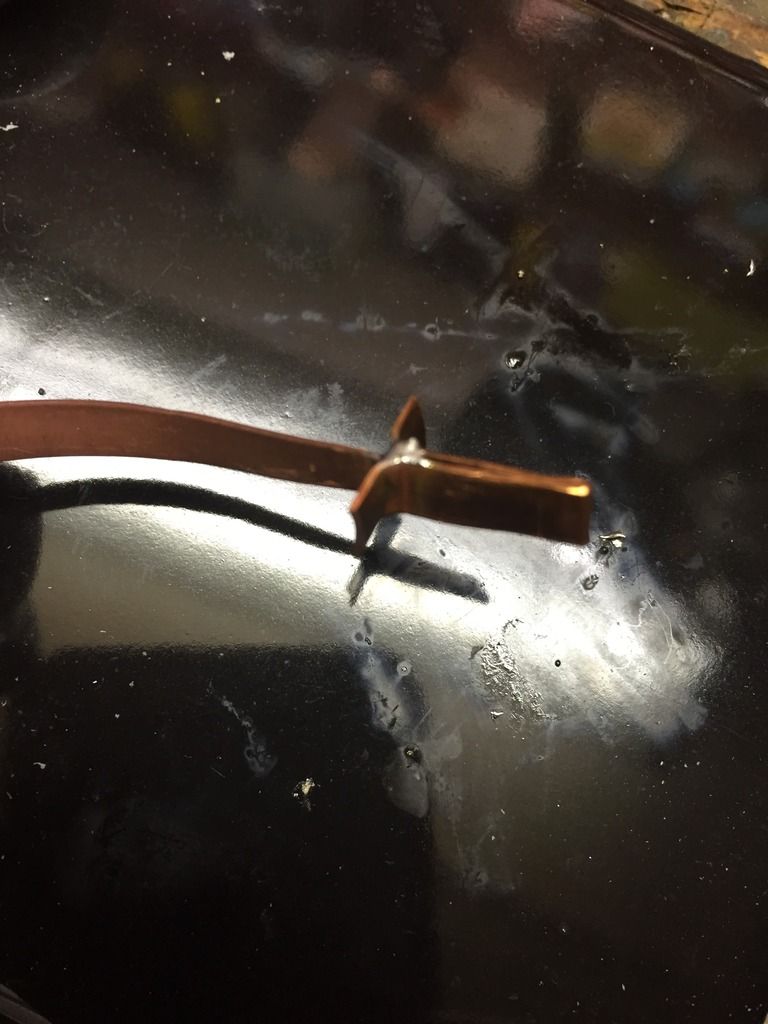
I used those cheap or even free Harbor Freight sissors as tin snips to cut the copper flashing to form the “plug” connectors.

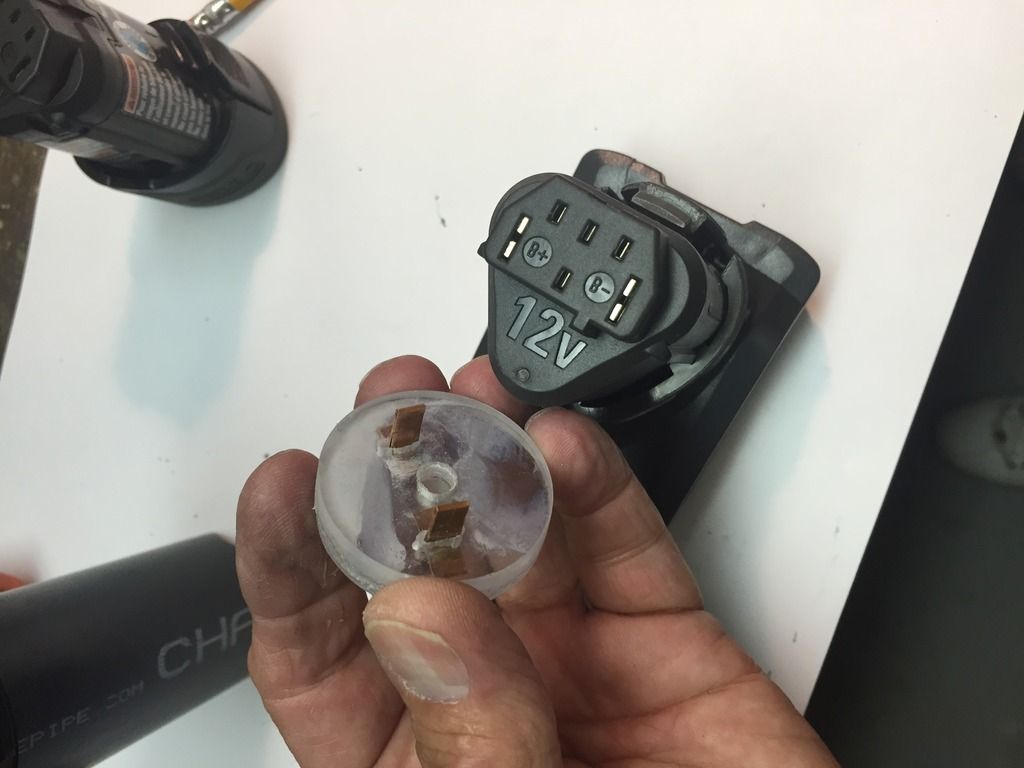
To make sure that everything is aligned perfectly, to allow battery packs to be easily removed and inserted, I had to first plug the connector into to the battery pack and then slide it into the tube to be glued. Only that way could I be sure of perfect registration.
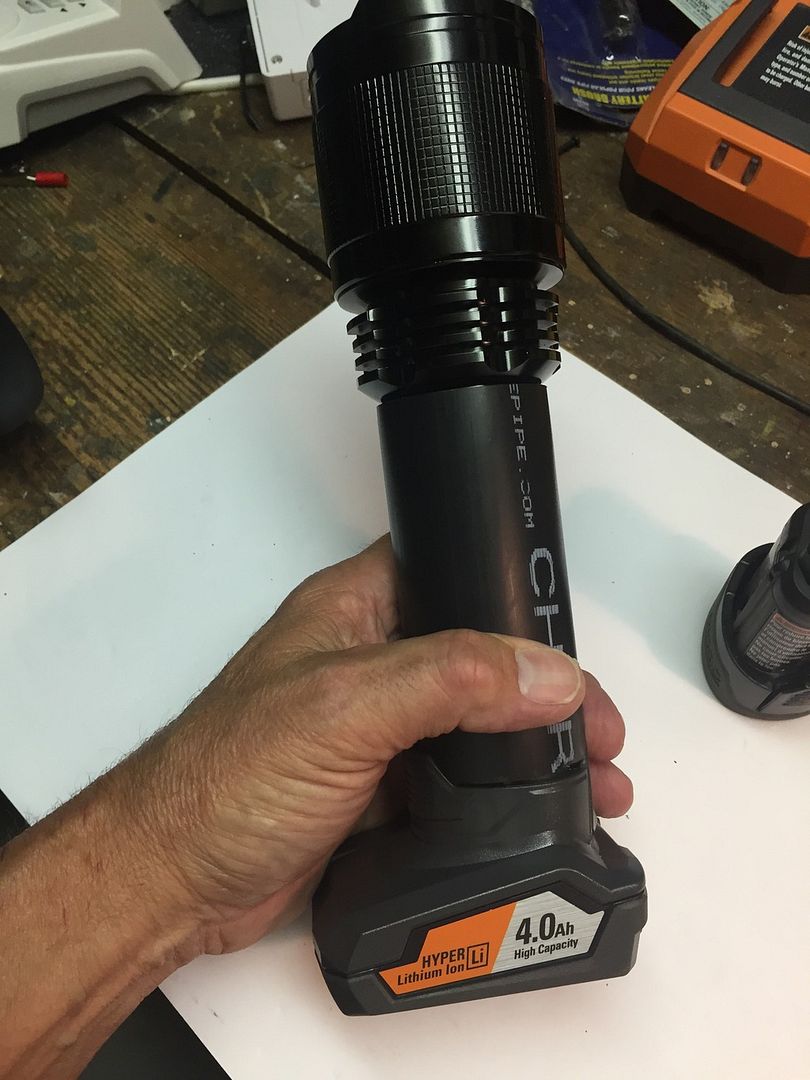
Assembled light with the 3 cell battery pack inserted
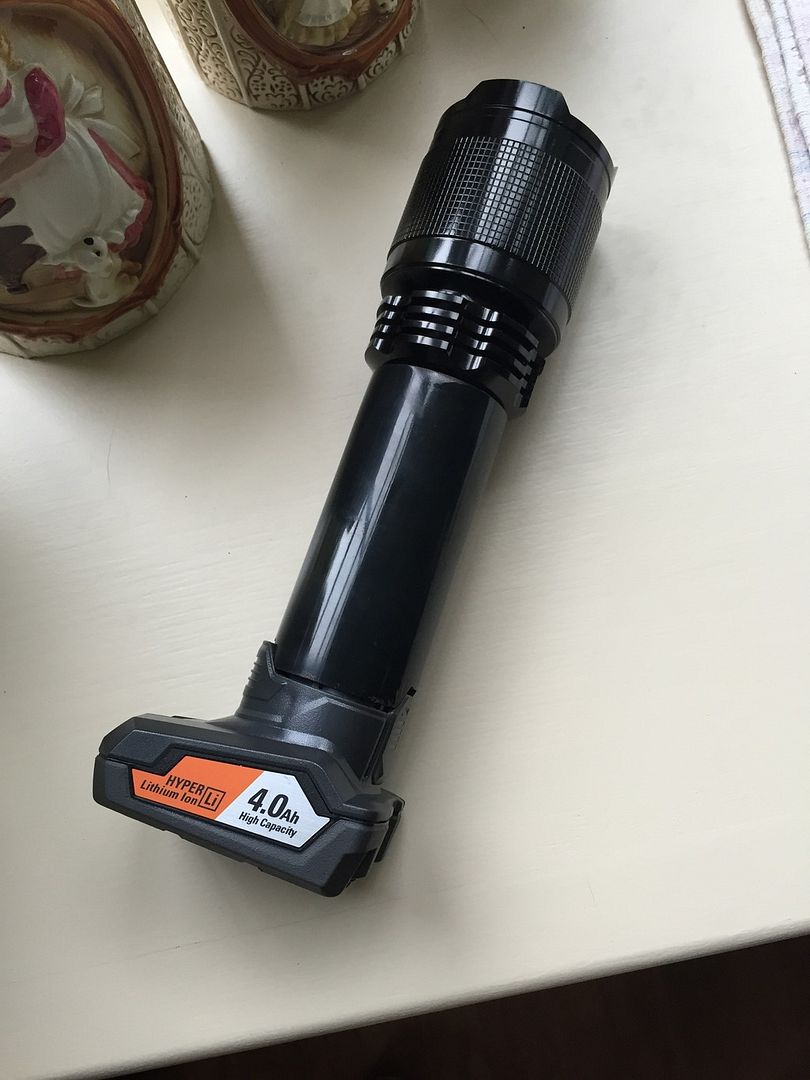
And the 6 cell pack, for double the run time
So now what to do with the battery tube, after all it is ABS plumbing pipe! After I cleaned off the print with some lacquer thinner, I tried free handing a well known logo. Besides, just having this on a light seems to increase it’s lumen output by a factor of 3!
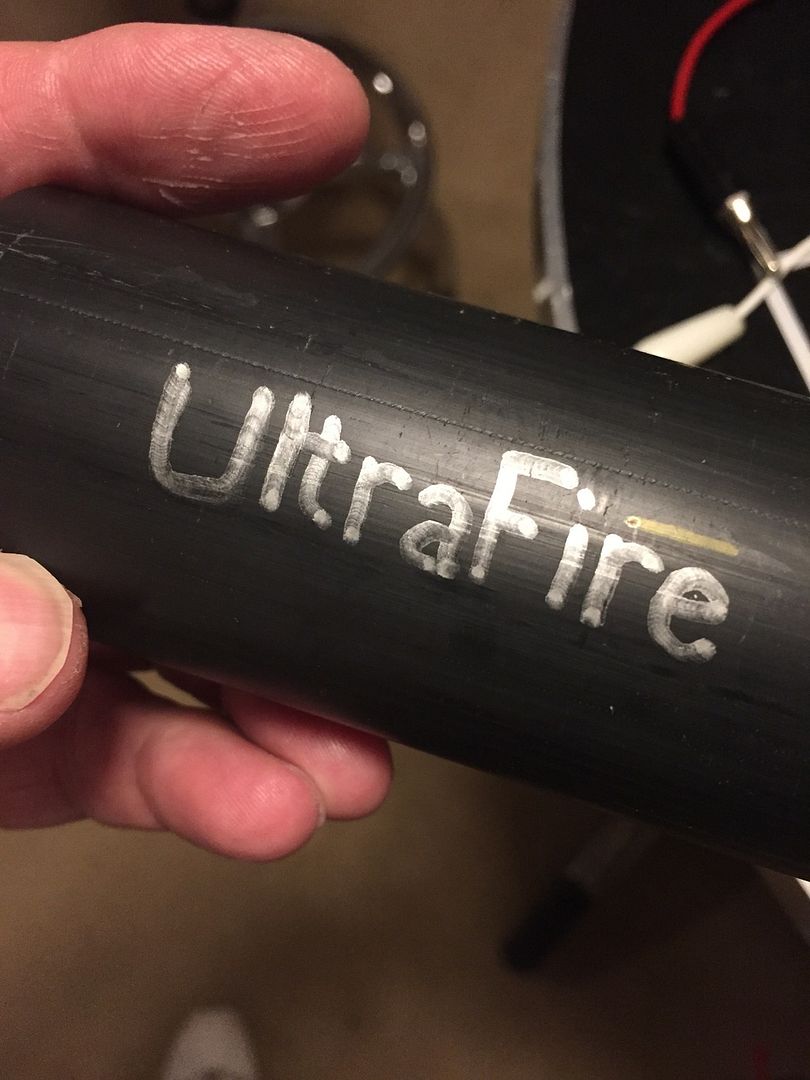
For some reason it didn’t help, so I removed it and spent about 10 minutes at the buffing wheel.
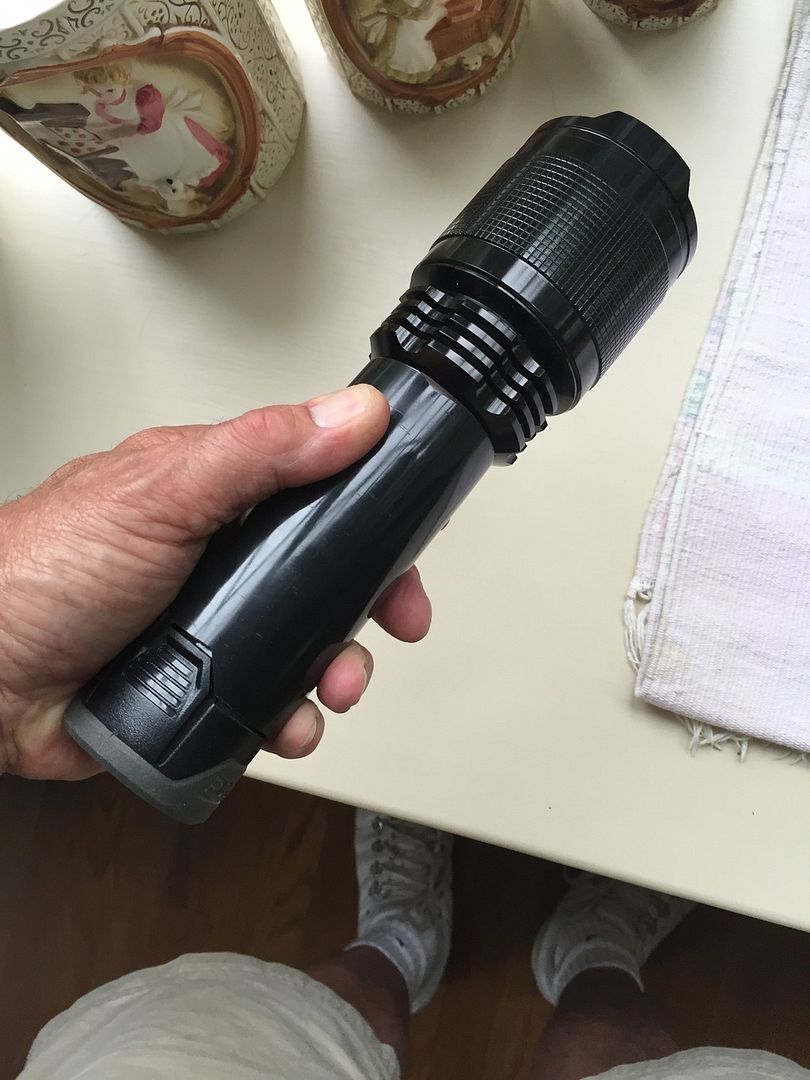
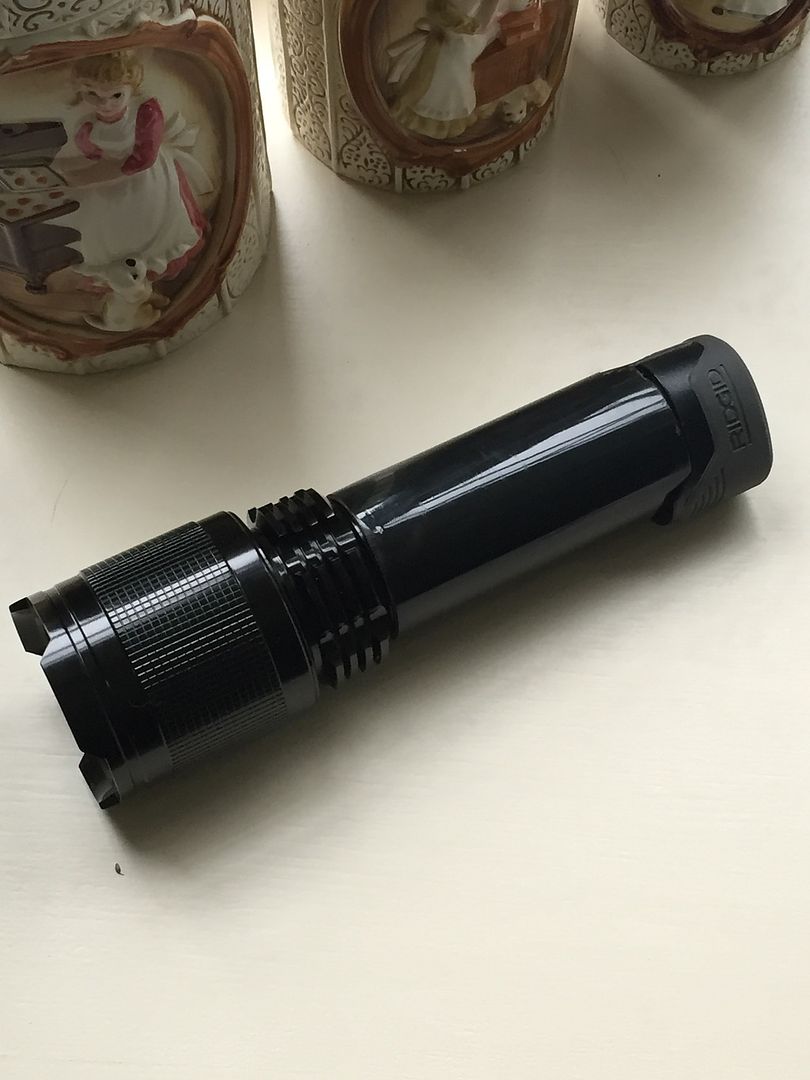
Here it is with the double pack, 6 Samsung 20R’s inside. Not as pretty, but twice the fun!
As I mentioned earlier, all I have left to do is get and install a buck driver that can handle 12V in and put out a maximum of 7A to the emitter at 6V. For now this light is DD running an XHP70 on a sinkpad configured at 12V.
08/14/2015
Actually I finished this up a week or so ago.
All that was left to do was reconfigure the star to 6V and add a driver.
The driver was built by ImA4Wheelr and to that I am very grateful! ![]() He started out with an HX-1175b1 and installed special MCU and custom firmware! Now I have moonlite, low, …. all the way to bright and freaking bright. Turbo, aka Freaking Bright, steps down to just Bright, 5A
He started out with an HX-1175b1 and installed special MCU and custom firmware! Now I have moonlite, low, …. all the way to bright and freaking bright. Turbo, aka Freaking Bright, steps down to just Bright, 5A ![]() after a couple of minutes because of the heat that 7+ amps generate. He also heat sinked and potted the driver and made a copper ring that serves as a shelf for the driver to set on in the head of the light. Much thanks, he put in a huge effort on it for me.
after a couple of minutes because of the heat that 7+ amps generate. He also heat sinked and potted the driver and made a copper ring that serves as a shelf for the driver to set on in the head of the light. Much thanks, he put in a huge effort on it for me.
Here are some pics of the driver.


And these before he potted it.
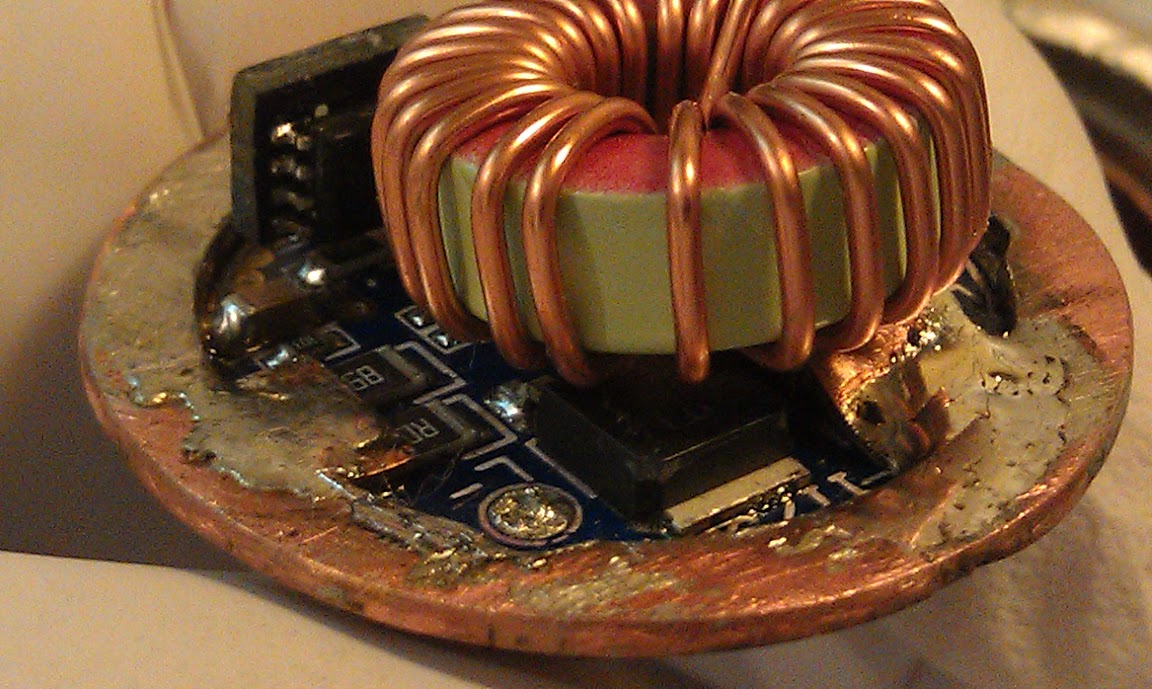

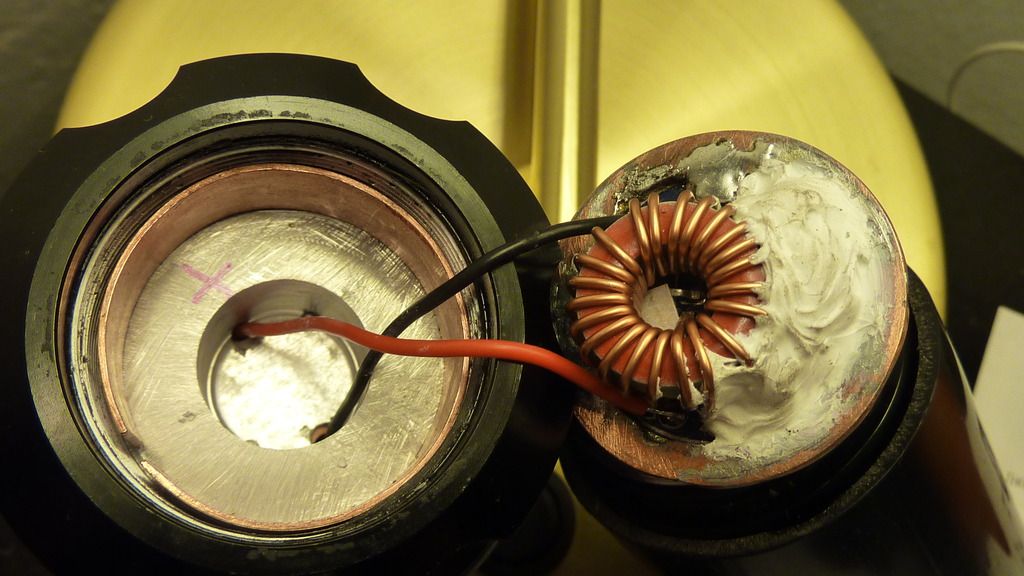
Like I said, it installs in the head of my light and a copper insert that acts as a shelf for it to sit on. Then the battery tube screws down onto the driver clamping it between the copper shelf and tube. Good heat transfer from the driver to the head! He tells me that keeping drivers cool is becoming a more important consideration as these lights get more and more powerful.
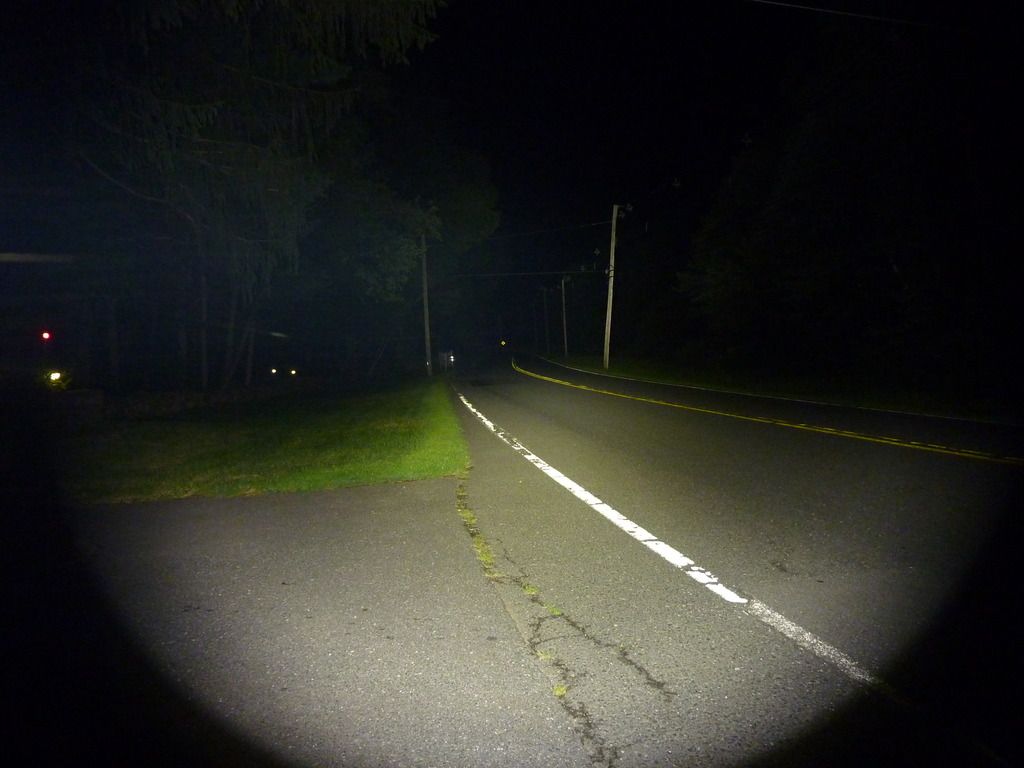
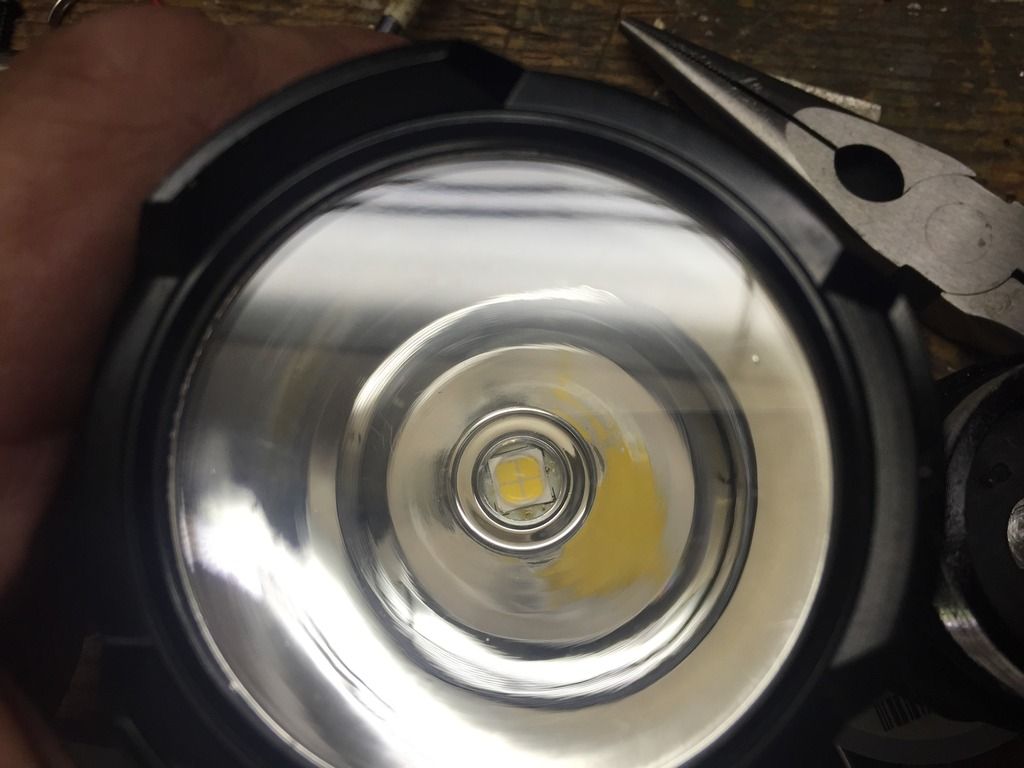
The beam shot 6V, 7A+
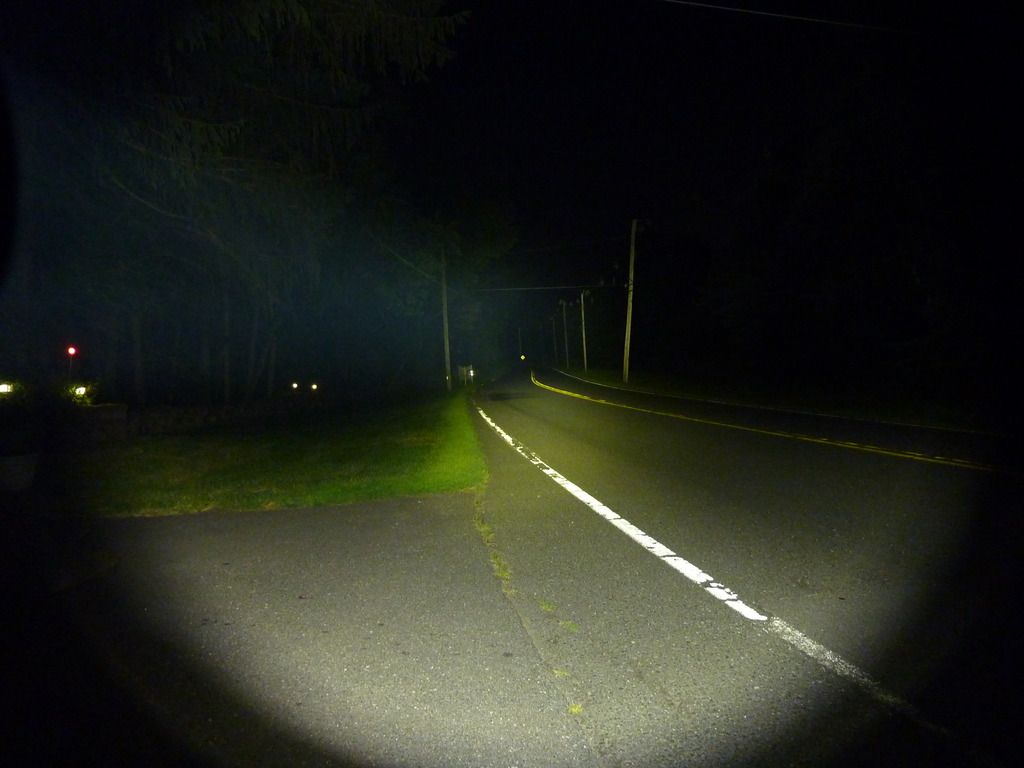
Compare this to my Sleeper Light finished just last night 12V, 5A