07/05/15 Well, what can I say. Just cannot leave everything alone all summer. Going crazy being unemployed and unemployable, so I come to sneak into the garage in the early morning once in a while. Still hot, but bearable till about 8 AM. More photos in the bottom of this post.
Put on the shelf till??? Maybe Fall, Maybe never...
In the works, coming up sometime this year, LOL.

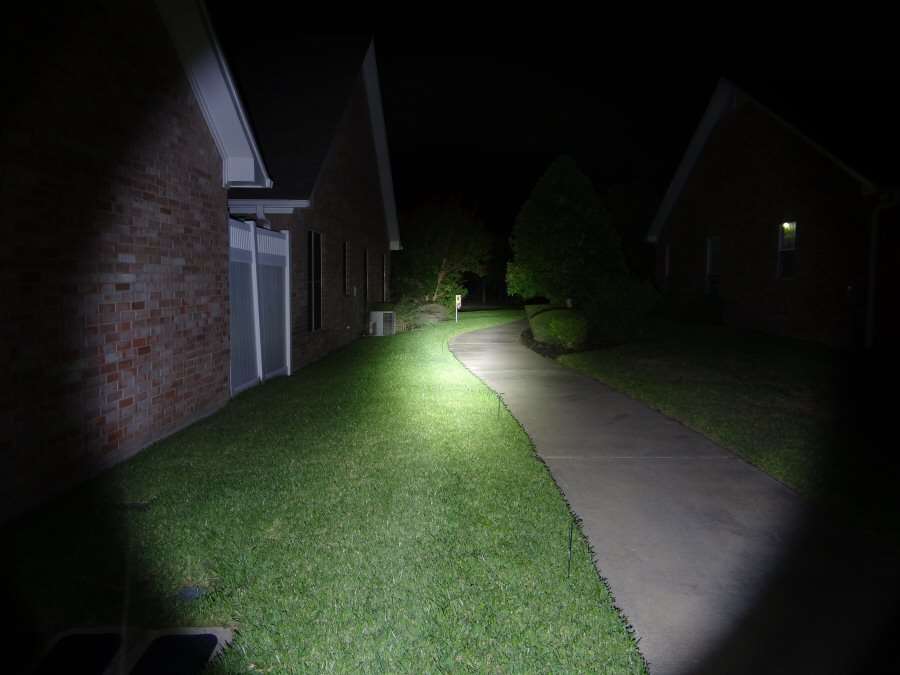
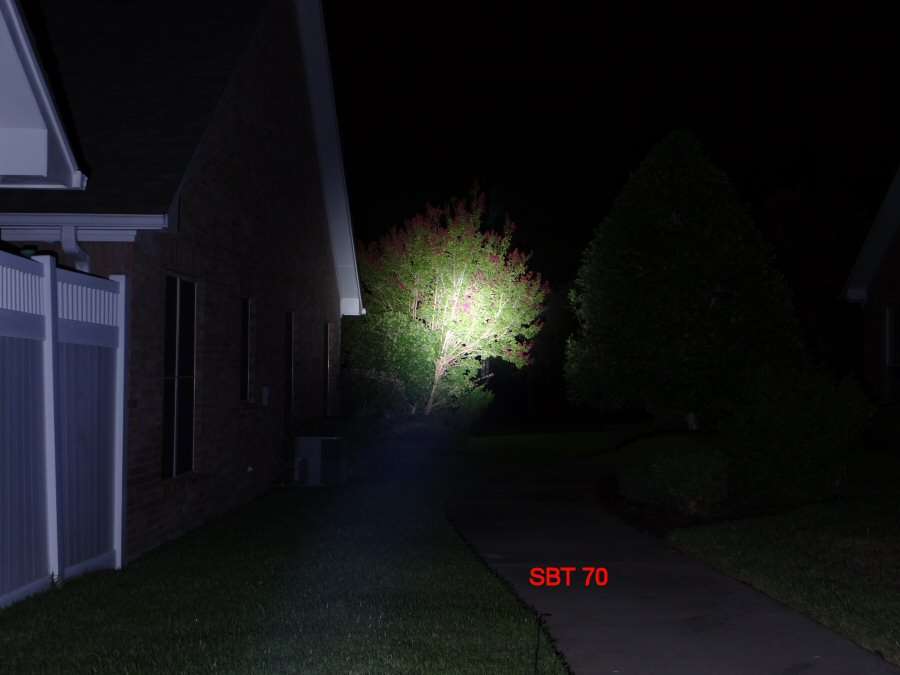
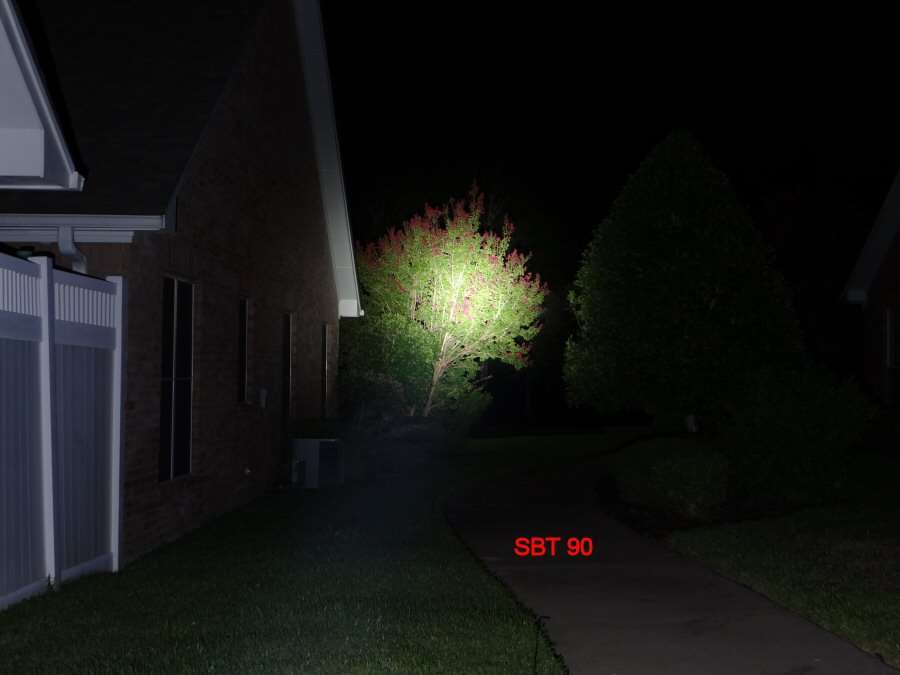
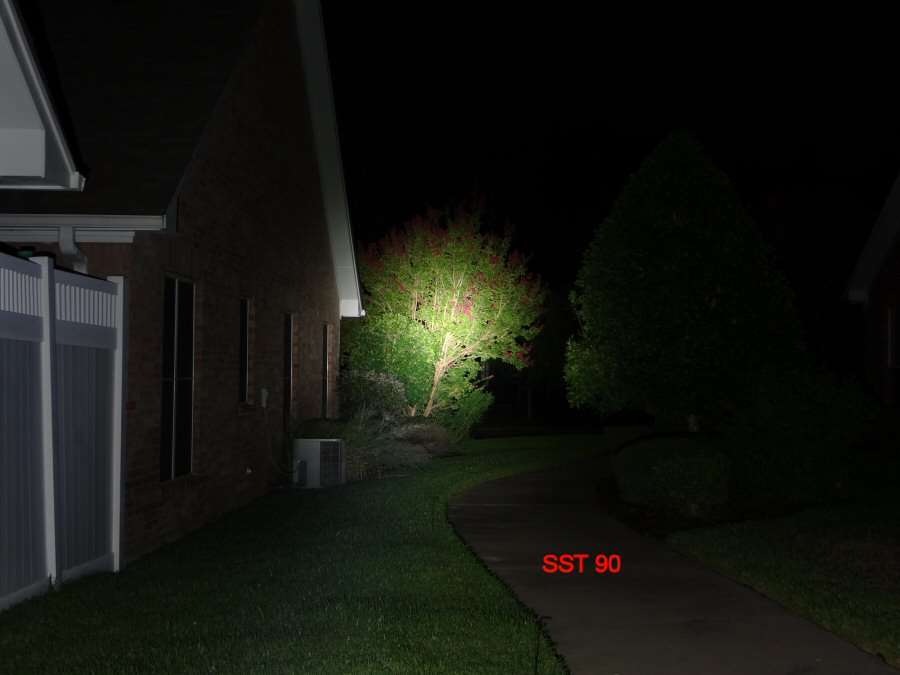
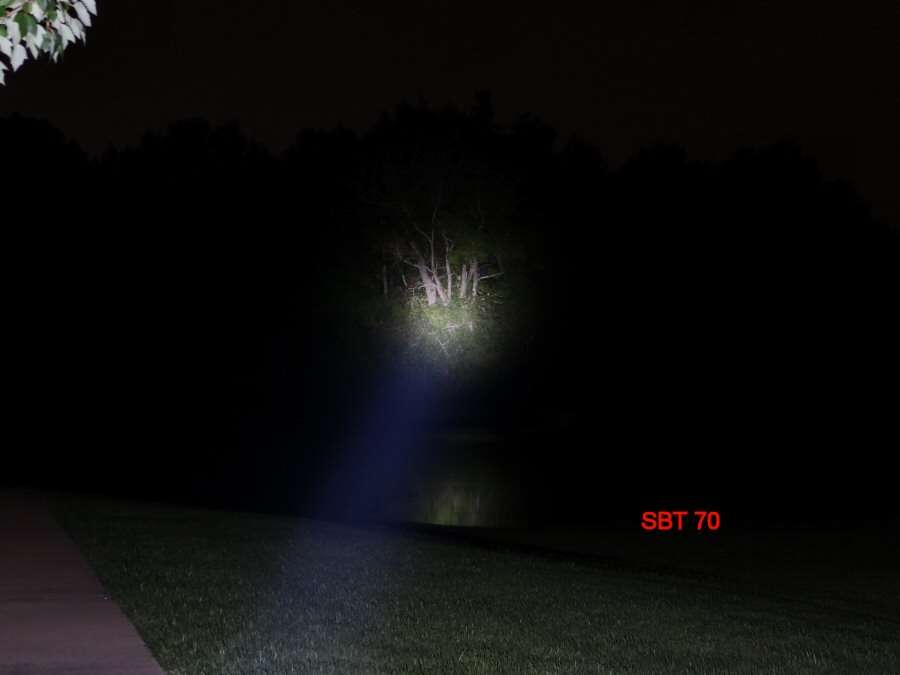
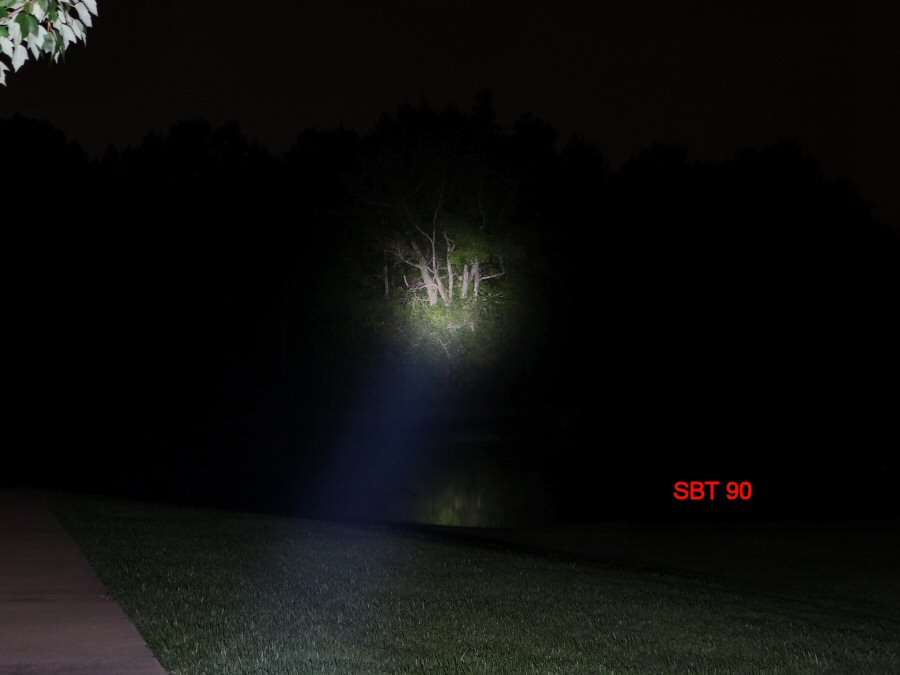
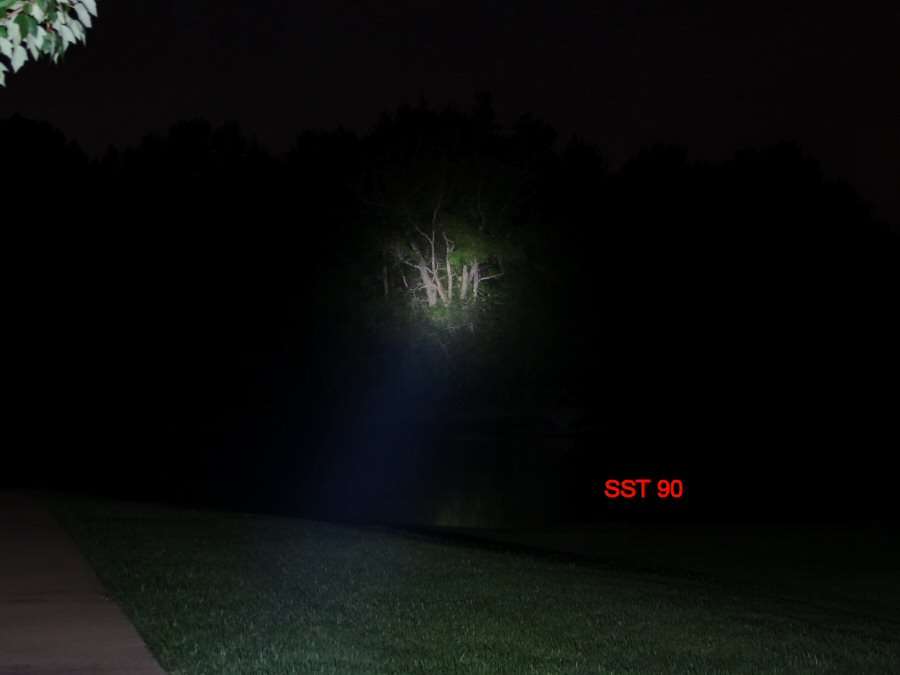
Up and coming Luminus led Shootout. SST-90, SBT70, SBT90, KD 86mm deep reflectors, 10-15 amps. Beam Shot shoot out.
--------------------------------------------------------------
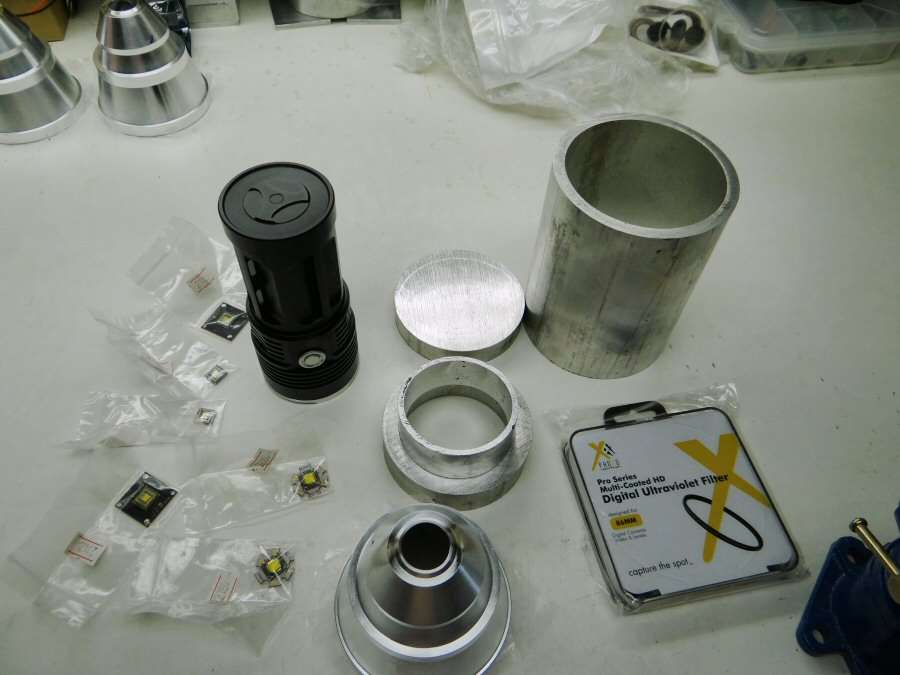
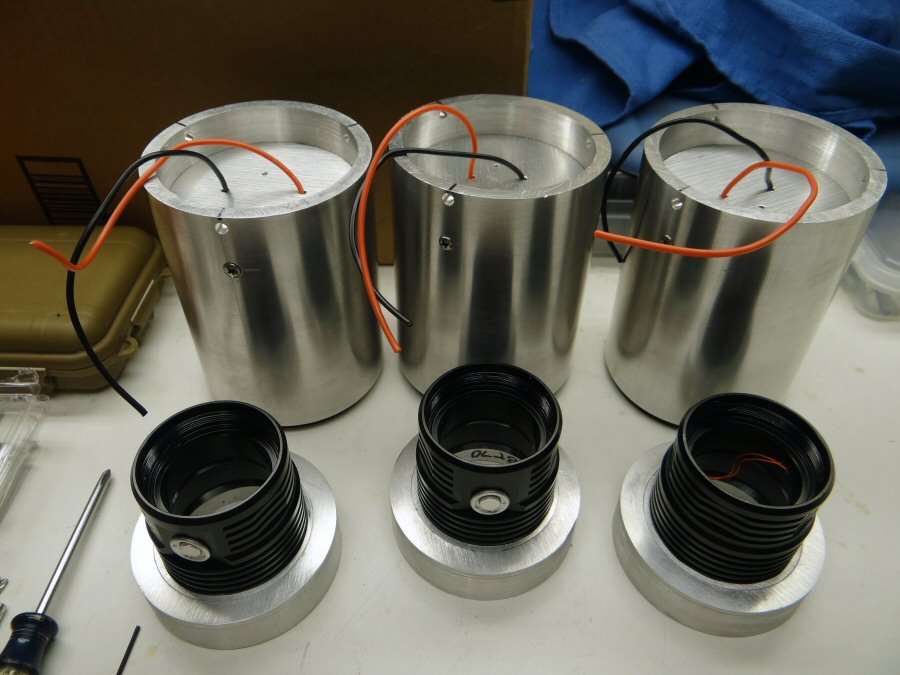
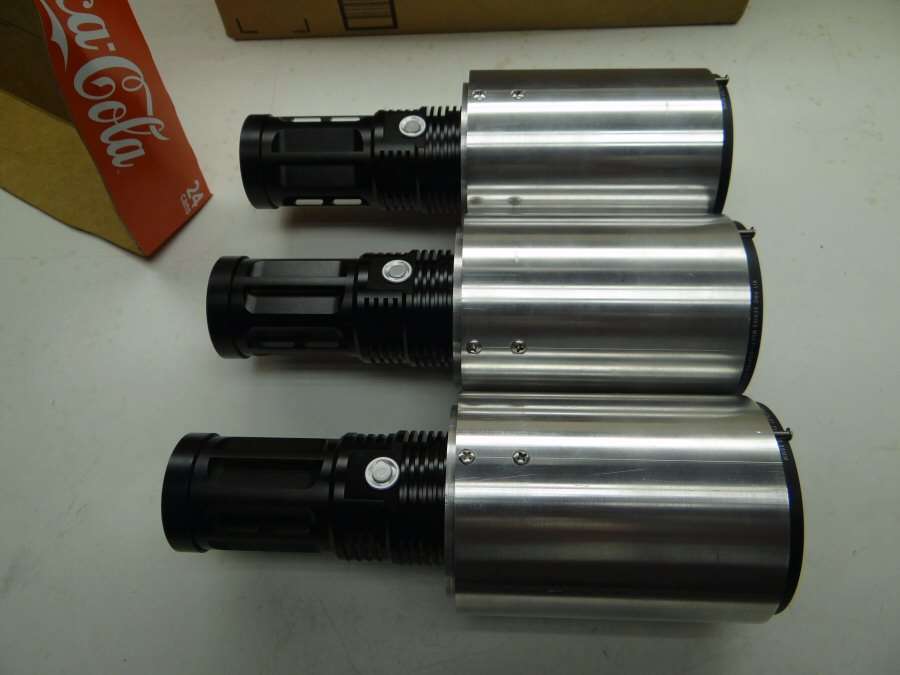
So, I have done a little with this 3 light build. I have all the Aluminum prepped. The SRK heads are fitted into the Aluminum heads, so I can play with adding reflectors and leds.
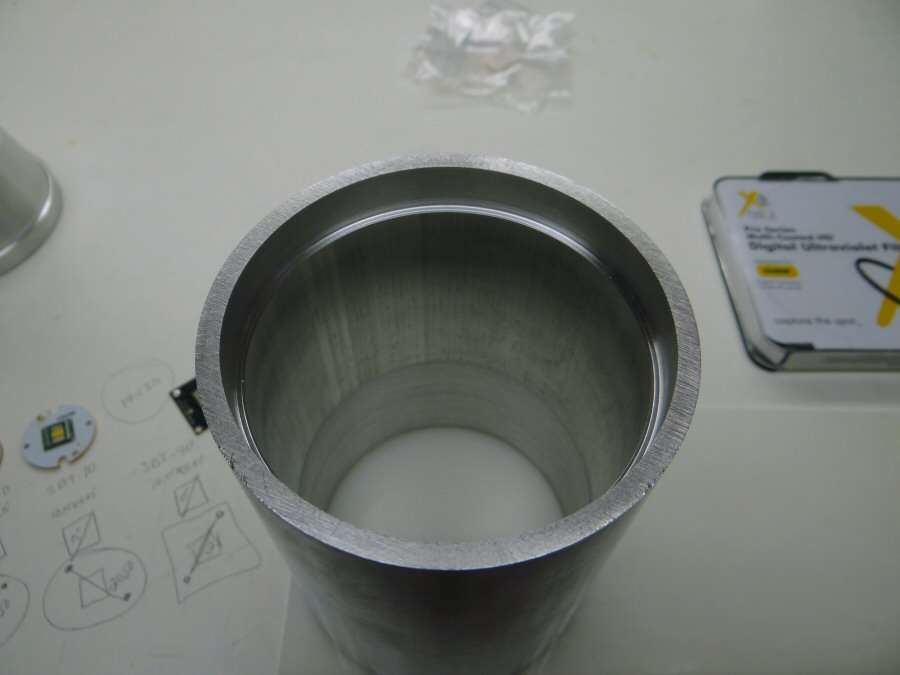
The three aluminum heads were sent out to Dan, (TexasLumens). He's a very good machinist and I couldn't get these tubes opened up for the reflectors and lenses, so I sent them to him. They came back spot on. Even with the fact that the tubes are out of round, (most extruded tubing is out of round), he still got them right.
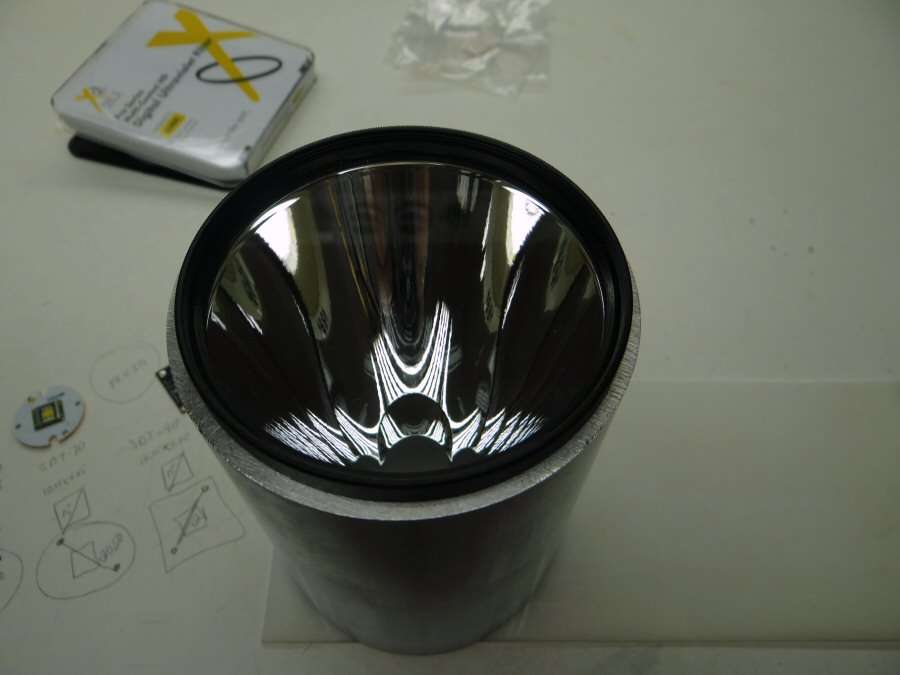
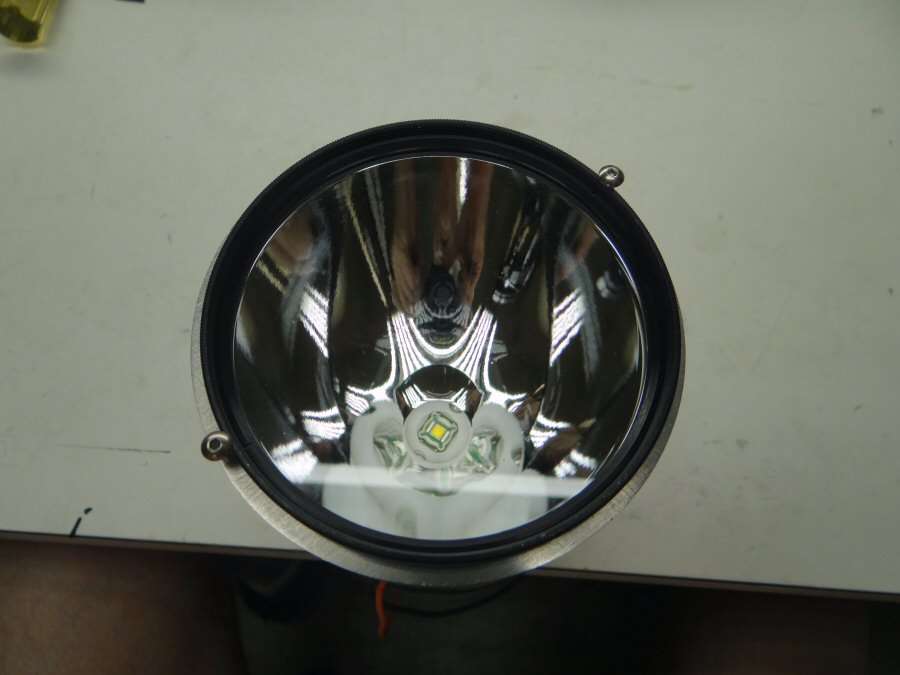
The reflectors and lenses slide right in with almost no play at all. Now I can work on getting the leds on heat sinks.
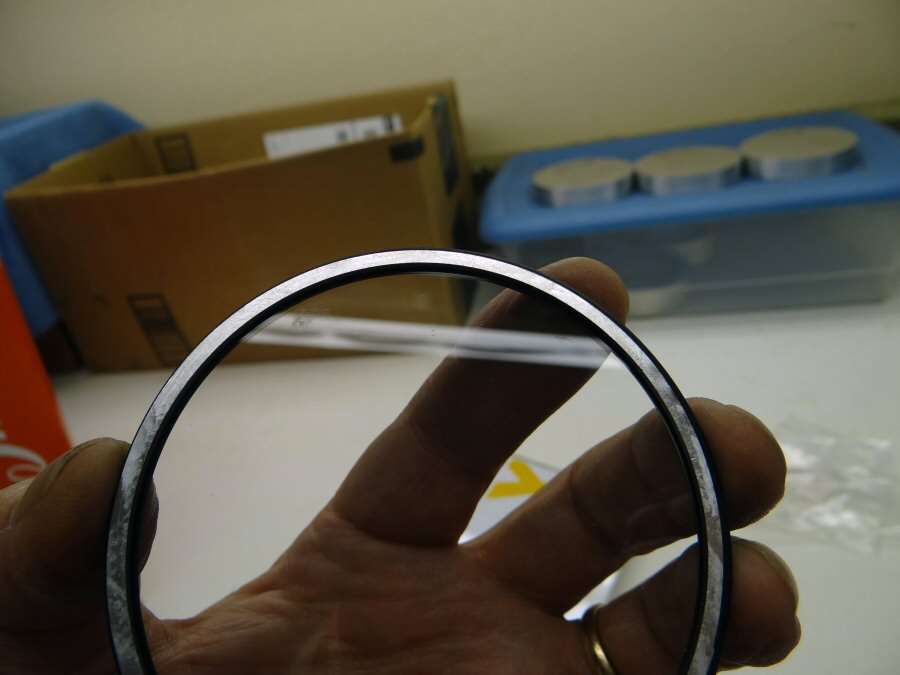
I did have to shave off some material from the camera filters/aka lenses. I wanted them to sit right on the reflectors and I shaved them down, so they had a good flat surface.
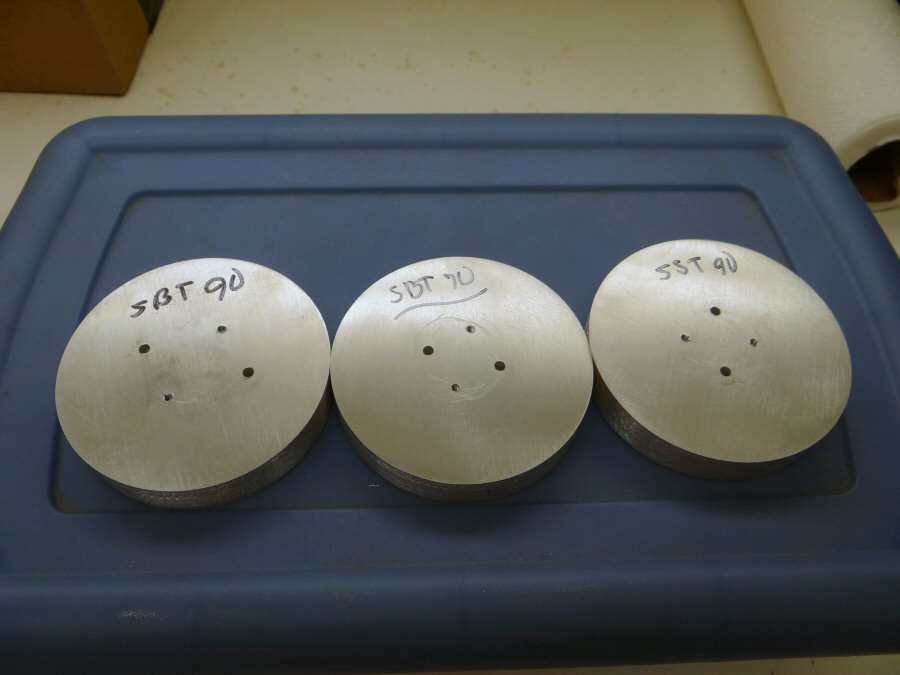
The heat sinks are drilled for wires and screws for the mcpcbs.
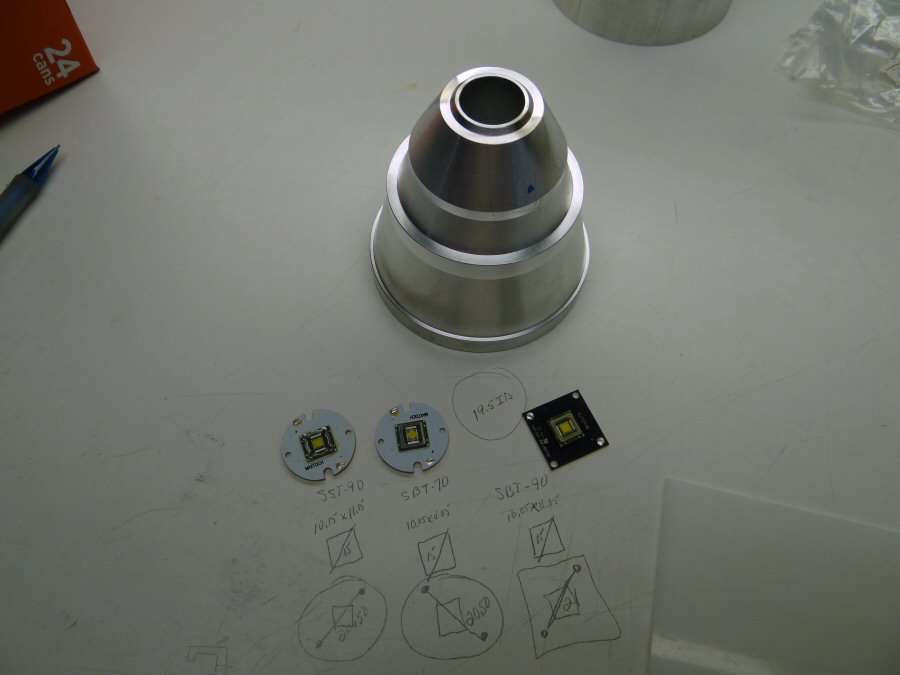
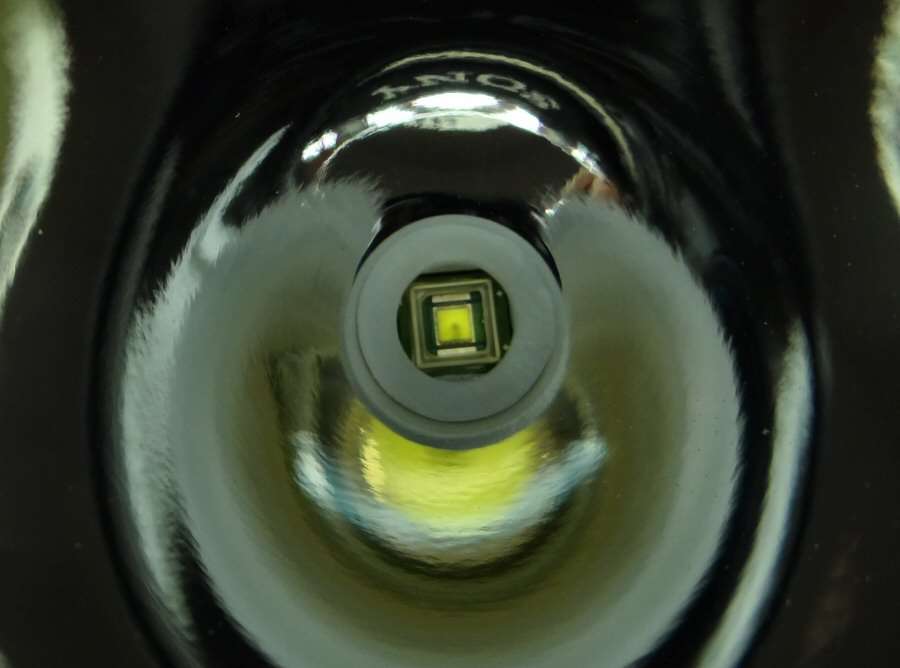
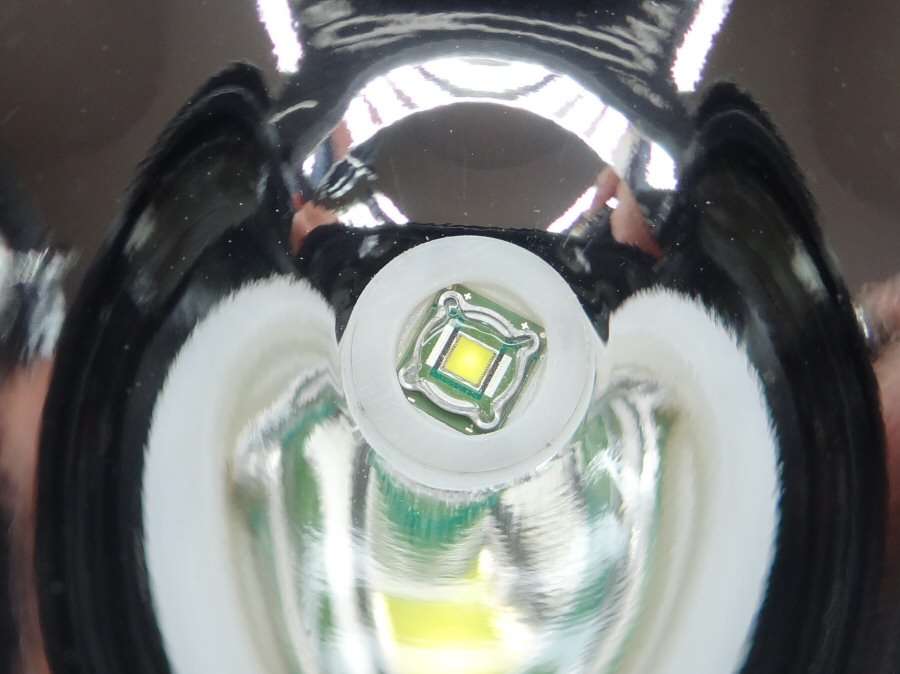
I put the SST-90 on a 26mm MT-G2 Maxtoch mcpcb and I took the dome off it. I also put the SBT-70 on another 26mm Maxtoch MT-G2 mcpcb and the SBT-90 came on a square copper mcpcb, so I will go ahead and use it as is. One problem is that these reflectors have a huge 19.5mm led hole in them, so I have to make custom locating rings. I hate making those things. Plastic is a pain to work on, compared to aluminum.
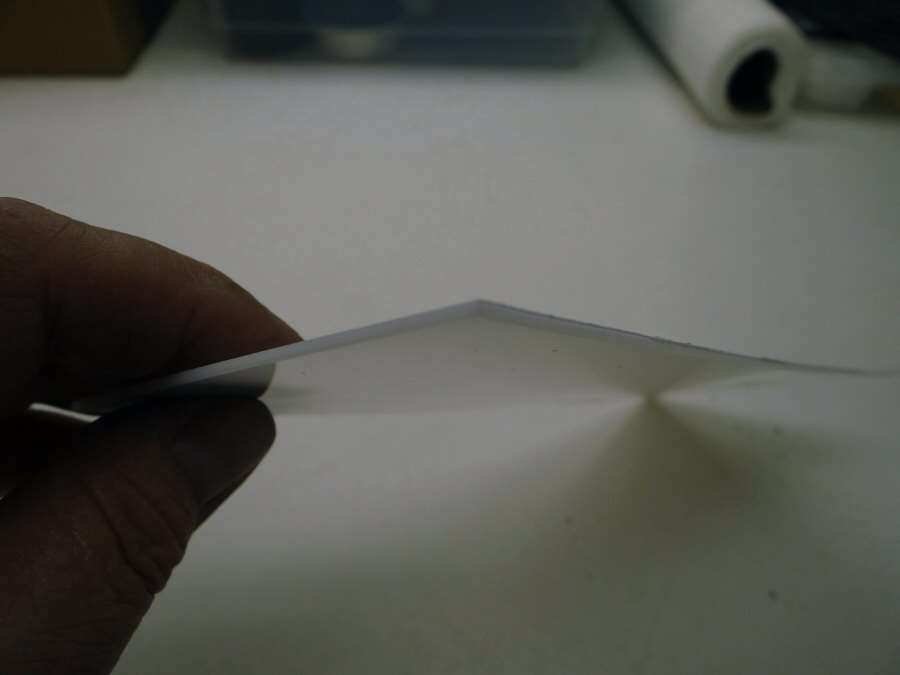
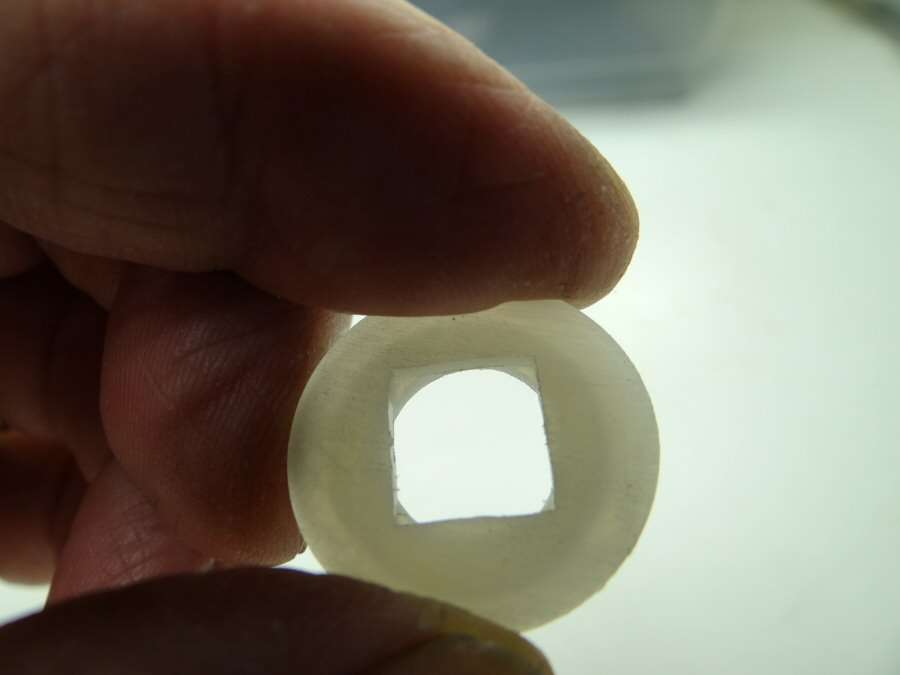
My first thought was to take some thin plastic and make the locating rings out of it. I took all those measurements that were written in the bench top and marked out what I wanted. I want a square hole to go around the led die and then I want a round step, so the reflector will self center on the ring. Well I got it all marked out...
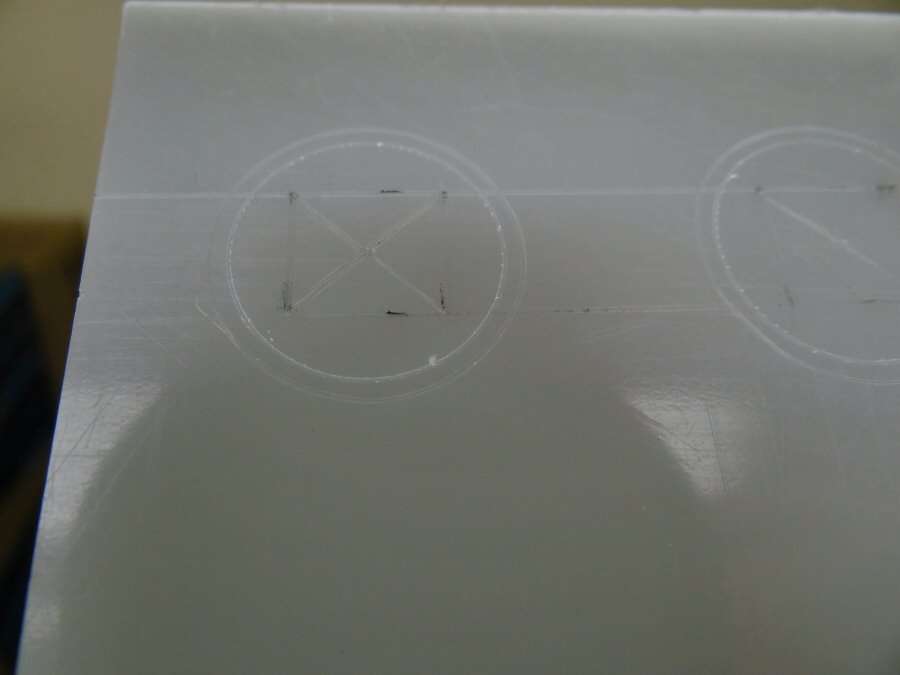
But trying to make them was just a waste of time. I need them to be accurate, but trying to do that while holding onto them and removing material is just a little much. Especially trying to cut a step. Anyhow, I gave up on that and I will probably just use plastic flat washers. I might be able to get them to fit.
That consumed my morning, so I will set it back aside till I get another morning to work with it.
Later...
----------------------------------------------------------------------
07/06/15 I managed to make some locator rings and I think they will work, after some sanding, to thin them down. At least I hope so.
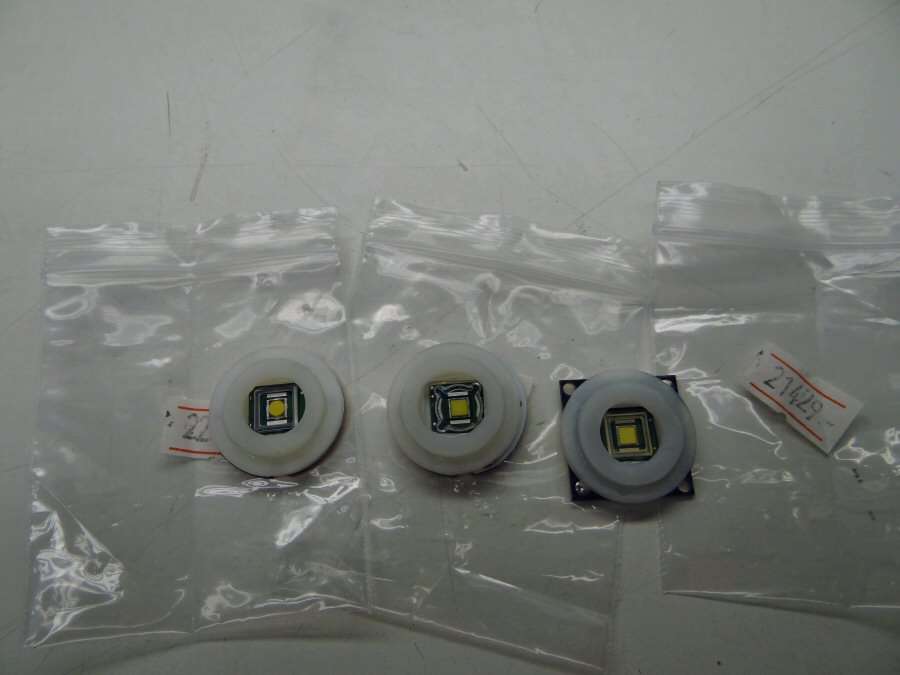
I used two different sized plastic washers. The larger diameter ones went for the bottoms and I cut square holes in them with a thick blade in my exacto knife. The smaller ones became the upper locators for the reflectors. I did have to open up the ID of them, to allow for fitting around the leds and I cut down the OD so they would slip in the reflector hole. Once that was done, I used epoxy to glue them together.
They are far from perfect, but they should work.
I will have to thin them down on both sides, but using sandpaper laid on the table top and sanding by rubbing the plastic washers over the sandpaper, takes material away fast, so it won't take much to get them thinned down. I think they will take care of the centering issues. I will also have to cut out for the wires and screws, but a round file will work for making those half round cuts in them.
That's it for now.
------------------------------------------------------------
08/25/2015 - It's been a long time and I want to finish these lights up.

I had Richard, (RMM, Mountain Electronics), make the drivers. What I wanted was to push at least 10 amps into each of the leds and I also wanted to do it with 2S/2P Li-ions. I kind of figured out that when going that high with amps, at least one of the leds would need to have a high enough voltage that 1S would not do it.
So, Richard did his thing and designed these drivers for this build.
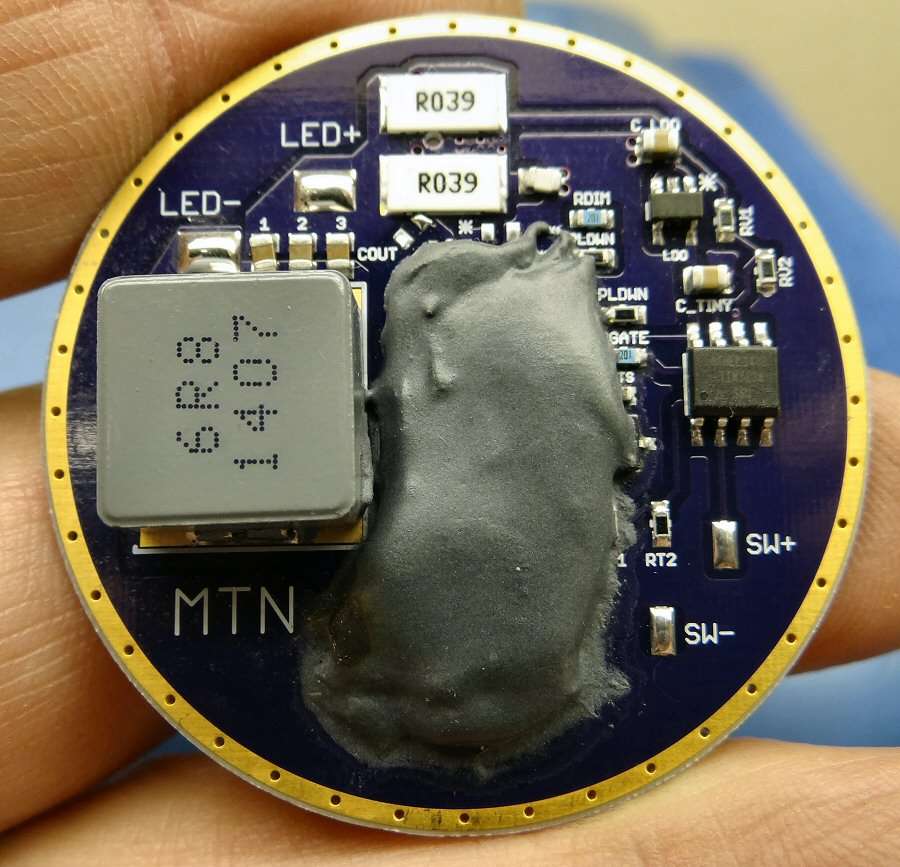
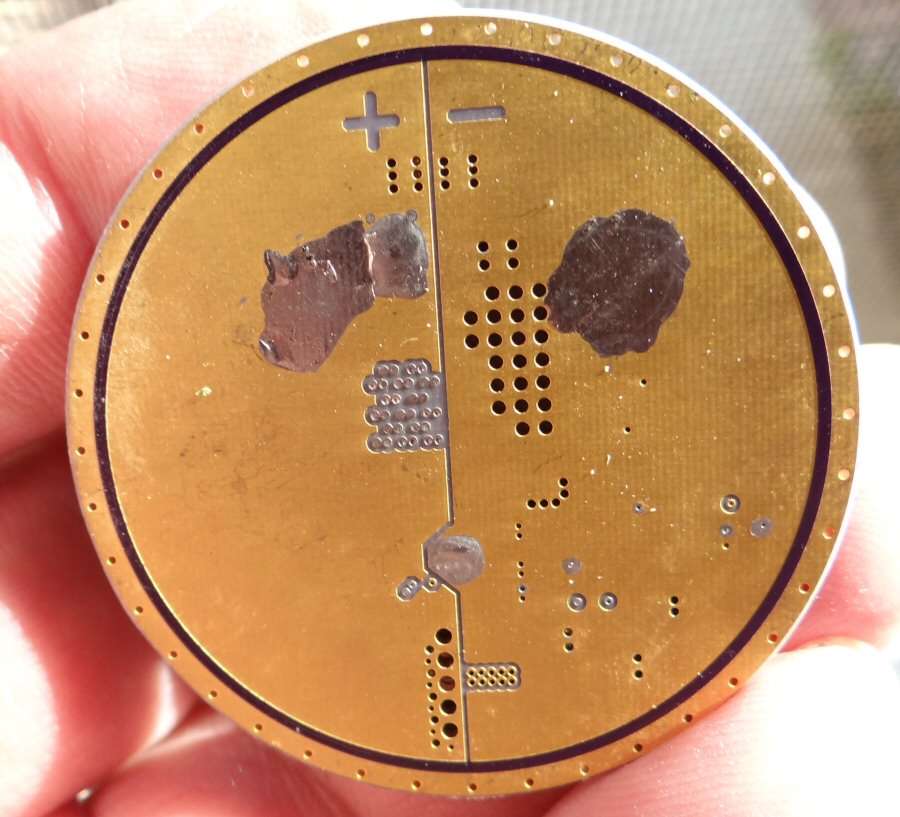
I sent him an email and told him to come and give all the stats on the drivers, instead of me telling you all the wrong info, which I would have, if I had tried to describe them. They are made to fit in the SRK heads and will use 2S/2P 18650 cells, for a little longer run time. Hopefully...
Other than that, I have beens checking everything out and making sure things will fit together. I have already found that I need to do some more fitting on the reflectors and I have been working on getting those plastic isolation rings ready. The reflectors are very thin at the led hole and I really can't get the washers that thin, or it will cause other issues, so I have gone as far as I can go and that will be that.
Many times, wanting to focus a led/reflector and being able to it, due to space constraints or design issues, means that focus is not achieved as one would like it to be. Just having everything go together and not short out, or damage the reflector/led, is sometimes, the best you can ask for. It's the difference between modding with what you have and manufacturing with all kinds of design options and materials at hand.
More when I get more. I hope to get these out this week and have some 5 meter, 10 meter and 20 meter lux readings for you.
----------------------------------------------------------------------------------------
08/27/15
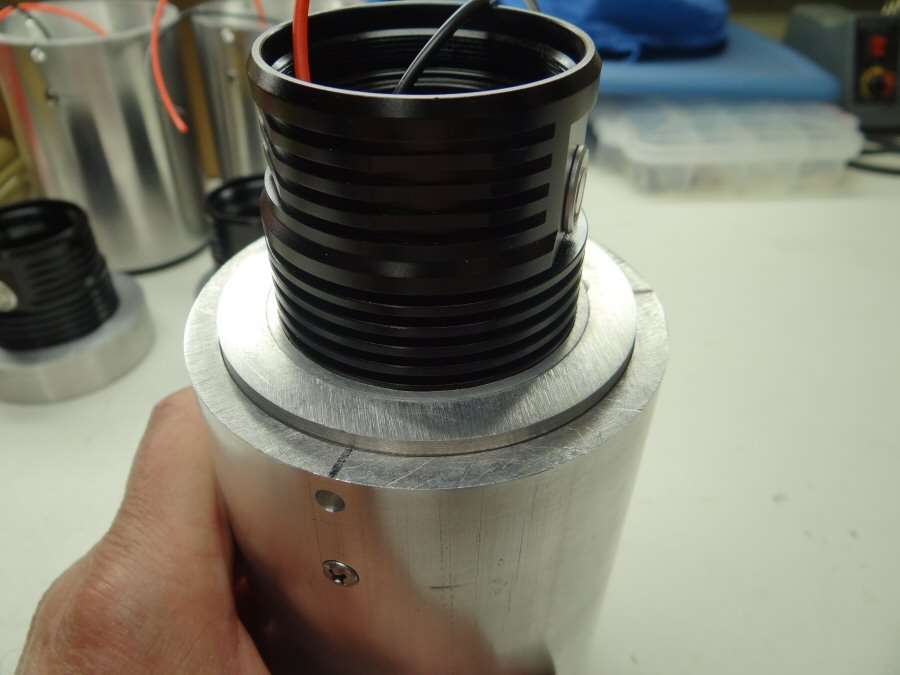
Well, I managed to get the leds on the heat sinks and get the heat sinks into the heads.
The isolators are as good as it's going to get. Time will tell if the reflectors are anywhere focused or not. No more room to play with.
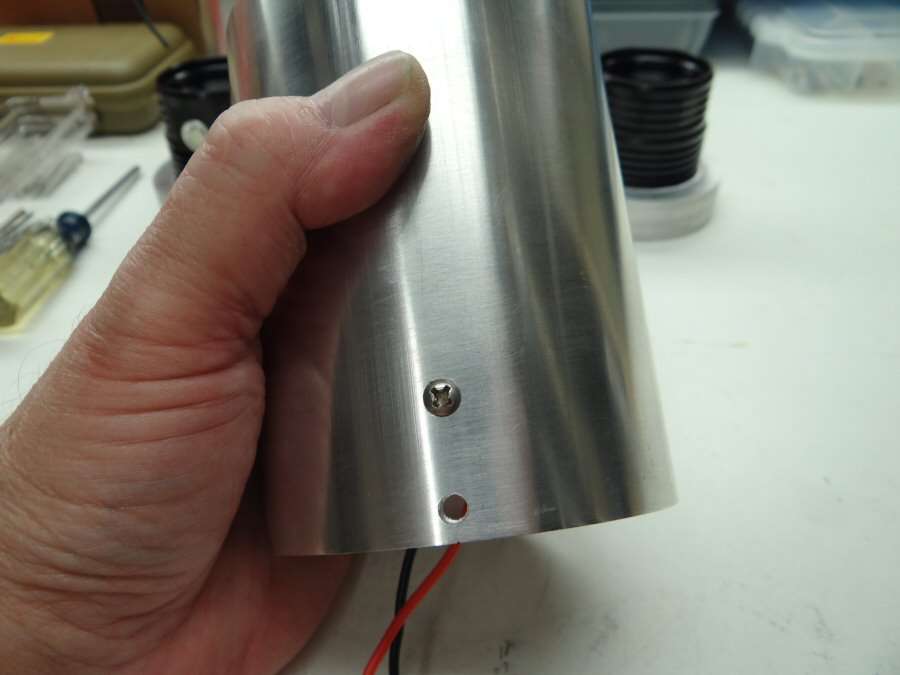
I am using Stainless screws to hold things together. I like the stainless look and they don't discolor as easily as regular plated screws.
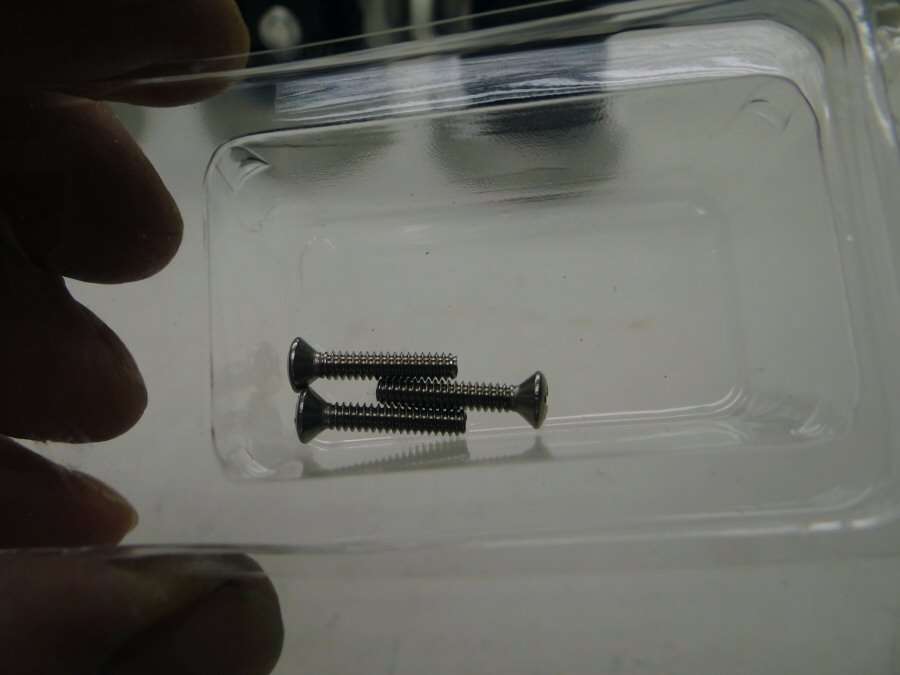
These are right out of Lowe's. 6-32 and I used a countersink, so the tapered head fits fairly flush.
Next thing will be to attach the back spacer with the SRK head in it. Screws will go through so they go into everything including the SRK heads. After that, it will be time to put drivers in and start on the tail ends.
---------------------------------------------------------------------------------------------------
08/30/15
Well, they are finished.
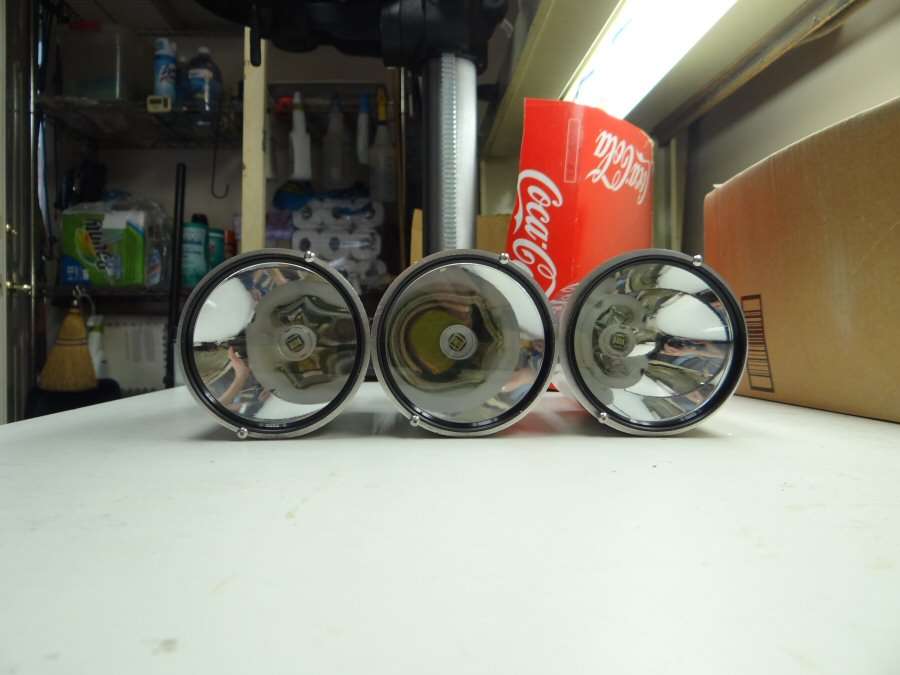
I am going to predict that all three are not focused correctly and that all three have rings in the beam that are not acceptable, as well as oval looking beams, that I just don't get, because they are very well centered.. I am also going to predict that most likely, it's not worth doing the beam shots, to measure lux, but I will anyhow. It won't mean anything except that unfocused leds don't make good throwers, but maybe that's enough. so other folks don't repeat the same mistakes.
I do believe that if the leds could be put on a mcpcb larger than 26mm, like a 35mm mcpcb, there would be enough clearance for wires, so that the reflectors could be sunk down farther and focus them better. Can't do it with the Maxtoch mcpcbs, just because the reflector is so big at the led end. Probably could have made custom copper spacers, to raise the leds, but I just don't want to do that. Lots of time and patience and I have absolutely no patience at all, for anything, since quitting smoking. That's why I want to get all this crap outtahere. I do not have enough patience to do this any more.
Anyhow, it is what it is. Lux numbers maybe tonight.