Pill depth on my CuTi is 10.4m w a .4mm bezel gap
Pill depth on my Silver TS10 is also 10.4mm, w a .2mm bezel gap
(disclaimer, my measuring technique is by hand, and my digital caliper cost less than $4… Trust but Verify)
I think the difference in bezel gap might be caused by the lack of anodising on the CuTi
Did you measure the bezel? Anodizing is extremely thin. It is more likely machining difference in the bezel or threading or other part. If you have ever scraped off anodizing you may notice how thin it is.
fwiw, on my BeadBlast TiTS10 the bezel gap was quite large, but then I realized the bezel was loose, and when I tightened it down, firmly, I was able to make the gap much smaller.
That is why I suspect the bezel gap could be related to the amount of thermal paste, and also to how tightly the bezel is screwed down.
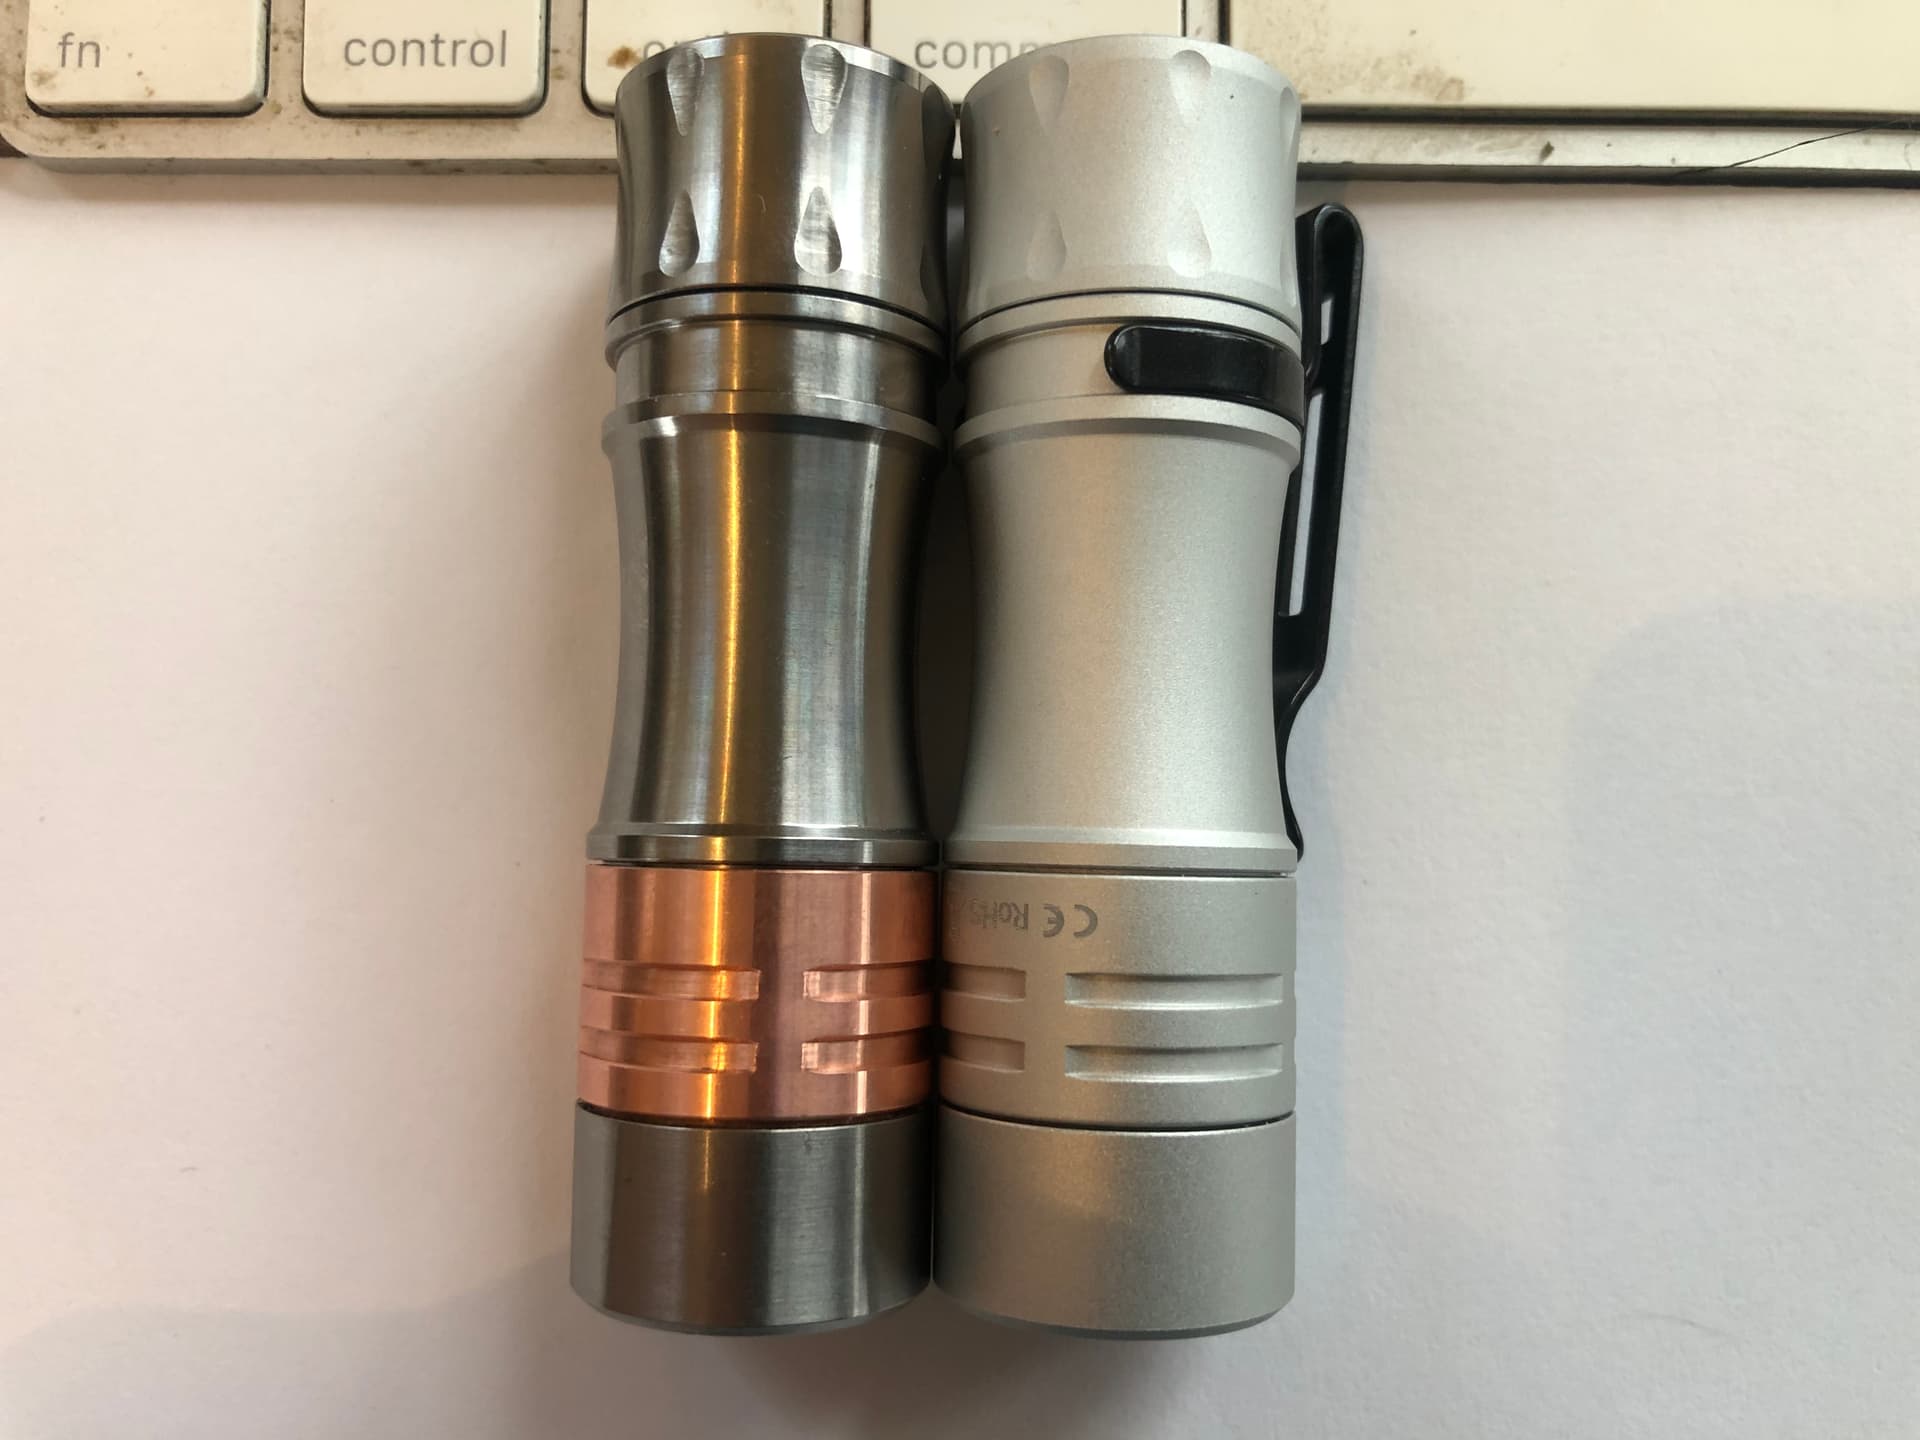
In any case, I dont find the bezel gap on my CuTi to be a big concern, even though I agree it is slightly wider than on my Aluminium TS10, shown in the photo.
yes I did measure the bezels, given my limited tools and technique, I could detect no difference from the Ti to the Aluminum… The OAL length of the lights are also identical…
whatever the reasons… Im not too bothered about the gap
Thanks for sharing your measurements, congrats on the gap reduction
the mcpcb was reduced 0.3mm but the gap was only reduced by 0.14mm… maybe the gap was actually 0.16 larger than 0.4mm?
anyway Im glad you are happy w the result
wondering if you verified that the legs do not stick out through the bottom of the mcpcb? Or did you trim the end of the legs also? (I dont mean the shelf on the leg, Im only asking about the ends)
It would be nice if Sofirn (manufacturer of Wurkkos lights) was to increase the depth of the shelf that the mcpcb sits on… While still retaining pressure from the Optic against the mcpcb.
I included some photos at the end of the video where one shows the feet not quite sticking out.
The feet are shorter than the MCPCB, even after I reduced the thickness. I didn’t shorten the TIR optic or the feet.
I should’ve taken a measurement before adjusting it. I used a cheap plastic caliper to arrive at 0.8mm as a rough guess.
The shelf depth isn’t consistent and the gap varies from 0.26mm to 0.3mm. The Mitutoyo caliper is ±0.02mm. I could be measuring incorrectly too.
I enjoyed the issue/challenge. It’s an excuse to try to measure very small things. I should’ve worn a half face respirator instead of a P2 mask though. Safety first…
It’s a bit better. I could’ve kept going but I didn’t want to sand too much off and end up with nothing holding the TIR optic down.
You mention in the video that you have a concern with water intrusion with the larger gap. I put my CuTi in a container and covered it in about 6 inches (15 cm) of water with some dishwashing liquid added. The soap, if anything, makes water “wetter” so in theory if the light had any leaks it would make it easier to detect. I wanted to clean and degrease it prior to polishing and coating. I left it for about 40 minutes. I agitated it every few minutes. There was no sign of water ingress. While that does not make it a diving light, it tells me that the seal is not compromised (within the limits of the test) due to the observed gap.
I guess it comes down to whether the gap bothers one from the esthetics perspective. For me, it is not worth the effort to reduce it.
OTH, It would have been nice if Wurrkos had done the work to reduce or eliminate the gap.
I’d like to share my thoughts on the gap between the bezel and the copper head:
Functionality doesn’t seem to be affected. Here’s why:
a) The bezel appears to be tightly screwed in; the light heats up quickly on turbo, indicating good thermal contact. If it were not screwed in all the way, heat dissipation from the MCPCB to the copper might be compromised, but fortunately, this doesn’t seem to be the case here.
b) Members have noted and tested that water ingress does not appear to be compromised.
However, I consider the gap a significant cosmetic issue for the following reasons:
a) It caught my attention immediately upon receiving the light. It is NOT something you have to actively look for to notice.
b) The gap is 2~3 times larger than the usual gaps in TS10 lights.
c) I haven’t noticed such a large gap in other lights I own.
This suggests that manufacturers typically manage the size of the gap quite effectively, but Wurkkos missed it this time.
In sum, I appreciate the light and find enjoyment in using it despite the presence of this gap. Nevertheless, I do wish it wasn’t there.
I tend to agree. The first thing I noticed was the big gap under the bezel. I figured I’d tighten it later but perhaps not. It’s bothersome, not a functional issue, but cosmetically irritating. I still like and enjoy the light. Just a point that is bothersome sometimes.
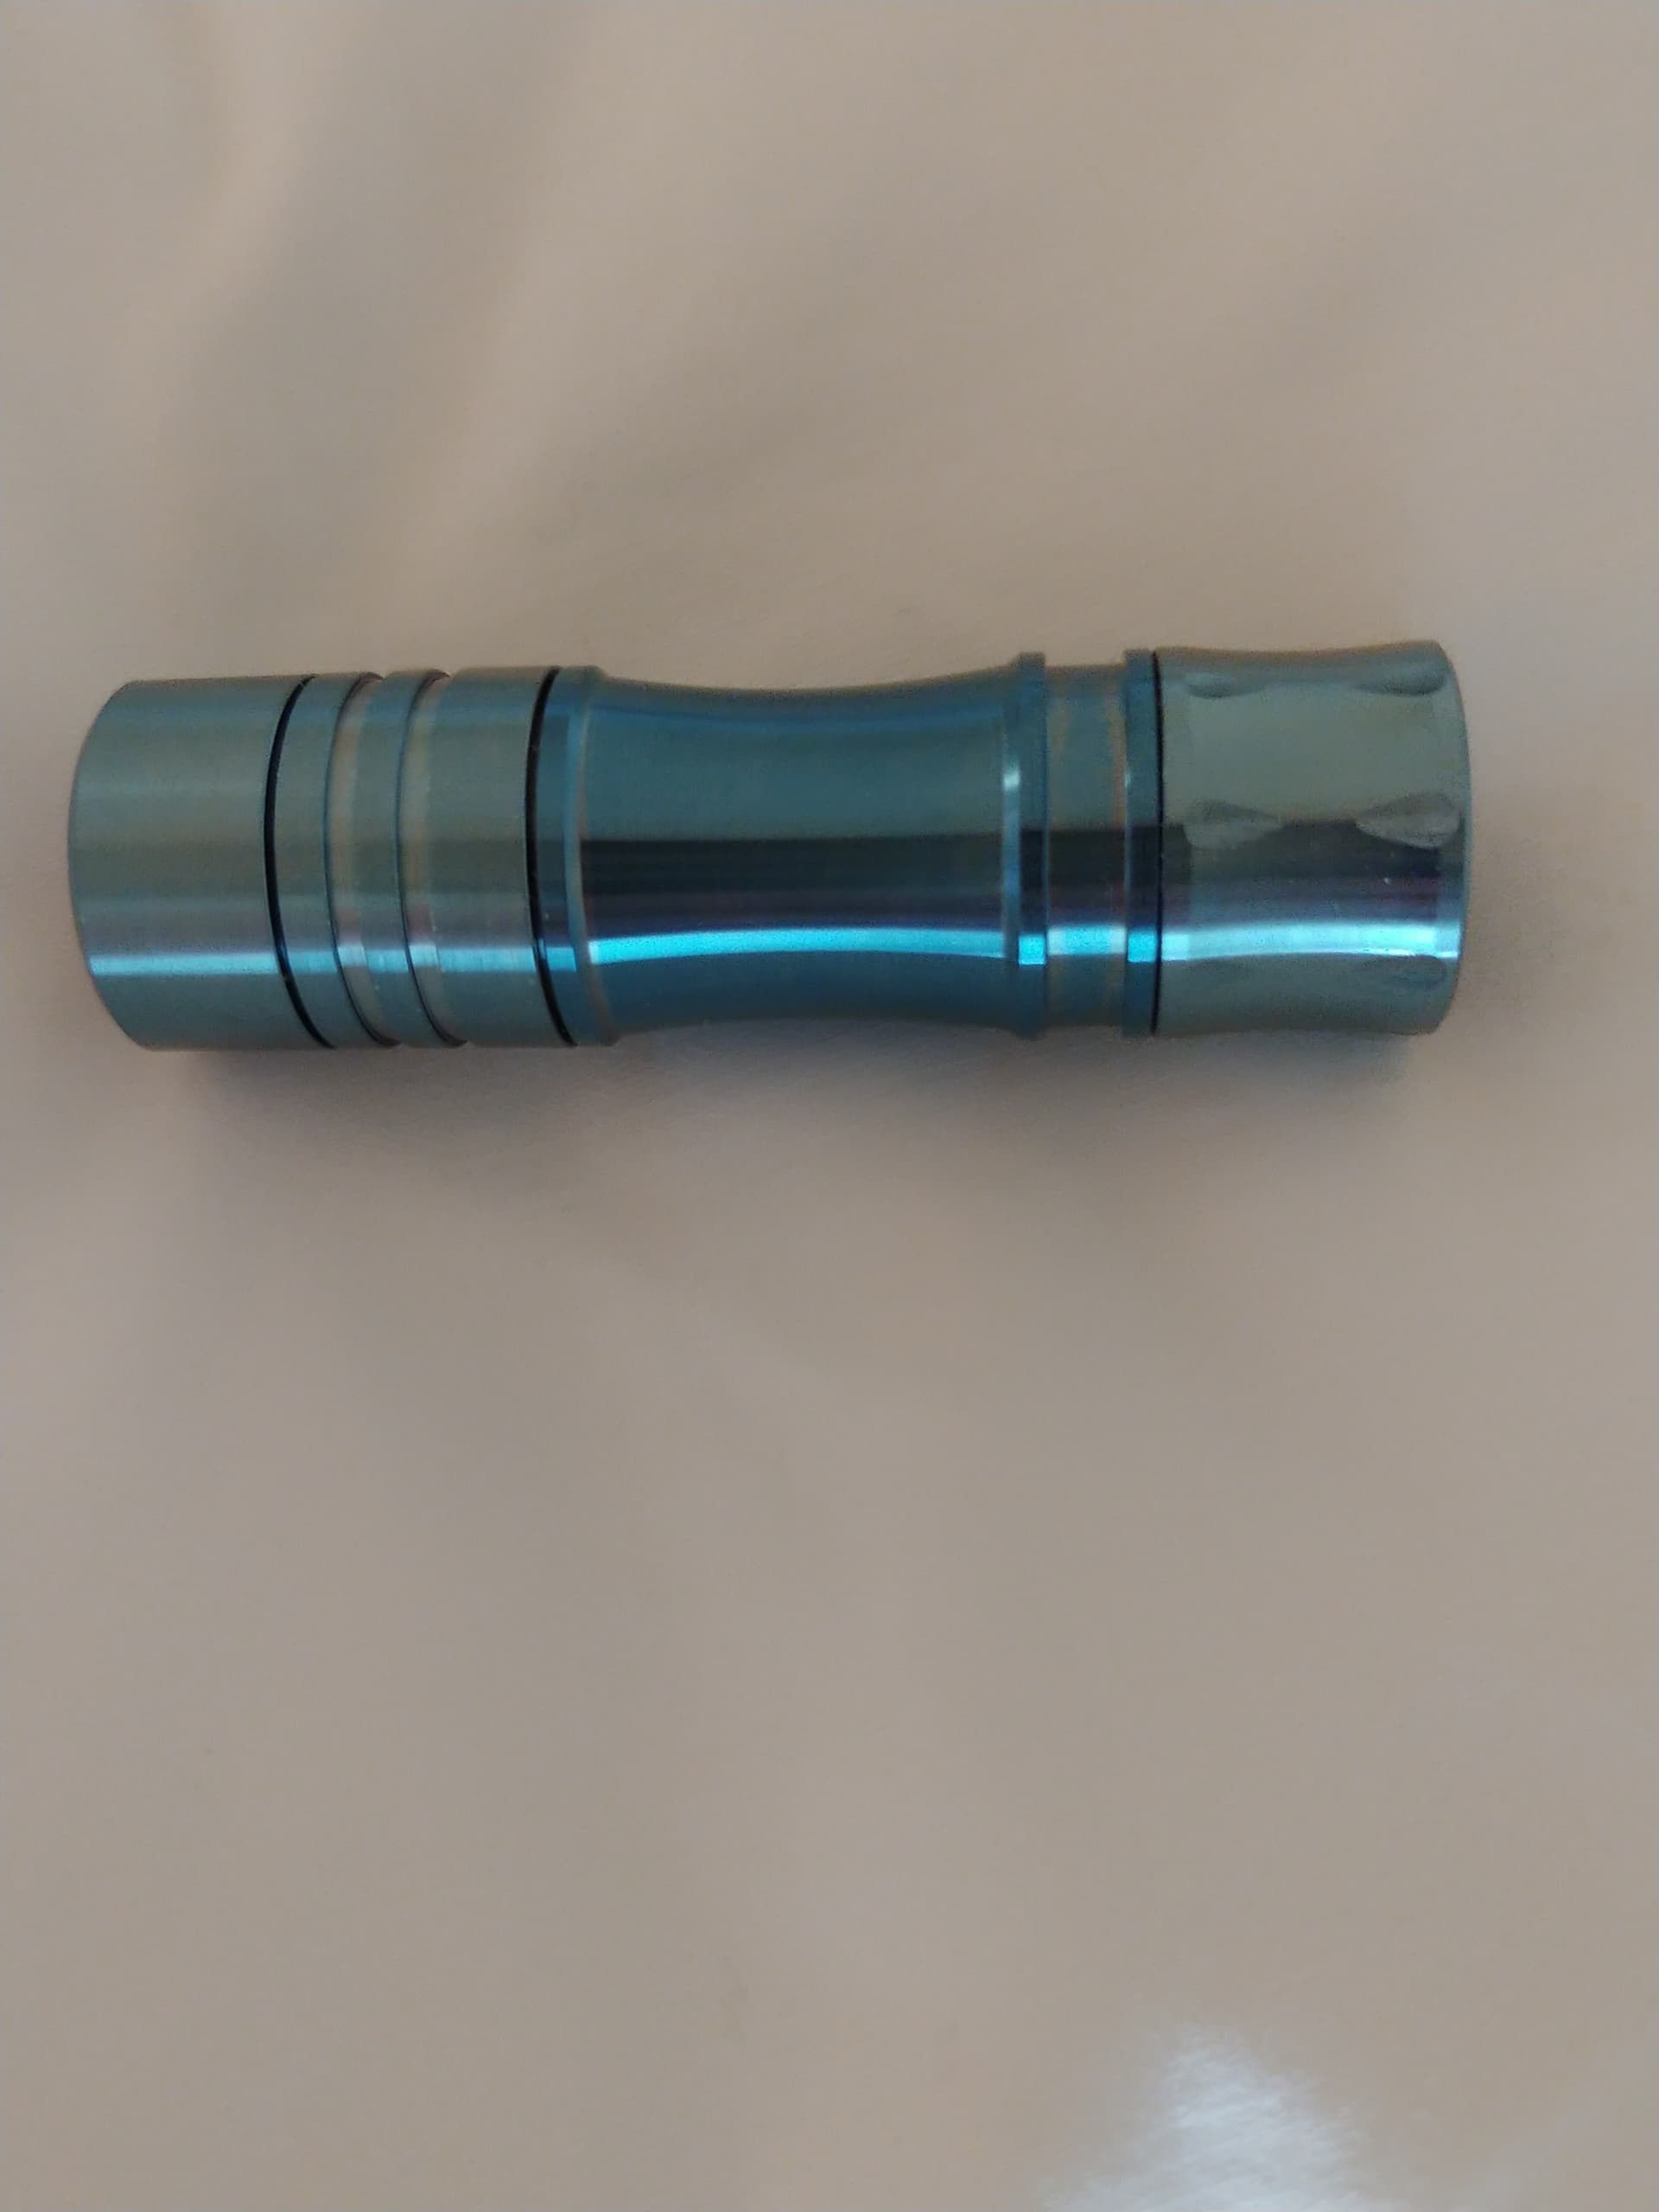
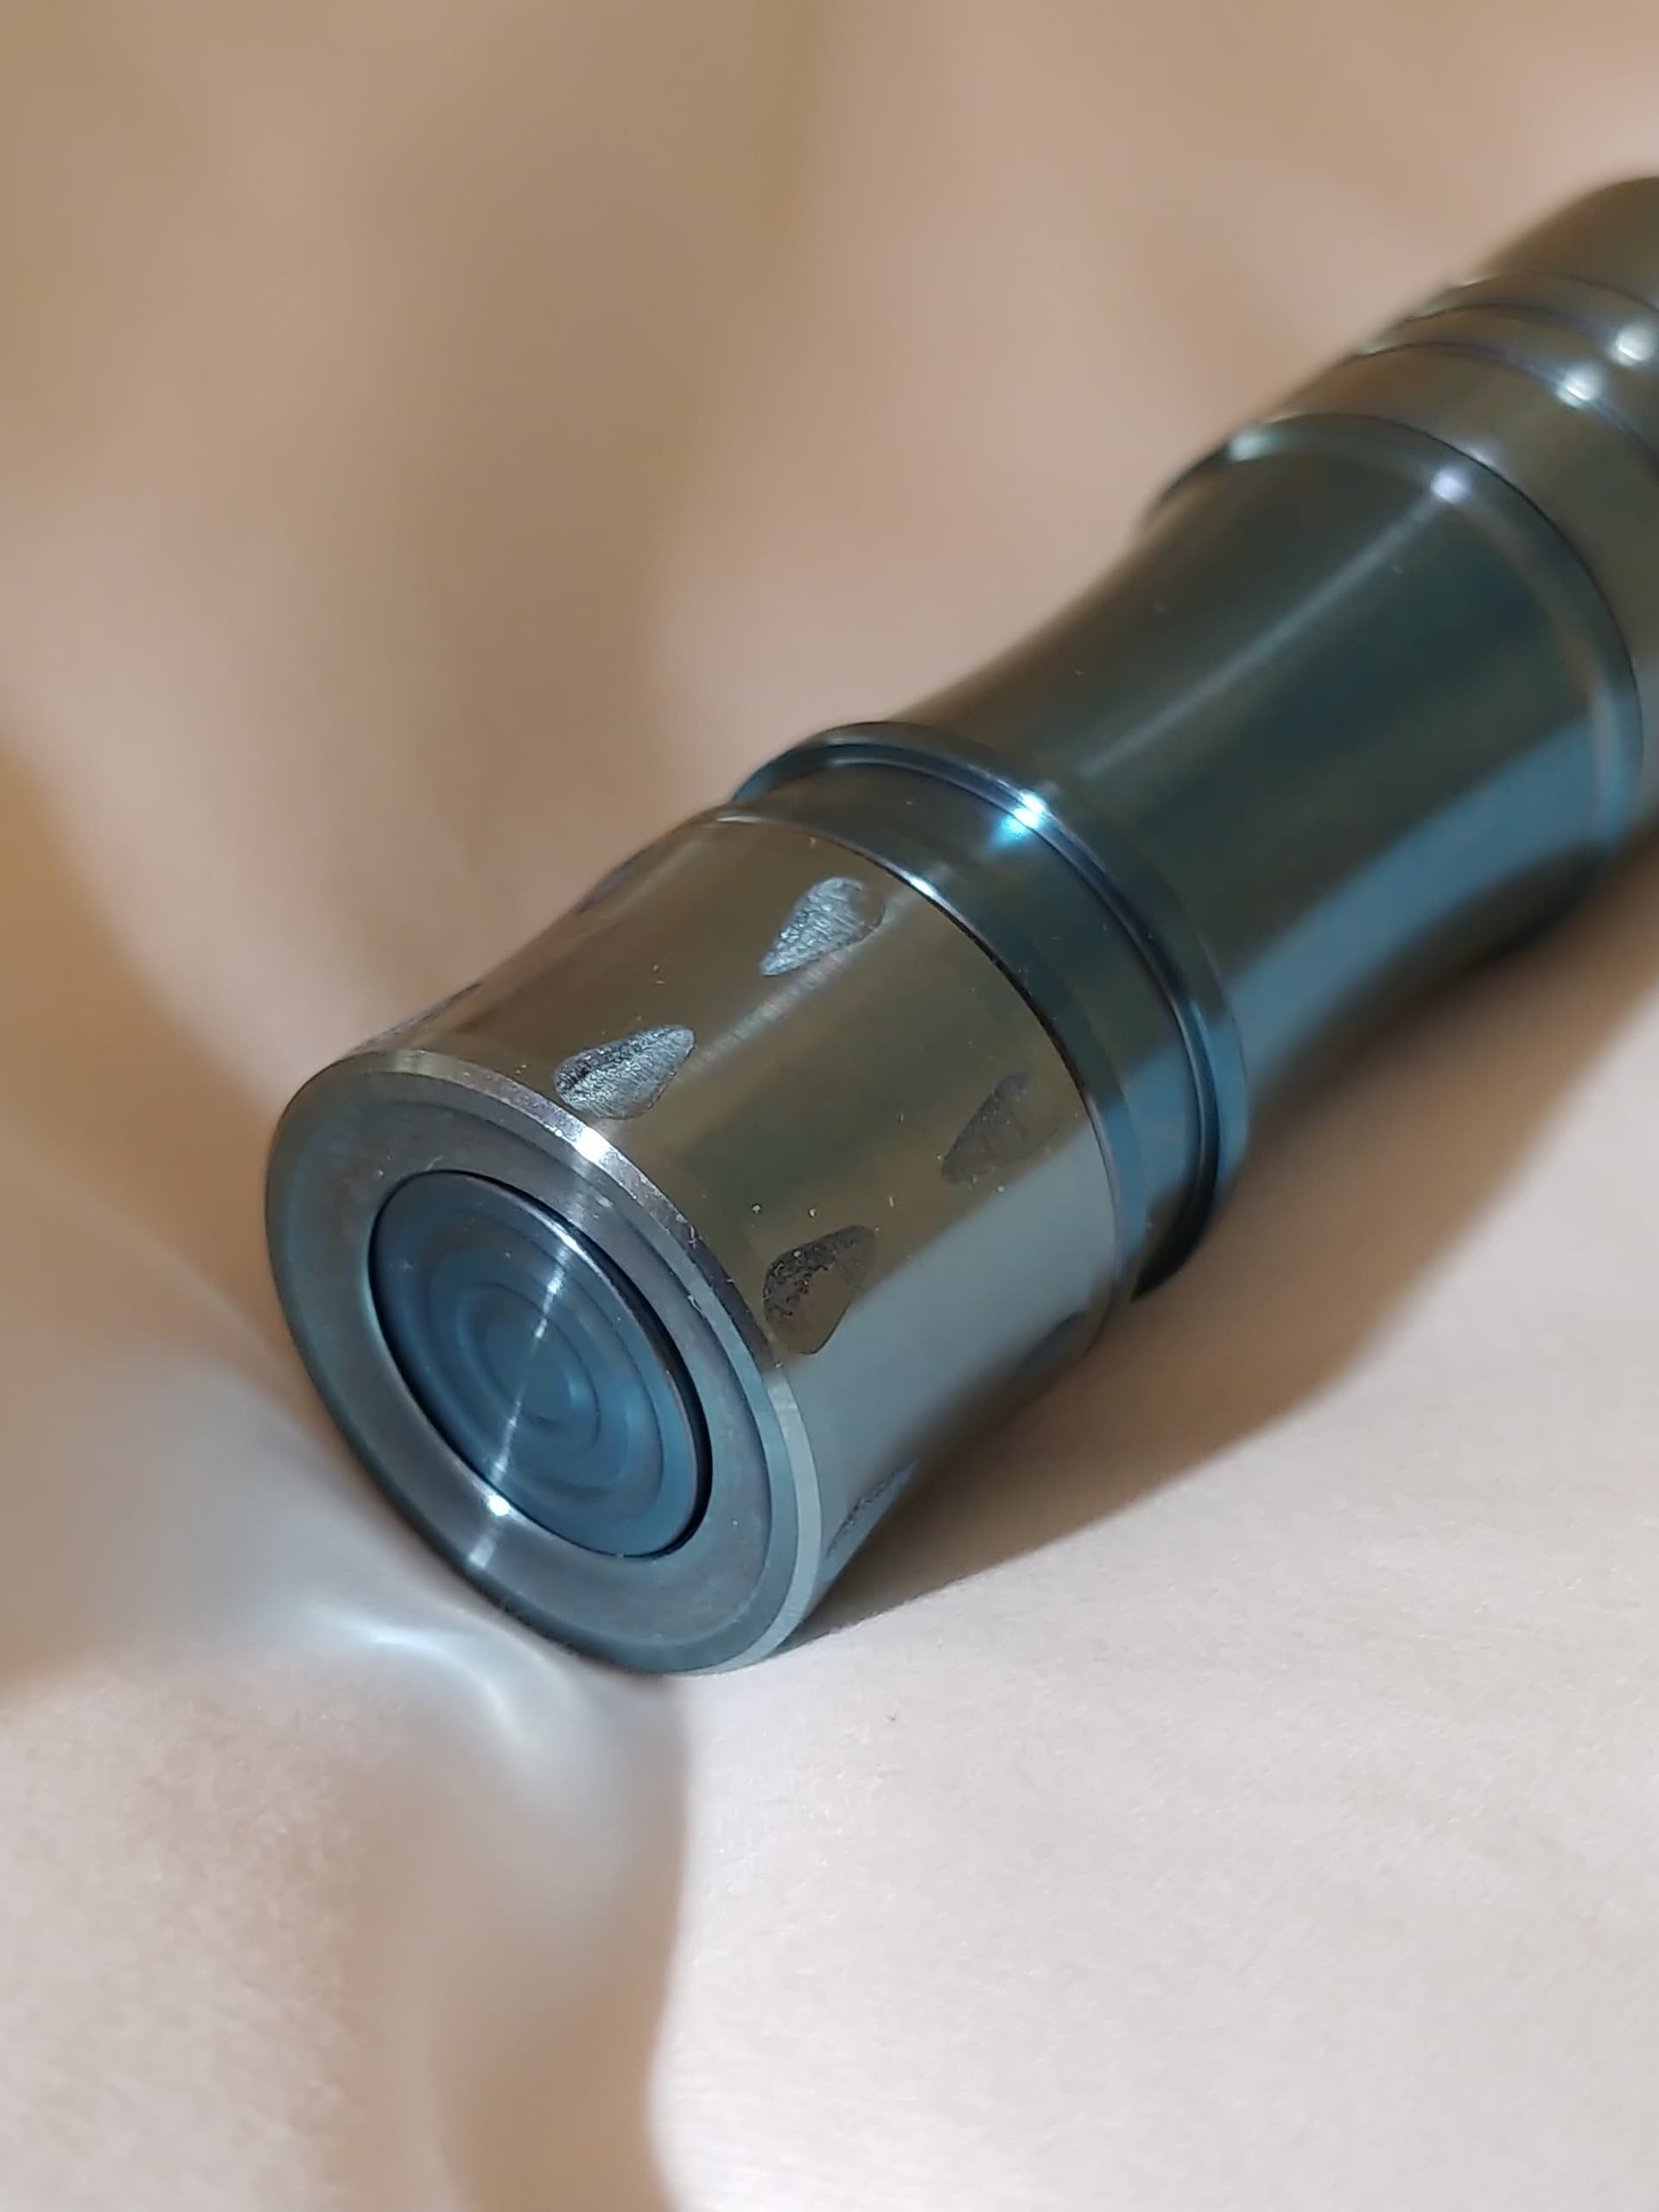
Can’t say I’m thrilled with the blue titanium. There is a fairly significant color difference between the ends and the body. I noticed some slight difference in the photos in this thread, but none this pronounced. The switch is also very sloppy and the tends to bind. You can see in the photo that the edge of the metal button gets stuck under the edge of the opening. My tail end doesn’t open to be able to try and clean it. I guess I’ll try and exchange it.
If you get a refund, you could polish away the blue anodizing.
Also for the tailcaps, I have found that thick leather (scratched up to increase surface area) and vice grips can open almost every flashlight, regardless of glue.
Also, it’s easiest to open wurkkos/sofirn when new, as the glue hasn’t had time to fully harden.
Wow. I ended up with two of them. Honestly I never looked real closely even though I cleaned them and applied an SiO2 coating.
I just rechecked. One of them matches very closely in color. Though there are slight variations along the tube where the tool position changed during mach9ning. Nothing that makes me want to get rid of it though. The other one, the head is definitely slightly different…darker . Like the tube on yours. But even at that, the difference is not as stark as what your photos show.
From what I understand the process for anodizing Ti is a bit finicky. It is pretty much about how long the process goes on as to what the coloring is. I would guess that they did the parts in batches and they all did not come out identically. It looks like their process control is not adequate. It is a shame yours did not get closely matching parts. OTH, I kind of like the way it looks. People do all kind of LEGO stuff to get similar effects. Maybe a selling point…No two are identical…
My switches are both just fine. I would check on getting a replacement based on the switch problem. But I wonder about the color matching. It may be similar to the tint lottery in LEDs. I wonder if they even have any available to do a replacement at this point?
I don’t really like the color mismatch. I understand that the blue anodizing/oxidizing process is imperfect, but didn’t expect this much of a difference. The button issue is the bigger problem, and Wurkkos customer service is resolving my issues. Great company! I own many Wurkkos lights and their quality and customer service has been excellent.