The 10440 is defenitely progress, and now for the better led!!
Stripping the Anod. went well! I got some nasty stuff. The reaction was impressive. It has taken 10-20sec/part. I used Nitril Gloves and a small Plastik Brush to help removing the Anod… I worked on every part separately. No further polishing or anything else than cleaning up and reassembling. Maybee i will polish it up further in the future. But for now i am happy with the result!


Well done! That brushing seemed to work well for you, the result is way smoother than how I did it! ![]()
That’s very nice…may I ask what “nasty stuff” you used?
I used ~0,4l warm (30-40°c) water. And put about half a coup of Mellerud Pipe free (Sodium hydroxide) in it. But there are metal parts mixed in. I take them out. I think they put the metal flakes in to protect the pipes so the flakes can dissolve and not the pipe. But i wanted a strong reaction so by by flakes. But be careful and wear glasses and gloves! After 10-20sec the anod. goes away and the aluminium beginns to bubble. Then it gets very fast hot (chemical reaction). At that point i scrub fast but gentle with a plastic brush and then put the part quick in cold clean water. I do not want the reaction going on for more than a few seconds after it began to bubble. If it is bubbleing to long the aluminium will get eaten away fast and the surface gets more and more bumpy. It is the same problem when i etch pcbs. Some people say you get a better result if you take a less aggressive solution and more time. Some (and i) think they get better results with a strong solution and less time (but you must be much more carefull and observant). And fresh air is also a must because of the fumes.
I almost forgot to say that you should clean the light before the treatment to get a even spotless result.

Shortened the wires of my Olight universal USB charger :

Now it fits in my juicebox :

I put something different in mine, which produced more throw and a rather nice beam:

They eventually took some damage resulting from the MCPCB not having good thermal paths, which I think got worse during reflow. Next time around, it’s getting 319As for a bit less throw, but I need to find suitable MCPCBs to use first.
The 319A is a standard 3535 XP footprint. You can use any XP star you desire or it should work fine on the stock mcpcb from the looks of it, assuming that the stock mcpcb is DTP of course. If not then you will need to swap to 16mm mcpcb’s.
I use the 16mm mcpcb’s from simons store now days, they are DTP and cheap.
The stock MCPCB isn’t DTP and it noticeably delaminated when I reflowed the 319As on to it. I think a couple of the thermal pads delaminated when I reflowed the 219Cs the first time. One of the 219Cs became very dim and cool white and looks like the dome has partially separated from the phosphor.
Ah, yeah if it is not a DTP then the LED’s will die in a big hurry that is for sure.
Time to swap in some 16mm DTP copper stars.
Sadly… after reopening from the Chinese New Year, I don’t think the MCPCBs ever made it back into Simon’s store. I wonder if J-Dub could get Simon to bring those back.
TK75 2015
Swapped emitters to dodomed XM-L2 U4 1As

Before Dedome

After dedome

I bought this headlight a while back. It’s cheap, in every sense of the word. The battery tube is too short and wouldn’t take protected batteries. The beam was awfully ringy, came with one of those LatticeBright Cree knock offs with it’s hideous purple tint… totally pointless light.
So I reused some spare parts, and put an XM-L2 U2 emitter, OP reflector, 22AWG wires, Njang driver, and finally modded the cap to fit longer batteries and drilled a hole to fit a reverse clicky.

This one is a perfect example of polishing a turd, but at least now it’s usable
The piano wire I ordered finally arrived. As well as the tiny SS screws that came from the UK.
I have never worked with piano wire before and really should get a jig or something so I can make straighter bends. But at least I got it 90% of the way to where I want it. I planned for it to be longer but I kinda like how the length is.
The clip on style pocket clips have been driving me nuts. I didn’t like the Astrolux clip from day one and tried sanding and bending the Convoy S2 clip into something tolerable. I still missed my old Ultrafire F40B clip that didn’t destroy my jeans like the new ones do. So far I am really liking how this is working. I just want to make another one so its a little more even.
Modded Nitecore MT40GT- Here is a review from member Realista REVIEW: Nitecore MT40GT (XP-L Hi V3 , 2x18650)
I De-domed XHP35HD-1A, used a Mtn Max 22mm 4S Buck driver set at 3amps, 4 Efest 18350 Flat tops, 26mm Maxtoch XP board, modified the shelf to accept the board. Very nice tint, and very nice small reflector, Big Beam thrower! ![]()


I like it!! ![]() :+1:
:+1:

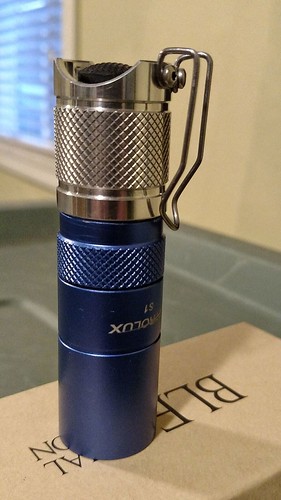
Stripped the anno off of my astrolux s1 and polished it.Then made it into a triple led light.
S2+ spacer from mtn electronics worked great for it.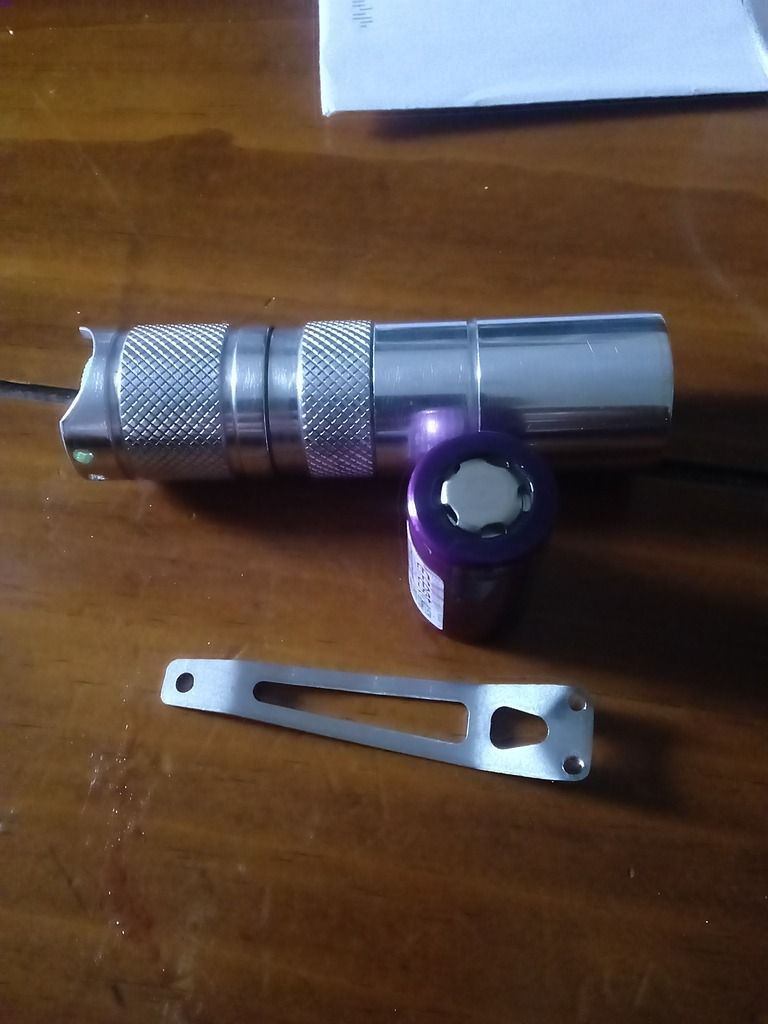
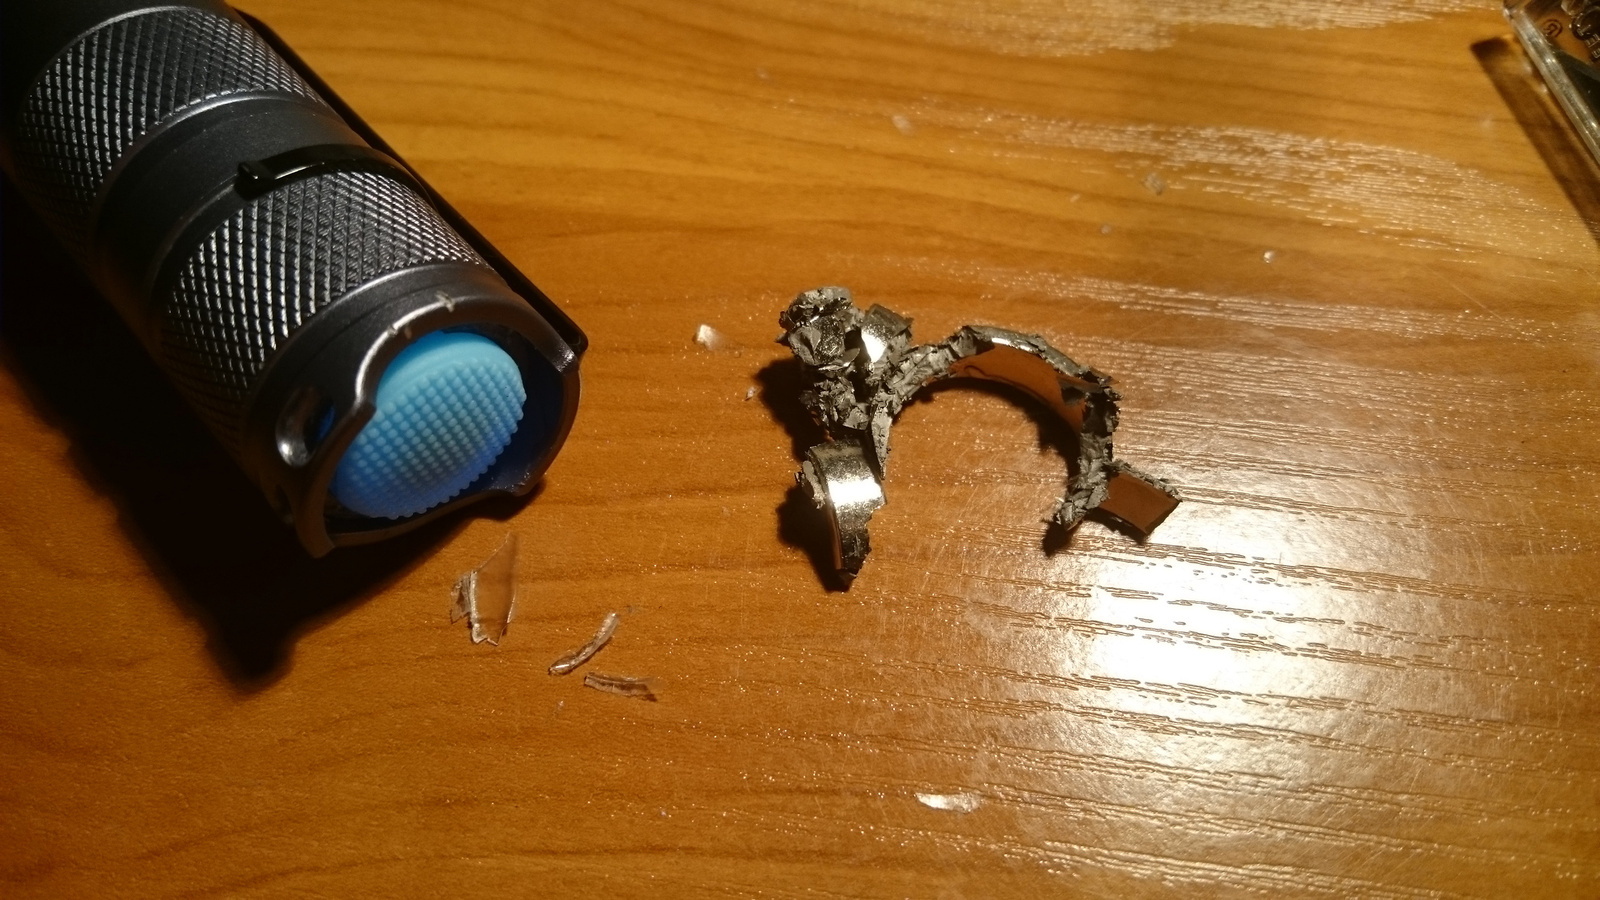
Today I removed the ring magnet from my S2+ because it was hard to push the button with my thumb. Then skrink tubed two magnets to the belt clip.

After that I replaced the BLFA17DD driver with Texas Avenger in the Jaxman E2L triple, and played a little with S2+ parts and snack packaging.


Wow! You really had to work on that magnet! ![]()
Sure. When I put it in it was already a tight fit and needed hammering through a wood block and I added instant glue between the tailcap and magnet. I like to oversize fittings a little bit. To remove I needed a plier, a wise and a torx bit. I destroyed the edge. Then I can not grip the magnet. After that I put the tailcap in the wise with the small torw bit pushing the magnet through lanyard hole and I won!