Emitter and optic swap on a Sofirn SC18. No pics, but a few things to note for others:
- Lots of glue on the bezel. There are two flats on the head where you could carefully put it in a vise. I used parallel pliers on the flats and a strap wrench on the bezel. Oh, and I think heating it is a must. I use a heat gun.
- This light basically uses S2+ optics you can get from the Convoy store. The stock optic is slightly shorter by about 1-2mm, but the diameter is perfect and it has the same lip for the O-ring. You could sand down the base of the Convoy optic but it does throw off the focus a little (may not matter if you’re going for a floody beam). I chose to use a 10 degree, clear optic and didn’t sand the base. There’s a slight gap where the bezel doesn’t screw down all the way but it looks fine and doesn’t affect anything.
The stock led is a larger footprint than 3535. If you want to use a different 17mm MCPCB you’ll need to notch it out so it doesn’t sit on the USB port cover’s “nubbin.”
All-in with a battery it came out to I think about $15 on sale, which is a fantastic deal for what you get, e.g. great UI, USB C charging. Emitter swaps are easy enough and the wide range of optics is a plus. I think it’s a great beginner’s modding light for e-switch lights. One downside is there’s no short tube option since it’s a unibody (only the tail cap is removable).
Converted a $2 power tool holster into a flashlight quick release. The mounting ‘nub’ was too wide so I clipped it down, and then I shortened the velcro strap and sealed the end off with a lighter. Really simple ‘mod’ but I am really liking it so far. Only thing is the clip itself is smooth plastic so it may still slip off if you’re moving quick.
I built Convoy L6 with XHP70.3 Hi 5000K 90cri. For a driver I built theFreeman’s BST24. It drives the led at~12V 7A translating to about 6800 OTF lumens. I’m very happy with the outcome.
Back of the driver
MCPCB converted to 12V.Centering gasket thinned.
Low mode
Control photo 1
Beamshot 1
Control photo 2
Beamshot 2
Top of the ramp is 12V 3A and at outdoors near 0 Celsius this seems to sustain it.
I swapped out the 4000K XM-L2 LED in my Sunwayman D40A with a 4000K 519A.
Pretty straightforward with one minor tweak. I needed to use different MCPCB screws since the stock screw heads weren’t wide to secure the new 20mm board.
The beam appears to be the same, so very throwy. BUT the tint and CRI has dramatically improved and there’s no longer a green corona! I was very surprised as to how well it turned out.
Here’s the new 519A (left) compared to my other D40A that has a 5000K XM-L2. That soon will be modded when my 5000K 519As arrive.
I swapped out my other D40A that had the 5000K XM-L2 with a 5000K 519A. Same result as before - Amazing!
So you don’t have to scroll back and forth, the top photo is the 4000K 519A (left) with the old 5000K XM-L2 (right) vs bottom is the 4000K 519A (left) with the new 5000K 519A (right):
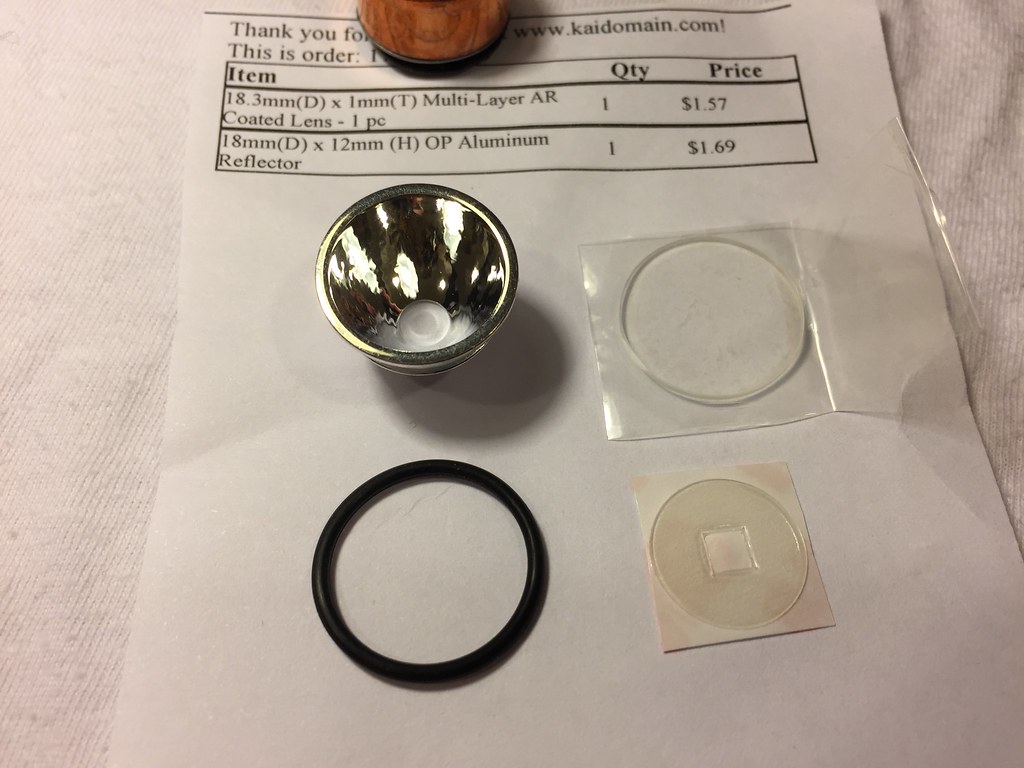
I was planning on dedoming a 5700K 519A too to replace a 219C in a cheapo AA flashlight that I modded 5 years ago. Any insight on how the beam profile will differ between dome vs dedome? The OP reflector is 18x12mm:
the domed 519a has a nice large hotspot, similar to LH351d
(pic does not do justice, this is an xml reflector that has a large bottom hole, which does not produce a clean transition. Your reflector will probably produce a better beam profile)
dedoming will make the hotspot smaller, similar to 219c
(this reflector has a smaller bottom hole, and the pic is more representative) .
Kinda figured the hotspot would be smaller and thus more throw, but was concerned about rings and artifacts. But it looks like I should be fine and the improved tint and more desirable CRI (to me) is worth the risk.
Maybe I’ll do a before and after beam profile and post it here.
I haven’t actually modded anything, but I have assembled 4 - LH351D 4000K LEDs on an mcpcb, a led4power LD-A4 driver, a Li-po 3700mAh cell, a switch, a 2 amp TP4056 charger and USB-C port plus a Convoy S2 pill and some copper pieces, into a test configuration for a light I am thinking about making.
I made this the other day. 12V 2A wall wart power with dimmer and 4 12V LEDs to light up a MCM Spaghetti globe.
Final sanding and finish put on it today. Xmas gift… the lighted stand.
Cool! I haven’t seen a spaghetti globe in a while. It’ll be nice with the dimmer.
It might take a while to complete my project, there are other things higher up the priority list. Plus now I need to complete the ways of carrying out the idea I have and turn it into something other than some parts that I have shown actually do work.
Not a flashlight mod but a mod none the less.
I took an old feit 9w led bulb and replaced the original some 2835 leds with some 5000k and 4000k Bridgelux Thrive 2835s. I alternated between 5000k and 4000k trying to get 4500k.
I didn’t take any before measurements with the Opple since I just received it and I had already had taken the bulb apart and was too eager to start reflowing some leds.
Overall I’m pretty happy with the CCT and obviously the CRI is great. I was hoping the tint would’ve been closer to the BBL, but it only cost about $2.50 and less than an hour of my time. So, in the end it was definitely worth it.


 .
. .
.


 .
. .
.


 .
. .
.


