Thanks! It was a bit challenging. But, fun! I will definitely be building more. I already have 2 more hosts and some of the parts. Just need the rest…
1 Thank
As the saying goes, “practice makes perfect”. And a decent (not necessarily expensive) soldering iron with multiple tips and soldering flux makes a big difference.
4 Thanks
I’m no expert modder, but the thing that has helped me the most was getting a decent soldering iron (the one I got was about $35 and uses hakko t12 tips).
I started out with a cheap iron that struggled to get hot enough on its single setting, especially when working within a host and it wicking the heat away. There was only one tip and it was too large for this kind of work. Practice is key, if course, but if you happen to have a bad iron it’s really going to frustrate and limit you.
3 Thanks
Lol, you see I basically said the same thing. I started drafting that reply a couple hours ago and just posted it before seeing what you said. I totally agree!
3 Thanks
Yeah. I bought the 30w Weller iron. Didn’t get the brass sponge or good flux, though. It made it really hard to keep the iron clean. I’ll have those before I start the next build, along with some tip tinner.
1 Thank
Thanks! I’m having difficulty finding tips for the iron I bought, the Weller 30w. Weller only makes a couple of options for it. I’ll figure something out though. Might have to get a different iron
Btw, huge thanks to @INeedMoreLumens for all the help you provided! Thanks man. I owe you a beer
1 Thank
Keeping the soldering iron clean is also essential! Looks like you should be good for your next mod. ![]()
1 Thank
Up until about a year ago, I used a 25Watt soldering iron and I had to put an insulator between the MCPCB and the Pill/Host to get enough heat to solder the driver leads on.
Example: S2+ Pill with a popsicle stick under the MCPCB.

5 Thanks
This Iron works well — I keep two setup with these 2 Tips
Digital Soldering Iron station Kit, 2 Auxiliary Clamps, 5 Soldering Iron Tips, Solder Wires, Solder Suckers, Stainless Steel Tweezers, and a Phillips Start, soldering station! (transformer)) (myvipon.com)
Hakko T18-B Conical Soldering Tip - Soldering Iron Tips - Amazon.com
Amazon.com: Hakko T18D32P Tip for Fx-888 Station, 3.2mm : Tools & Home Improvement
2 Thanks
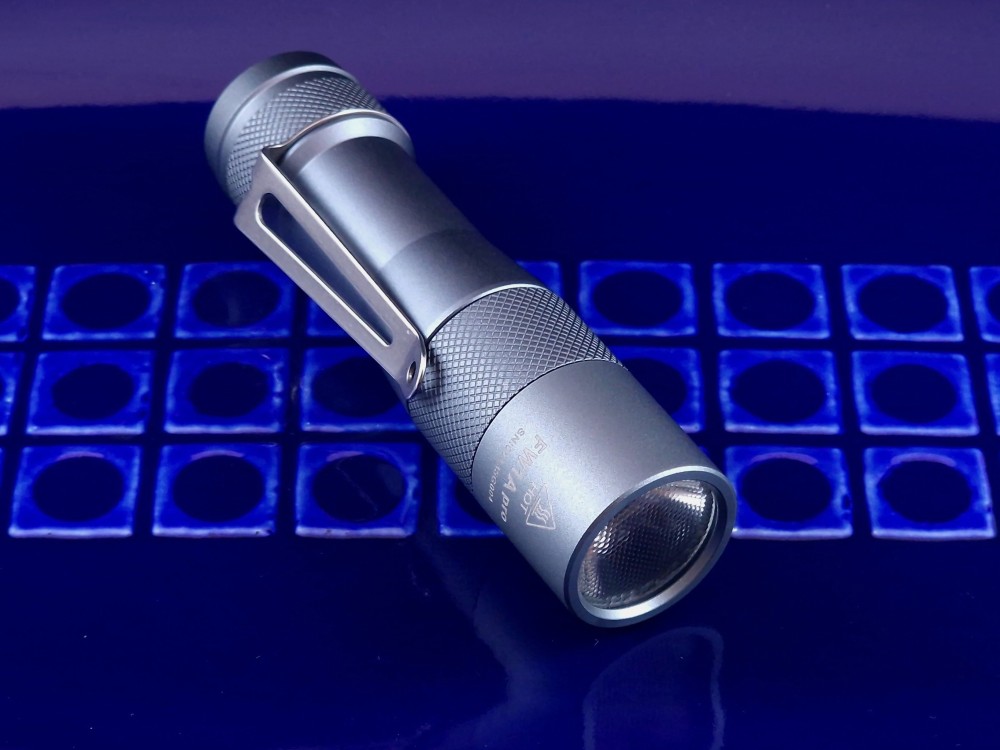
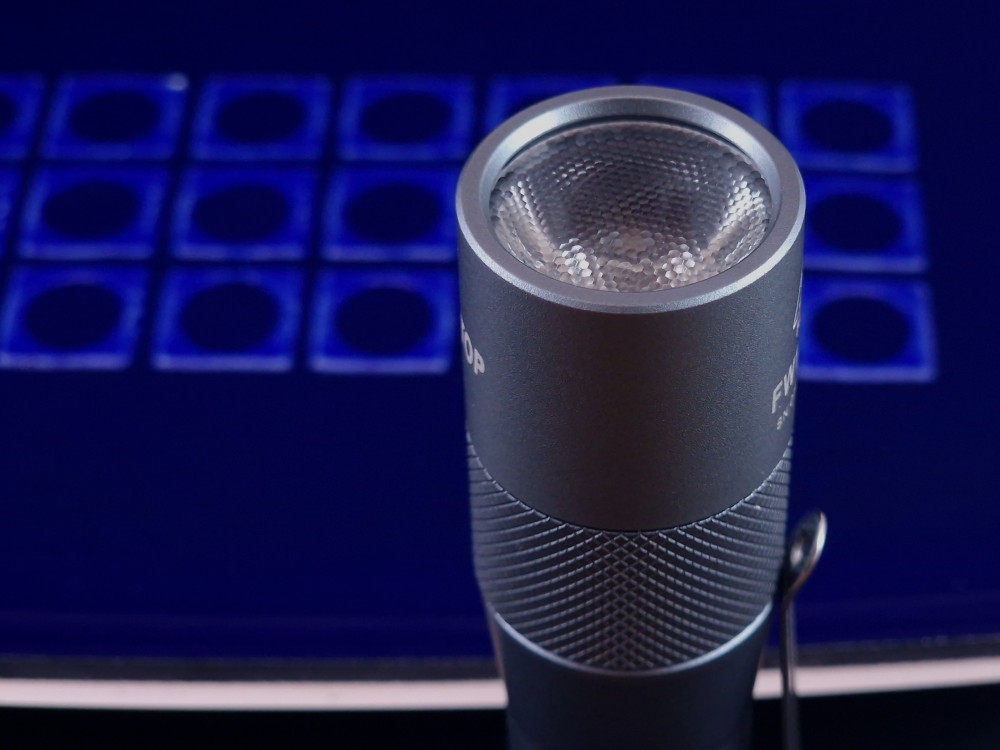
After modding a few FW3As, I wanted to try modding an FW1A. The light I sourced for this was, in fact, an FW1A Pro. As with my FW3A mods, I wanted to add AUX LEDs to the light, which also meant swapping the reflector for a TIR optic. I also decided to swap out the CREE XHP50.2 emitter with a 3000K SFT40.
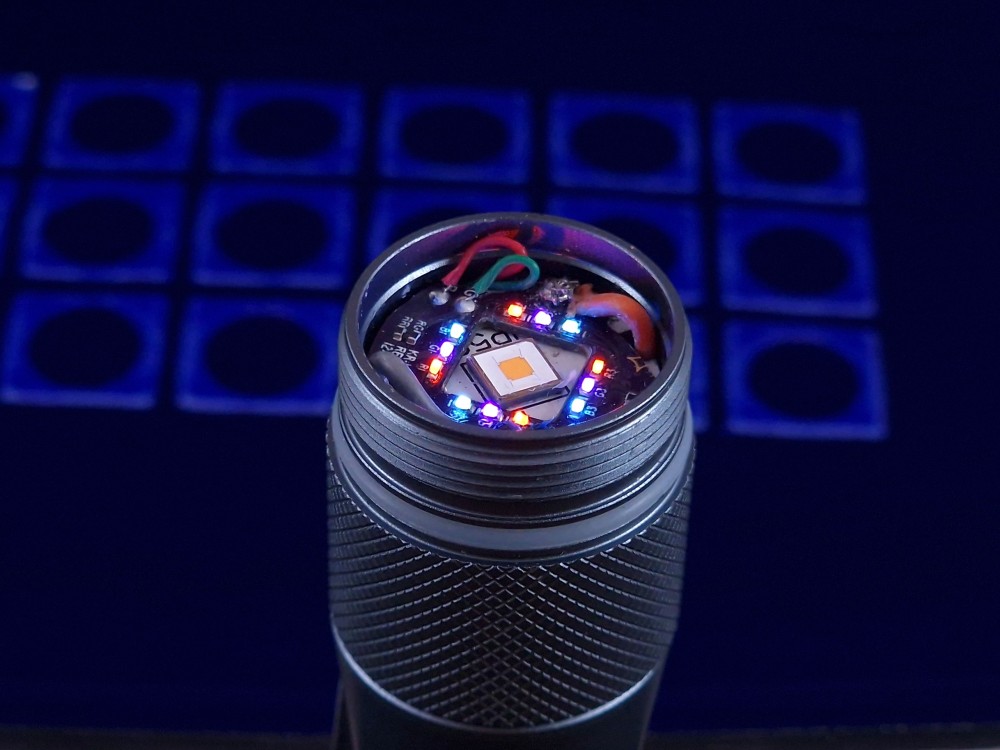
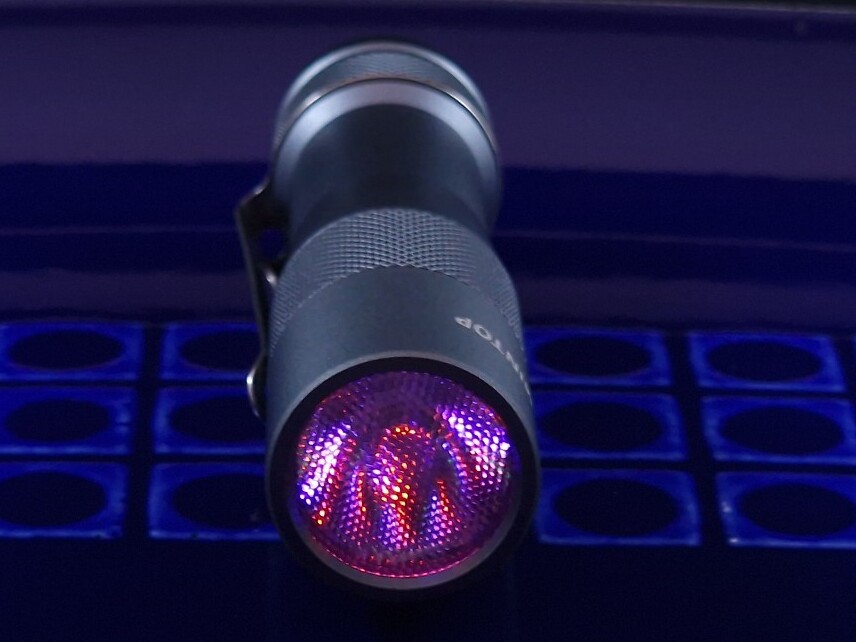
To support 3-channel AUX LED colours and fully-featured Anduril 2, I upgraded the FET+7+1 driver with an ATTiny 1616. A custom Anduril 2 build was needed with reduced FET output for the single emitter, so I used the same build I used for my 219B FW3A “mule”. The light will be used only with a Samsung 35E.
The single-emitter tri-LED AUX board needed quite a bit of filing down to fit, especially since the cutouts for the wires didn’t match the cutouts on the FW1A Pro MCPCB.
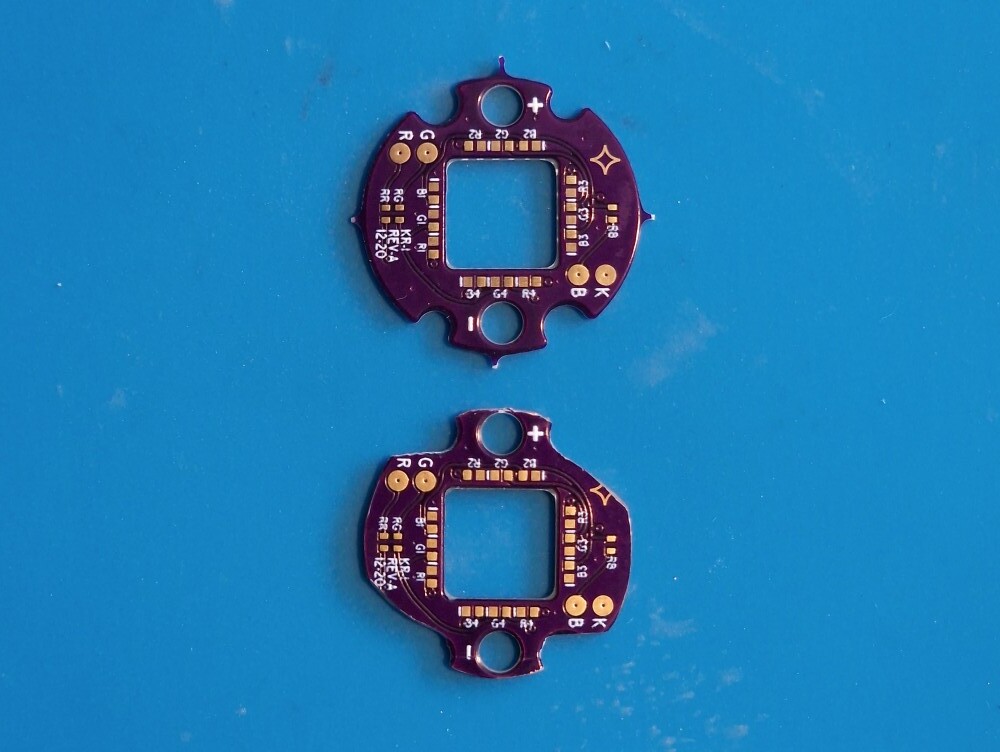
I chose orange, purple and ice-blue AUX LEDs which, as usual, were very fiddly to mount on the AUX board. It took me quite a few tries to find the right resistor values to balance the colours.
I originally wanted to use a Ledil Leila TIR optic, but couldn’t get it to fit properly with the 5050 emitter footprint. Instead, I used the beaded TIR from a custom stainless steel FW1A mod I purchased on reddit a while ago, using the Ledil Leila optic in that light instead.
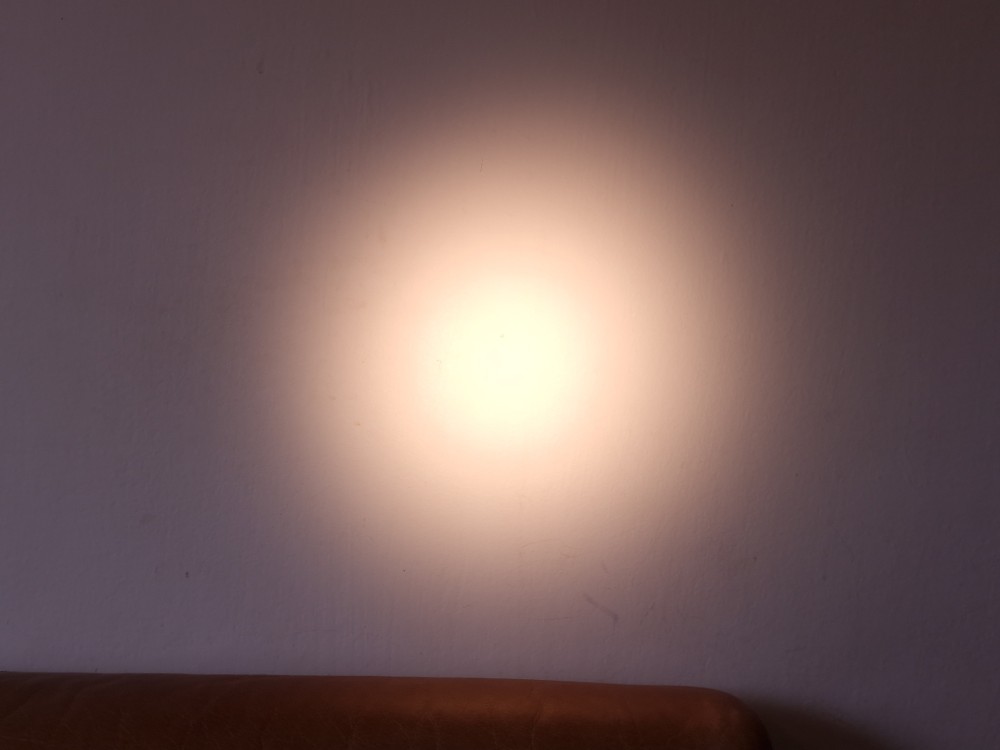
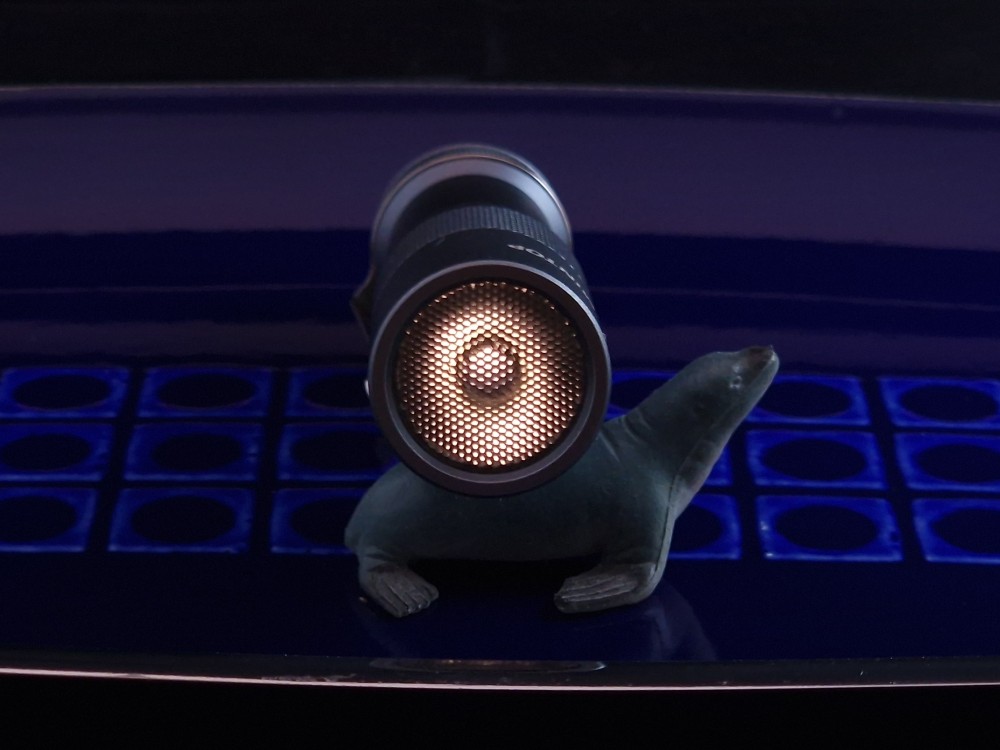
The optic gives a nice beam with the 3000K SFT40. Not a pure thrower, but a practical one.
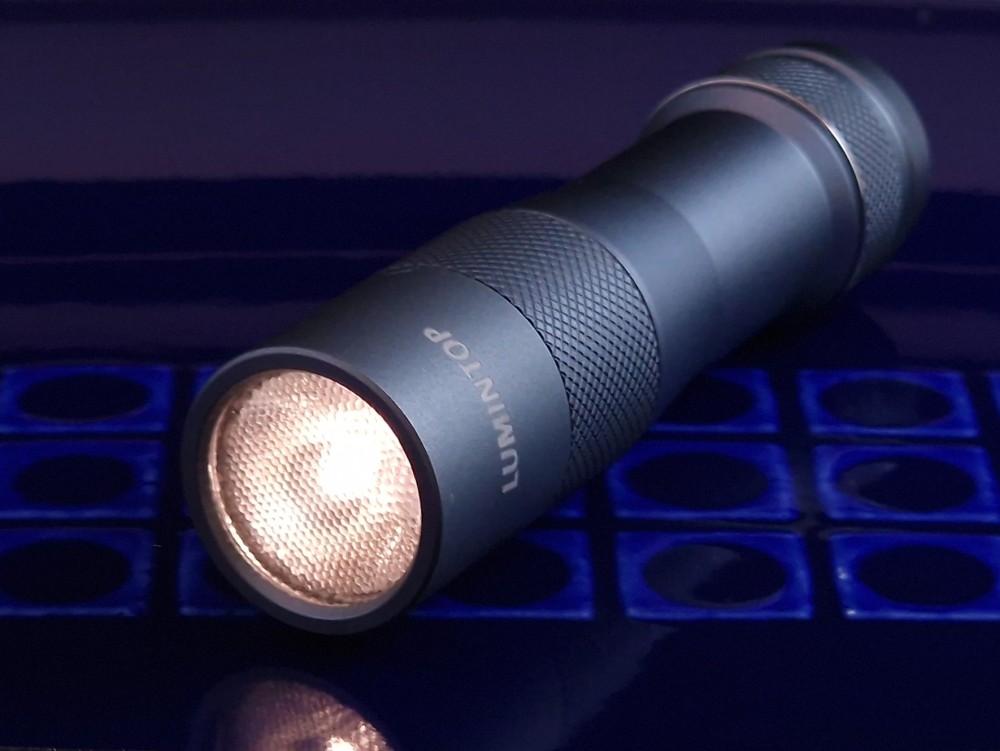
I think this mod has turned out pretty well. I don’t think this will be my last FW1A mod.
More pics…

18 Thanks
Looks great!
1 Thank
Awesome job. I appreciate the detailed write-up and pics! I’ve been fiddling with an FW1A on and off for a couple years but nothing like this. Very inspiring.
That looks awesome! Great job!!!

I finally upgraded the wife’s S2+.
She had XM-L2 3B(5000K) with 6×7135 3/5 Mode driver and a OP reflector.
She now has 4500K 519A with 3×7135 12group driver and a 45° TIR.
I have it in 1%/20%/100% with memory turned off, per her specifications(Low/Med/High/No Memory)
The 3×7135 may change later on, but with the 6×7135 the light got fairly warm after running @100% for a while, so she always said it got too Hot.
4 Thanks
I’m a big fan of pebbled TIR lenses. After buying an S21E I looked around and saw Simon only offers it with TIRs that are smaller and sit underneath the front glass.
After looking around I found 21/23.5 mm diameter and 12.9 mm tall TIRs at Yajiamei that would fit the light perfectly without a front glass: Page Not Found - Aliexpress.com
Only issue, they are only available for 3535 emitters. So I first tried sanding a “slot” into the bottom ring (5mm wide) to fit my XHP50.3 HI. This worked, but while tightening the bezel the very slim remaining plastic parts snapped off, and the lens ripped a part of the silicone off my LED ![]()
So as a second idea I measured how tall the TIR has to be, and sanded the bottom of the TIR off flat so that it could sit on top of the gasket Simon used for the reflector so that the focus distance still matches the LES, then mounted it with a gasket.
OG reflector left, 15° pebbled TIR right:
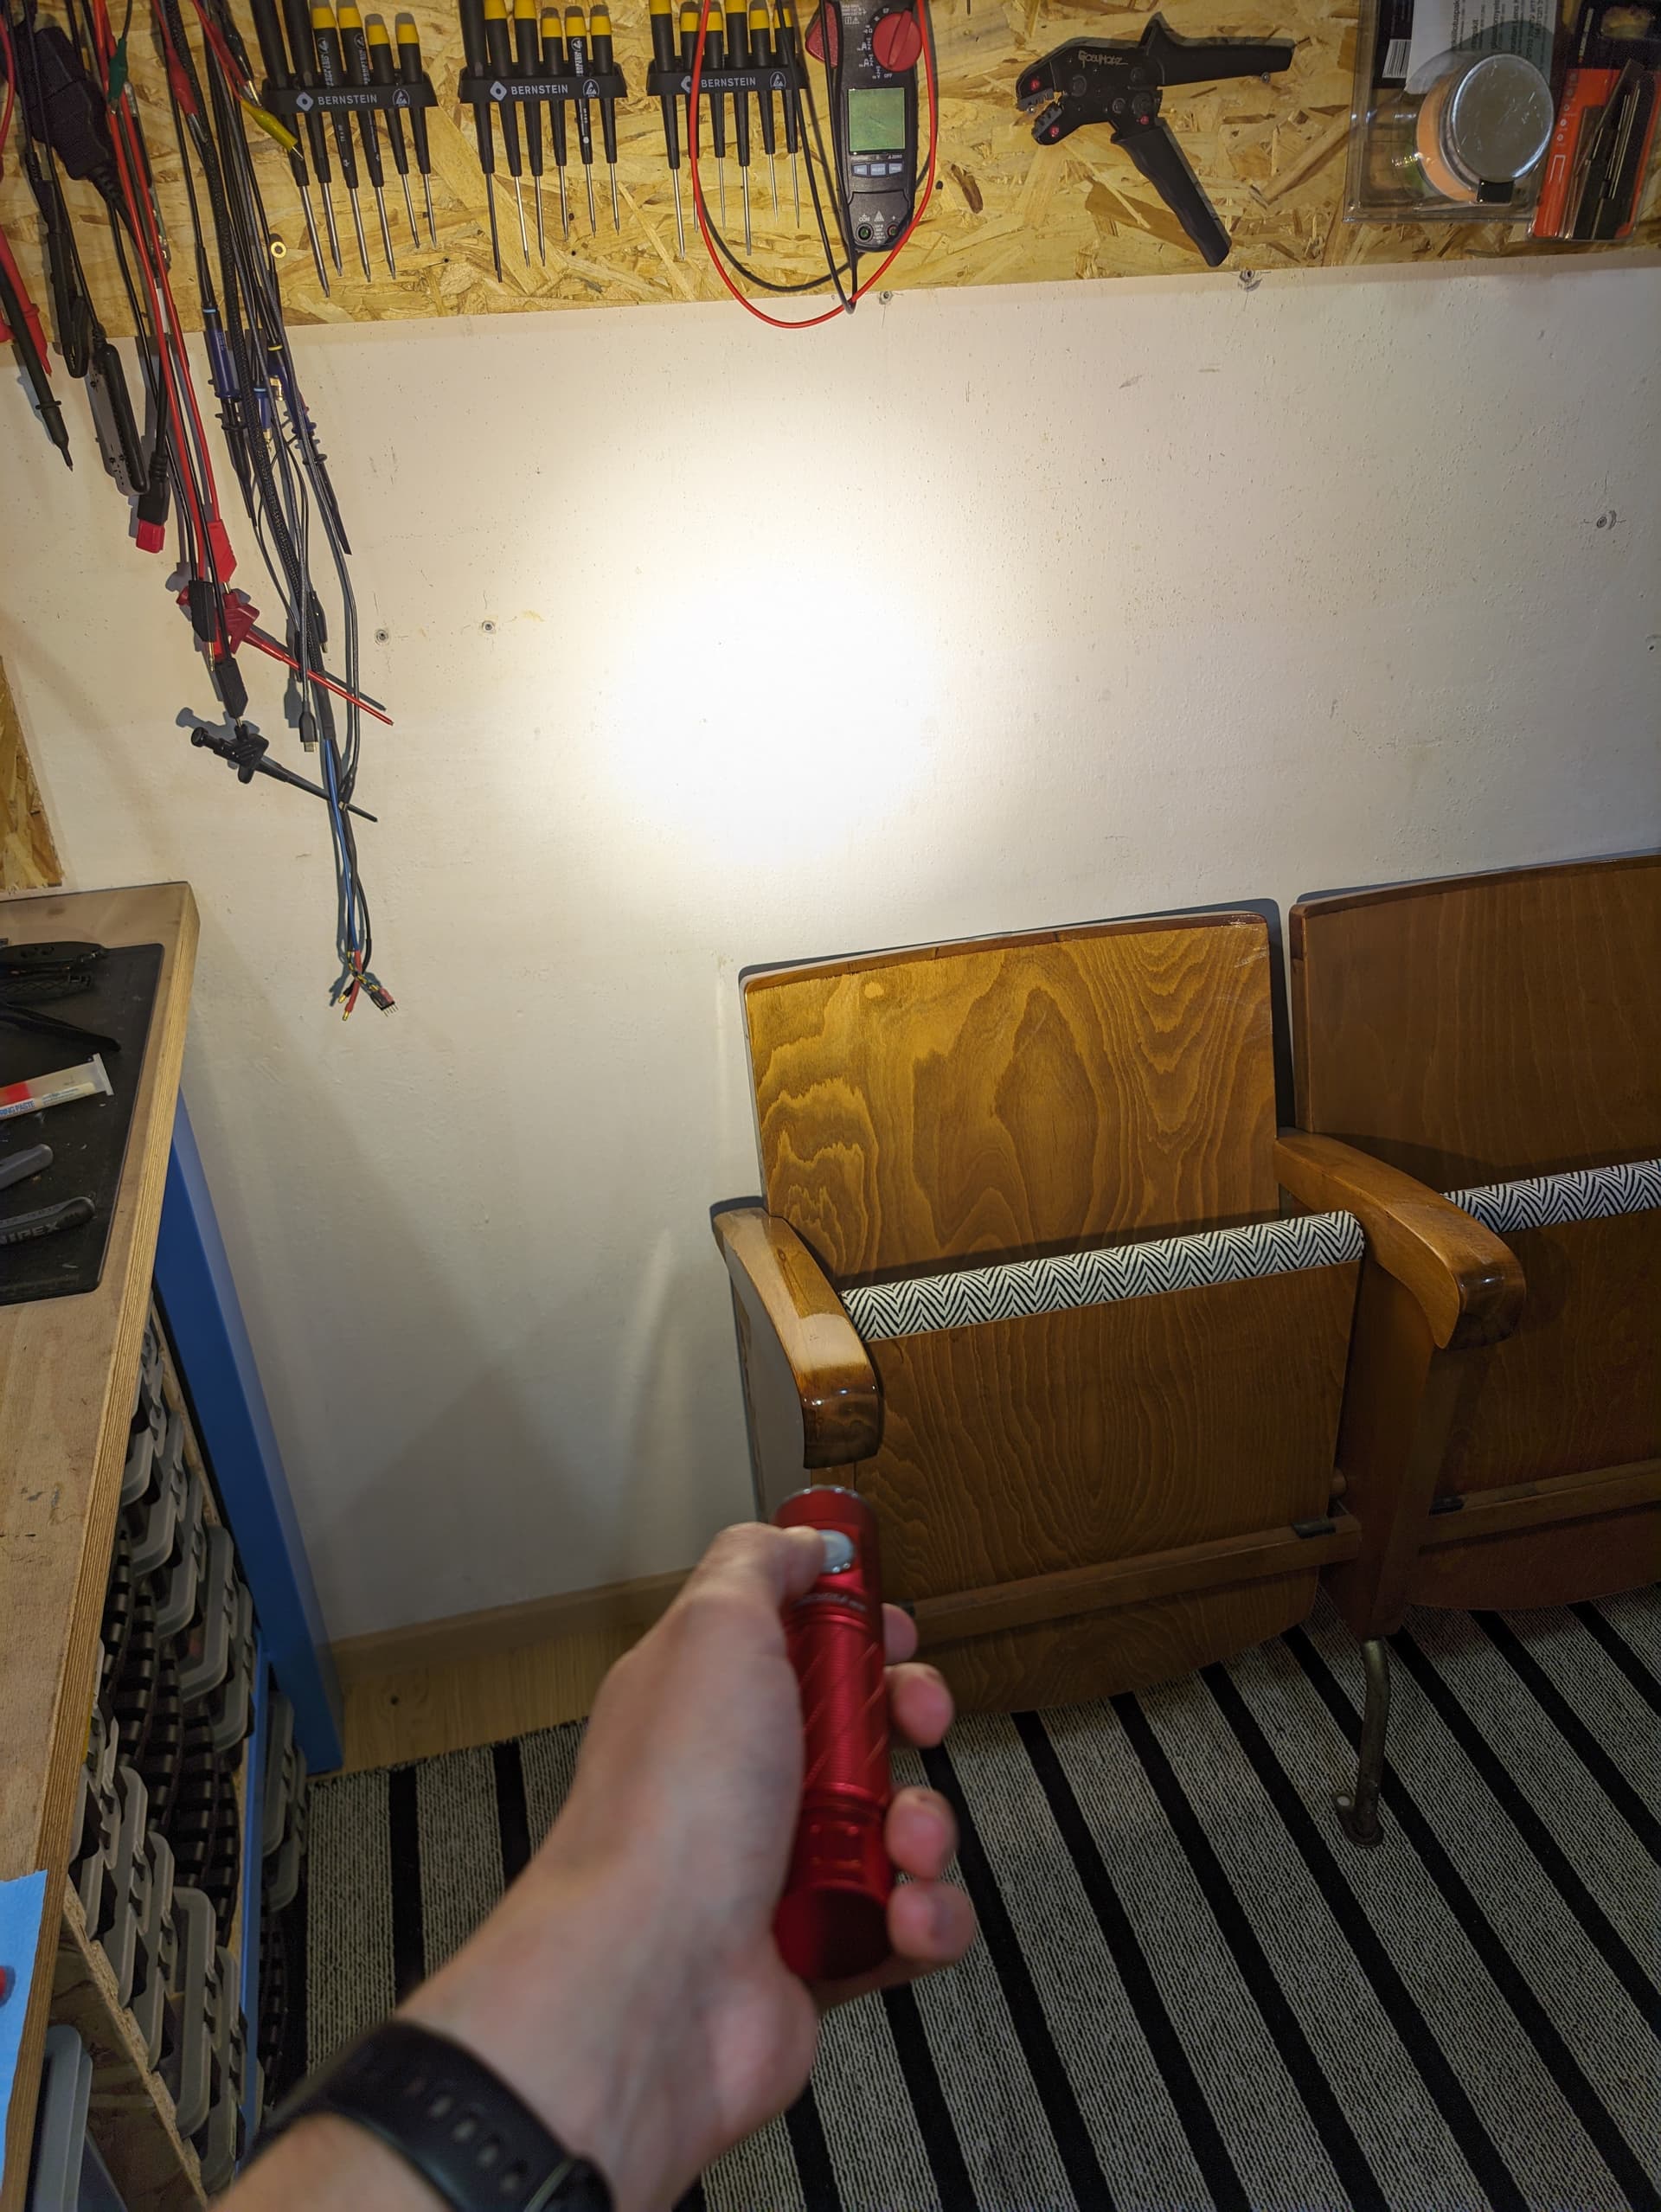
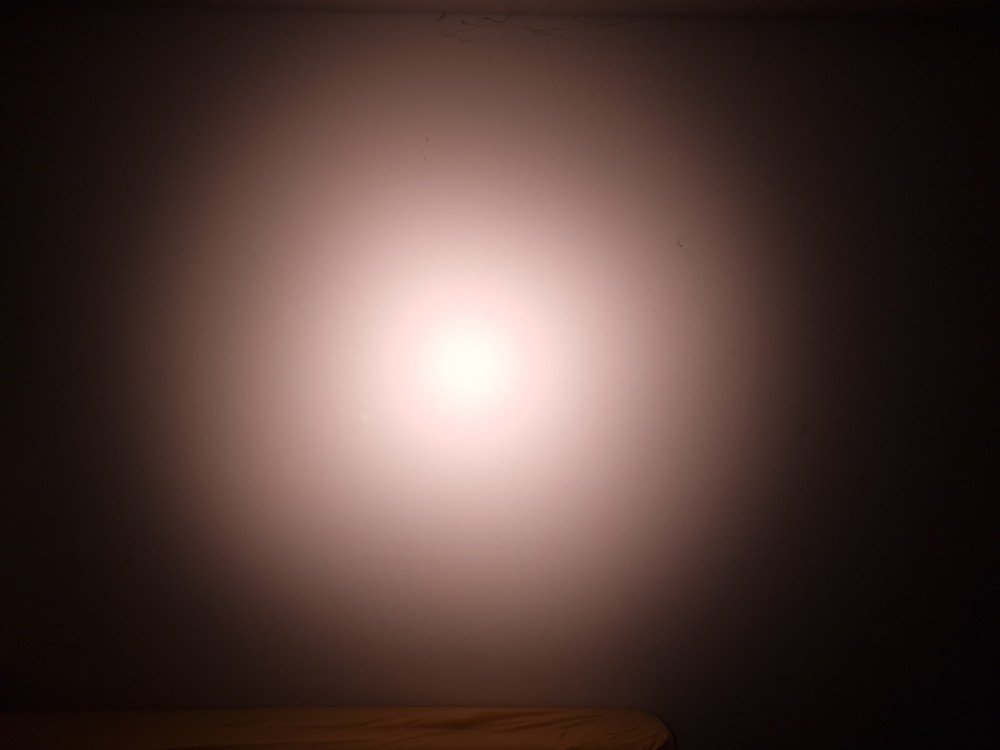
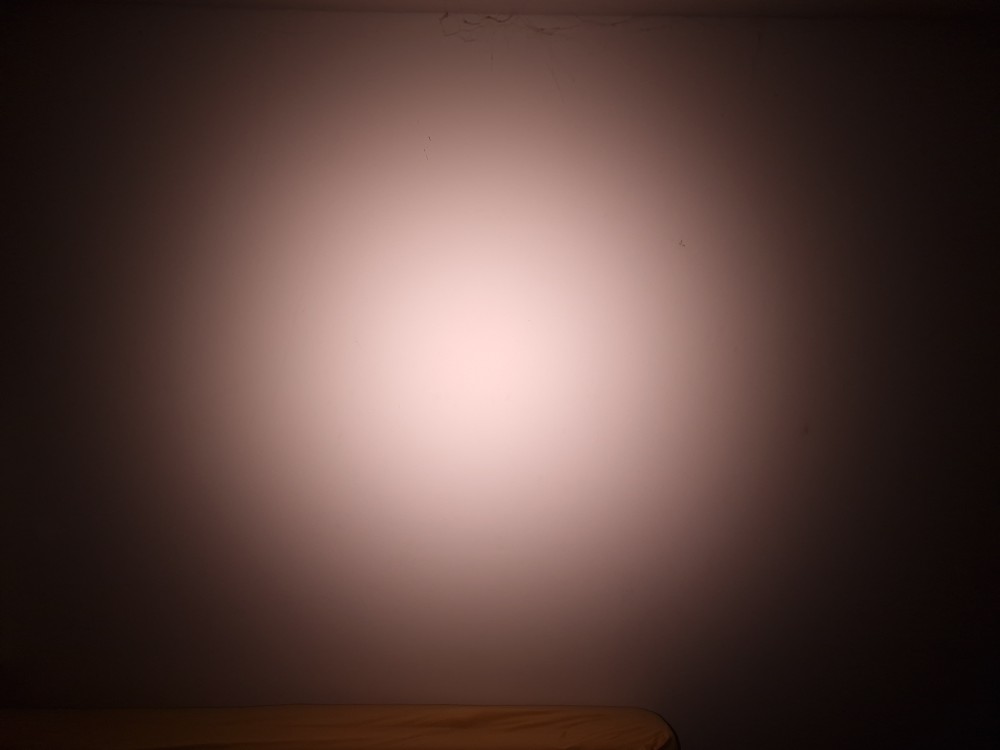
Picture of the light with TIR, as well as the nice and smooth beam, typical for a pebbled TIR:
6 Thanks
Following the recommendation in this post, I got hold of 3 Ledil Leila optics for my FW1A Pro mod. Unfortunately, these don’t fit for the 5050 FW1A Pro footprint, but they do fit a 3535 footprint FW1A.
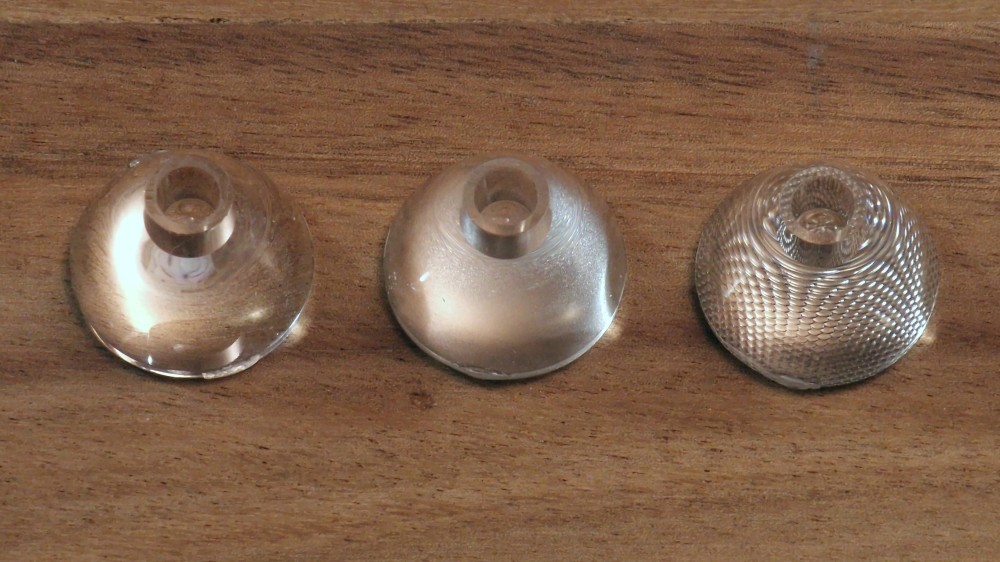
It seems there is some interest in suitable TIR optics for FW1A mods, so I thought I’d post some beamshots of the 3 optics I sourced.
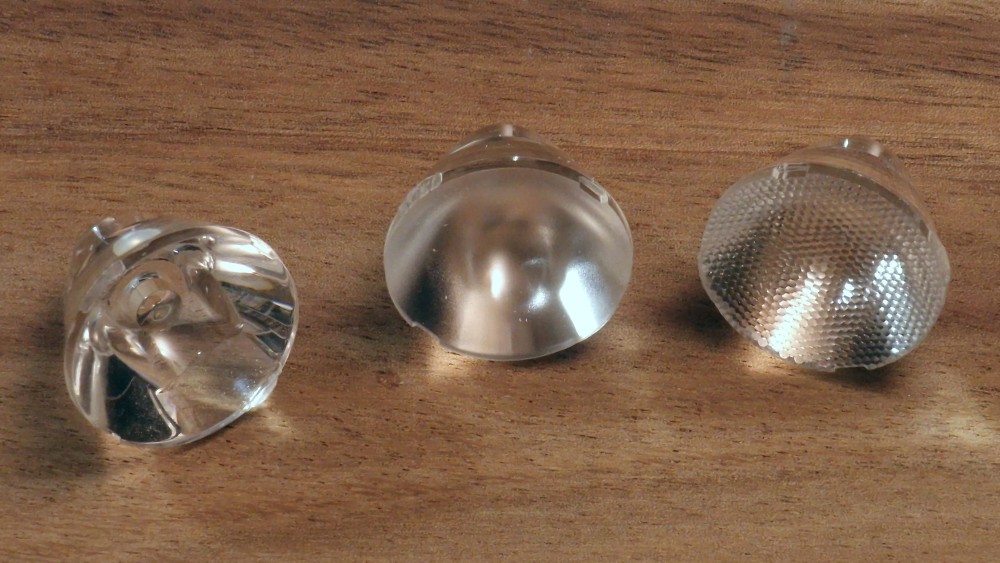
The optics are (left to right in the photo):
-
Ledil Leila LXM-RS 14° (model number FA11937) - LINK
-
Ledil Leila LXM-D 20° (model number FA11938) - this one seems to be obsolete and doesn’t have a product page on the Ledil website, but is still listed, e.g. here: LINK
-
Ledil Leila LXM-M 30° (model number FA11939) - LINK
The beamshots are with my stainless steel custom FW1A with a dedomed 4500K 519A, around 1.5m from the wall. Phone camera with white balance set to 4500K.
LXM-RS
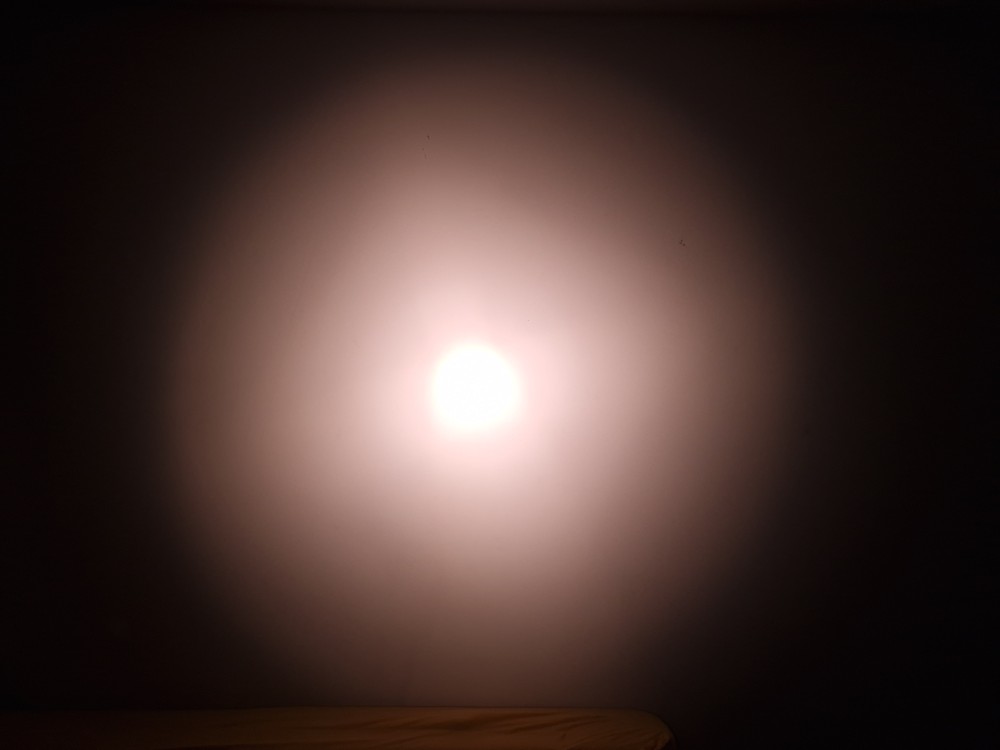
LXM-D
LXM-M
These optics are only 21,6mm diameter (incl. holder), so are only just big enough for the FW1A bezel. To hold the optic in place while screwing down the bezel, I’ve found that a 23mm diameter, 1.5mm thick O-ring does a good job.
Hope someone finds this useful.
9 Thanks
I purchased two of these when you posted about them earlier this year in the Amazon Deal Alerts and Discussion thread and just purchased a third one for a spare along with the two Hakko tips you recommended in this thread, but I noticed a dimensional difference between the Hakko tips compared to the tips included with the soldering iron.
The holes in the tips included with the soldering iron are deeper than the holes in the Hakko tips.
The holes in the tips included with the soldering iron are also deeper than the amount the ceramic heating element protrudes through the metal tube surrounding it, allowing the base of the tip to rest against the flared end of the metal tube when the the screw collar is tightened against the shoulder of the tip.
The holes in the Hakko tips are not deeper than the amount the ceramic heating element protrudes through the metal tube surrounding it, which leaves a gap between the base of the Hakko tip and the flared end of the metal tube, causing the ceramic heating element to bottom out in the hole of the Hakko tip, which places some axial compression on the ceramic heating element when the the screw collar is tightened against the shoulder of the Hakko tip.
QUESTION: Is there the possibility of damaging the ceramic heating element or any other part of the soldering iron when using Hakko tips where the base of the Hakko tip does not contact the flared end of the metal tube surrounding the ceramic heating element?
The below photo shows:
- The bare ceramic heating element
- The screw collar that fastens the tip to the soldering iron
- A tip included with the soldering iron where the tip’s base rests against the flared end of the metal tube
- A Hakko tip where there is a gap between the Hakko tip’s base and the flared end of the metal tube

I’ve been using one of these units with the Hakko Tip for quite a while ( still working fine ) I just snug the collar down. I guess you could make a small spacer to put under the tip.
1 Thank

listed for sale here
4 Thanks