Tank007 E09 v3

Inside the tin: 1x light, warranty card, fold out guide, two spare o-rings, keyring attachment:

Banggood were very kind to send me this lovely light. ^^ Anodizing is nice. There are no flaws in the aluminium body either.

Here it is next to sibling TK-703 (pictured above). In the hand, the E09 feels much smaller than it appears in the photo. Serial on my sample begins 30909 (YMM09):
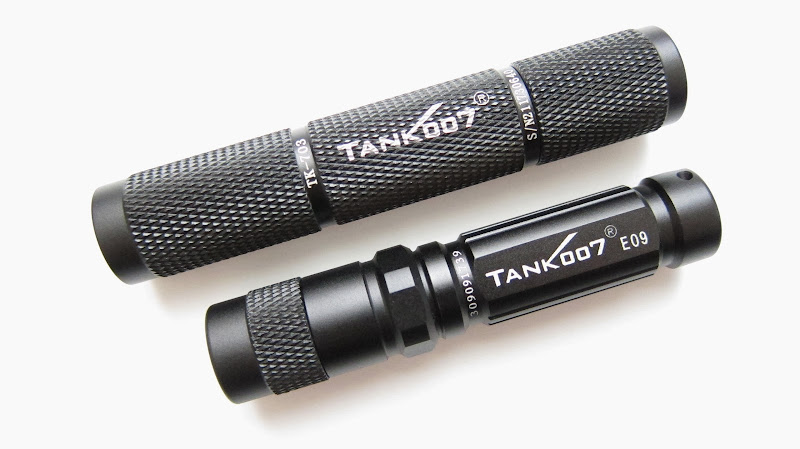
Also different is the tint, a pleasant neutral white compared to the slightly cooler white in the TK-703, which has the older XR-E emitter.
The E09 has the same diamond knurling pattern around the head, very grippy but not too aggressive. The nut shape is a great anti-roll feature.
Beamshots at 1 metre, ISO 100.
TK-703 left, E09 right:

E09 high:

Colour rendering is a little better with this E09 too.
E09:

TK-703:

Earlier versions had a smooth reflector. This one has an orange peel reflector, made of aluminium:

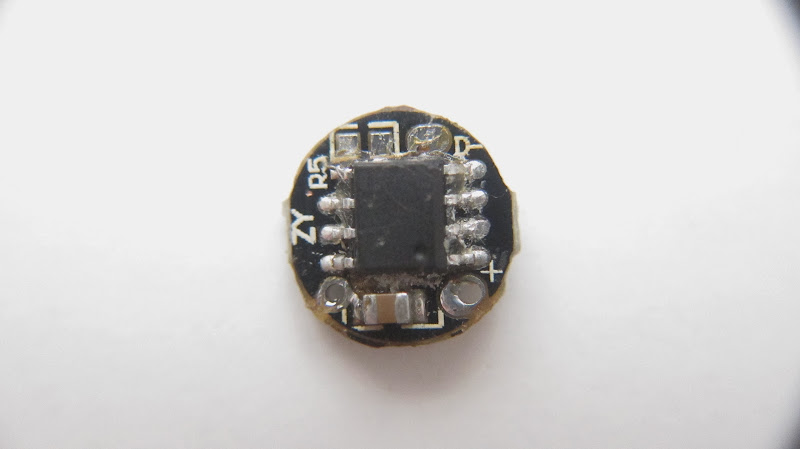
PCB says Tank007:

User interface
Brief video demonstration of modes:
To 'remember' the current mode one needs to keep it on desired mode for longer than three seconds. This is important to note - if you turn off the light sooner then next mode memory takes over.
As the video shows PWM is still used for low and medium modes though this is not visible off-camera. The manual included did not mention anything about the UI. Hopefully this can be addressed as for someone not au fait with flashlights might find it a little confusing.
Threads on mine are smooth but needed a little grease. One-handed operation is possible but quite stiff compared to my FourSevens Preon P0. I suspect this is due to the spring in the body and the o-ring as it twisting close stiffer nearer to the end. There is a lot of thread at the head/body, and with a Sanyo eneloop inserted there is a little room for slightly wider cell, so a protected 10440 cell may fit nicely.
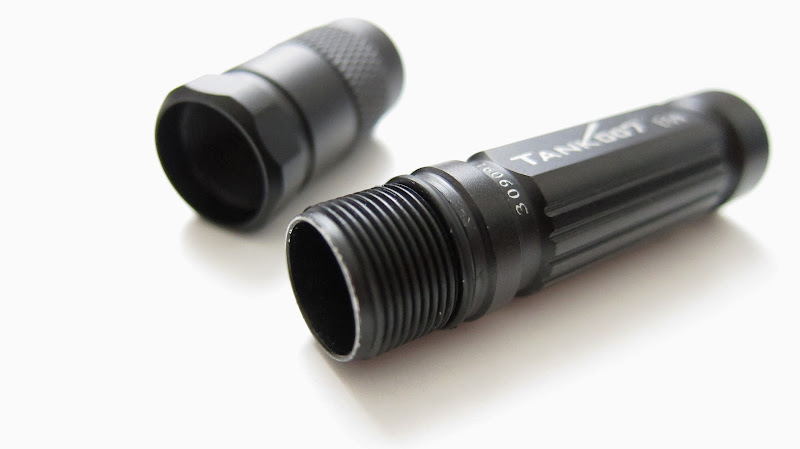
You can see how much room the spring occupies:

The spring is quite large:

The included keyring attaches to flashlight by a tiny 5mm split ring. This little ring is just a little too big for it to naturally fall into the U groove that allows tailstanding, but with some coaxing it will fit.

I would have preferred if more easily removable clips were included rather than the flat split ring, but it is not too difficult to change this oneself:

Internal construction
I put the head into a food bag and let it sit in boiling hot water for a few minutes. This was enough to allow me to unscrew it (with help from a vice!) to access the innards:

A dollop of thermal compound. It's almost like ice cream (and a bit wasted)!

XP-E on aluminium:

The head assembly includes an o-ring sealing the glass lens, and another where it joins the section holding the driver boards:

Thermal interface between pill and head:

The driver PCBs were glued in with epoxy; some components also had silicone sealant to protect them from shorting. This is good for a robust light but makes full disassembly a little difficult. I did my best to clean them up for photos. (Sorry for the chromatic abberation!):
PCB1 component side:

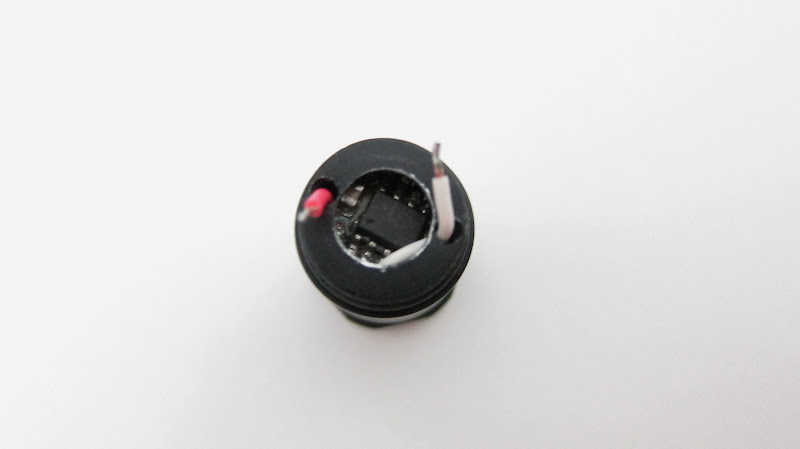
PCB2 has components both sides:
Other side:

Modifications
I wasn't happy with the next mode memory. It is more intuitive for it to either come on always the same mode, or the same mode as it was in when last used. R5 can be shorted with a pencil to disable it. It is strange Tank007 left R5 with no resistor. The wires connecting the two PCBs broke as I removed the epoxy glue it was potted in. Here is how they should be wired:

The first PCB (marked with Tank007) is a simple boost circuit, second PCB with the 8-pin IC handles PWM and mode switching.
The two spare o-rings supplied are a smaller size than the one fitted to seal the body (shown left). Changing this o-ring makes it much easier to operate one-handed.

Since I may modify the driver in future I decided not to use any glue. Now I can just push the head down to turn on the light momentarily. I may polish the head where the pill sits for better thermal conducting.
I really like this light now I have been able to tweak it. ^^ It is now on my keyring for longer-term testing.

~Update~
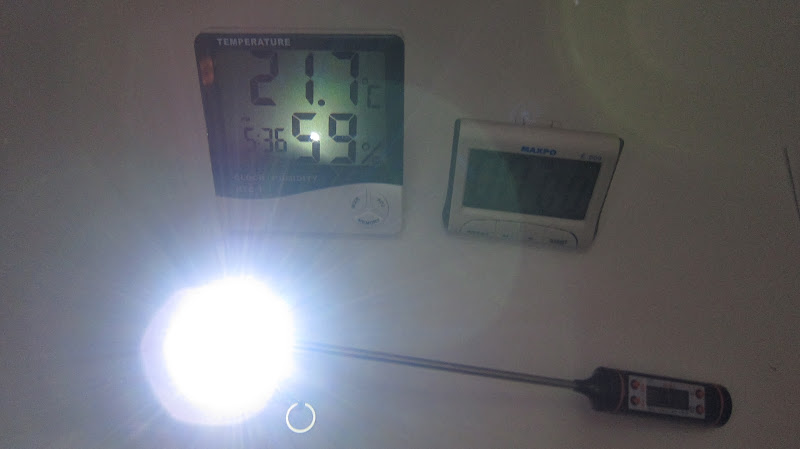
I sanded and polished the head and put a tiny little bit of Arctic compound, and with the light running on high mode (eneloop) took temperature measurements of the anodized exterior near the lens before and after.

The results are quite interesting to me. After the mod the light gets hotter, which is a good sign the heat is being transferred. Before the mod the light dimmed at 35 mins so I stopped. After the mod I did not notice any dimming by 35 mins.
Results
Mins |
Before | After | ||||
| Probe °C | Room °C/RH % |
Probe °C | Room °C/RH % |
|||
| (init) | 20.4 | 22.4 | 58 | 21.1 | 21.3 | 60 |
| 5 | 30.9 | 32.9 | ||||
| 10 | 29.8 | 33.5 | 21.7 | |||
| 15 | 30.5 | 21.7 | 35.1 | |||
| 20 | 30.2 | 33.5 | 21.9 | |||
| 25 | 31.5 | 32.8 | ||||
| 30 | 33.2 |
21.8 | 34.3 | |||
| 35 | 27.1 | 33.1 |
|
I made a run time graph of the XP-E on High mode, using AAA Eneloop and protected Trustfire 10440:

Thanks for reading! ^^