Annoyed with the low output with remote pressure switches for flashlight?
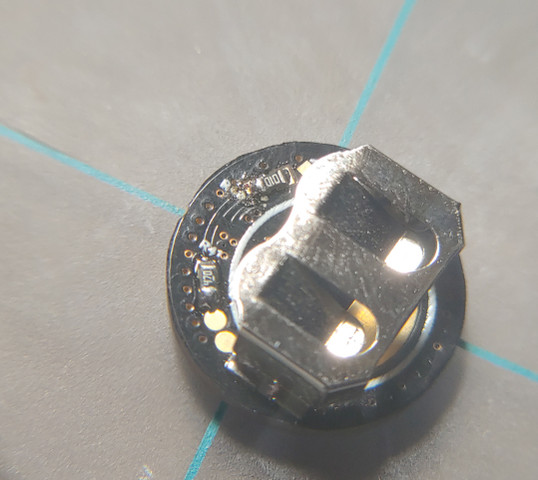
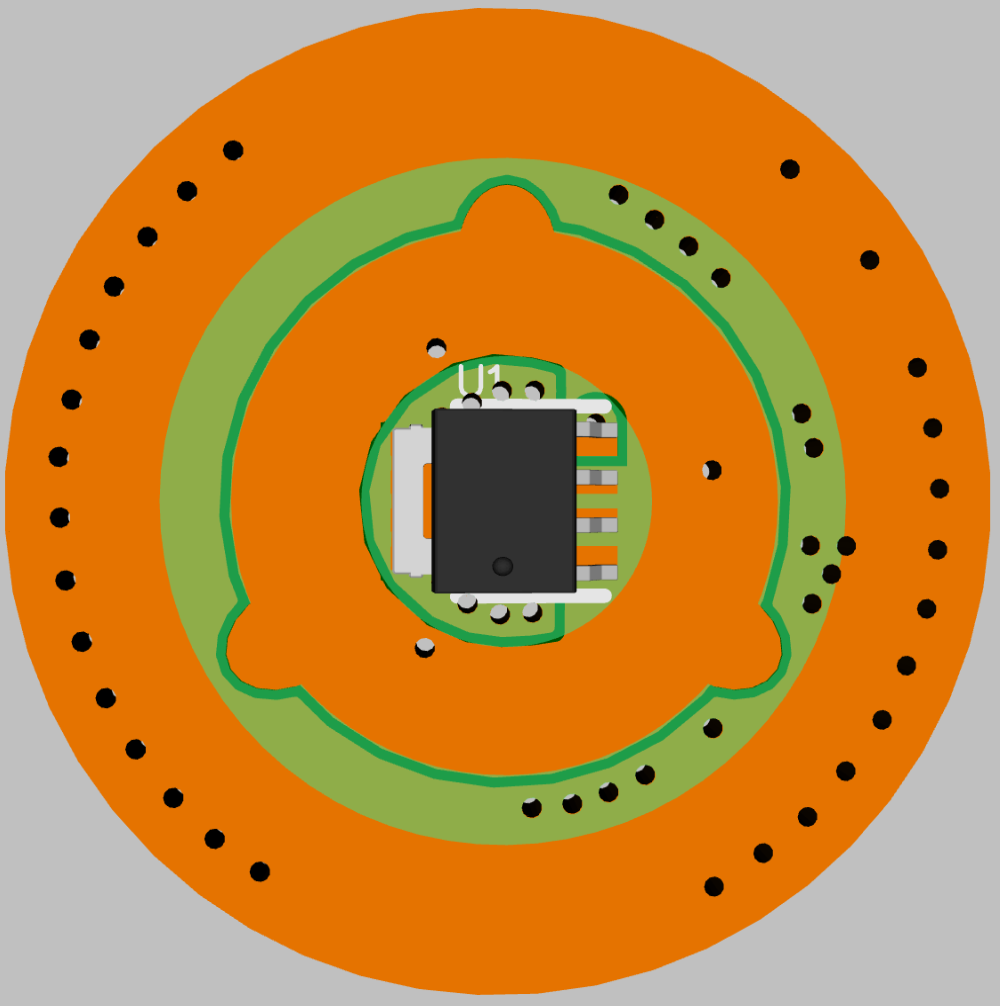
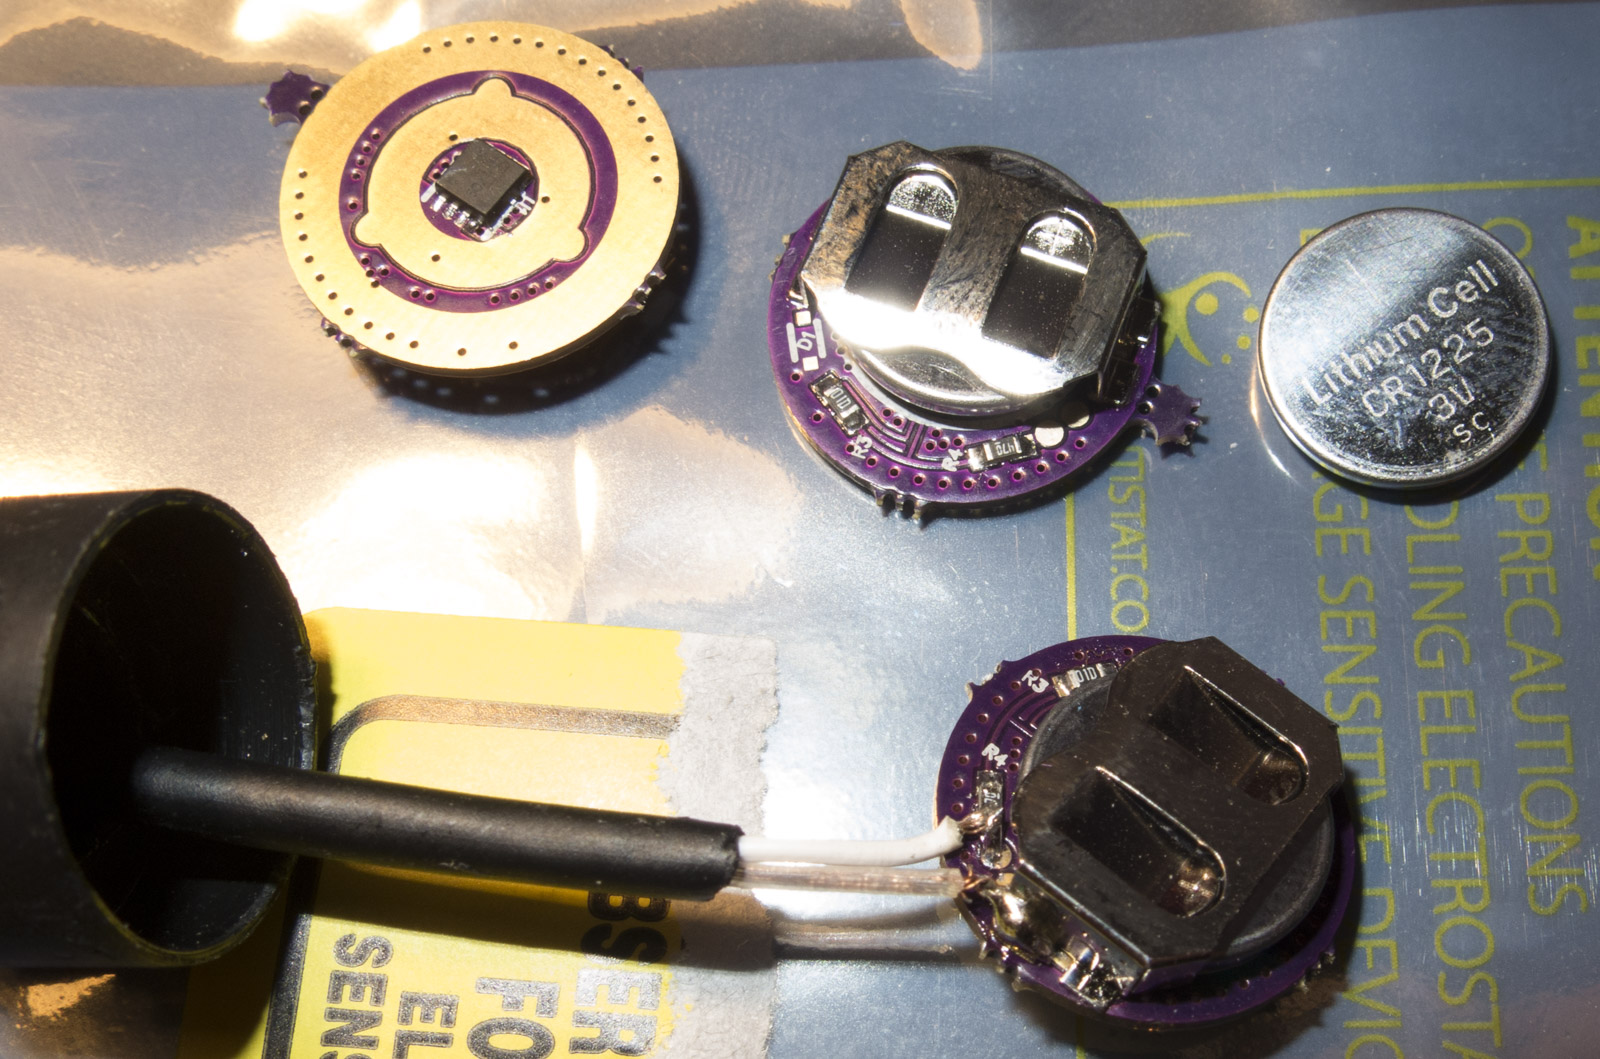
I did a board with a MOSFET to eliminate the extra resistance from the external switch
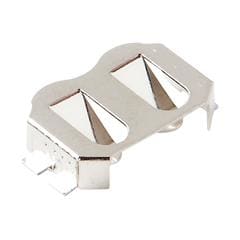
size 16-17mm, for 16mm the battery holder fins need to be cut a bit
If you want just one mode in direct drive you don’t need a driver in the head
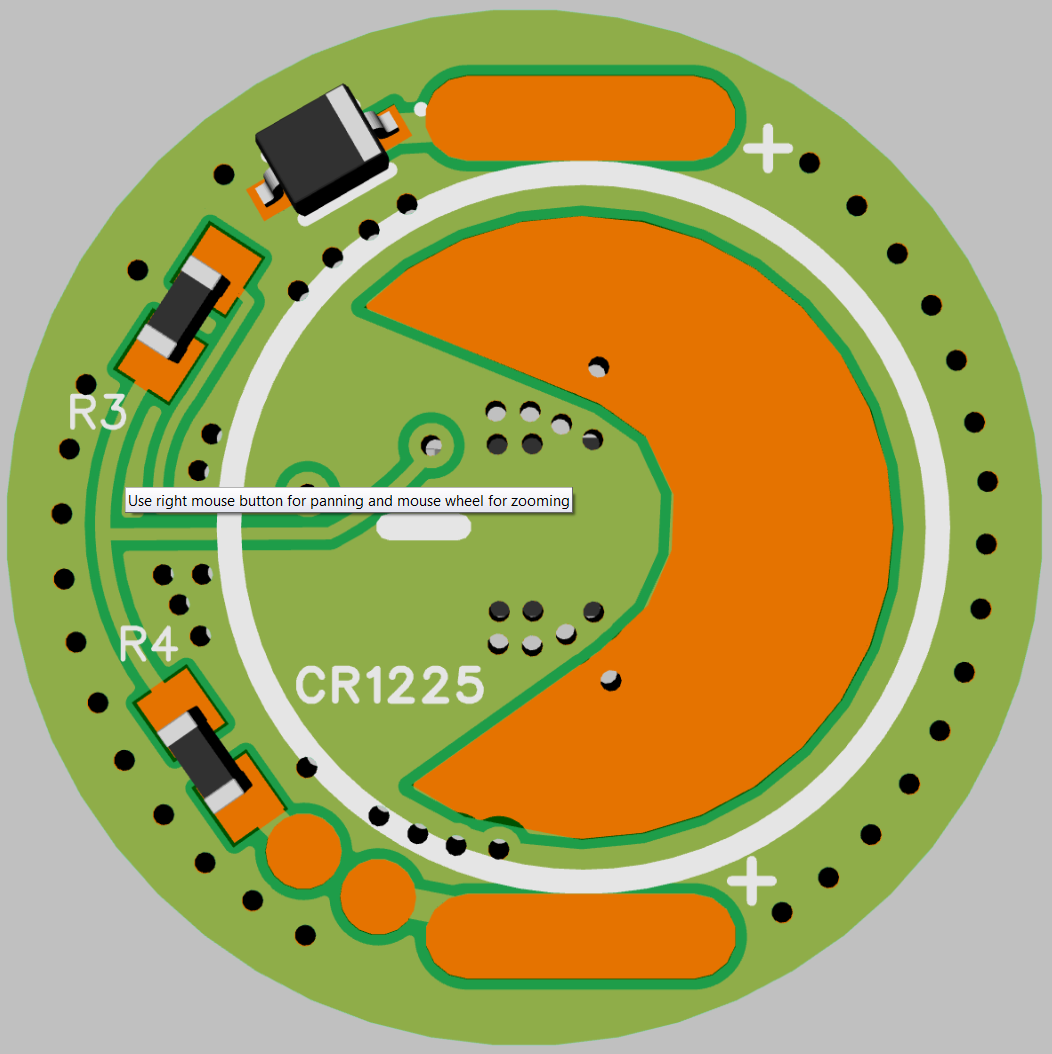
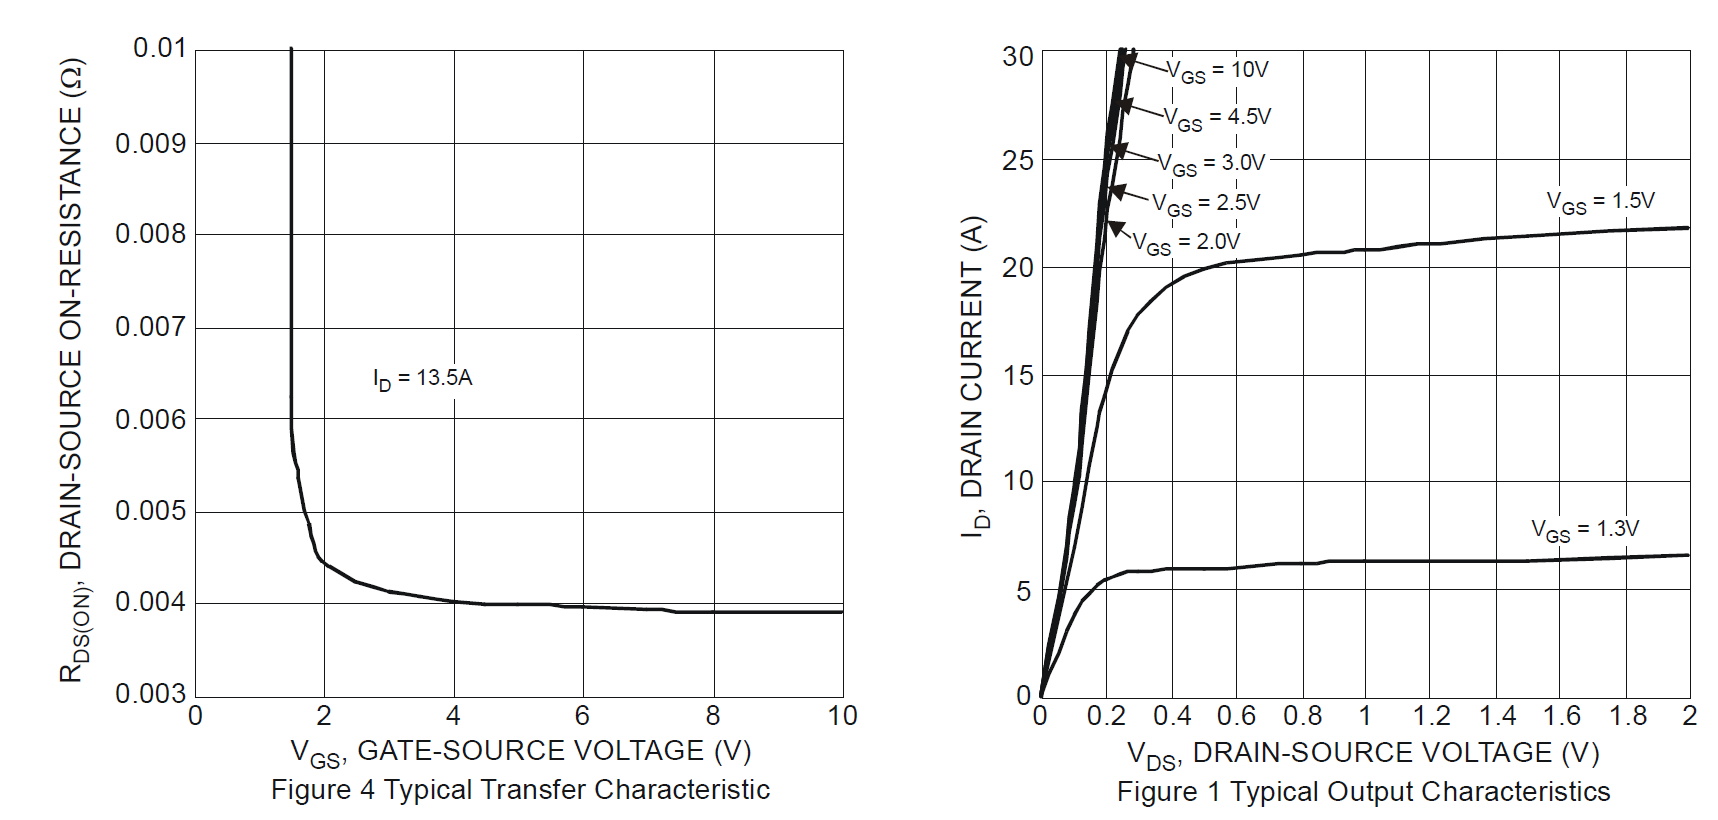
I use a MOSFET with a low gate voltage which gets full output down to 1.8V
The MOSFET is powered by a CR1225 Lithium battery with 36mAh should run easily hundreds of hours on
Hmmm… Let me guess? Hunting thrower lights of course :+1:
I already got one from Lexel, modd it with my rat tail switch and confirmed that it does not have any lux drop in single 18650 cell fet driver combination.
Lexel sent me a pair of these FET “switch” boards for my Pig Gun C-8 light mod- I got them today! (thanks Lexel!) The C8 is finally in LA (from Hong Kong) according to Kaidomain’s tracking email (which didn’t work for about a week… I was worried for a bit there) :laughing:
Being a newbie, I am figuring out things reading up on stuff around the site this last week and I saw a post today on a 3 led kit (sold at AliExpress) from a few months back I might get into now (I THINK it fit the C8?) Lexel explained he was also working on a project here co-designing a driver that would work best for a hunting rig like mine (one mode- off and on). Wondering if this driver (or one like it) could be used with the 3 LED kit for say somewhere around 4k lumen (from one 18650)?
Lexel sent me a pair of these nice stuff too… I just made some dirty hack for one of my Convoy C8 (factory tailcap + cheap remote switch from china + this nice FET switch), it works like a charm absolutely no light loss, in fact with this FET remote I measured a little bit better values than with the factory tailcap!
The build is 1:1 as you switch the FETs gate it is conductive
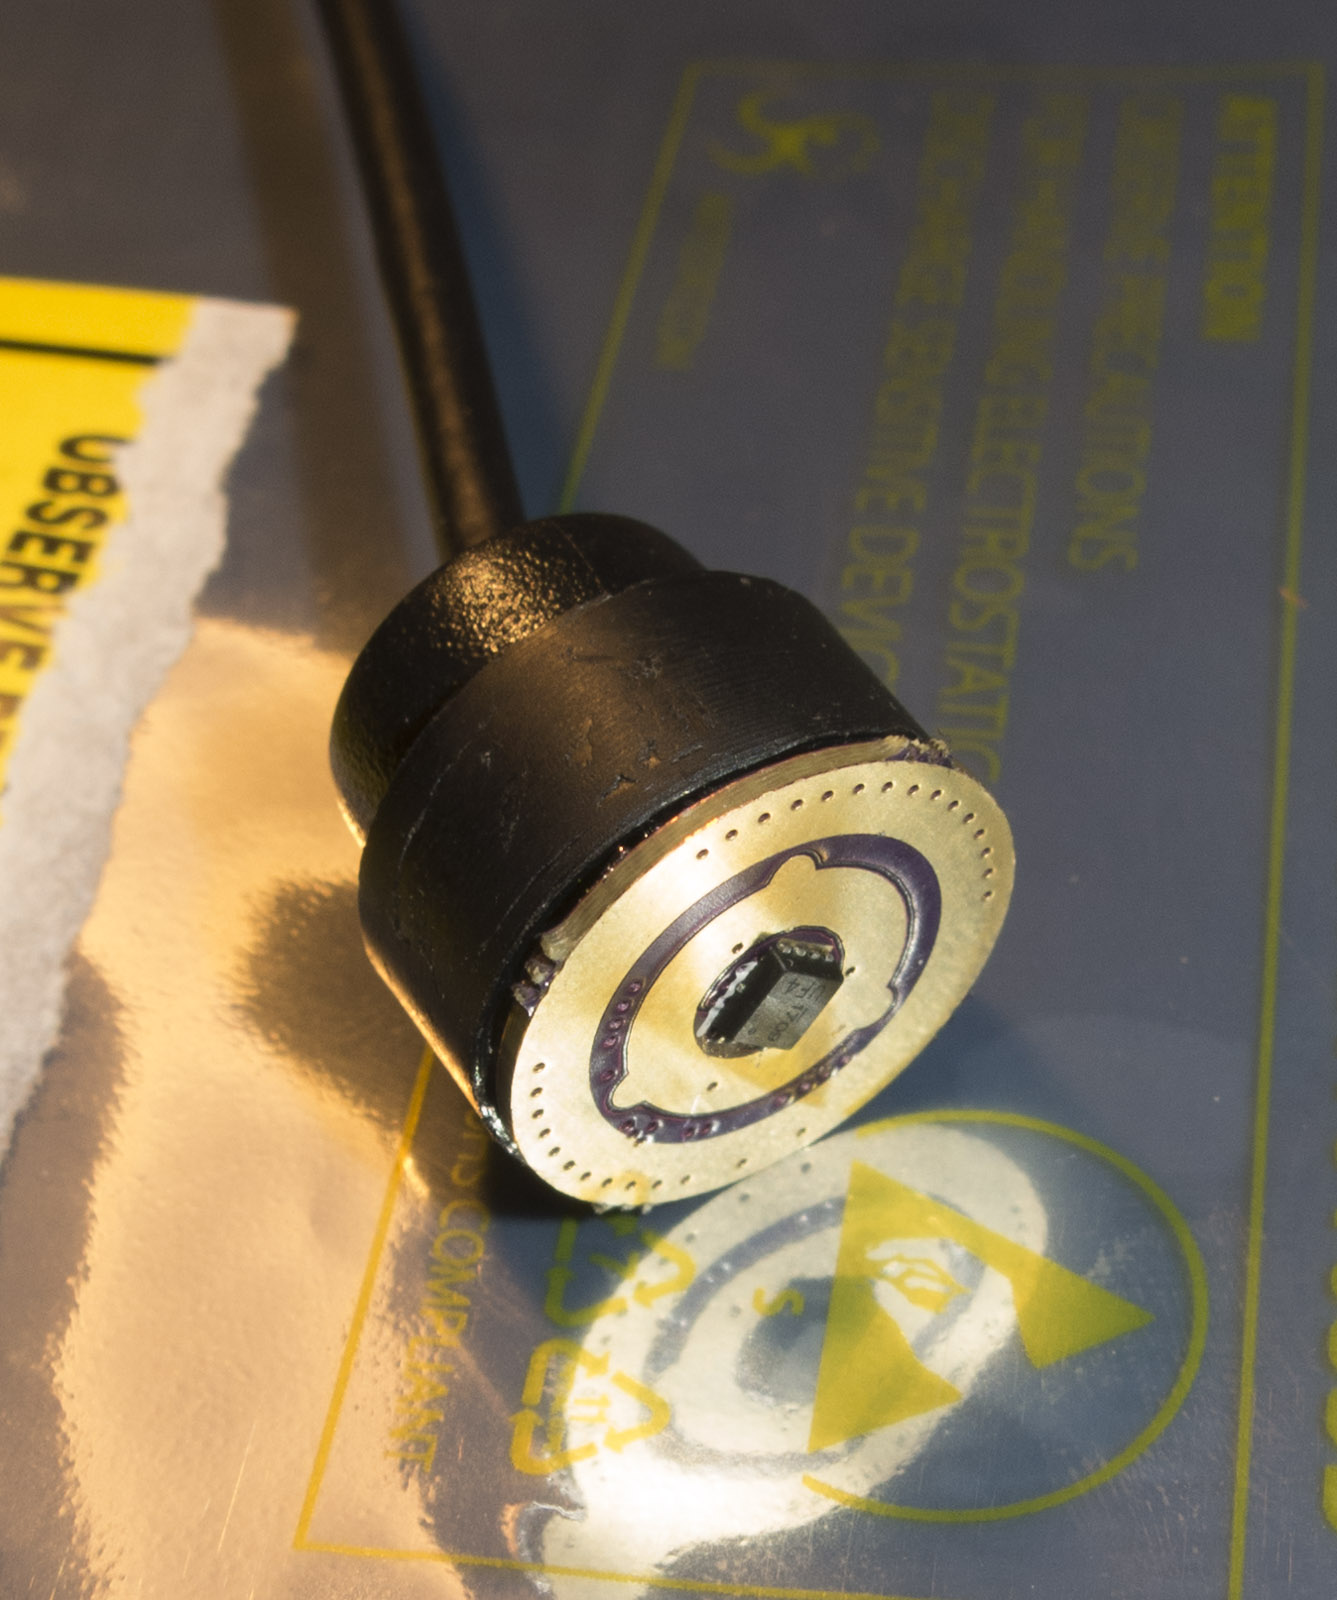
The main thing besides a normal clicky is that most lights tail caps wont allow the added thickness of the battery holder with the switch above it to twist in the retaining ring
I have two boards and have built/tested one of them. Constant on.
I did have to file down the open end of the black plastic insert (that the wire goes through) so the board would be deep enough to allow the retaining ring/screw to crank down on the board properly. I also used some shrink tubing at the wire’s connecting end to the board (and a 16g small wire crimp around it) for strain relief. When I build #2 up I’ll take some pics and post here.

 Lexel explained he was also working on a project here co-designing a driver that would work best for a hunting rig like mine (one mode- off and on). Wondering if this driver (or one like it) could be used with the 3 LED kit for say somewhere around 4k lumen (from one 18650)?