Hello,
this is actually my first post on this forum and also my first attempt at building a flash light.
Some people might know me as the inventor of flash light accesories like eg. this pathetic attempt at building a alternative for a Cap flash light.
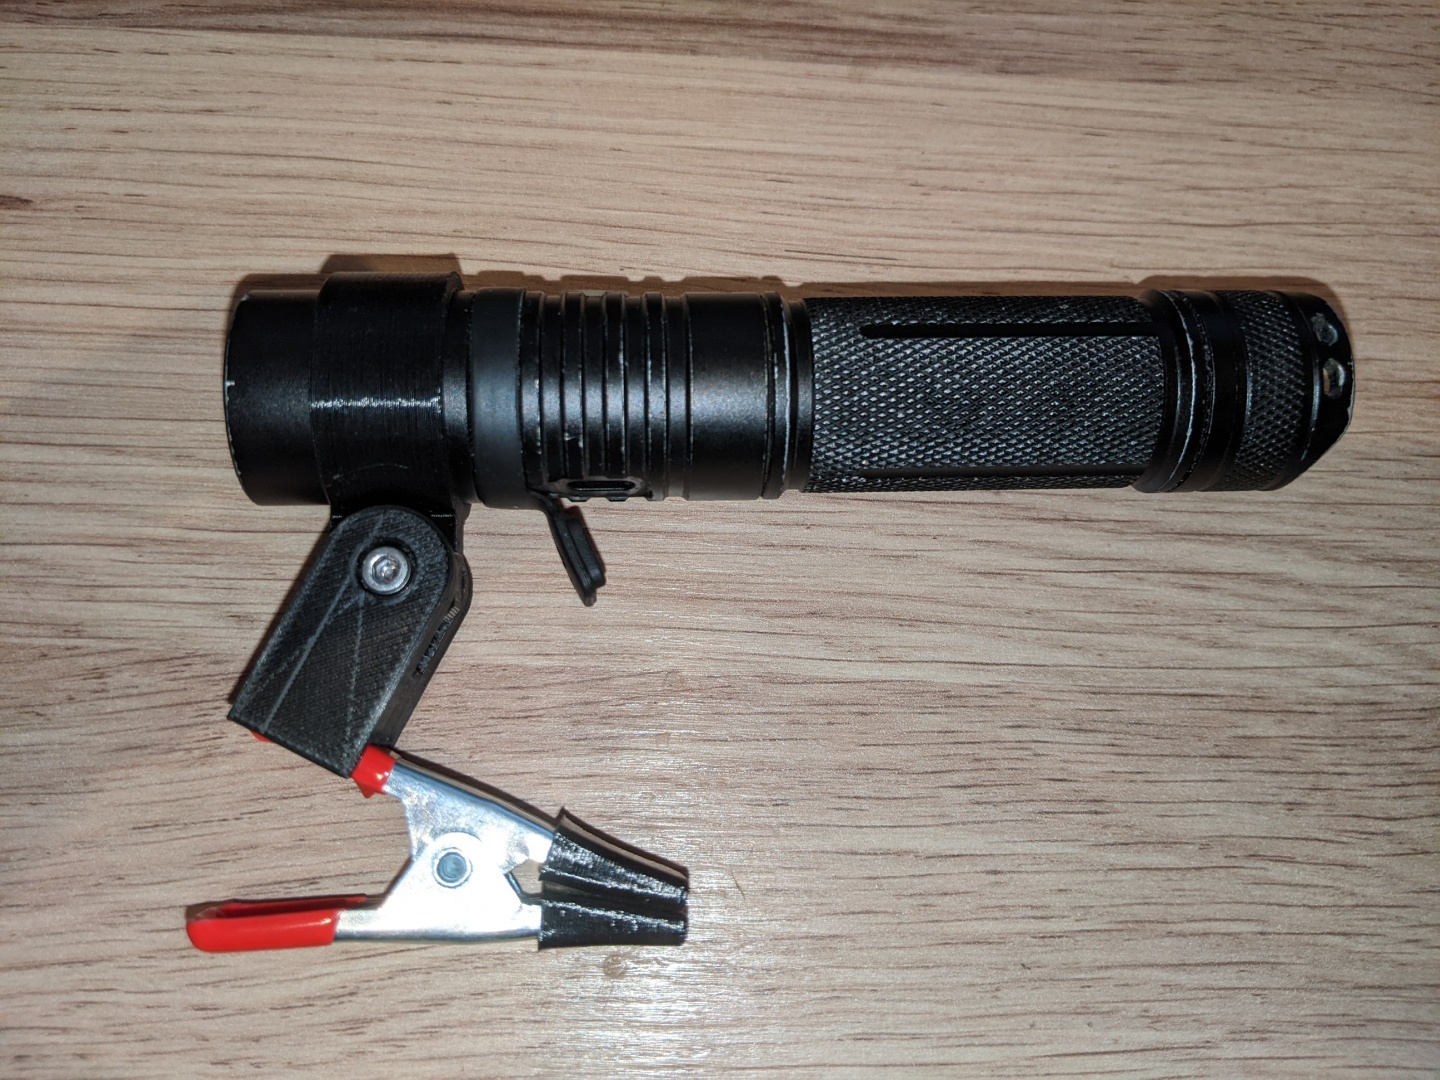
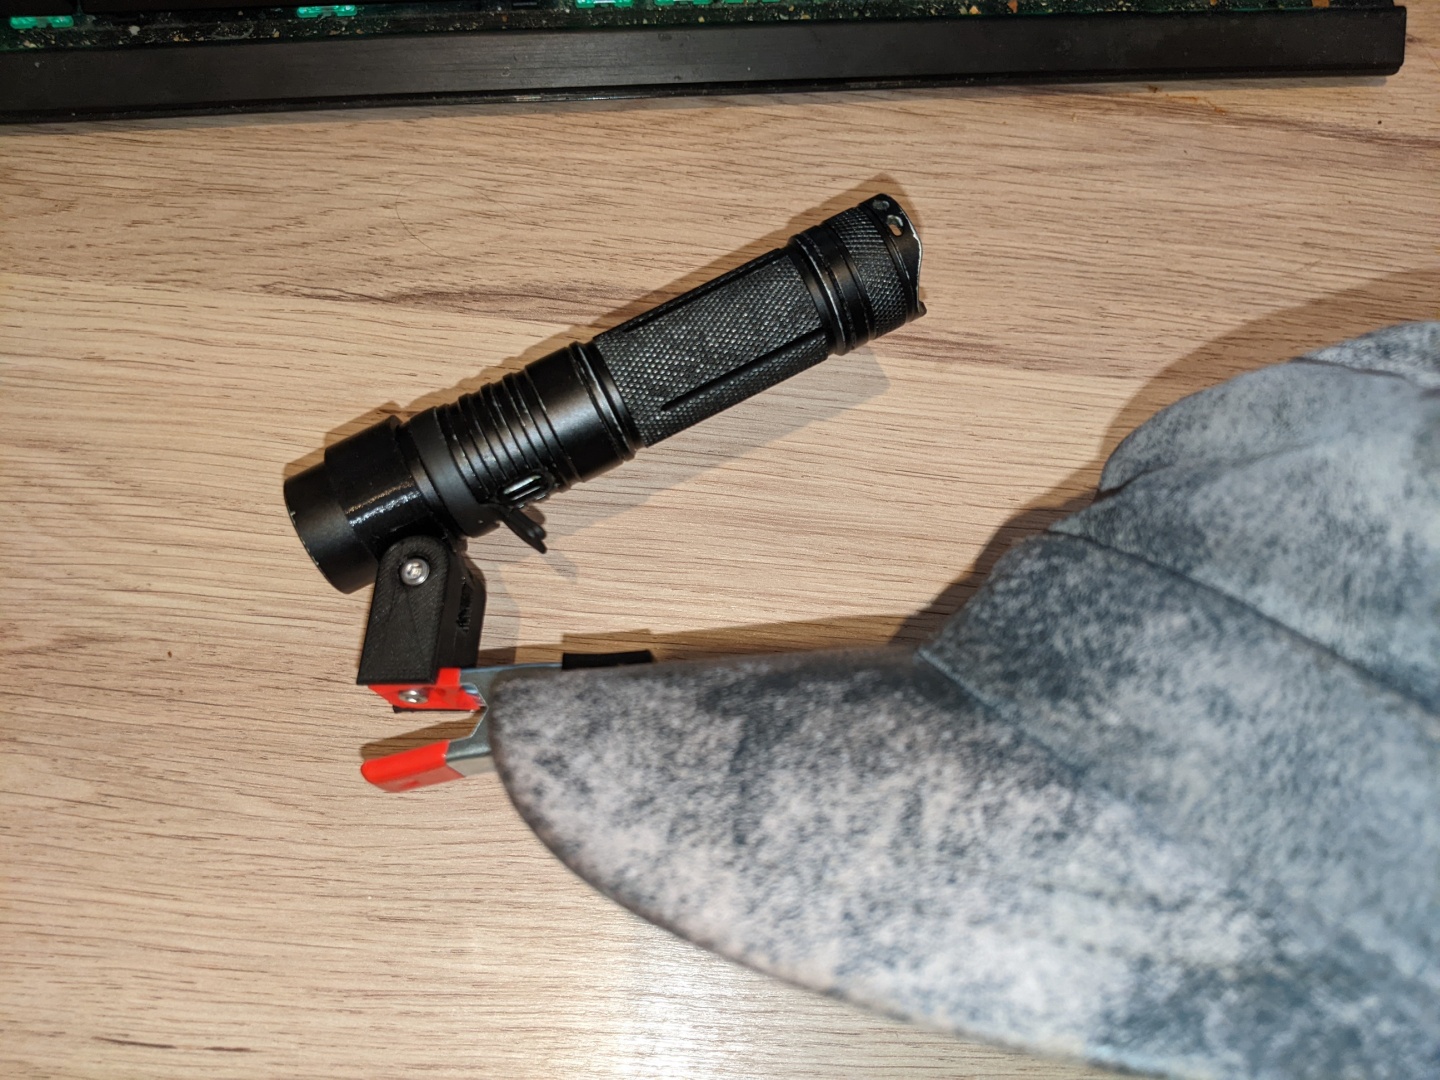
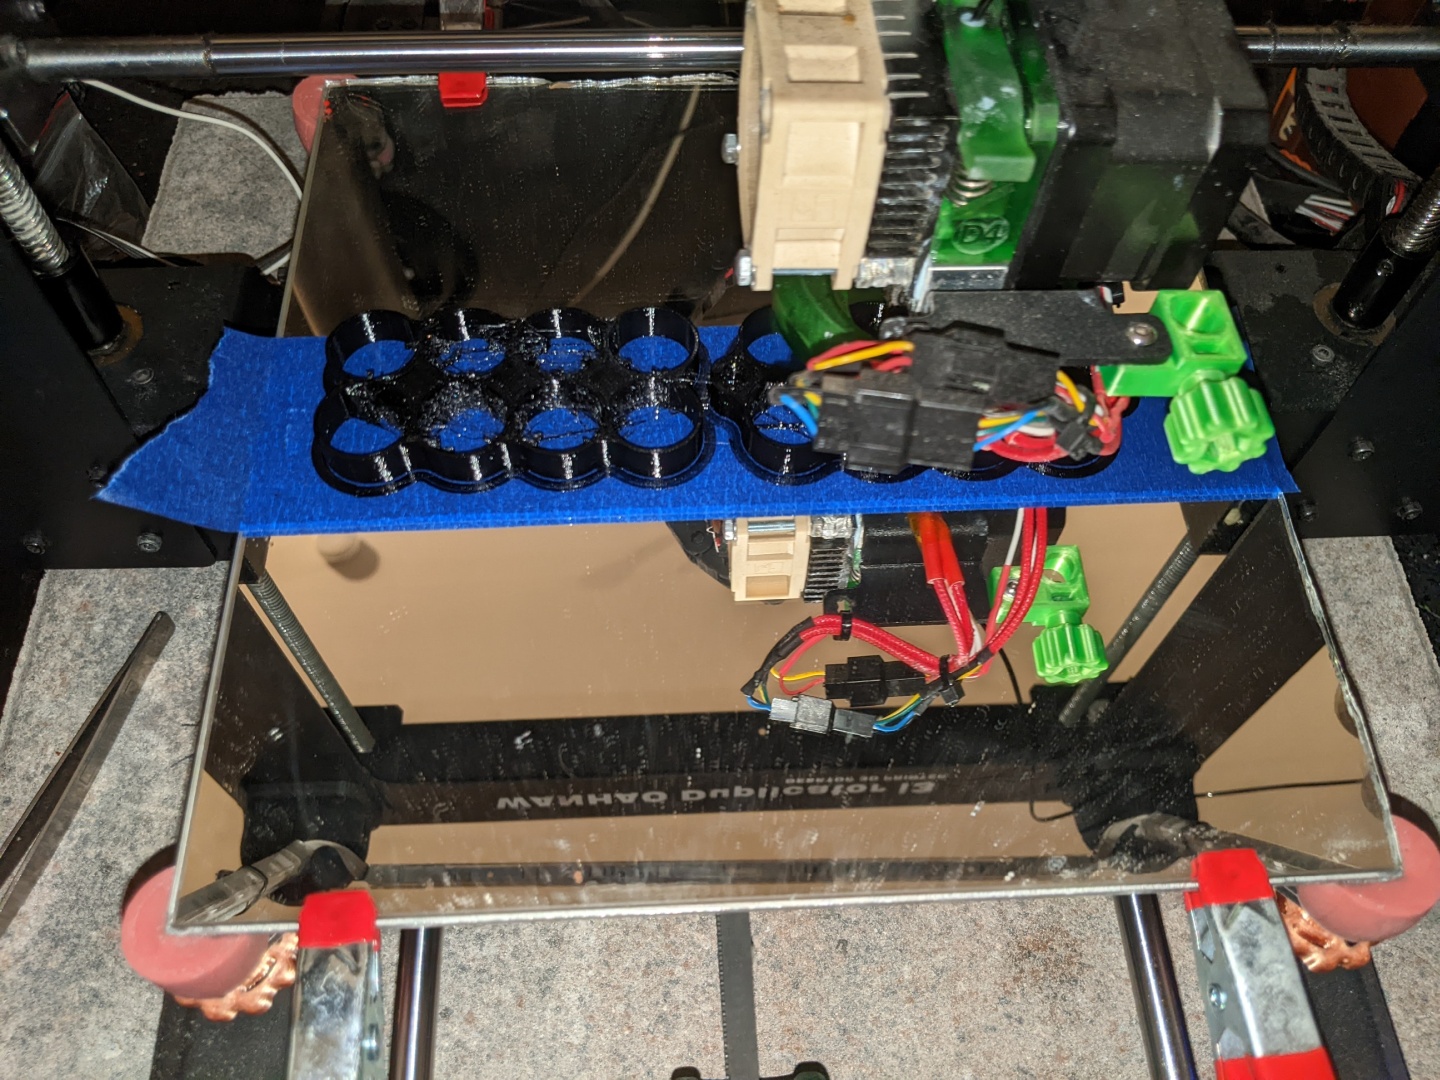
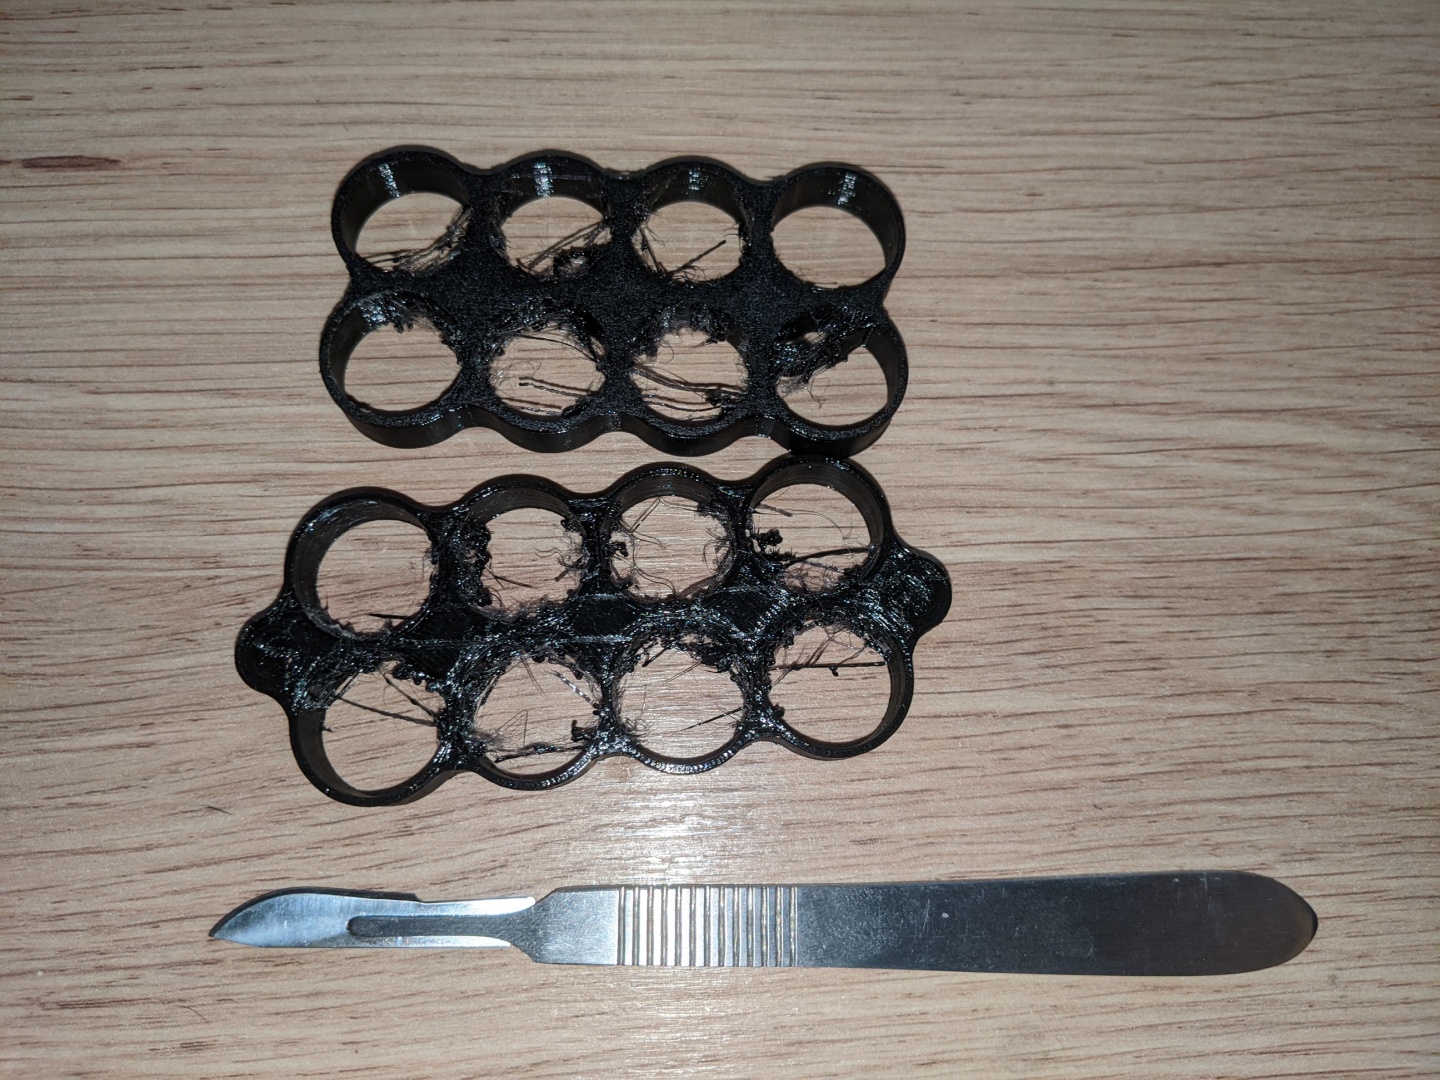
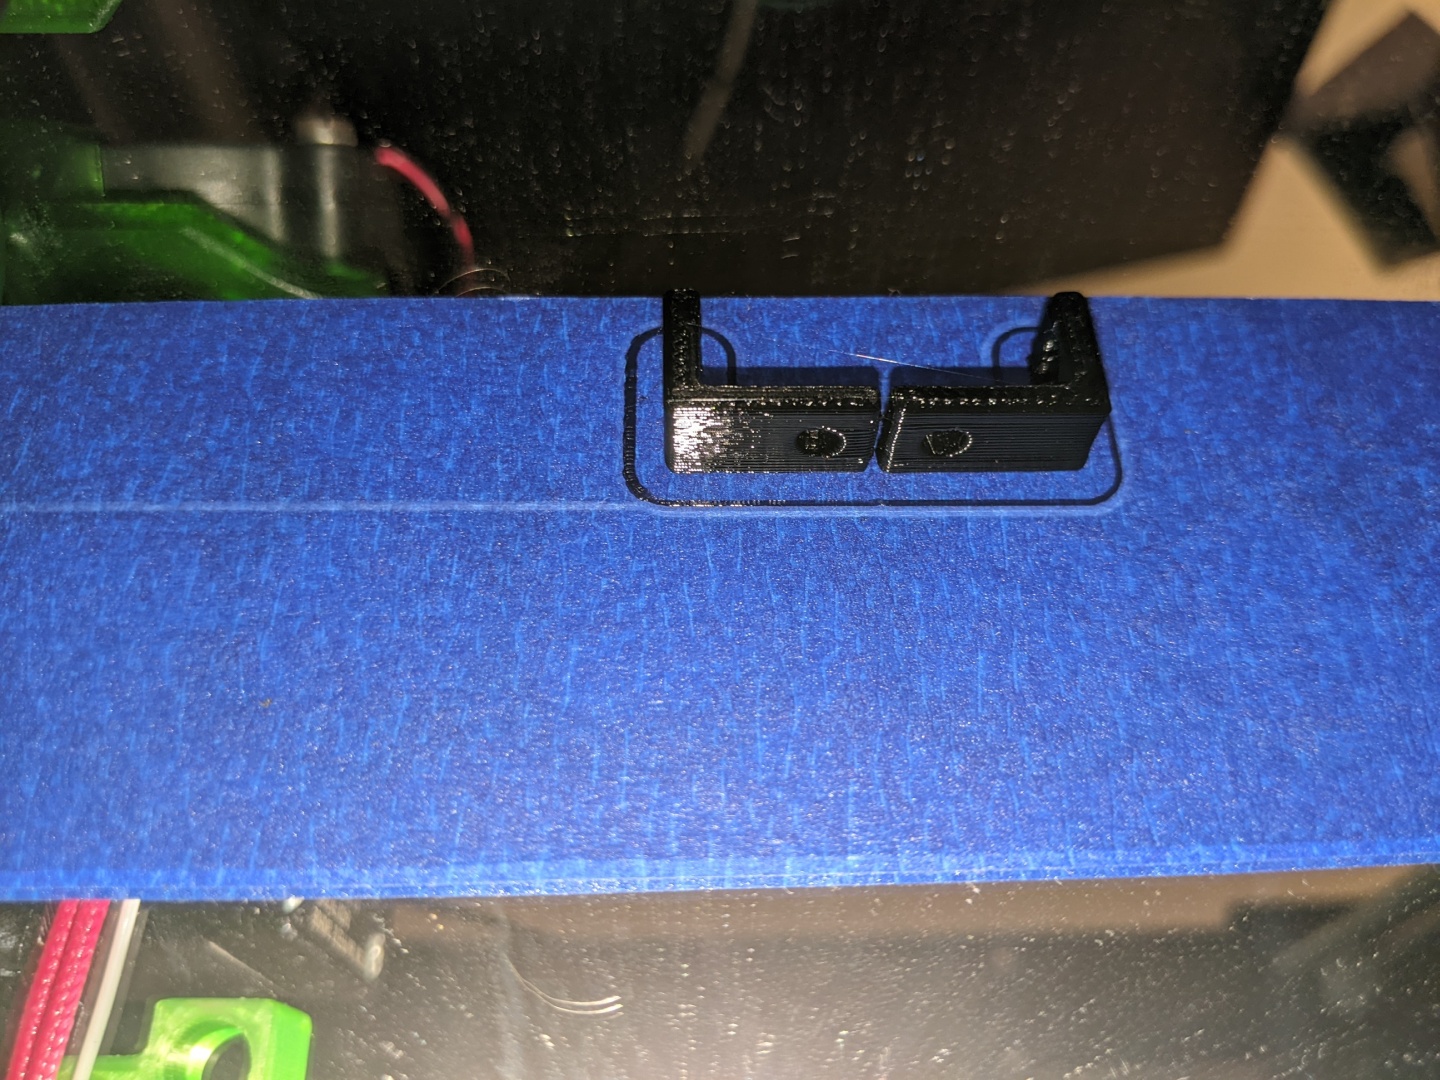
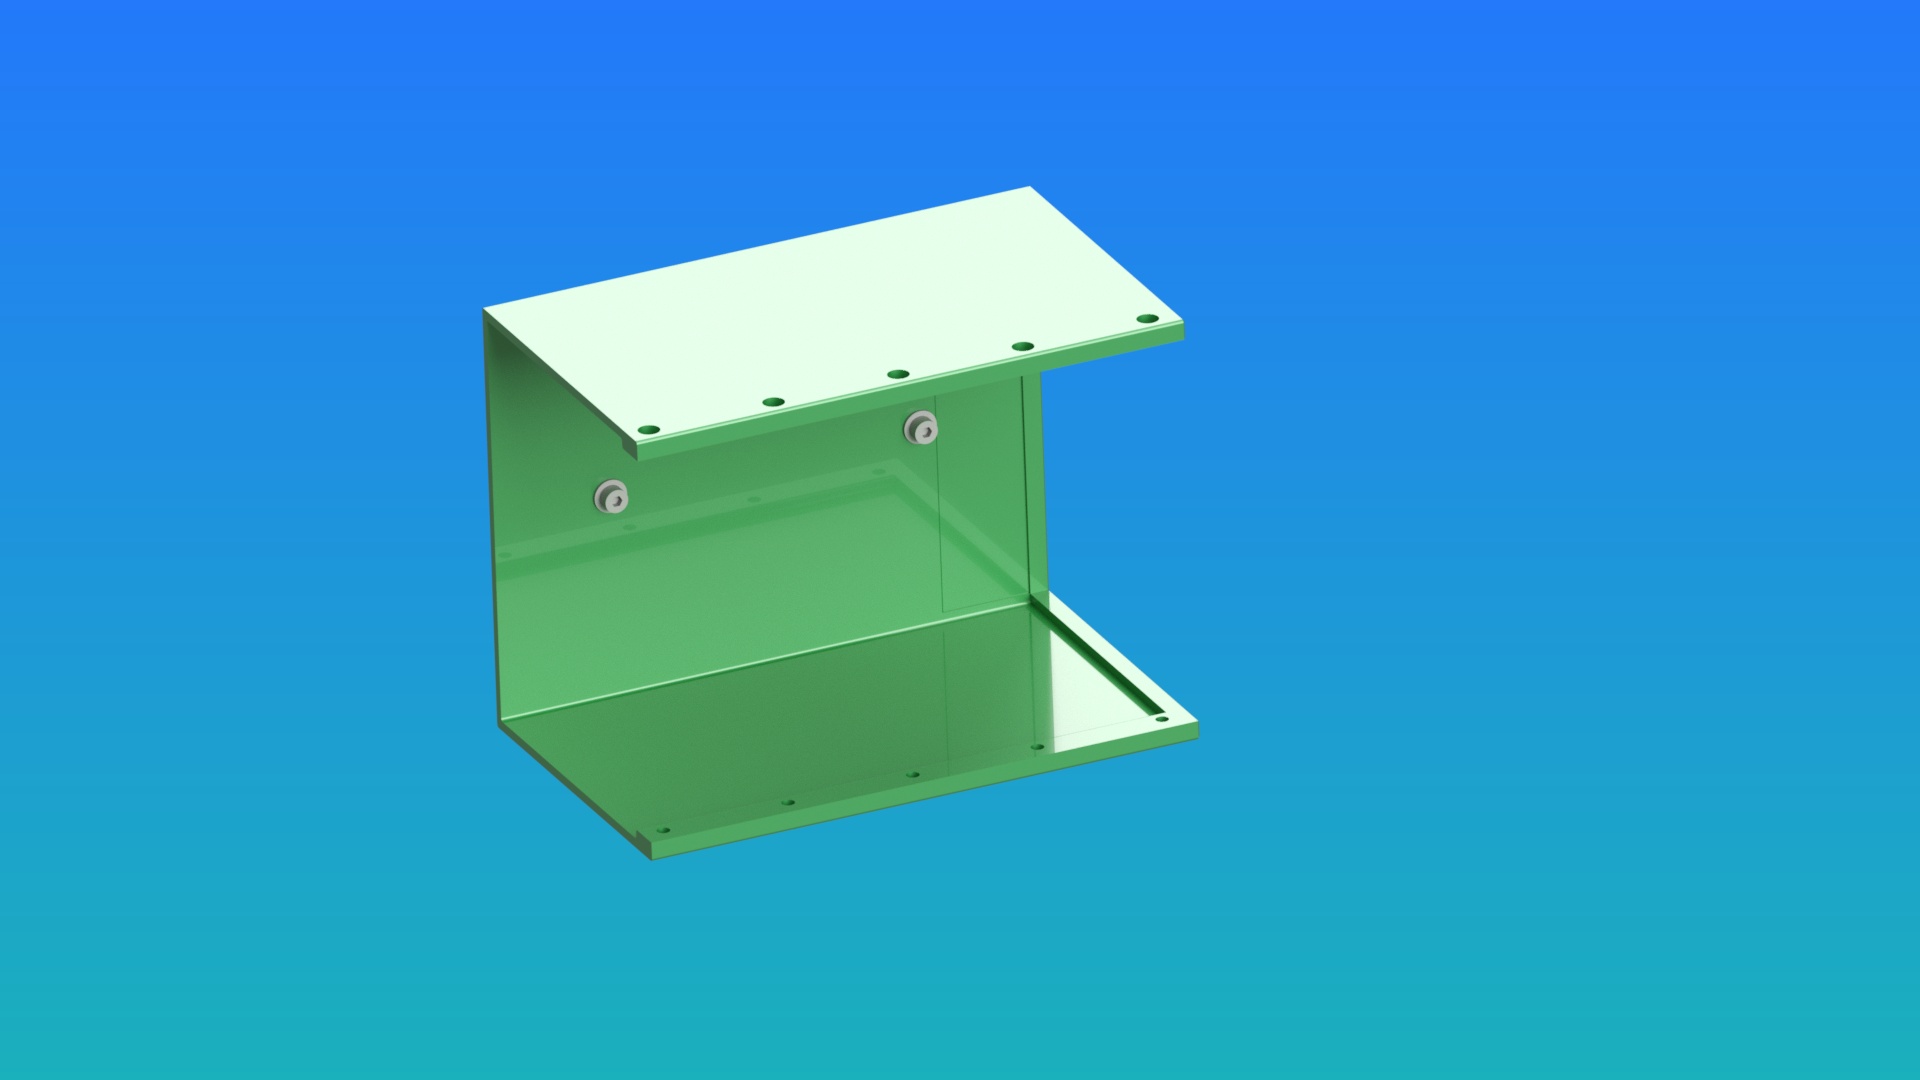
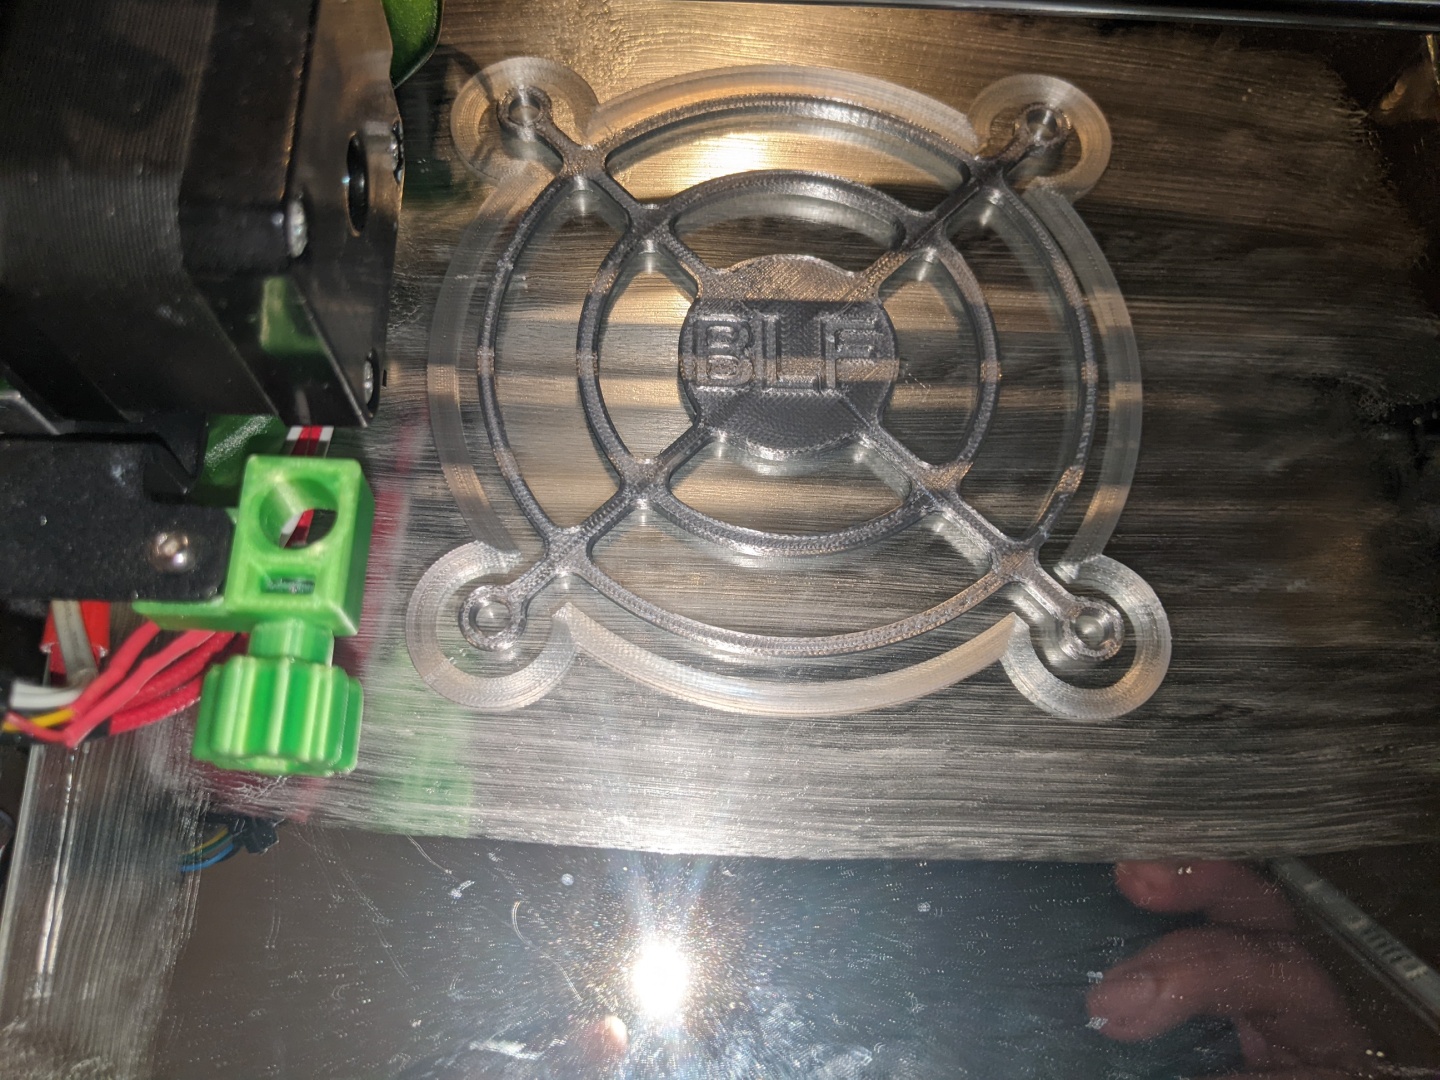
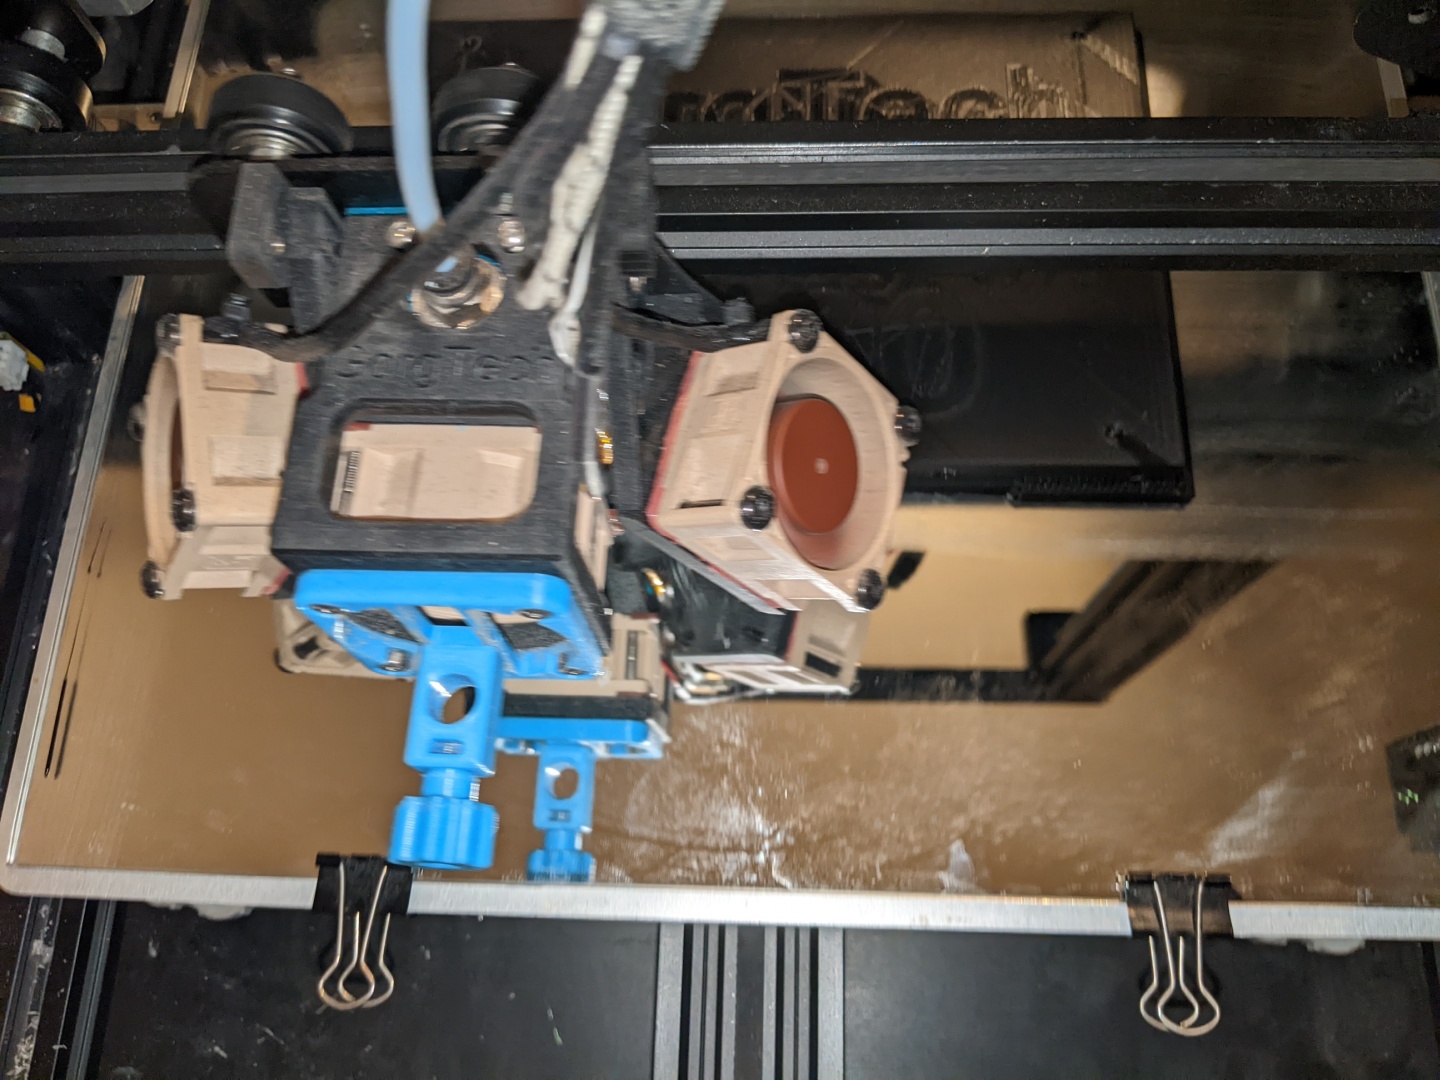
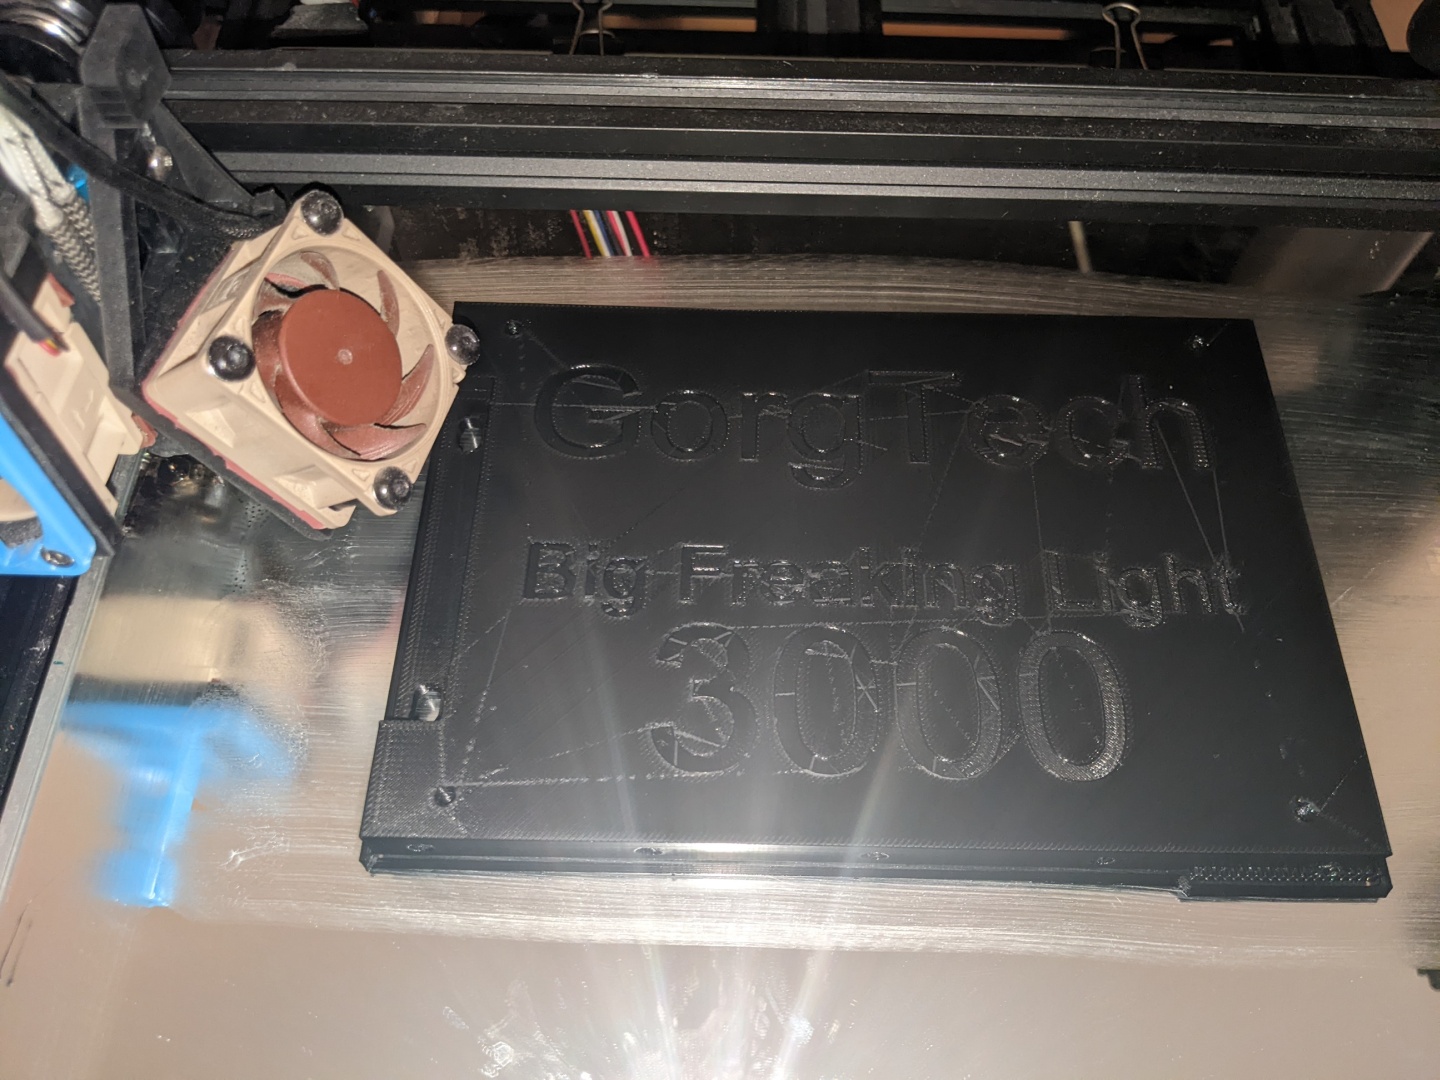
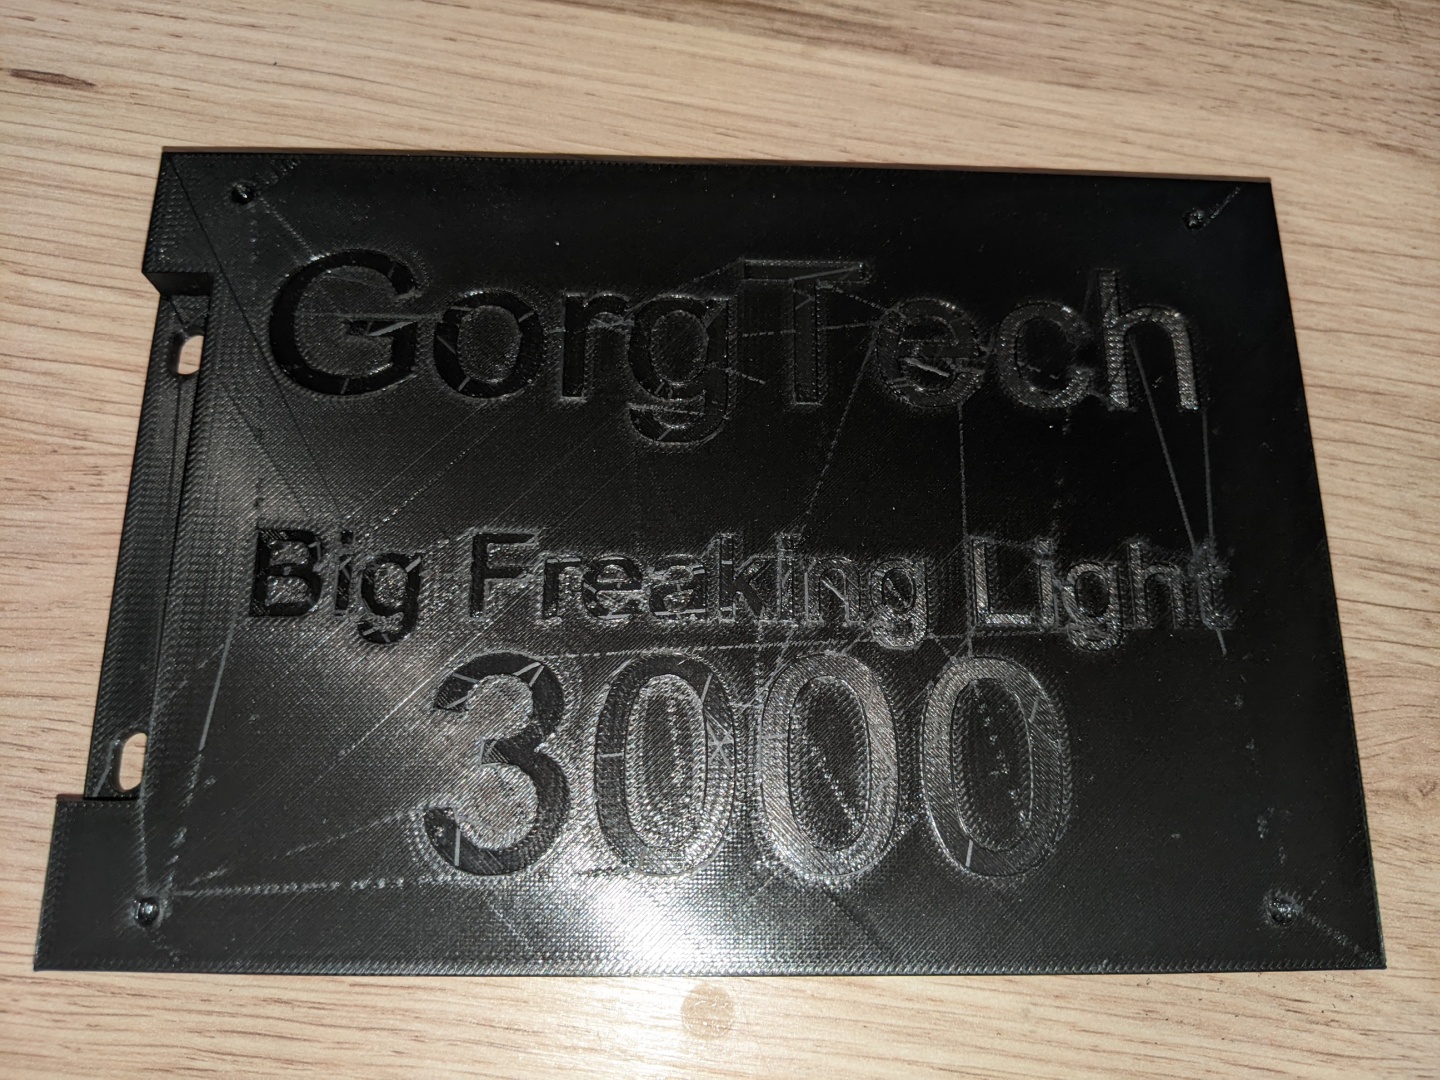
I will design some required parts in CAD and use my 3D Printers in order to manufacture them, though most of the labour will be hand made.
Here are some specifications of this Project:
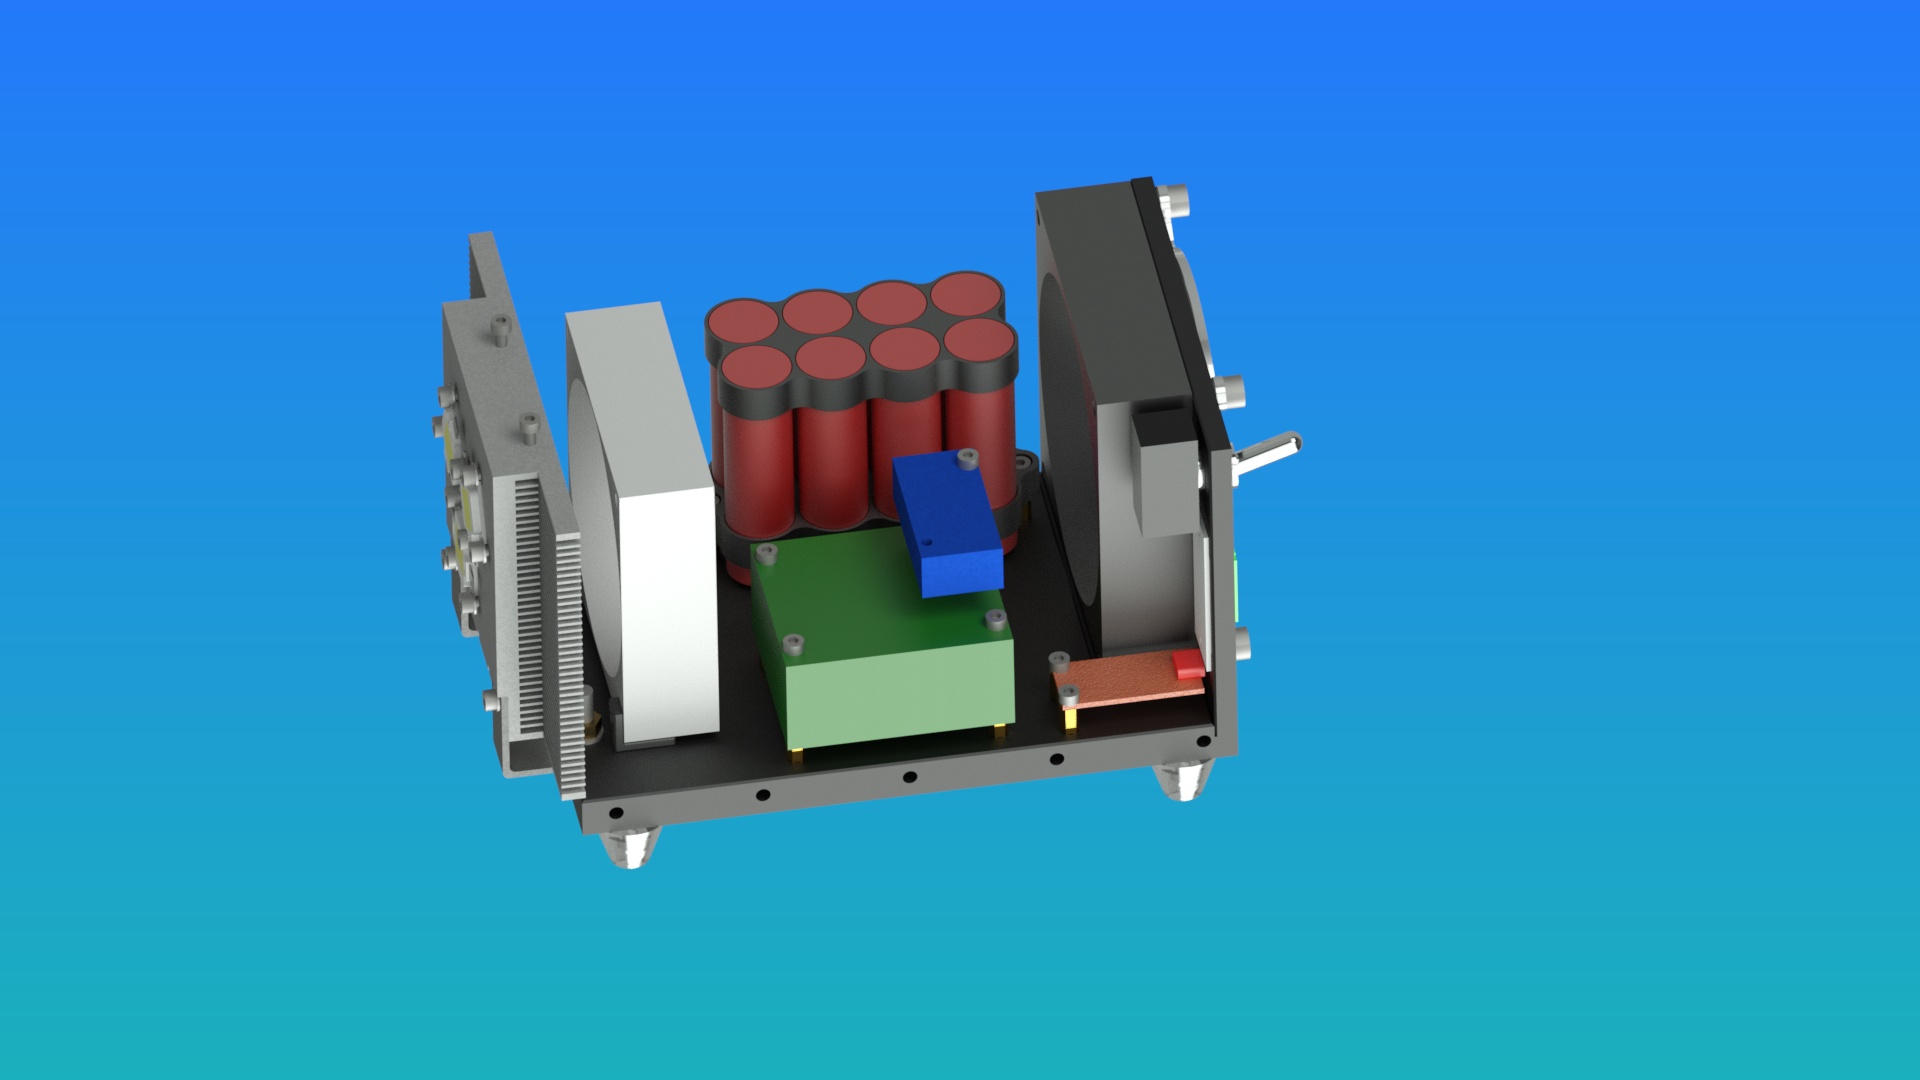
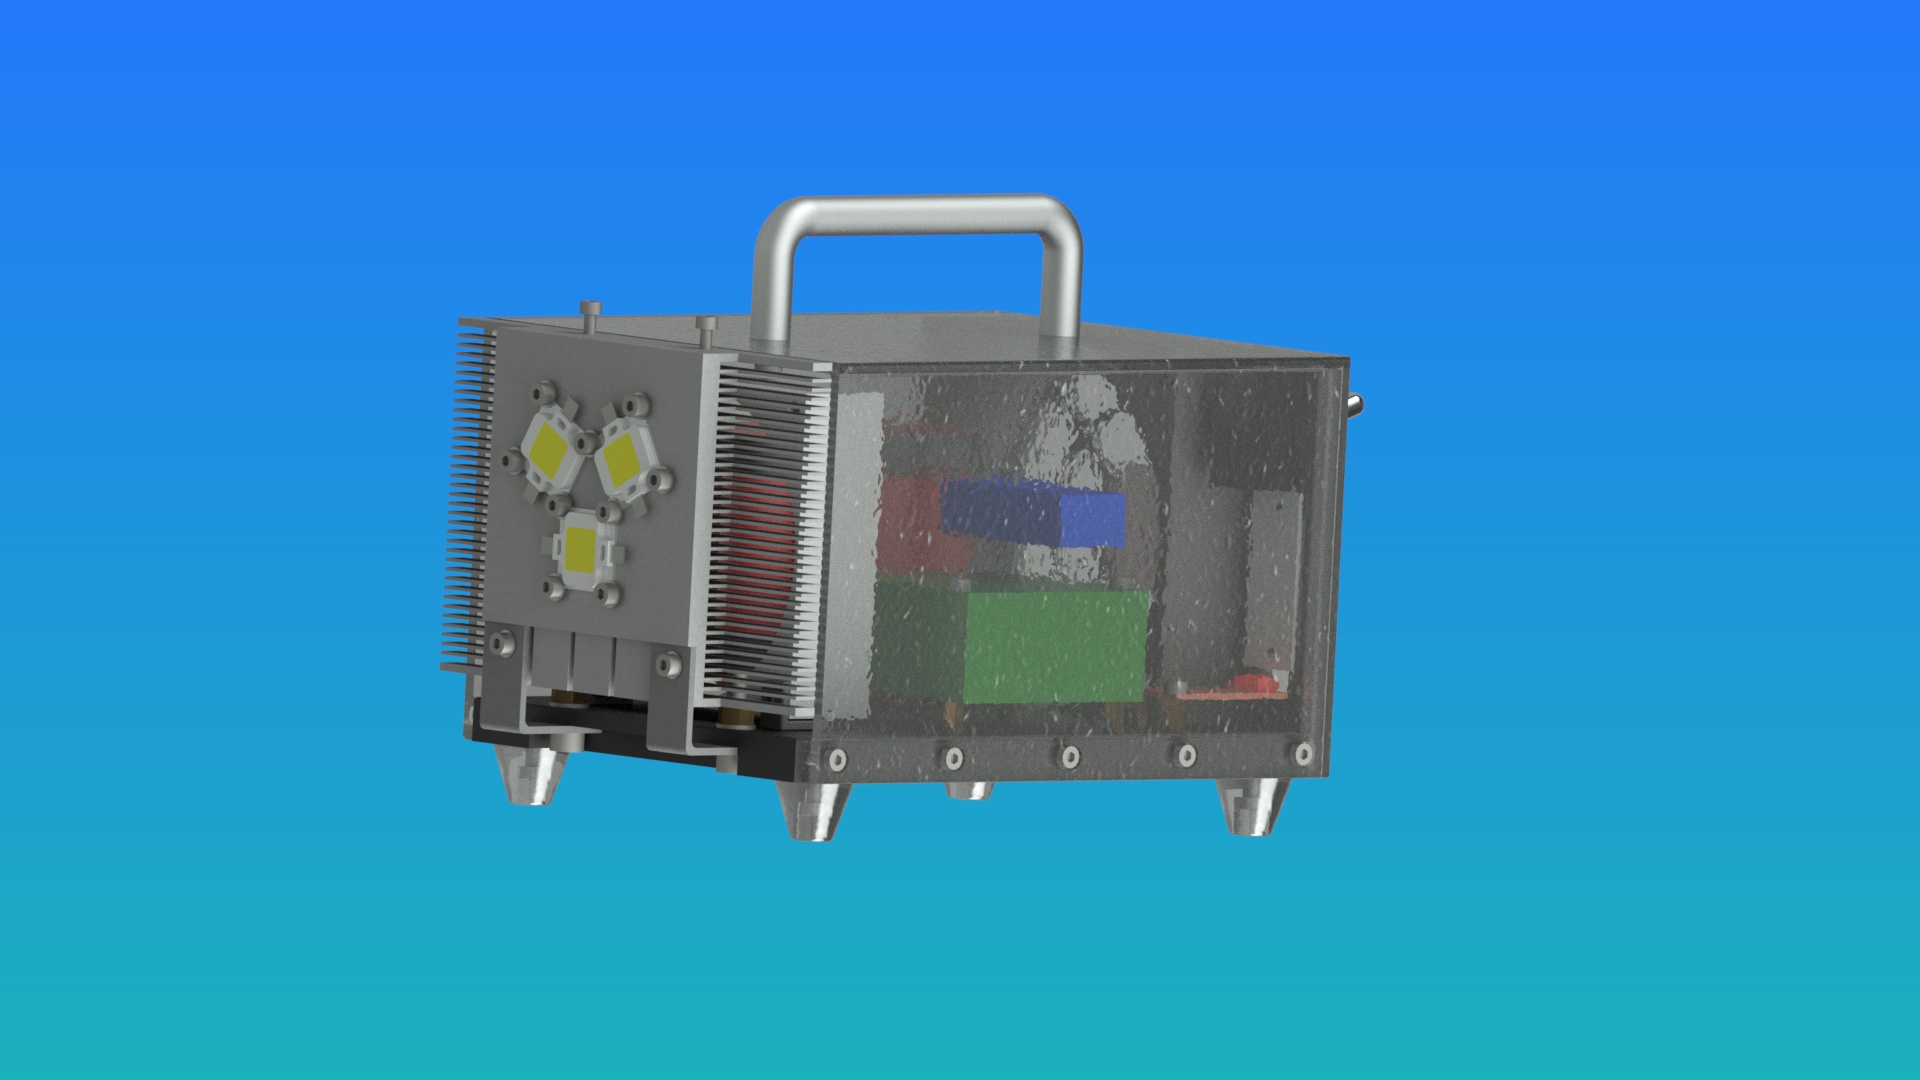
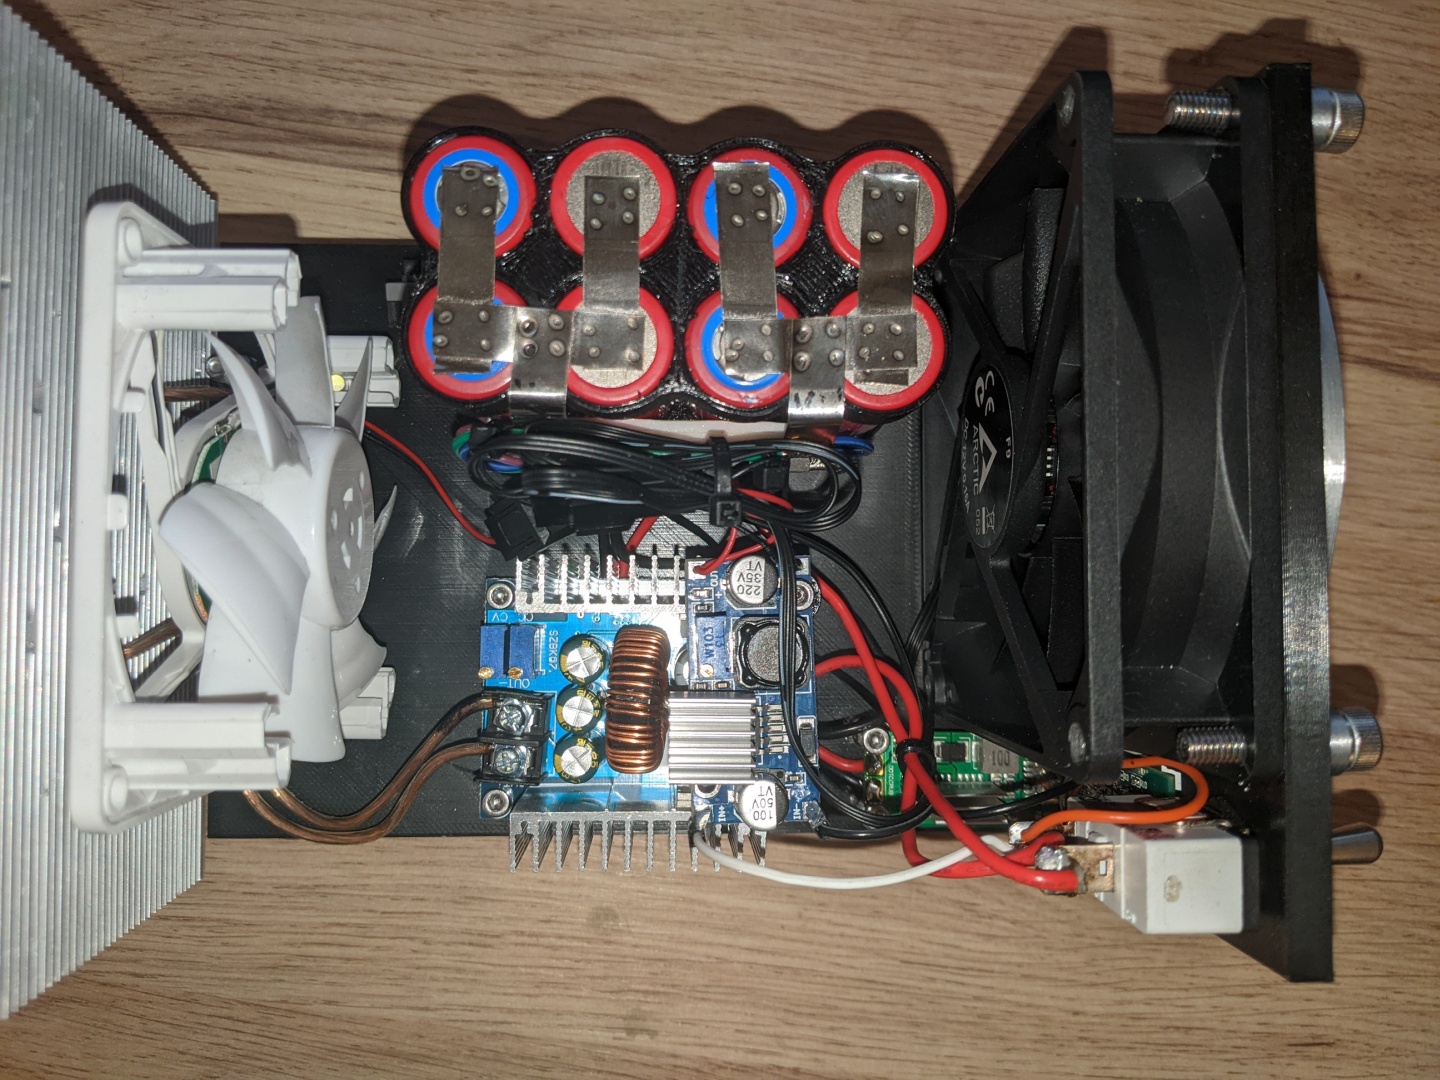
- 3x10W LEDs driven at around 1A each
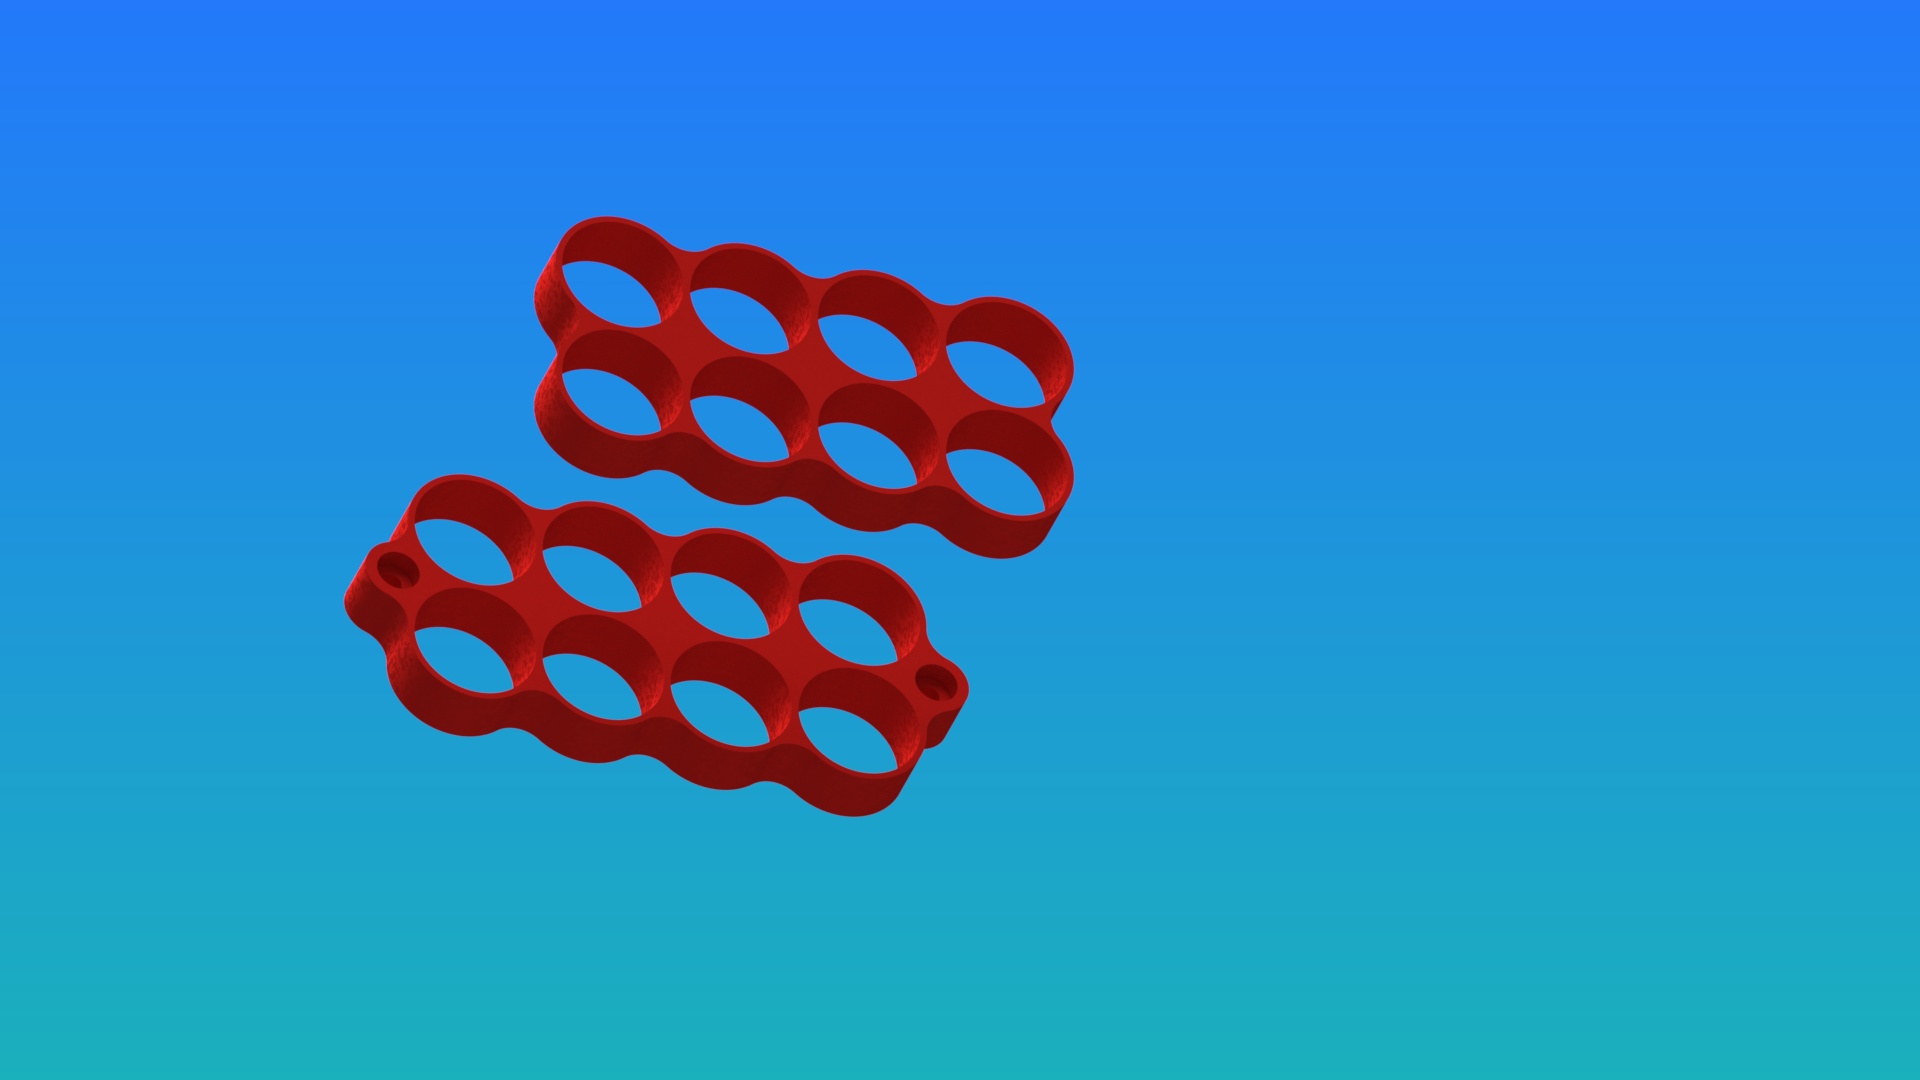
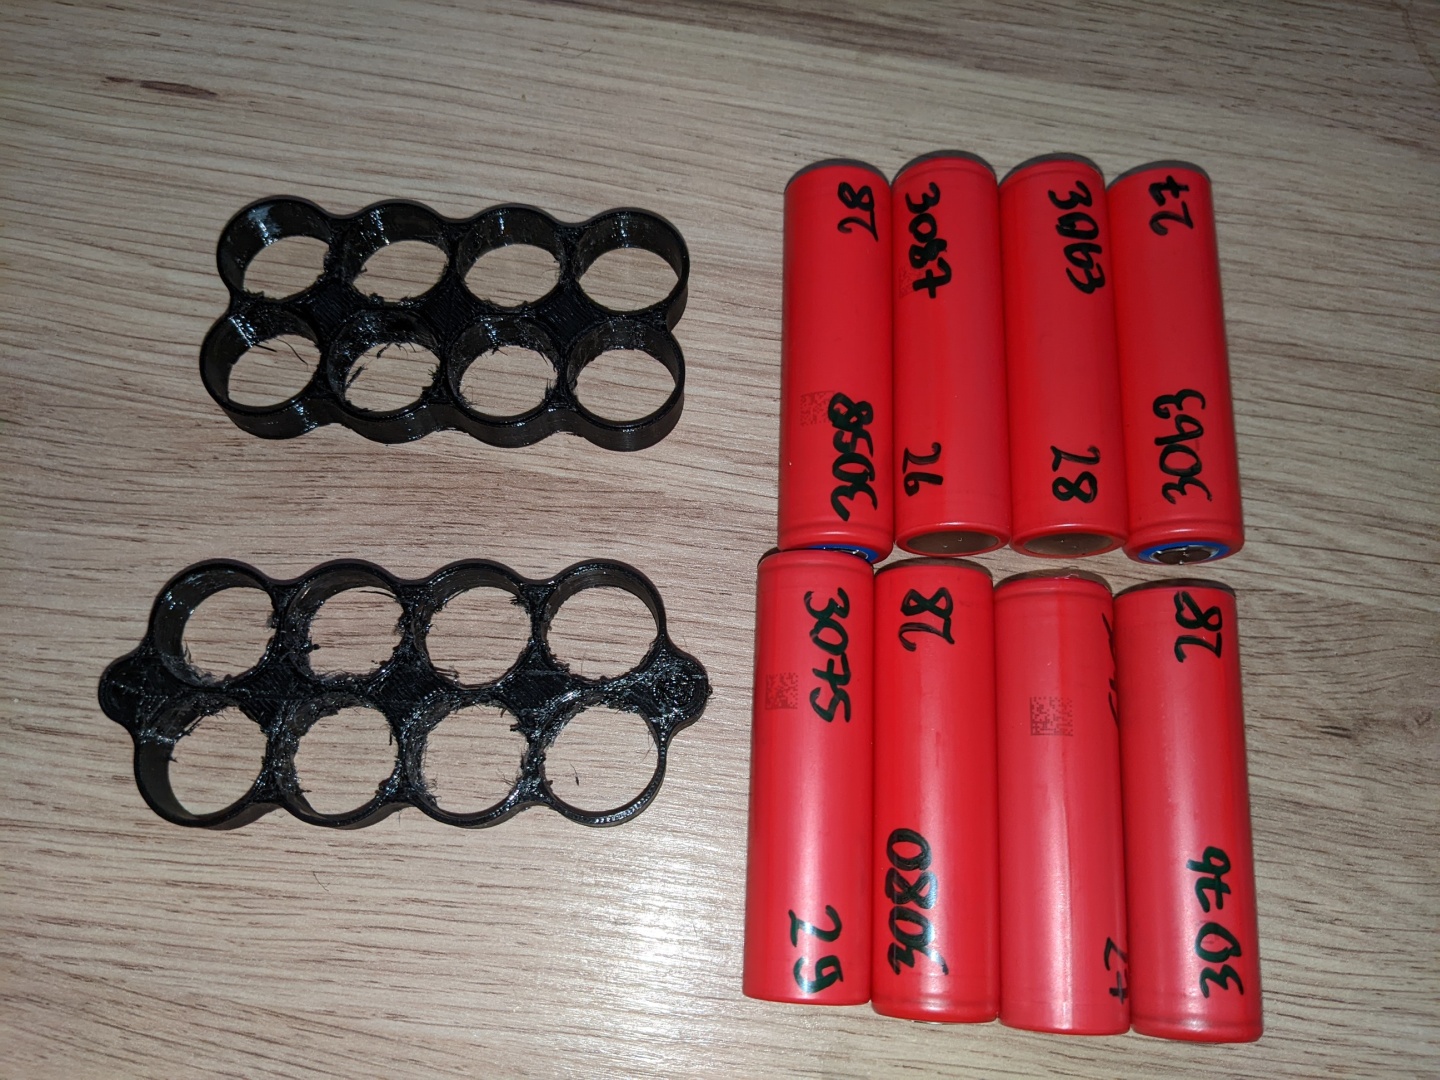
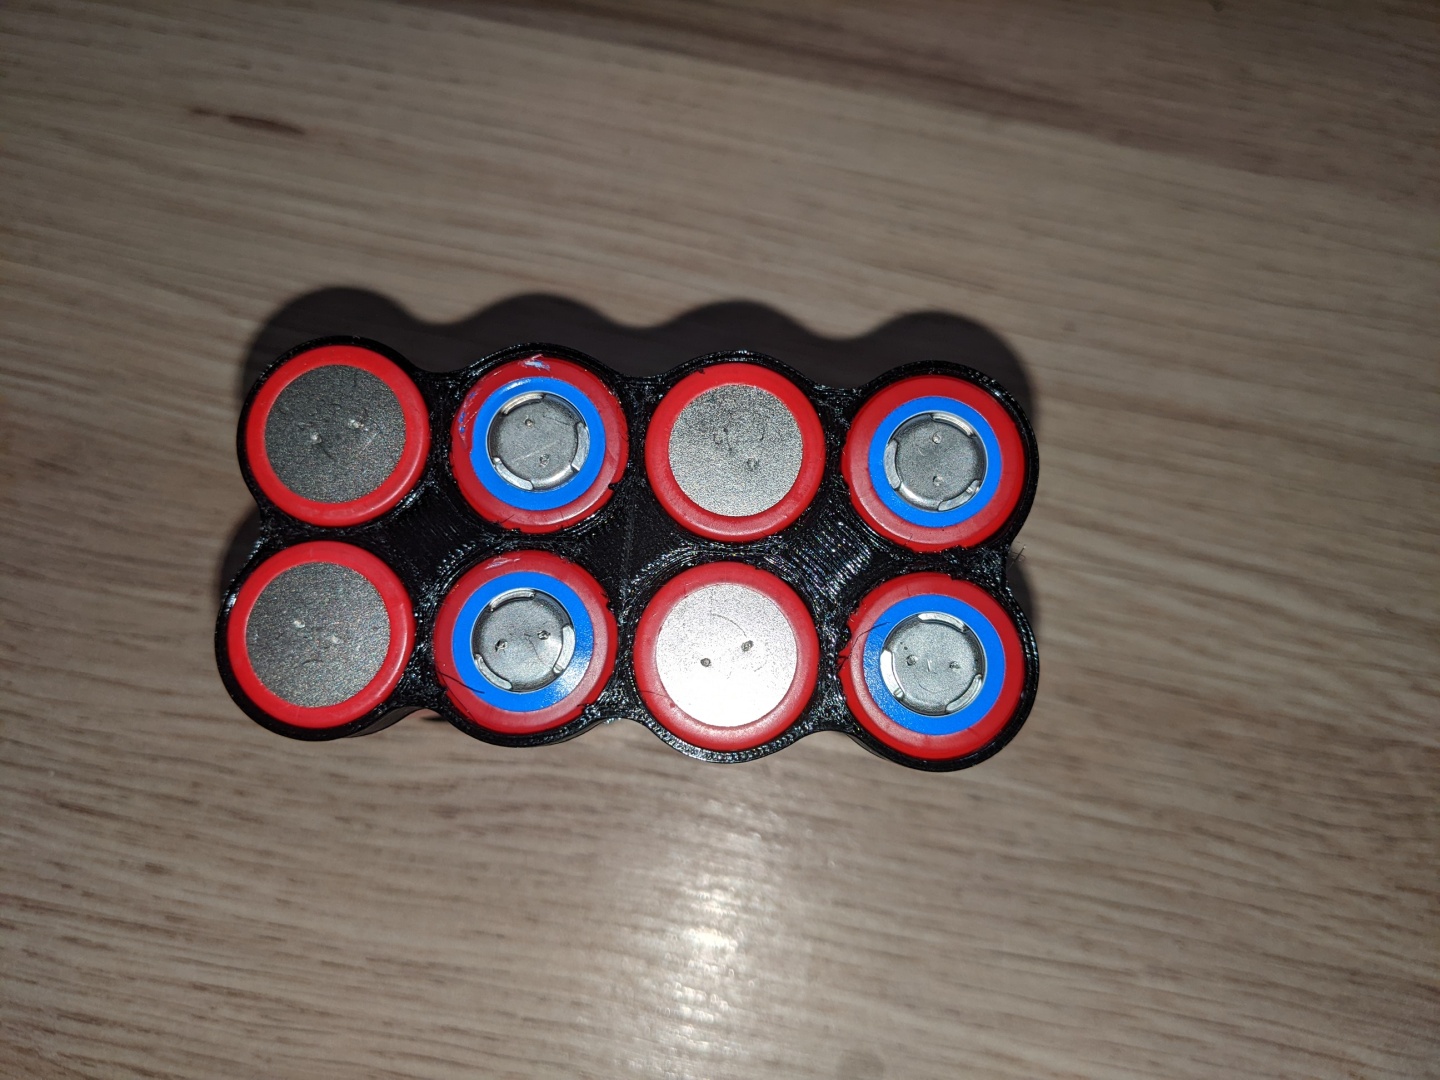
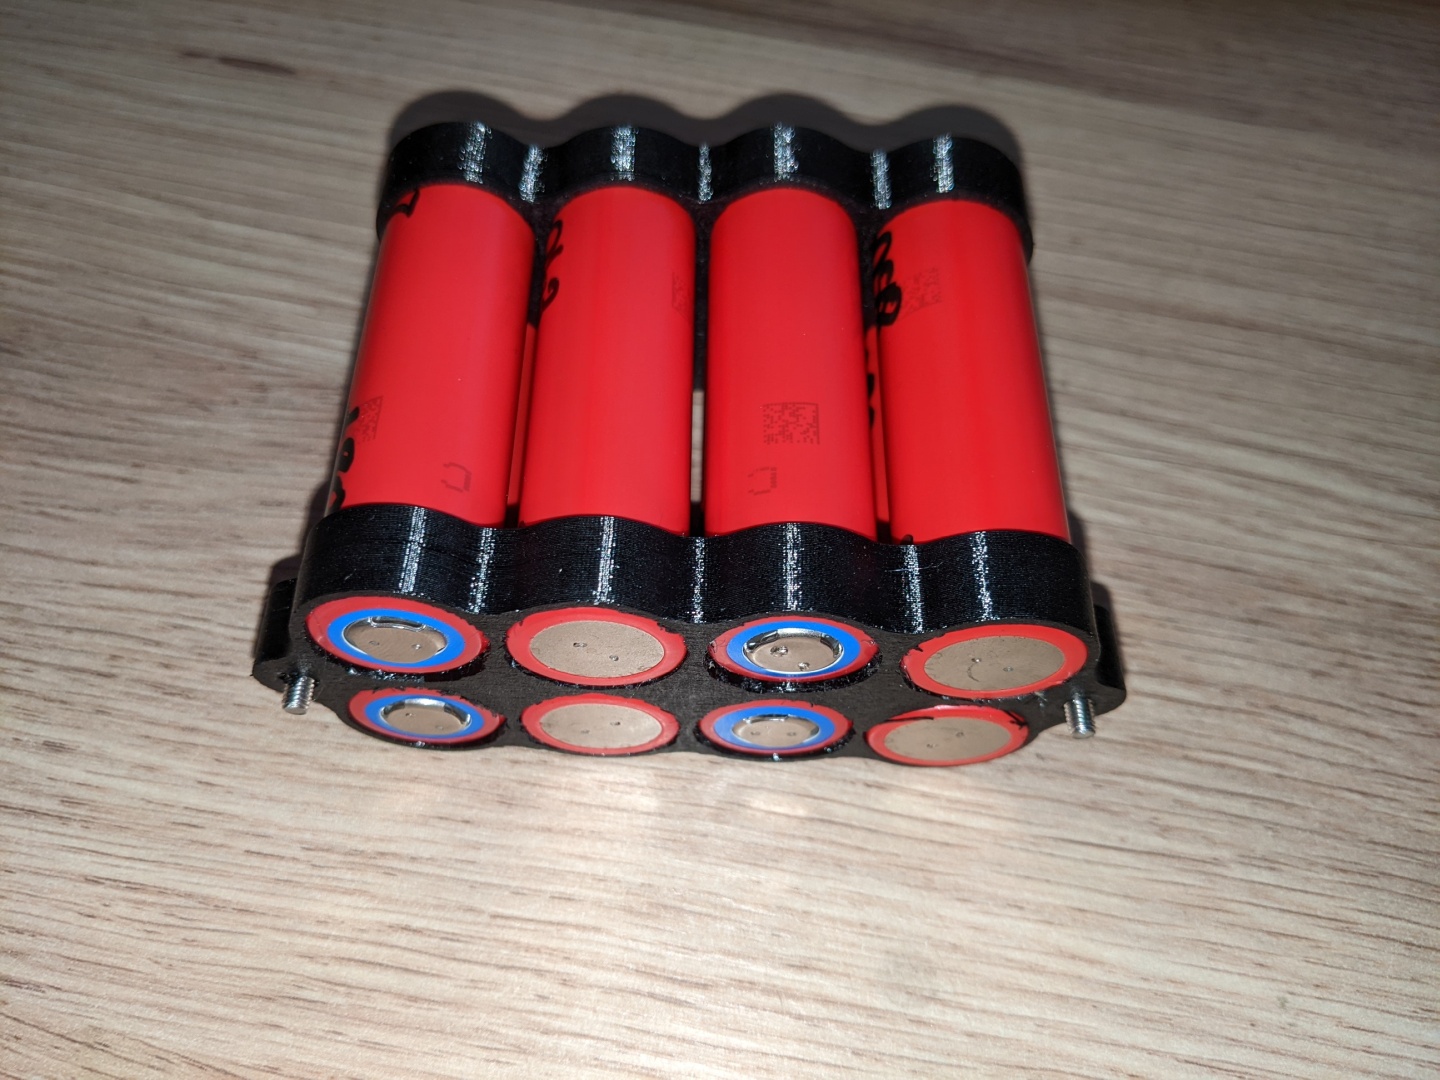
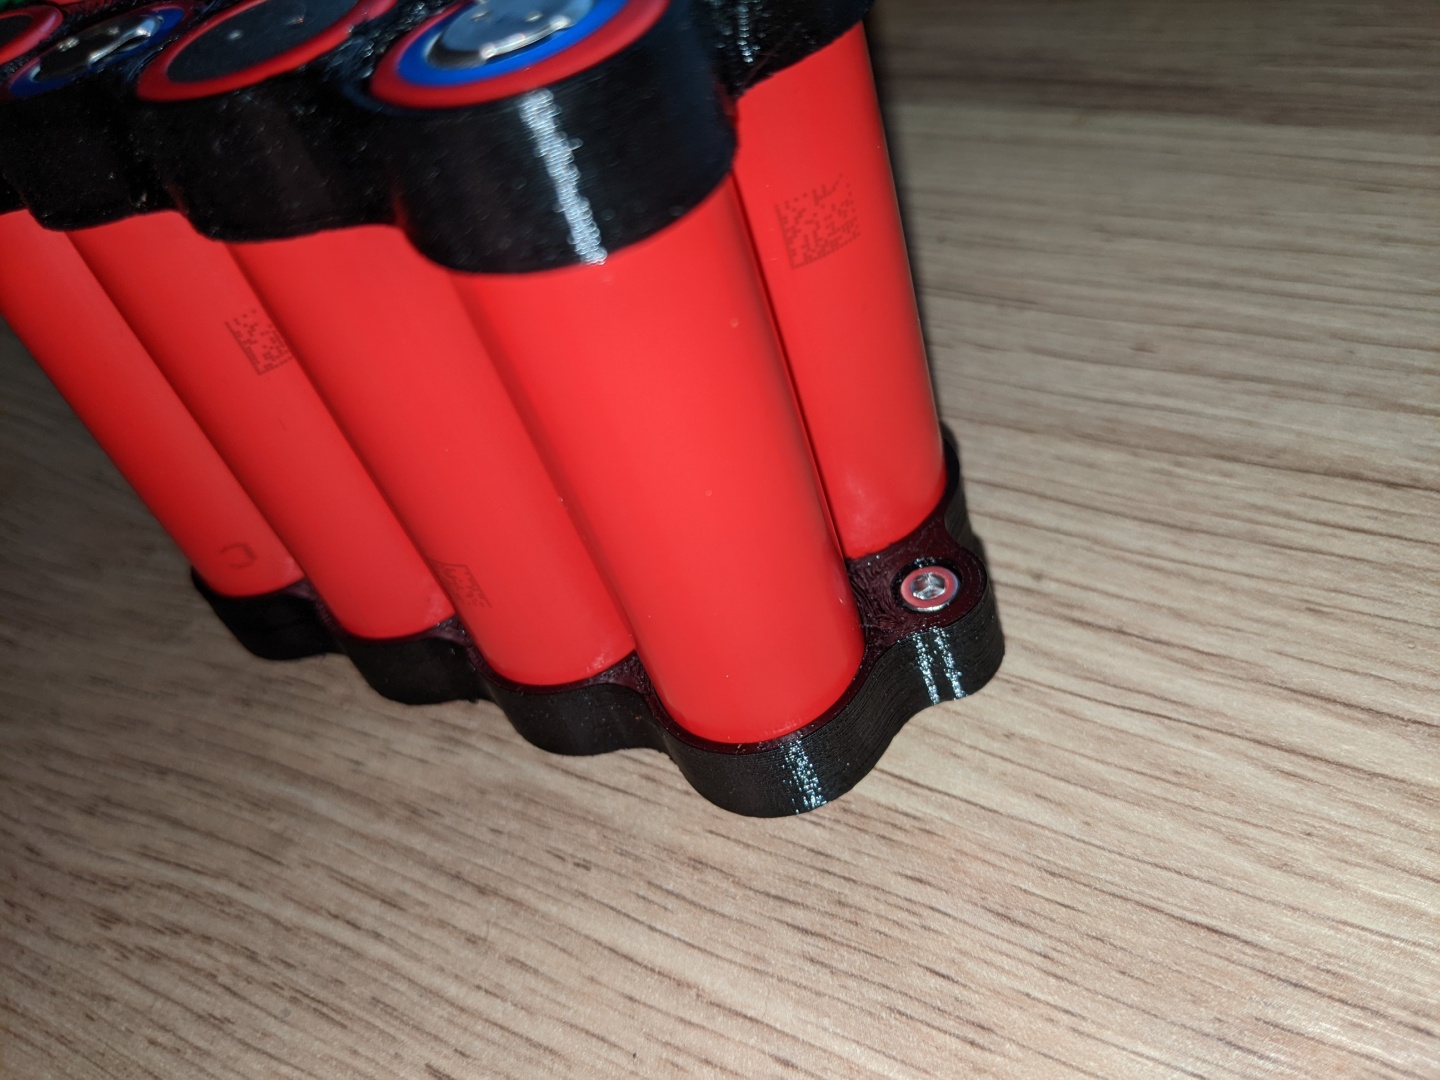
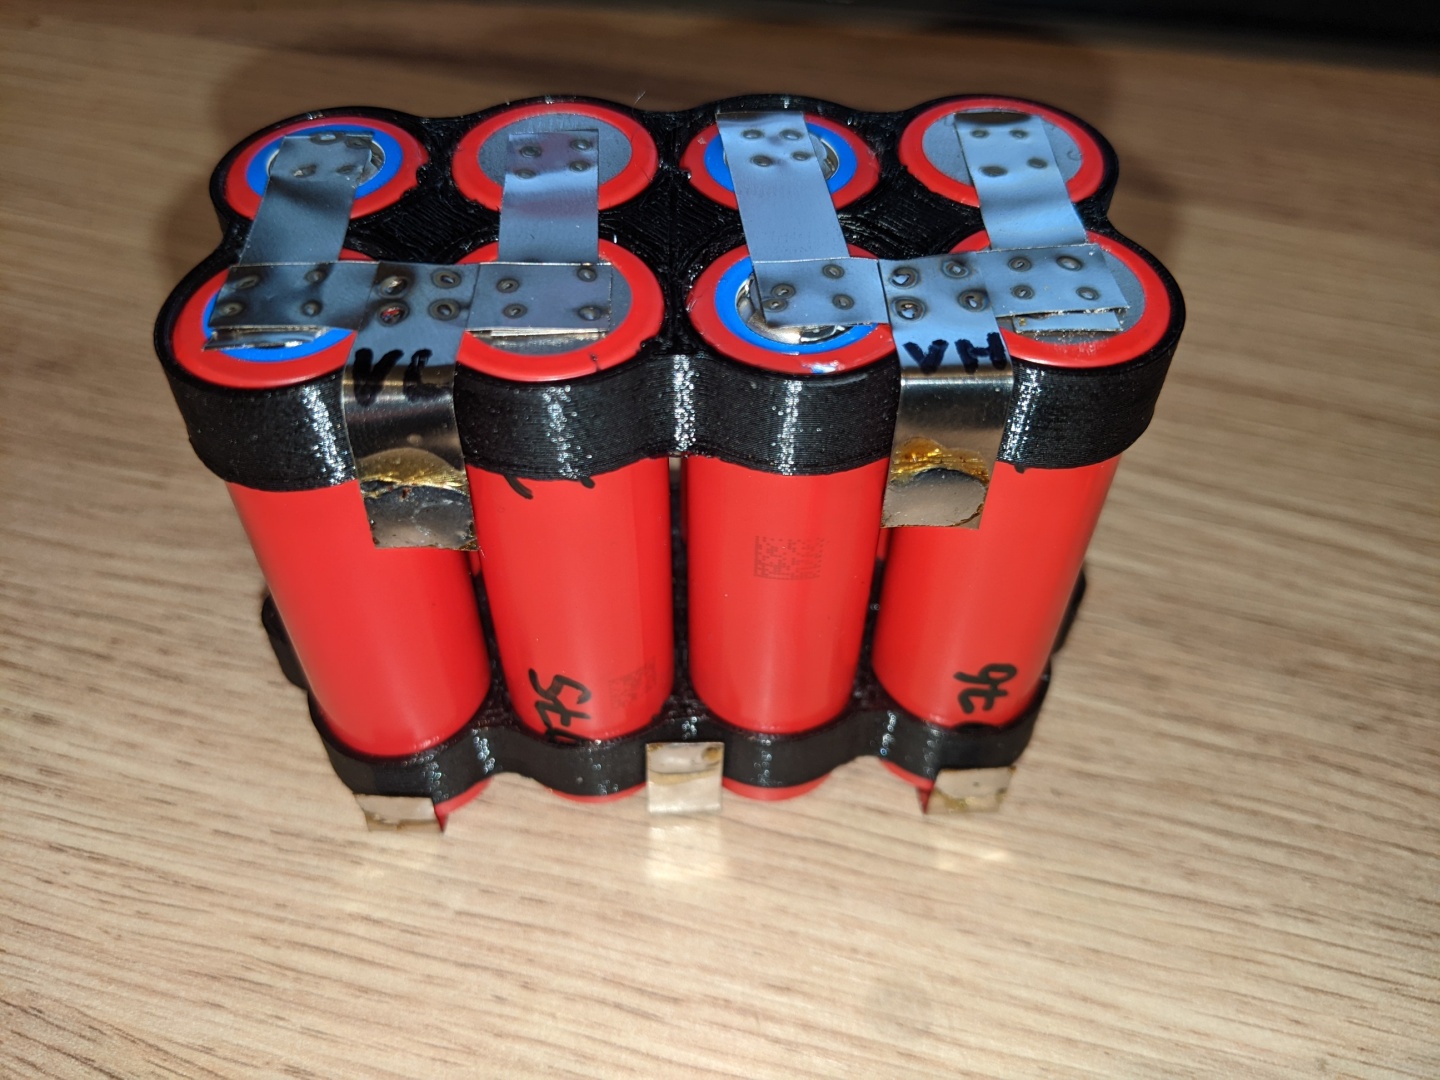
- 8x 18650 Lithium Batteries (4S 2P)
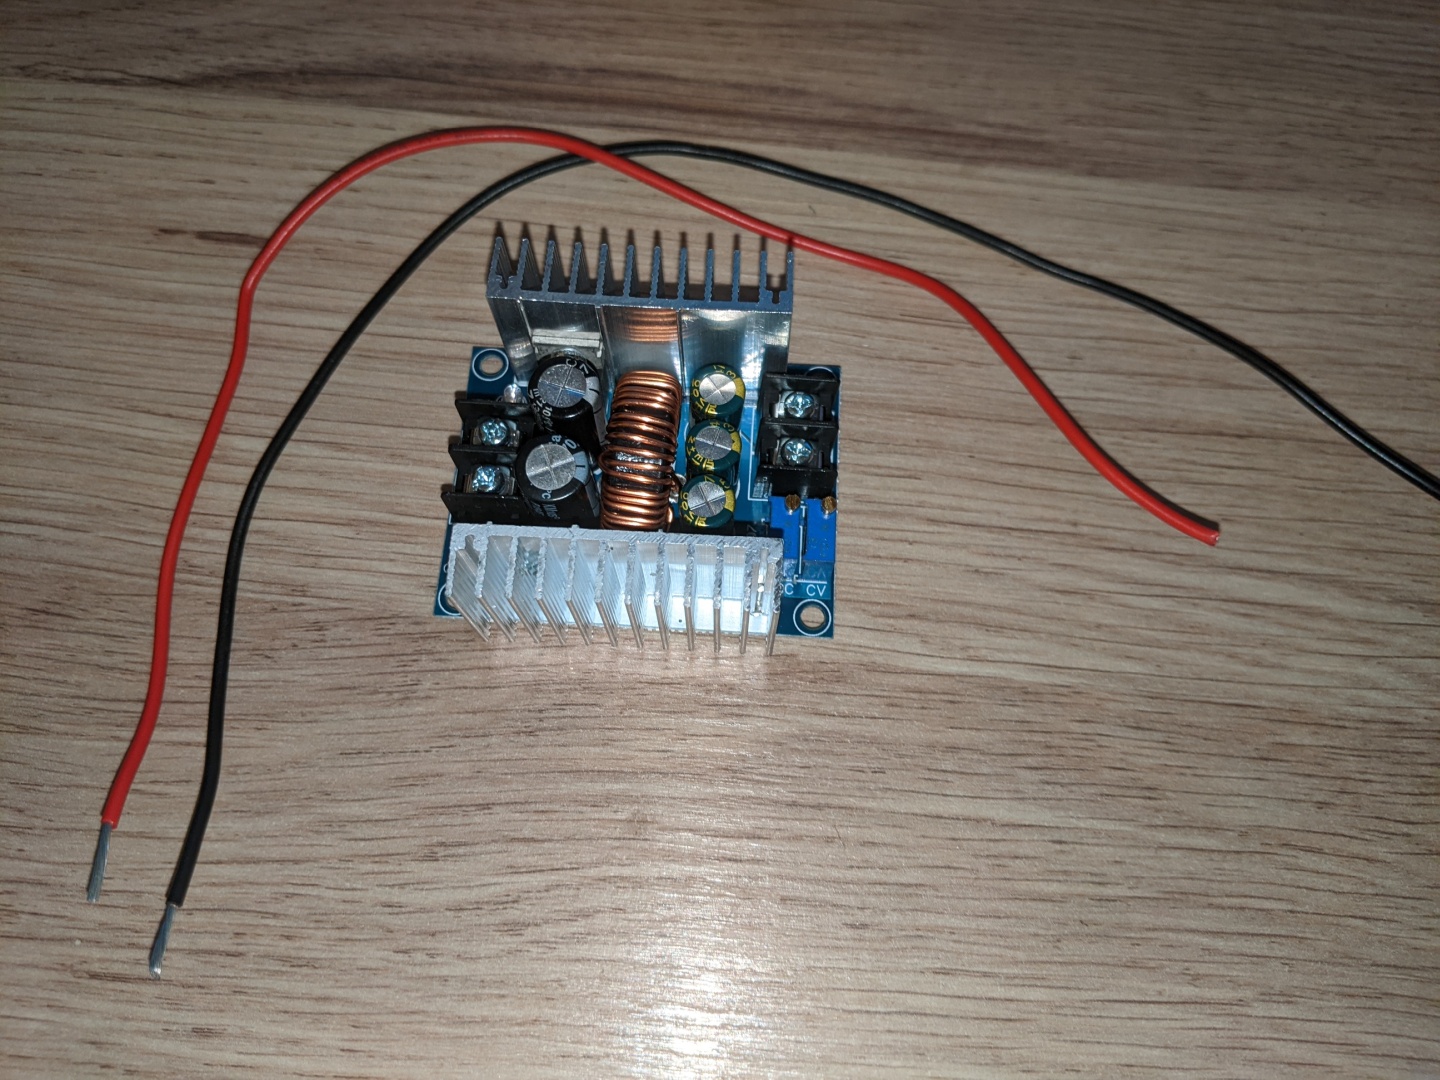
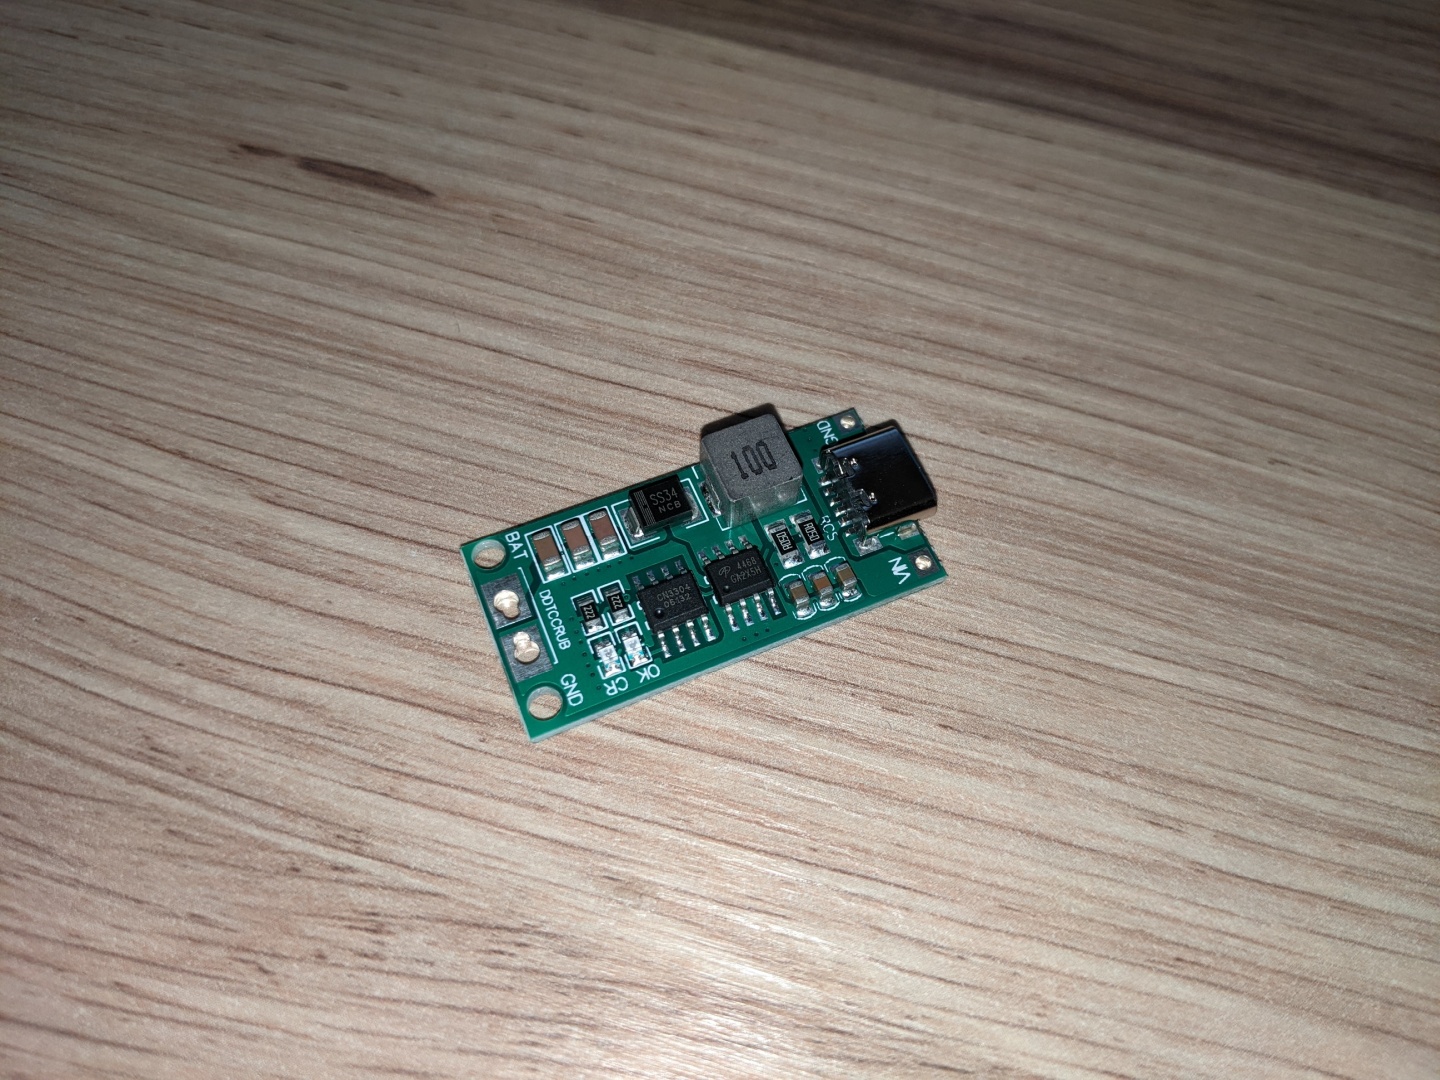
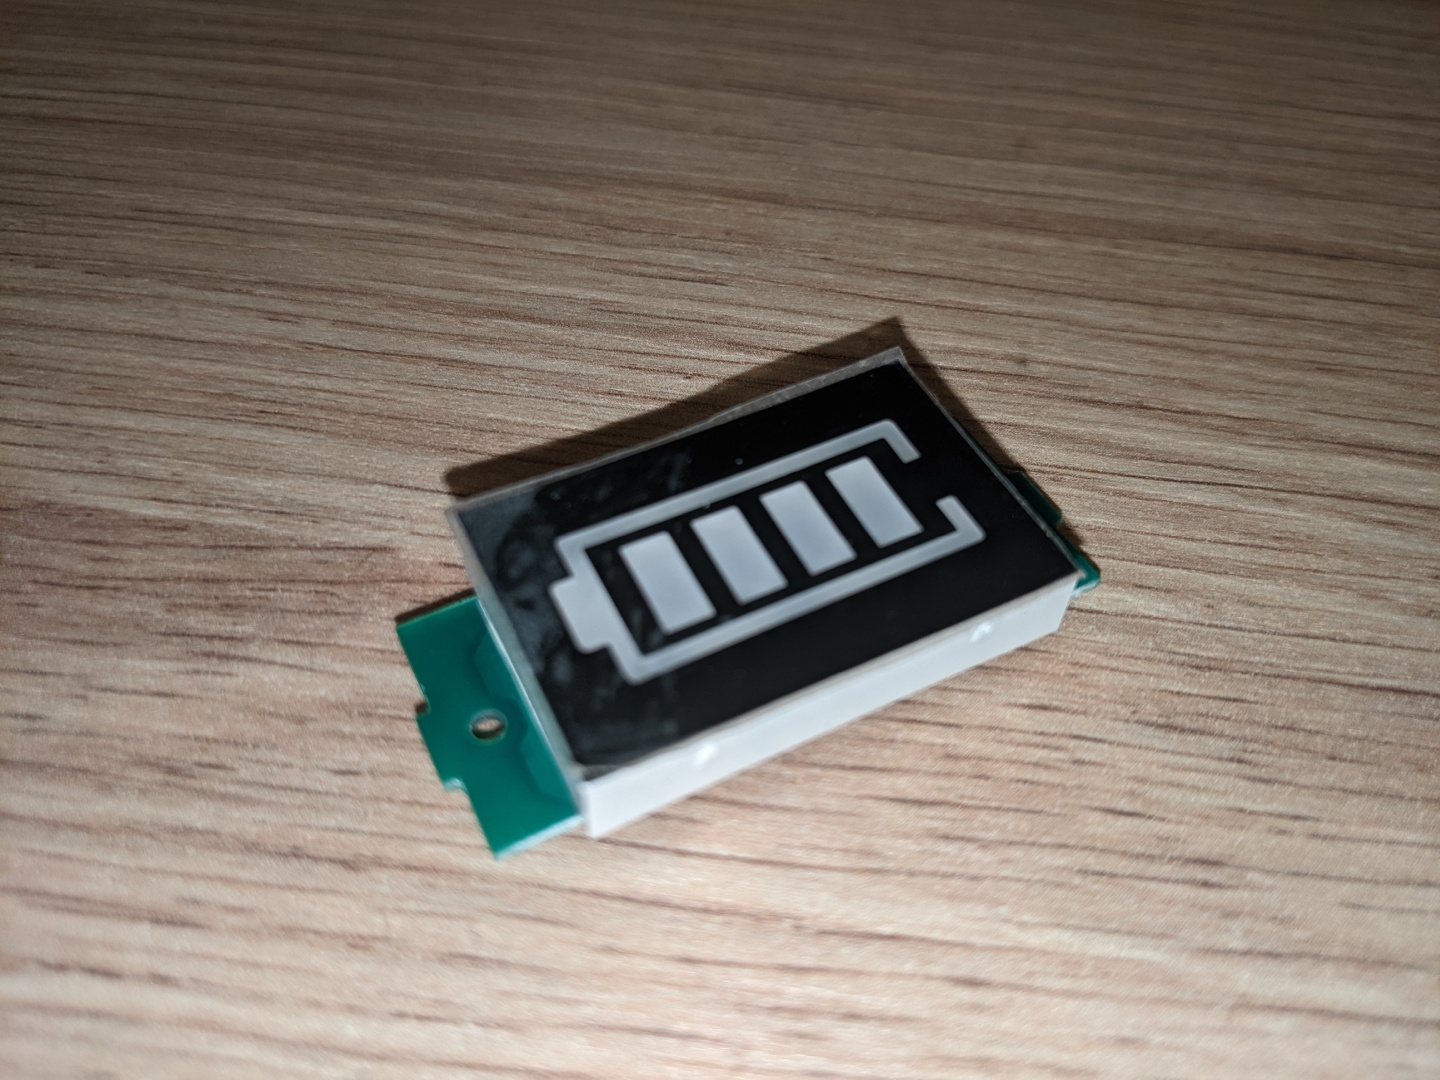
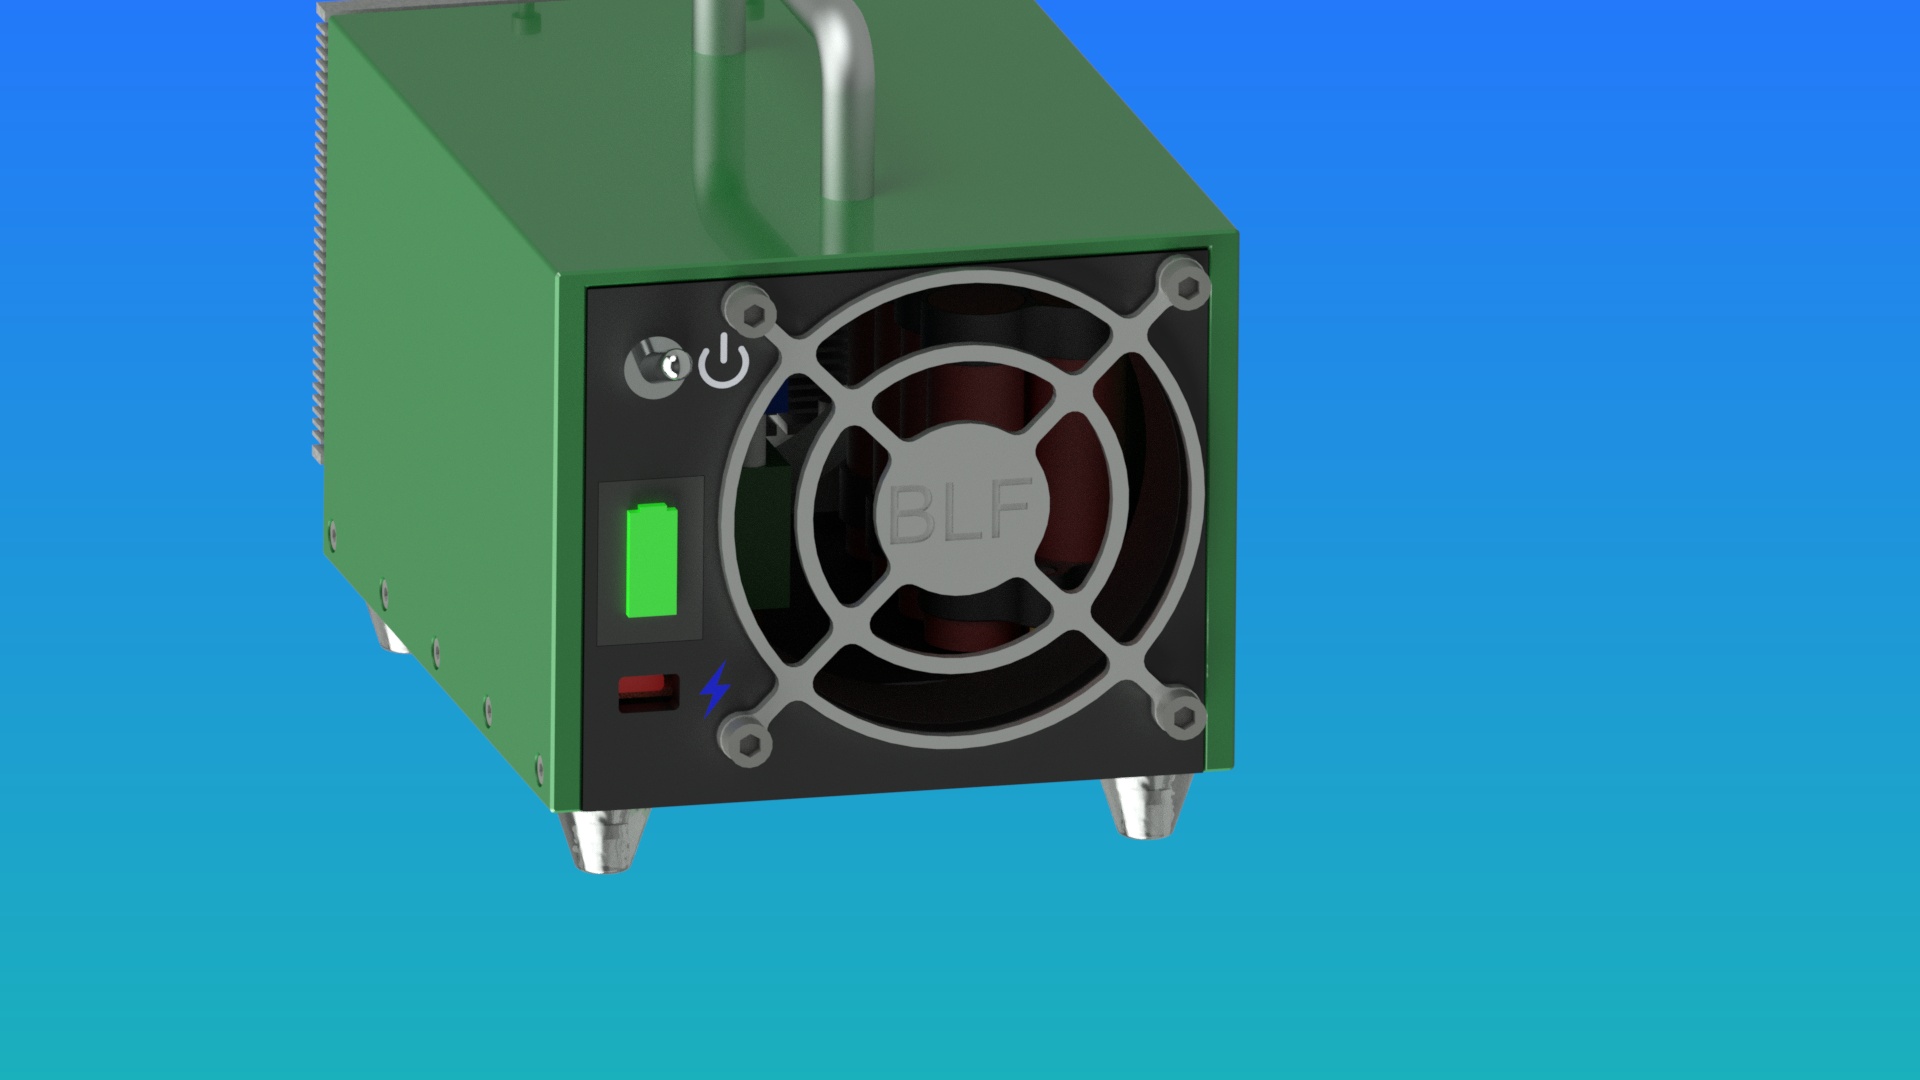
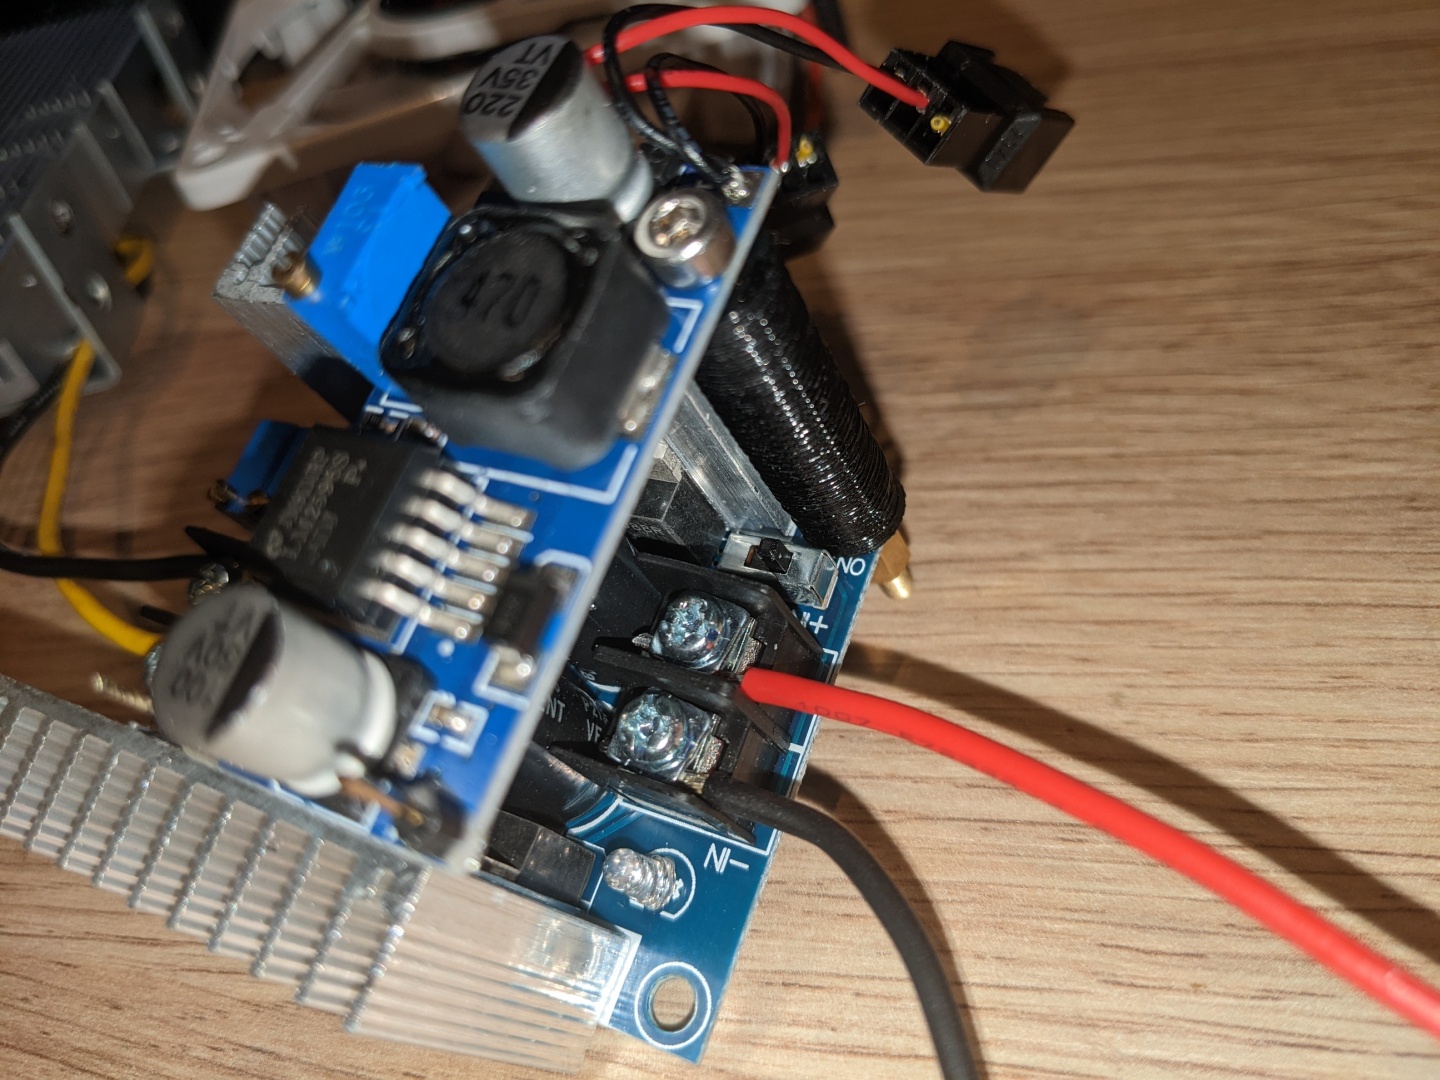
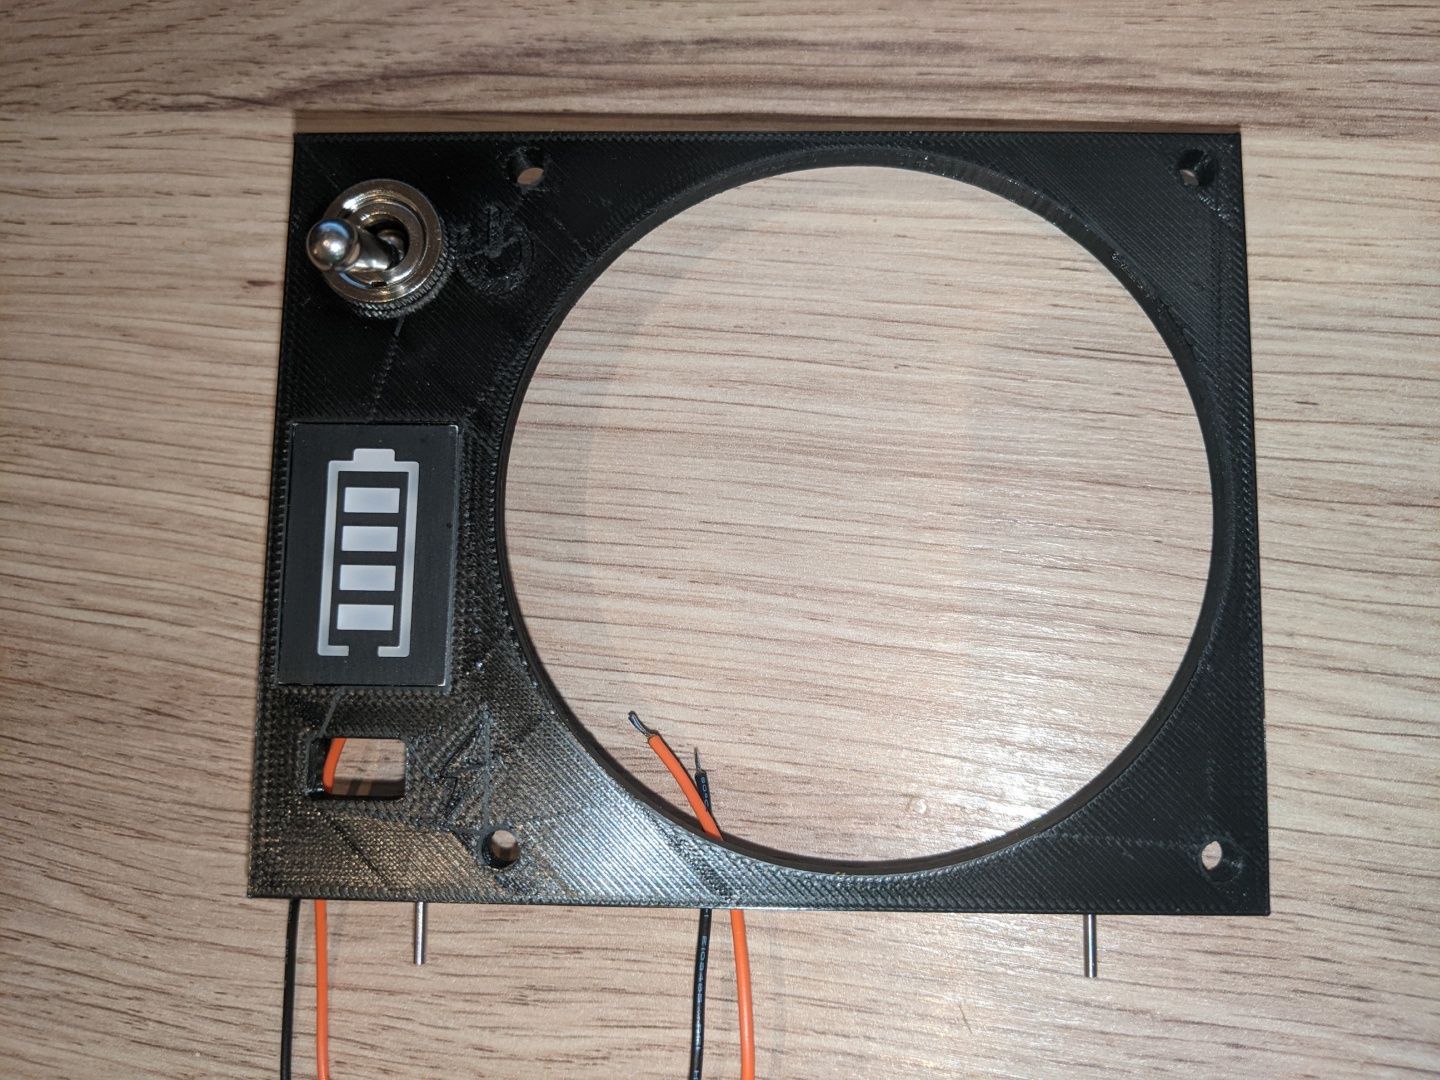
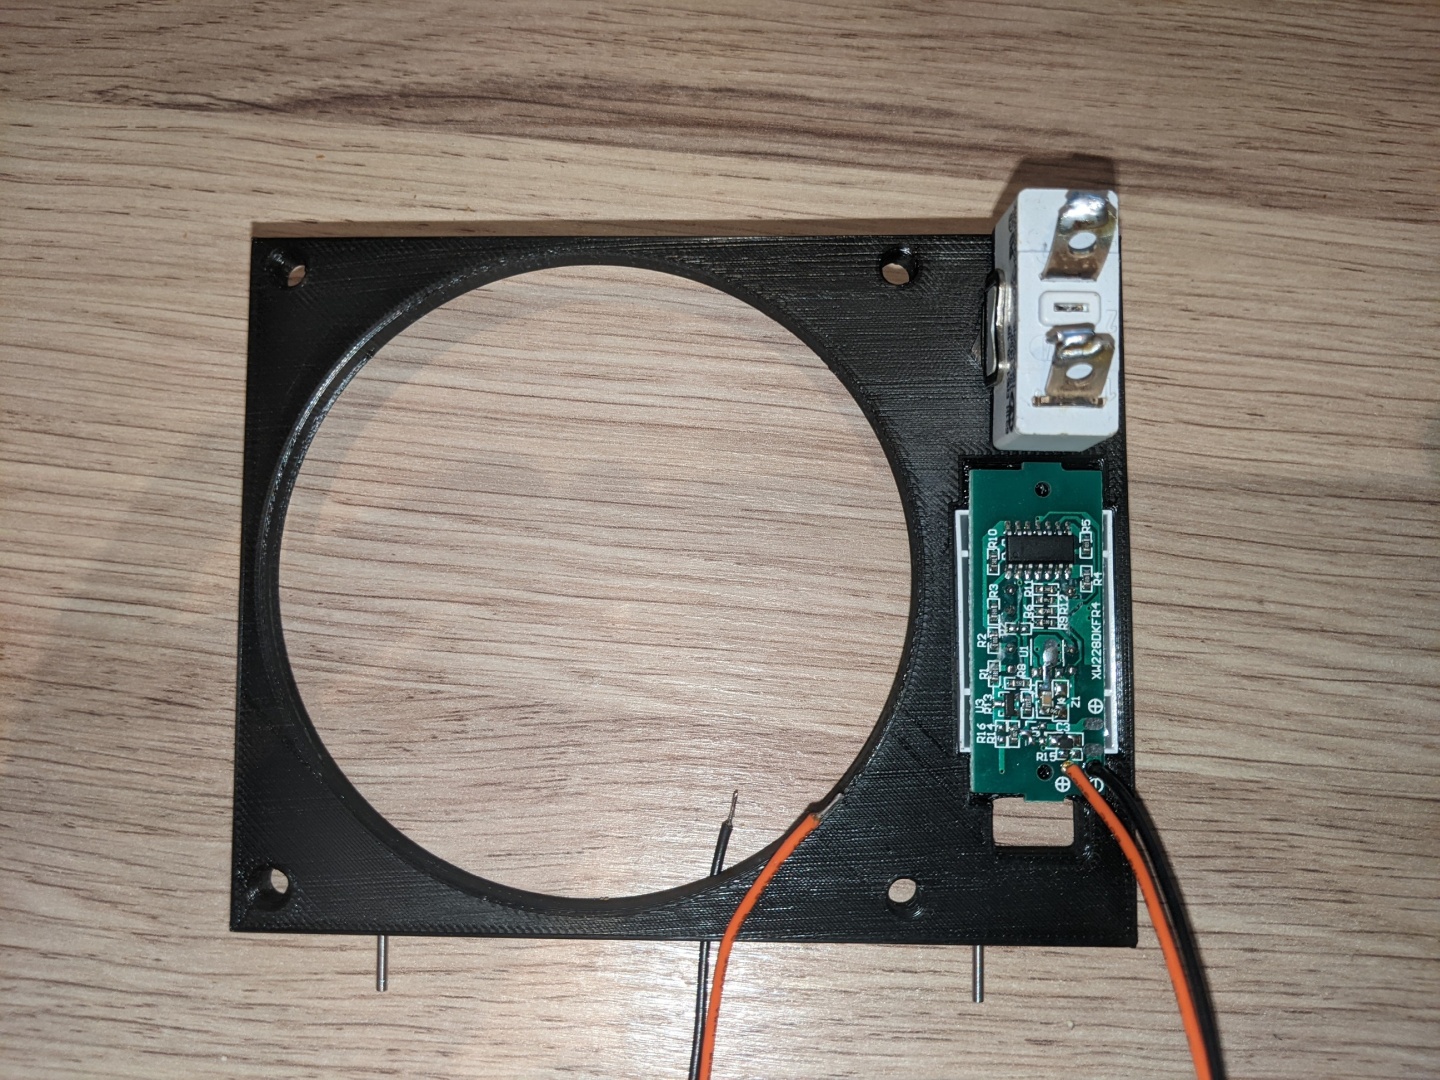
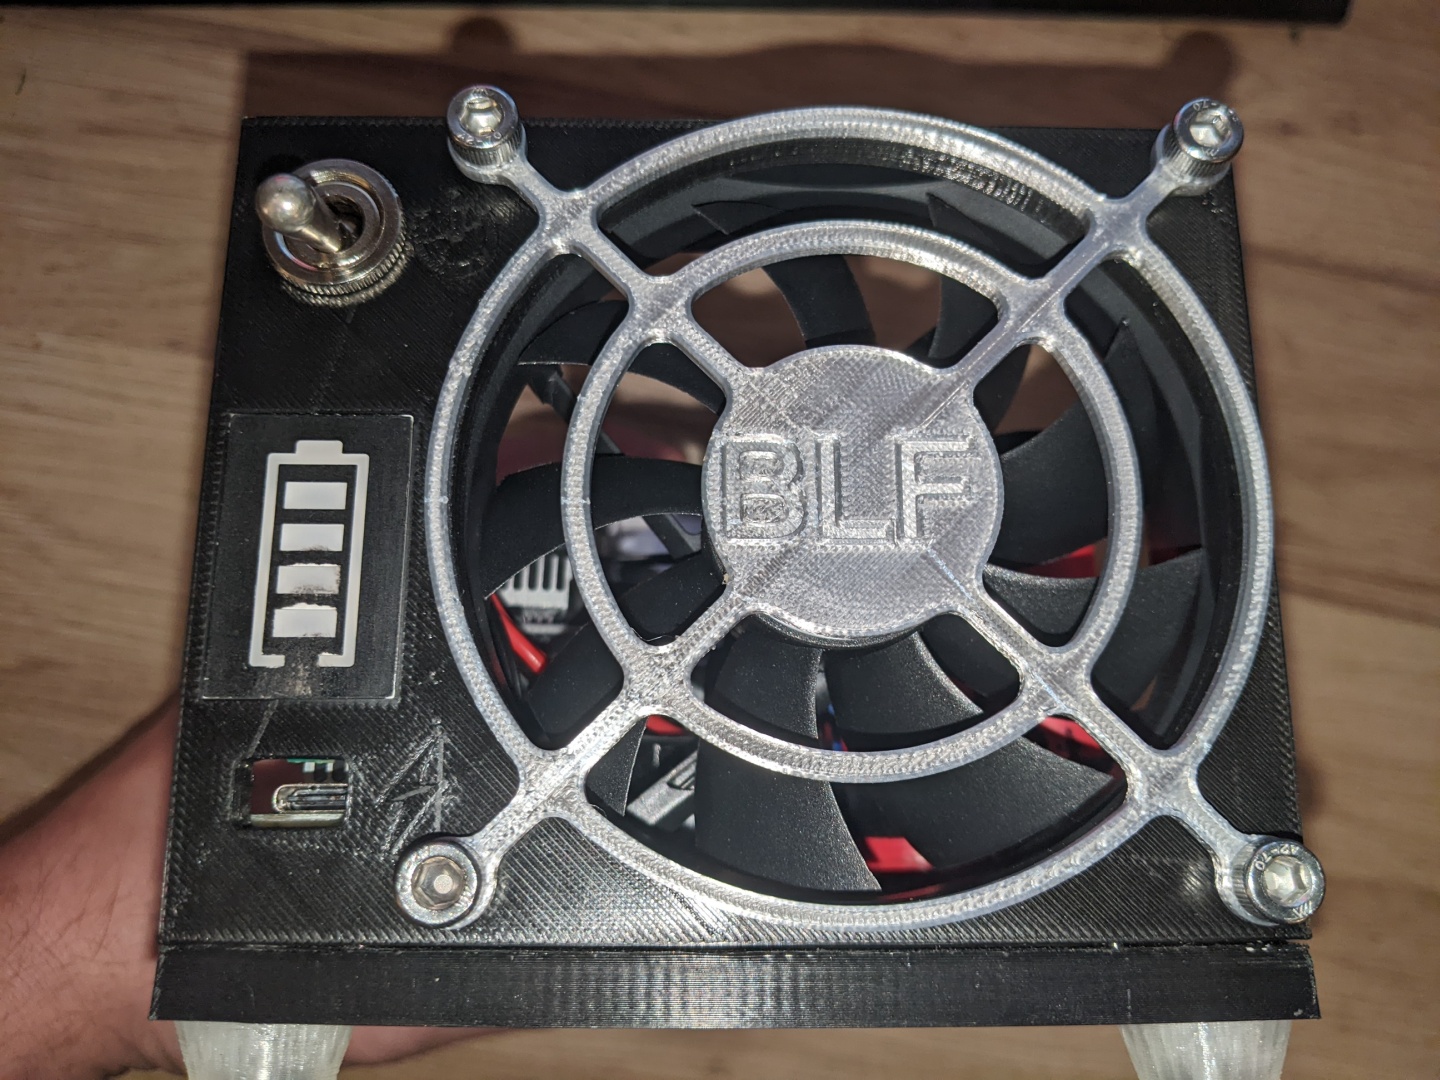
- Protection Circuits, integrated charging unit
- Just a simple ON-OFF Mode
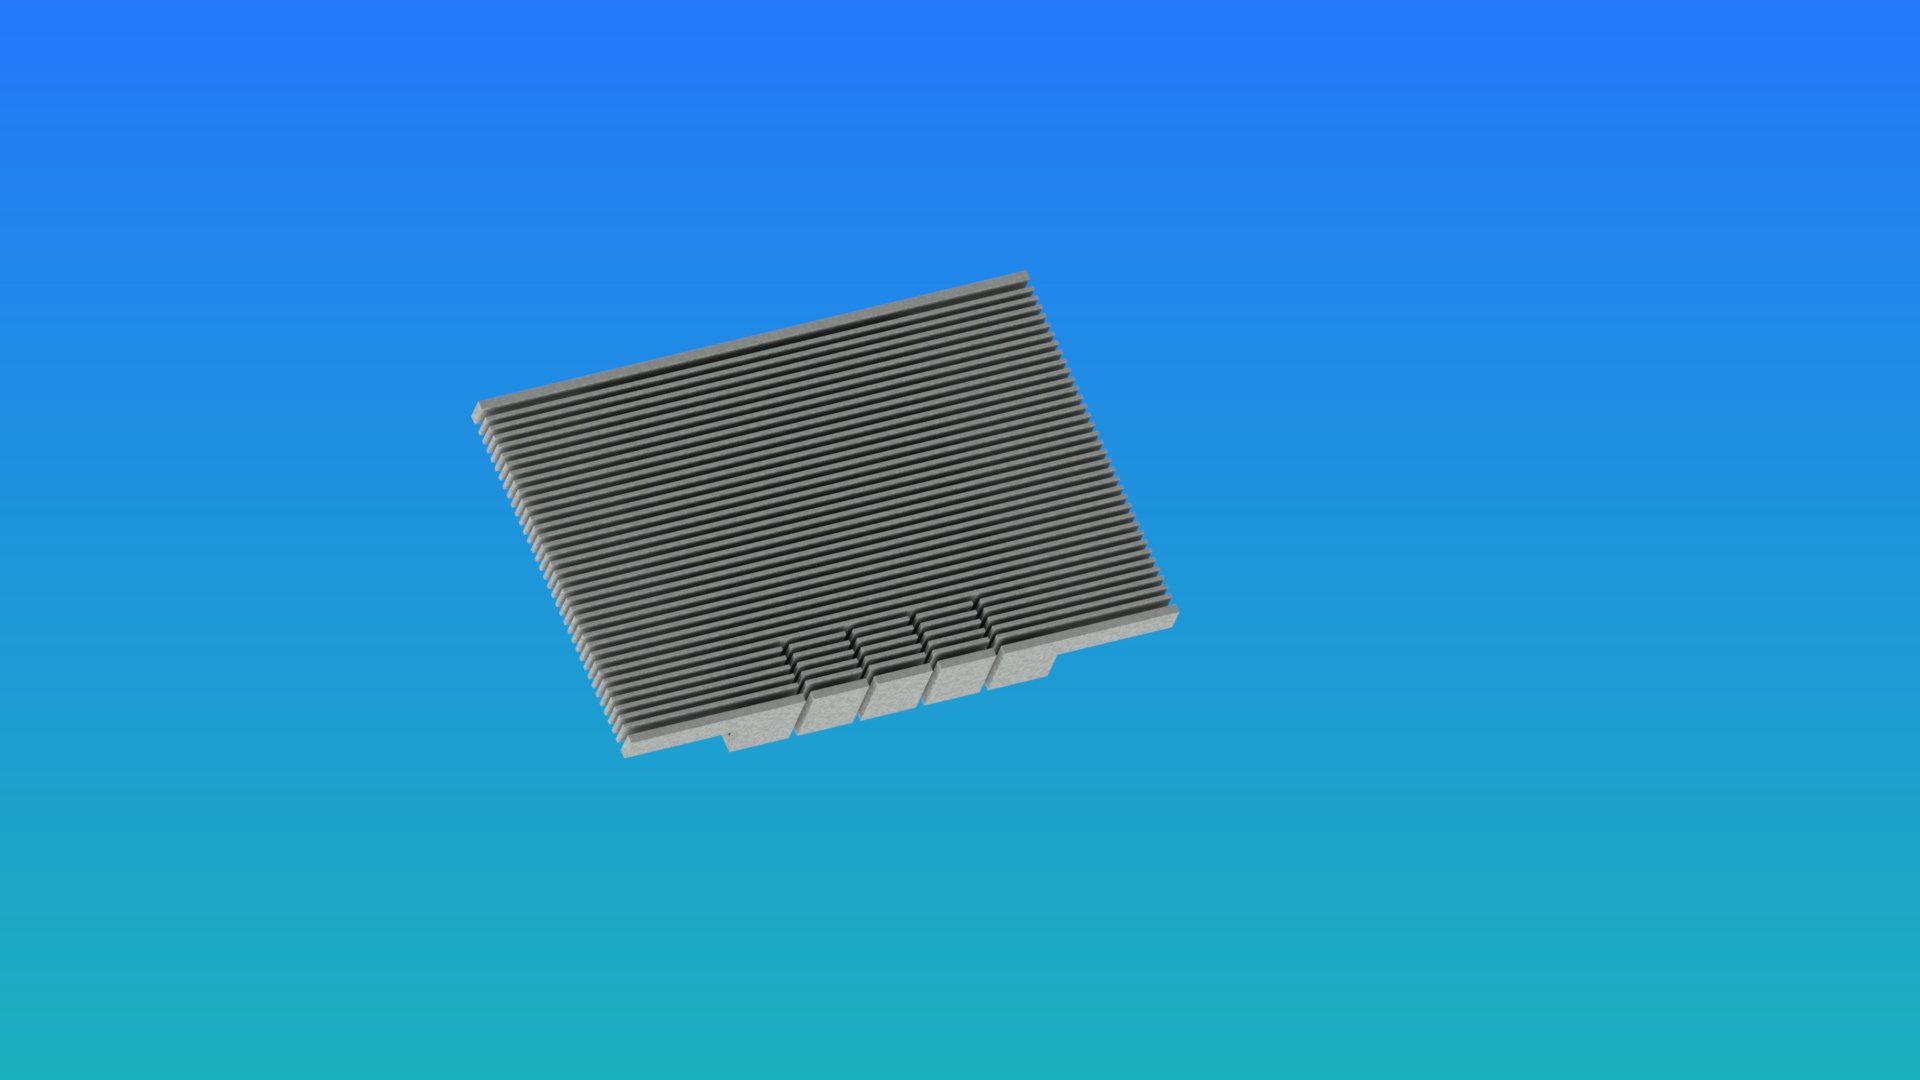
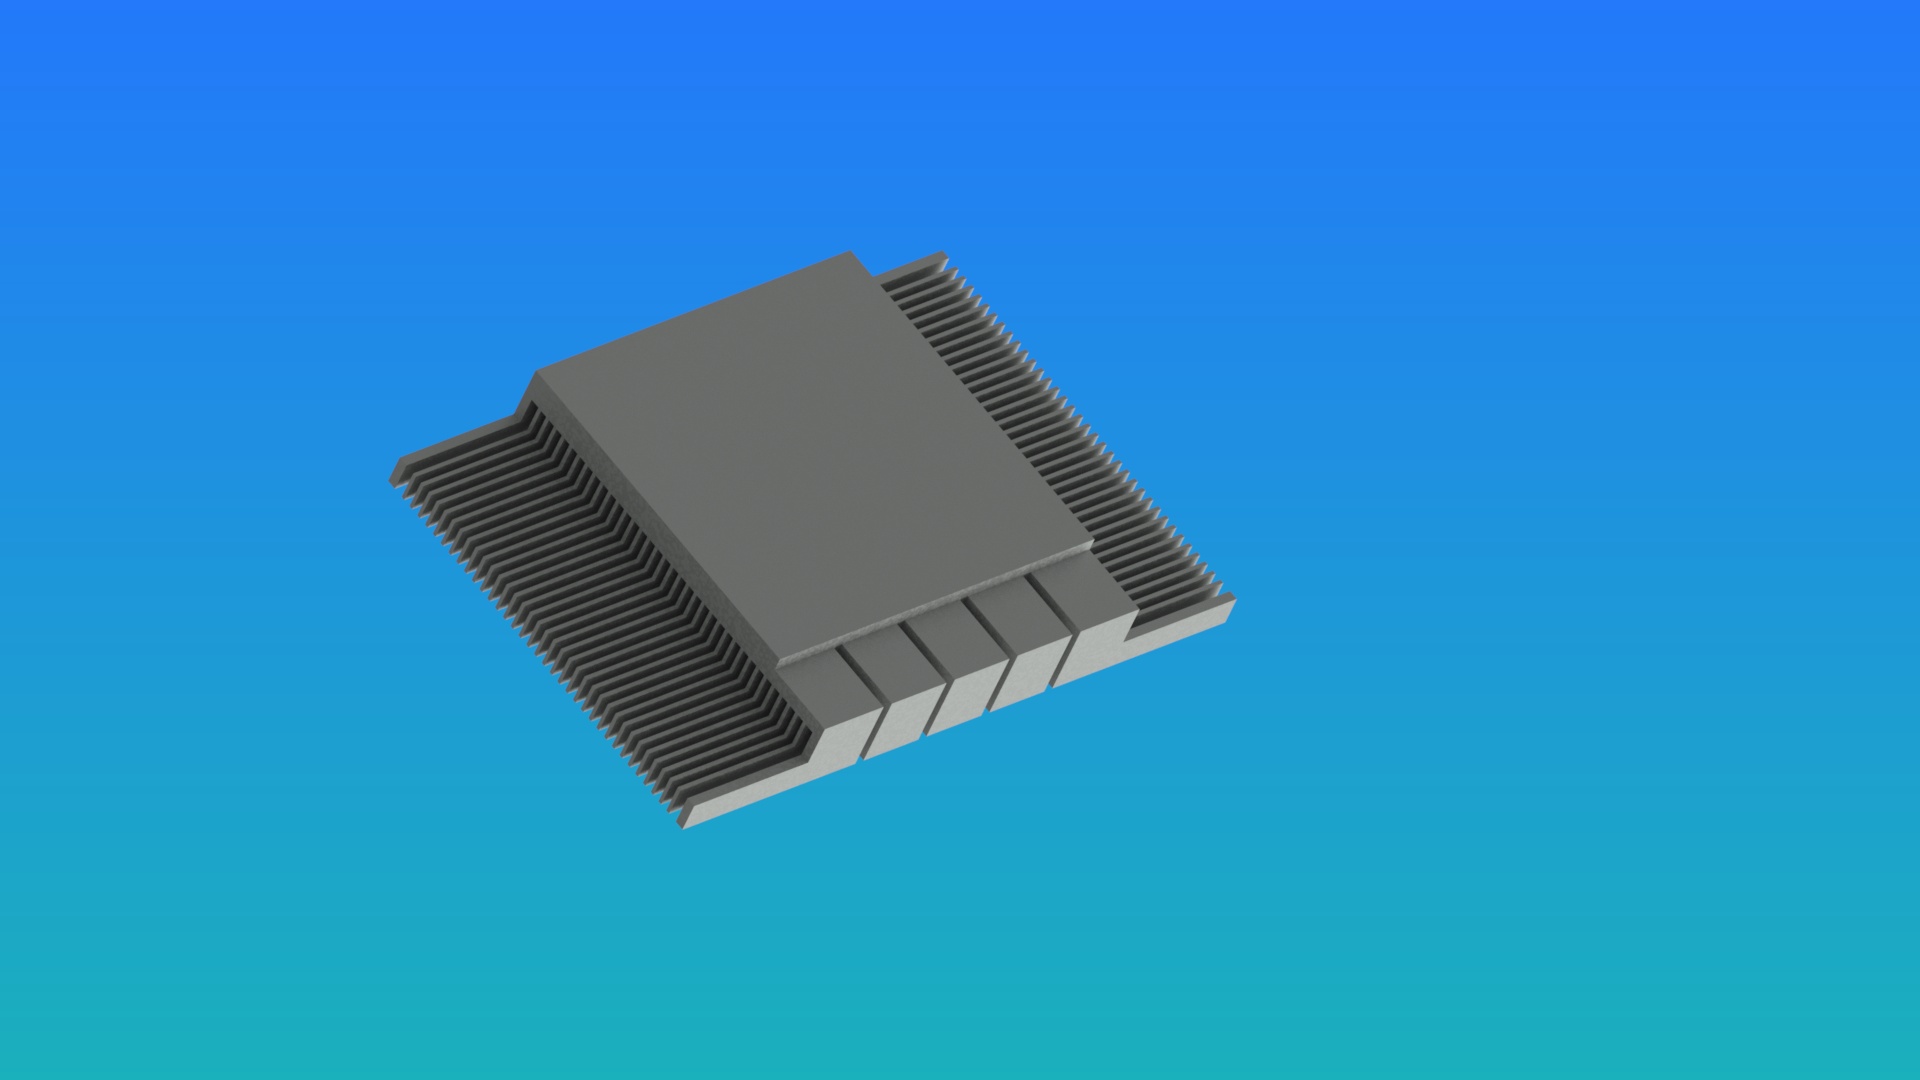
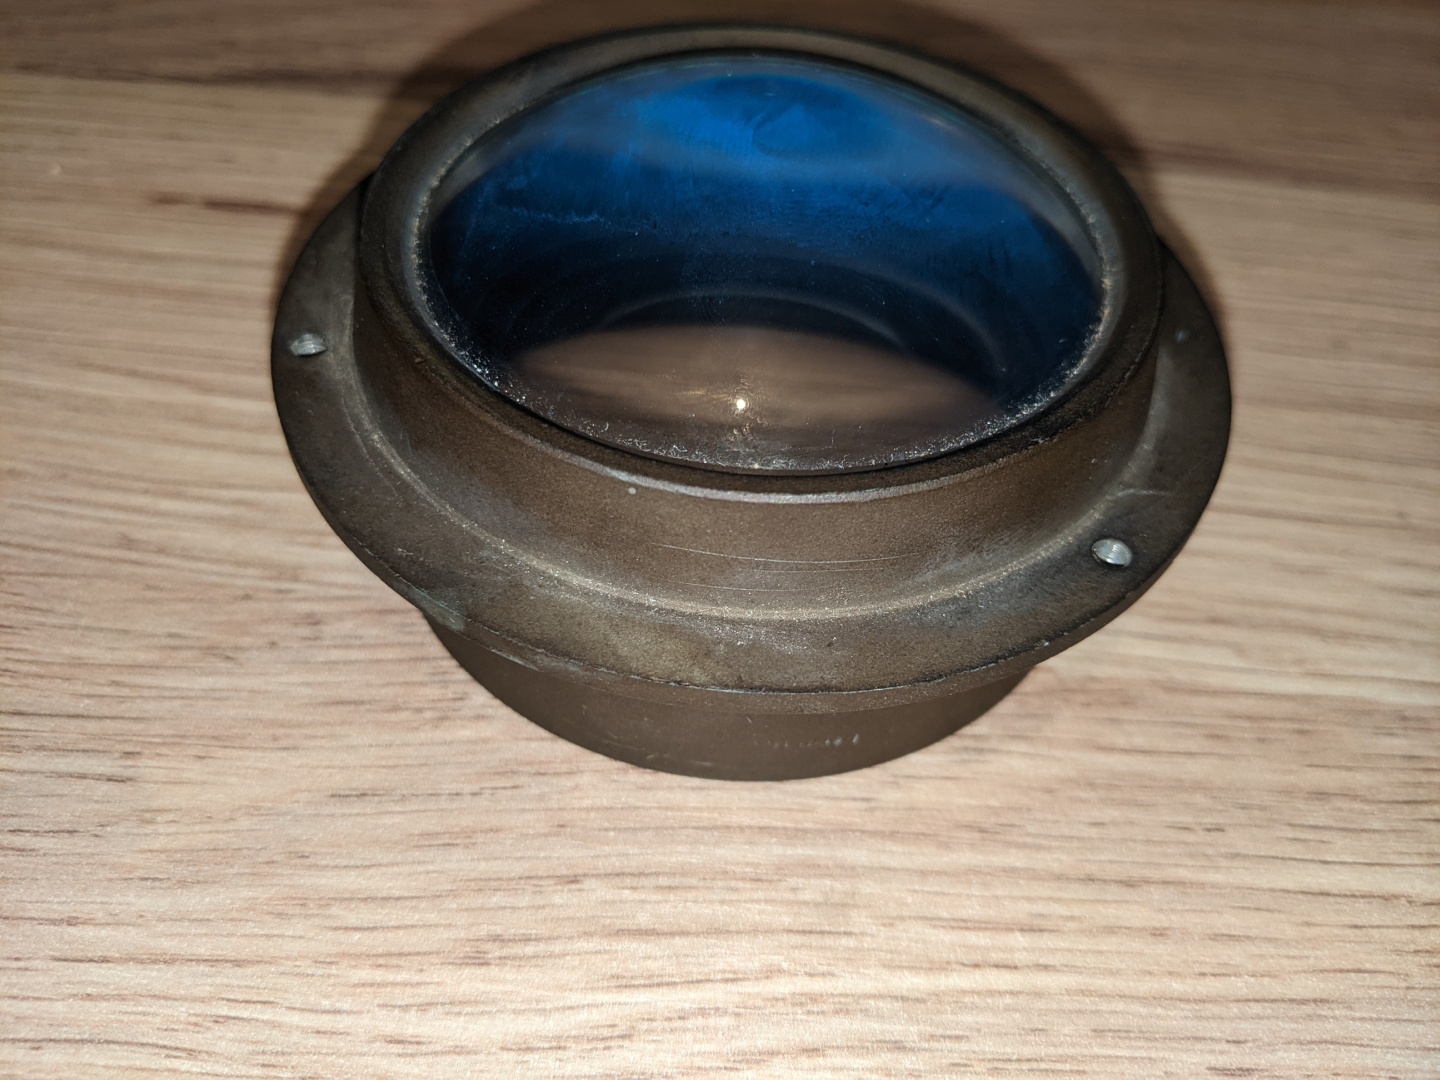
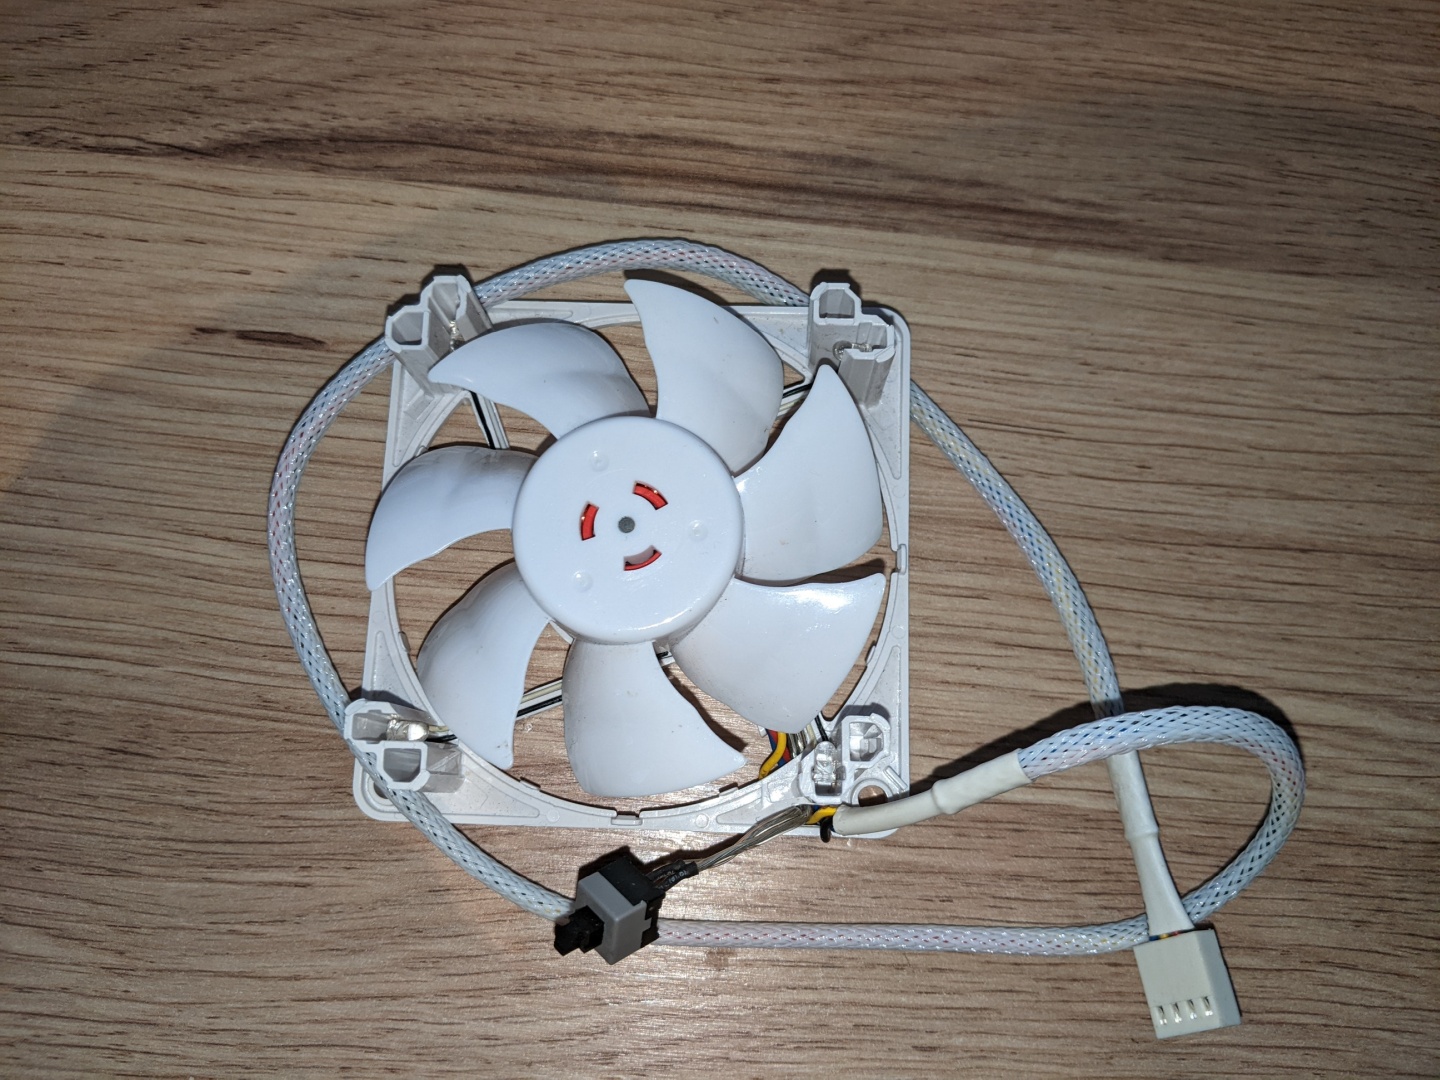
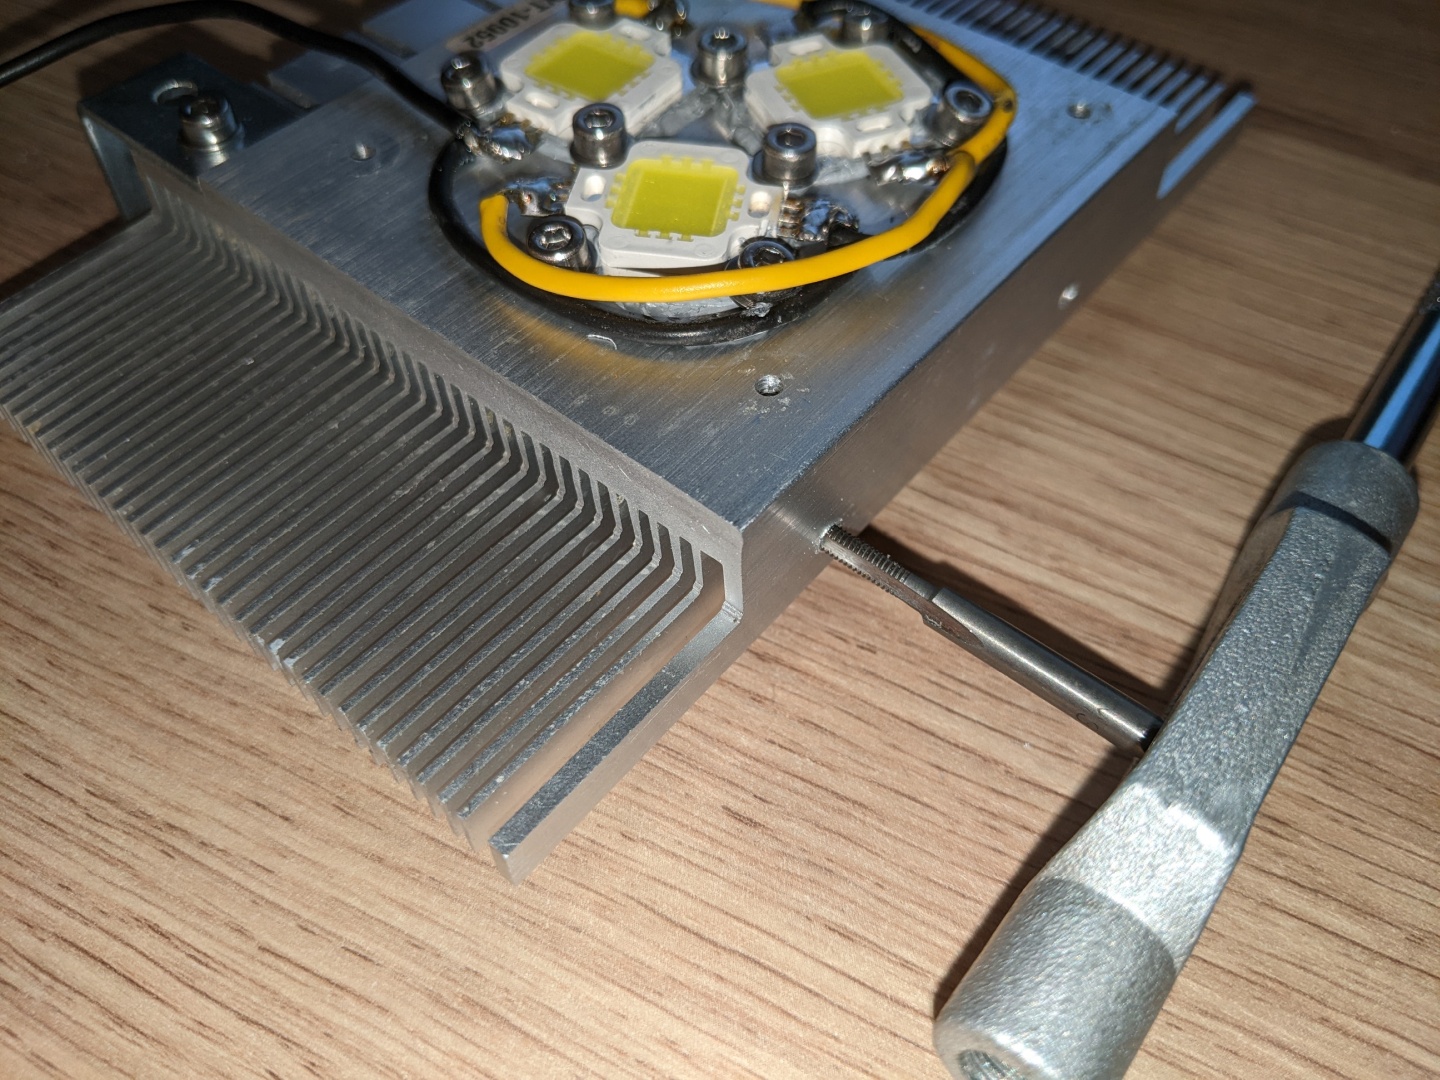
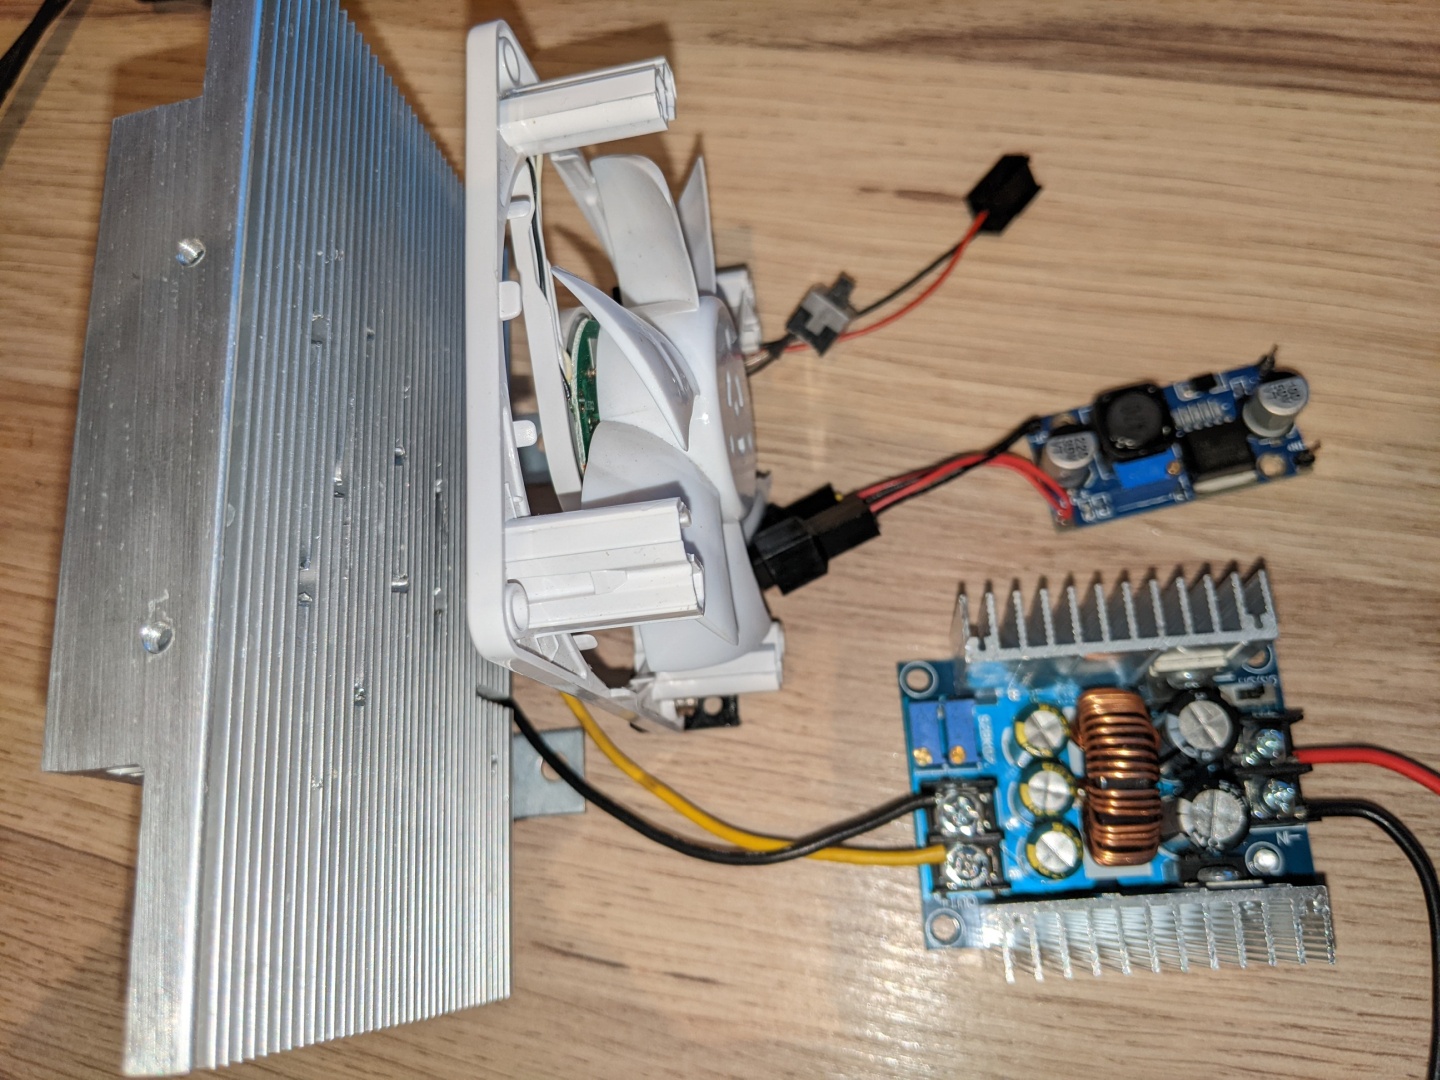
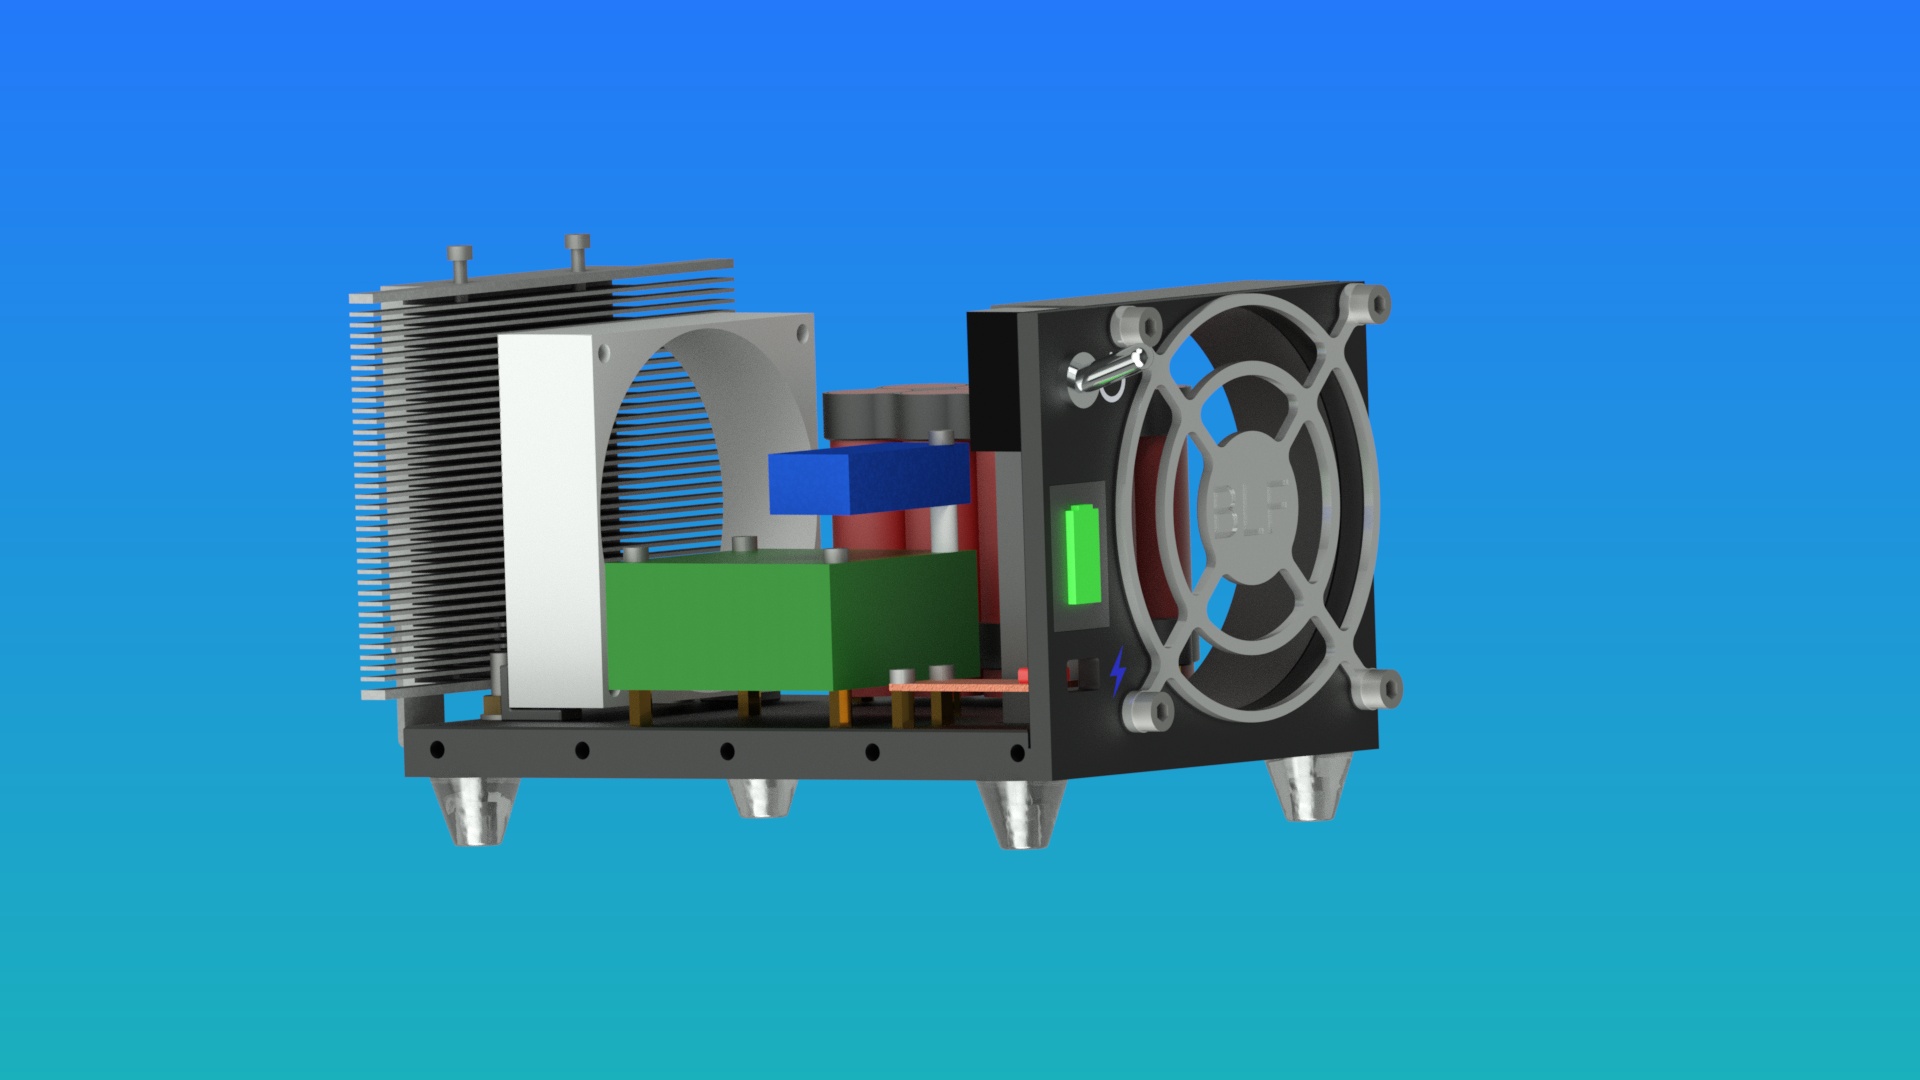
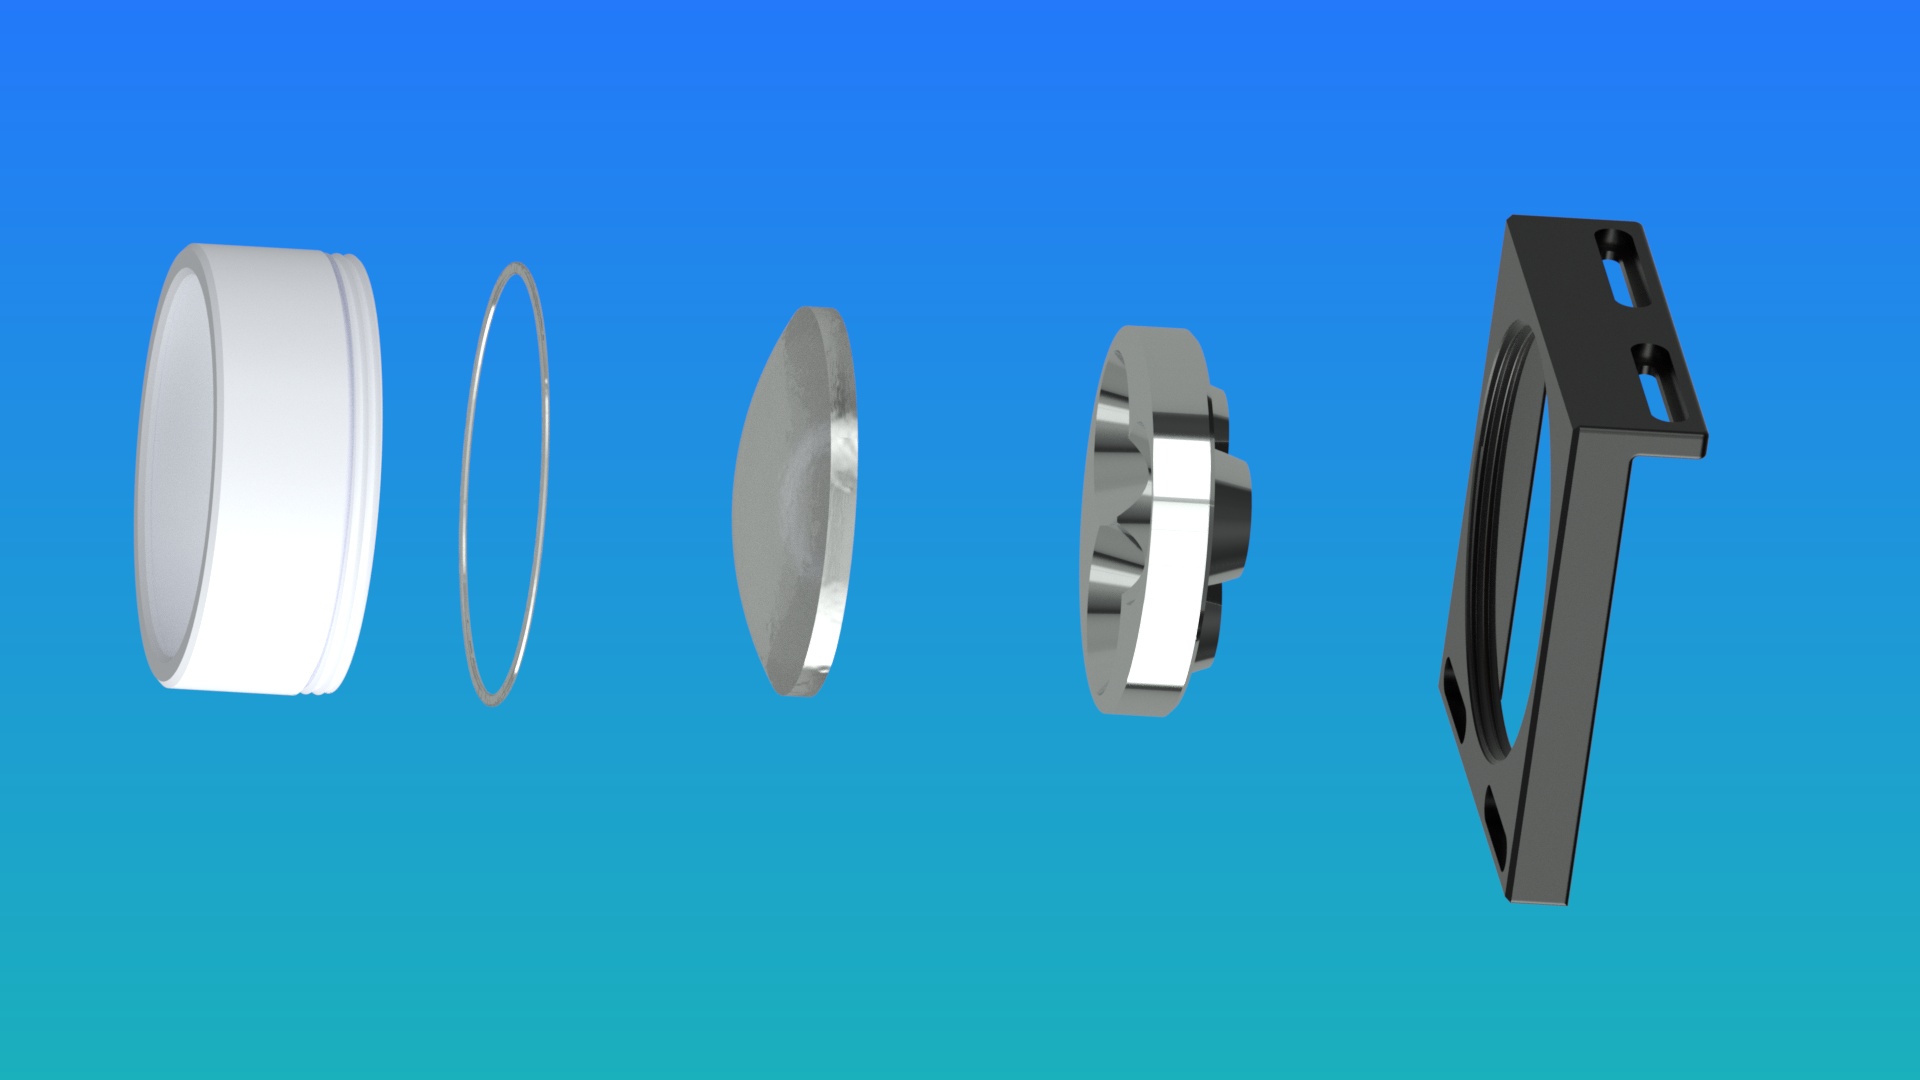
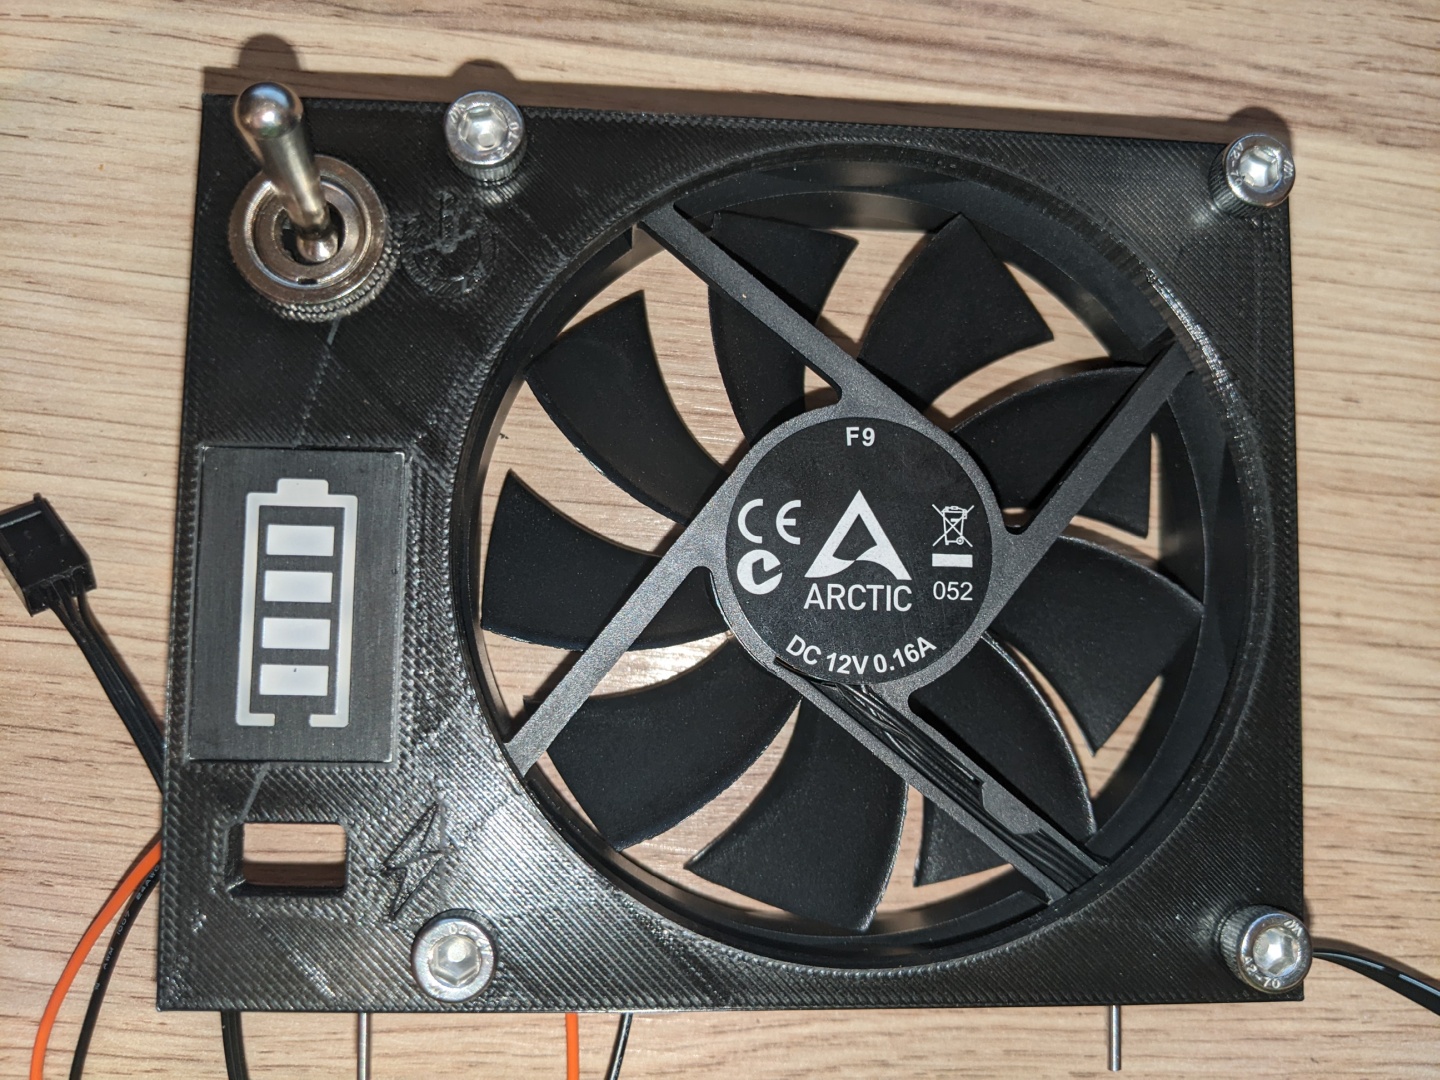
What will my project be about? I like to recycle parts into useful stuff and remembered that I had this old GPU Cooler in a drawer.
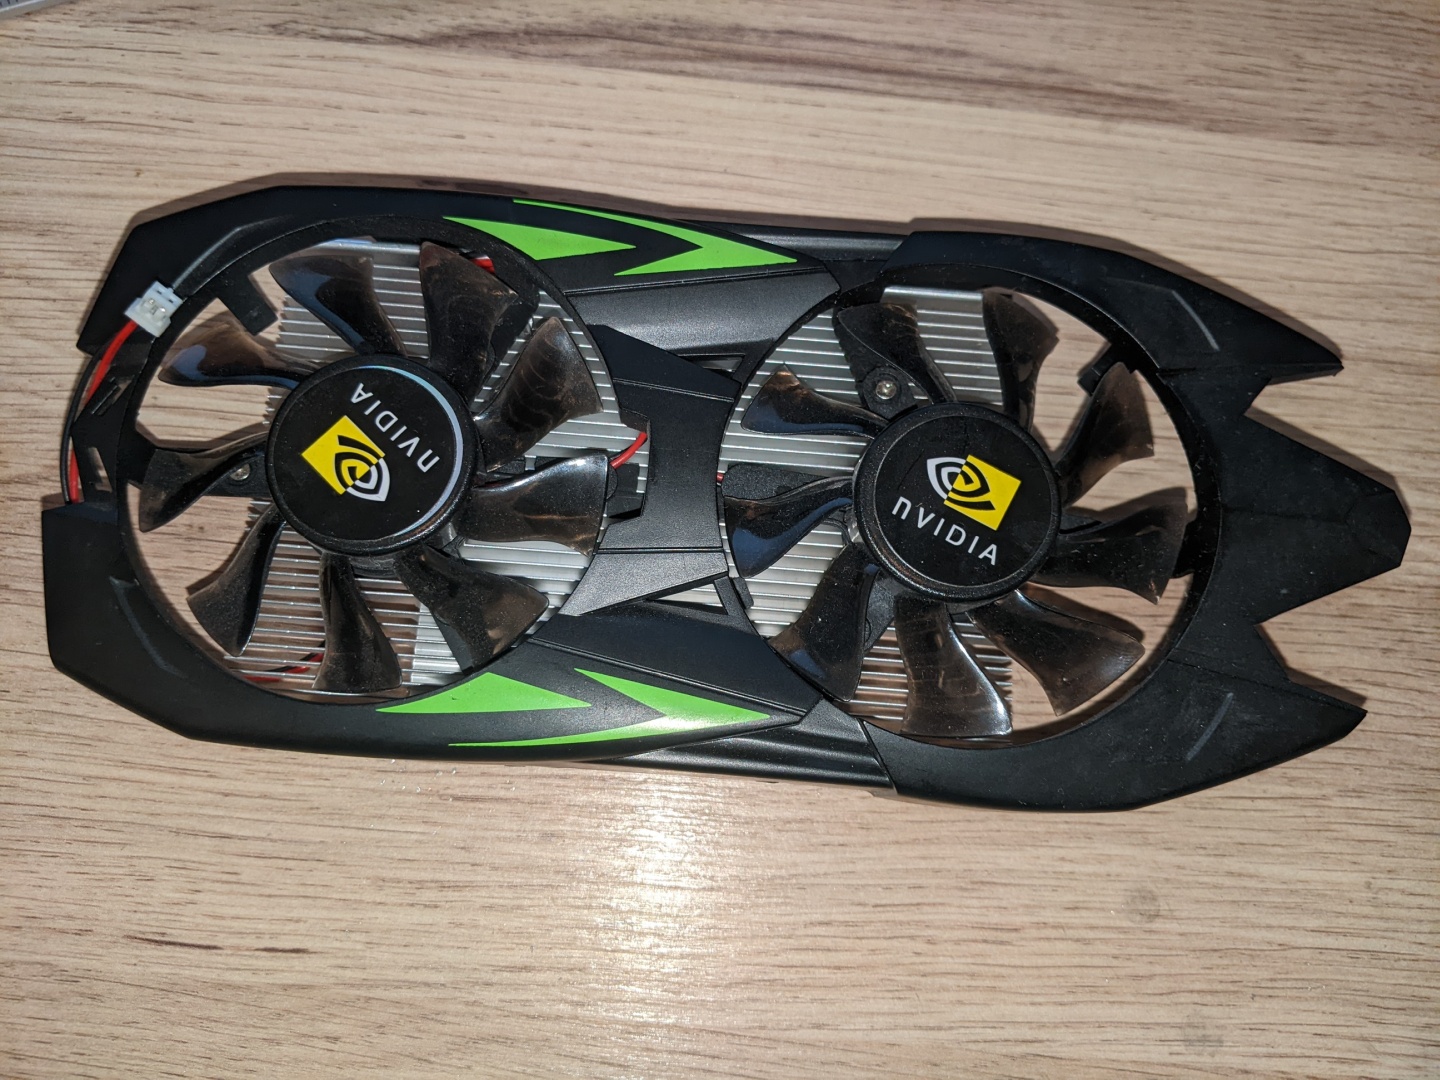
This one might be worth working on?
I also had some spare 10W LEDs I bought many years ago when I designed a fancy desk lamp I still use today.
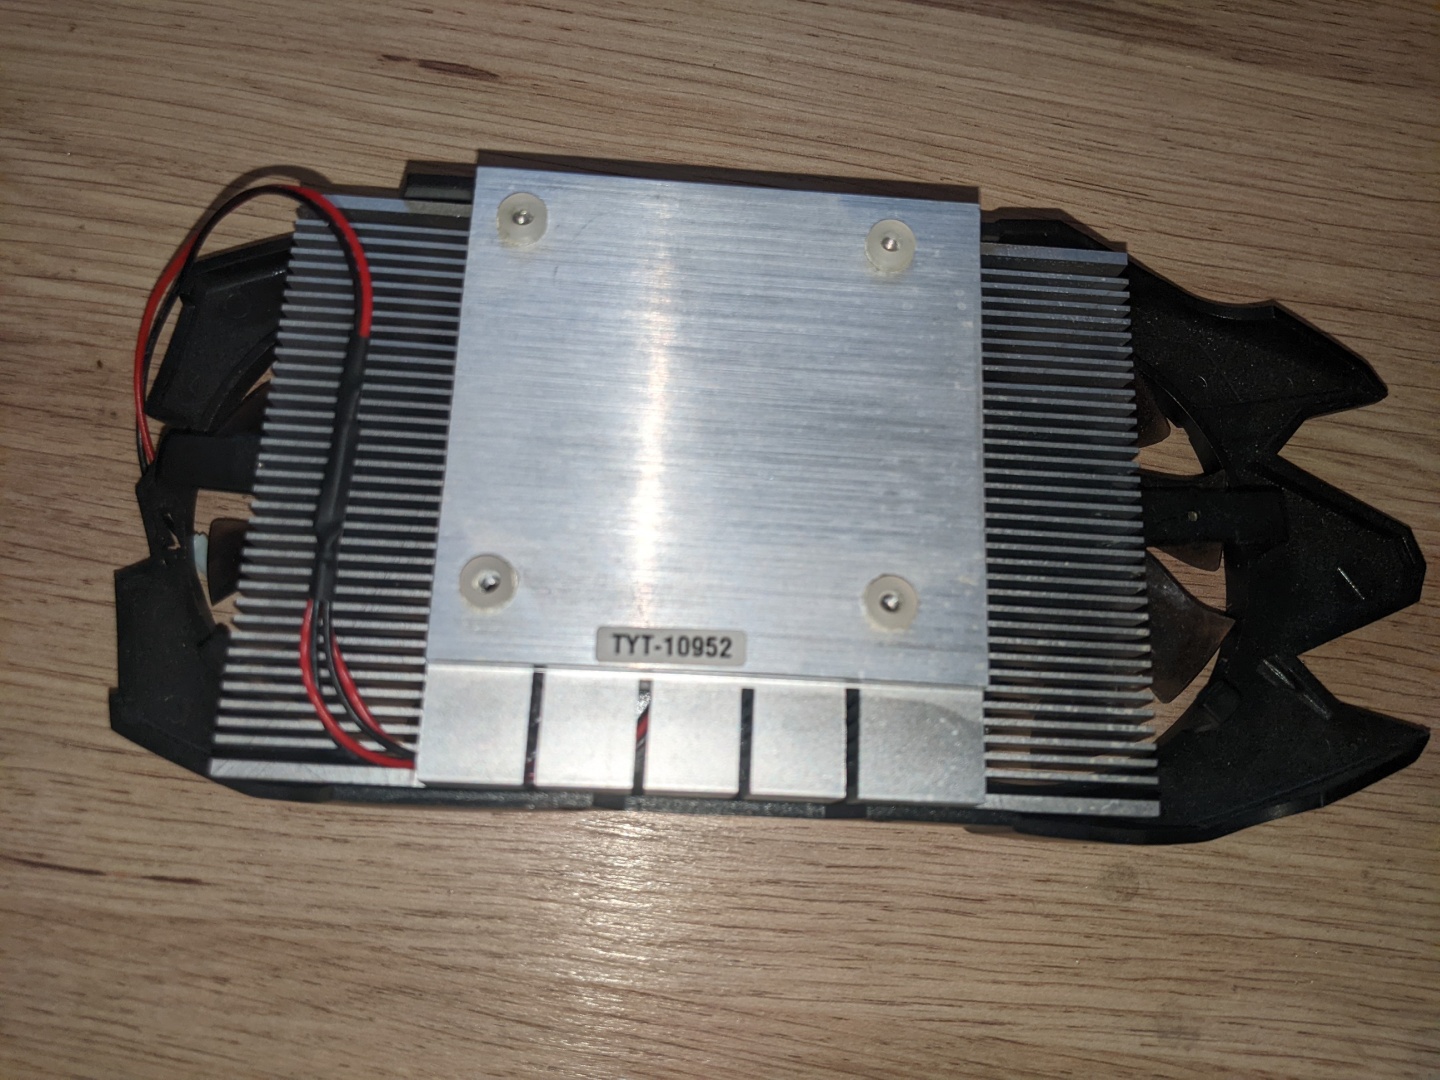
Will this GPU Cooler be able to handle around 30W, even without a Fan? Yeah.
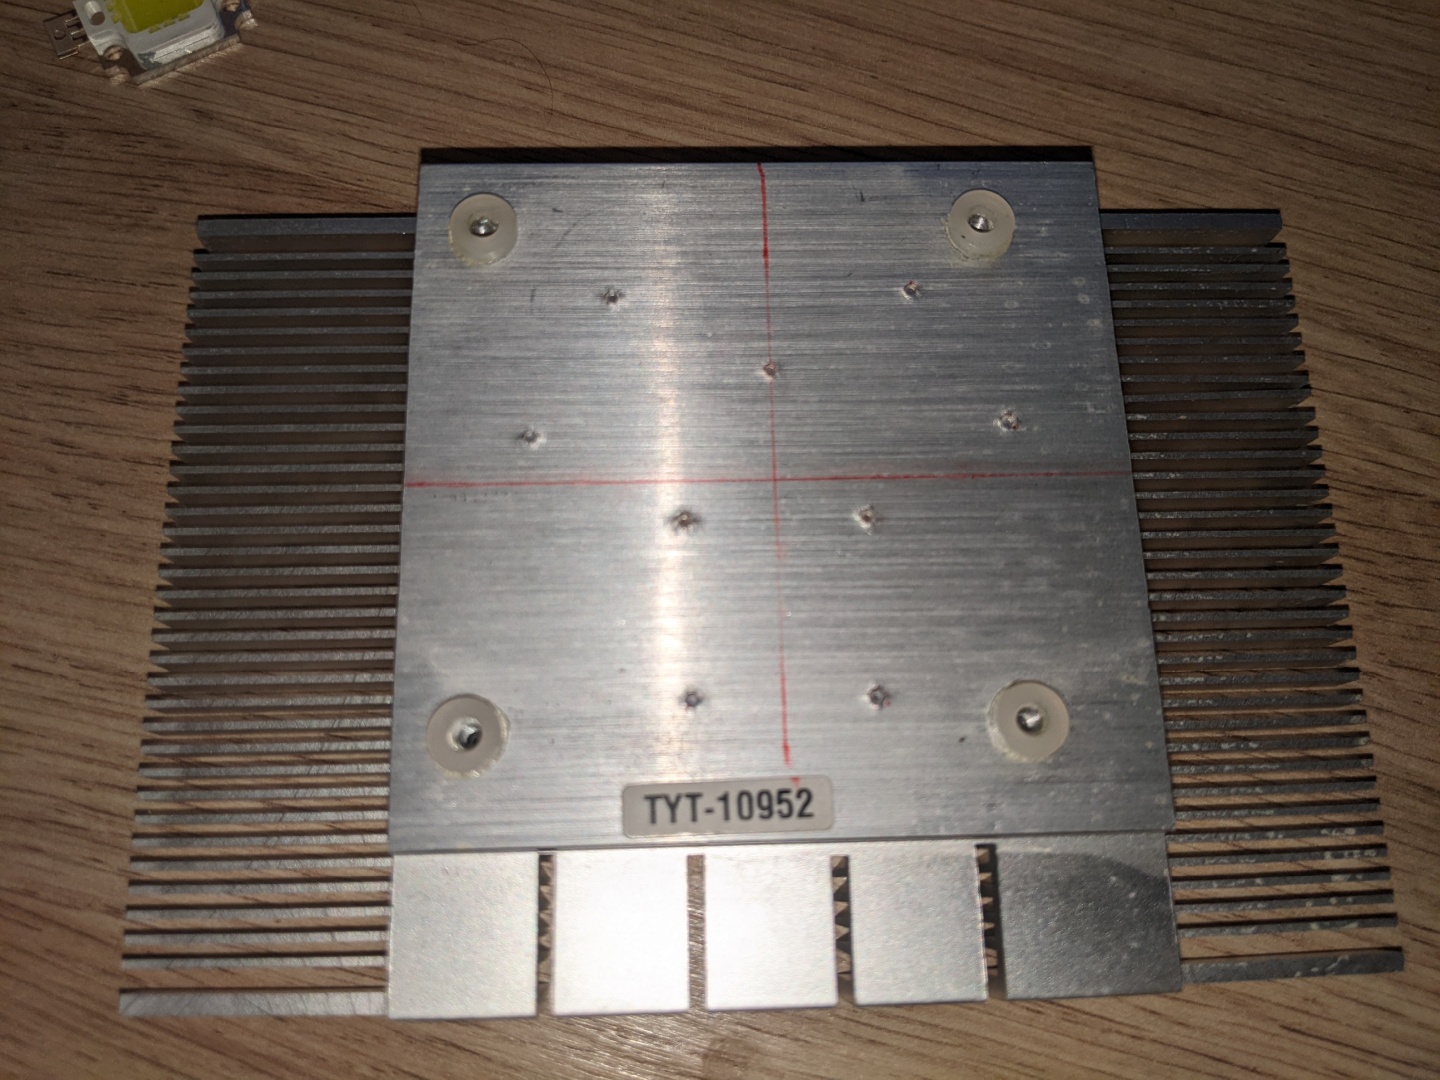
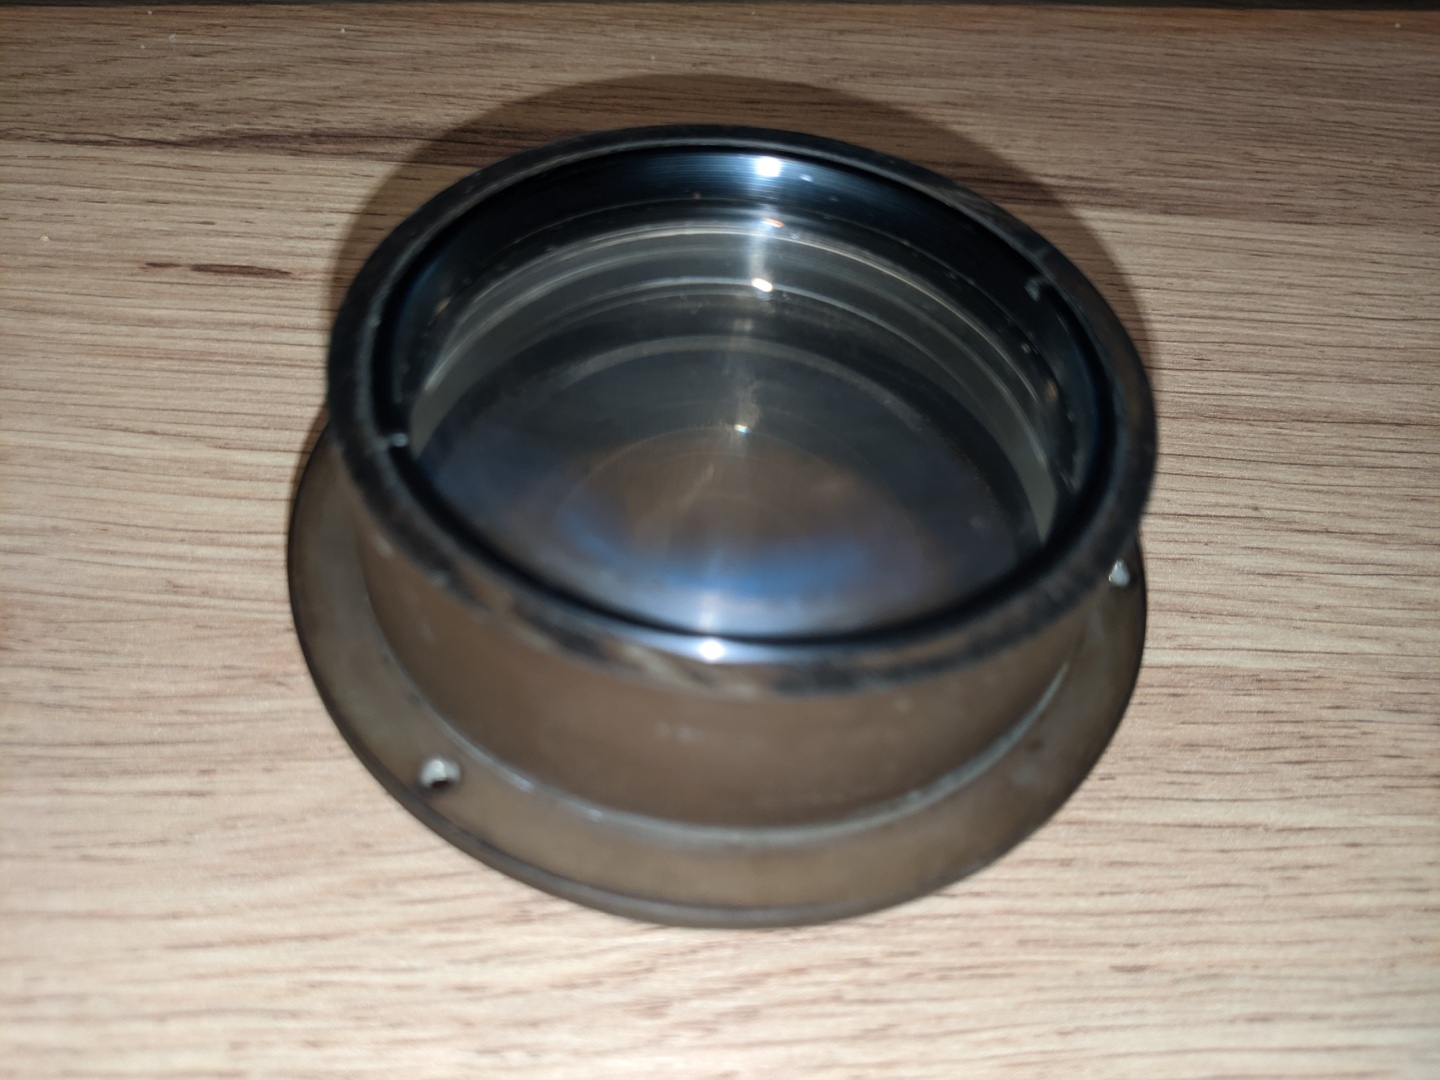
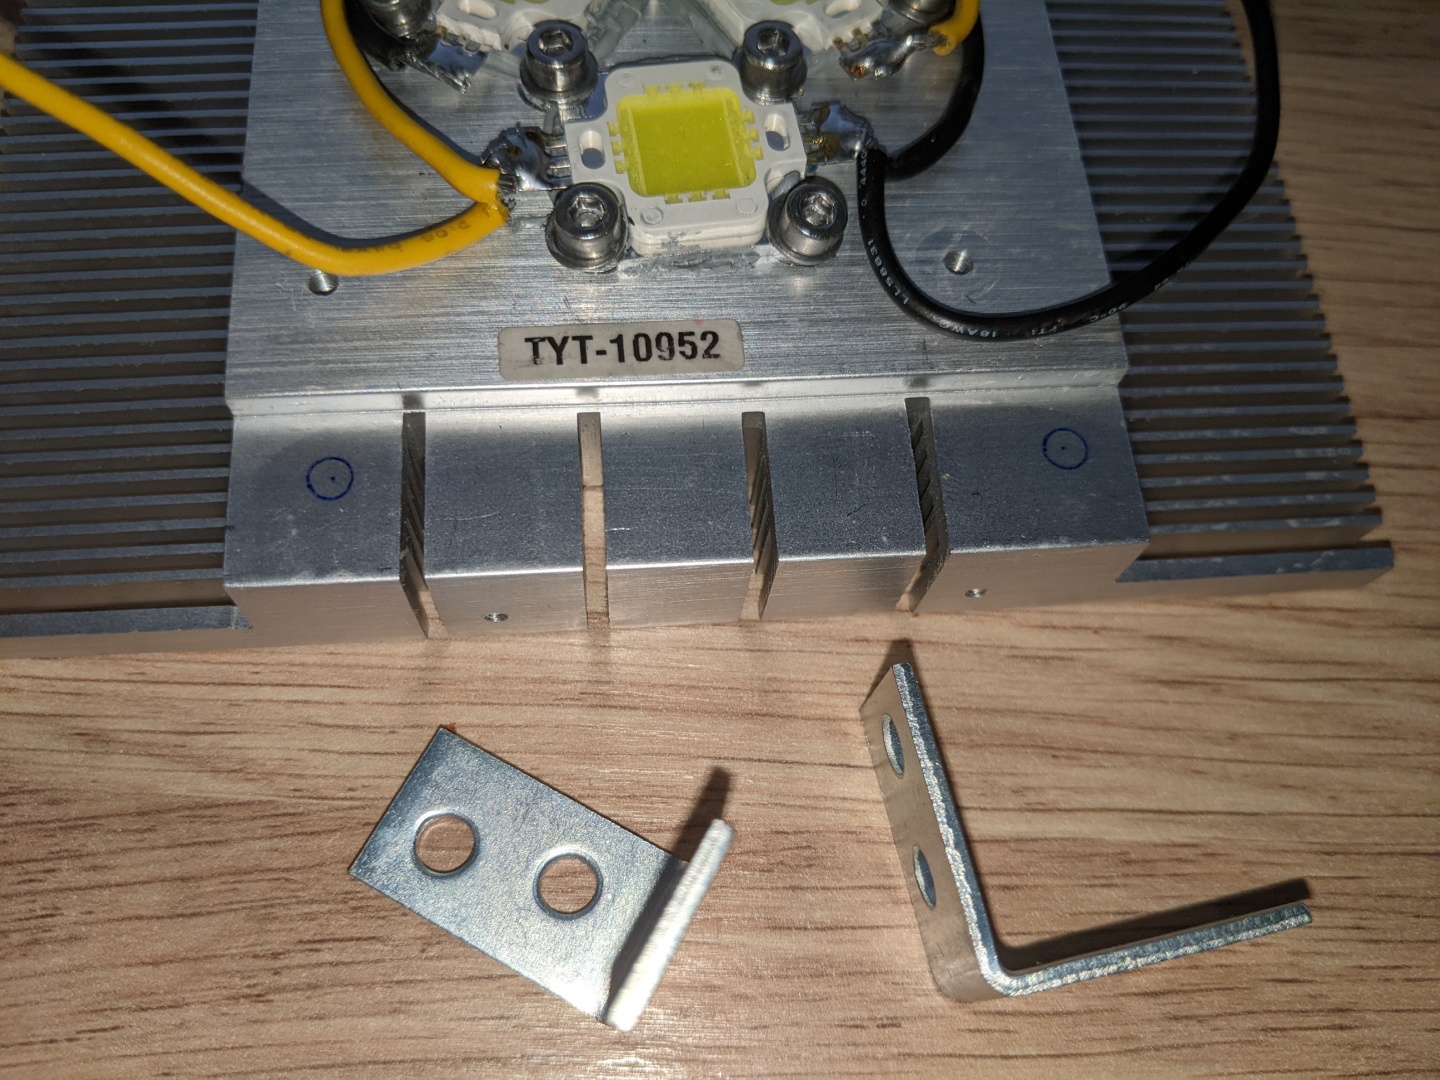
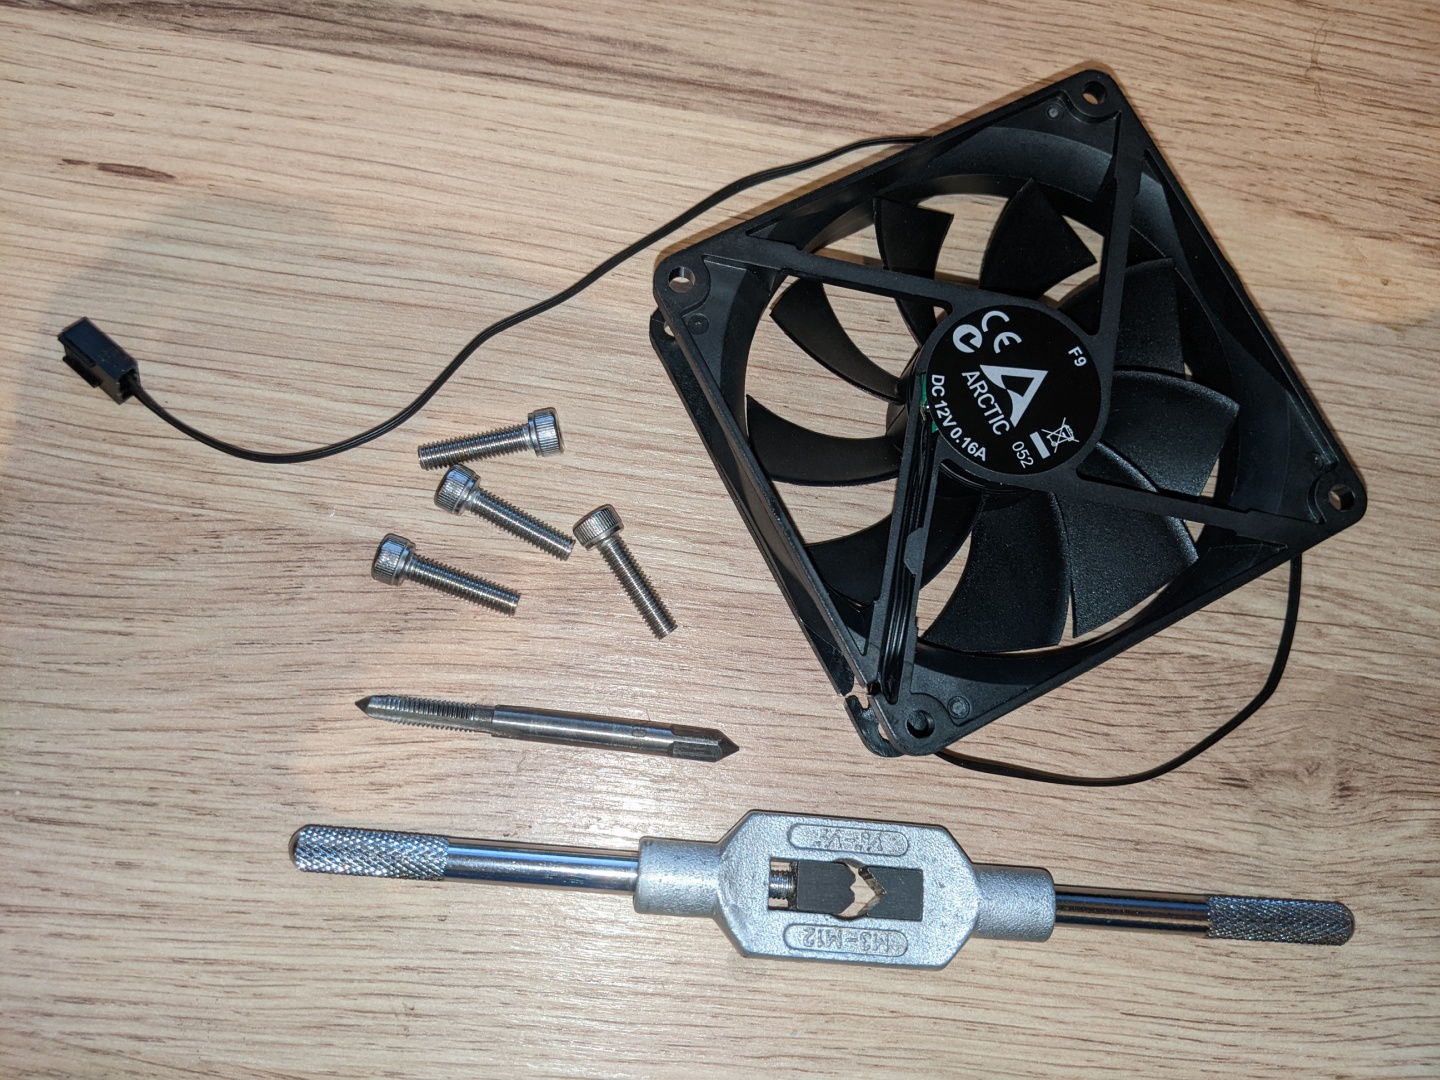
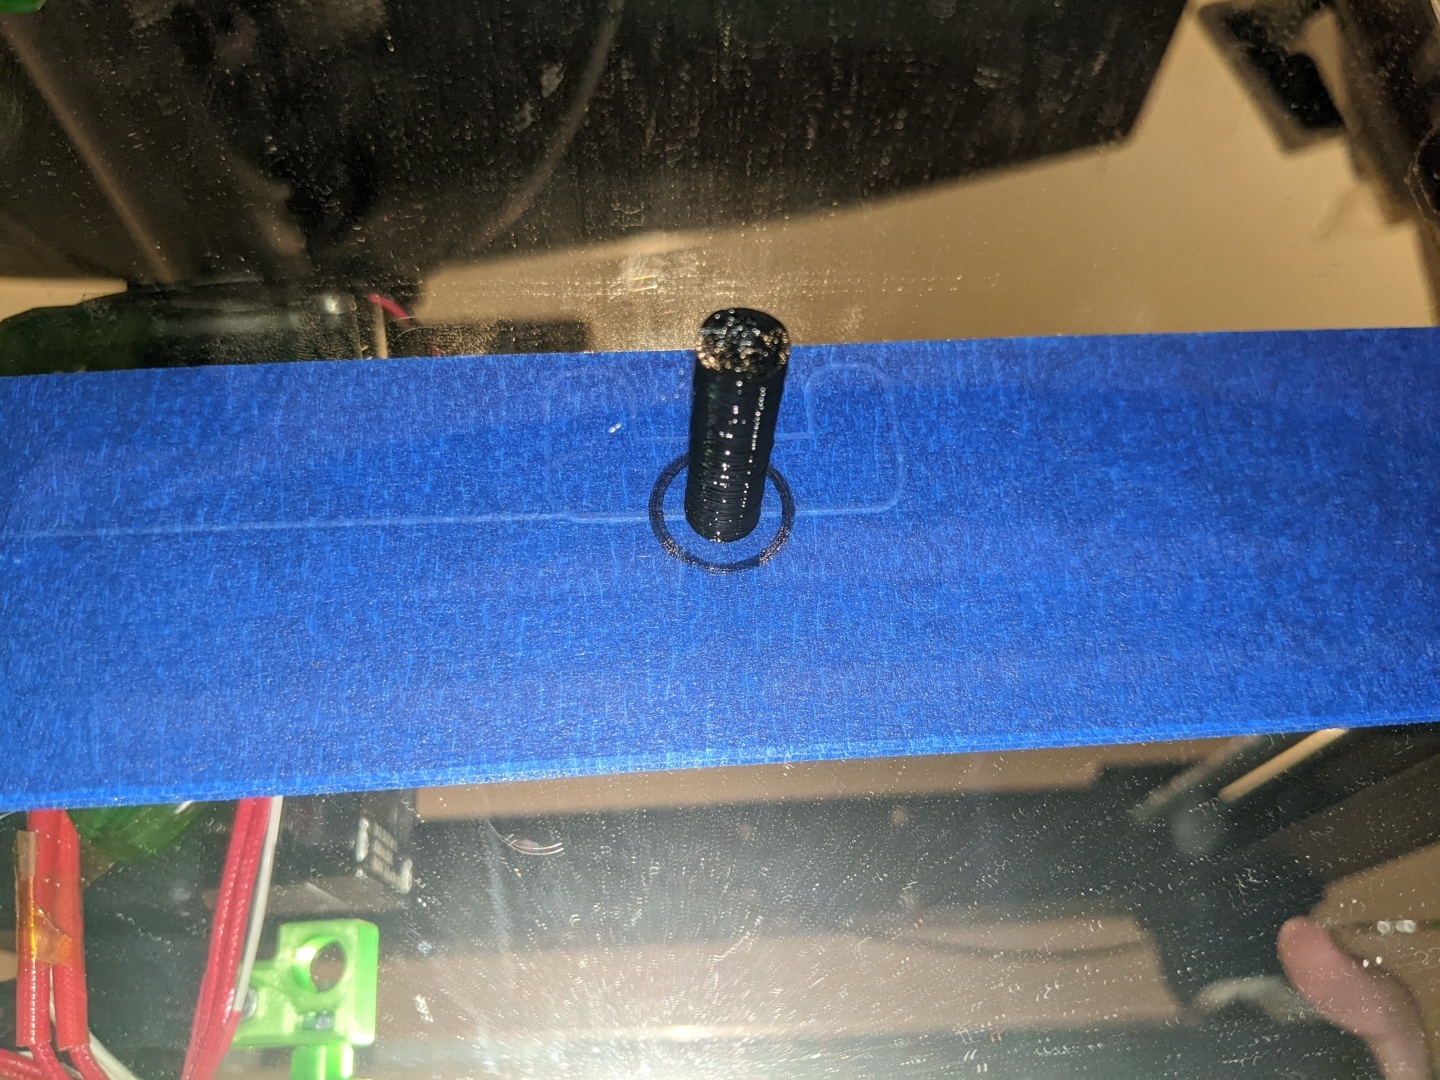
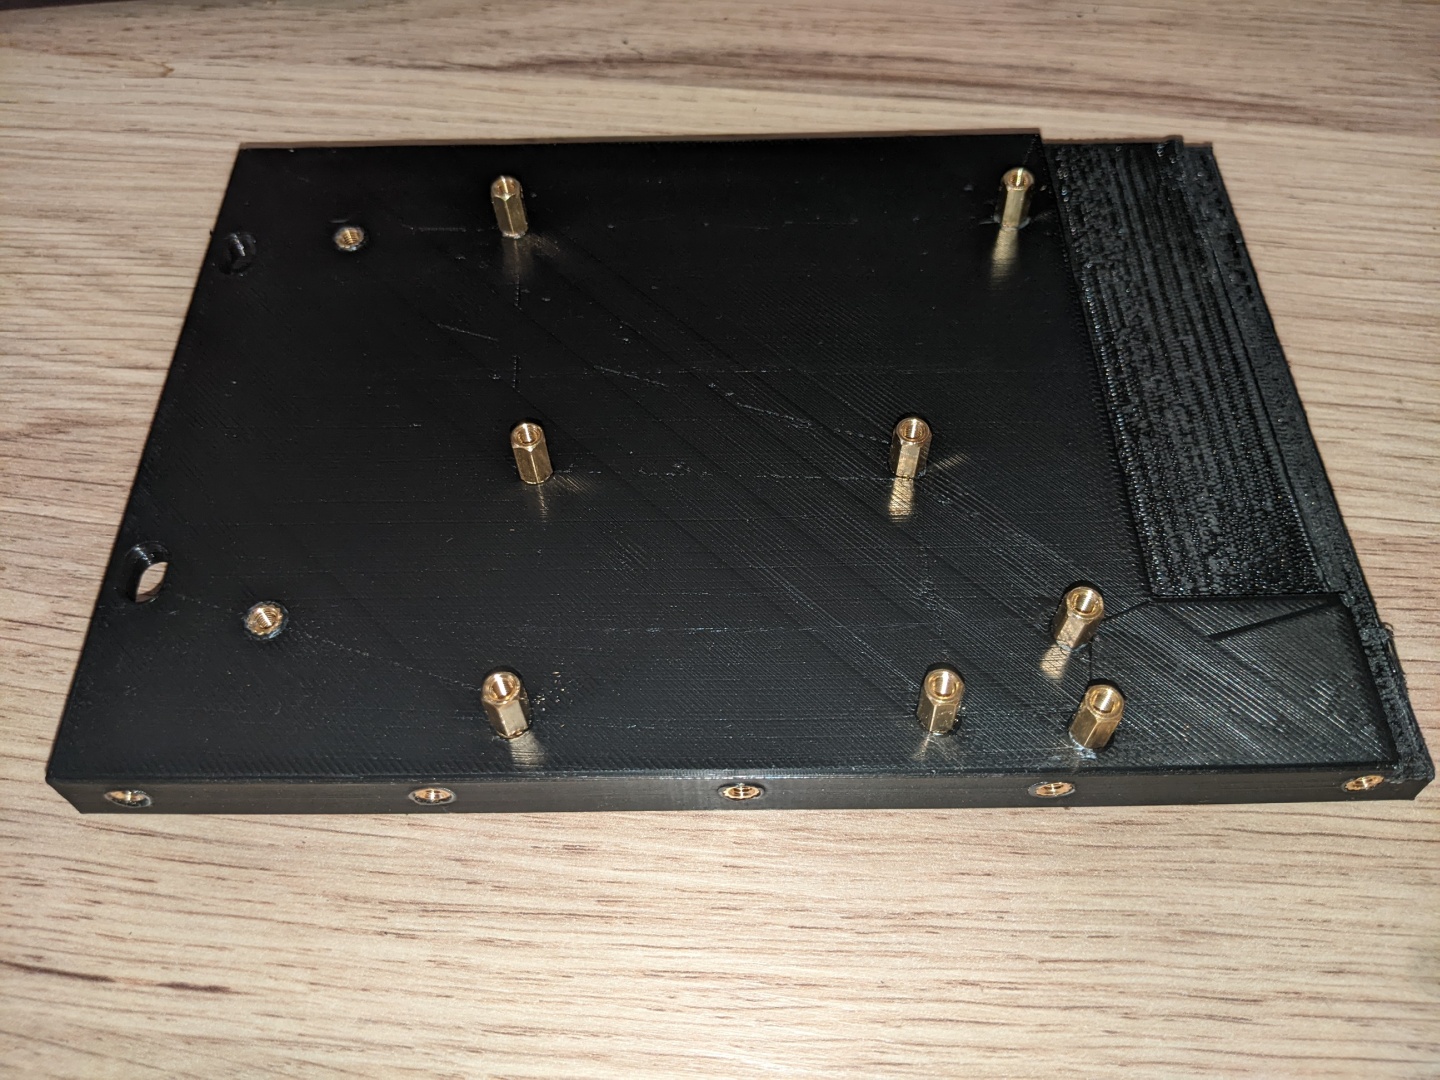
I drilled some holes and managed to break a few 2.5mm twist drills but it was worth it since Aluminum can be tricky.
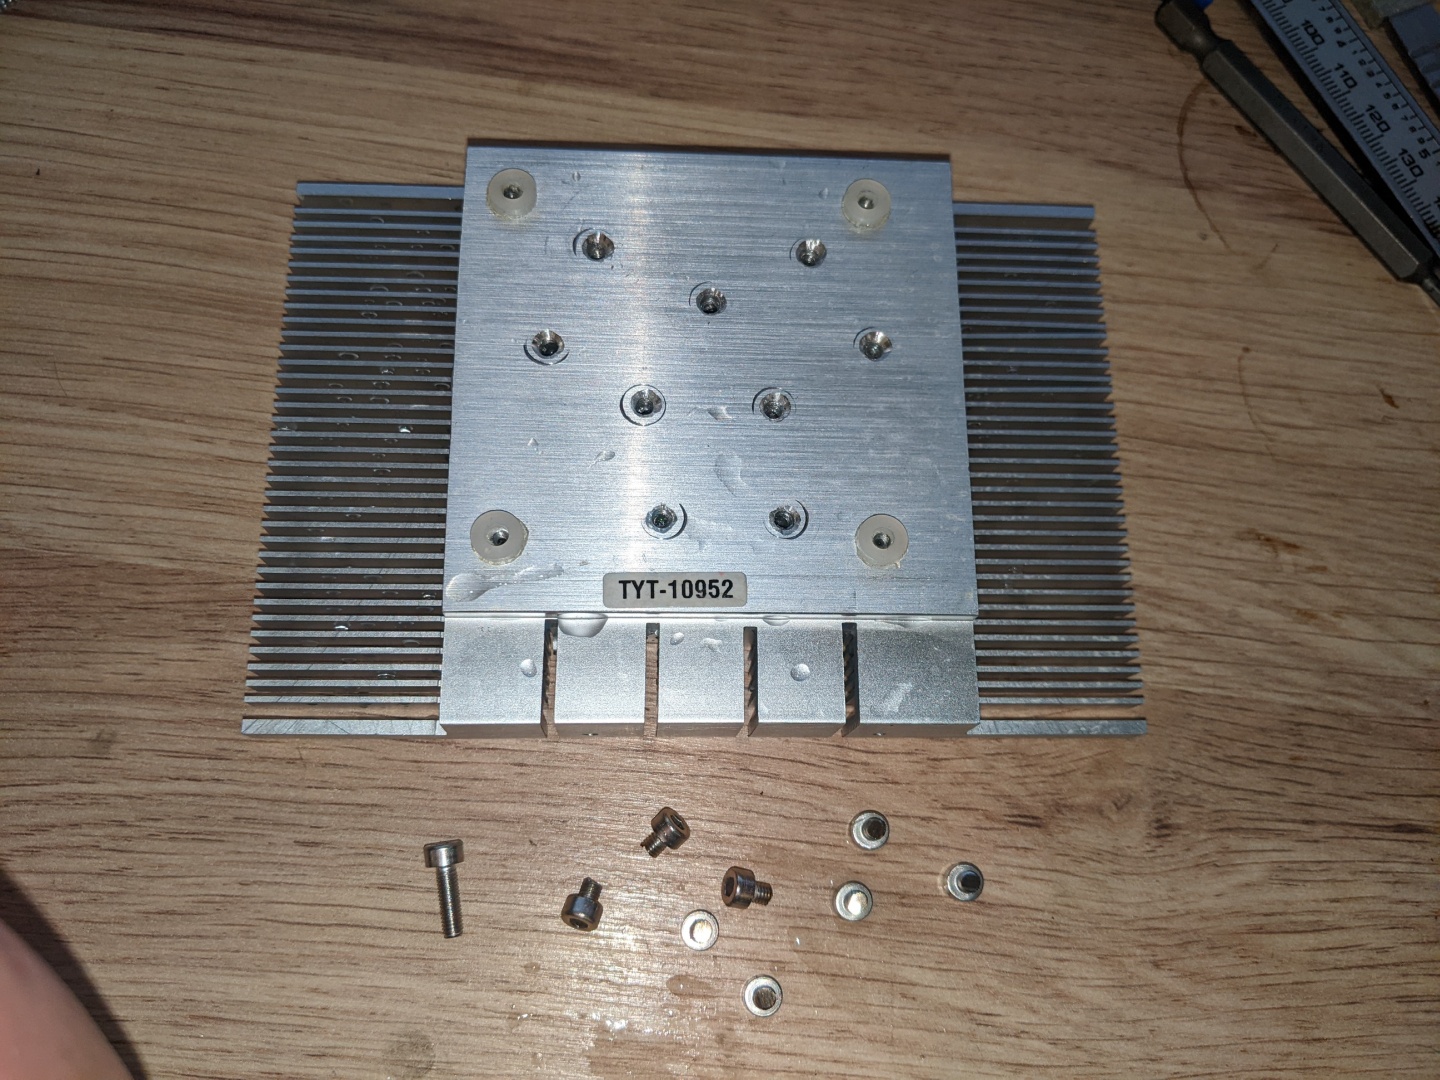
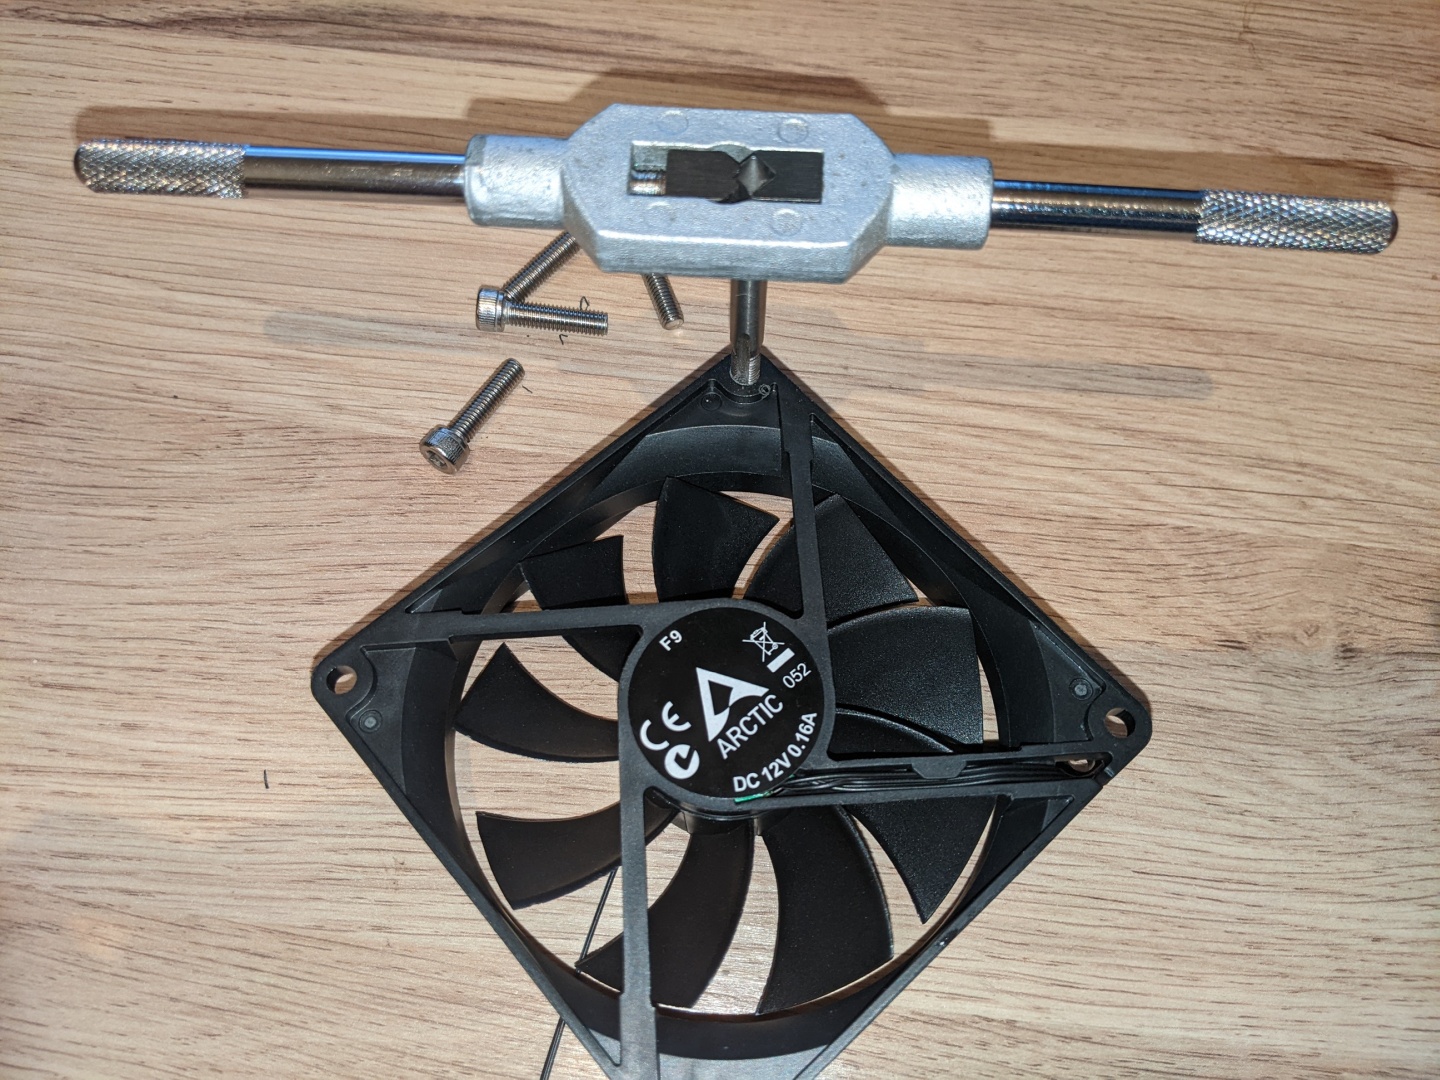
Next step was to tap some threading of M3 threads and also shortening some M3x10 screws.
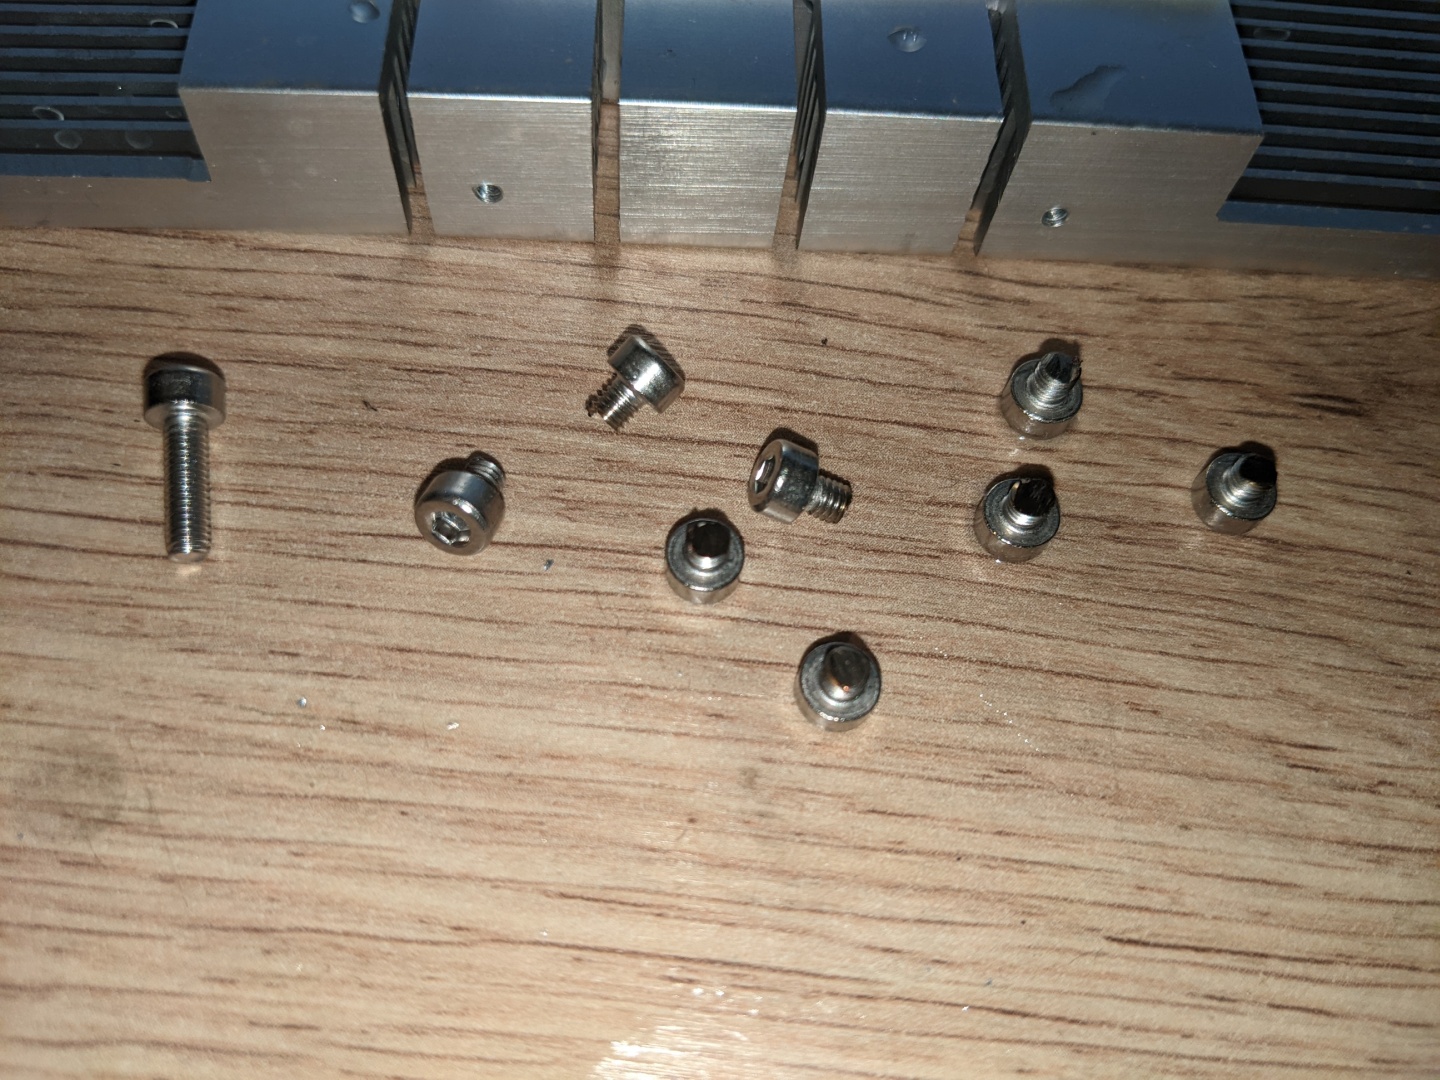
Using a mini grinder actually works pretty great for jobs like this.
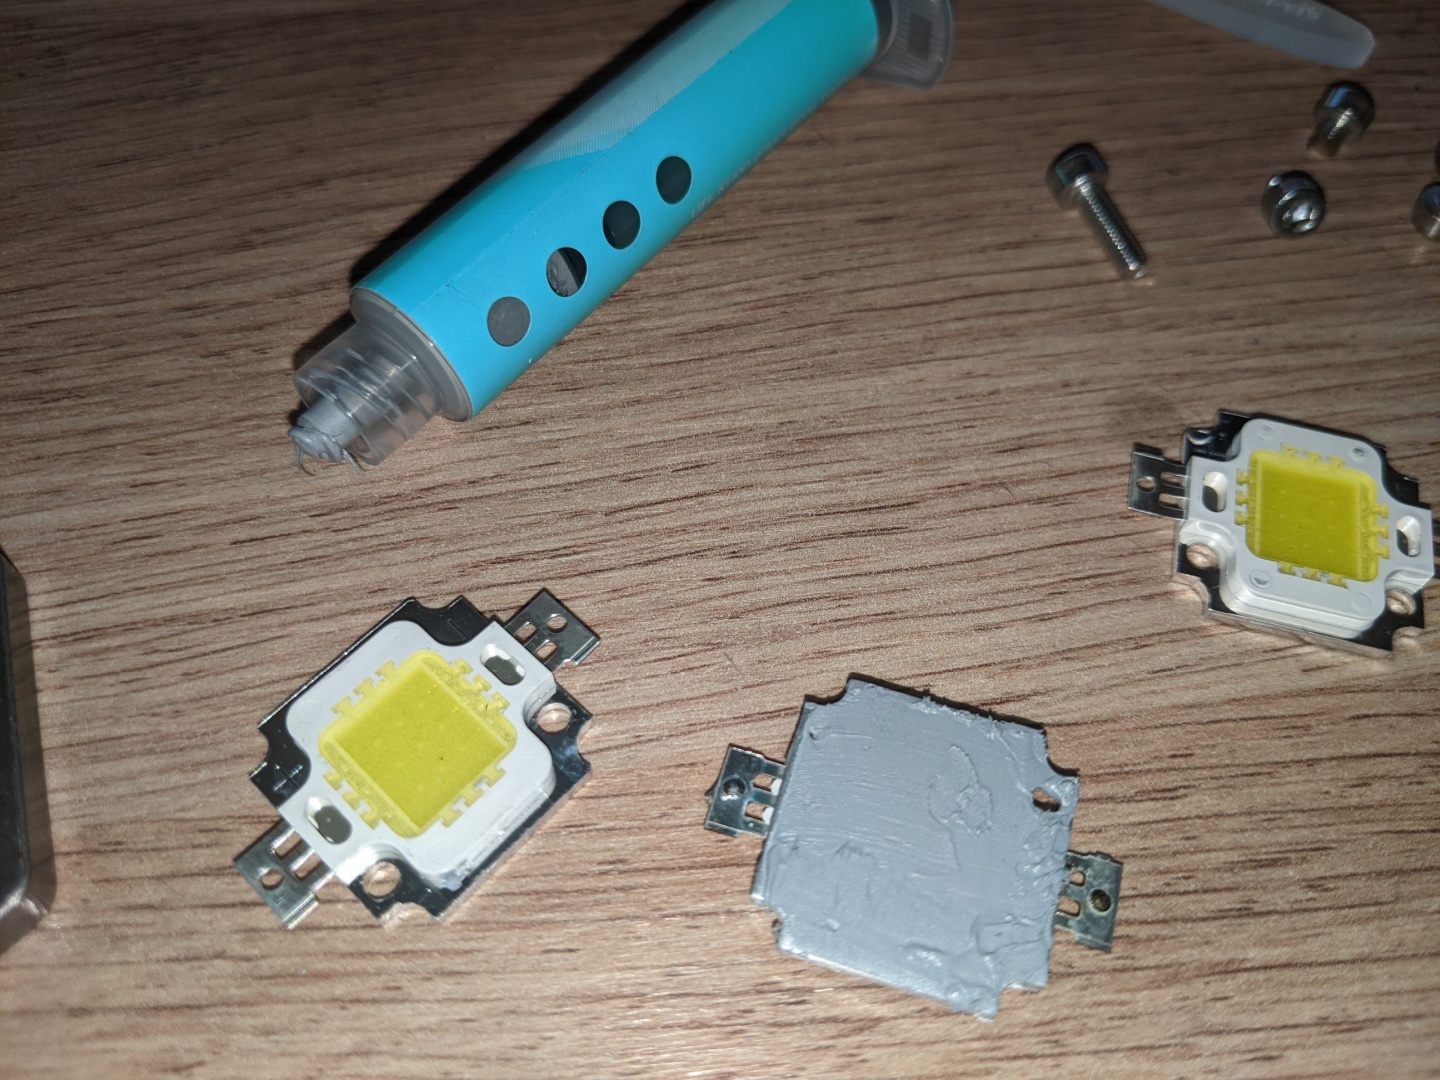
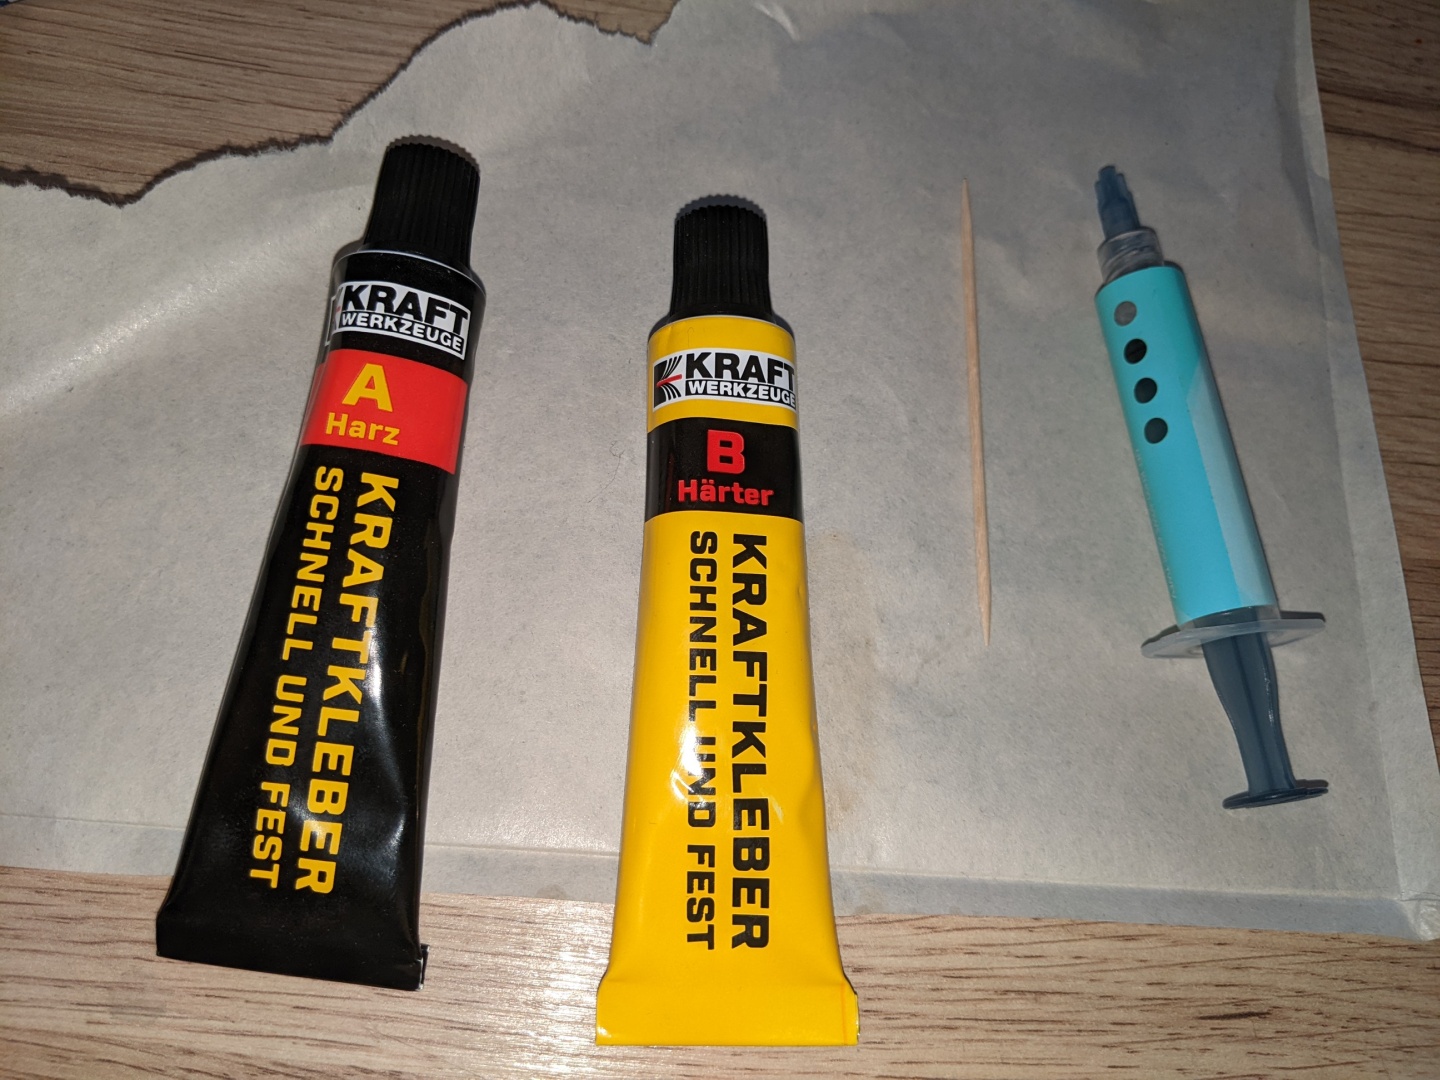
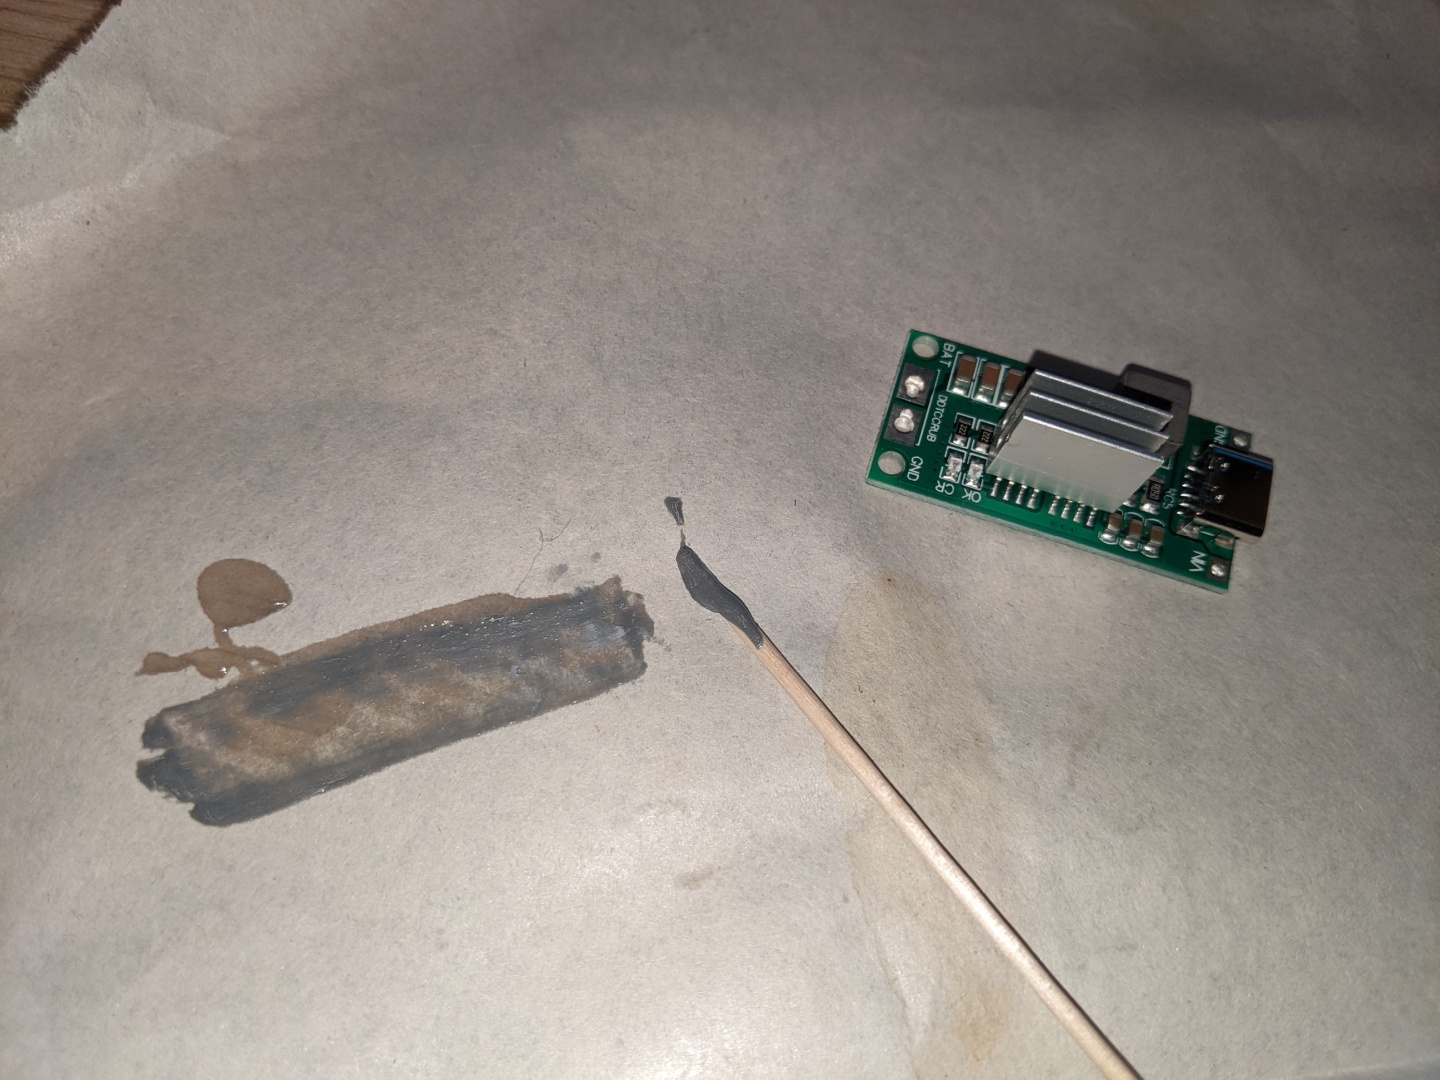
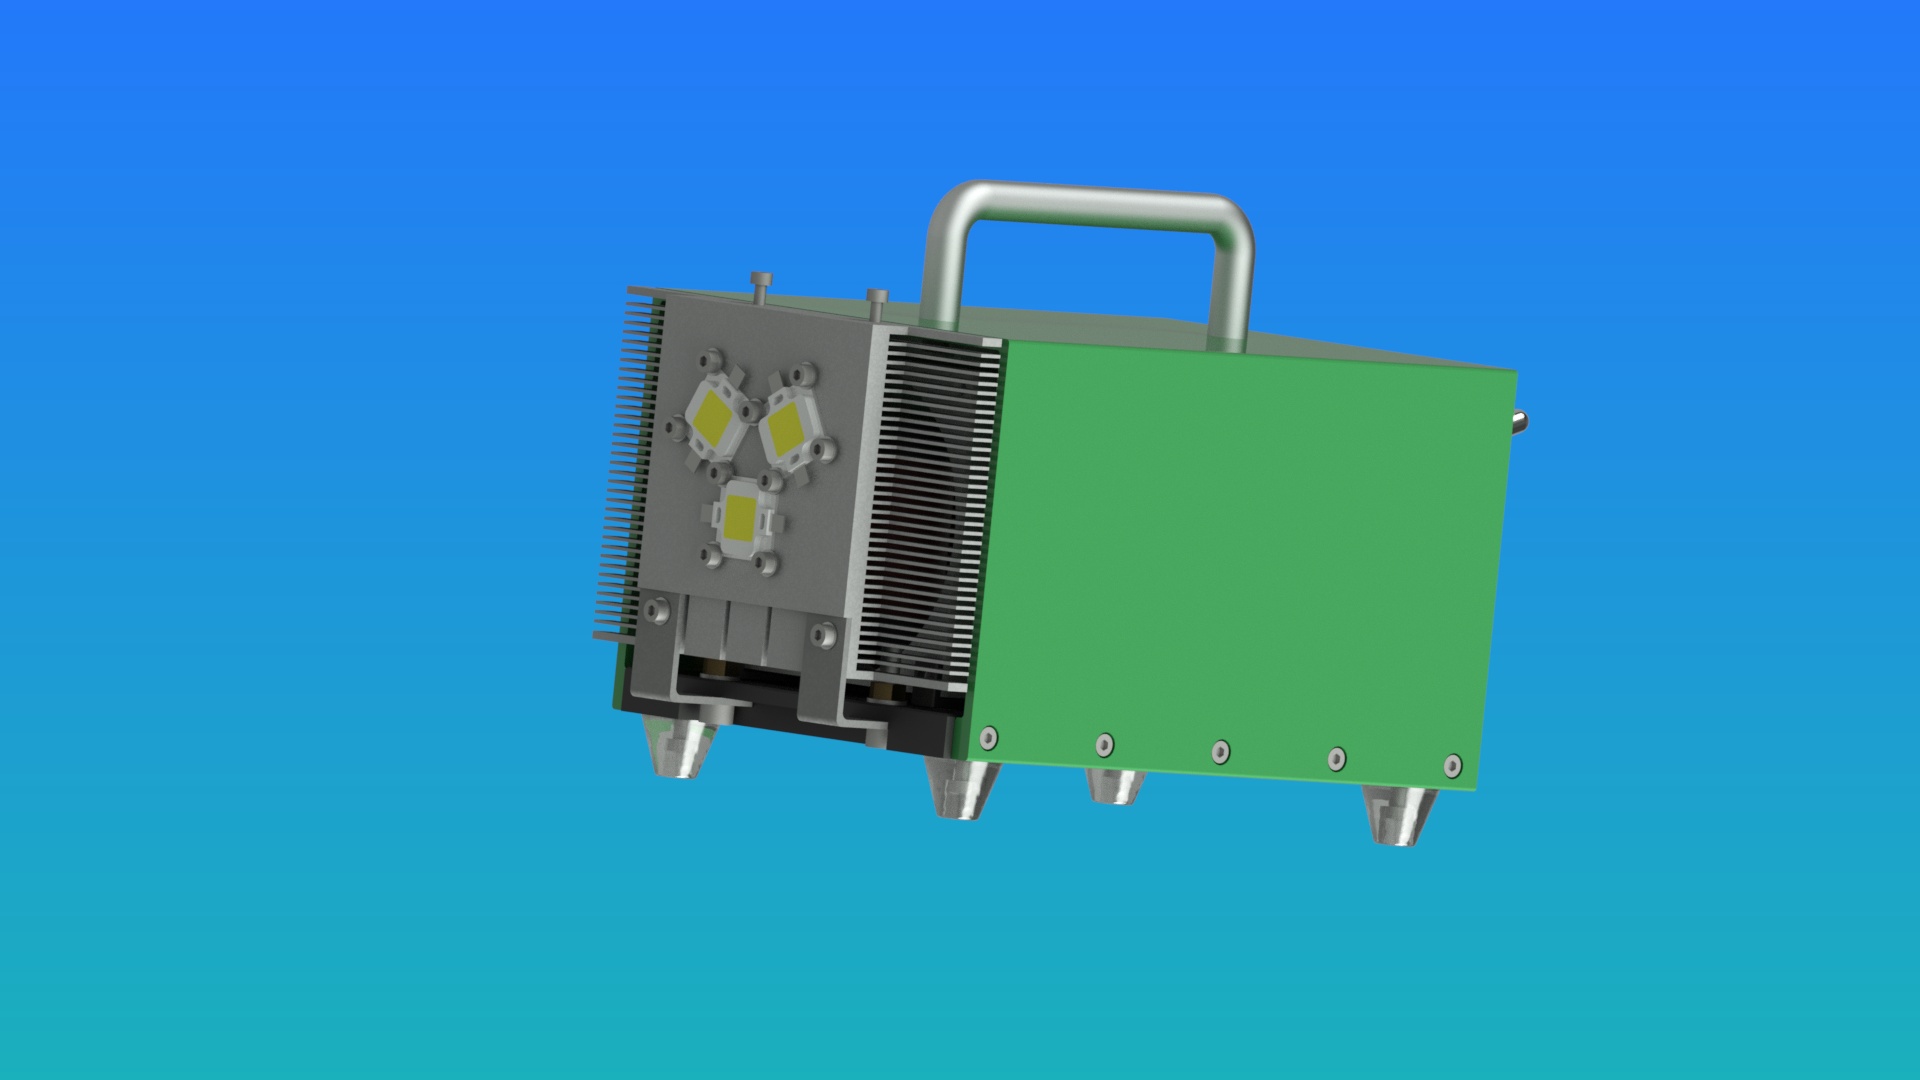
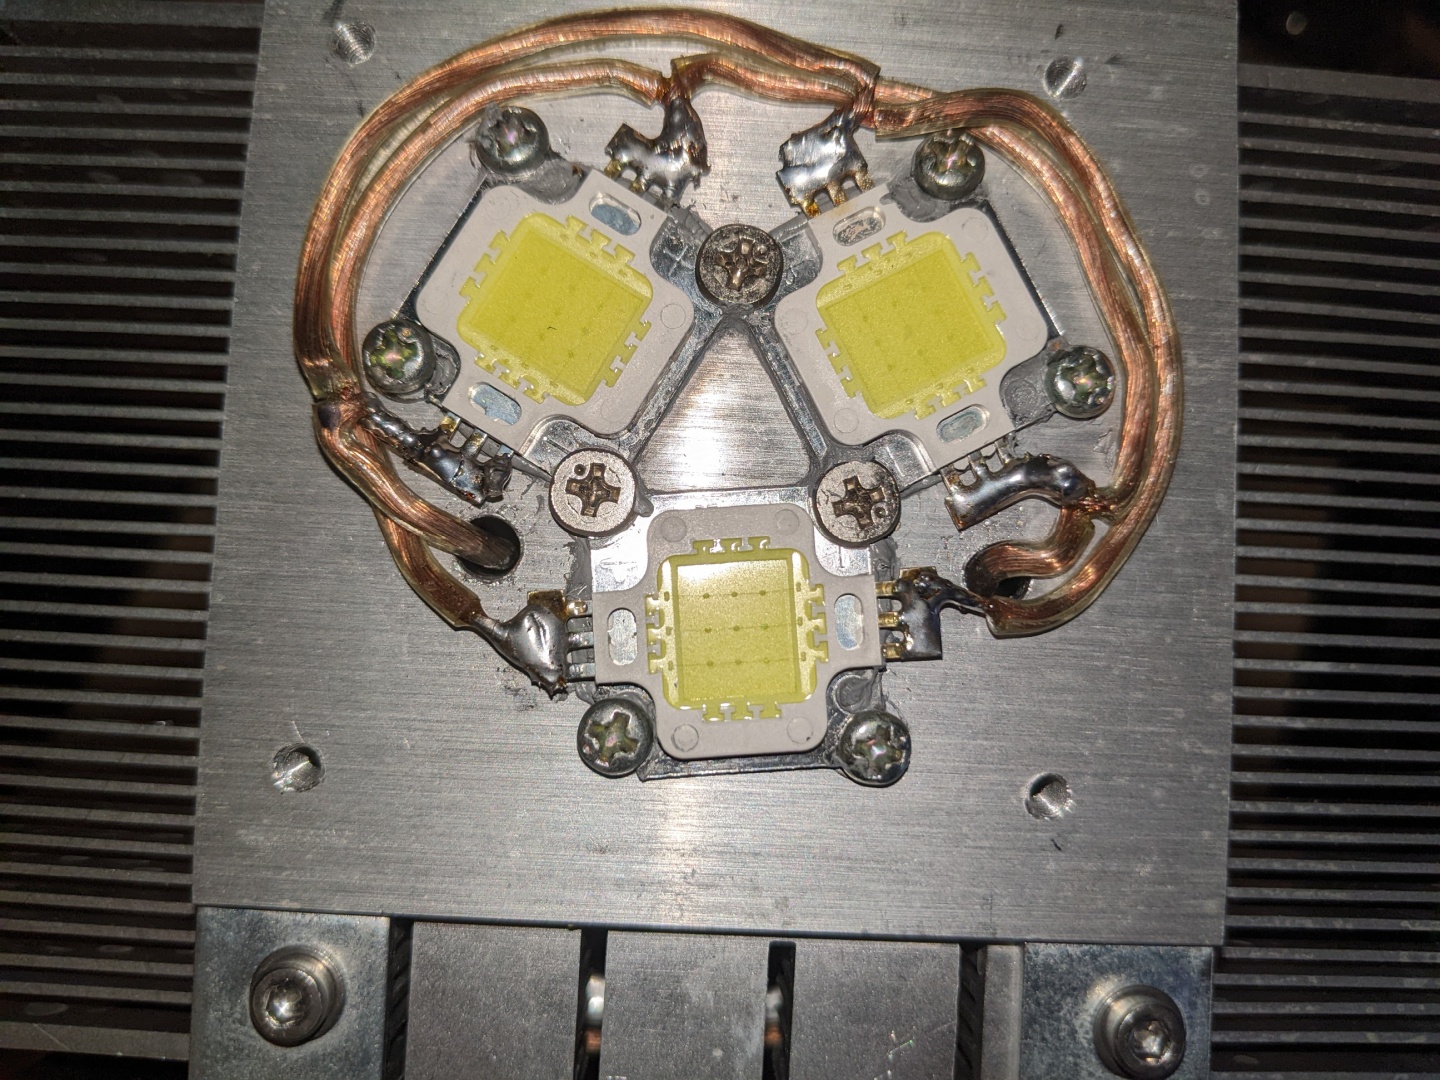
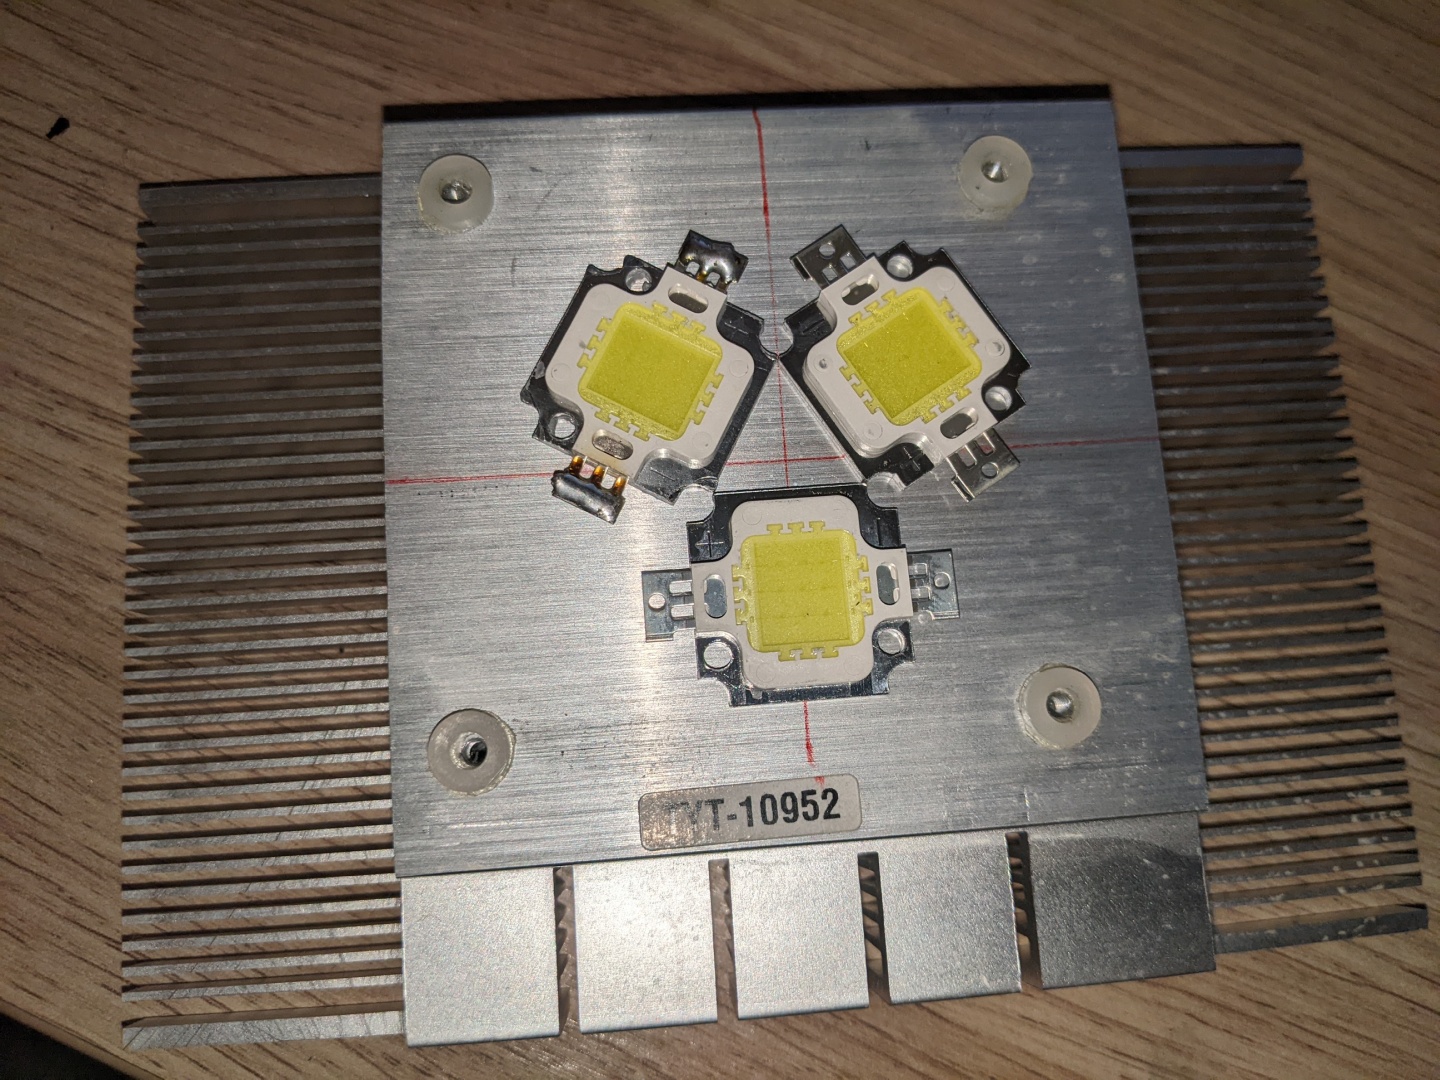
Next step was to clean both the modified cooler and the 10W LEDs with rubbing alcohol and to attach the thermal grease.
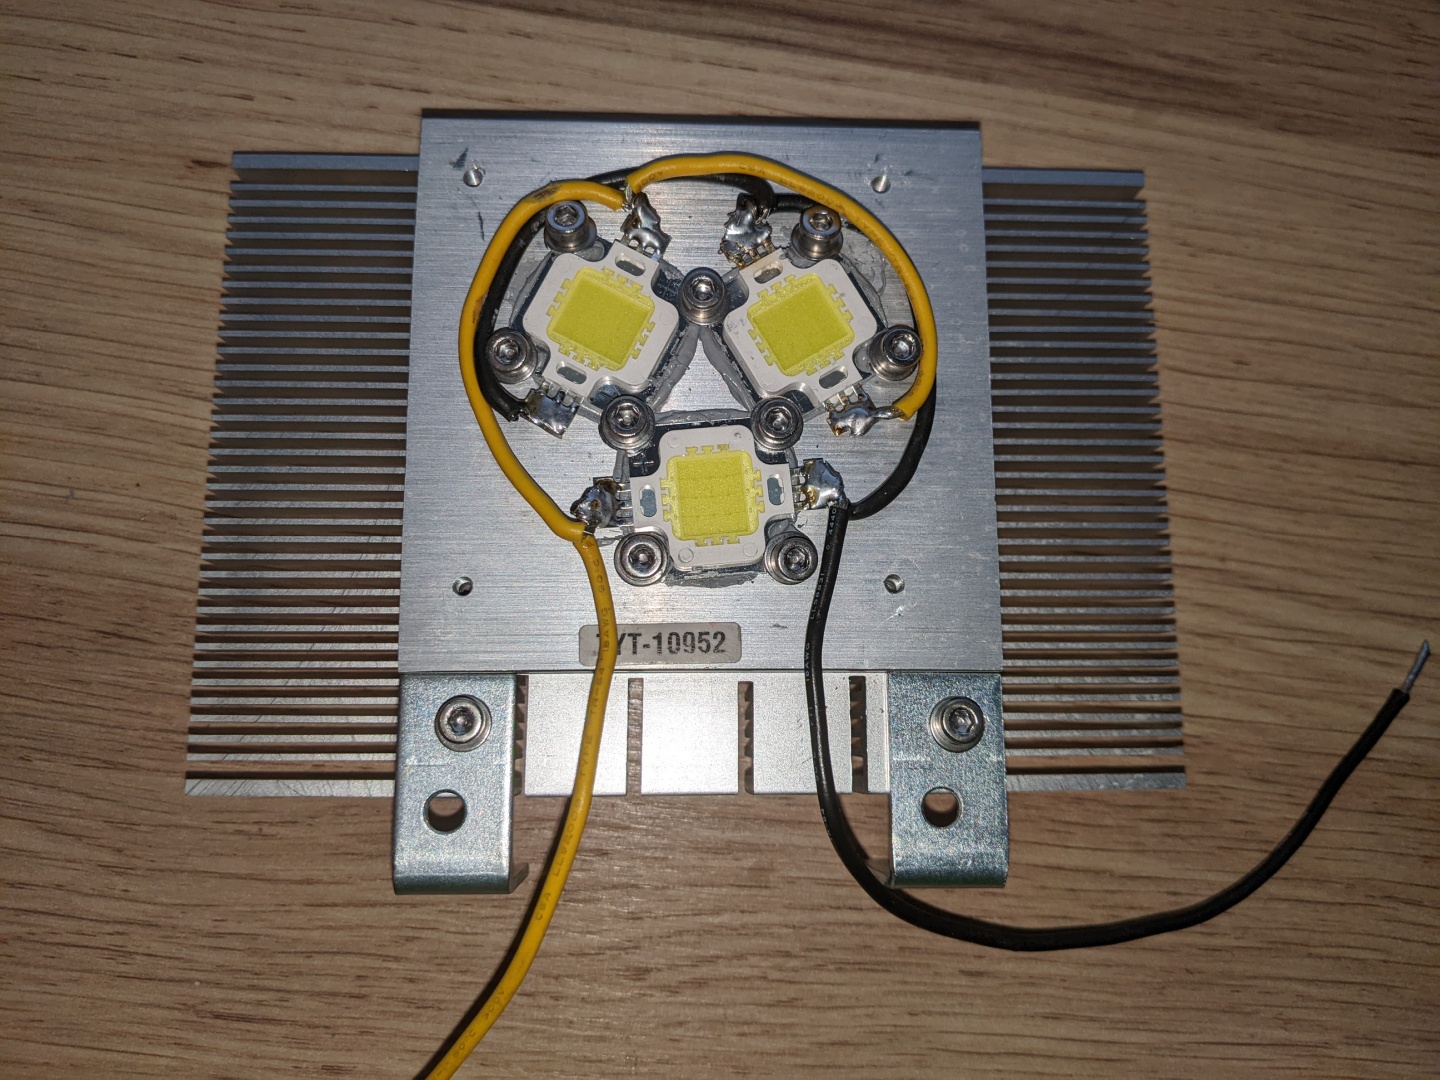
I used Arctic MX-6 since every °C counts and mounted the LEDs next.
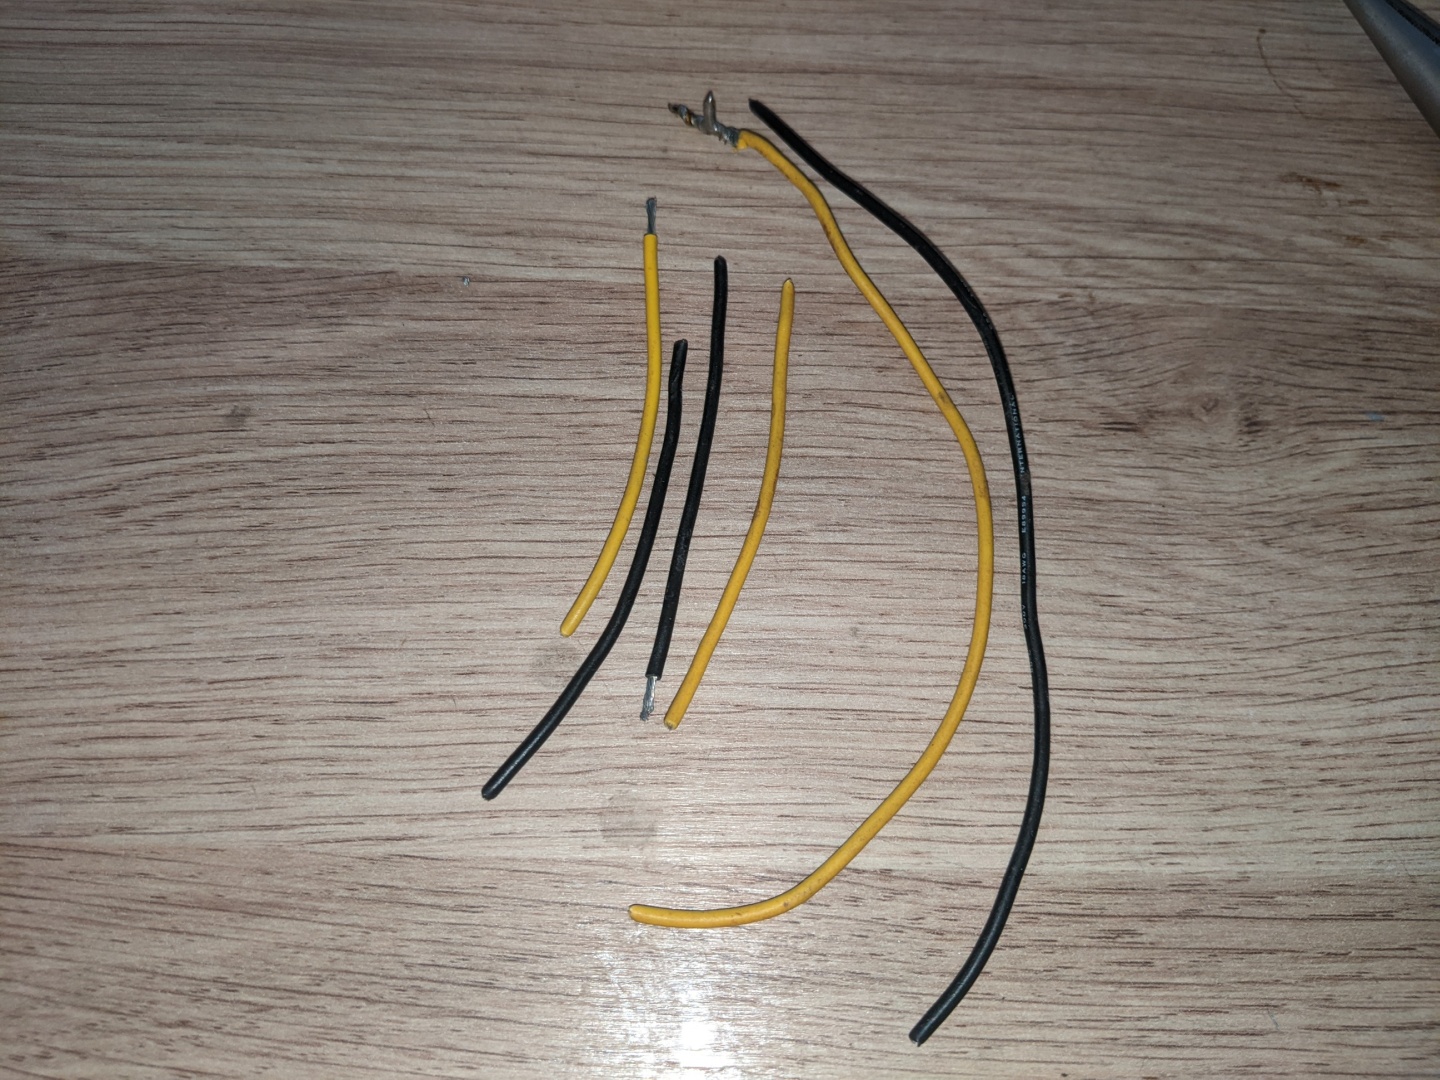
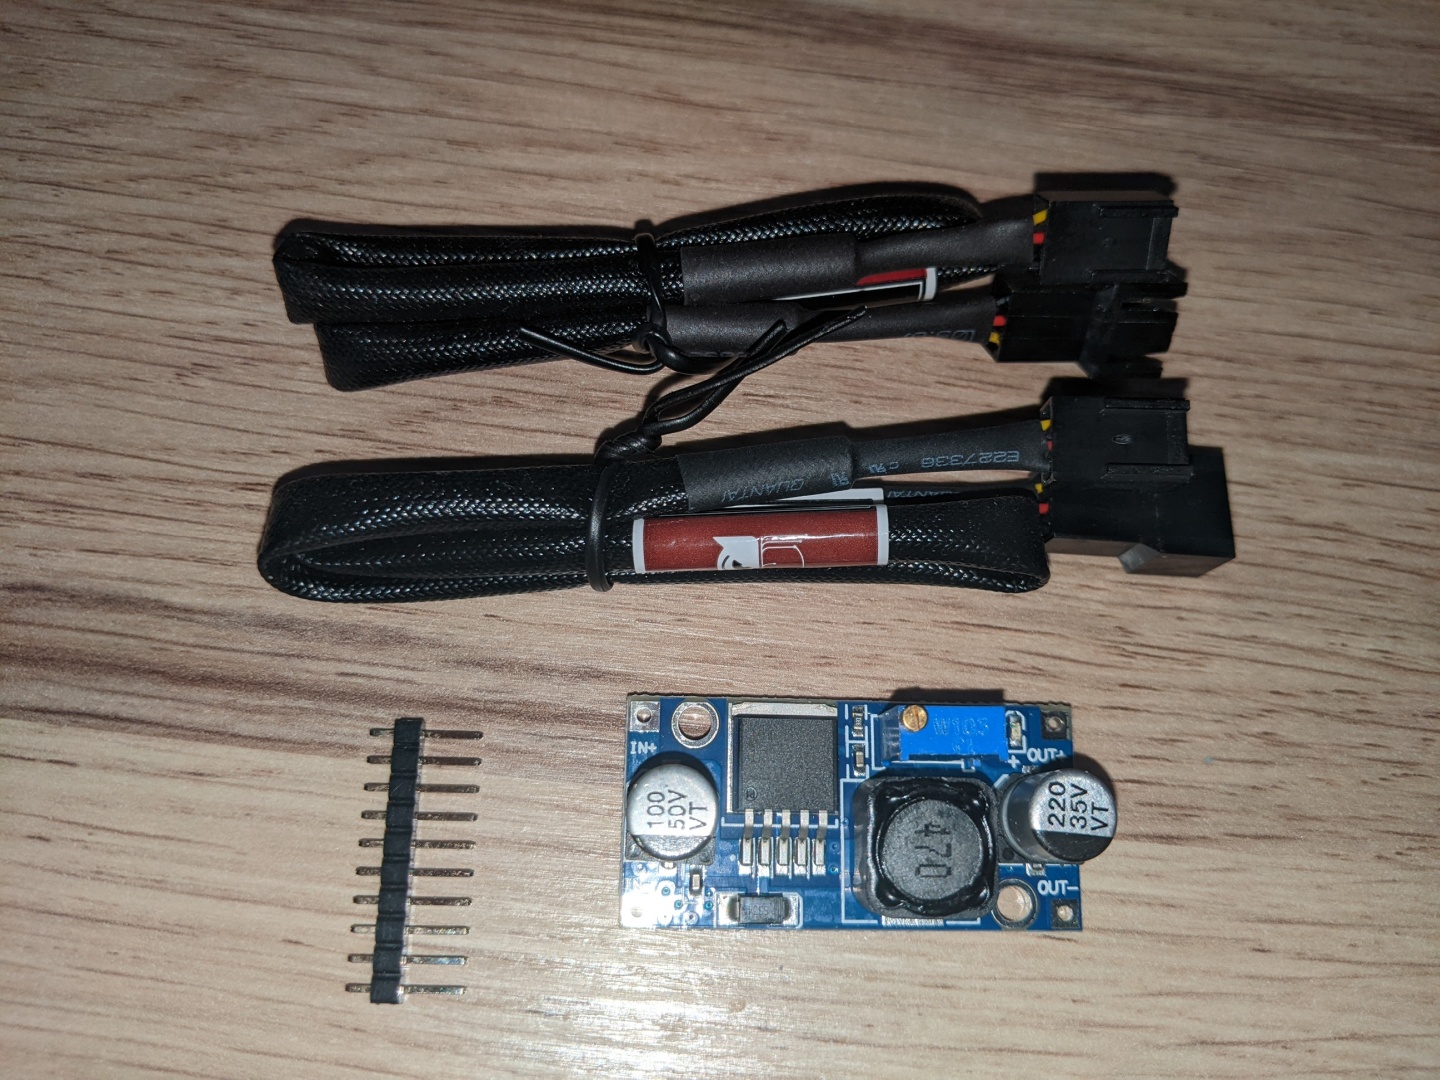
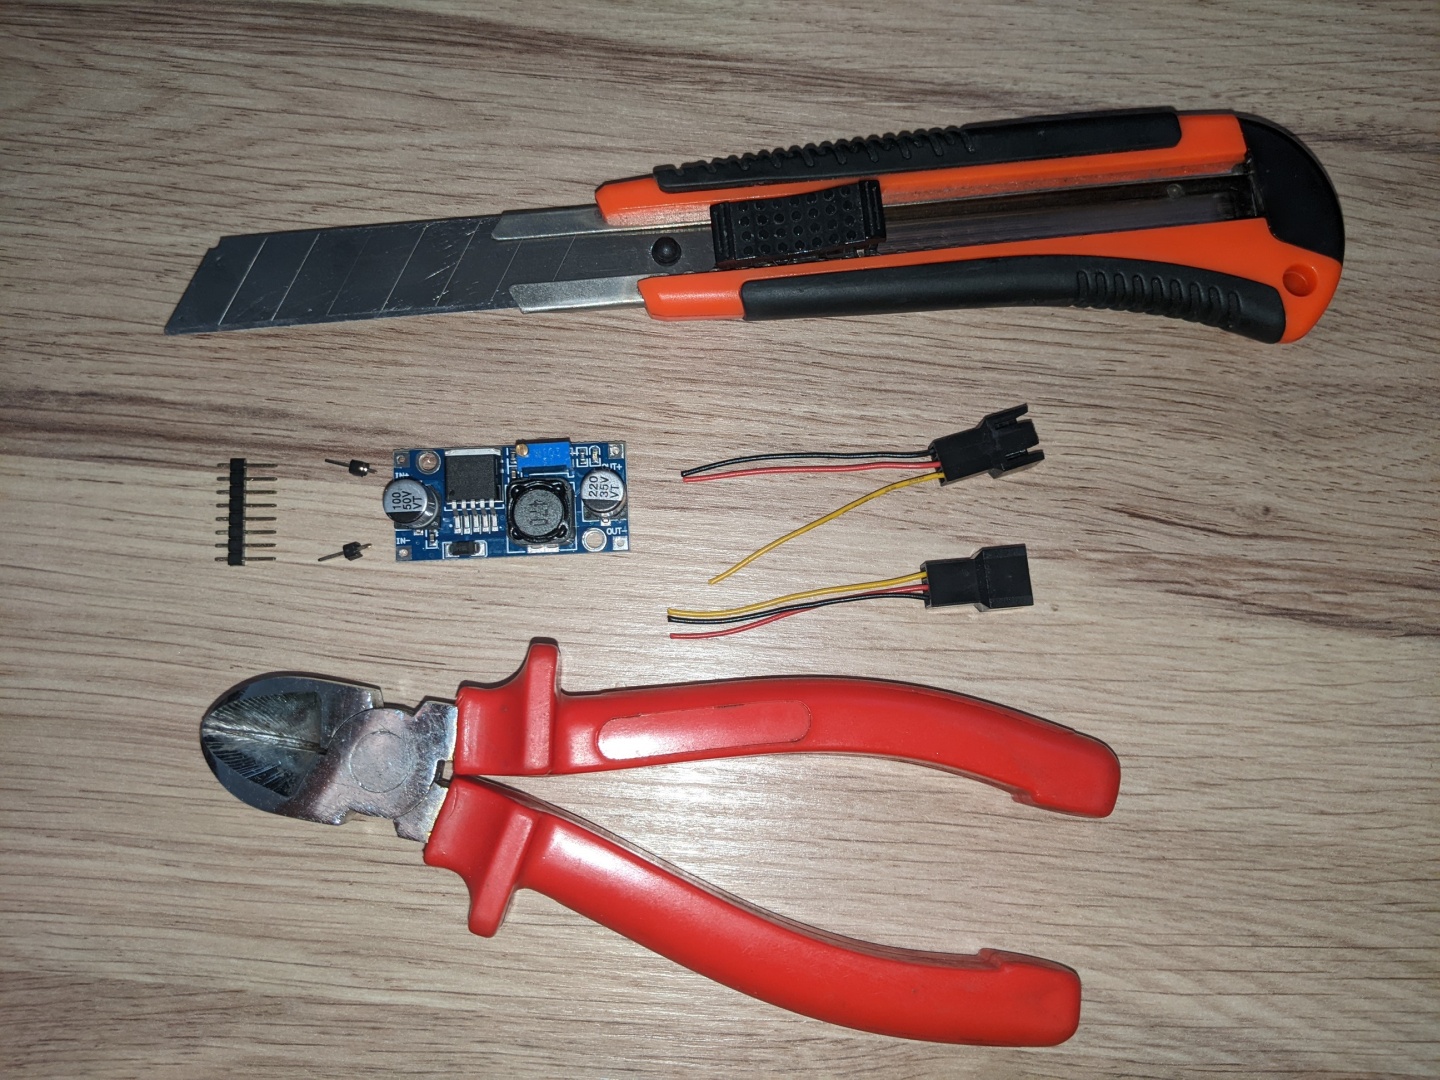
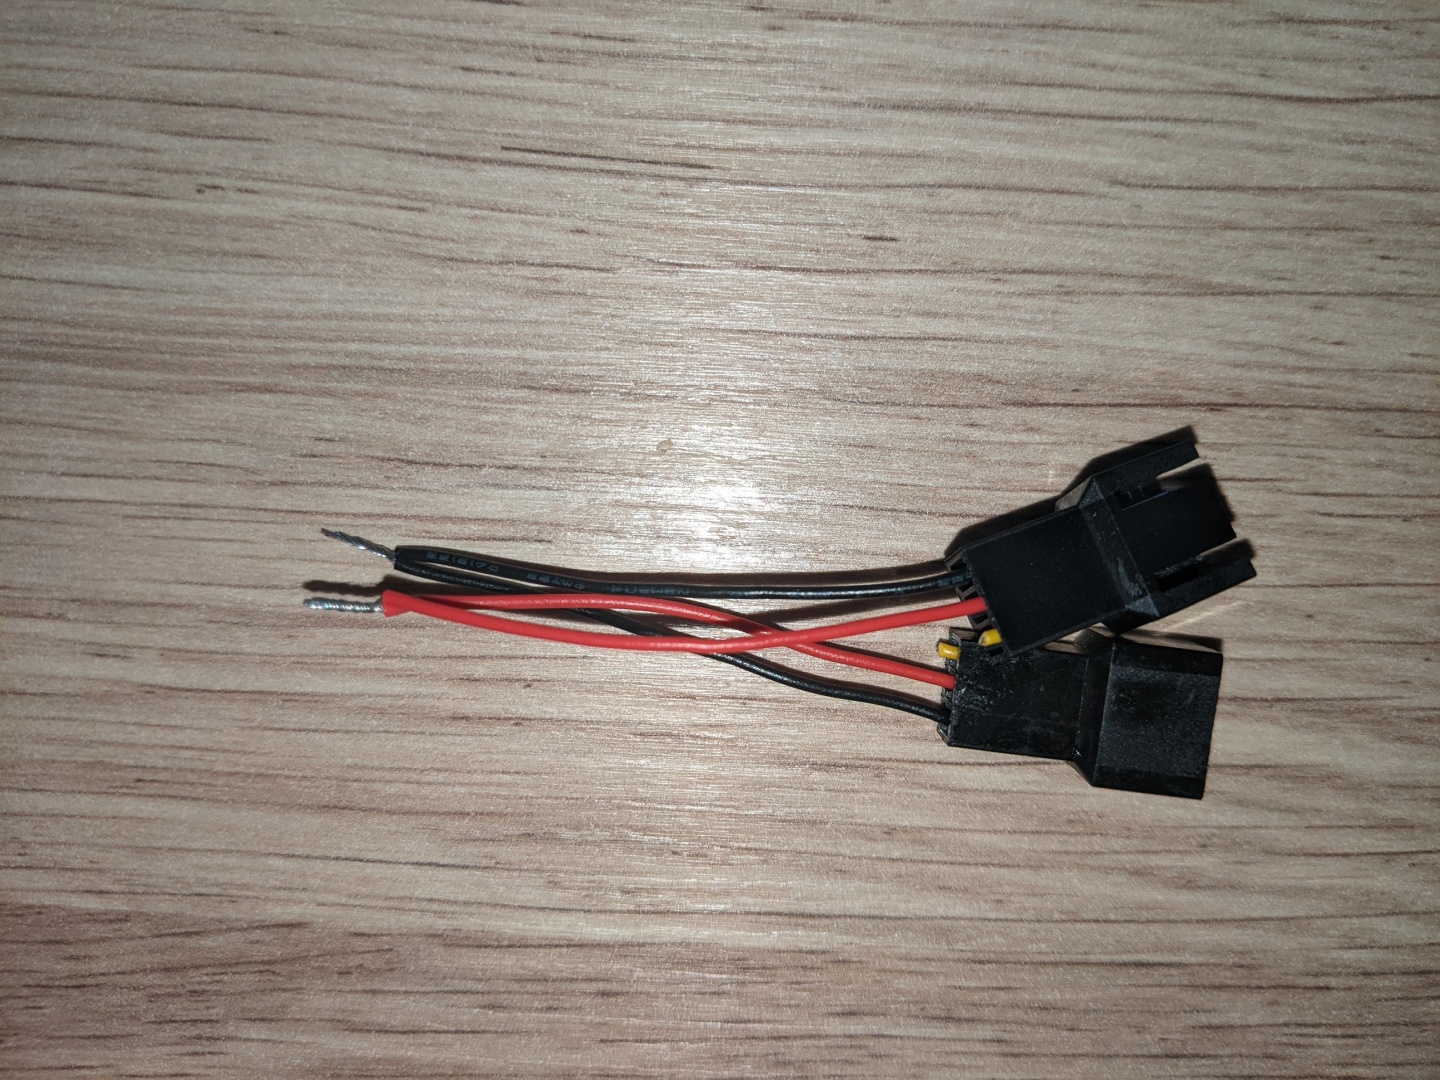
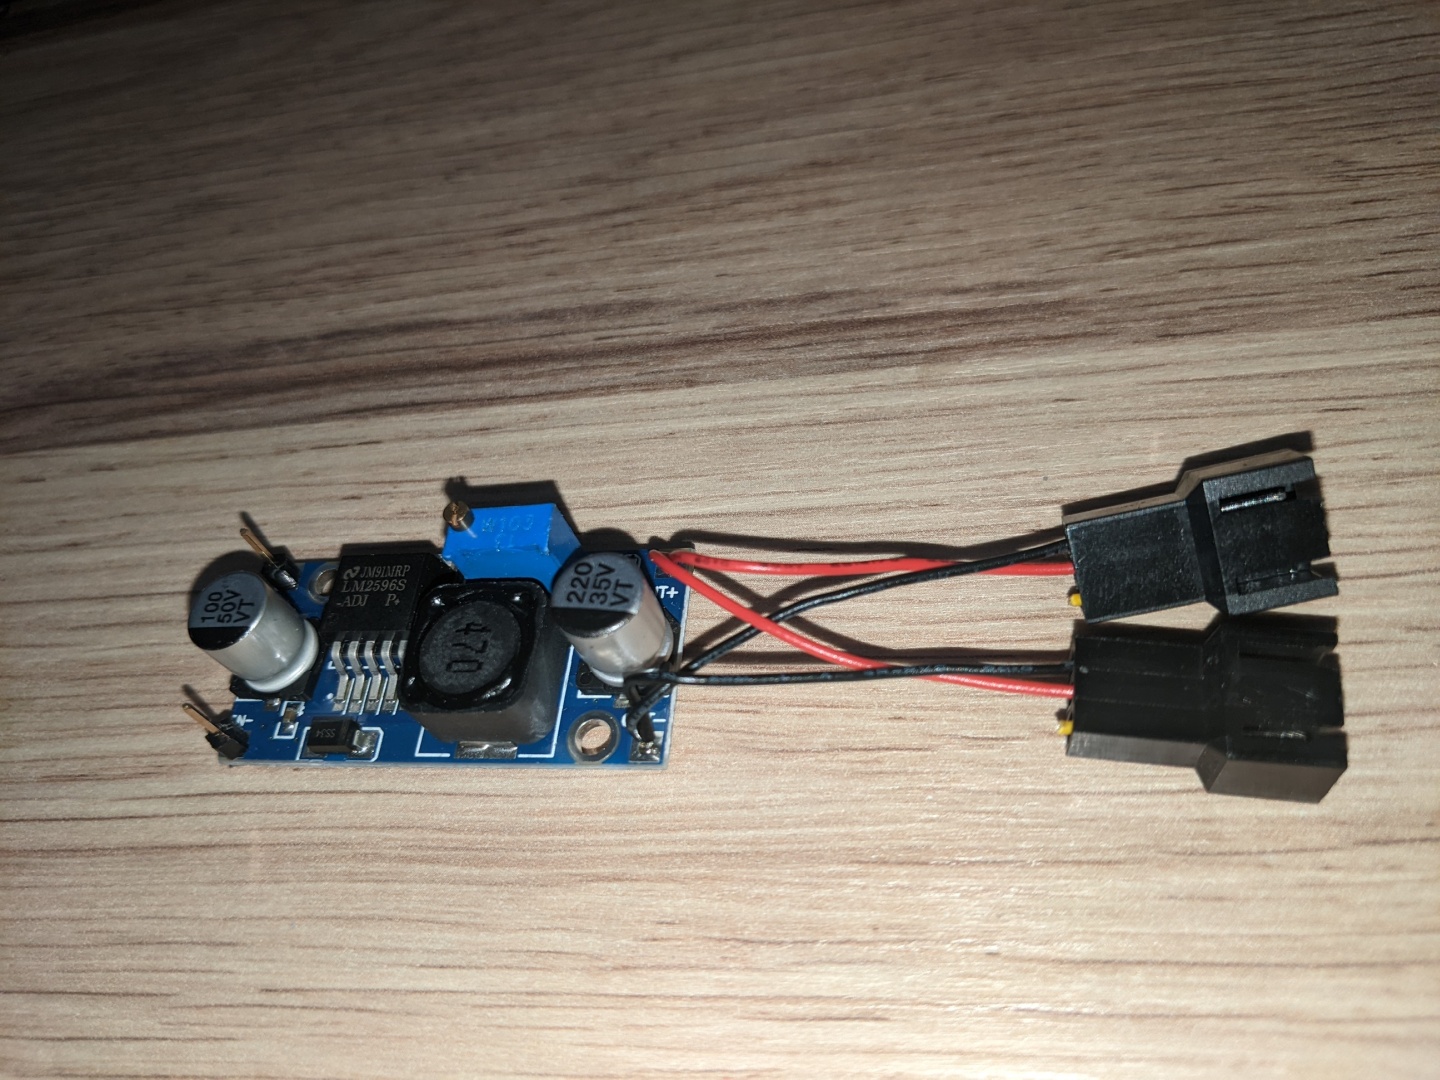
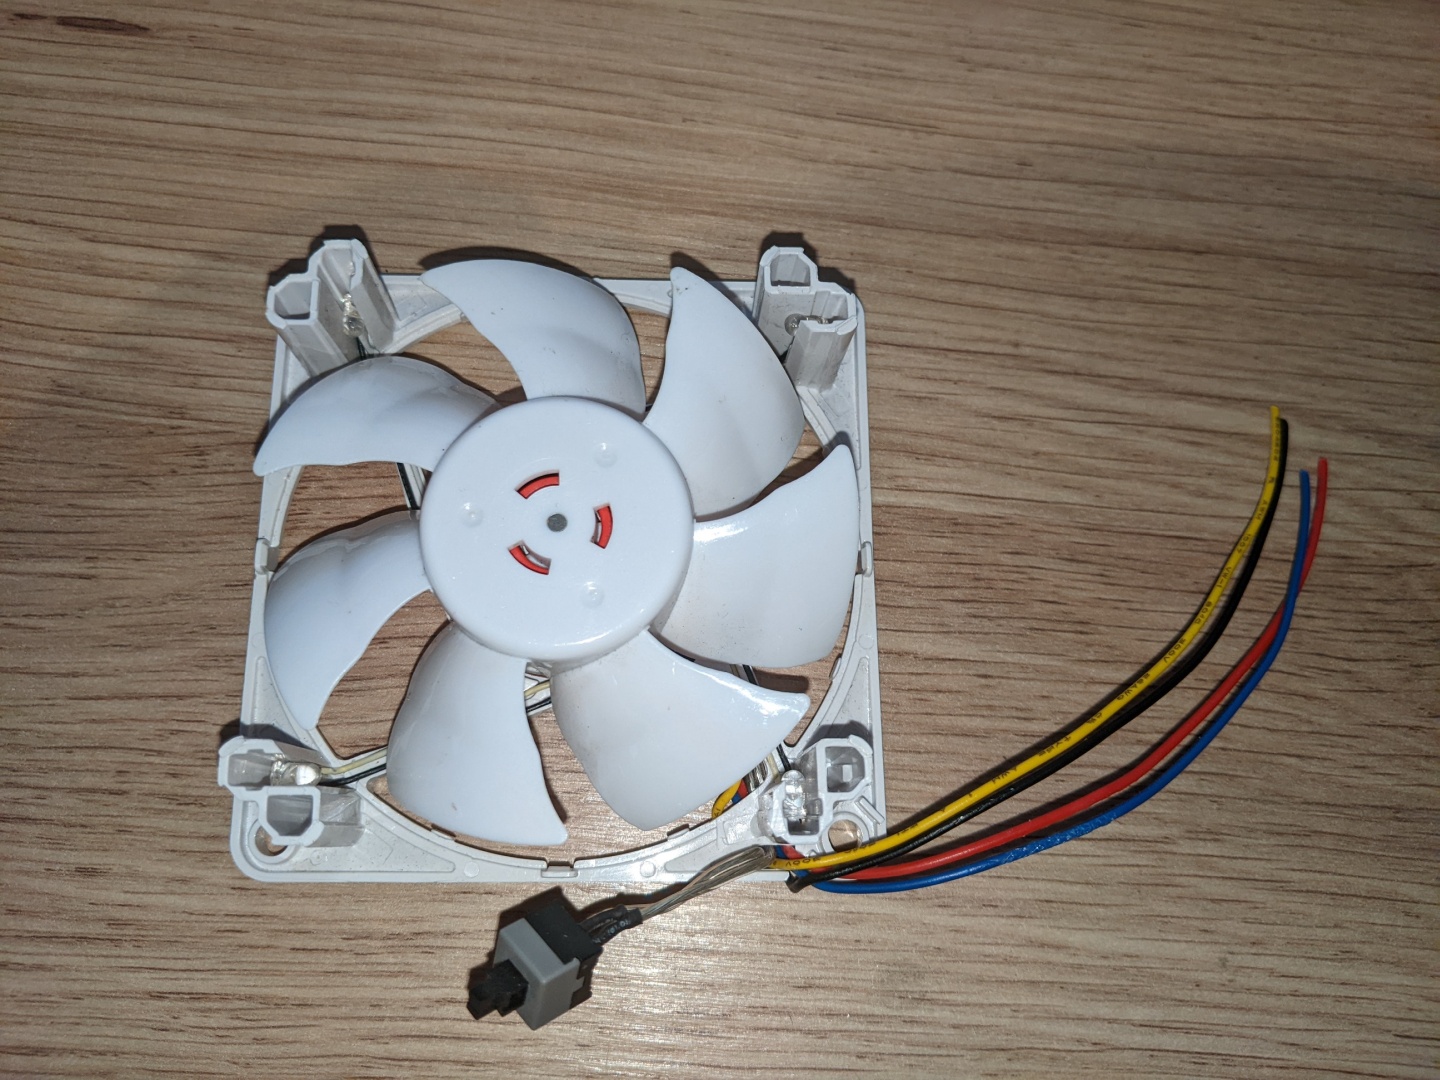
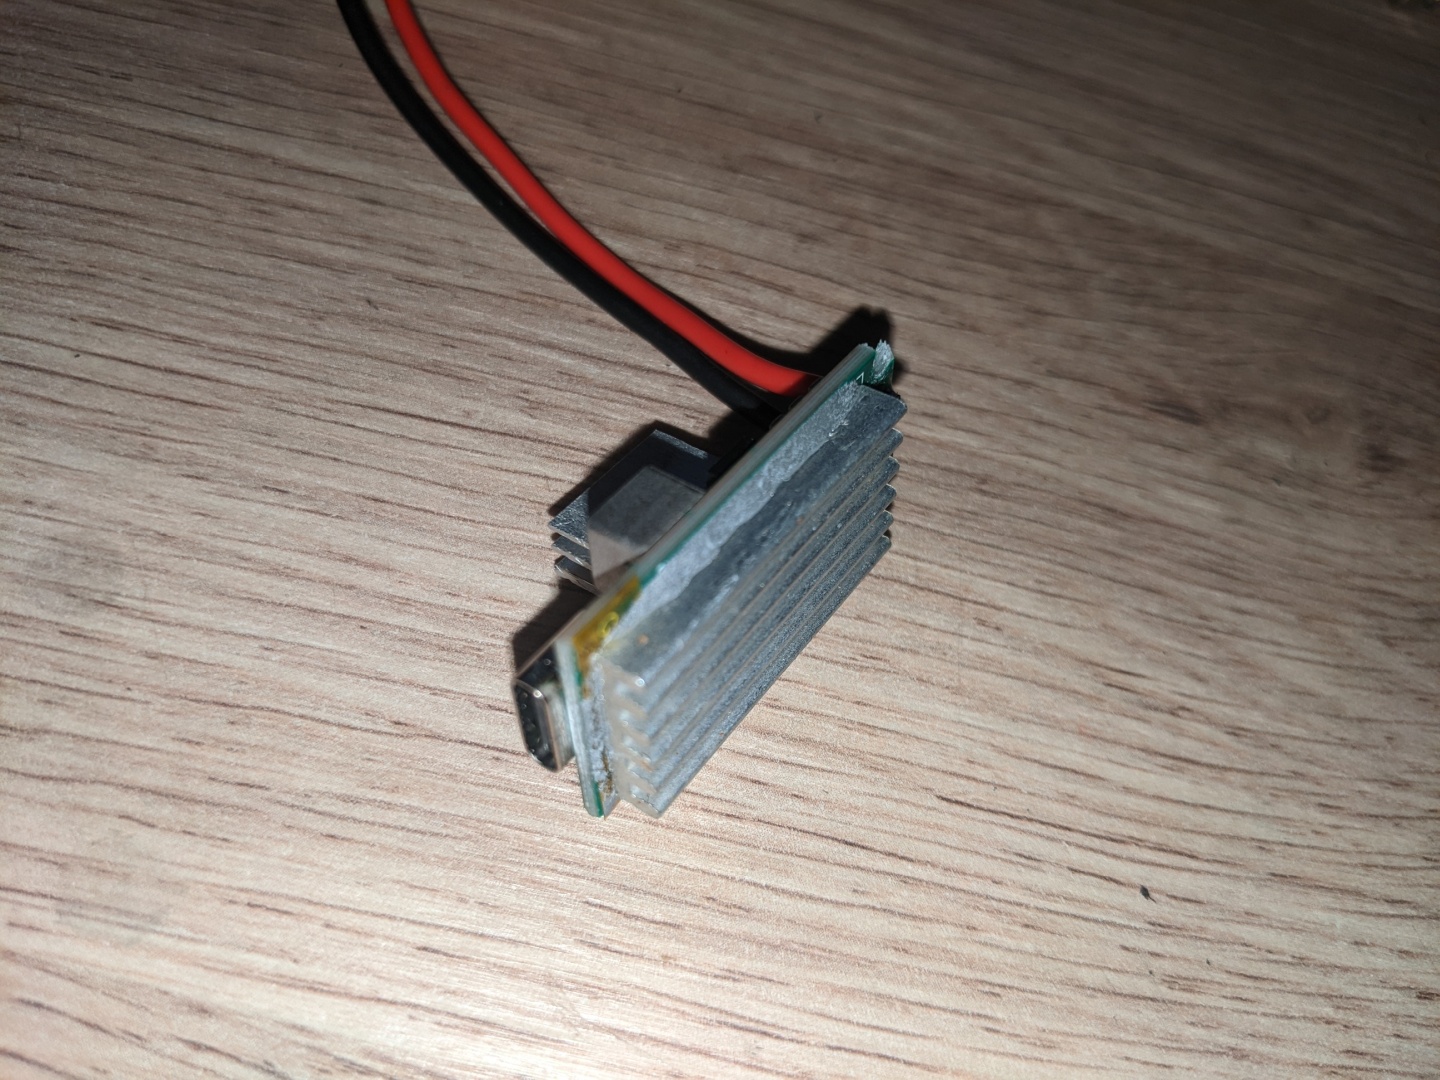
For the wiring I use some recycled cables from burnt Power Supply Units.
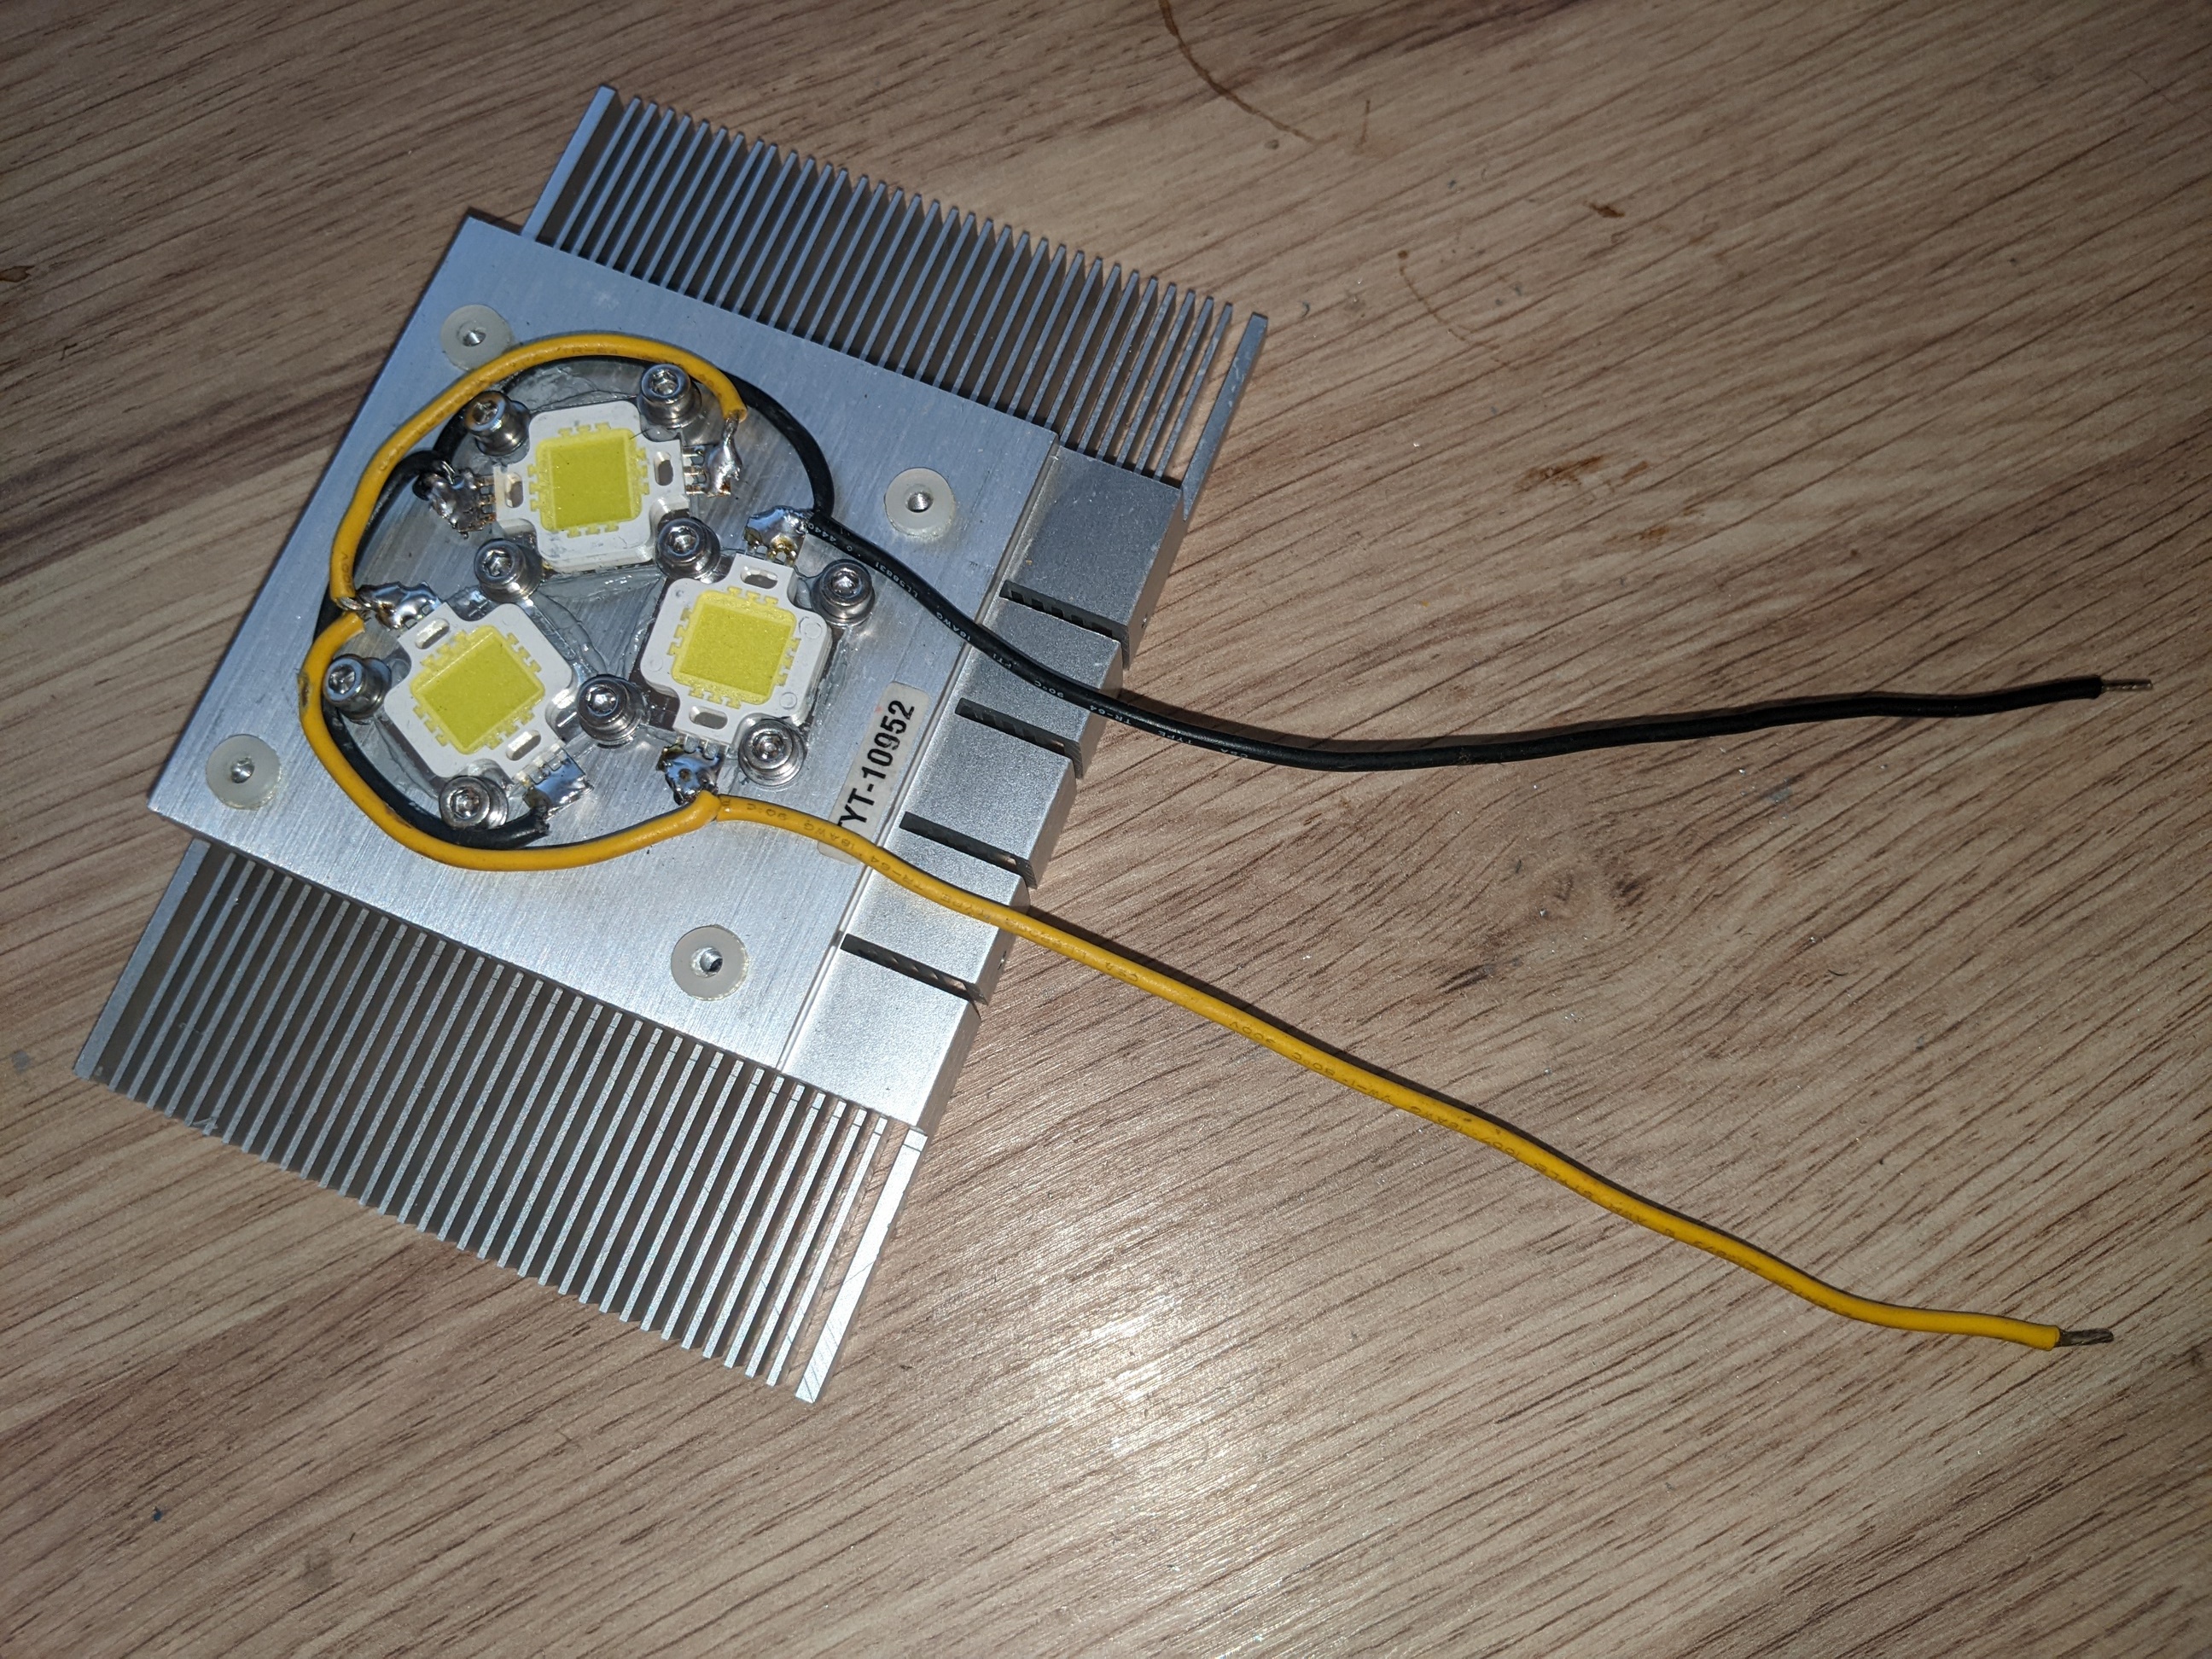
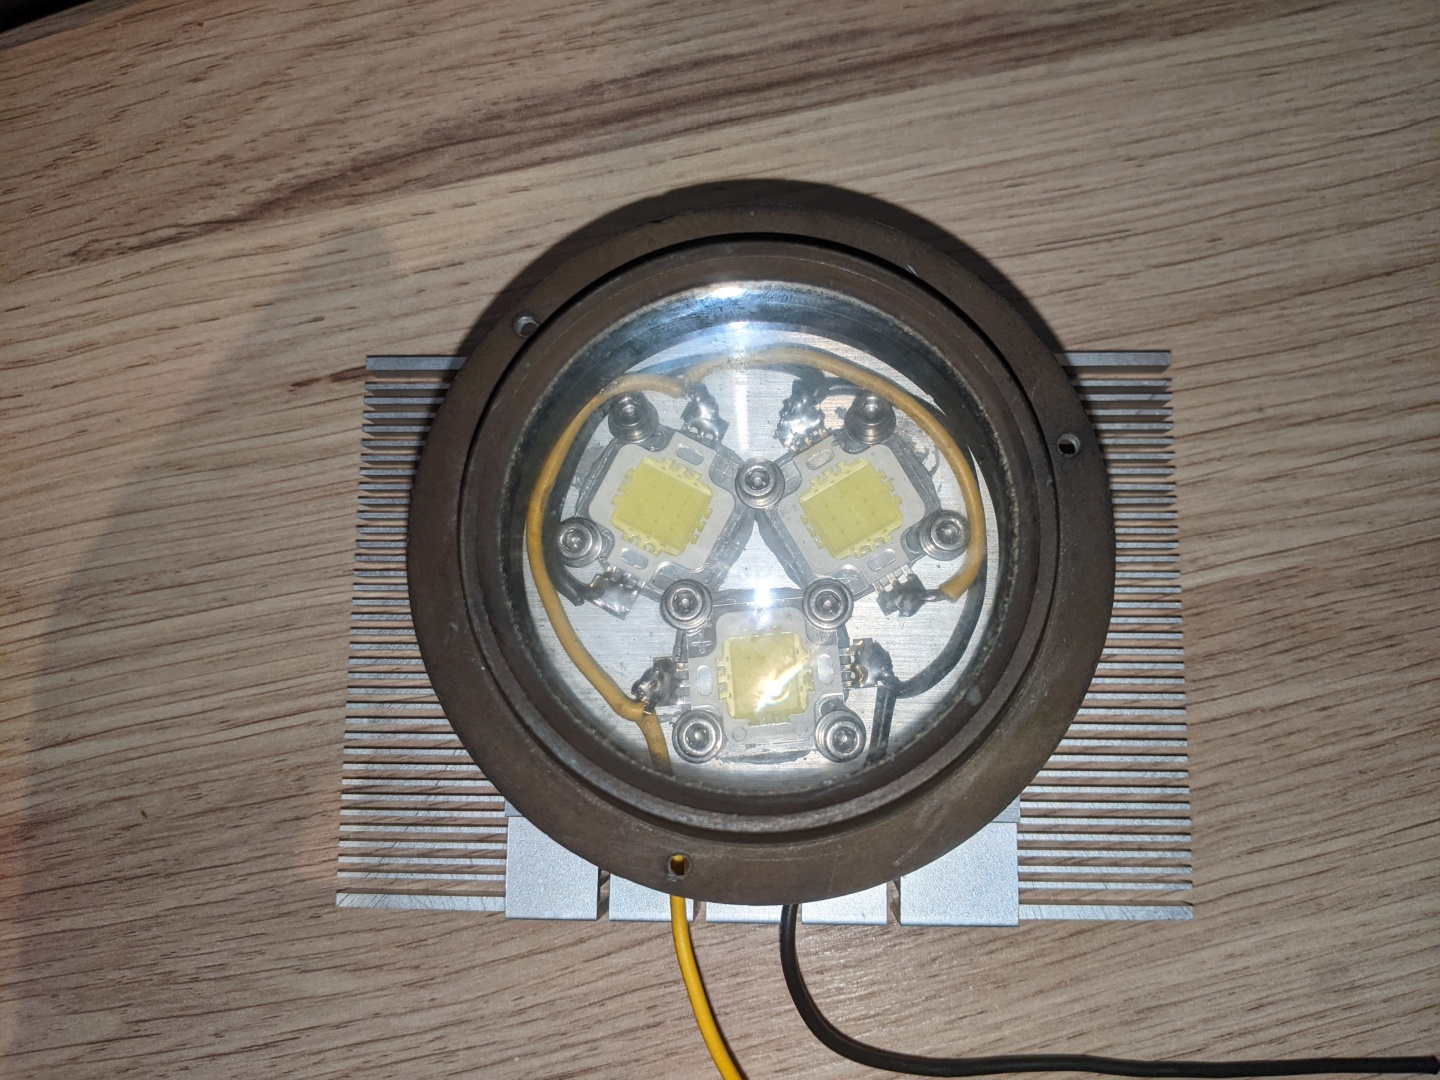
After a while the wiring was finished and the first module is ready for testing.
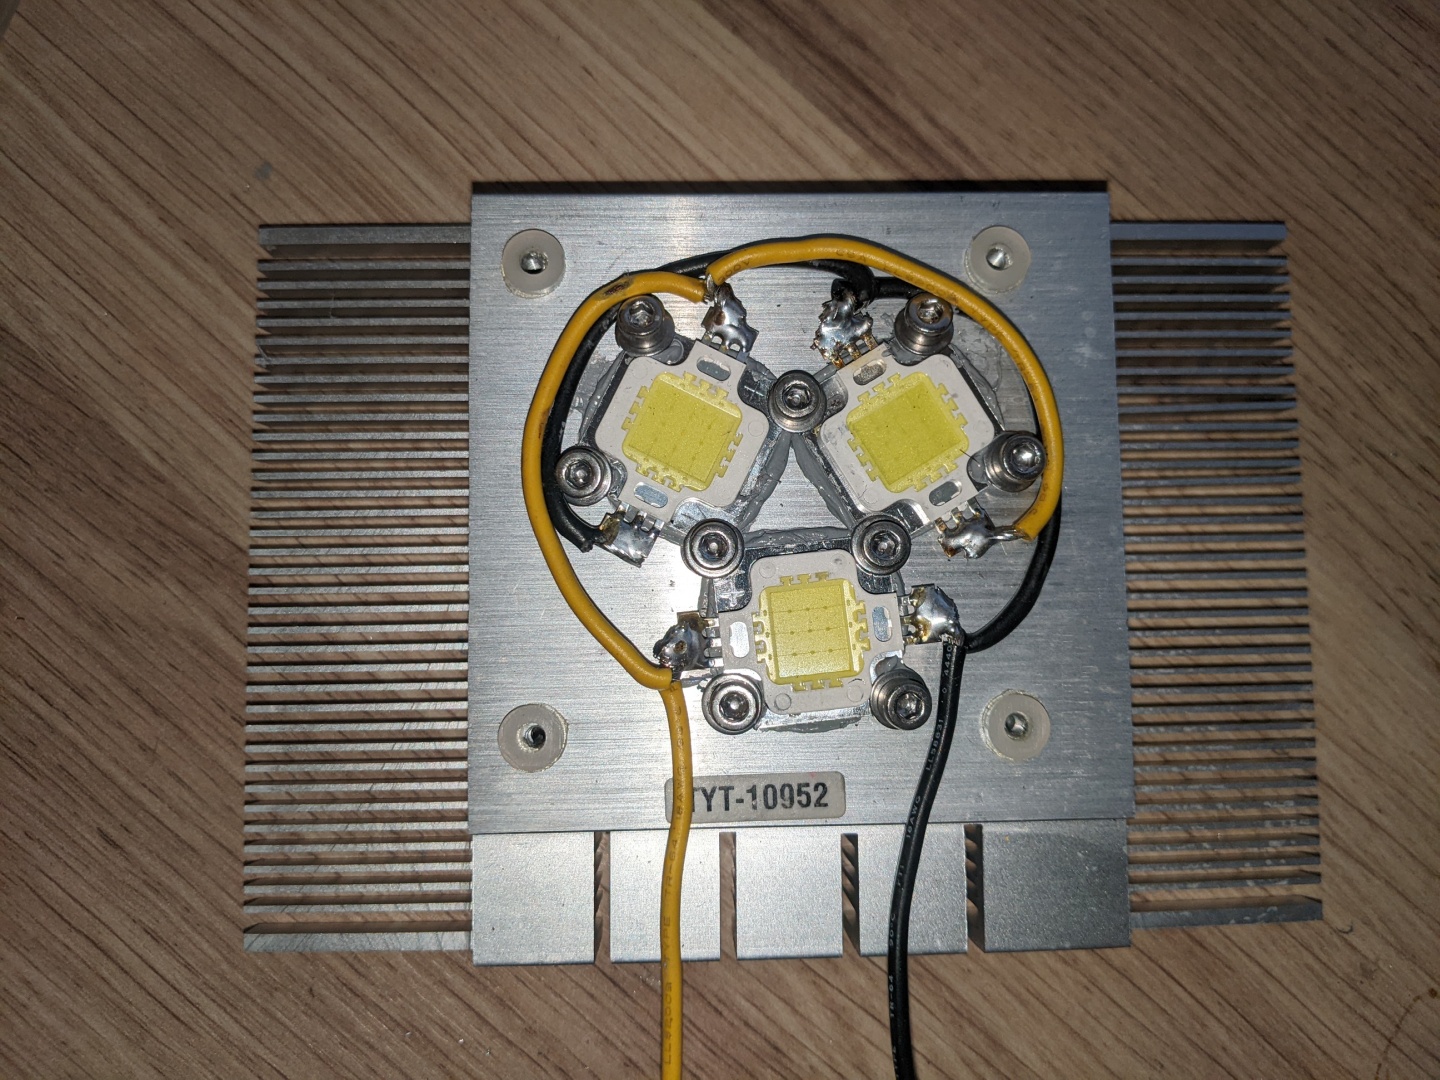
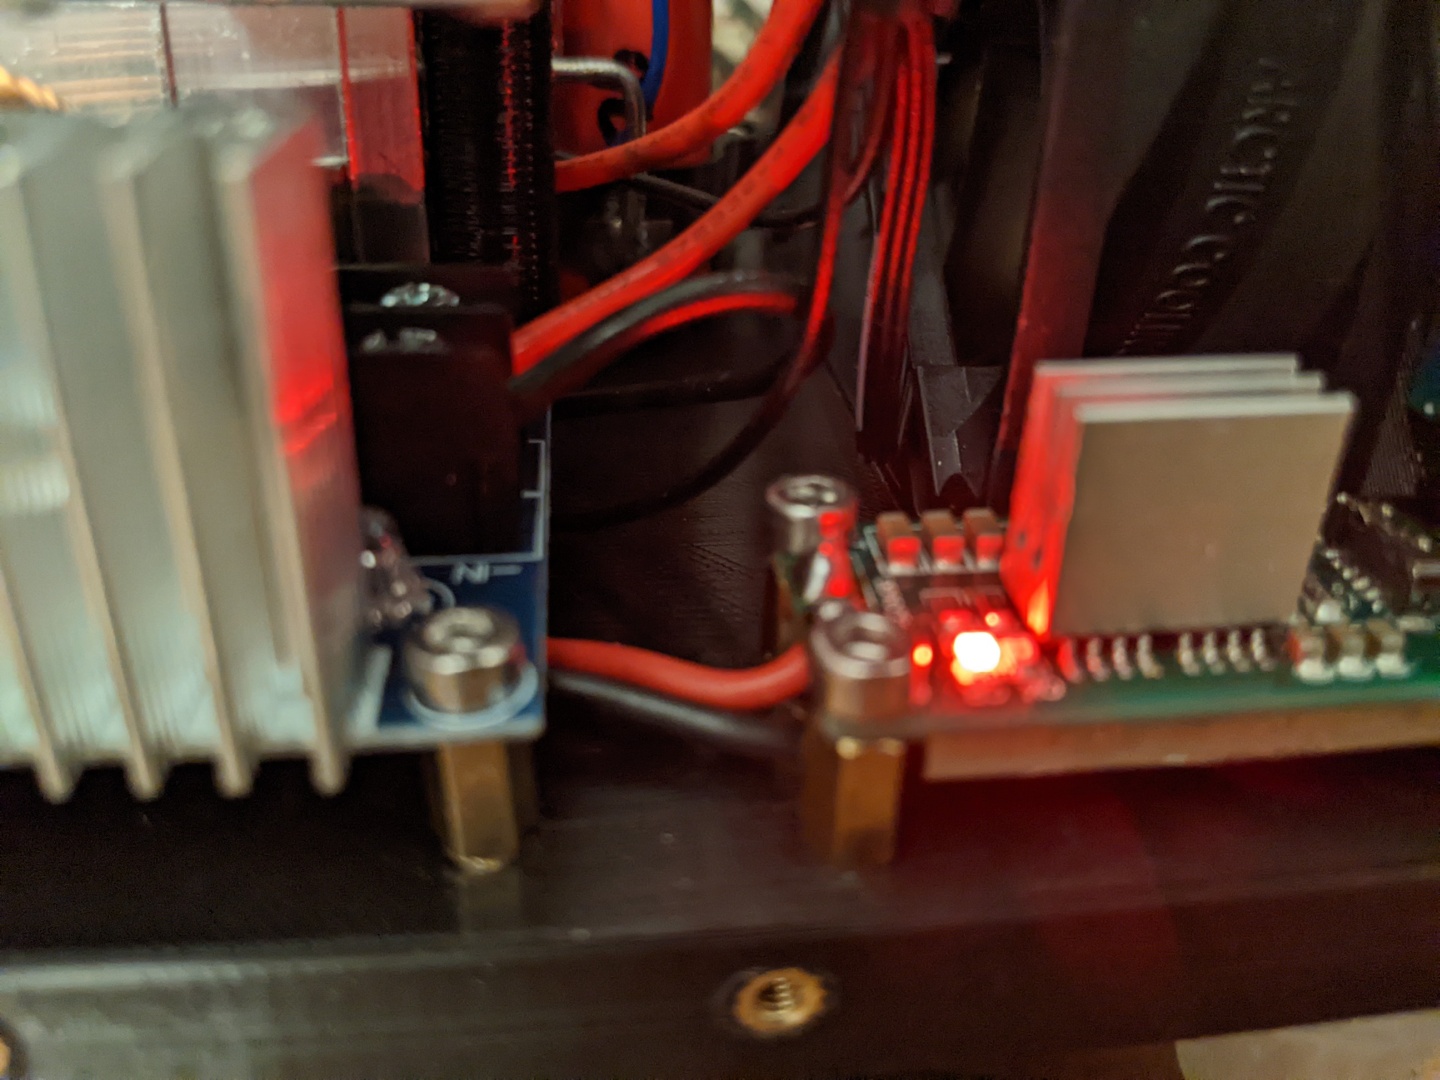
And a closer look, that is enough for now ![]()
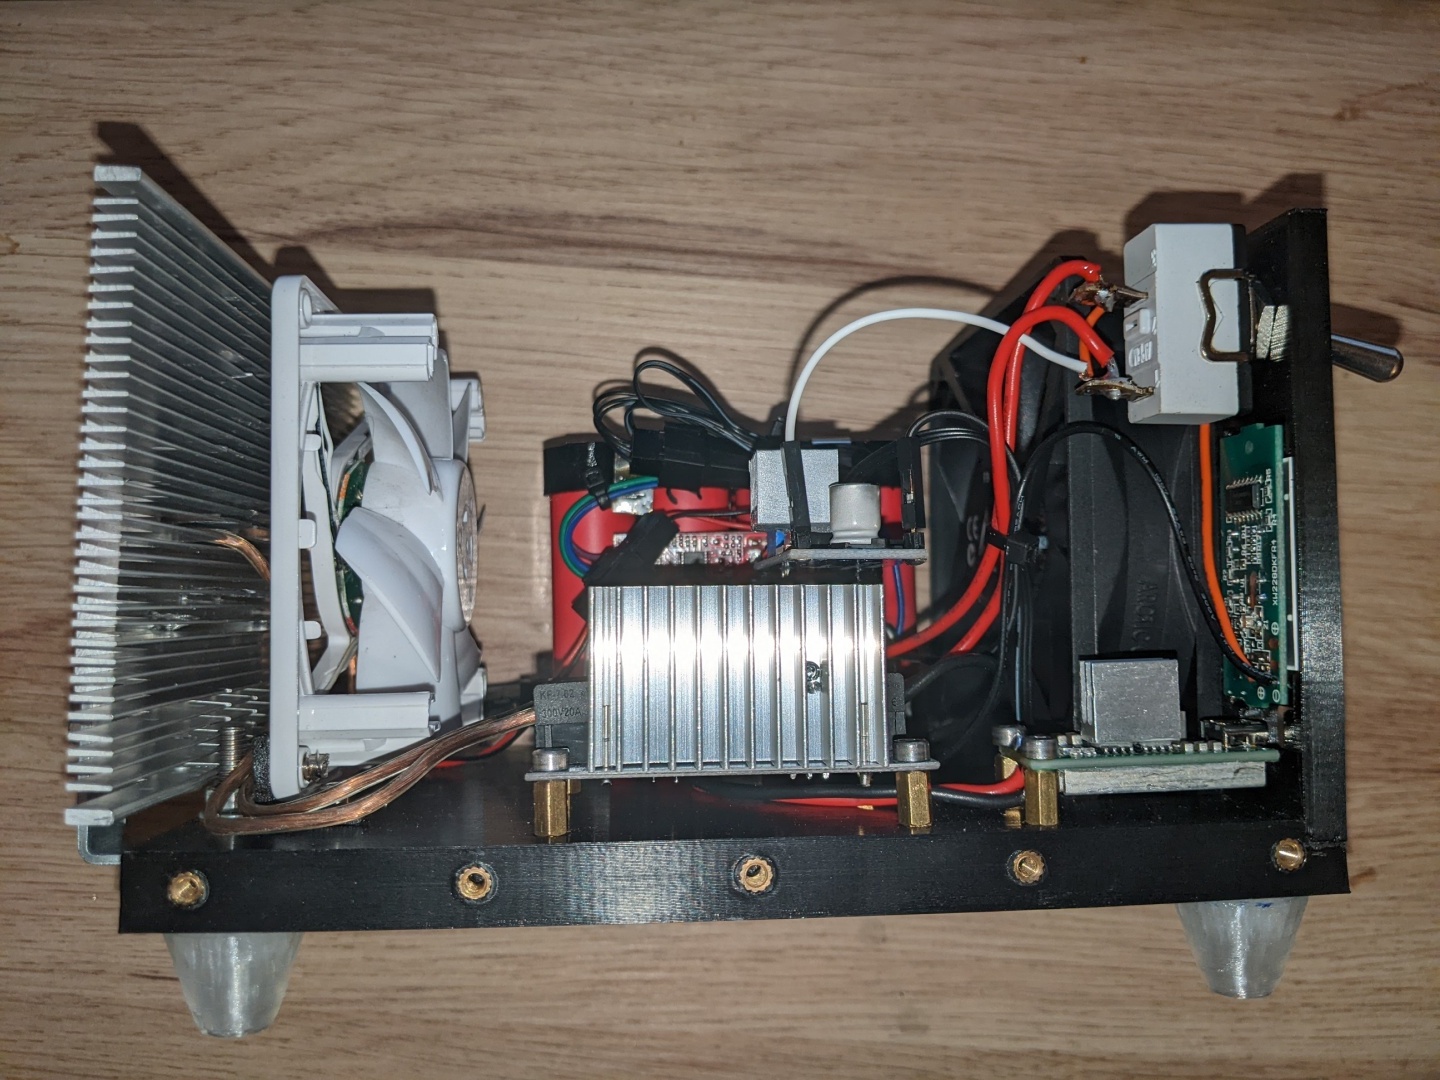
Update:
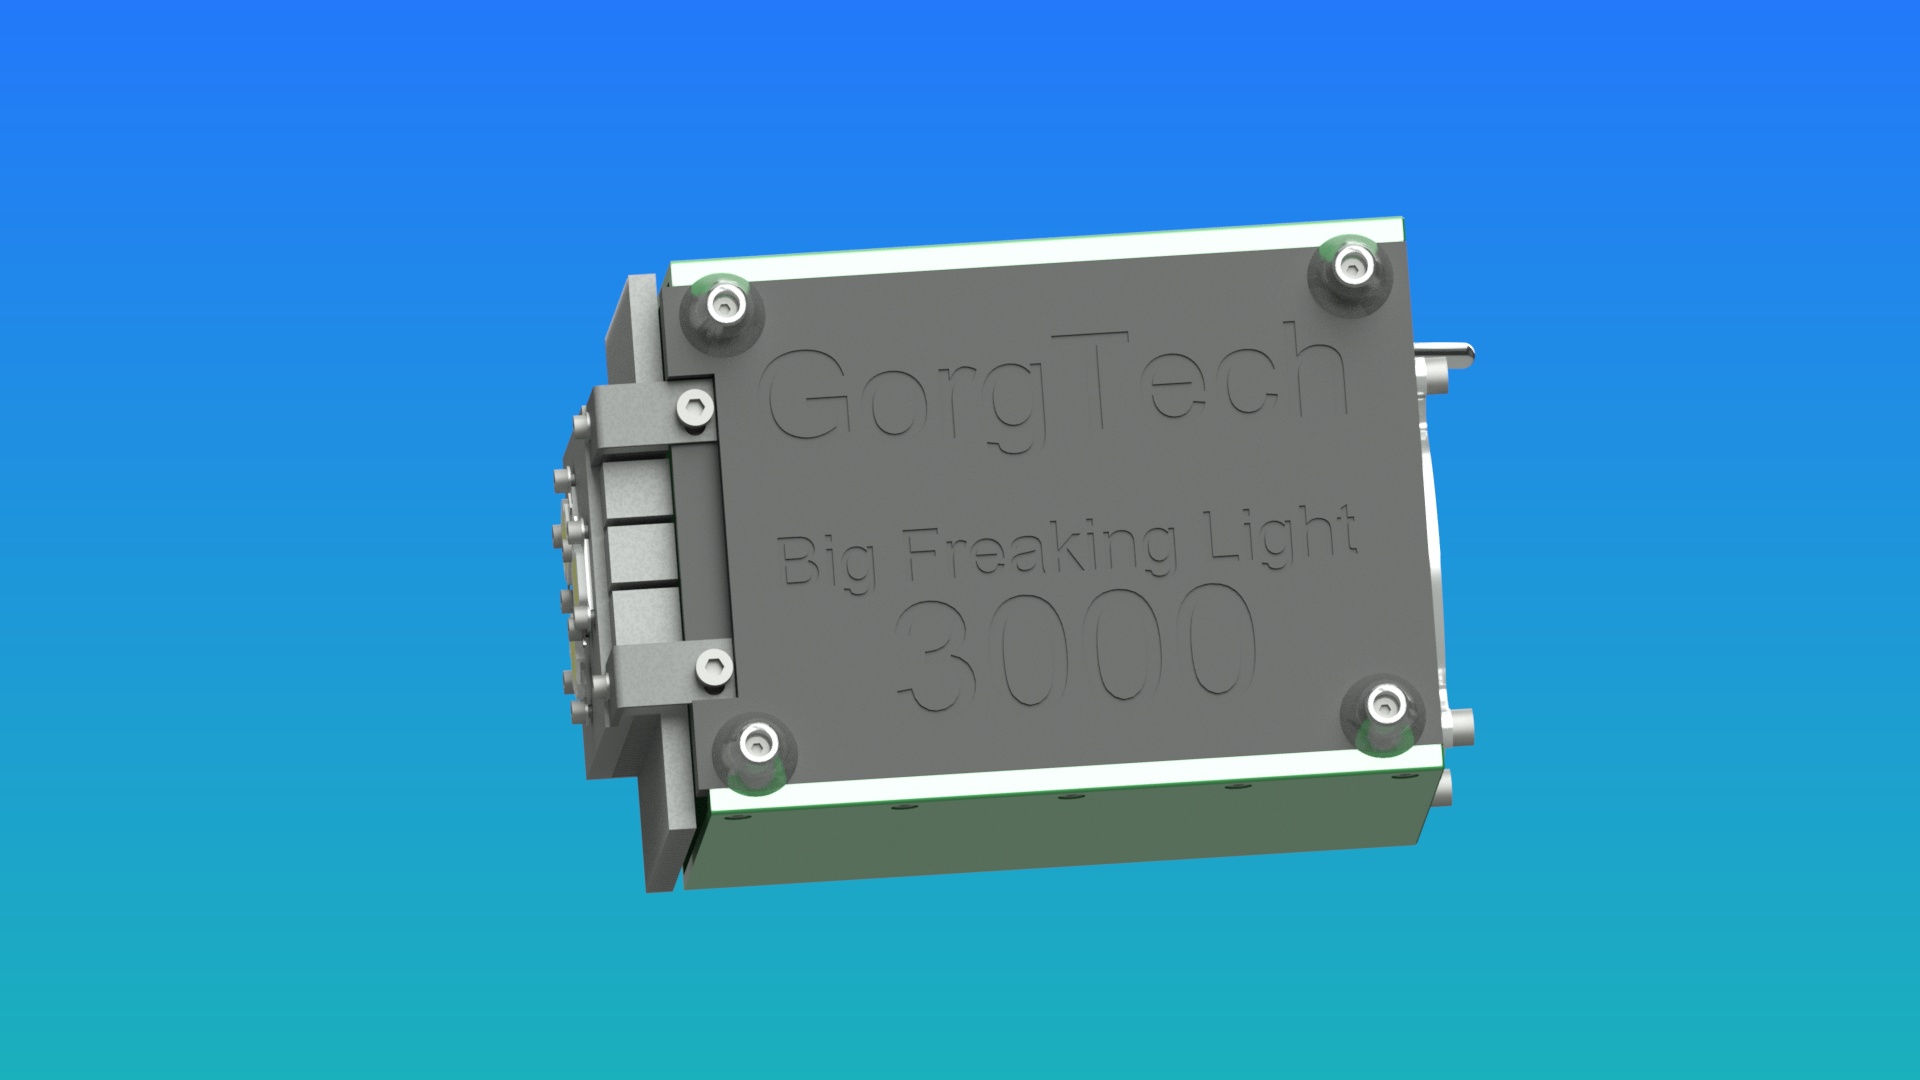
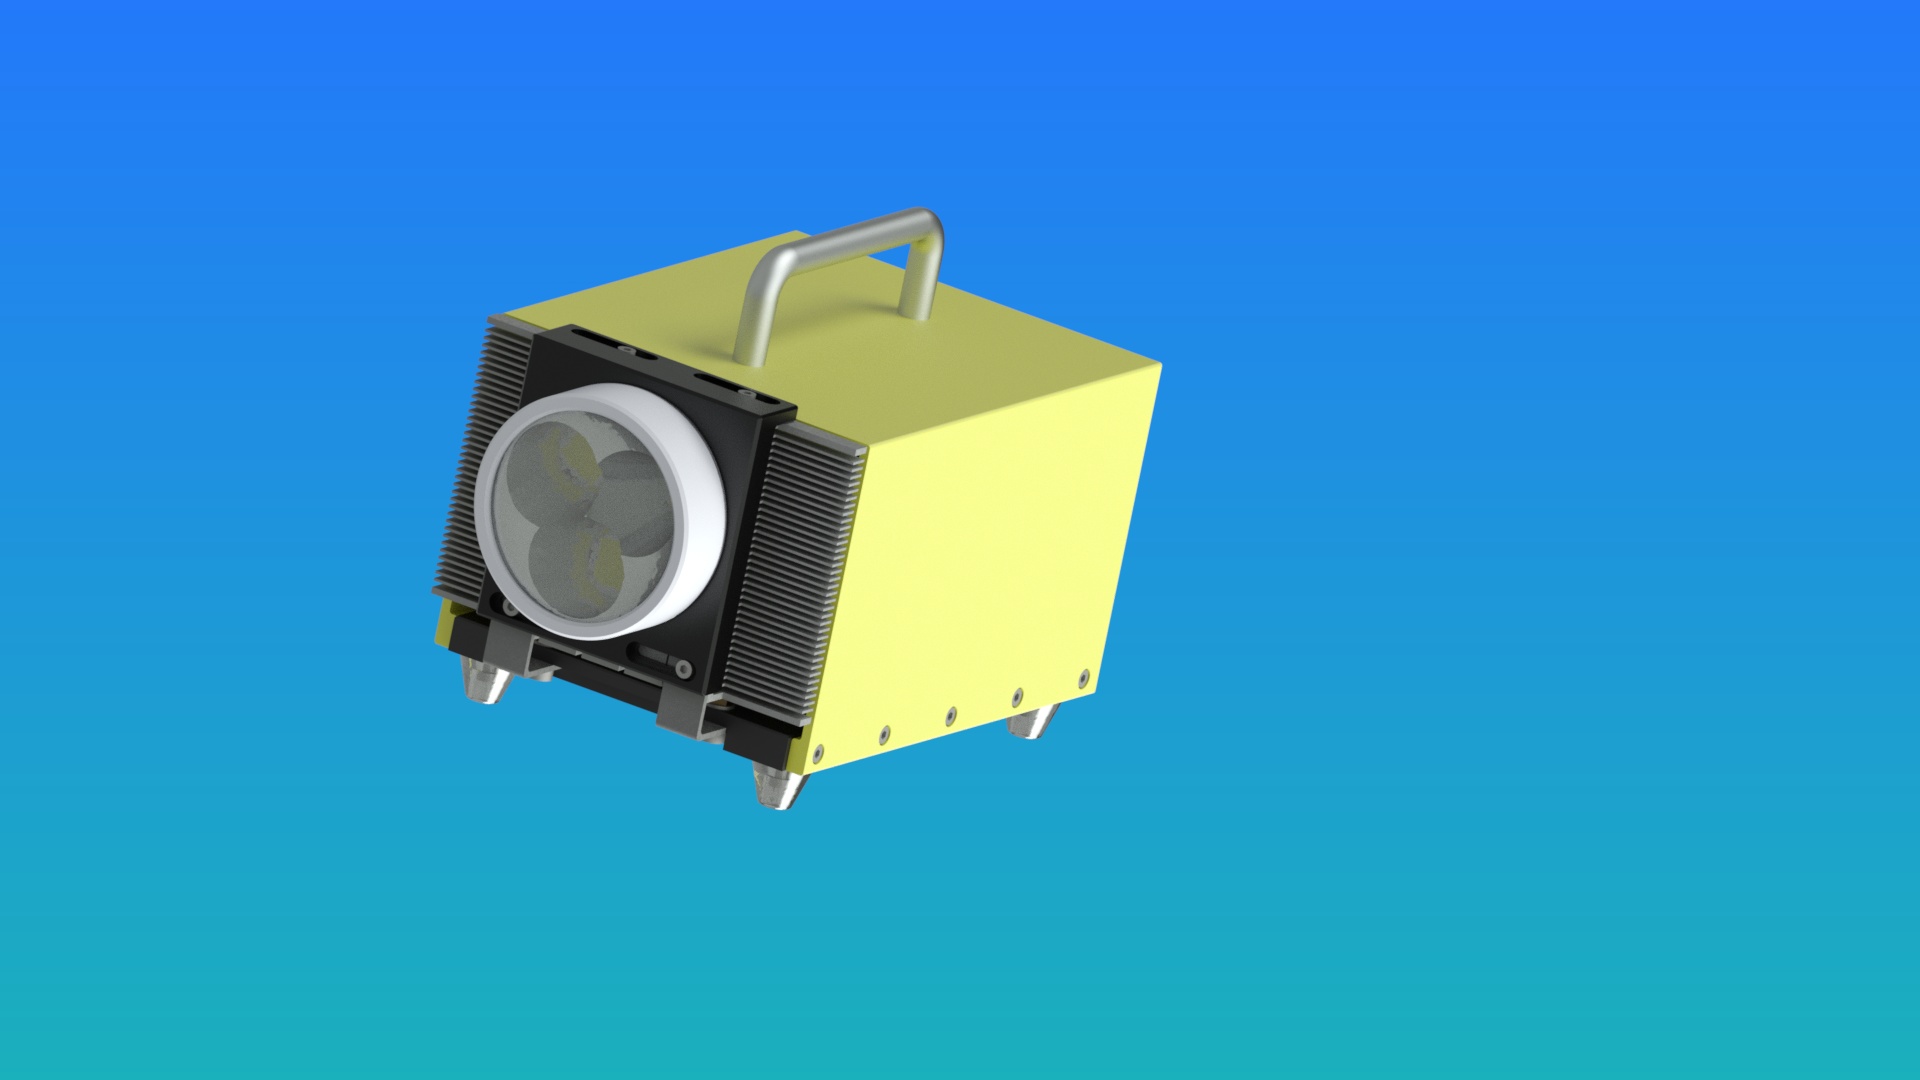
This Project is finished and I´m proud that I could withstand the challenge.
“We all make choices, but in the end, our choices make us”