BLF Ti - post your pics and specs

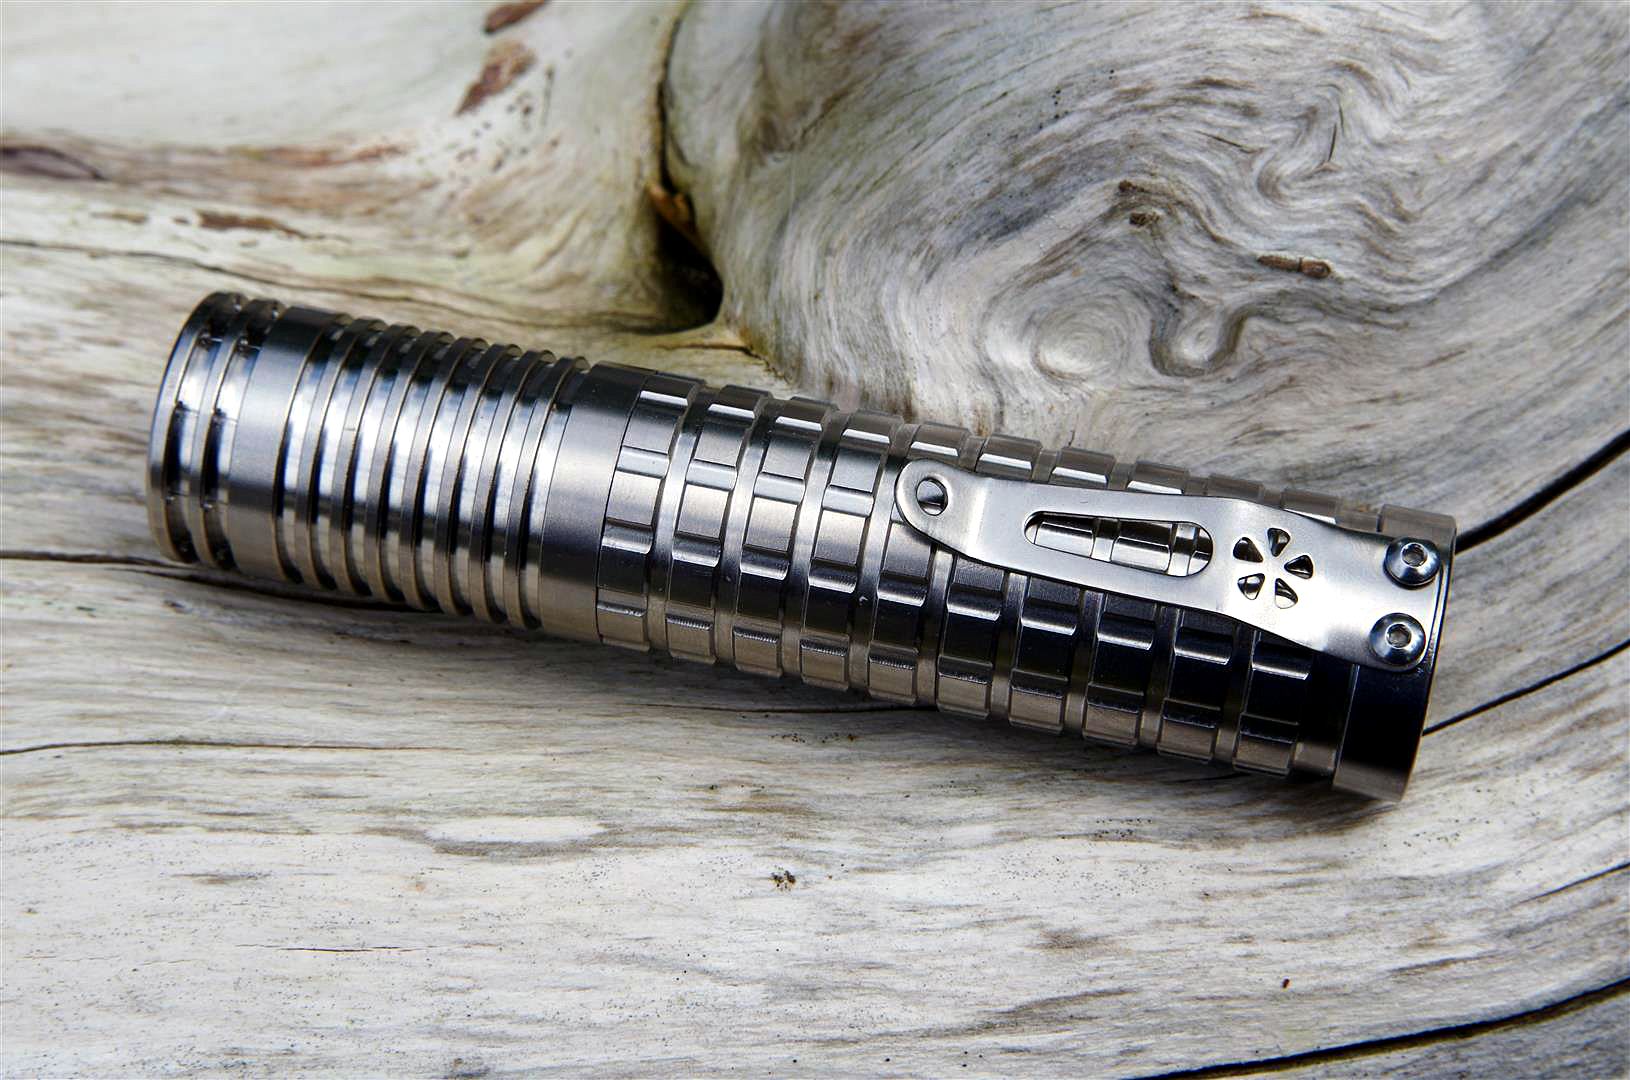
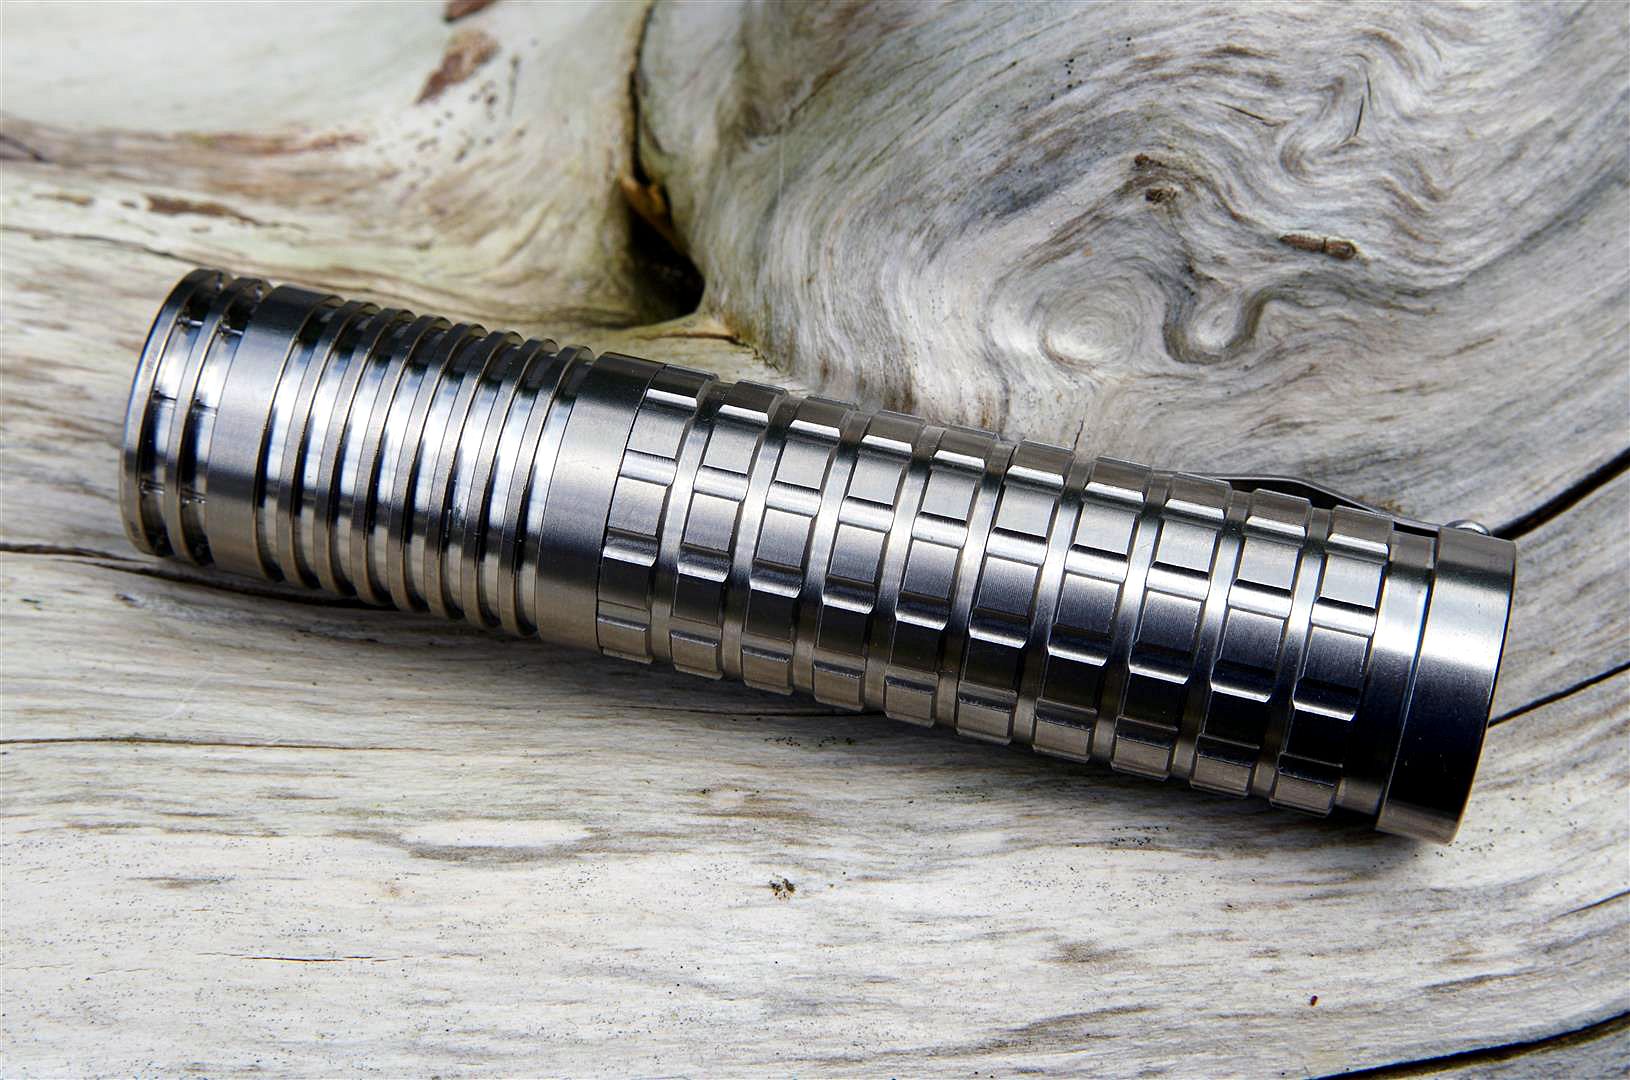
My BLF Ti was waiting for me when I got home last night :smiley:

So decided to build it up today.

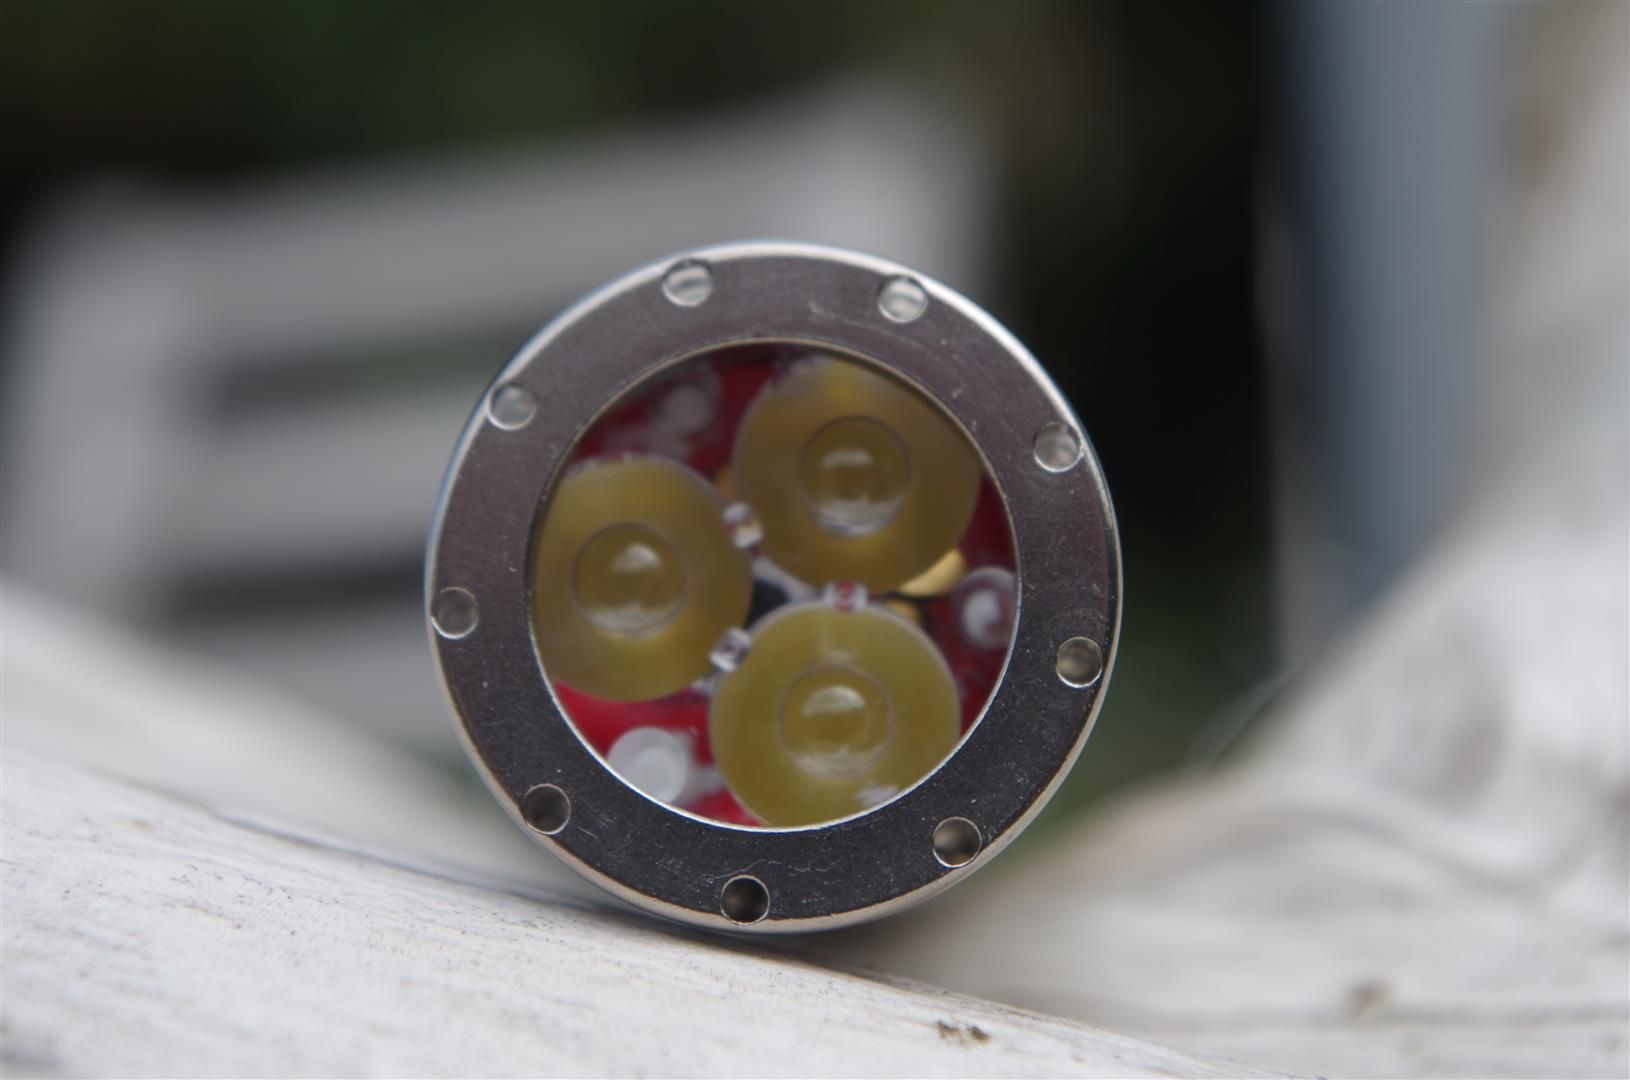
Went with a triple XP-G2 R5 5A2 as I like the tint, and on a Noctigon. With the Carclo 10507 Triple LED Optic Lens.
Currently running stock Qlite 3.04A driver in parallel. Was thinking of going FET, but actually this seems brighter than I thought it would.


Triple XPG2 S2 2B, 3.04A qlite driver, heat coloured body, l(looks more purple in real life)
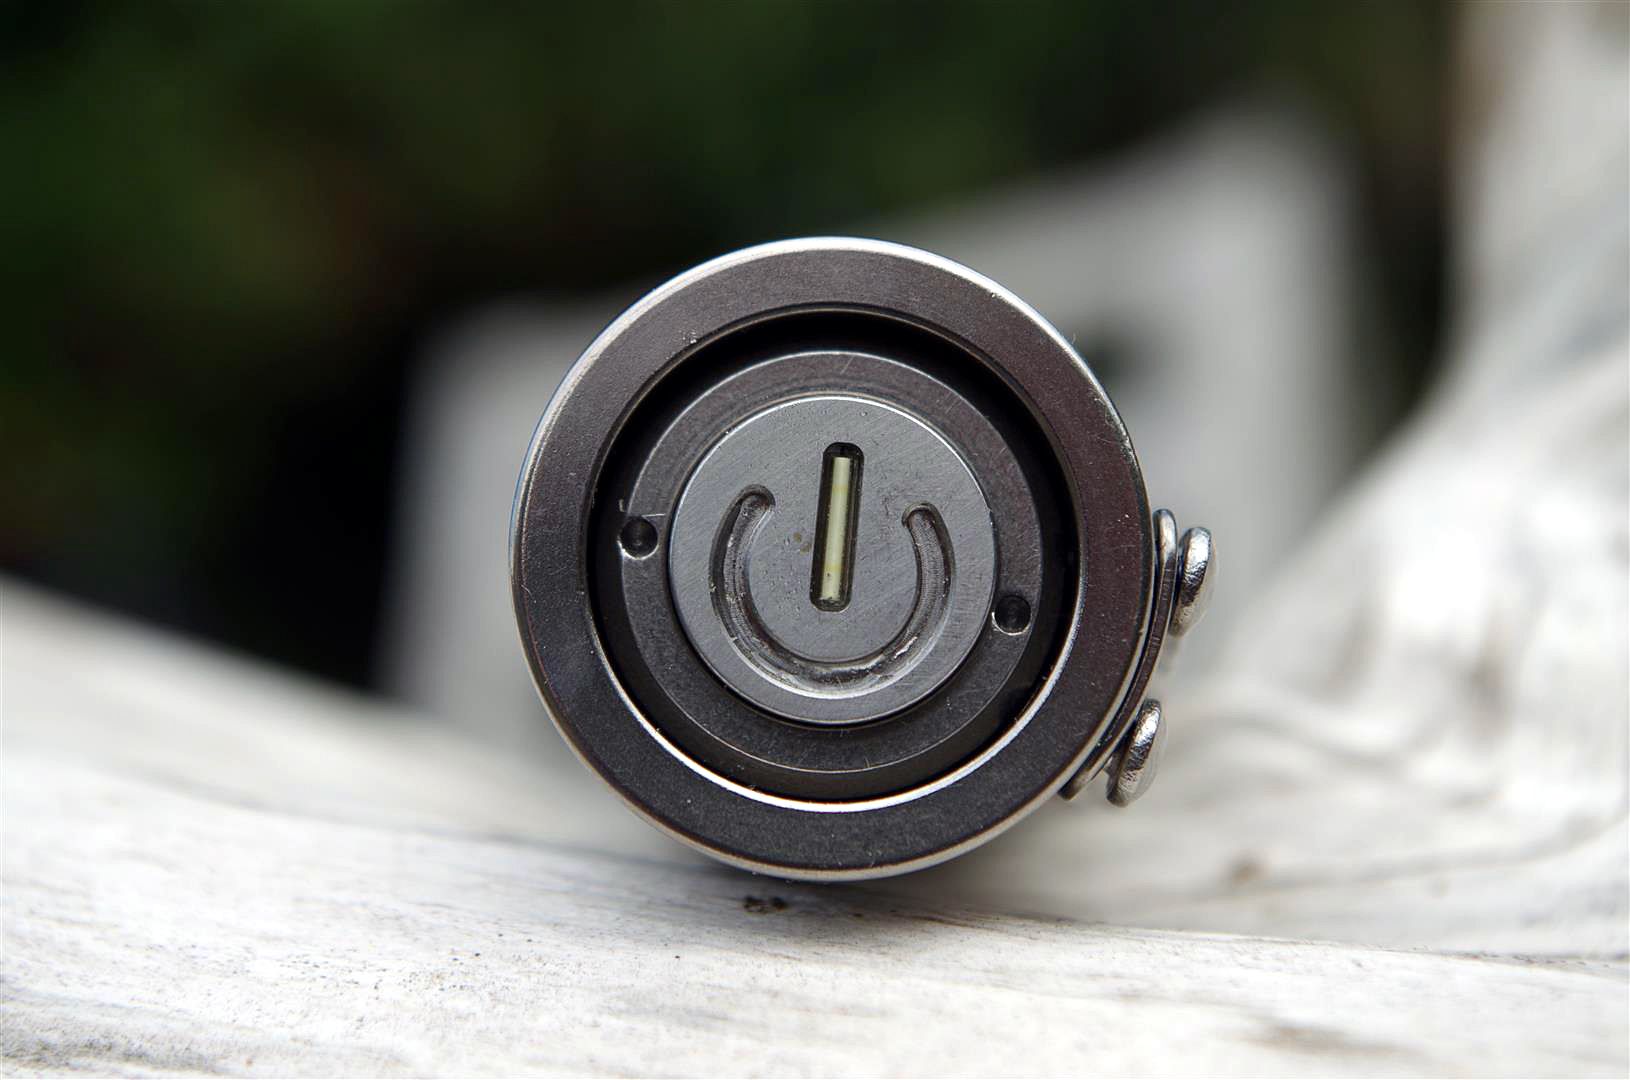
Green trit in tailcap - green orange blue purple yellow pink red trits in head
!!

nice pics chicken!

Awesome, looks great guys!

Oh, here a link to some pics of mine. But they are not from the production light.

And a great idea for a thread….

Nichia NVSL219BT


Hey guys, can y’all help me out with something? I’ve been off kilter and when I put this together I did something that seemed right but I’m not sure. I put the black rubber boot under the metal cap that holds the trit, is that right? Seals the switch off doubly, but don’t know if that’s necessary or not.

Good question and I don’t know. I left it out. But don’t know if it should be there or not.

but i had to adjust the insertion distance of the switch housing a few times before it clicked properly and would tailstand. I couldn’t figure out a way to use the boot alone without the trit cover. The switch action seems to be a lot smoother with a little usage.

……you guys have great pix…….need to get a better camera someday….

Same here, I cut the button down inside the boot and even slimmed the foot of the boot for that 1-2mm gain. :slight_smile: And the switch works fine, mode bumps are easy, no complaints.

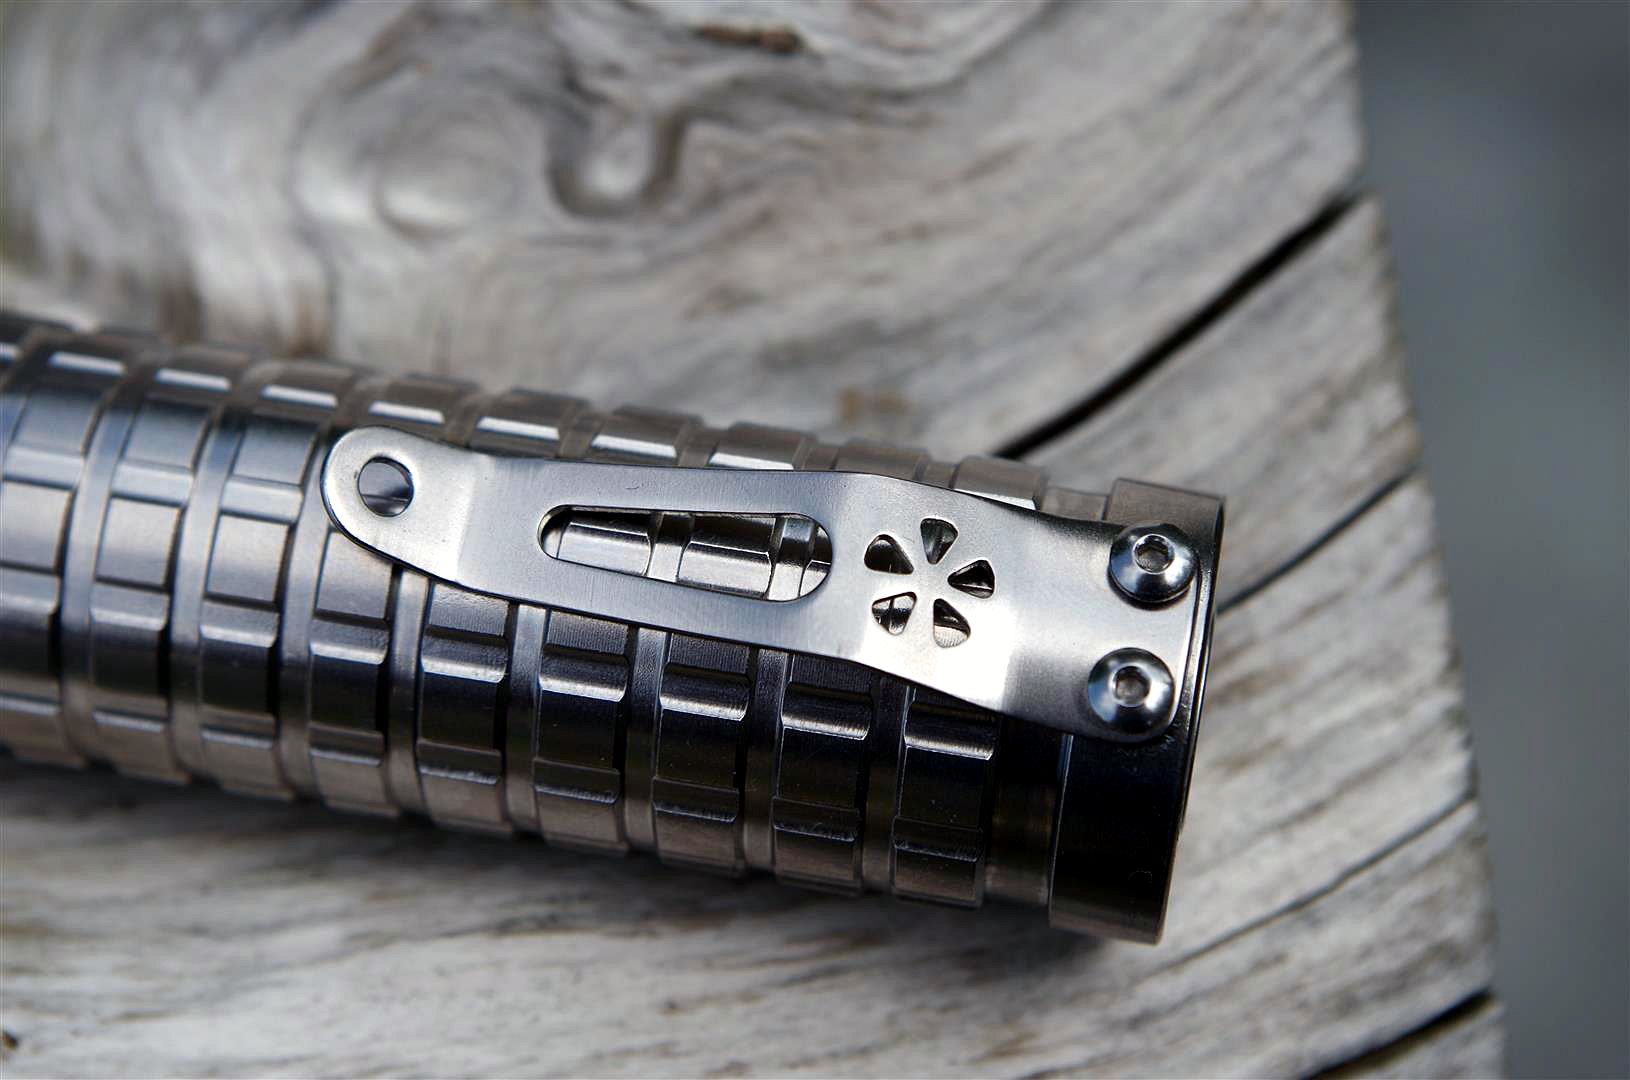
Oh, I also pounded my clip onto the light to get the exact curvature (carefully of course) and drilled out the holes, rethreaded them and used a larger screw so the hex wouldn’t strip out so easy. Nice and tight on there now, neatly mated to the curve of the tube.

The light benefits from a little tweaking here and there it seems….
That’s what we like to do, anyway, right?
(in your case it usually comes down to a LOT of tweaking….)

Love those extra pills. I just finished a RGB engine using Mountain’s LED and Driver.
Don’t know how practical it is, but kids are amused with it. It’s a lot brighter that I thought it would be.

Next to try is the new HI emitter.

Sometimes I’m just too stupid to do things the easy way. (save’s y’all from having to say it. :wink: )

A lot of the time it’s just sheer forgetfulness, I have to work hard only to remember in the end the key element that would have saved me a lot of trouble. Such is life.

Anyone have a picture of this black rubber boot, I never got one in my kit. The design on my button is pretty off too (not centered).

:frowning:

Disappointing.

Also, how far in does the 18350 battery go in? If I check on my Convoy S2+ 18350, the battery can go all the way in the tube (if you compress the battery spring). On my Reylights, the threads for the switch catch on the battery, limiting how far it can go into the tube. This could cause issues if I want to build a single LED light with a reflector since the reflector is much deeper than a triple optic. Can anyone comment?

The rubber boot just looks like an ordinary boot you’d get on a Convoy/anything else.

I didn’t use it, I assume it’s there as an alternative to the Ti button.

Yes my switch assembly wasn’t well assembled either, it looks to be press fitted, but the switch is at an angle and the aluminium washer bit it presses into had a bulge in it. That said, once assembled into the light it doesn’t seem to affect it.

My only two gripes are.

1. The Ti switch cap rattles a bit. i.e. point the light down and rotate it to face up, the switch cap moves about when off, must be a couple of mm slop. Suspect you could “tune” this out by moving the internal switch assembly, but then it wouldn’t tailstand. I did have it with less slop, but when you tailstood it, it was just enough to make it change mode as it slightly depressed the switch.

That said, when in the ON position, nearly all the slop is removed. So not a biggy.

2. Biggest disappointment is the clip. If you look in my early photos it looks nice and sits well against the body. But EDC’ing it, I found the clip bends out very easily, leaving maybe a 5-10mm gap from the clip open end to the body.

I’ve had to rebend it a number of times. Which in itself is a challenge as I lock tighted the screws in, and the short clip length vs body makes it hard to reshape while fitted, but I didn’t want to keep unscrewing the clip and run the risk of weakening the threads or rounding the heads.

I’ve managed to make a deeper loop in the clip which I think means the open end doesn’t catch on things as easy. Sadly I’ve added a slight twist in it too, but it doesn’t look too bad.

This is still only a minor gripe and it is a lovely light and will be one of my fav EDC’s for a long while. :smiley:

And I guess there is little we can do about the bending and spring properties of titanium. But maybe we didn’t get the shape quite right originally, and it needed an extra bend or two in it, to profile it better.

Funny, the cheap shiny silver clips that you find on things like the Zeusray (and Klarus lights), never seem to bend out of shape and seem very good at “clipping” to something. Strong spring action. Shame they aren’t deep carry clips though.


For Titanium to have the desired spring properties, it needs some Nickle in it’s alloy. Standard grades of Ti seem to not hold spring tension well as it can’t be hardened to any real degree. This is why a SS clip is so often used. Or, in the case of EDC knives, a machined Ti clip that is much thicker and robust.

I re-bored and threaded the holes in mine for larger screws, shaped the clip a little better to fit the curve and got it bolted on nice and tight. Ulitimately, I’ll probably remove the clip though and use a leather belt sheath, maybe in elephant or ray skin (rey skin? lol)

I think the issue with the stock clip shape is (ignoring the hole mounting alignment on the body as it doesn’t affect function, only visuals). Is when clipped to something like a pocket, it makes the clip stick out and away from the body, the little flick on the end sticks out even further.

I Found the clip to be nice and stiff but when I worked with it with my bare hands I found it bent too easily and did not spring back. Bad choice in alloy I guess. Also, after the clip was shortened, it works well for this light and the convoy s2+ 18350. Too bad it’s too short for all my other applications.