Could you run the idea by Simon of a screw in anchor for a sling or shoulder strap preferably with an o-ring to take the place of the switch as some might prefer a tail switch only option. Maybe a swivel anchor at that?
I find I rarely if ever use the e-switch since I run the LD2 M2 on mine, its nice to have, but the simple push button drivers are cheap and with guppydrv option just as affordable, now add the swivel anchor for carrying, makes a nice tactical/hunting rig!
Great idea Kawiboy. And a contact board to use smaller drivers in the cavity because 30mm single cell drivers are really rare. I can only think of TA’s avenger series.
I definitely like the idea from a modding point of view. Personally I like the dual switch setup but I know it’s not for everyone. I fear it may be ruled out because of the development/production cost involved weighed against how many of these he would sell. The overall sales potential of a screw in swivel ring specifically for the L6 could be very low considering this would only be suited to those who don’t want to use a side switch. Still, it’s cool MacGyveresque thinking. I think it would need to be a swivel because you wouldn’t want to risk a stationary anchor possibly loosening (unscrewing) the anchor-plug while the carry strap rotates. Then again a swivel wouldn’t be as strong… I can’t make any promises but I could probably run it by Simon.
Edit: It would be easy to just use the nice supplied retainer ring with half-hex blind rivet nut flipped so the hat flat is on the inside and tighten it down with the retainer ring.
Good idea too making the 30mm board available, but I have been having fun making my own driver adapters from copper (hyd. crush washer) rings and or copper plates, rings being easier of course for me. 27.5mm to 17mm drivers no problemo!
Feels more like modding, being able to put any driver I want in just about any light I want and for the people I build for, just simple 3-4 mode drivers suit them just fine because they like them simple and not complicated and fancy, mostly people outside BLF, that use them in the real world!
I can make my own no problem, I have access to lathes and mills in my shop. And I will for the ones I build. I’m looking out for the people that can’t, it was just an idea, that maybe some people would like to explore as an alternative option in their builds? It would be cool if Simon made a push button only version L6 with the swivel anchor installed!!! And a nice sling to go with it!
Thanks T18 for your input, great ideas you got rolling around in your noggin!! :+1:
Ha Ha, Your welcome and you got that right “Just Rolling Around” not much to get in the way,
You’re one of the master builders I pay attention to, so I’m thinking, why am I even suggesting anything to KB, he knows all this stuff. .
And I do fully agree with you, and the minute I read your first comment I started ripping the Clear apart, thinking on using RMM’s ” 30mm FET+7135 Driver - 2S Momentary”:30mm FET Driver - 2S Momentary - Convoy L6 , I like the idea of using the side switch front as momentary switch; the rear switch then as a power lockout.
I’ve ordered a couple of the SMO’s from Simon and have some MT-G2’s 6V on 20 Noctigon and wondering if dedome is worth the risk,
Then I’ll probably put my sling bolt on the exact opposite side of the switch with a 3/8” to M6, I think switch facing down while on a sling would be comfortable finger reach while on a sling, maybe?
MT-G2’s don’t de-dome well. Too many little die’s in there. Phosphor comes off, you get blue light, trash. Slice and dice if you have to, but they’re really at their best left alone.
I'd suggest to ask if a tripod mount could be added to the stock L6, opposite of the switch. I got several lights with a tripod mount - a few standard accessories would fit. The Crelant 7G10 has a simple one just threaded direct in the aluminum body, while the SupFire M6 and L1 have a separate piece. There's a few different styles, including the whacky "nut light" from Warsun. The SS ones are the best I would think. It should accommodate a shoulder strap or sling attachment then, be multifunctional, and no extra parts and no functionality lost.
Thanks Dale, that’s all I need to hear, I’ve read about those issues but I know you’ve lived them, was going to give it a try even bought a can of that LEDseal from LEDsupply put now, forget that idea, do you think if I sand the ID of the current XHP70 centering ring just a bit that I could use it back with the MTG2, I’d think so, or do I need something deeper or taller, it does seem rather slim to me. And why a 20mm MCPCB, why not go to a Maxtoch board in the 30mm size and if need be solder the 20mm to the bottom, wouldn’t that help with heat?
I’ve used a lot of these M6 mounts on those tripod holes with some medium LocTite and they work good. Also the 3/8” to 1.4” or M6 inserts work real easy also, just drill a 3/8” hole and tap it, or not if in the fins
I do use the larger MaxTOCH mcpcb, I open up the emitter shelf on the lathe so as not to change the height.
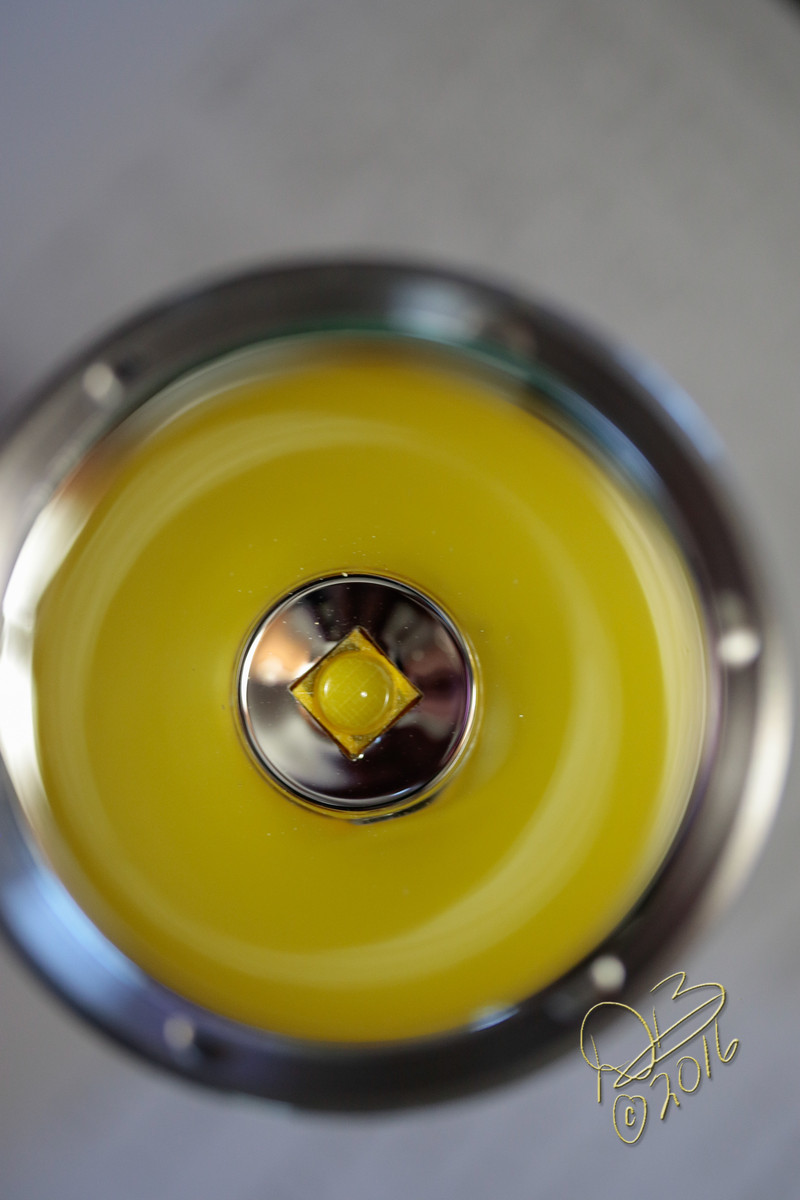
Edit: I’ve found the MT-G2 to have a nice beam profile in these big reflectors if you can have the dome up inside the base, so instead of centering rings I cut the aperture in the reflector square to fit around the substrate, with a bit of clearance to prevent a short, and this works very well. Reflector all the way down onto the mcpcb with Kapton tape covering the bottom of the reflector.
If there is a need for a centering ring I have the ability to 3D print up custom sizes. I already have quite the selection of designs for the lights I have built so far.
It is really nice since I can precisely set the focus height for different setups.
If anyone needs a custom size and has a caliper to take accurate measurements let me know, I can custom make them if needed. I keep thinking about making up a centering ring kit with ~40 of them in various sizes.
I love that idea! :+1:
There’s been more than one time I wanted to mount the L6 on a tripod because of the sheer power and throw it wields.
The L6 was not intended to be a “thrower” but thanks to the XHP70 and a nicely designed reflector it throws much better than I originally thought it would.
Once the Q8 is ready these two could be the pinnacle of tripod mounted brilliance in their own realm.
I posted this in the OP but I don’t expect anyone to monitor the OP so I’m posting it here too…
Seeing how big the original L2 and L6 threads have gotten I decided it was time to create a dedicated modding thread for both lights. :student:
Since they are “brothers-in-brilliance” and share some parts, a combined thread seemed fitting.
If you have experience to share please check it out and post away my friends.
If you’re looking for L2/L6 build/modding info, this should become a valuable resource.
Yes, that is so perfect Dale, I think the MT-G2’s are something 9x8 and you know if I were to make a wild guess, looking at that picture, I feel like I’m looking down the barrel of a Jax X6, hum,
Can you do those cuts with Dremel size cutoff tools?
Edit: Maybe this powered mini file I have could do that, slowly.?
Last time I tried to cut down a reflector I discovered just how tough that stuff is and completely destroyed the reflector from heating it up, next time I’ll be using water or cutting oil to keep things cool down, that was a dumb one.
And Texas Ace if you do happen to put those centering ring kits together I’d definitely buy one or two, for sure,
I’ve been looking and pricing those desktop 3D printers and they seem inexpensive enough but I think like a regular paper printer that they practically give you for free with a new computer, I think these 3D’s make their money off those filament rolls so it seems, still have a lot of research to do before getting into the 3D projects, but would certainly love those kits…!
I use a hand file, a small one, to cut the opening larger. With the reflector face down so if I slip it’s on the outside (learned that one the hard way)
I got a 2” wide roll of Kapton tape, simply cover the bottom of the reflector then use a scalpel (X-Acto works) to cut out the opening.
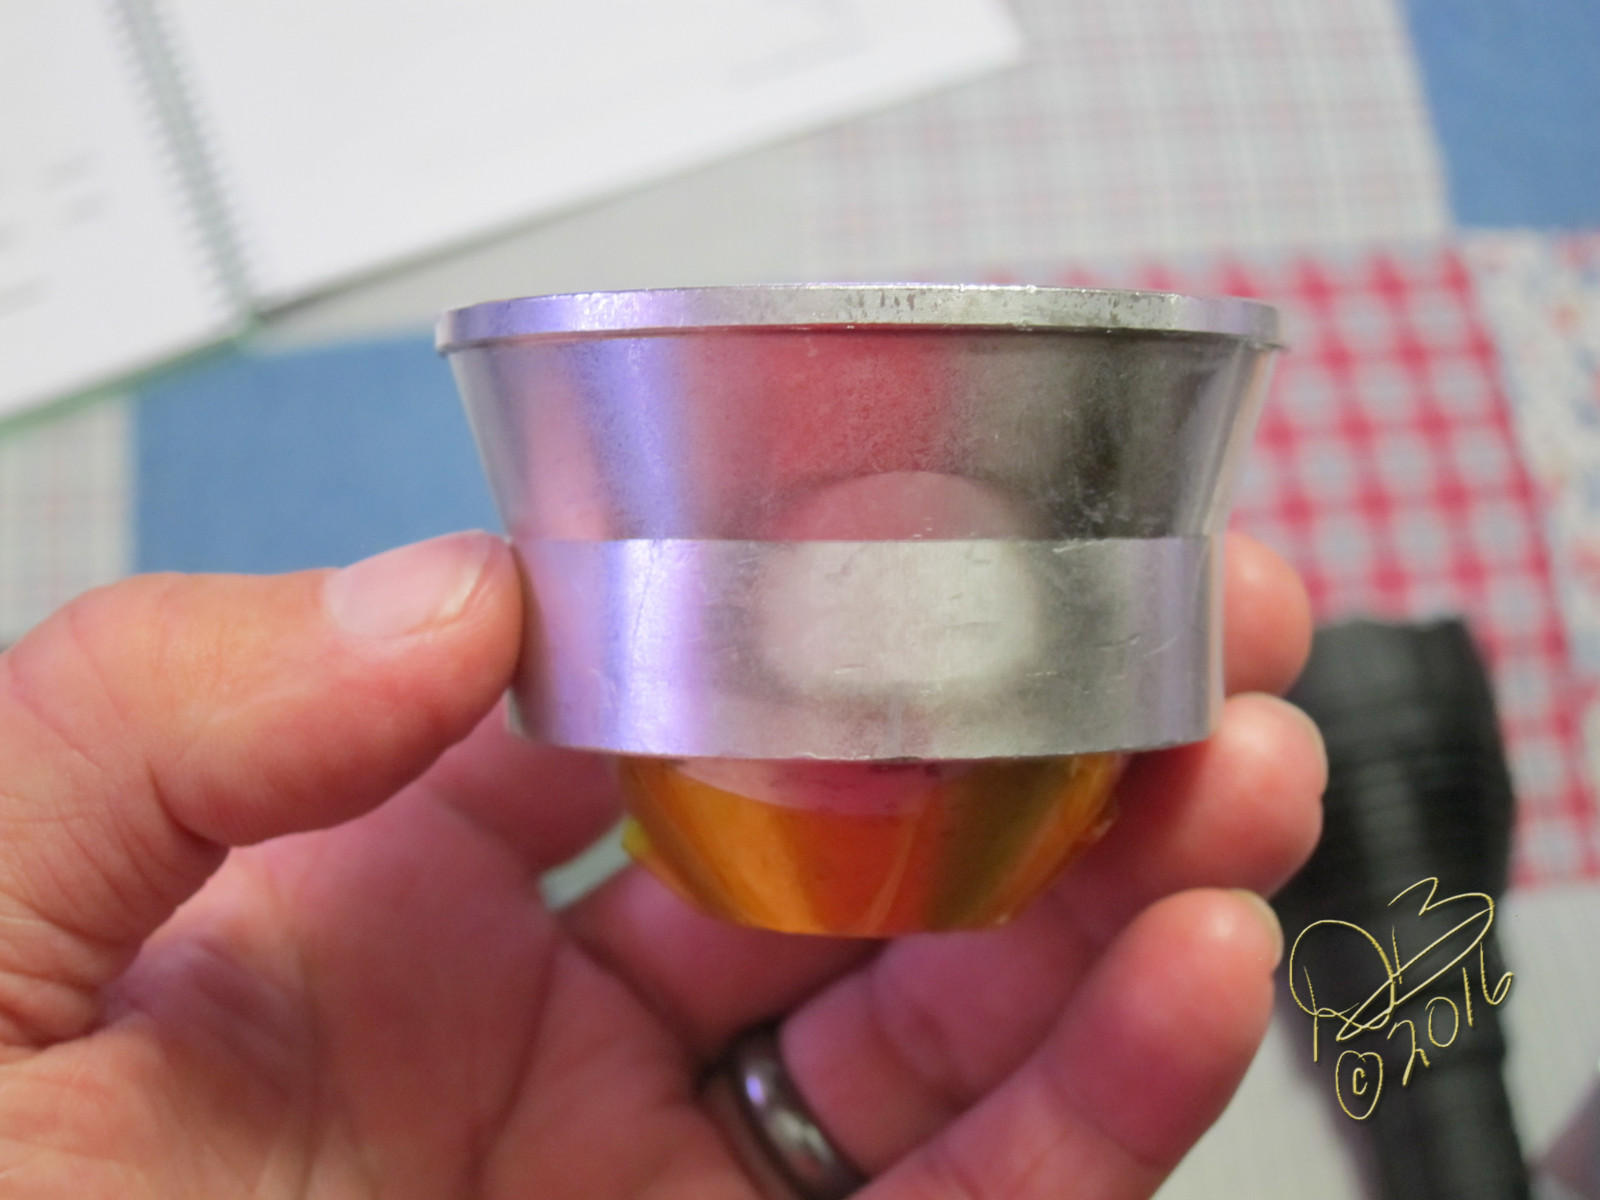
Hole isn’t visible here but …
If I really feel like the reflector is going to be in hard contact with the contacts, I press down on the solder joint with a flat screwdriver and heat it, make it as flat and smooth as I can, even file it if necessary. Then I cut a circular piece of the Kapton tape and lay it over the mcpcb/emitter shelf/ contacts such that the two are both covered, in this way the Kapton tape on the bottom of the reflector isn’t as prone to tear if the reflector turns while tightening the bezel.
To make the piece to go on top of the mcpcb I cut a square piece off the 2” roll, fold it in half sticky side out, fold it in half again and try not to let it stick together, then cut a quarter circle off the inside corner to make a hole approximately the size of the opening in the reflector. When opened back up from the folds, I have a 2” square with a hole in the middle. If need be, trim around it so it fits down into the head of the light but still covers the contacts.