ebastlers electronics corner

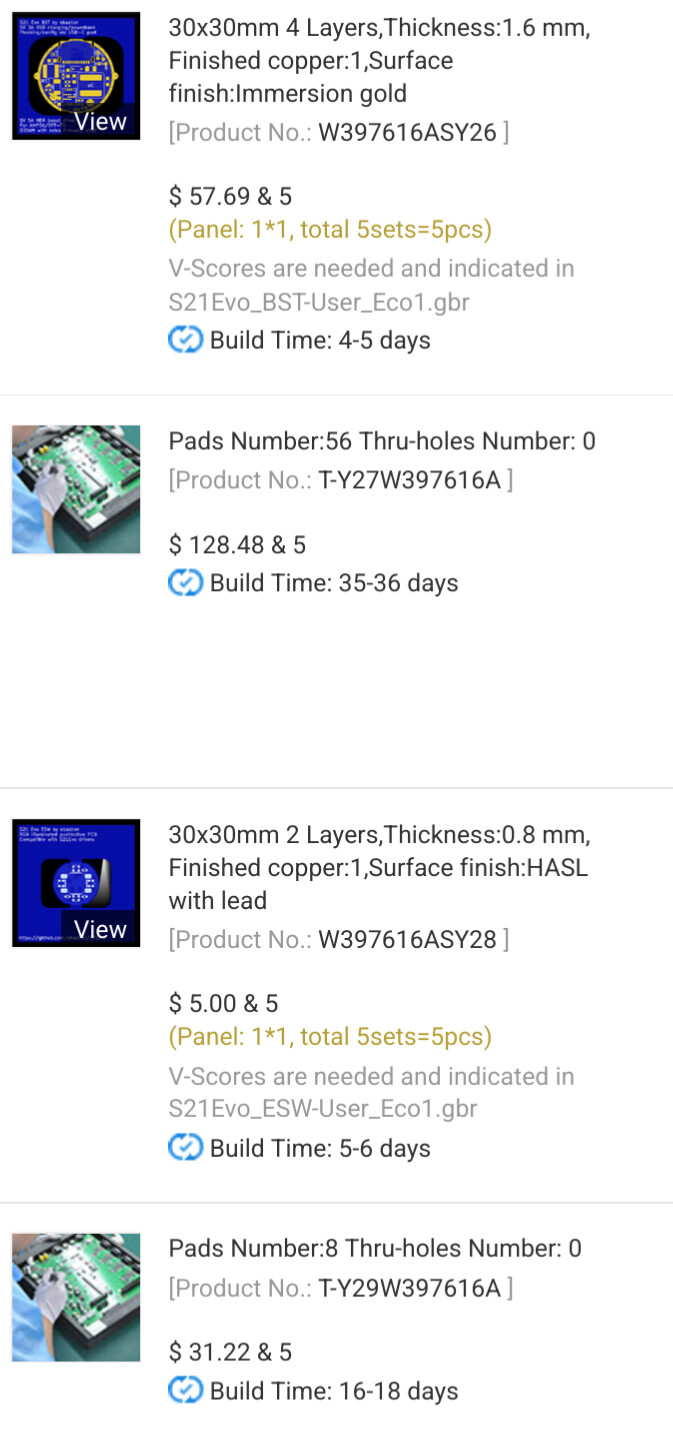
My PCBway rep has been ghosting me for a while on our usual channel of communications, so I decided to order the boards anyway and pay for myself. With customs and import taxes I’ll end up around 50€ per driver, which is kinda steep, but acceptable for a 5 unit prototyping run of an advanced piece of hardware.

I really hope they will work fine, the component density makes bodge wire modifications almost impossible. Once the hardware is confirmed working, I’ll publish the hardware sources and round up some people and see how much interest there is, then commit to a 10-20 unit early adopter order that should have significantly lower price per unit (and give me a chance to earn the proto investment back - not looking to make much of a profit off this, just cover my costs).

Will update once the boards show up :slight_smile:

9 Thanks

Hopefully they all function flawlessly

2 Thanks

Thanks :smiley:

Me too, lot of wasted money if they are outright broken. If it’s just some resistor value that needs swapping - I can do that easily.

Gotta wait and see… Seems like PCBway struggles sourcing the MP2722, they quoted me for a pretty long lead time. Total manufacturing duration about a month. I hope they’ll get the chips sooner than expected.

3 Thanks

Oh, that is a lot. Prototyping my buck driver cost me 50$ for 5pcs. at JLCPCB. But first I chose the components that they have and only then I designed the PCB. Also tried to avoid reel replacement fee.

2 Thanks

The 2 chips alone are pretty spendy, also double sided assembly fee. And PCBway just costs more in general. But I have so many “extended” components that jlc would end up around the same price.

~100$ of the actual driver assembly are component costs. Would have been a similar price at jlc, mainly because the 2 DC-DC chips are expensive in small order numbers.

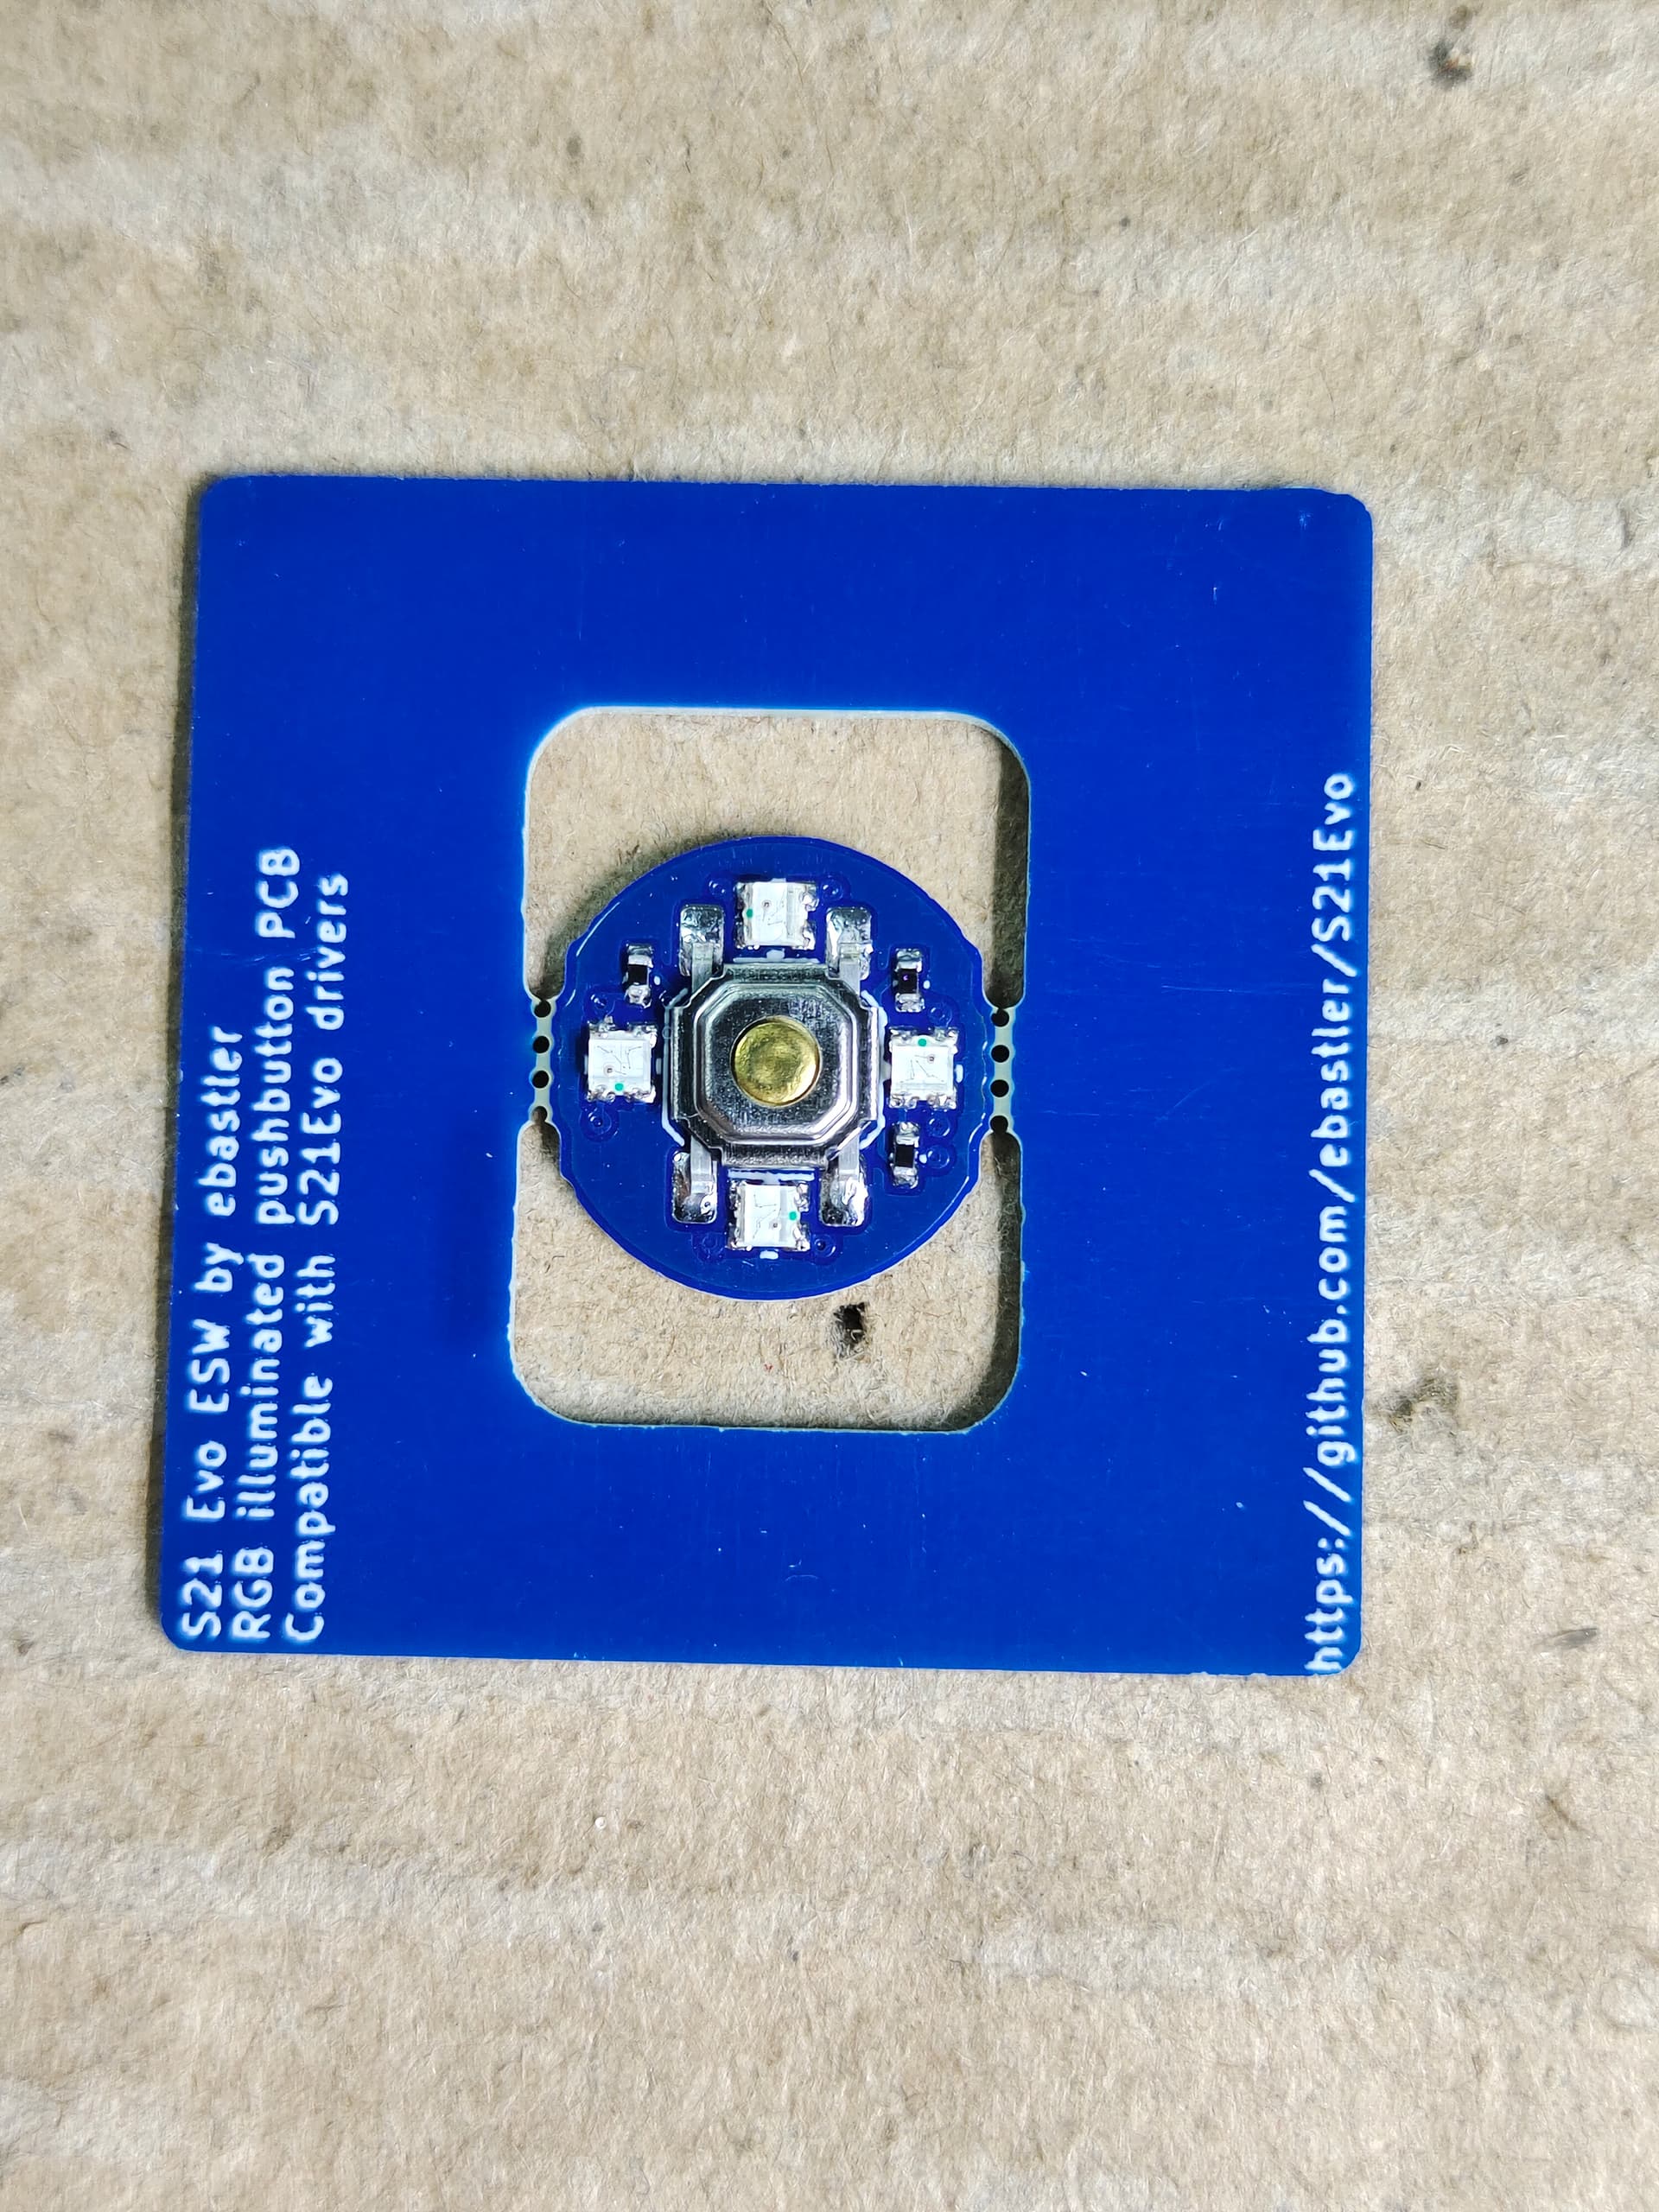
No clue why the eswitch PCB is this expensive tbh. That one would have been way cheaper at jlc for sure.

Yes, they give you free assembly coupon, but will charge for “extended” component. And those extended are not constant. One time is free and another time is already extended , so every time then reordering you have to re-check it. :slight_smile: Generally all component are extended except popular passives.

Yeah, I’ve ordered with JLC a lot before. Their prices are insanely good if you stay with (mostly) their preferred parts, but their support can be very frustrating at times and their reliability isn’t the best :smile:

For larger scale production (largest run I had so far was 500 units) I’ve mostly worked with 2 other companies in china. Way more expensive for small batches, similar price but way more reliable and easier to work with than prototyping fabs like JLC when you’re ordering 100 or more.

Also, you get options and flexibility from these factories that you simply don’t get with the prototyping focused ones.

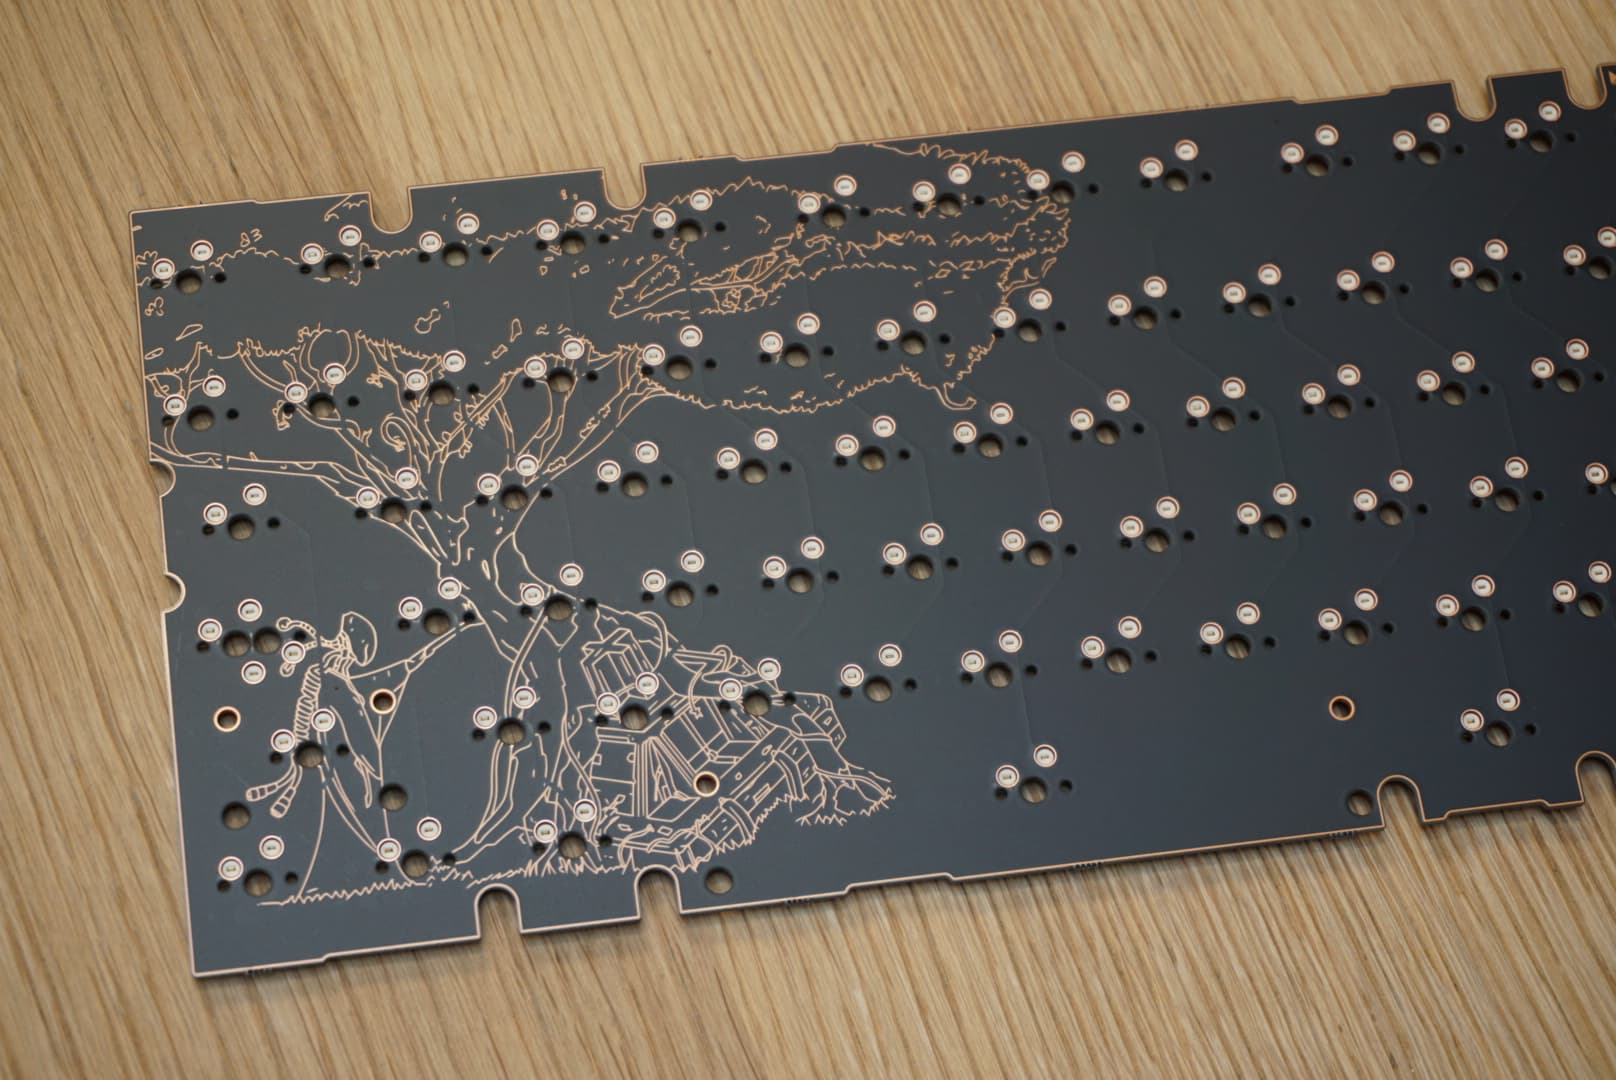
In the higher end custom keyboard scene looks are a very important factor. For this PCB I managed to convince a factory to do a 2 soldermask process - black mask for the regular mask, and an additional step of clear soldermask to protect the exposed copper artwork and tracing. Was fun, they had never done something like it before and neither had I.

My customer was not satisfied with the tech for example oshparks after dark uses (black FR4 core, clear mask) as they wanted to block out some traces from being visible. Therefore we ended up using black FR4 (so that the edges of the PCB are black), matte black soldermask, and clear soldermask stacked.

No clue how much this ended up adding to the price, that was my customer’s job to worry about ^^

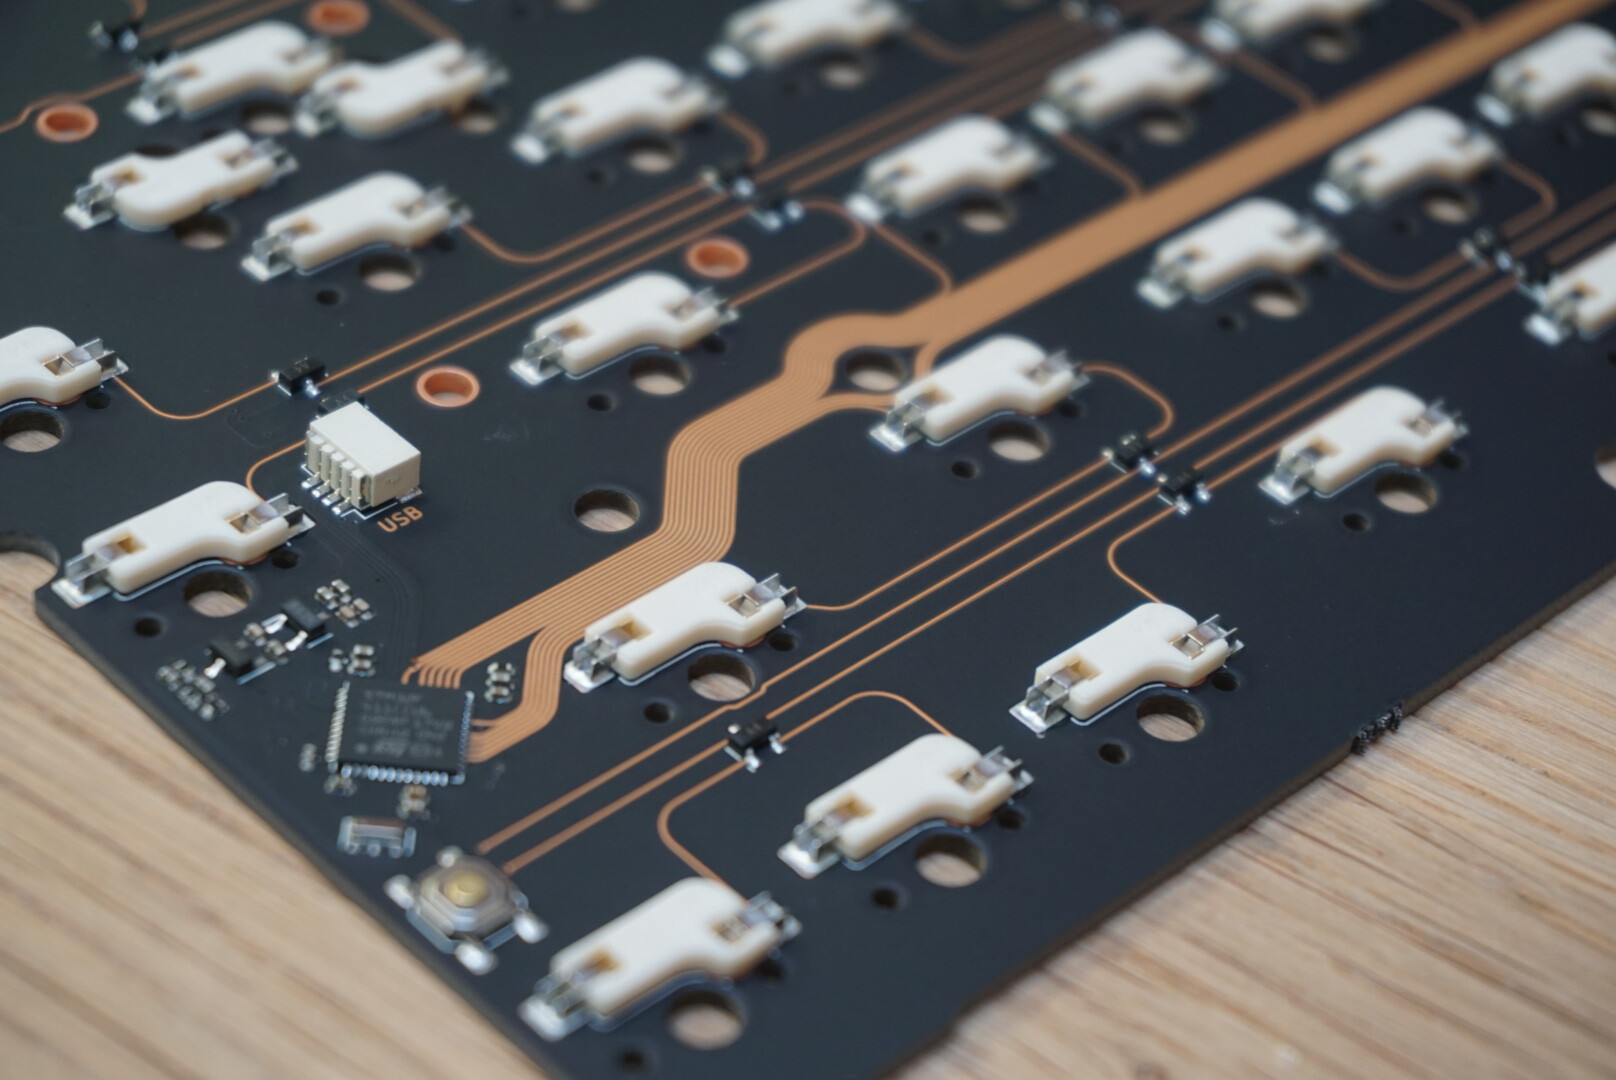
Regarding the S21Evo - don’t forget it has one 30W and one 15W DC-DC converter on the same PCB. This adds to the price too, especially since the MPS stuff tends to cost a fortune in small numbers and only scales ro reasonable prices once you order 50+. Me picking a brand new STM32 model that barely launched a couple months back and is hard to source (mouser has it, the Chinese chip sellers don’t) didn’t help :sweat_smile:

This one is doing anything battery related: https://eu.mouser.com/ProductDetail/Monolithic-Power-Systems-MPS/MP2722GRH-0000-P?qs=2MMvu9PpTS05pSlkGYgUxw%3D%3D

This one is doing the actual LED boost: https://eu.mouser.com/ProductDetail/Monolithic-Power-Systems-MPS/MP3432GL-Z?qs=rkhjVJ6%2F3EKdOTMiti3nIQ%3D%3D

5 Thanks

USA site doesn’t have them apparently.

Edit:
https://www.mouser.com/ProductDetail/Monolithic-Power-Systems-MPS/MP2722GRH-0000-P?qs=2MMvu9PpTS05pSlkGYgUxw%3D%3D

https://www.mouser.com/ProductDetail/Monolithic-Power-Systems-MPS/MP3432GL-Z?qs=rkhjVJ6%2F3EKdOTMiti3nIQ%3D%3D

Oops, looks like I broke my links when posting :smiley:

Thanks for this. Edited my post with working links (same as the ones you posted, just .eu because that’s what my Mouser defaults to).

1 Thank

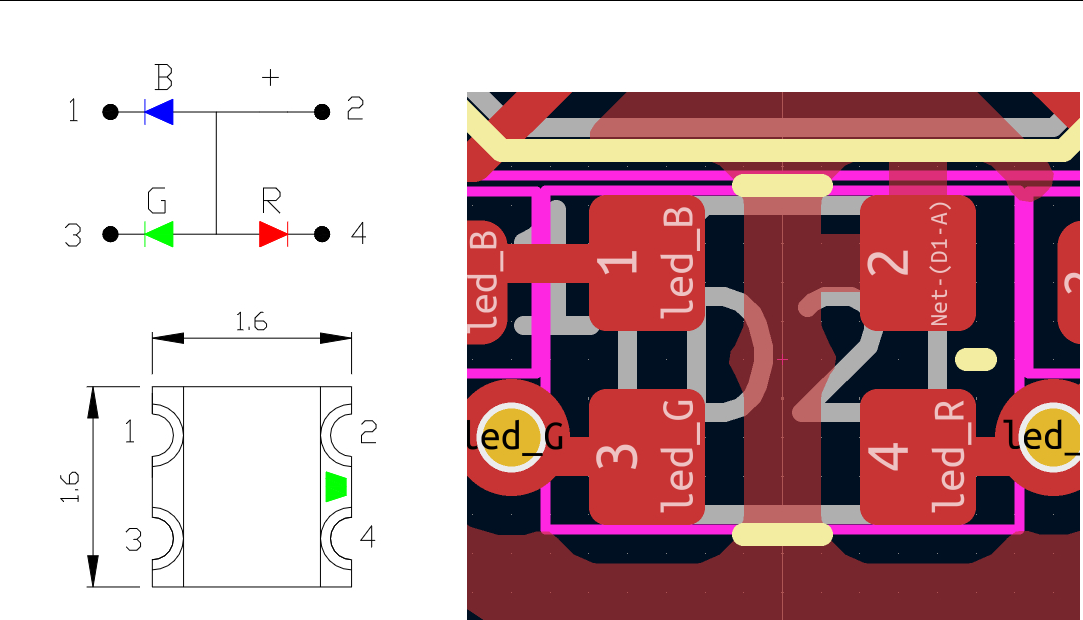
pcbway asked me since they did not know how to mount the AUX LEDs. After re-checking with the datasheet I figured out why… Who the heck puts the polarity marker right between pin 2 and pin 4, instead of at pin 1 where it belongs??

I guess tricky because it’s RGB? What do other RGB emitters do for polarity marking?

Usually people mark Pin 1.

In this case I guess they marked the Anode? Not sure.

PCBway just sent me this to check for polarity before they start production. Getting excited. Sadly the MP2722 are still not there so they couldn’t start with the main PCB yet.

I wanted to panelize the boards with vscores, but they said that would be a significant upcharge and asked if they could use mousebites instead. I’m not super happy about that, but whatever. Larger batch I will pay the upcharge for vscores.

5 Thanks

Things are about to get exciting. The chips showed up at their factory earlier than estimated.

9 Thanks

I decided to move everything S21Evo related into a new thread from now on, as this one should be about random fun projects and stuff, and not a big project log.

4 Thanks

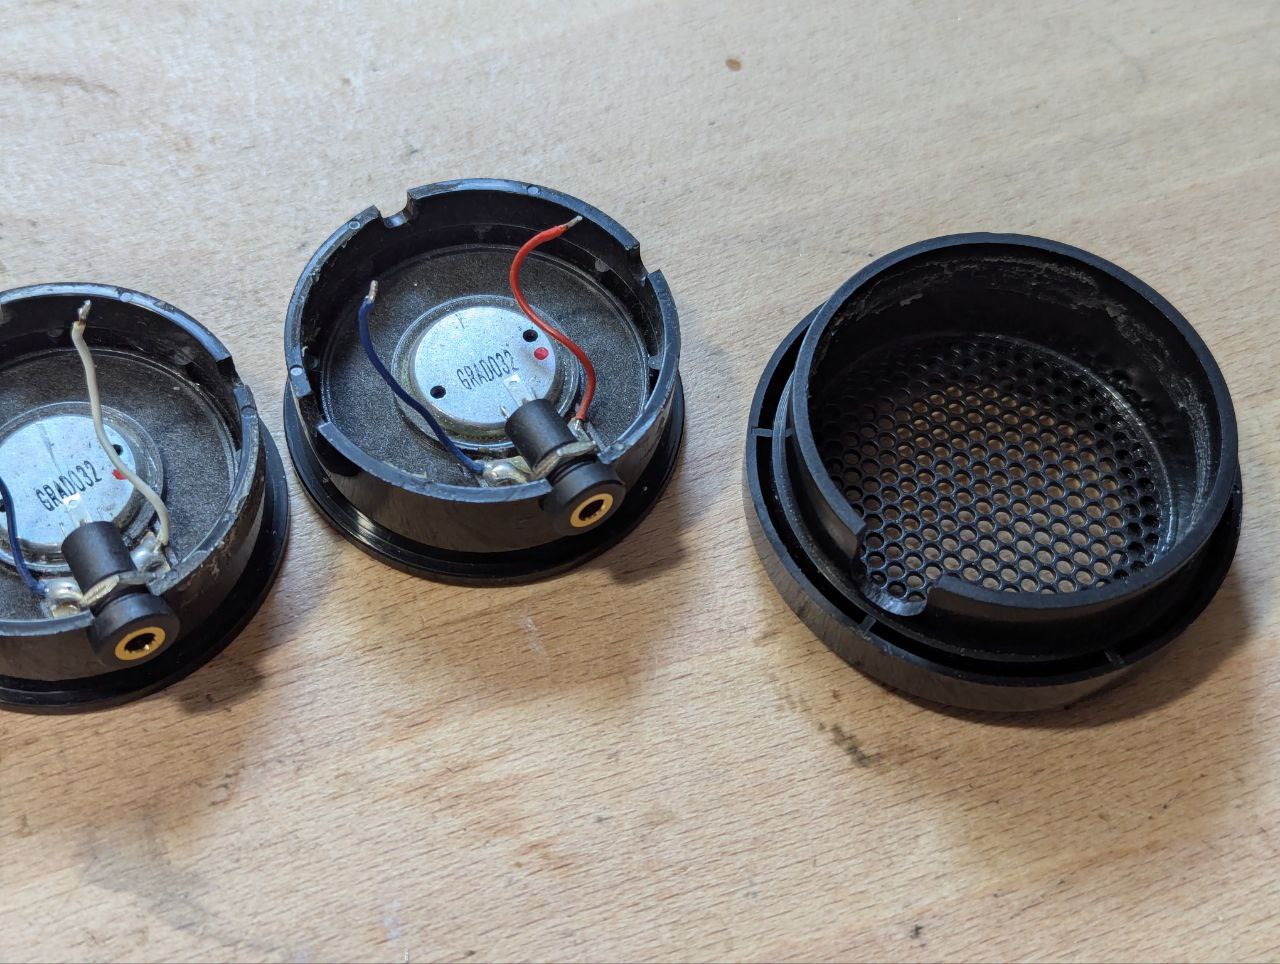
We’re back to the original purpose of this thread today, with some pictures of my headphone modification. Grado headphones are quite a famous name in the industry, causing probably more controversy among headphone enthusiasts than any other brand. Their sound signature and looks are both polarizing, to say the least.

Anyway, I had a pair of Alessandro MS1i (slightly modified Grado SR80i) for a while now and I enjoy them a lot. The only issue is - the people at Grado seem to actively look for the worst cables known to mankind and then mount them directly without any connectors. Truly terrible.

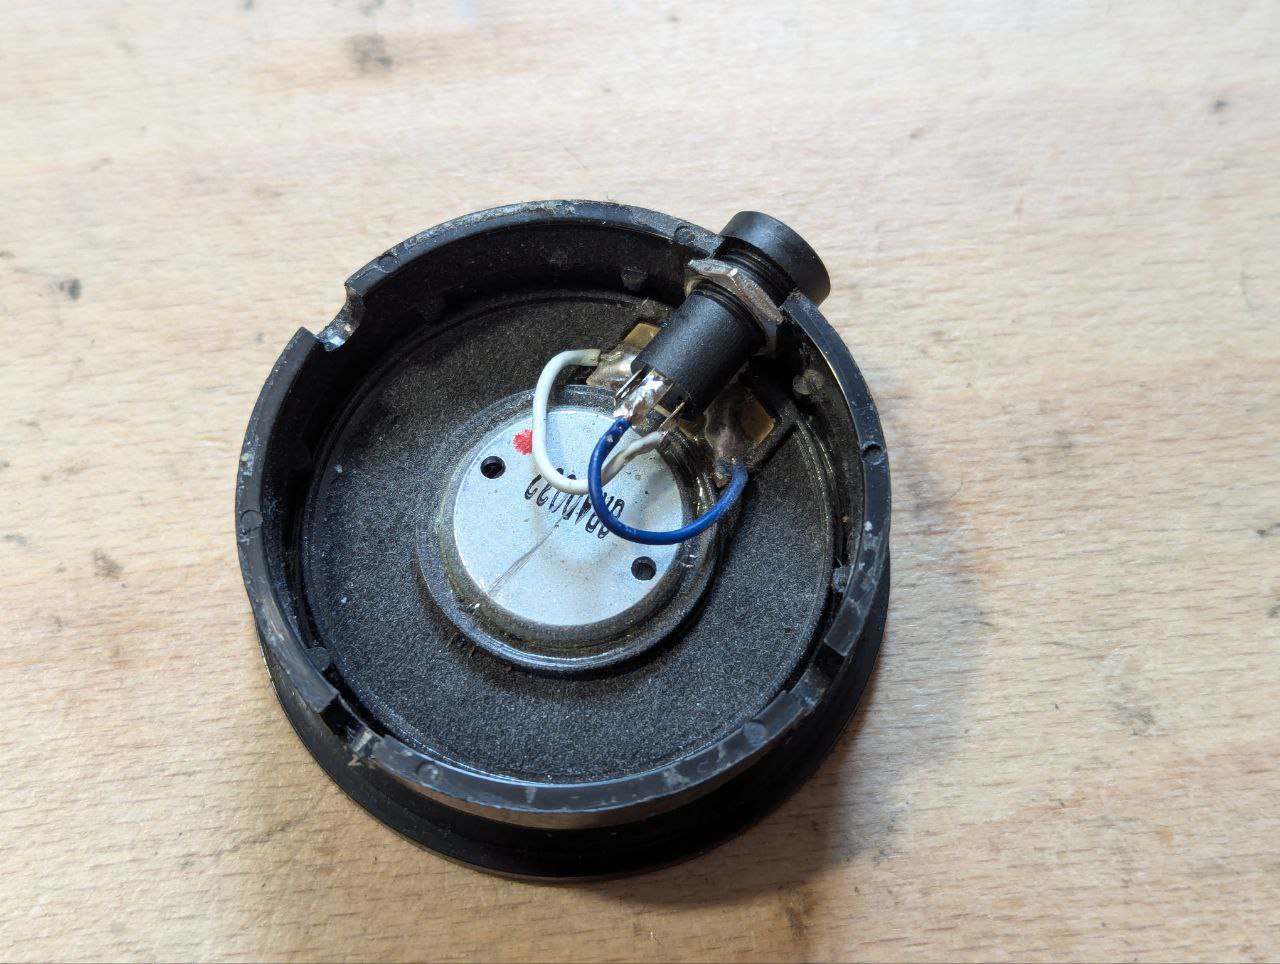
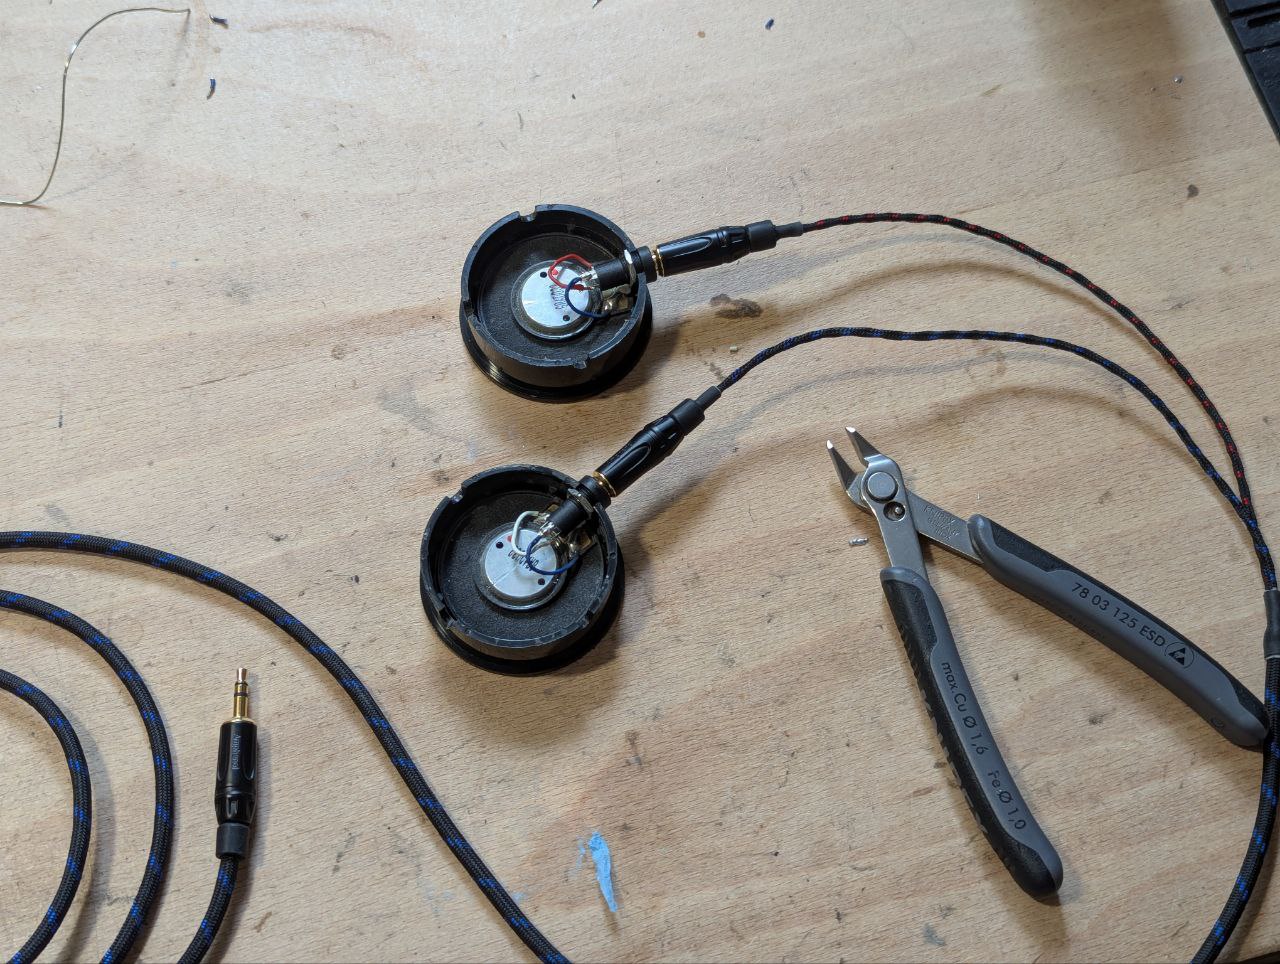
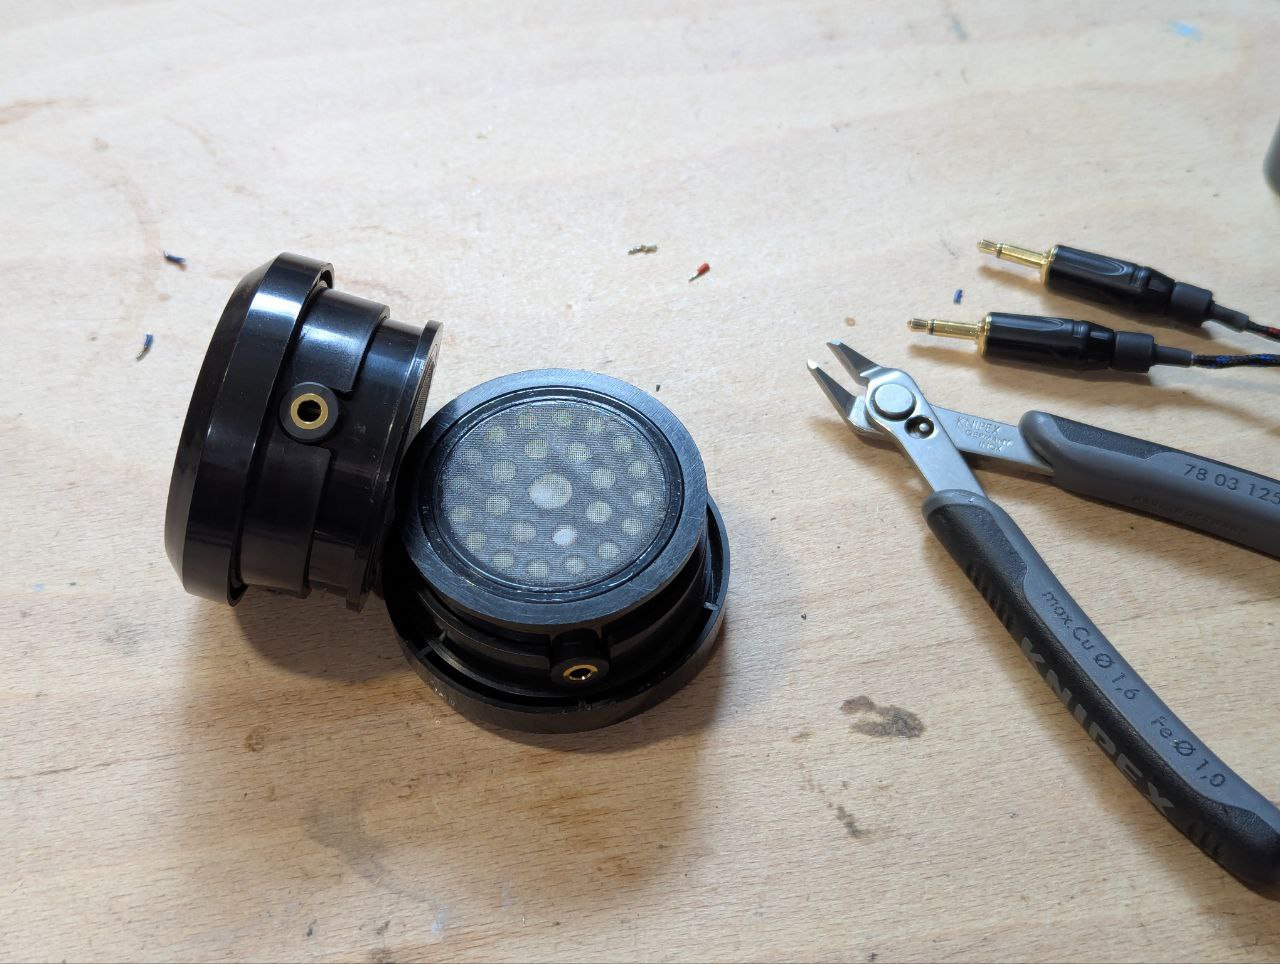
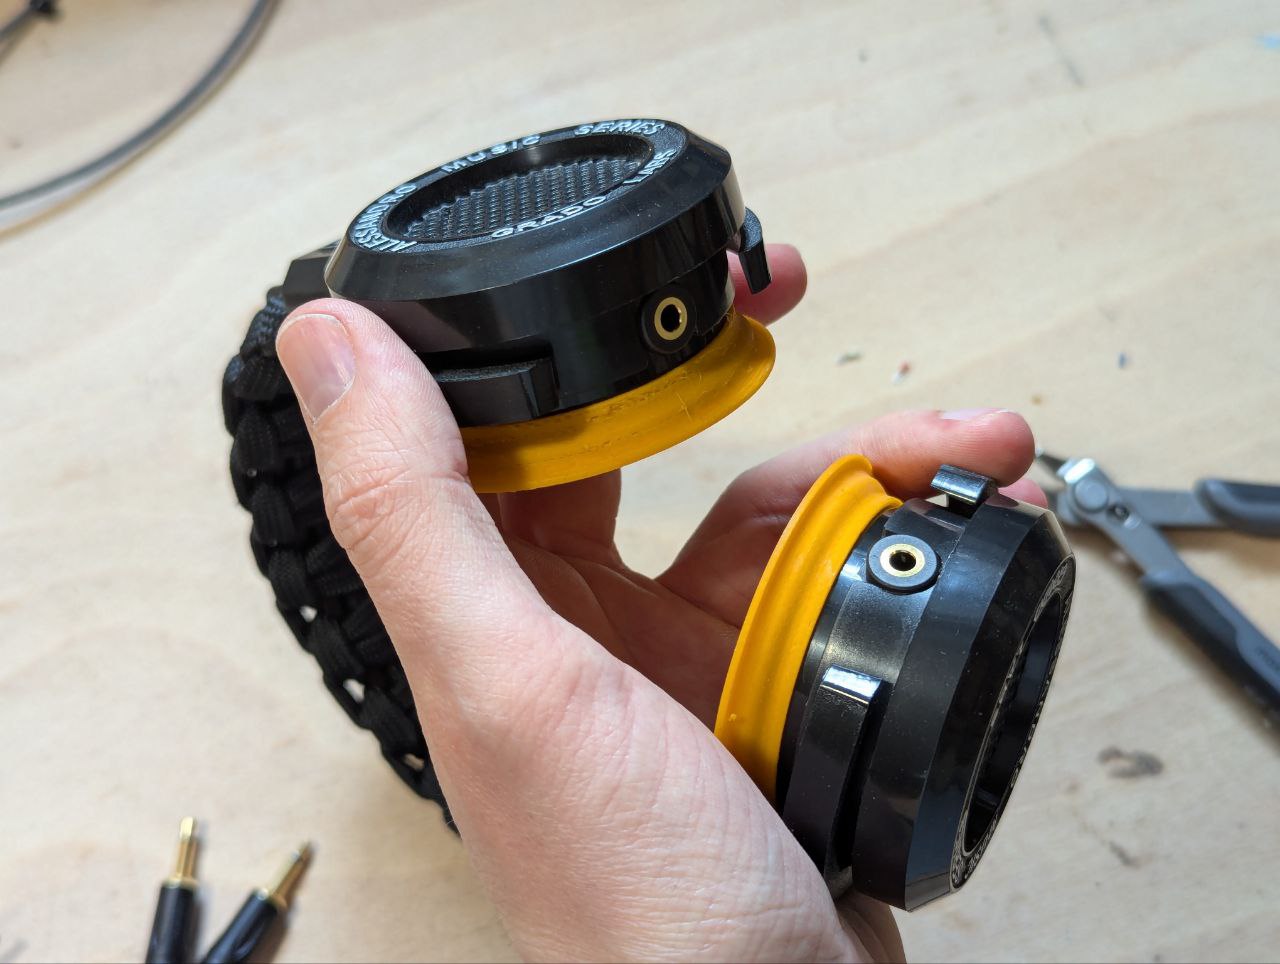
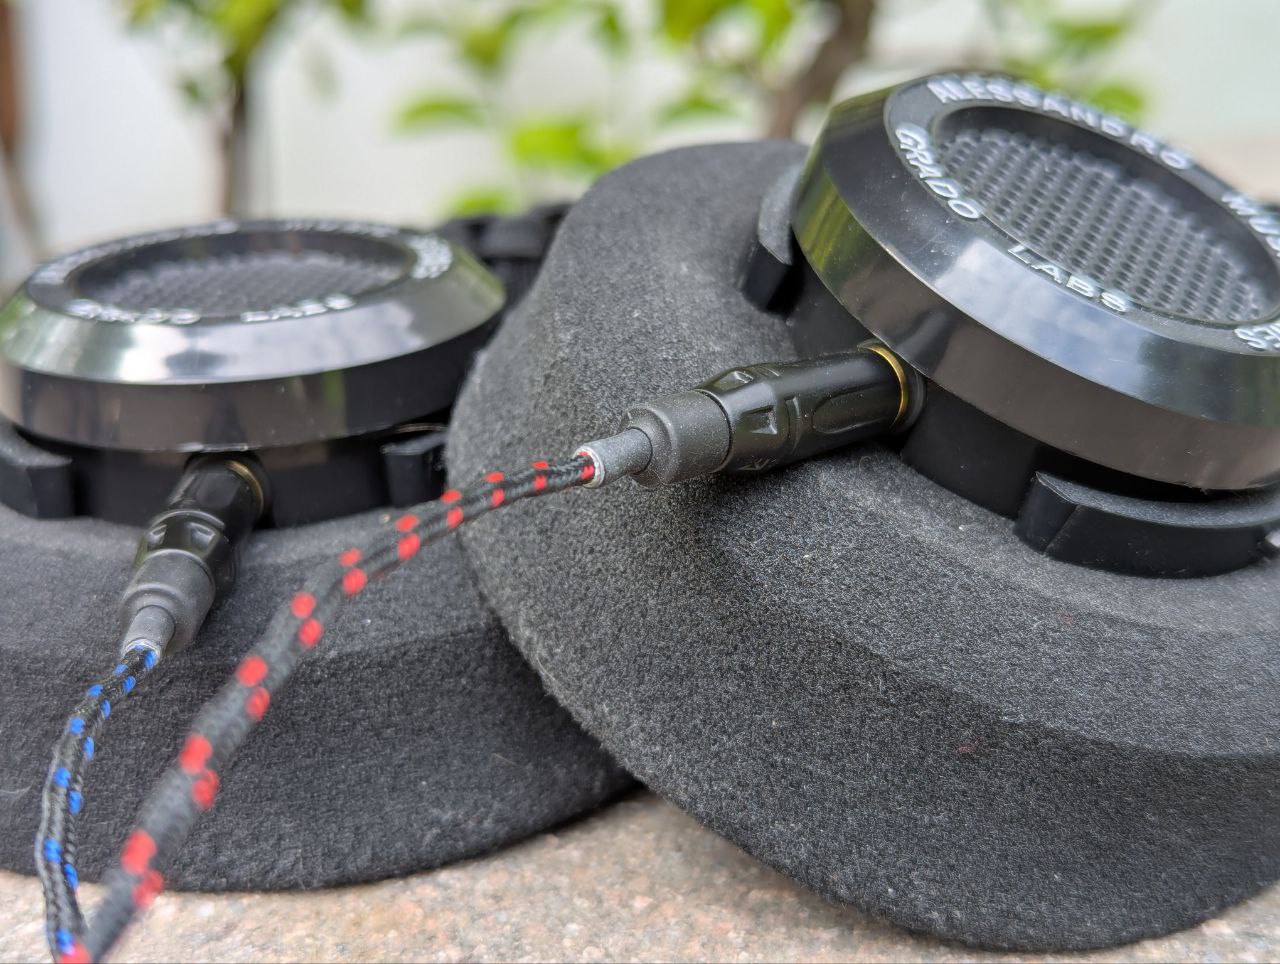
I had modified some SMC receptacles (RF antenna connectors that happened to fit nicely) in there before so I could add detachable cables, but since I got my second pair of headphones, Focal Elear, that came with one mono jack per side, I wanted to replace the receptacles of the Grado again so both headphones could use the same cables interchangeably.

First I had to file the holes in both the “inner” and “shell” part of the housings larger, as originally they were made for ~3mm thick cables, not full size headphone jacks. I decided to mount the jacks only to the inner part, and have the outer part slide over them. This makes them less noticeable, and makes it easier to assemble, as the receptacles screw and solder into the inner part only.

I kept a piece of the original headphone cable for wiring, so I would not have to solder onto the drivers directly. These can be quite temperature sensitive, depending on how they are built.

Since the original earpads are a bit too small (they are on-ear, not over-ear) for my taste, I am using Grado G-Cush pads, which are usually only made to fit on the larger top-end models from Grado. I made 3D printed adapter rings from rubber filament to adapt them onto the entry level grados.

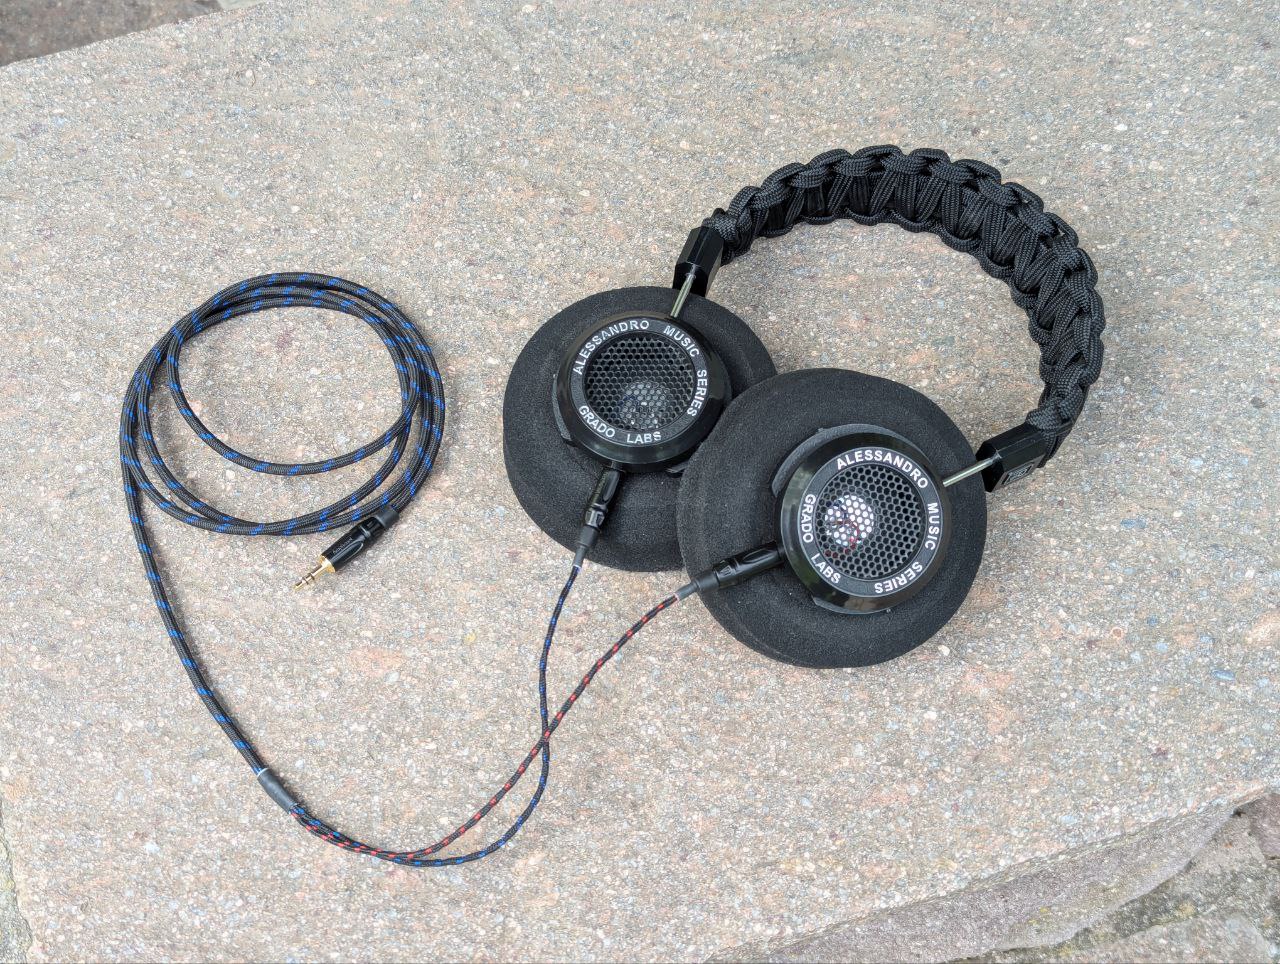
All in all I am very happy with my mod. Being able to swap headphones while keeping the same cable makes it a lot nicer to use my two pairs now :slight_smile:

Oh, the paracord wrap on the headband is obviously custom as well. I used Type V paracord without core in a cobra stitch. The bands themselves are only a single layer of artificial leather (aka plastic :D) over a thin spring metal band. Very uncomfortable for longer wear. The paracord softens it nicely.

Headphone cables are DIY as well, Sommer Cable Cicada-4 cable with Amphenol headphone jacks and Paracord sleeving. The thinnest, lightest weight cables I could make with a soft and nice to touch paracord sleeve. Amphenol jacks cost a fortune, but I just love how they look and feel, and the quality is impeccable, so I use them for all audio connectors.

3 Thanks

They look real nice. Great Mod. I have a couple of sets of the Grados. This makes me think about doing something with them.

1 Thank

Which models do you have? IMO in a sea of mostly the same looking and sounding headphones, grado is one of the few brands that’s still true to their origins and founding philosophy.

One each SR80 and SR 60i. I replaced the grills on the 60i with some very open mesh screens. Helped quite a bit.
I don’t use headphones near as much as I used to. When I do I usually grab something else these days…

1 Thank

Simon’s phosphor bronze springs crap out at about 15A and get extremely warm. (I’ve actually burnt myself on one when testing a FET driver before)

I’ve managed to solder 18awg silicone to those steel springs before as a bypass, but for extreme high currents I’d use a Hank BeCu spring. Not sure how bad the sag is since I can’t really measure it accurately when they’re installed in a light, but with the stock phosphor bronze springs it will hit LVP with turbo on a Convoy 12V boost driver with a P45B at about 3.6-3.8V.

Edit: forgot to mention that even a 2cm long piece of 22AWG silicone wire is more conductive than a BeCu spring since even the best ones don’t go above 50% IACS (ie. equivalent to pure copper). For extremely high currents any spring will be fine since you will need a bypass for any sort of performance.

5 Thanks