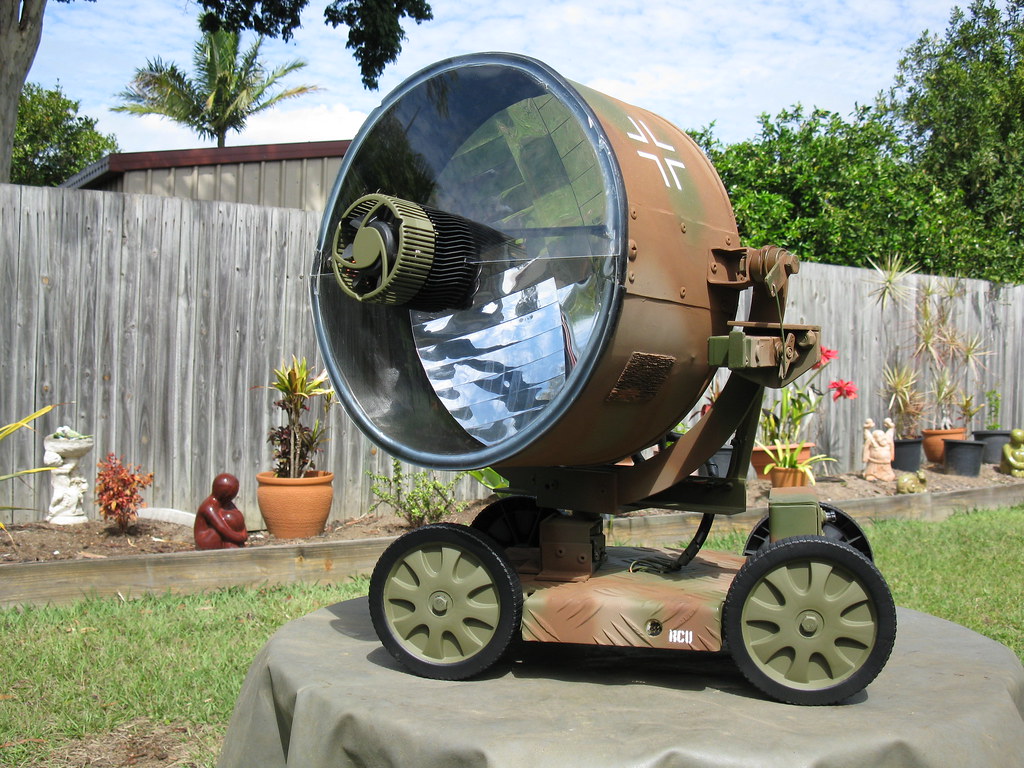
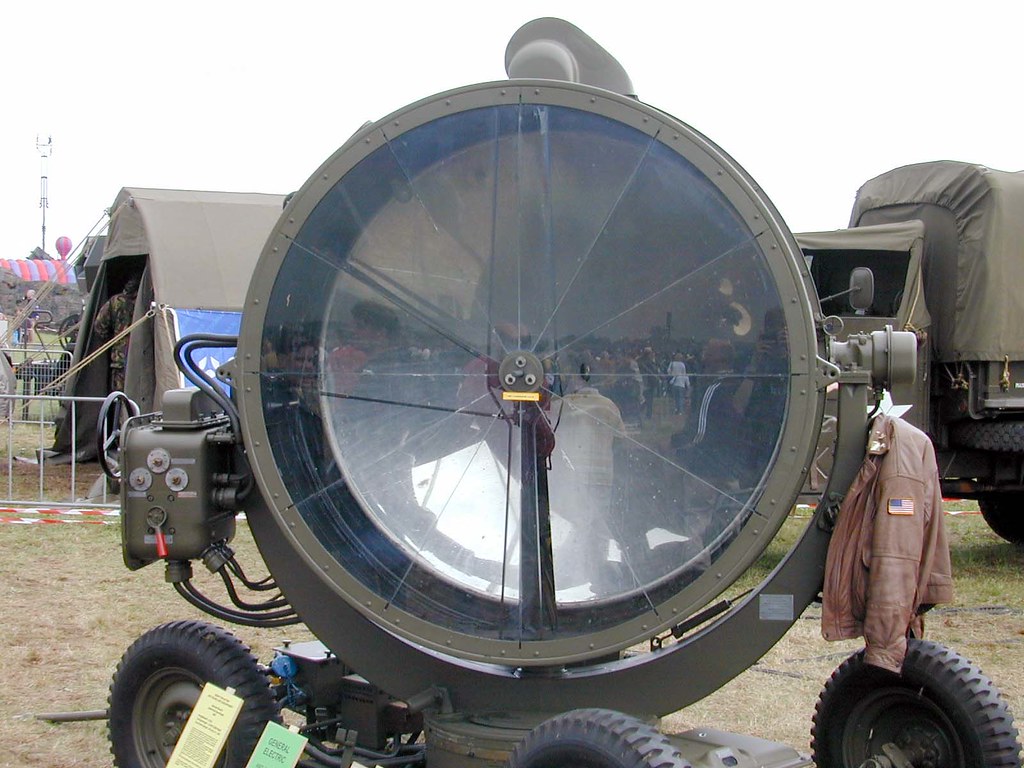
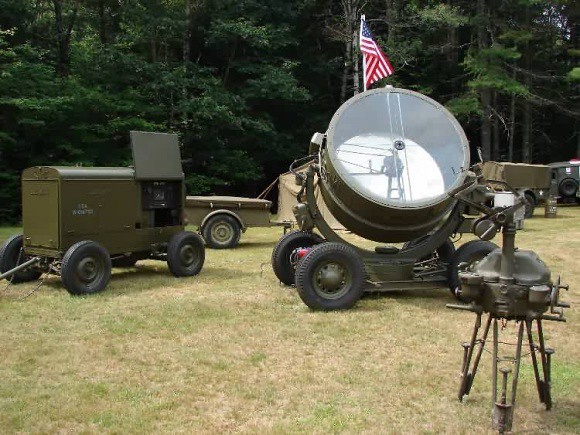
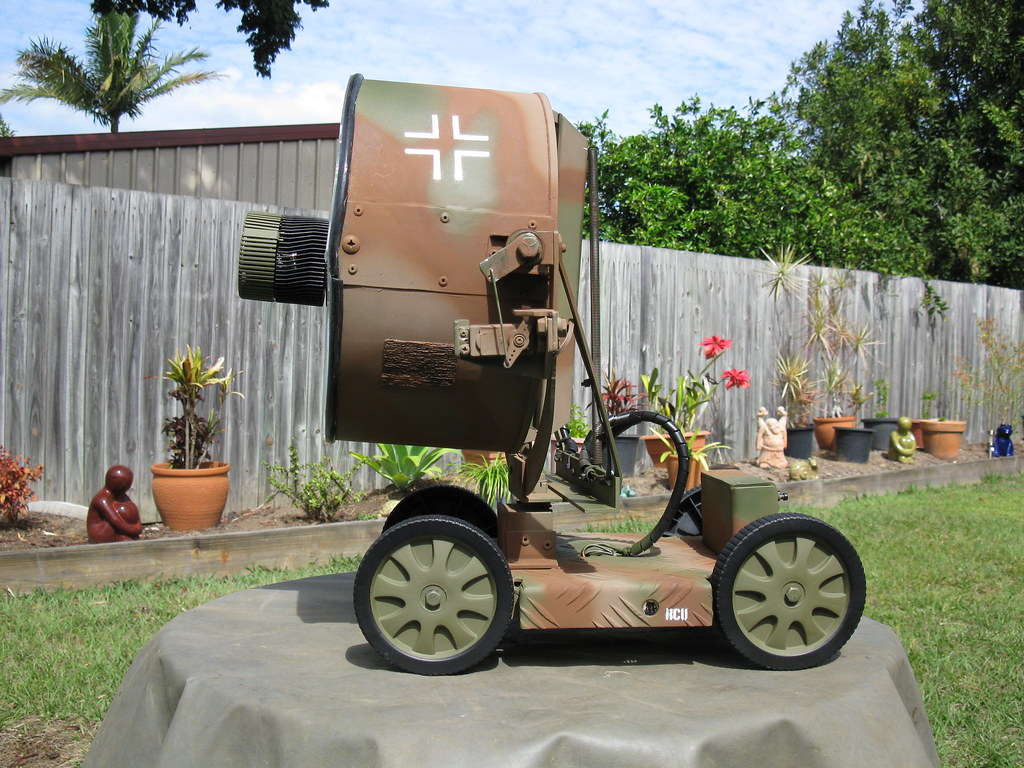
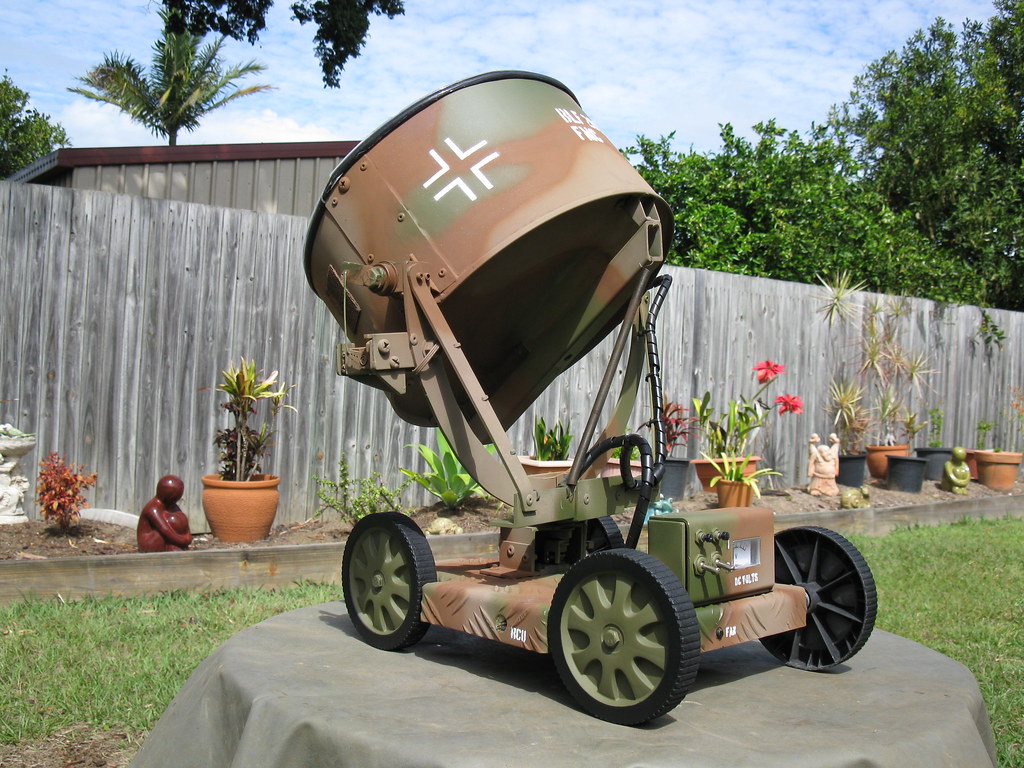
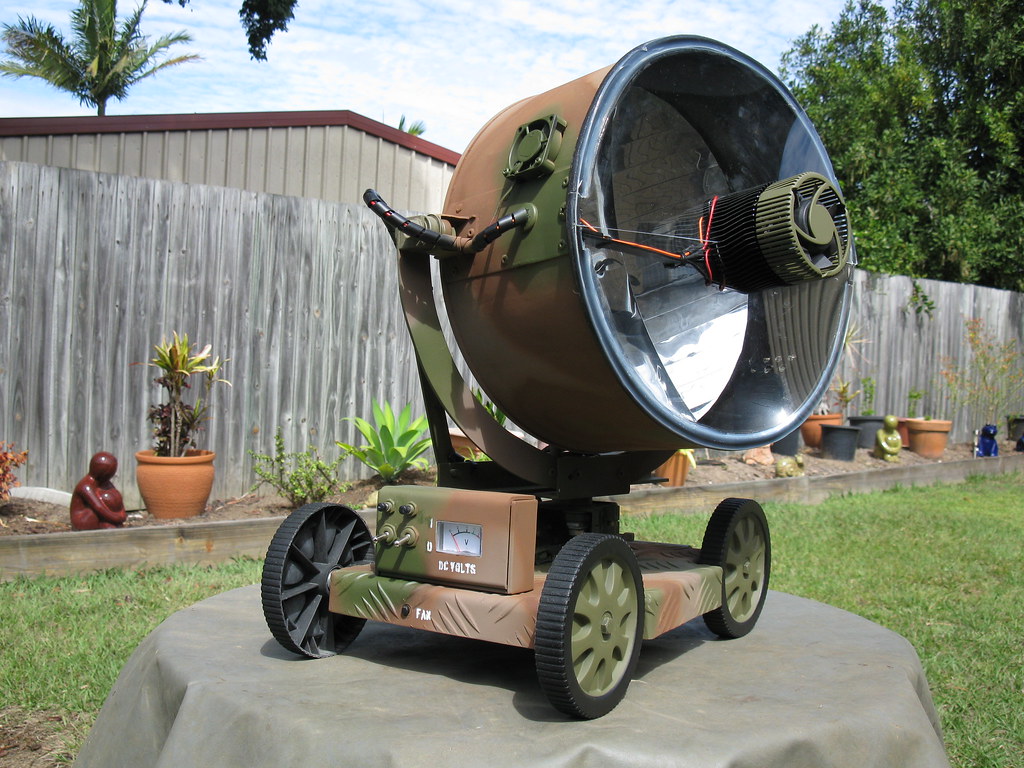
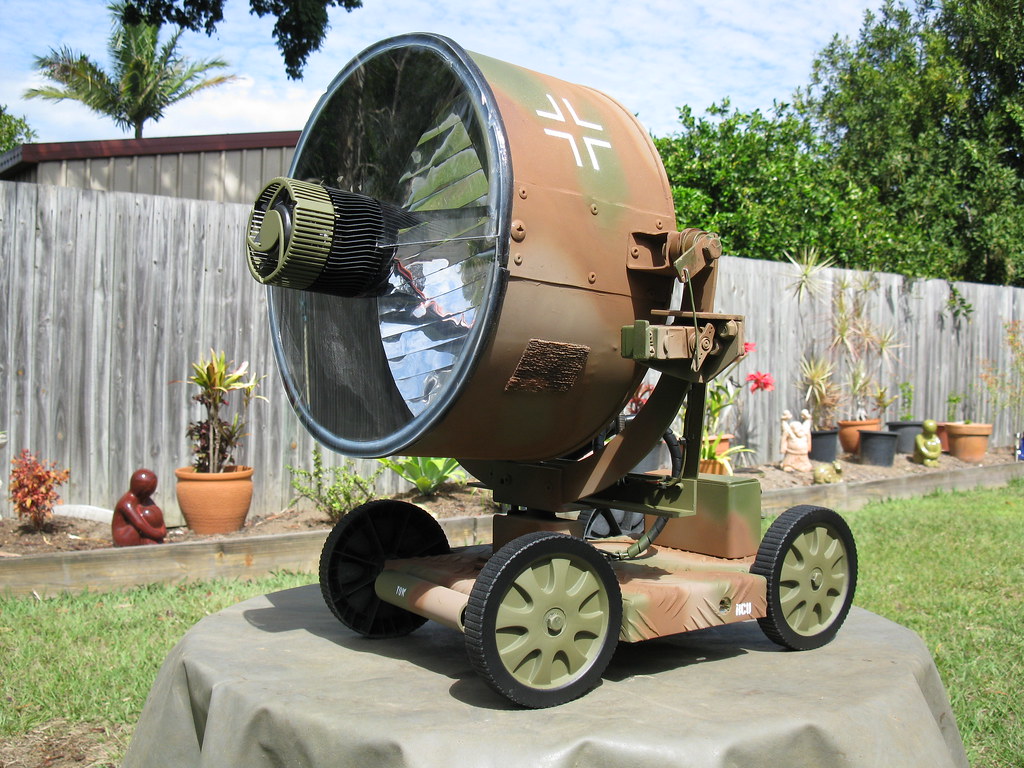
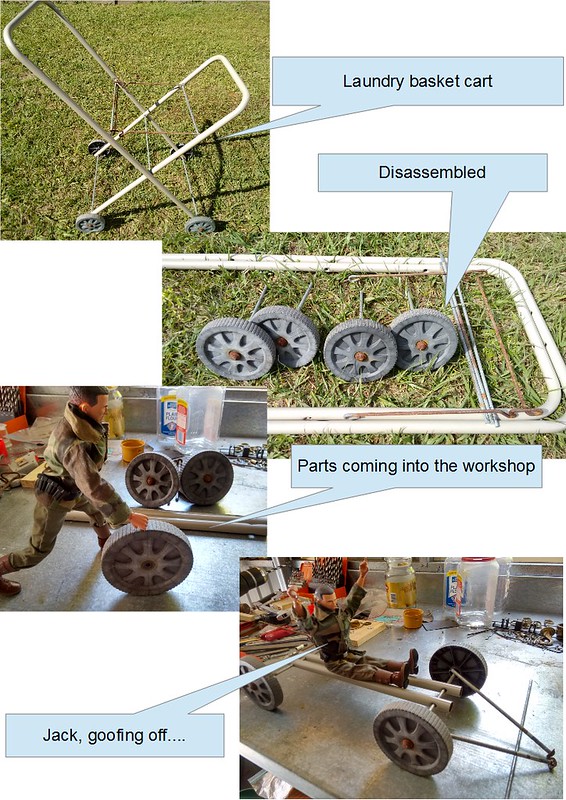
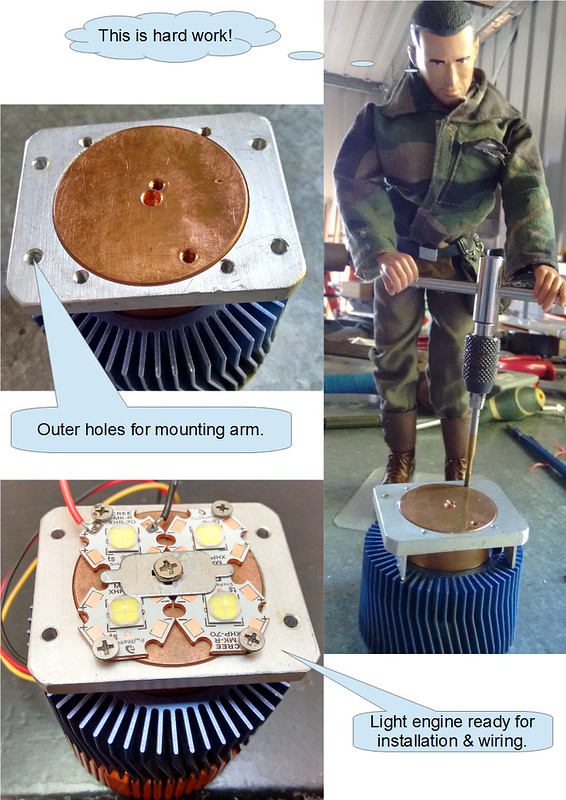
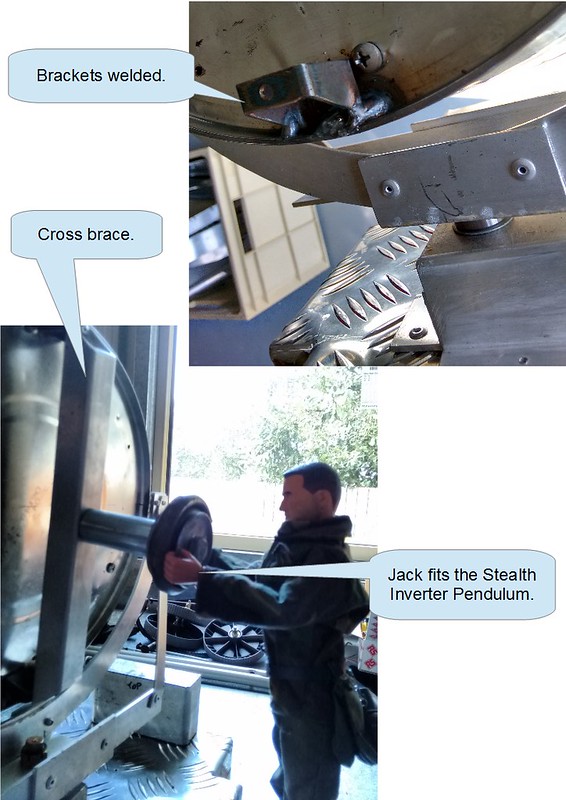
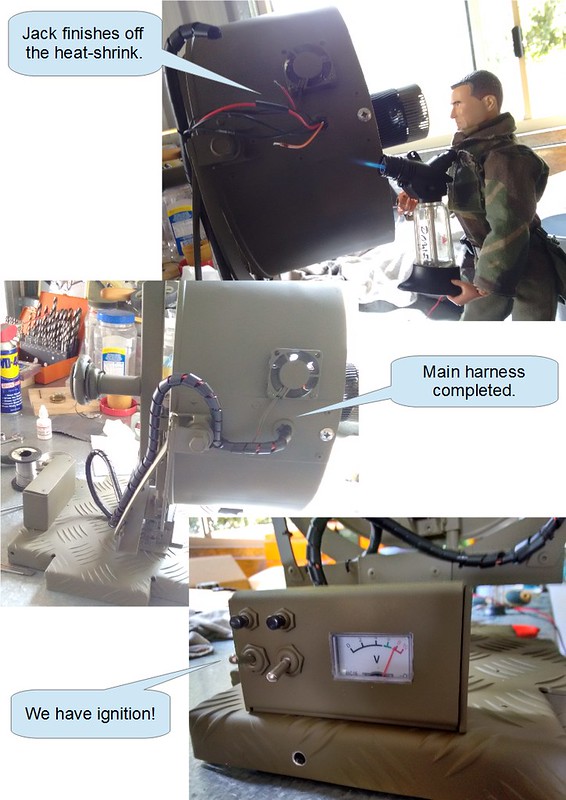
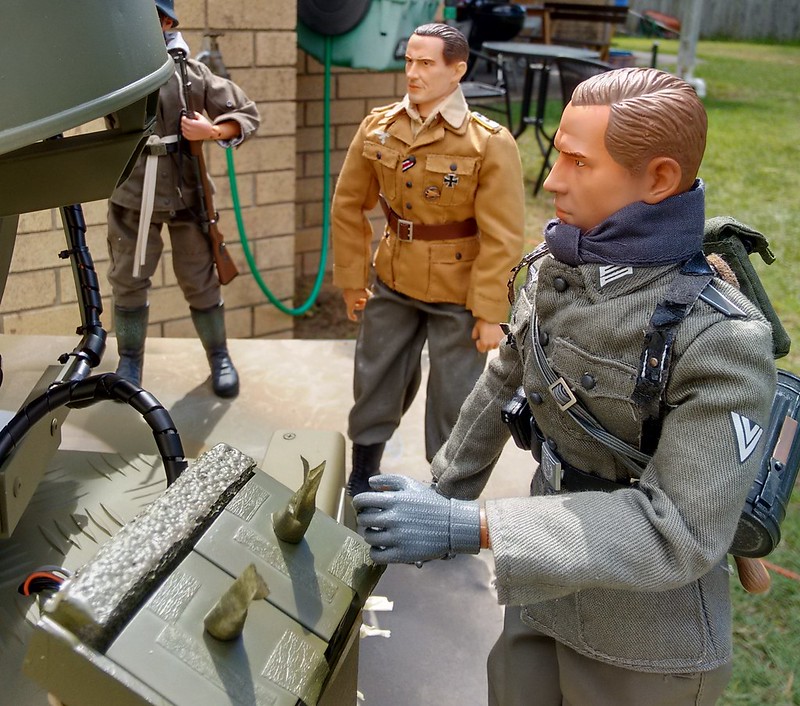
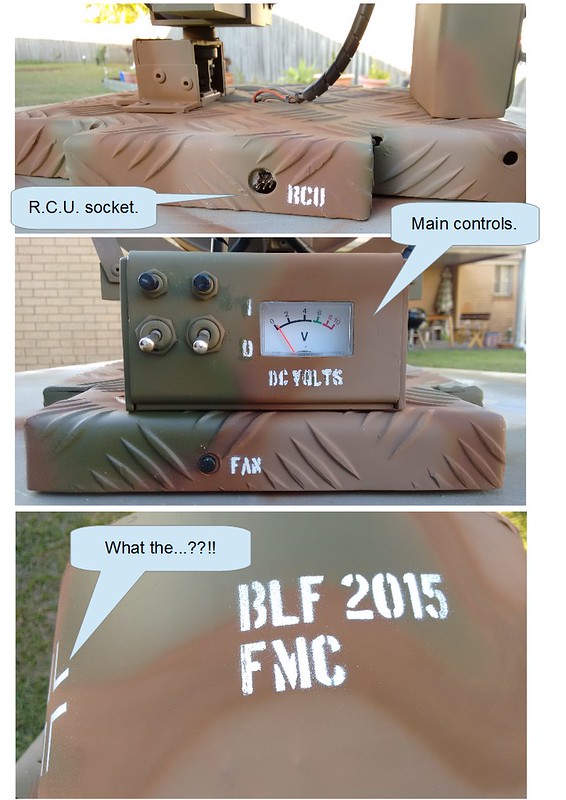
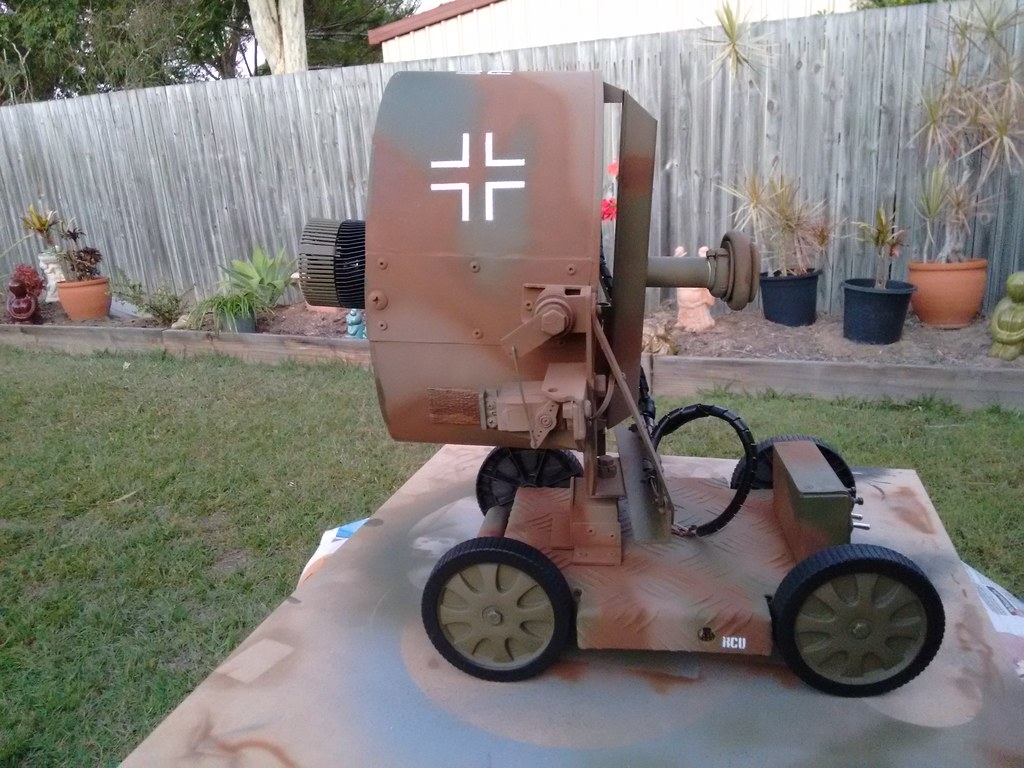
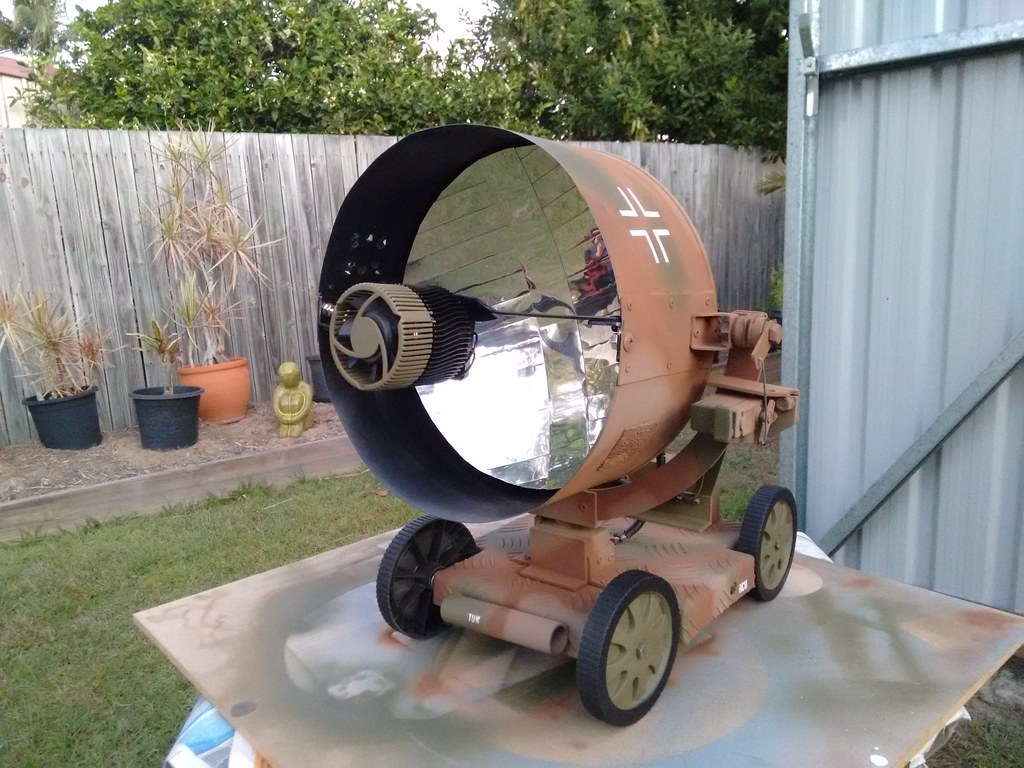
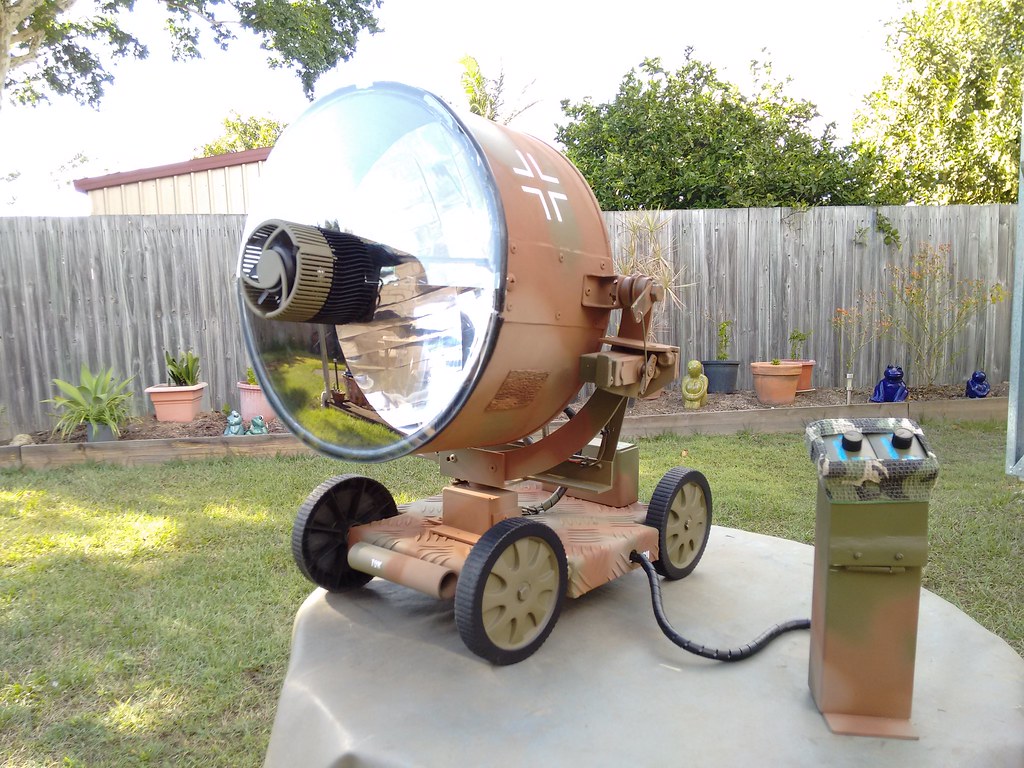
I'd like to introduce everyone to "Jack".
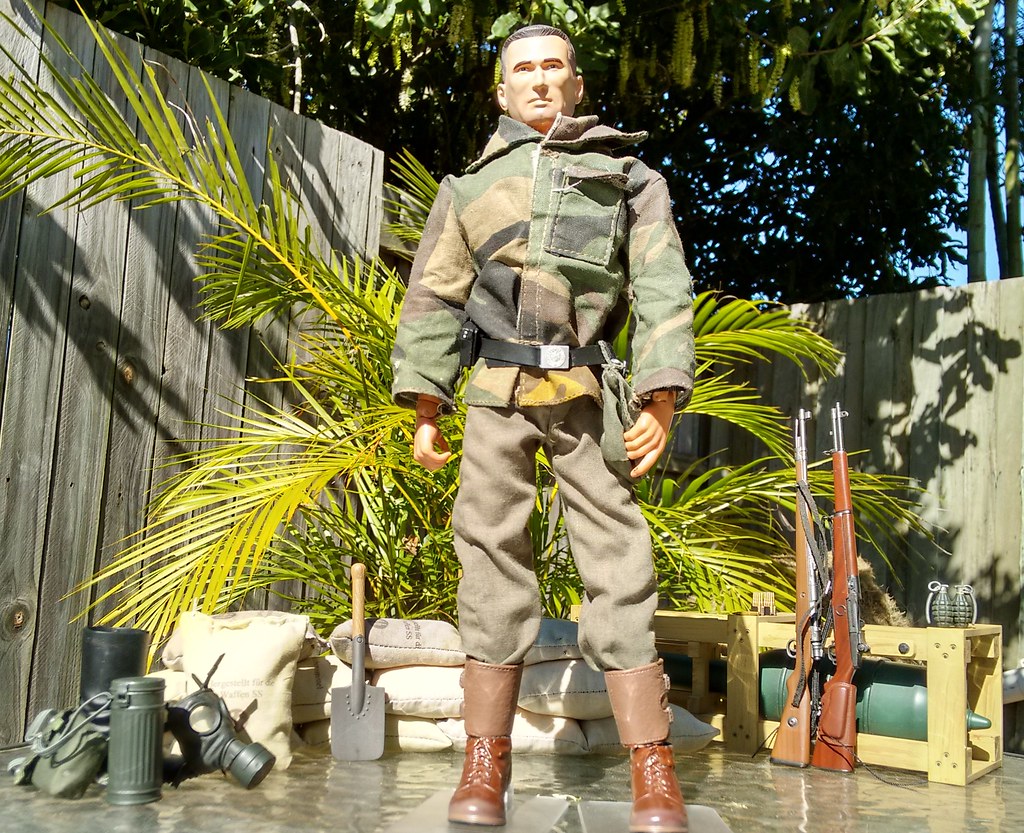
He's retired now, on some kind of pension apparently, but he tells me he was once in the Special Forces, & even spent a few years behind German lines as an Informant.
I dunno - he seem a little young though.... (personally, I think he's full of it...)
Anyhow, I bumped into him at the scrap yard, while I was on the hunt for parts for the build, & he seemed keen to help out as an advisor.
I expect to see Jack pop up at times during the build process, & of course, I'll need his expertise to operate the light once it's completed.
-------------------------
Reflector
(18th July)
The big parabolic reflector is really the basis of this build, & it has to be done right in order to work properly.
To keep things in the DIY & Budget spirit, I had to have a go at making one.
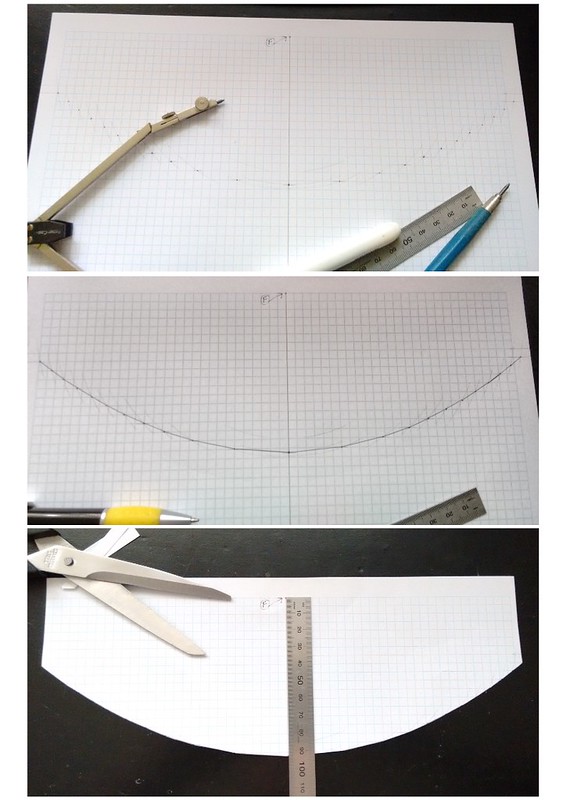
After a little research, I was able to measure out a parabola with the dimensions & focal point that I needed. I then used the template to fabricate a wooden cut-out.
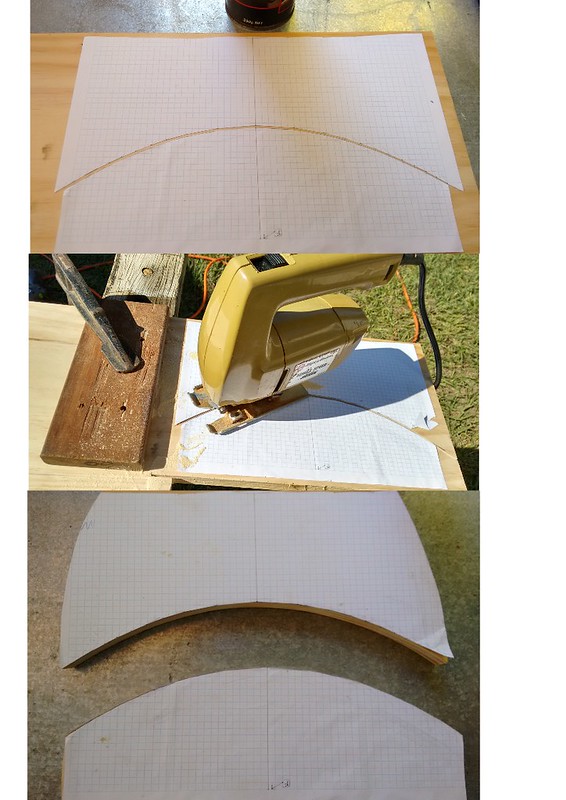
The Idea was to use modeling plaster in a bucket, & shape it into a parabolic dish, by rotating the wooden cut-out around like a paddle.
I tested it with the dry powder first, & it looked as if it would work well.
But when I mixed the powder in the bucket, I realized that I had nowhere near enough, & quickly rummaged through the shed & found some tiling grout, which i added to the mix.
I still didn't have quite enough mix, & by this time I realized that it was going to weigh a ton even if it did work.
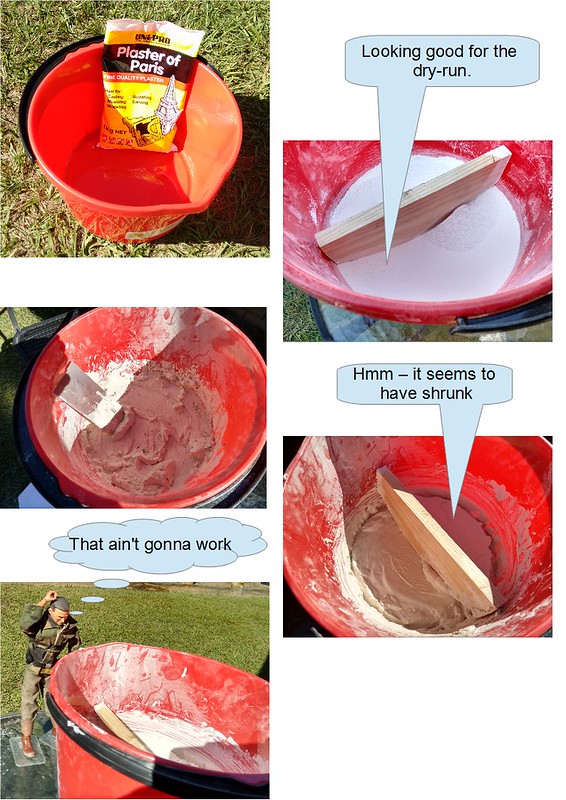
So I'm going to chalk this one up as a failure, & I will probably have to lash out & get that nice Edmund's Optical reflector instead....
___________________________
Reflector, part 2
(2nd August)
I was soooo close to buying the Edmund's reflector on the weekend. I made an account, added to the cart, & got through to the shipping page..... another $35 shipping, thankyouverymuch.
...I don't think so.
I emailed them for other shipping options, but that is the only option they offer.
...& why did I almost do the non-budget thing & buy that expensive reflector? Because of what happened on Sunday;
I had been keeping an eye out for another solution for the reflector, & I came across this fine wire mesh food cover for a couple of $$.
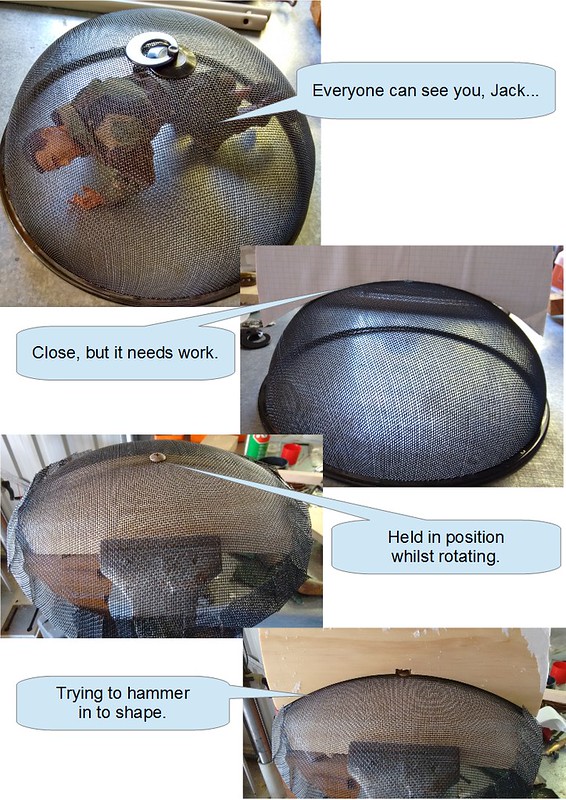
On getting it into the shed, it was the perfect size, & pretty close to the shape I wanted.
I figured that I could use the wooden parabola cut-outs I had made to help form it's shape, then impregnate it with some modelling clay, then when it hardened, sand & coat with reflective material to finish it.
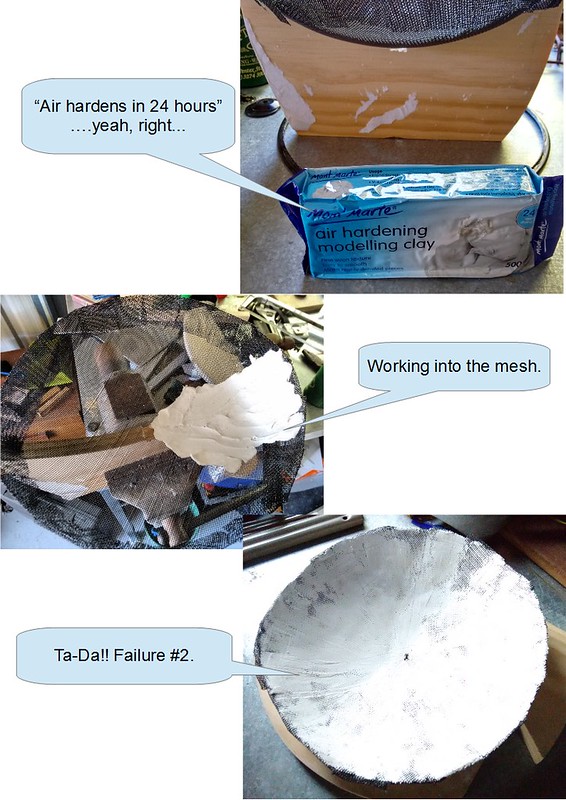
Well, it didn't work out so well. The clay did not harden, & the mesh did not hold it's shape very well.
This could be useable if it eventually hardens, but I am moving on to attempt #3.
____________
Reflector, part 3
8th August
In my search for a reflector, I came across some information that appealed to me; if you spin a fluid-filled container, a parabola will be formed on the surface of the fluid. This "spin casting" method has been used for quite some time, particularly for larger applications.
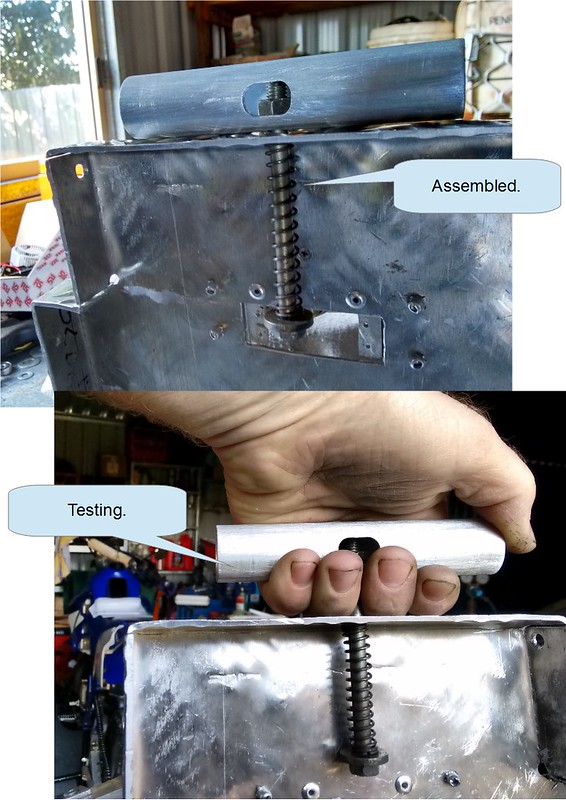
I designed a jig, using a length of tubing sandwiched between a couple of heavy duty roller bearings, with a bolt running through the center. The bolt attaches to a solid plate (the turn-table) at one end, & is driven by a drill at the other end.
The assembly is clamped in a vice, & leveled with a spirit level;
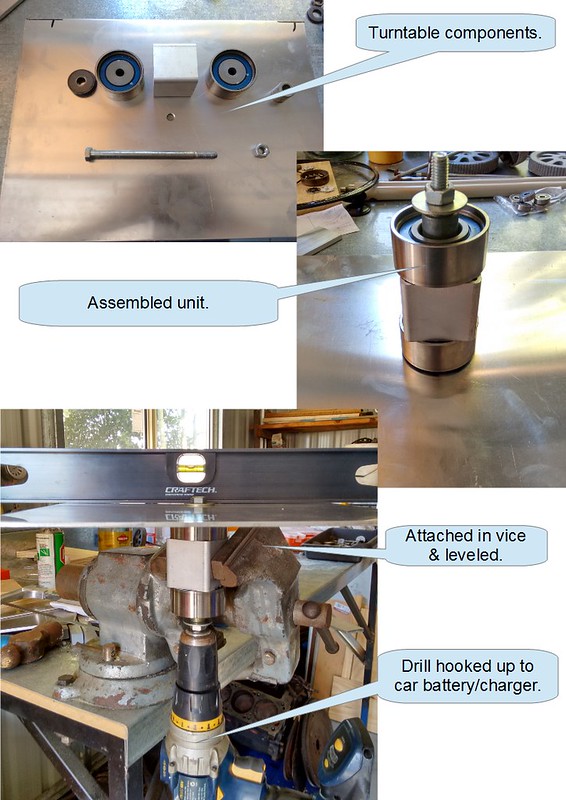
The cordless drill was hooked up to a car battery & charger, as the drill speed has to be consistent throughout the operation. I also used a zip-tie around the drill trigger to gradually dial up to the required speed.
Of course, Jack had to have the first test-drive;
....& then I had to clean up Jack's lunch off the turn table...
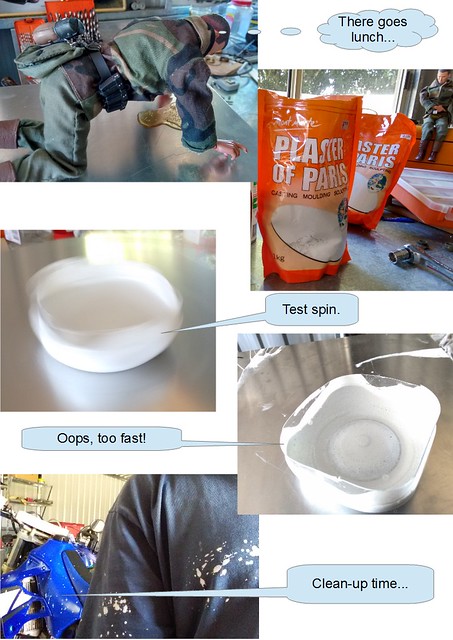
"Plaster of Paris" was the choice, & after creating a mess experimenting with the viscosity in a smaller jar, it was time to move up to full scale.
I sectioned a 20 liter oil drum, cleaned up the edge, then centered it on the turn table, & marked out a rough guide for the height of the edge of the reflector.
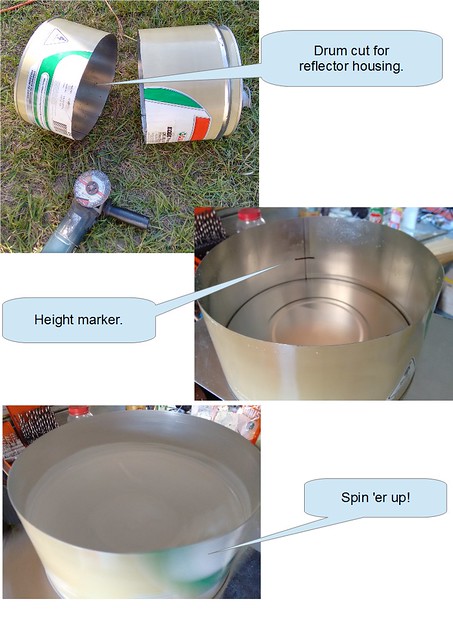
The first two attempts were a learning curve, which ultimately ended up in the bucket, & resulted in another trip to the Dollar Store for more plaster...

I had to mix the plaster a lot thinner than I thought, not only to give me more working time, but to allow the parabola to form completely.
The butter-zone was about 95 rpm, & the drill speed was locked in again with a zip-tie around the trigger. I let it go for about three hours, which gave me time to clean up the mess, & do a few odd jobs, whilst keeping an eye on things.
Well, I think the third attempt has turned out alright - I'll find out tomorrow morning after it's set overnight.
Fingers crossed for tomorrow!
tbc...
---------------
9th August
Well, everything is looking pretty good. The surface of the plaster had a fine layer of powder on it, which dusted off with a light brush.
The plaster still was not fully set, & the surface was easily scratched, so I left it out in the sun for the day;

In the afternoon, I hit it with a few coats of matt black paint. The first couple of coats were absorbed into the plaster. I later hit it with a few more coats & finished it off with a coat of clear polyurethane to seal it.
I will be using an adhesive mirror sheet to coat the surface later in the build.
The reflector turned out to be a mammoth effort, but I'm happy with the outcome now.
-------------------
Reflector, part 3.5
16th August
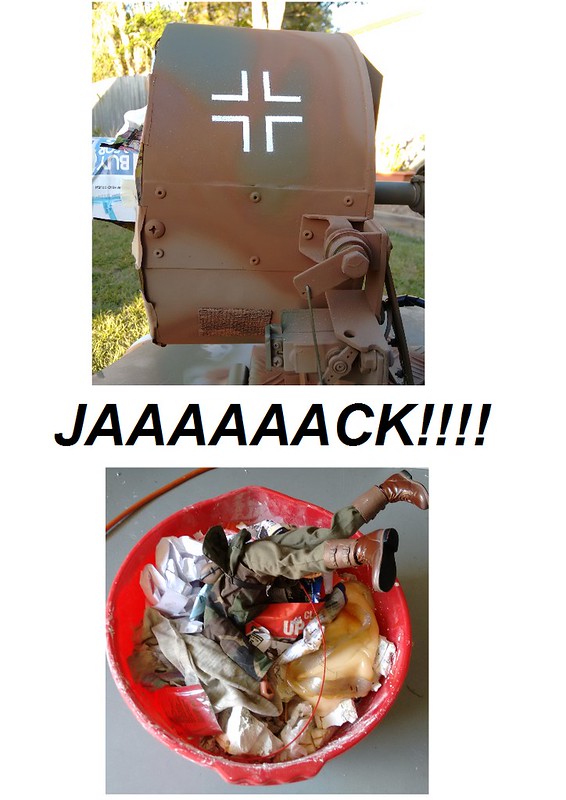
Remember the red bucket from a few pics above?
Well, it's now a little heavier...

And why is it heavier?
Yes, that's "reflector #3" sitting in there, albeit in pieces after Jack's little party he had last night....
Seems Jack invited his old war buddy "Gef" over to check out the light, & he brought a few, ahem, ladies, over with him.

Well, after the mess they left in the reflector, the paint started to flake off when I went to stick the reflective coating to it.
Note to self; nothing really sticks to plaster.
I still had the turntable I made, so I set it back up, but this time, we have a new kid in town;

No, not the self raising flour.... It's "Bondcrete". The best I could describe it, is it's like the old white wood glue.
Unfortunately, It takes quite some time to cure, but if it turns out like the spilt blob on the store shelf, it should work well.
It's been spinning now for 14 hours, & I'll leave it go for the rest of the day....
--------------------
Reflector, part 4.
22nd August
Last night, I stopped the turntable. Yes, the Bondcrete had been spinning all week. Approx. 601,920 turns.
Had it set? Nowhere near it....
A thick skin had formed, but inside, it was as runny as the day I poured it in.
I punctured it, & drained what I could salvage back into the container... The skin was peeled off, & thrown into the familiar red bucket.
I kind of knew it wasn't going to work after the first couple of days, so I had ordered some casting resin from a local seller. Luckily it turned up on Friday.
After cleaning out the drum once again, I prepped the resin.

This was my last shot. I knew I'd only get one go with the resin.
I spun it up, this time a little slower, so the focal length was a bit further away from the surface. I tested by shining into the spinning liquid, & noting the reflection on the roof of the shed.
I then poured the catalyst in, & mixed it through whilst it was still spinning.

I left it spin for a couple of hours until I was sure it was set, then let it sit overnight.
23rd August
This morning, I removed the casting from the drum. It had shrunk slightly during the curing process, so was easy to get out.
Prior to removing it, I drilled several holes through the bottom of the drum & into the reflector base, so it could be fixed back in place with some screws after I had applied the mirror coating.
The mirror coating I had was in 15cm square sheets, & due to the shape of the reflector, I had to cut them into thin strips to get them to conform to the surface.
Although the mirror sheet had an adhesive backing, I felt it was not strong enough, so I took it all back off, & applied contact adhesive spray for a stronger bond.

The drum was cleaned up & re-painted inside, & the reflector re-installed.
Like myself, some of you might be wondering; "I wonder if it will burn stuff?"
As you can see by the reflection, it's a cloudy, overcast day, so I had to wait for the sun to poke it's head out...
https://www.youtube.com/embed/HKZ3rVDaGSU
Yes, it does burn stuff, with ease!
-----------------------

