【Group Buy】LT1S Pro with Anduril2, Nichia 519A + 660nm Red LEDs

Hmm. Maybe then I should stick with the lower capacity Molicel which has great thermal performance.

I doubt it runs at a high current considering it is a lantern. A Samsung 50E might be the best “easy to find” option, with the highest possible capacity being a LG M58T. Sofirn seems to have used this cell before when bundled with some lights (Tacgriz tested the included battery in his LT1 mini to 5700mAh), it has the highest capacity of all available 21700s and a CDR of 12.5A, should be plenty for a approximately 600lm lantern. The Vapcell F58 is likely to be a rewrap of this battery.

It doesn’t like heat as much, so it’s probably not best to run it at turbo for long, considering the battery is in between all the emitters.

The 50S has terrible cycle life compared to the alternatives, I would only recommend it for something that requires the high max current it provides.

1 Thank

That spec you’re quoting is life cycle when discharged at 20A I believe. Most life cycle tests discharge at much much lower currents. The 50S data sheet does not include any info about charge cycles when discharged at a low current.

1 Thank

Yup that was my plan! Also it will reduce voltage sag, so the battery indicator will be more accurate (if it’s anything like the one on the regular LT1S where voltage sag makes the battery indicator misleading).

1 Thank

yes, either a lit switch or any other led that can stay on, like one of the battery indicator leds.

Teardown!

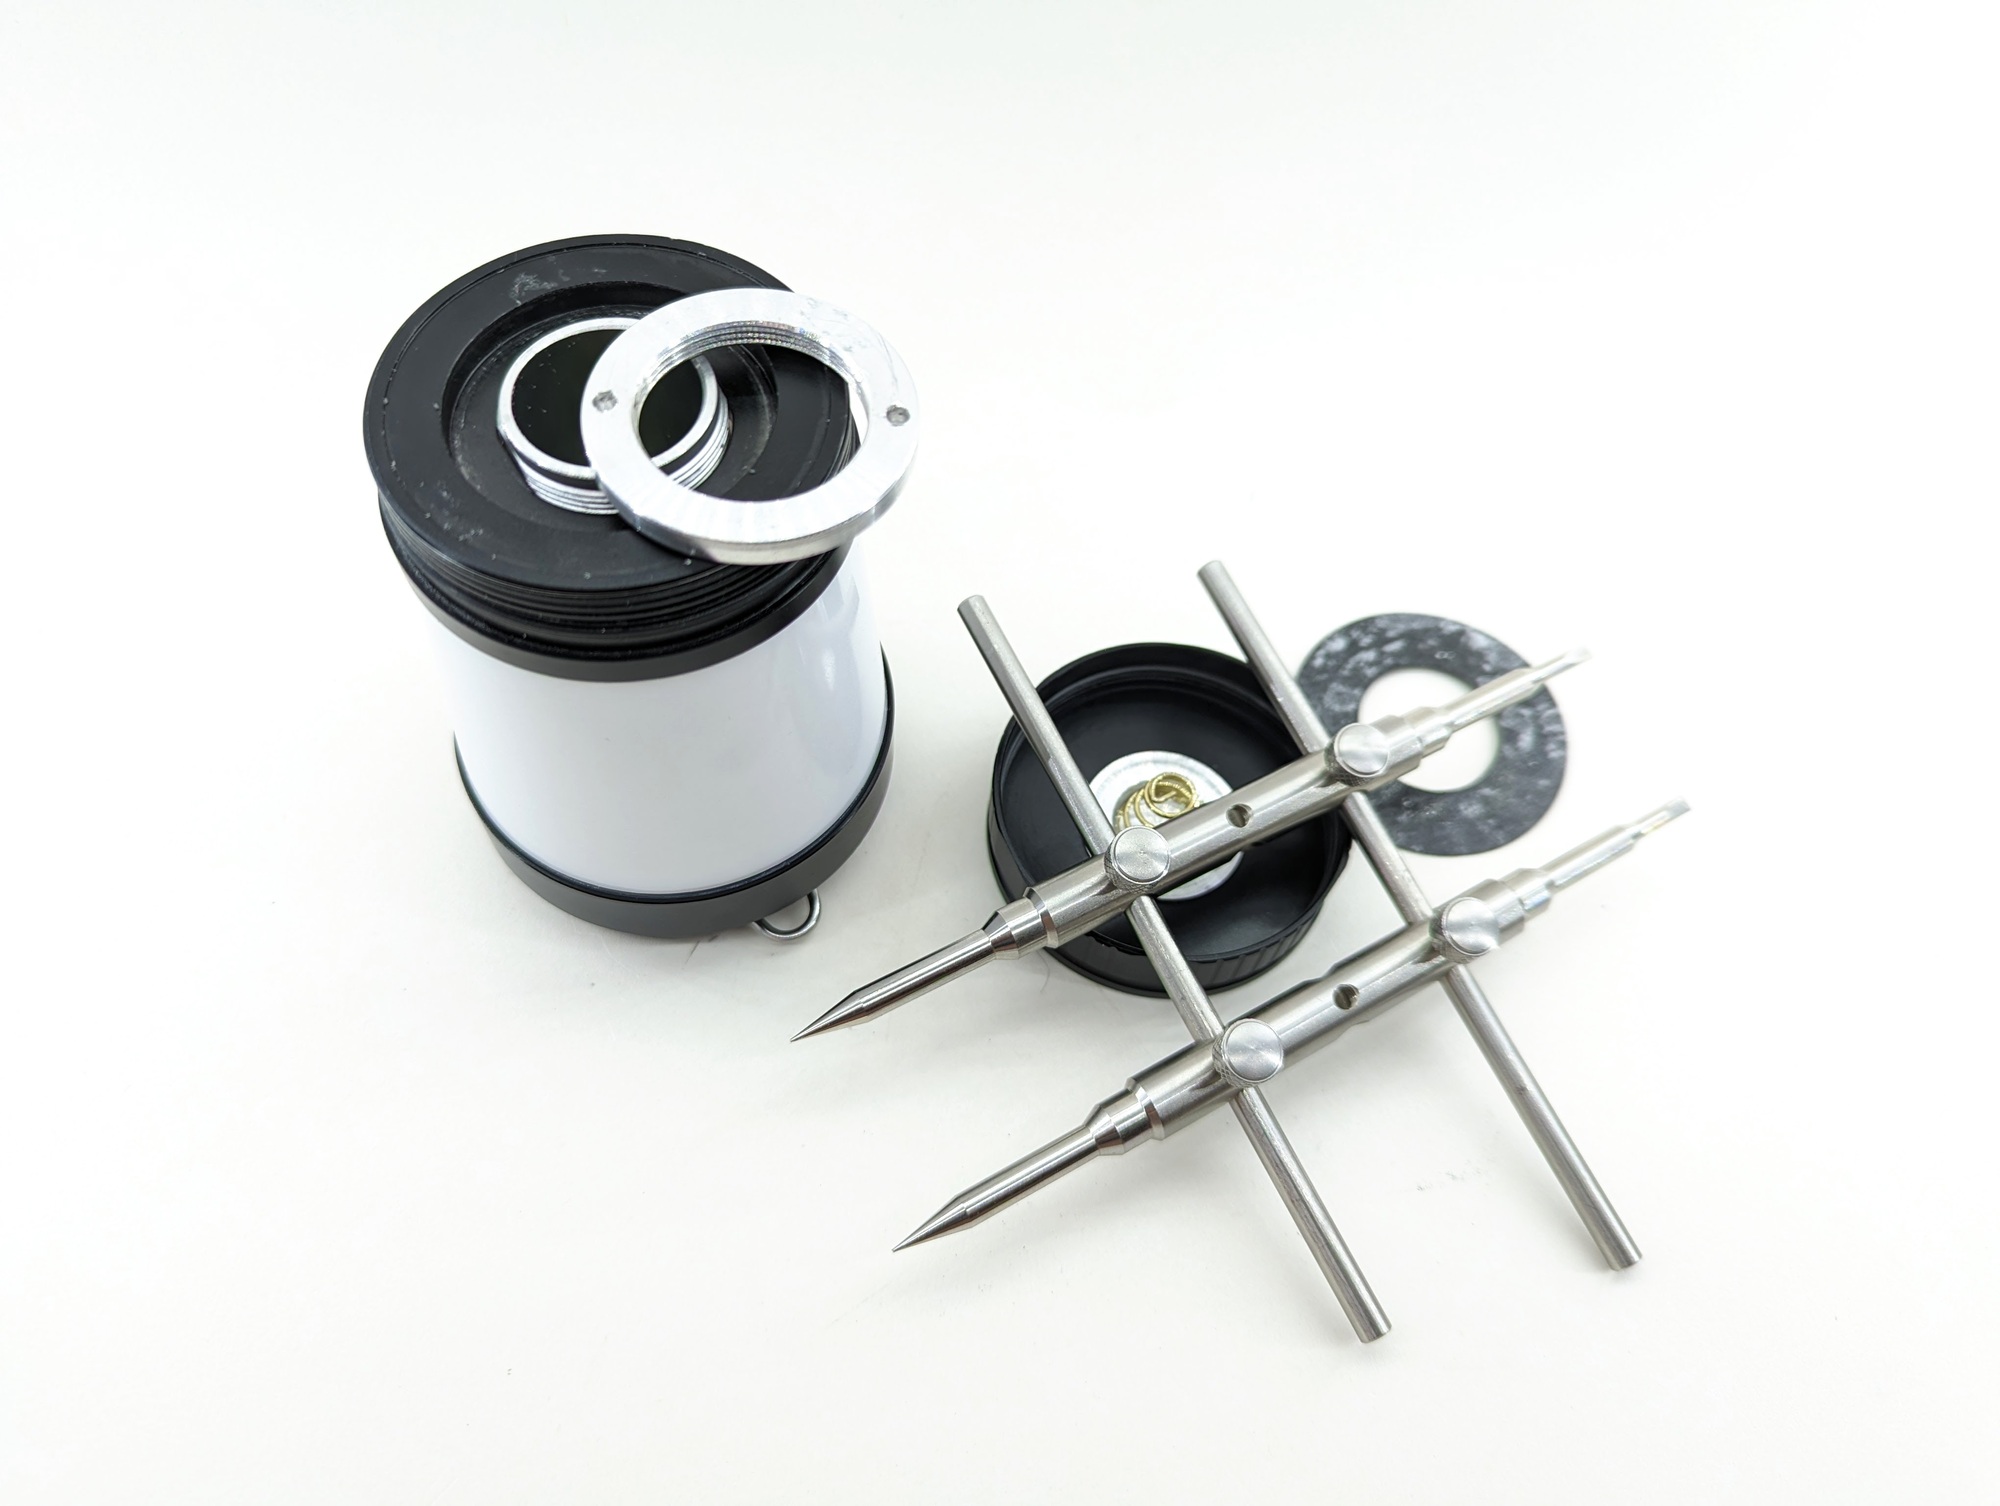
Good news: it looks like with about 2 minutes and a couple of tools, getting right down to the flashing pads is quite easy. No soldering required. No forking around either. :wink: You’ll need a Philips screwdriver and something like a camera spanner wrench, needlenose pliers, or even a couple of nails run through a small board. With it taken apart, the existing adapter (mine or thefreeman) is easy to use, should you desire to flash updates.

Lift up the black sticker that covers the retaining ring

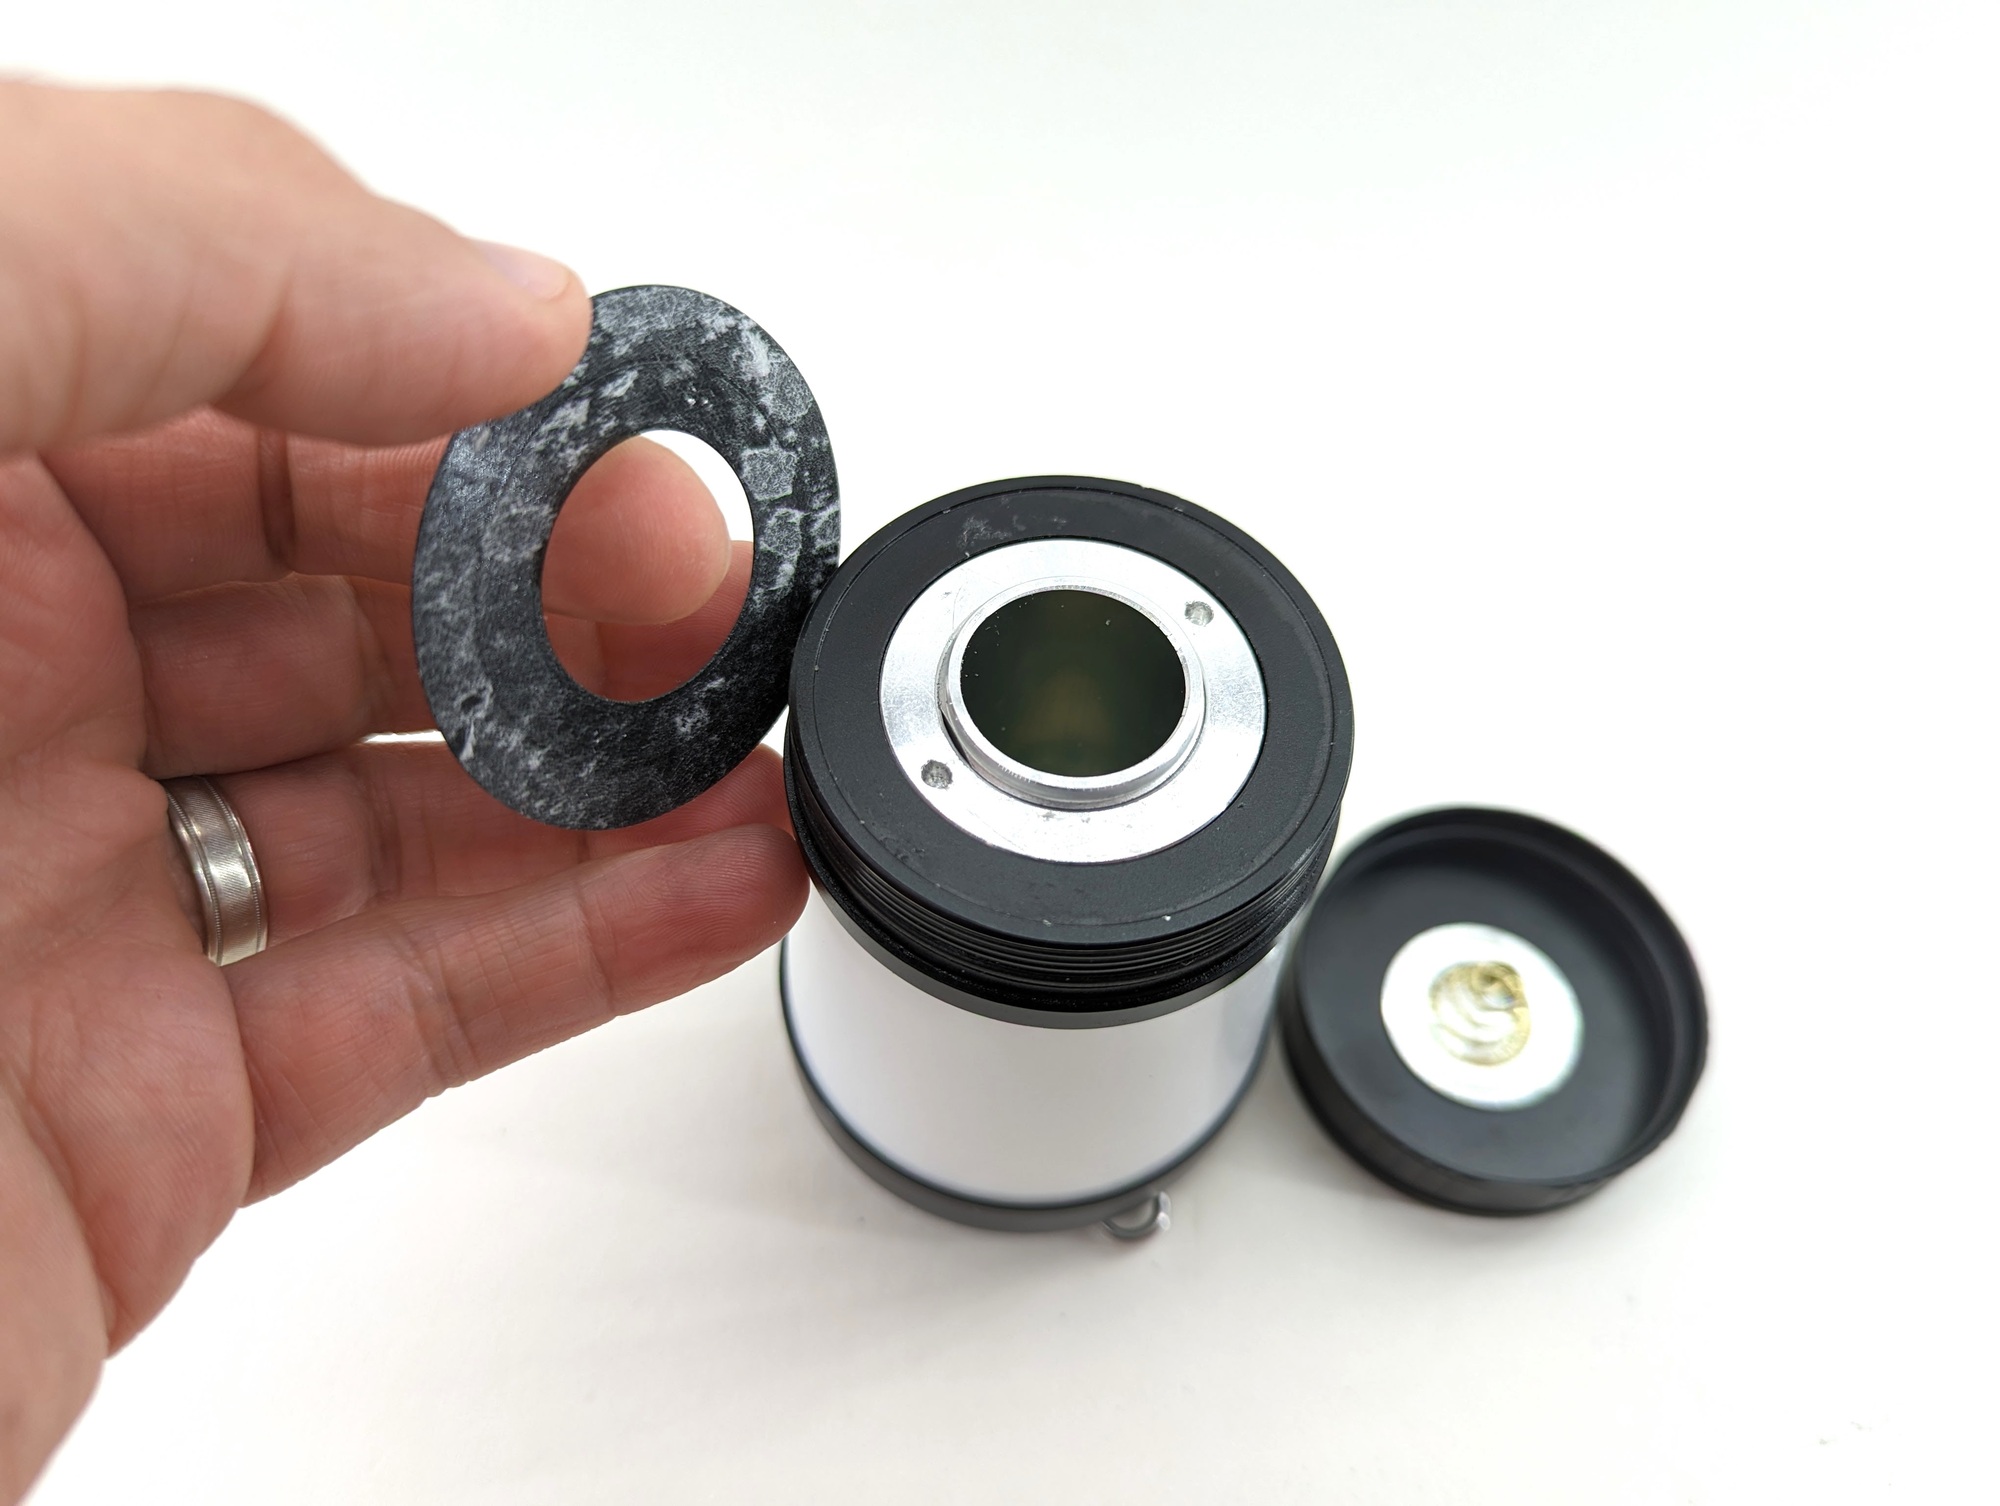
Remove the retaining ring and pull off the diffuser

Remove the 2 screws that hold the driver assembly to the top cap

Flip the driver over and remove the 4 screws that are holding the battery tube on

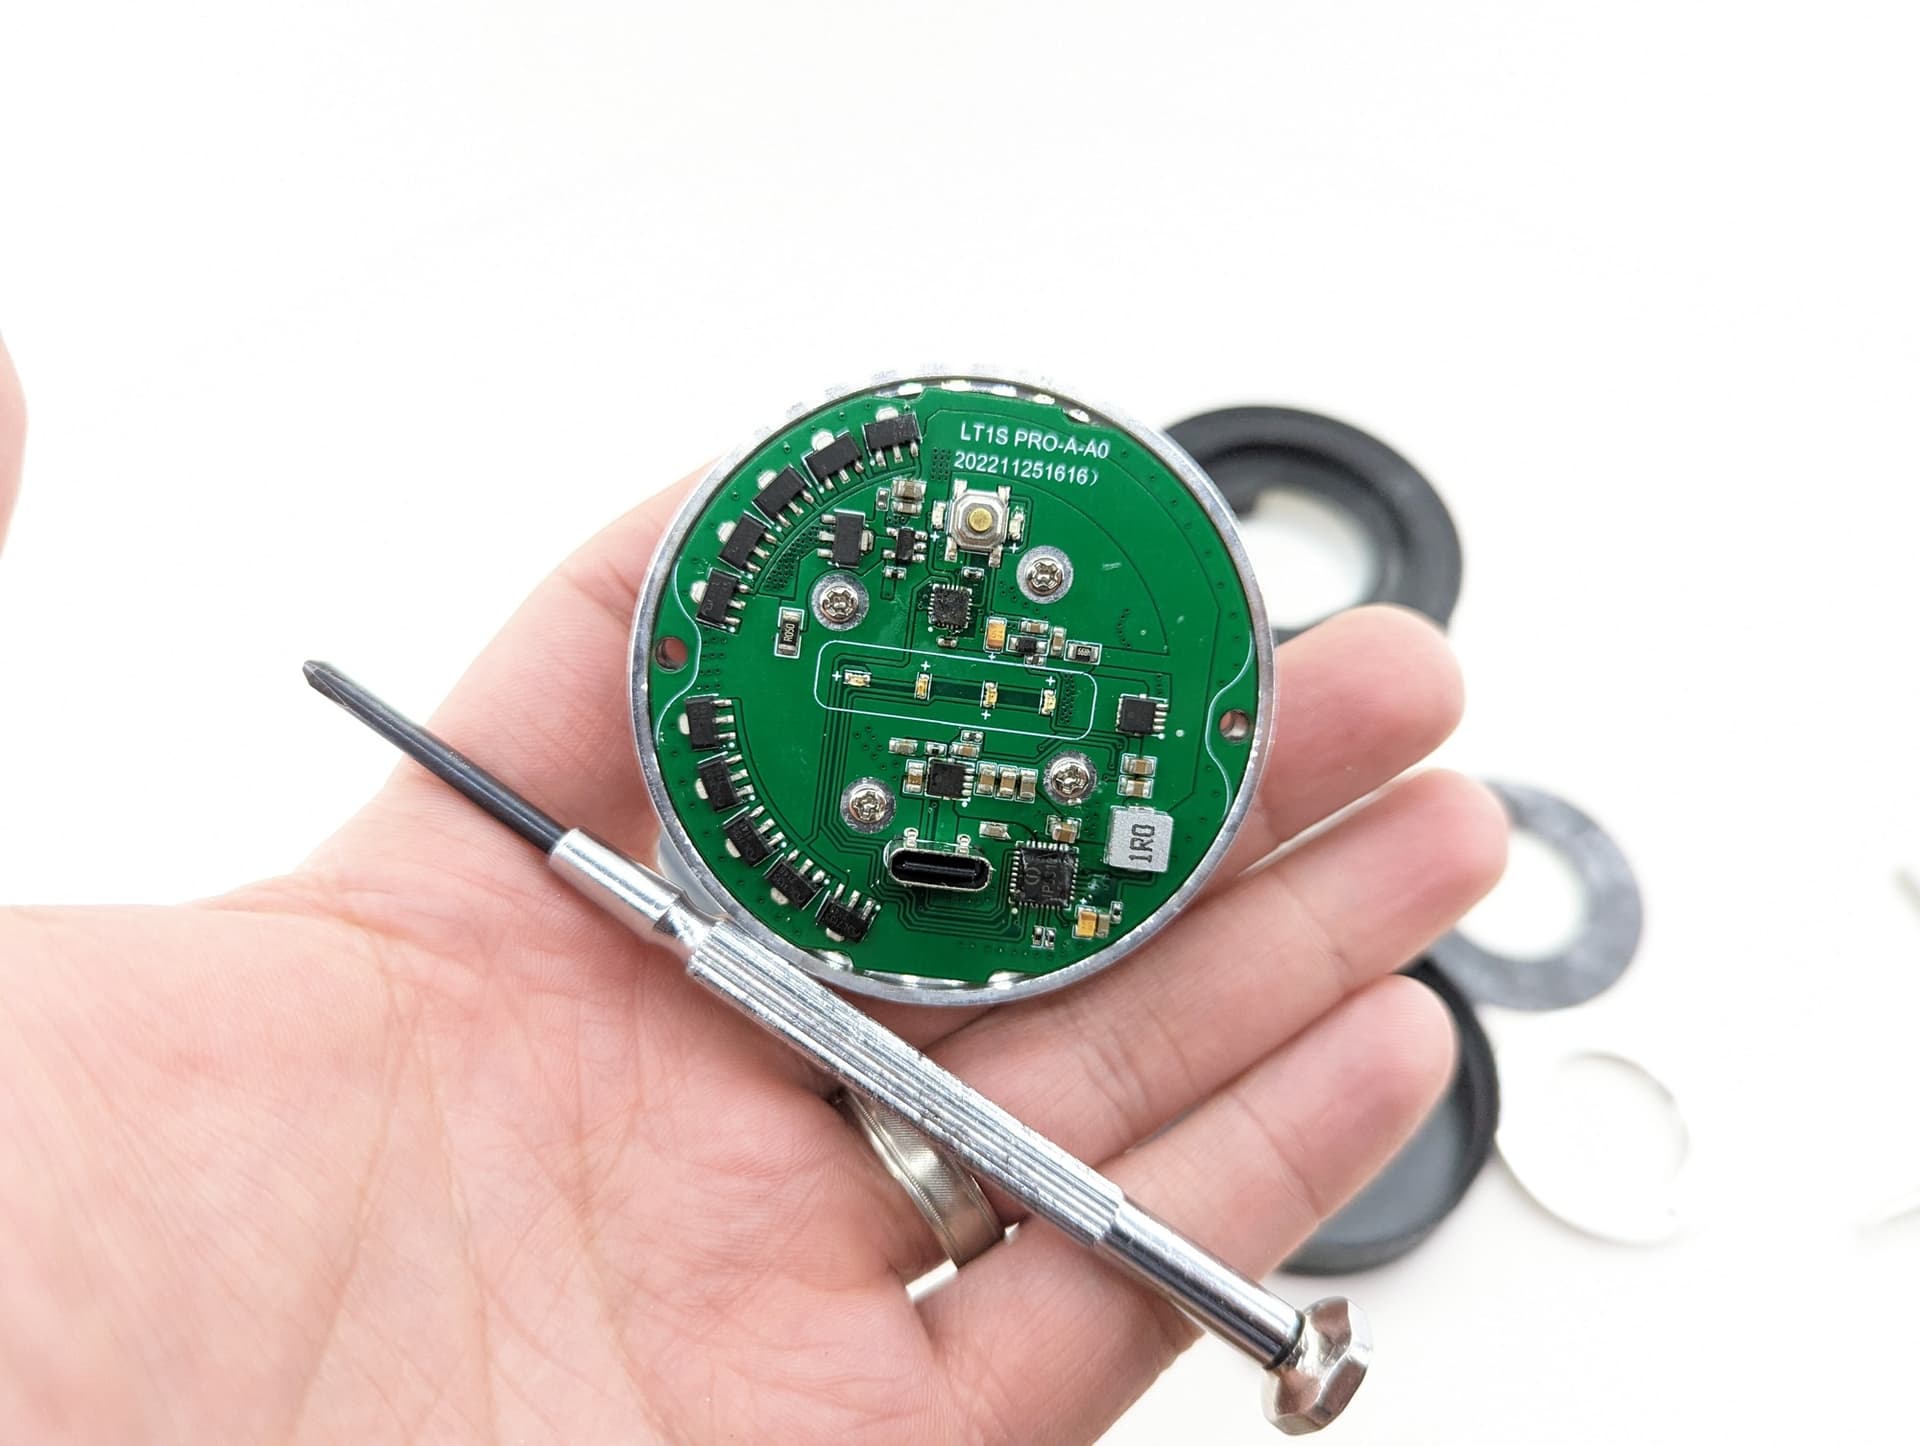
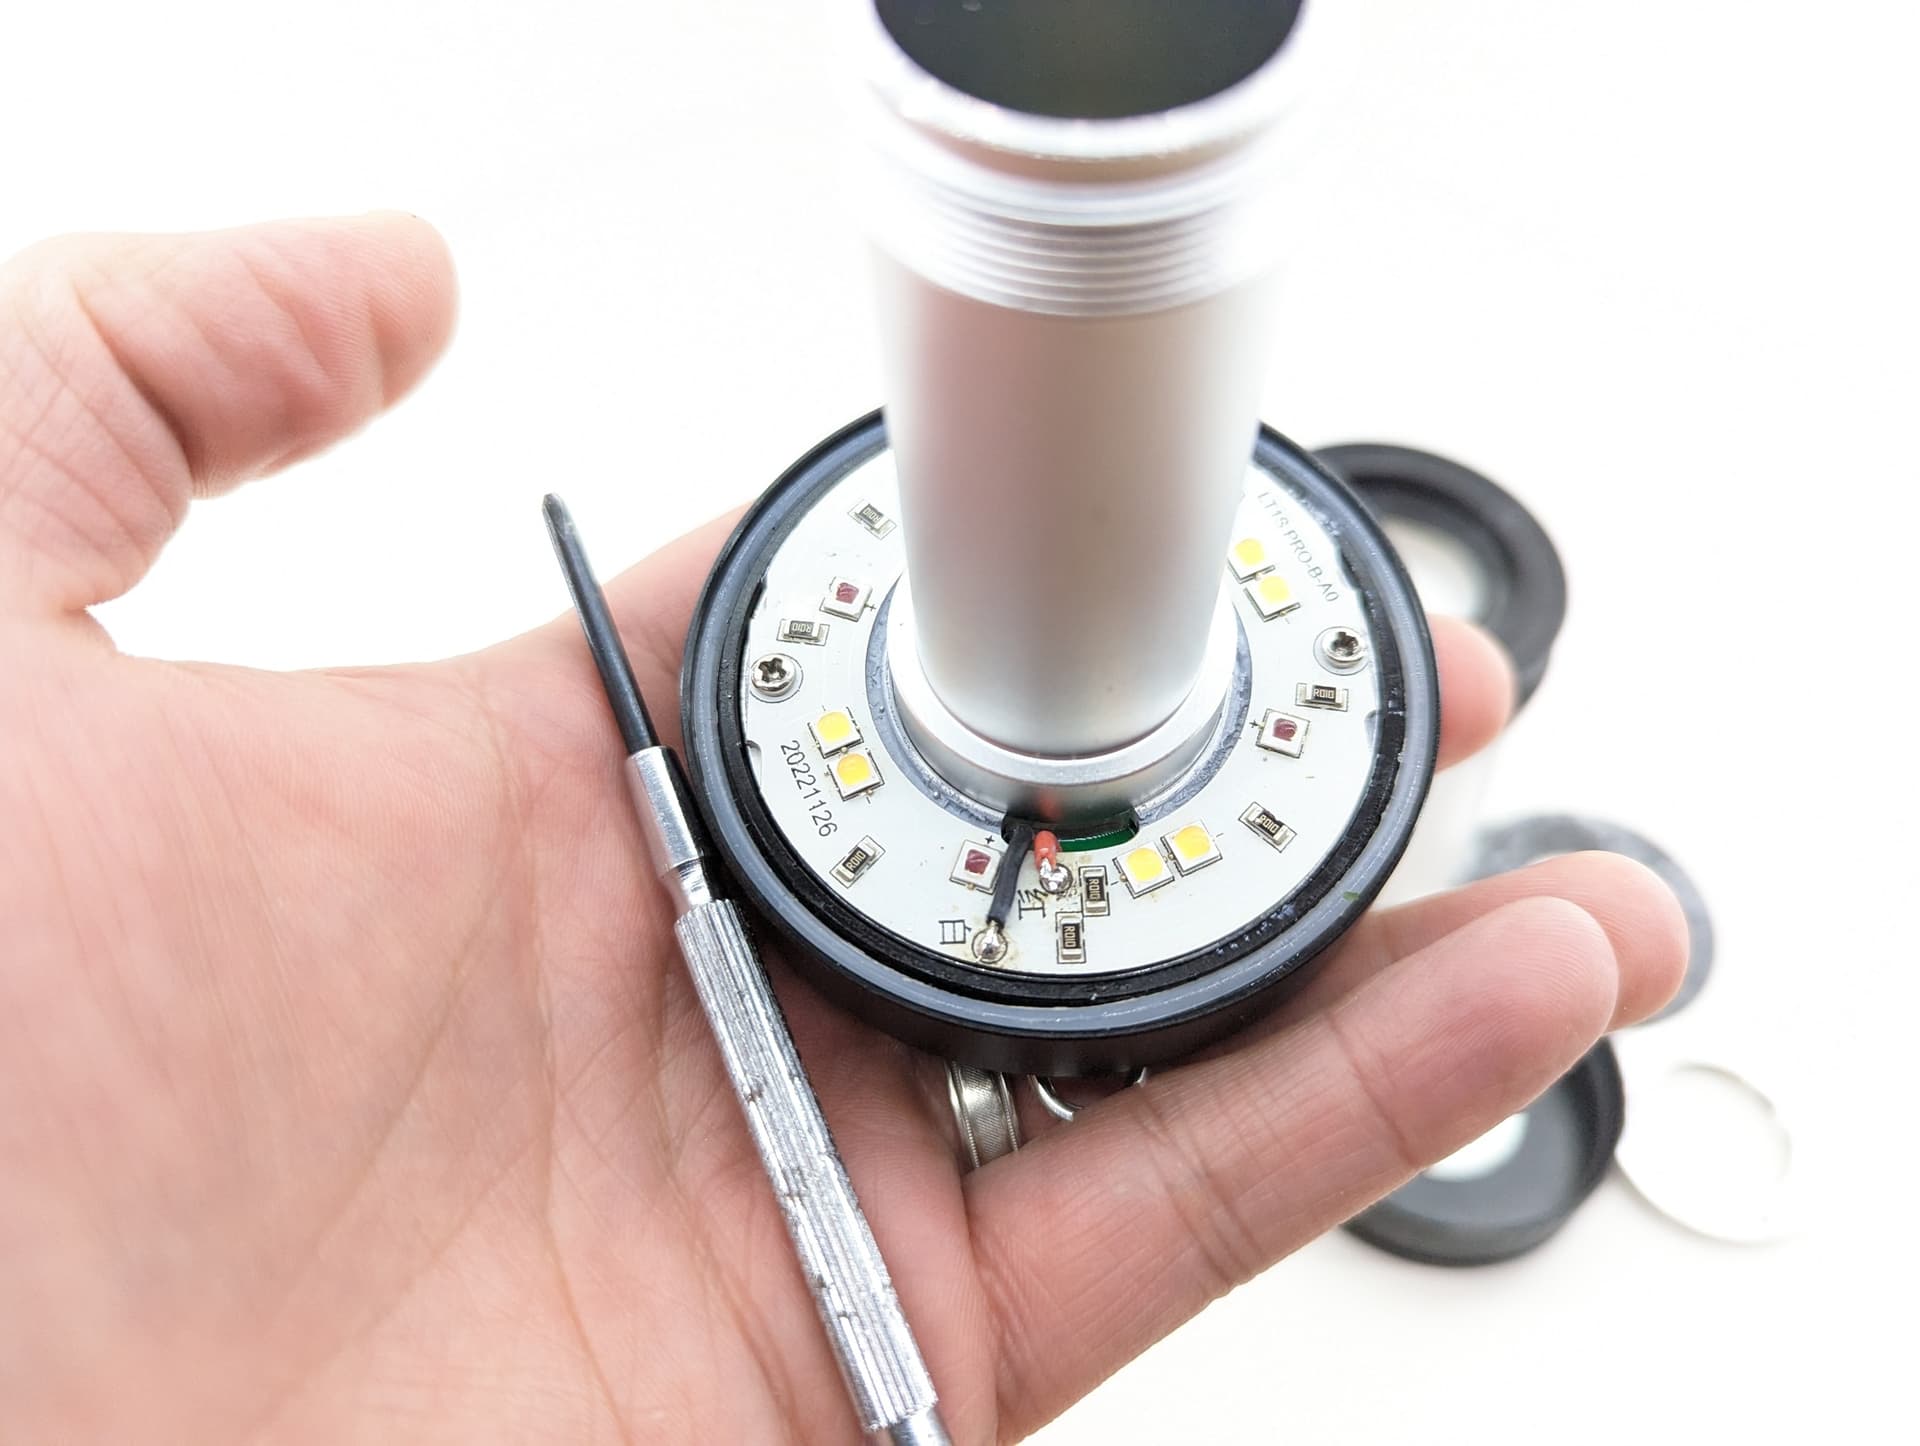
Now you’ve got easy access to those flashing pads!

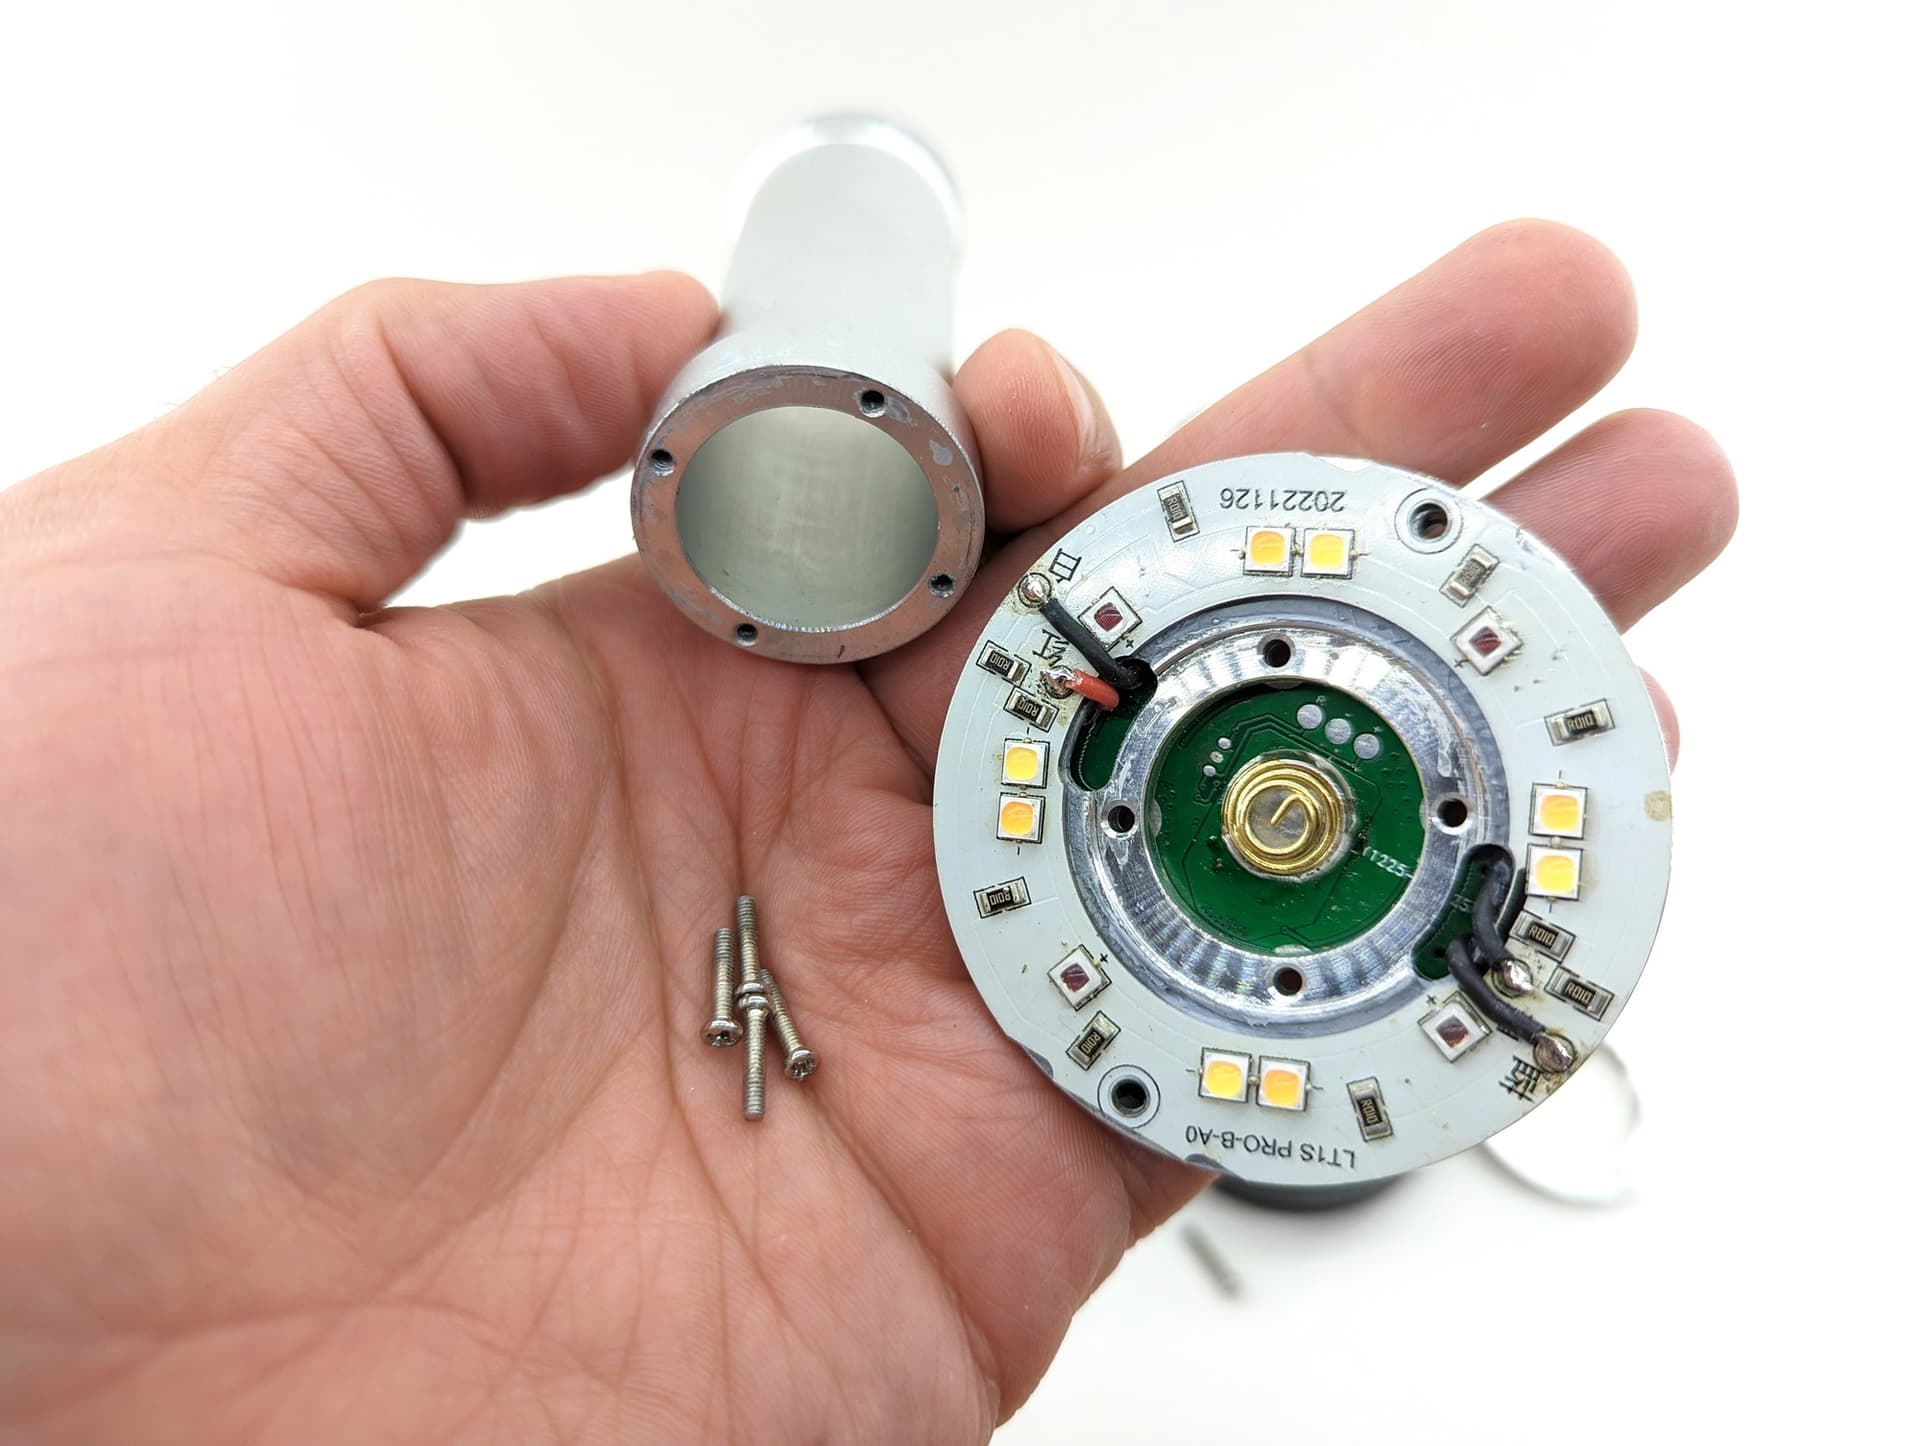
Another shot of that LED board + pads

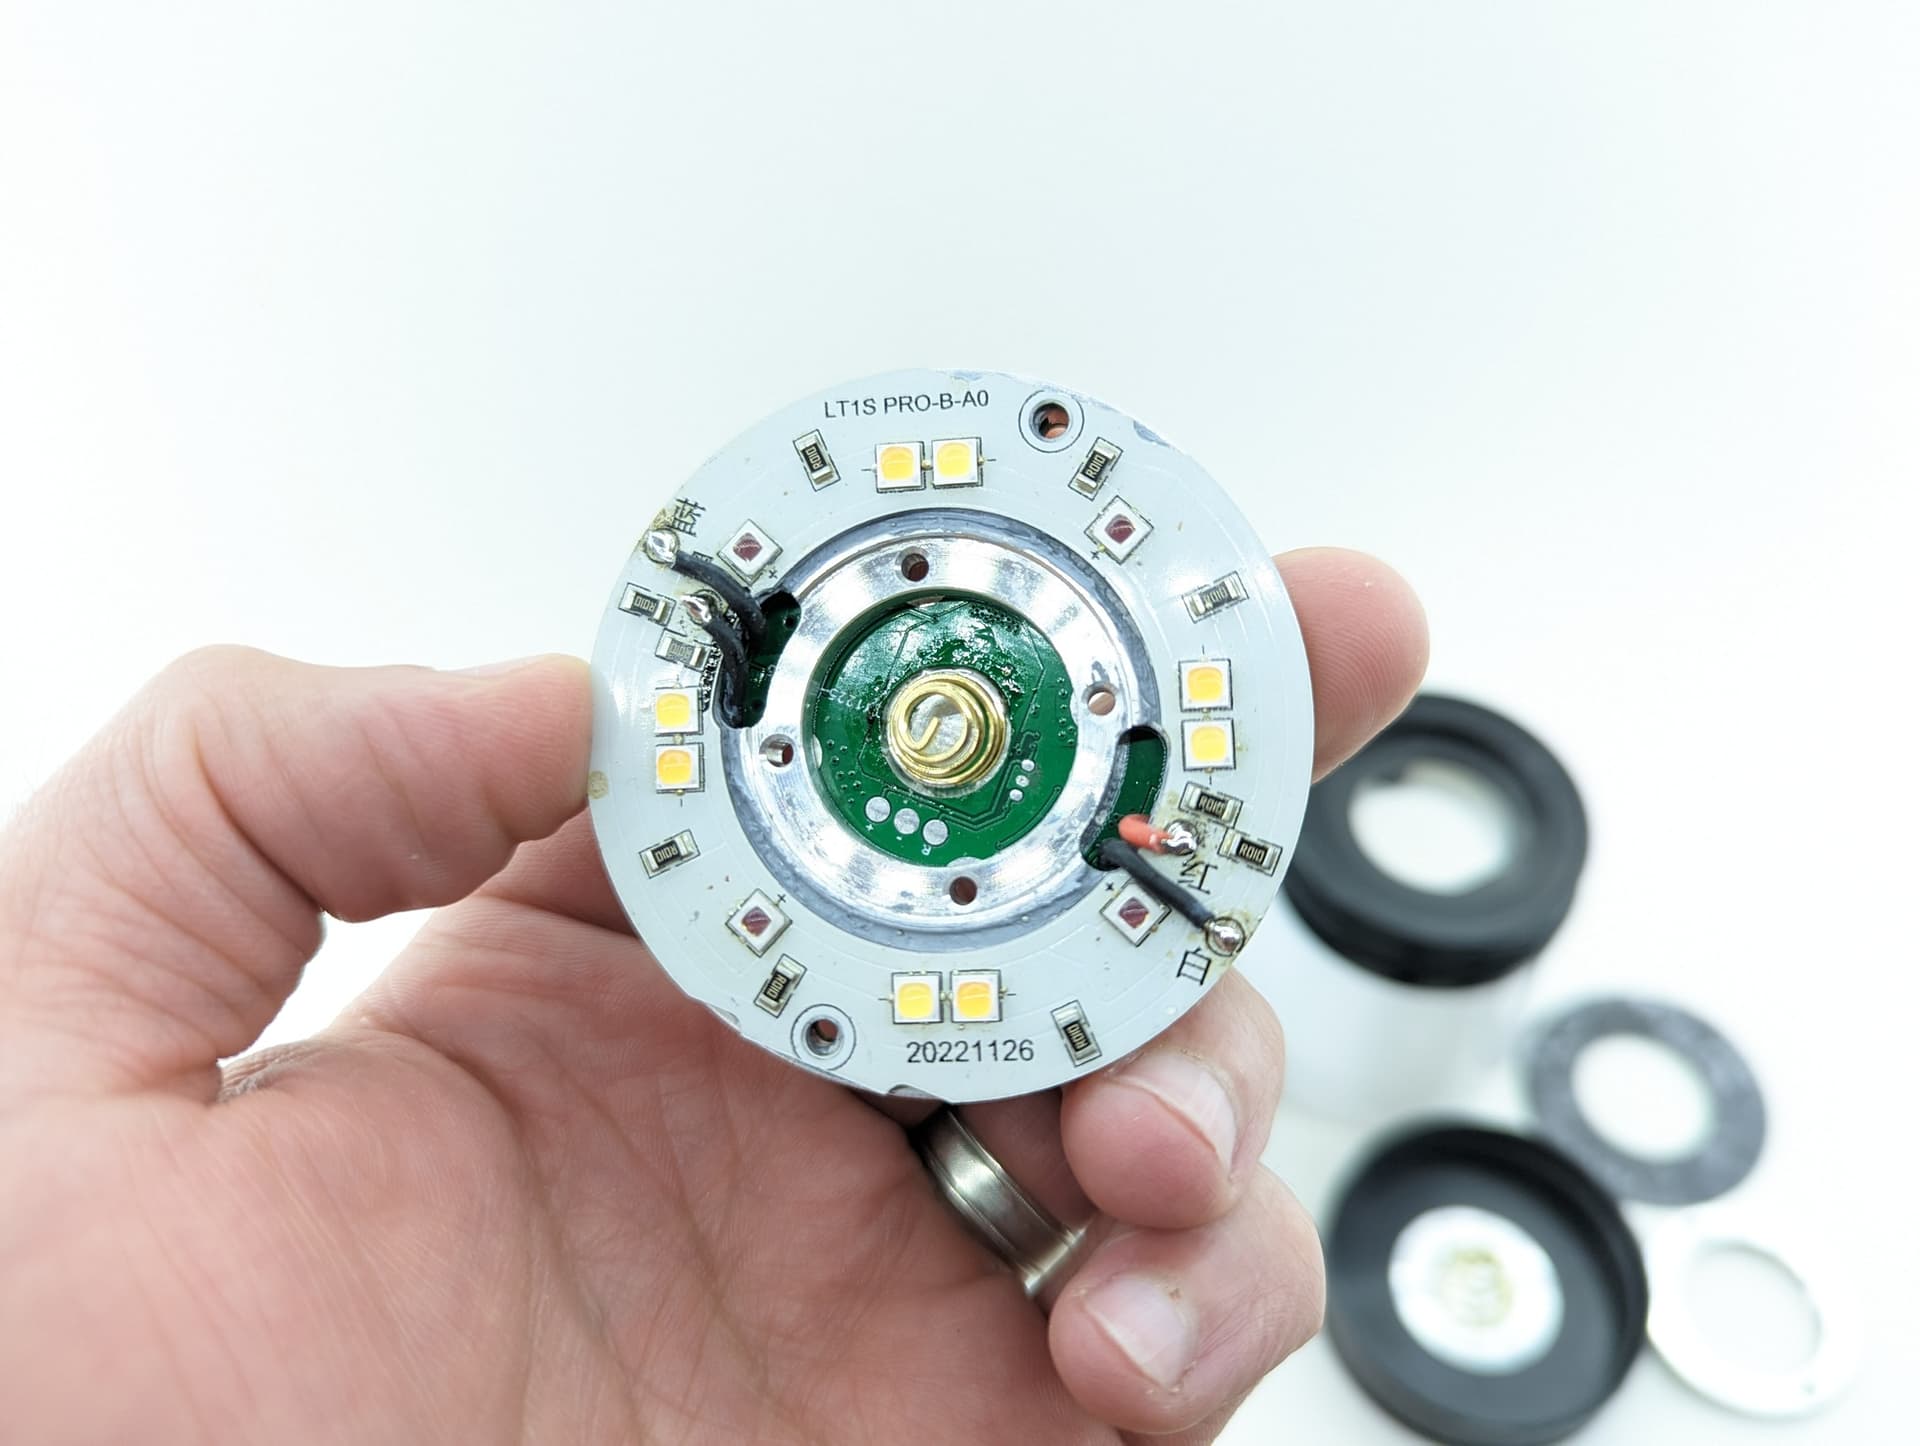
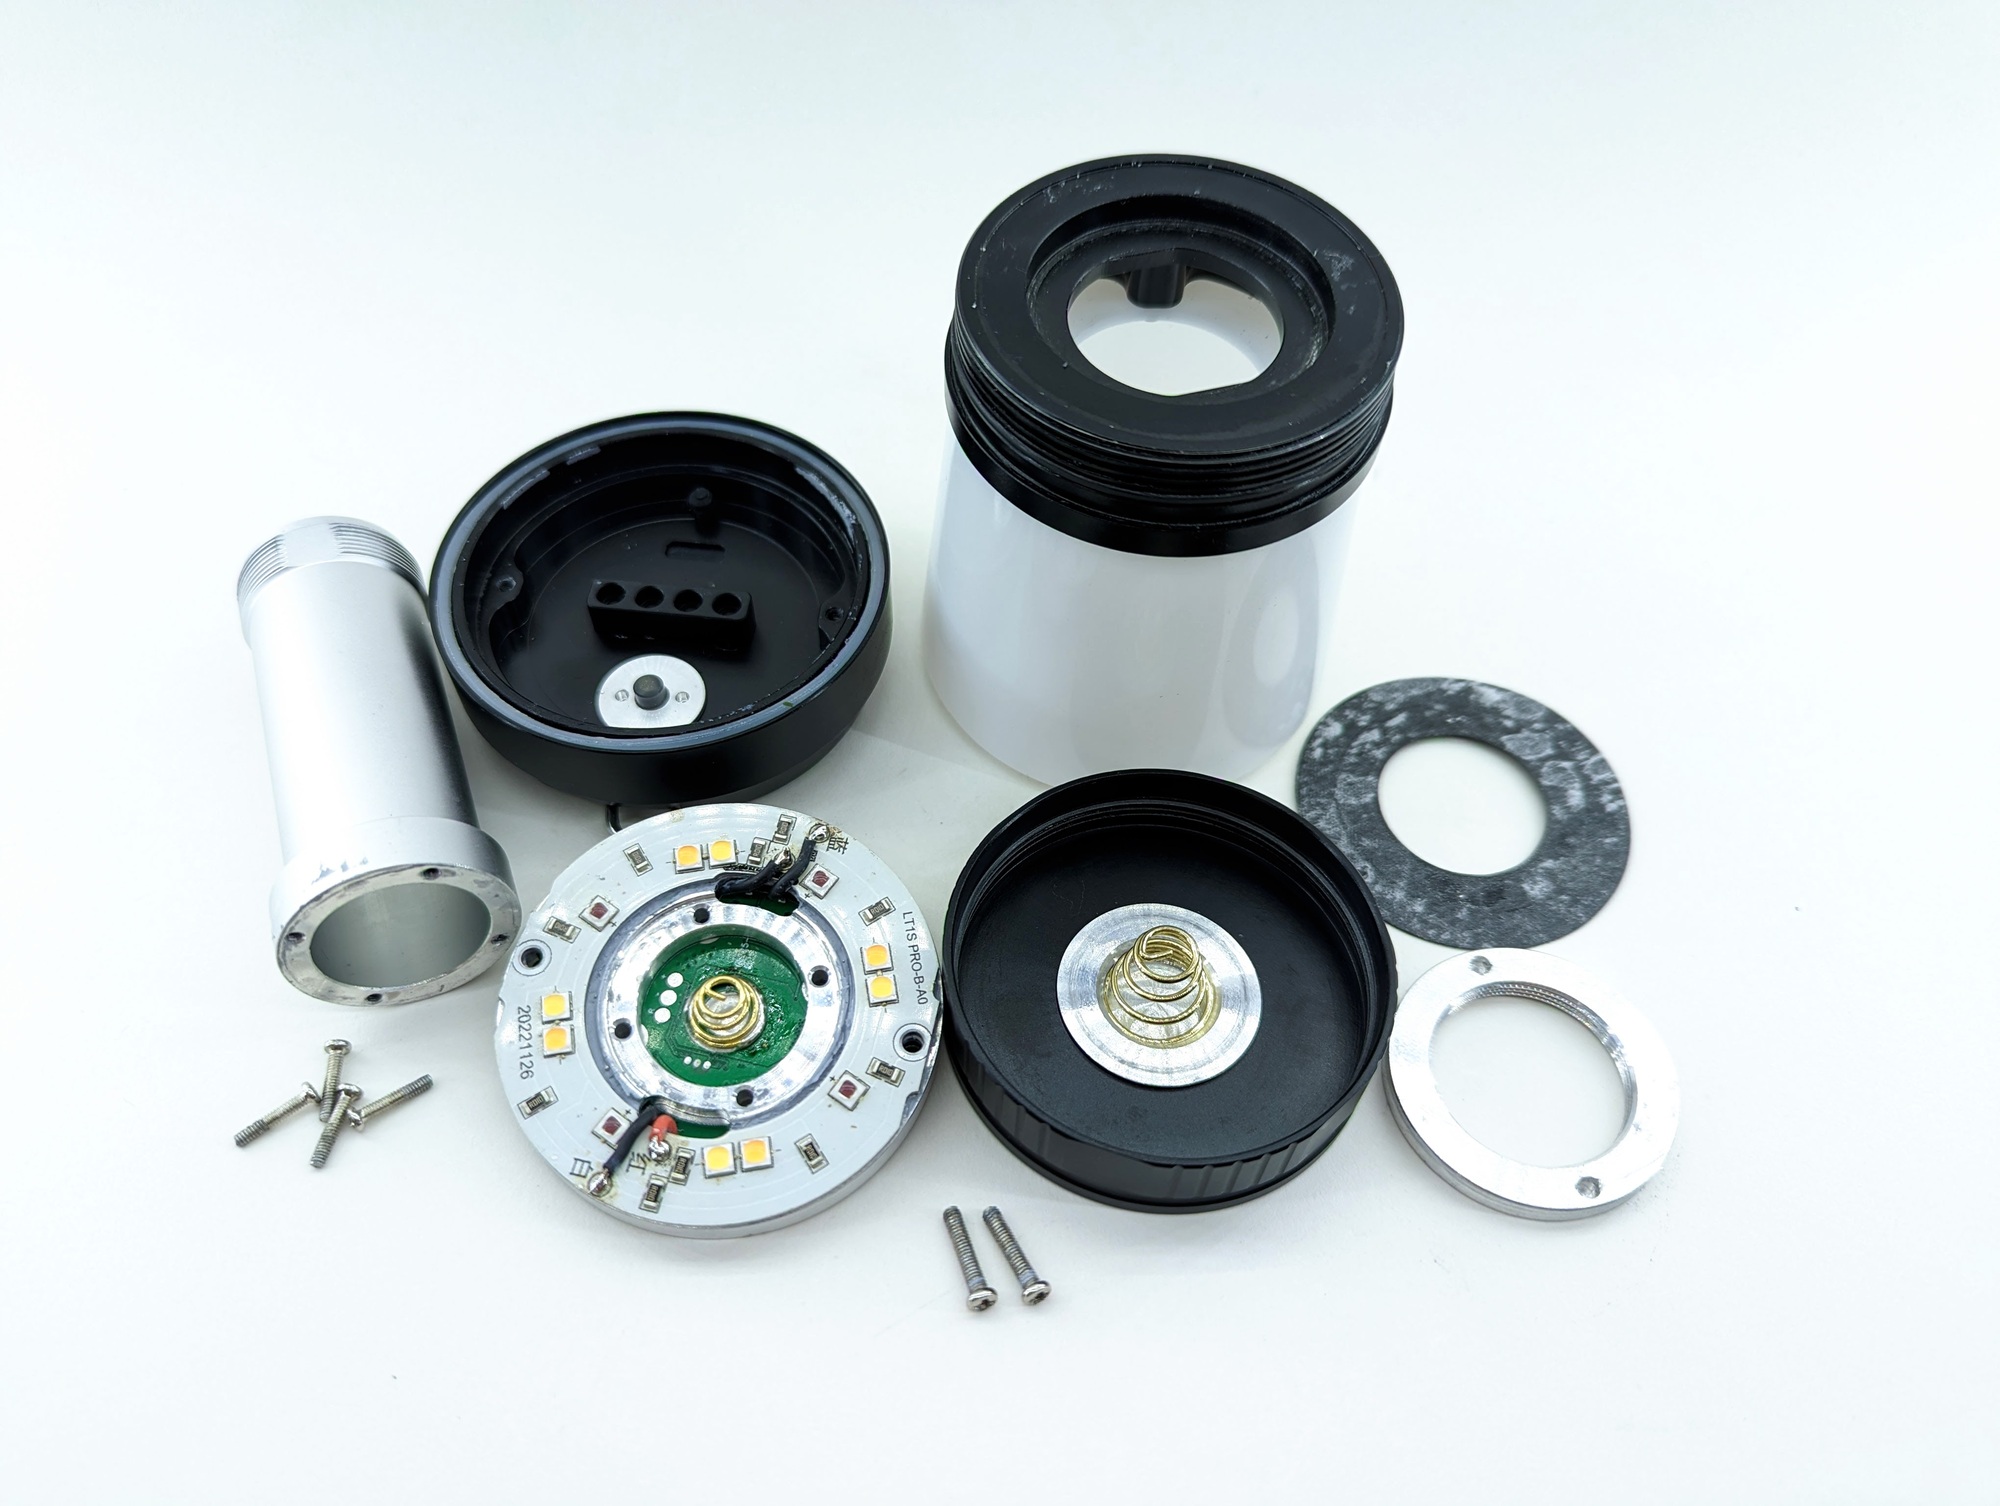
All of the parts of the Sofirn LT1S Pro

13 Thanks

Could you show us the top button? Is it like the LT1s or does it have a programmable led button like the LT1?

it is black/smoked, just like the Sofirn store listing shows. But there IS an aux LED under the button that is controlled through the normal Anduril2 functions. Red? Orange? I dunno… I’m colorblind. Since the button is dark, it’s kinda hard to see in a lit room unless you have the aux on high, in which case the standby drain is quite high at 1.5 mA. In a dark room, the low aux is just visible, with a standby drain of 290 uA.

1 Thank

Oh ok, I figured they just recycled the pic from the LT1s.

Ooph that high aux drain again. I wish they would fix that, but that is not as high as some of the other ones.

The absolute maximum current it can use is about 5.3A, I think… roughly 1.75A per channel, with 3 channels. Almost any 21700 cell should be able to handle that.

In practice though, the limit is about 3.5A, because power is divided between the two white channels, so it’s 1.75A white + ~1.8A red… and that’s only in the “white + red” mode at full power.

But most of the time during actual use, it’ll probably be using 1A or less, because it doesn’t need to be running at full power in order to be useful.

On the other end of the spectrum, the lowest levels are pretty low. I got dynamic PWM working today, which improved 4 things:

  • Lower lows
  • Smoother ramp
  • Better color blending in low modes
  • The red channel behaves much better now… apparently it doesn’t like fast PWM, so slowing down the pulses at low levels makes it work better. The weird behavior I saw before is almost entirely gone.

There is a downside though. The PWM will be visible to some people on low modes.

Anyway, here are some measurements of its lowest modes: (on my prototype)

  • Battery indicator LEDs (3/4 lit): +6.36 mA
  • Standby (aux low): 0.16 mA (3.5 years)
  • Standby (aux high): 6.9 mA (30 days)
  • Moon (red): 2.17 mA (96 days)
  • Moon (white): 1.47 mA (141 days)

The battery indicator LEDs turn on every time the button is pressed, and they stay on for ~33 seconds. They’re bright enough and focused enough to aim at something and use as a moon mode. They’re quite a bit brighter than the actual moon mode.

For comparison, without dynamic PWM, gchart measured the lowest red mode at 55 mA (3.8 days). Getting it down to 2 mA (96 days) is a pretty big improvement.

10 Thanks

@gchart , Thanks for the teardown. That’ll make it easier for me to use the flashing adapter I got from you once my lantern arrives, which shipped today :grinning:

And @ToyKeeper, thanks for putting all this work into the firmware. Its appreciated.

4 Thanks

I would’ve liked to see 5700K 519A
5700K and dedomed 2700K would be nice…

I just got thermal regulation working. It’s more complicated than older lights, since each of the 4 channel modes needs its own support functions for setting and adjusting brightness. And they each potentially have their own regulation pattern.

However, it seems to be working reasonably well now, so it should be safe to run it unattended at full power.

OTOH, I doubt it’ll be very necessary, since I couldn’t get the thing up to 45 C during use. I had to lower the temperature limit quite a bit to make it ramp itself down.

5 Thanks

Thanks for the teardown info.

Is it necessary for any reason to re-use (maybe even have to re-glue) “the black sticker that covers the retaining ring” when the lantern is re-assembled or can this component be discarded?

3 Thanks

Excellent, thank you very much for the detailed teardown.
That’s swung it for me and I’m ordering now that I know I’ll be able to flash the thing in future.

Interested.

Got one…
7 remaining

Thanks for the tear down @gchart! Looks like de-doming will be super easy! :smiley:

I believe the black sticker is purely cosmetic; just covers up the retaining ring. I put mine back but I don’t think you’d need to.

2 Thanks

Will there be different colors like the original LT1S with anduril moving forward?