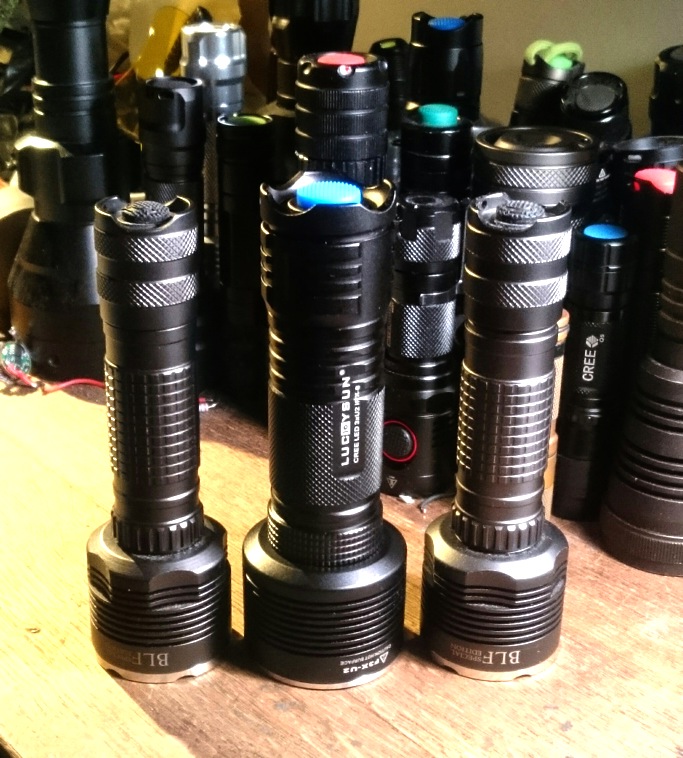
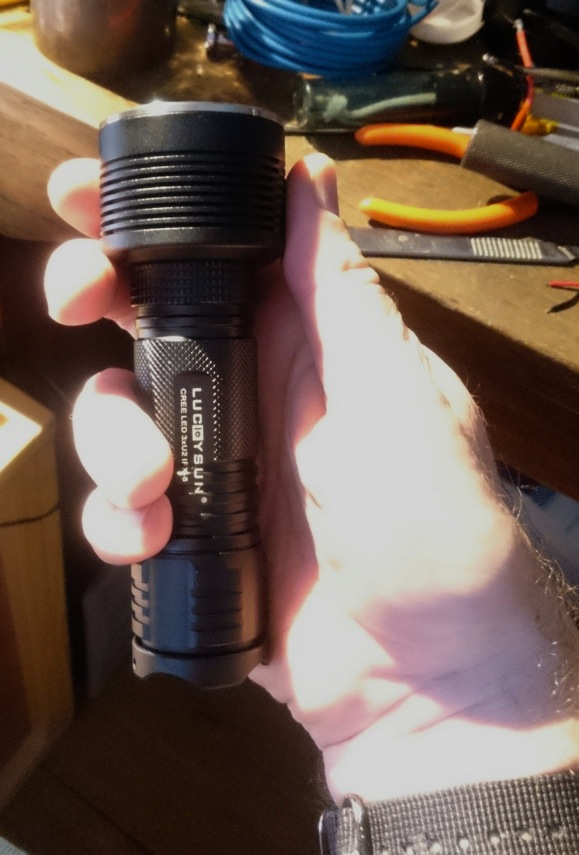
I got this light from what I think is the Luckysun/Nico Nature factory store on Aliexpress for $29 shipped, I was curious about it, I had not seen any teardown pictures yet even though it is around for two years now. The idea was as a host for three XM-size 400nm UV leds for a purple monster, but upon arrival the host seemed a bit too nice for that. Actually the head of the F3X was different from the photo's, it lacks the cut-aways, I think it looks better without them:
Then I thought, because the light is delivered with an extension tube for 2x25650 cells, it would be nice to build a triple Nichia 144A light, but I got tired of the thought to have to build a custom triple board for it, and a zener-modded driver which I am not very fortunate in building (thusfar: one succes after tedious work, two fails).
So for today's mod it was decided to use just use XM-L(2) leds, but everything different from stock:
*I used three different XM-L2 leds: cool white (unknown specs, robbed from a SWM T25C), neutral white (T5 5A2, from Fasttech), and warm white (T4 7A, from Simon)
*the stock aluminium triple ledboard was converted to DTP using an ancient pre-Sinkpad method, not sure who invented it but at least I have seen comfychair doing something similar a few years ago. I had never tried it before and I can assure you it was nice to try it once but this was the last time :tired:
*the driver was cleared from components and used as contact board for a BLF-A6 driver. The batt+ was a direct wire from the battery spring to the BLF-driver, through an existing via.
*bypasses on tail and driver springs
*blue tailcap to celebrate a succesful mod :party:
I started the mod at half past 8 in the morning and it was finished at half past 2 in the afternoon, 6 hours of continuous modding  .
.
Here we go:
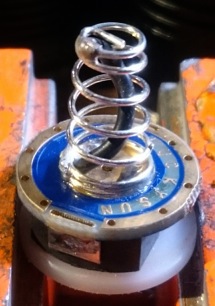
I started with the tail spring bypass. The light has a nice fat Omten on a decent (but not perfect) PCB.
It took a while to realise that the F3X has a screw-in pill that screws out towards the top of the head. there was nothing to get a grip on so I drilled two small opposite holes on the edge of the pill and managed to screw it out with needle-nose pliers (no picture of the pill, sorry).
Next step was to thin the ledboard from 1.7mm to 1mm. The conversion needs a 1mm copper plate under the ledboard, and the head dimensions of the F3X are so precise (which is good) that the extra mm of the copper would prevent the bezel from screwing tight and it would ruin the waterproofing (o-ring would not be pressed on). Forty minutes of sanding (by hand) later:
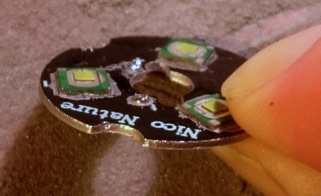
The domes were used as handles but they were gone after a while. (the gooey is flux-remains with rubbed-in aluminium powder)
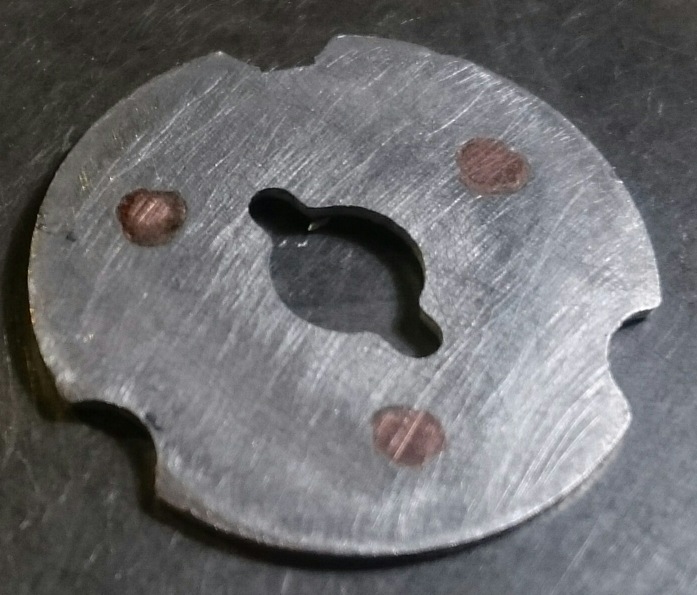
The leds were soldered off and 3mm holes were drilled in the thermal pads on the board. A 1mm thick copper disk was made to be attached to the underside of the board, and a bit of copper was filed into shape to later saw the fillings for the holes off.
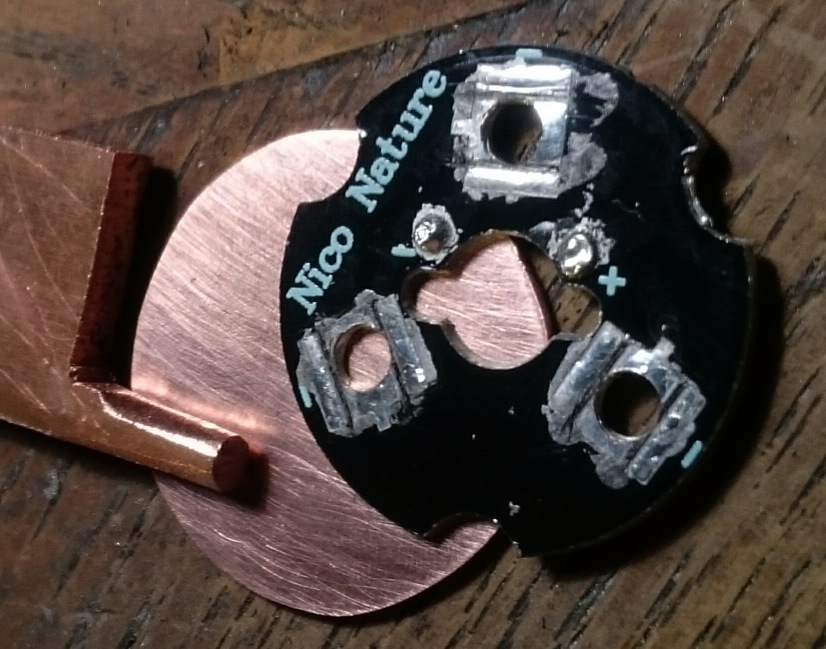
Three tiny copper bits were sawn and filed in shape and then hammered in the holes from above. The anvil was a flattened piece of cast iron, the pin punch was a piece of welding iron which happens to be 3mm diameter.
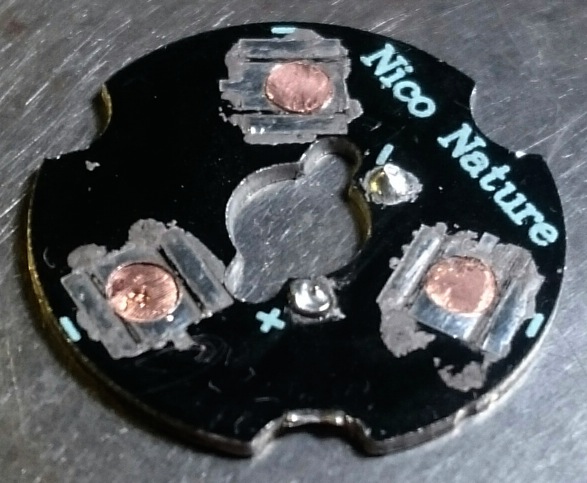
The underside was sanded once more and on top solder was applied to restore the solder pad.
It does not look pretty but everything luckily worked fine without shorts.
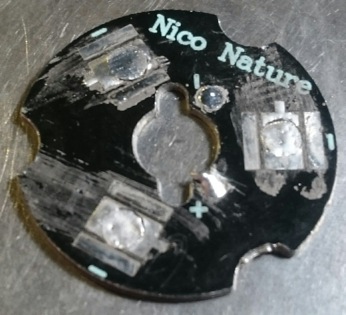
Time for reflow, I love watching reflows so I'm sure you like it too :-) :

Now the driver. The F3X has a large 25mm driver that looks very well designed, the coil is because it can handle double the voltage as well when using the extension tube:
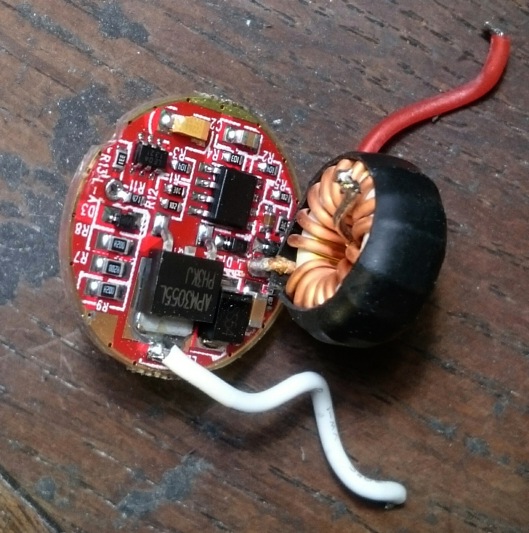
But it has a horrible low PWM frequency, an impossible mode order (high-med-low-strobe-turbo-SOS  ) and the output on high is no more than 1000 lumen which is not acceptable for a triple XM-L light. So I cleared the driver from components and piggy-backed a BLF-A6 driver:

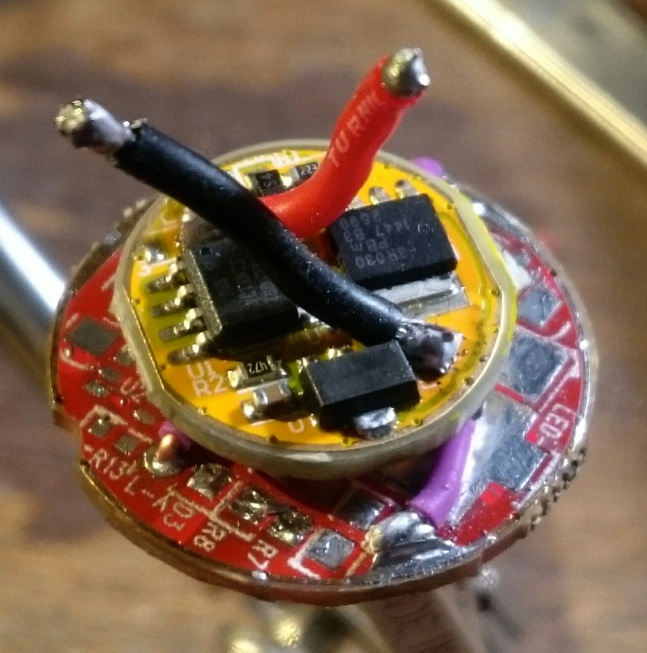
I dry-tested the driver and it worked. To be honest I'm having a very lucky day because during this entire mod no major disasters happened, this is not common!!
Btw, there were numerous small mods done to make things fit that are not described in this post (such as: make a small cut-out in the plastic driver covering thingy to house an extra solder blob on the driver's batt+ pad).
Assembly worked well too. The finished flashlight:
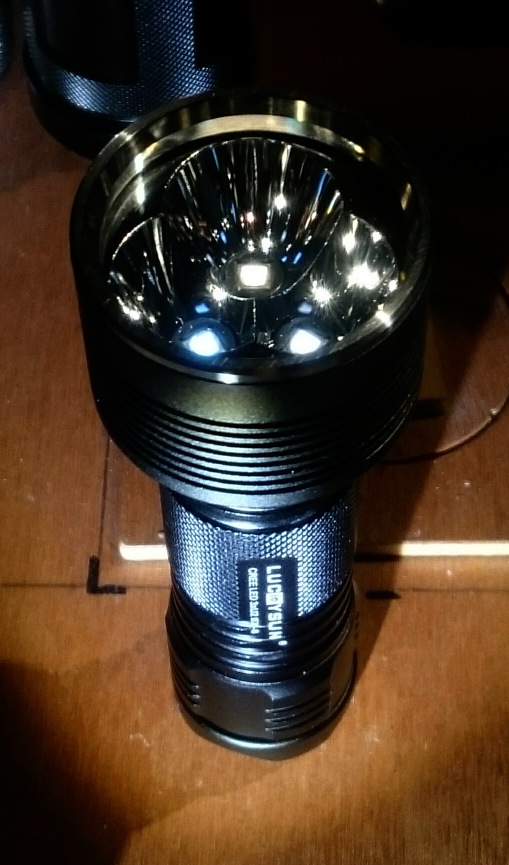
It works and it works well. These are not top-bin XM-L2's and the output (on a Keeppower IMR 4200mAh) is still a respectable 2730 lumen after 3 seconds, 2510 lumen after 30 seconds, 2100 lumen after 5 minutes (overriding the step-downs that the BLF-A6 driver automatically does) after which period the light was still not ridiculously hot. I like the stepdown of the BLF-A6 driver in this application, because of it I can lend this light out without problem, at half the output (still 1300 lumen!) it never gets too hot. The current at highest setting on a fresh battery is 9.1A, which is about perfect for 3 XM-L2's. The efficiency (this Keeppower battery is 3.8V at 10A after 30 seconds, see HKJ's charts) of this light is thus about 73lm/W which is rather good for a light at 2500 lumen. The efficiency is higher of course on the lower settings when the driver just uses the 7135 current regulator.
As said above, the beam is incredibly nice, a good resulting neutral tint (±4000K) and look at that hotspot! :
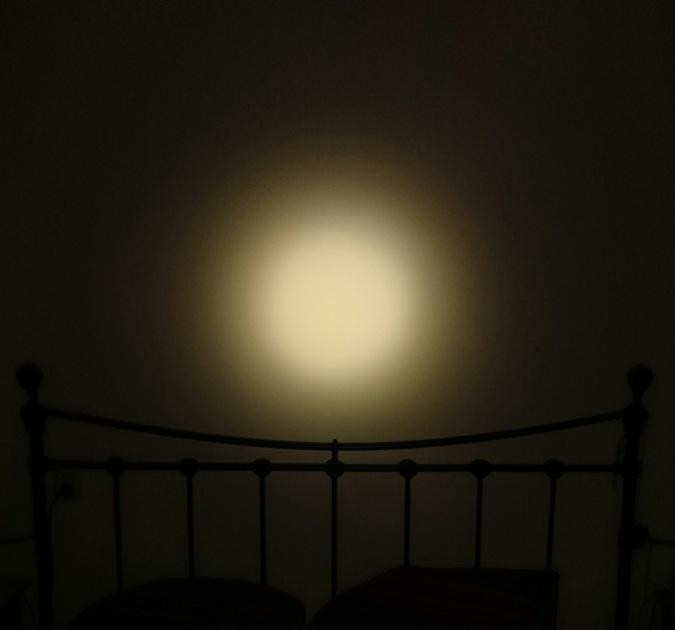
(the flashlight was 2 meter from the wall, at larger distances the beam is not different) The throw btw is 25kcd on highest setting (measured after 30 seconds, at 7 meter) which is not amazing, but you get that brightness very evenly spread over the substantial useful hotspot.
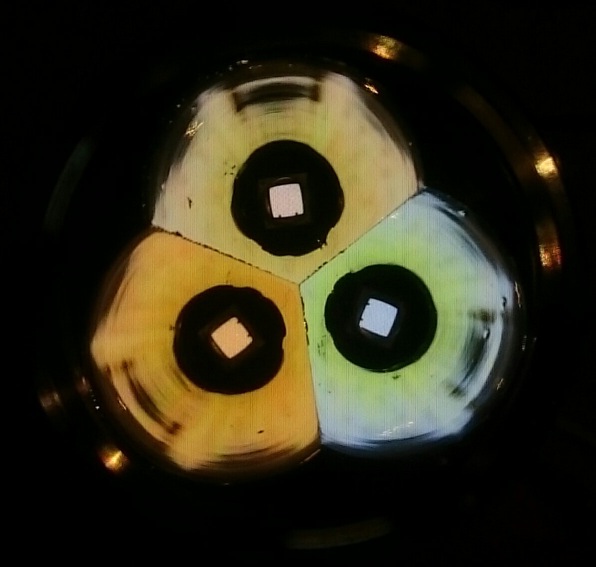
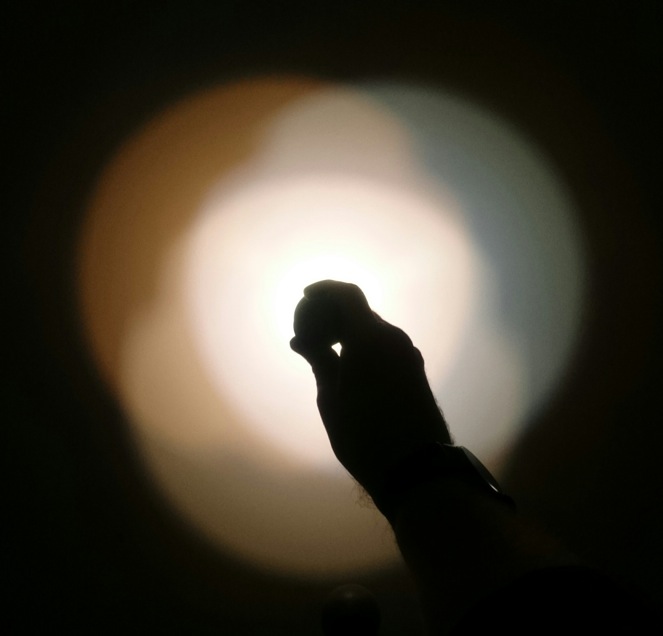
Very close to the wall you can see what three leds with different tint do in a triple reflector :-) , this is not anything that is relevant in actual use.
I'm really happy with this flashlight, perfect for camping: a small headlamp for close-up work, this light for everything else (the BLF-A6 driver still rocks!)
Thanks for reading! :-)