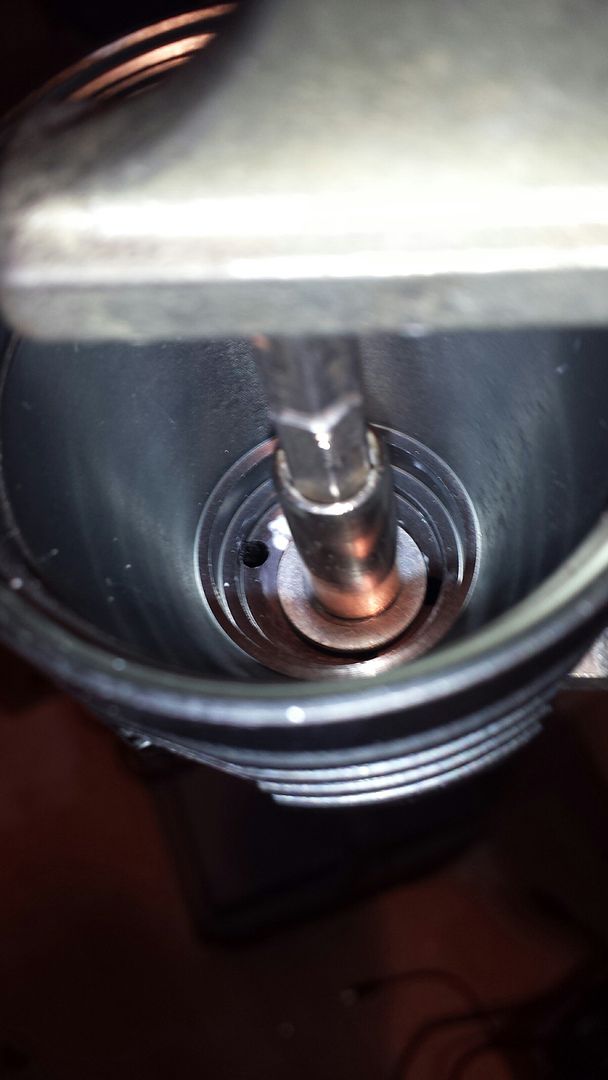
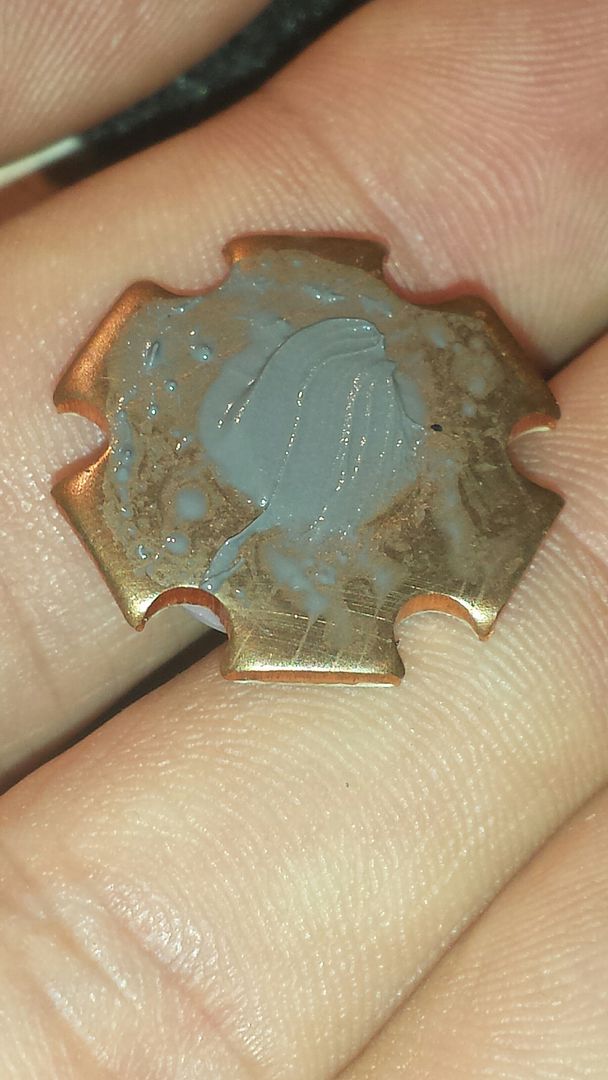
another dimple on the driver side to reduce the thickmess from 5 to 2,3 mm
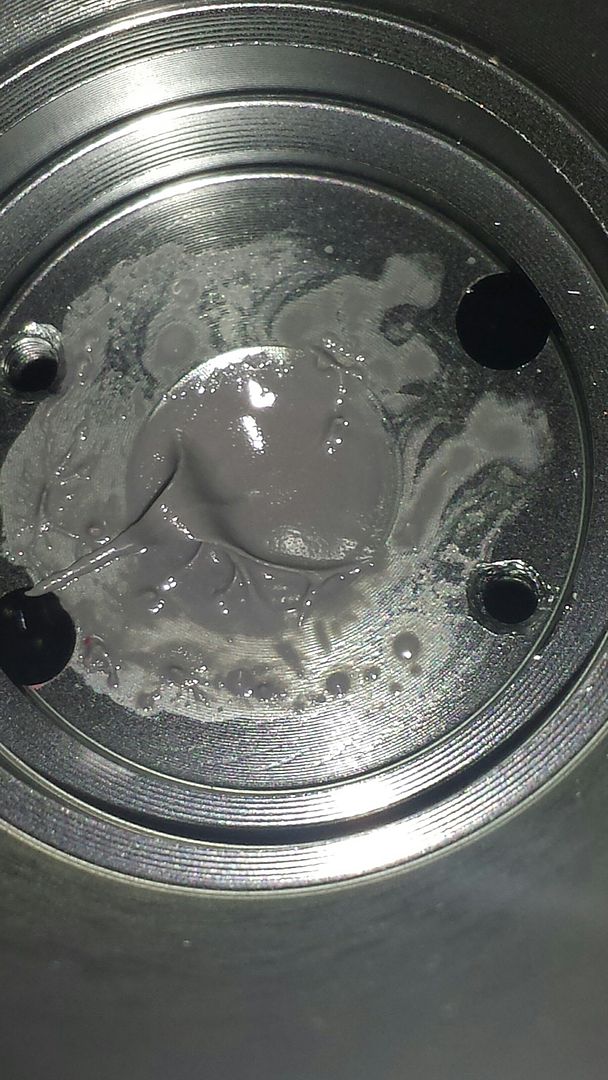
they used a good amount of thermal paste to fill the dimple
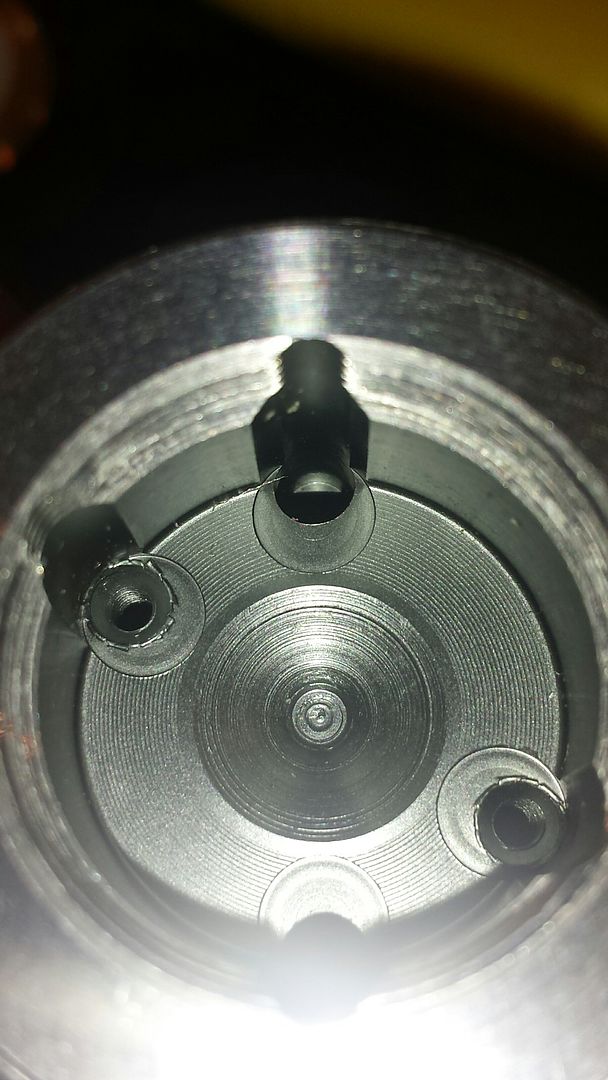
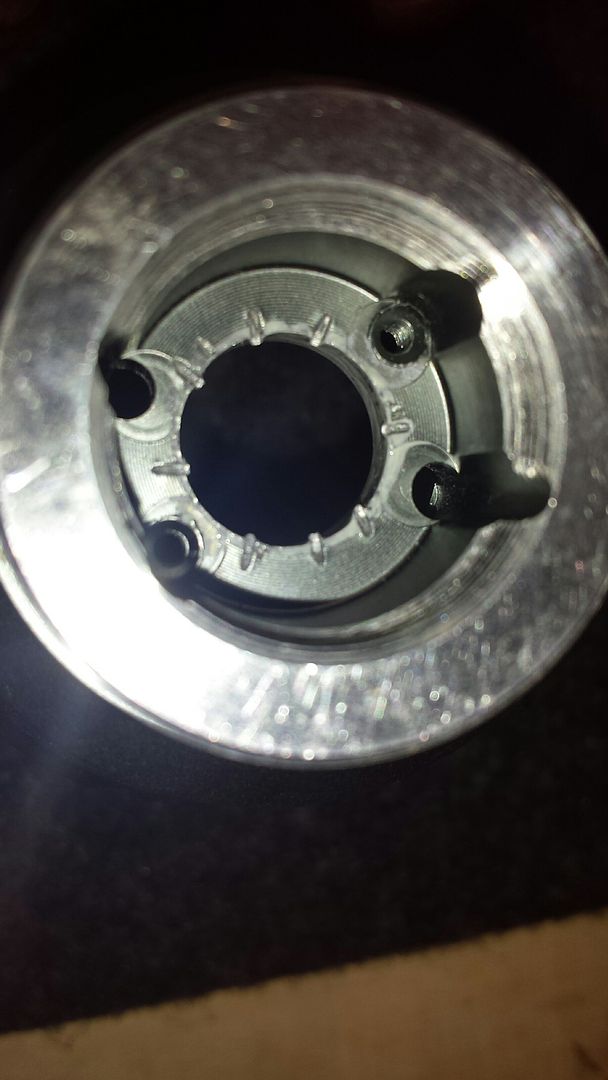
the driver has a second kontakt plate which prevents stacking 7135 easy on the spring side
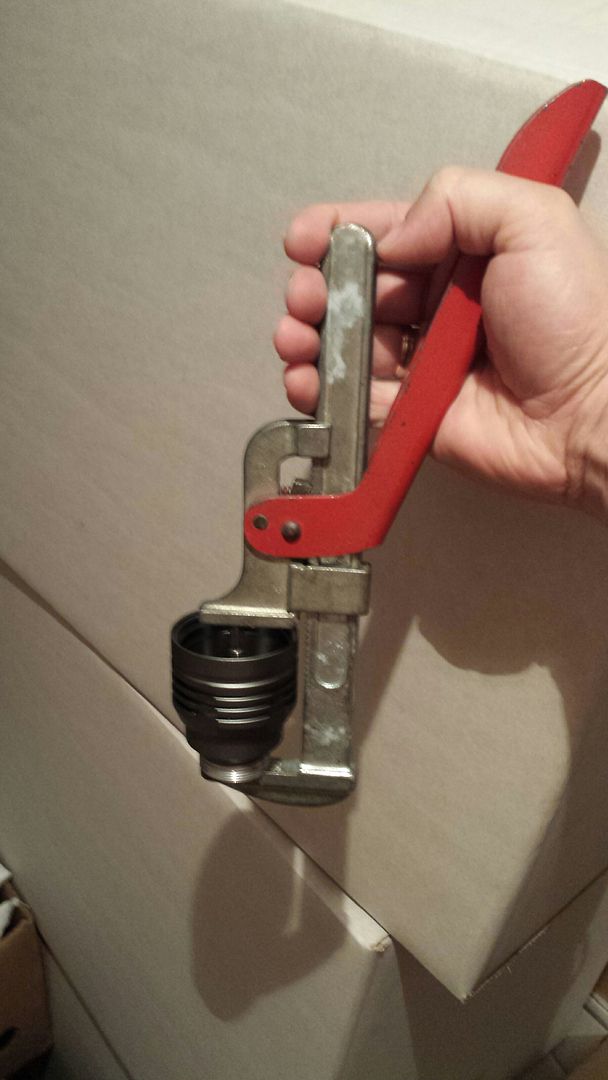
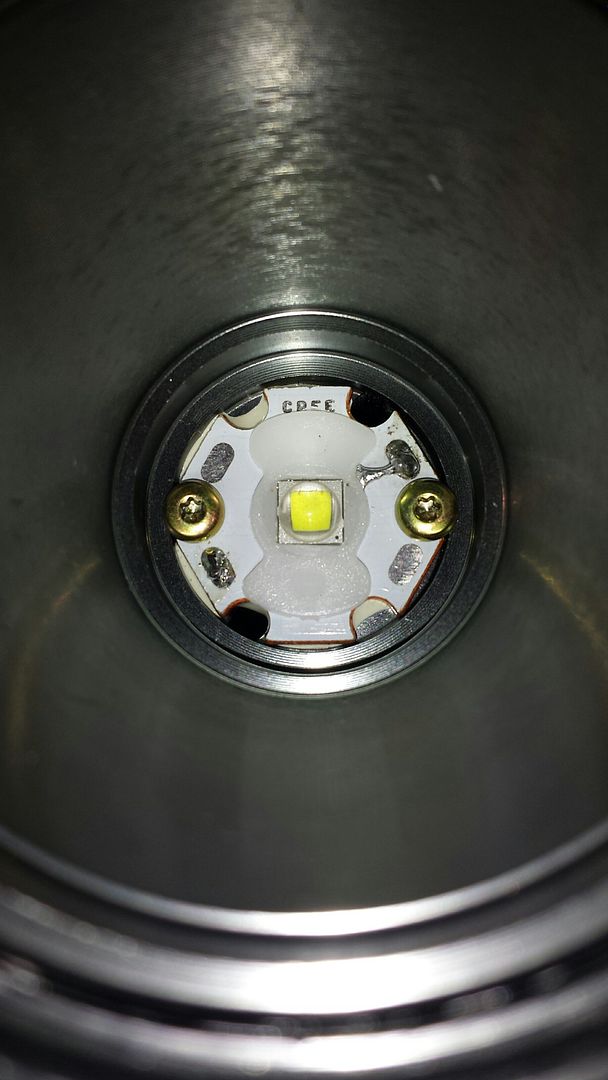
Pics:
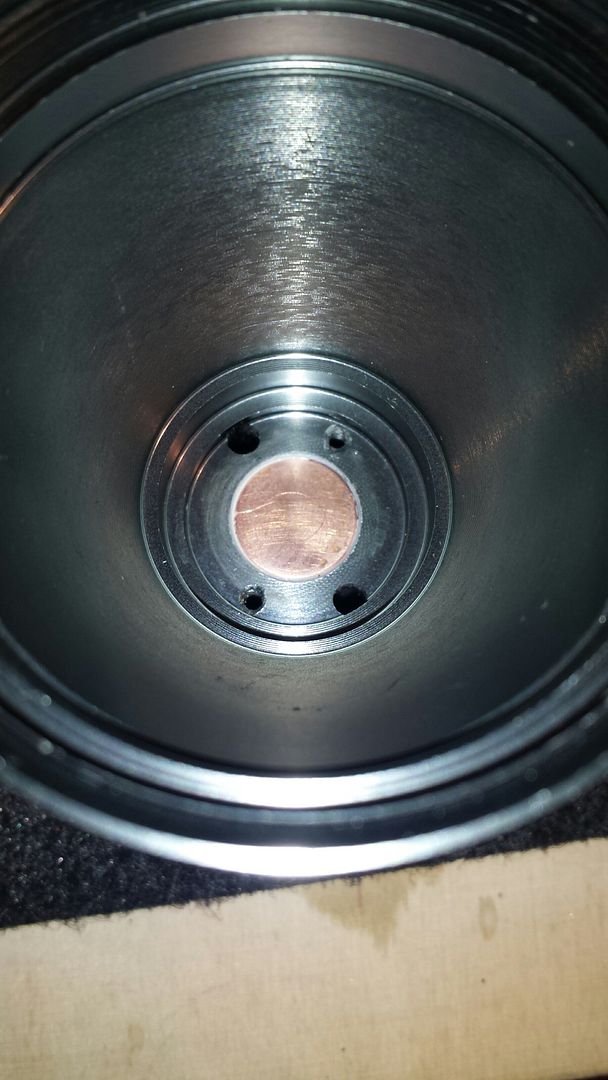
the dimple under the LED:
and the Drivers side:
soooo……
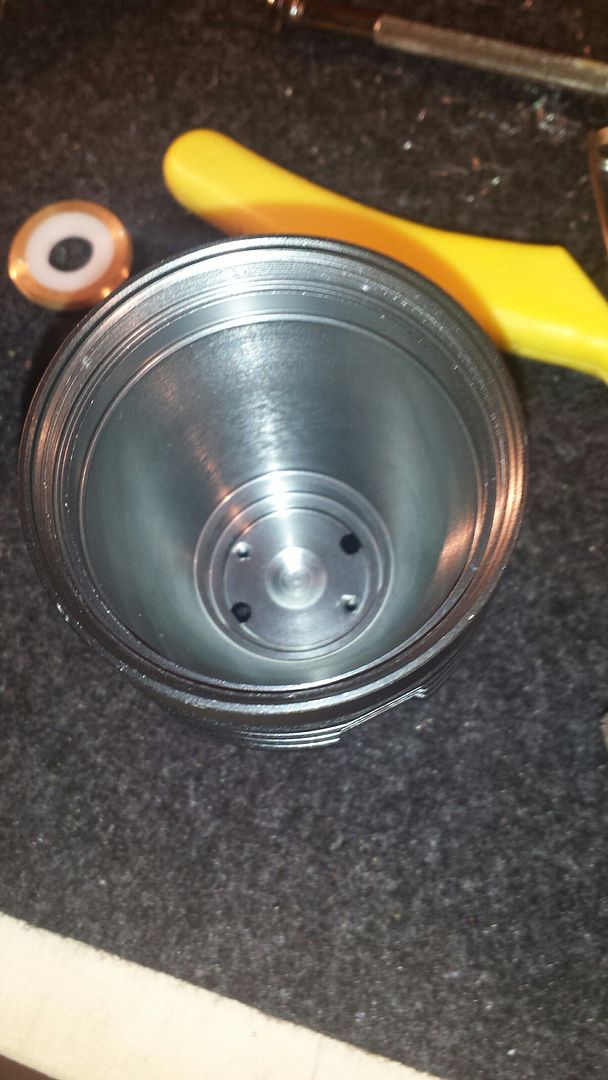
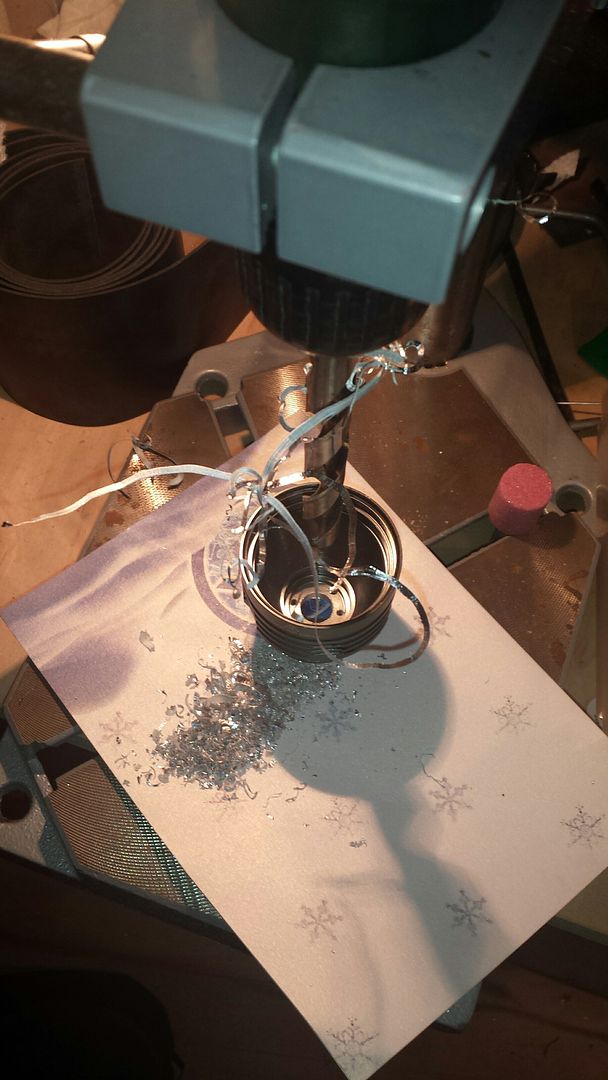
cut a pice off the 12m copper pole
after some alot filing and sanding u smashed notches into it to raise friction …
also notches in the Head 50
aand press it ! (greased with thermal paste)
used a little plate to level it with the Head
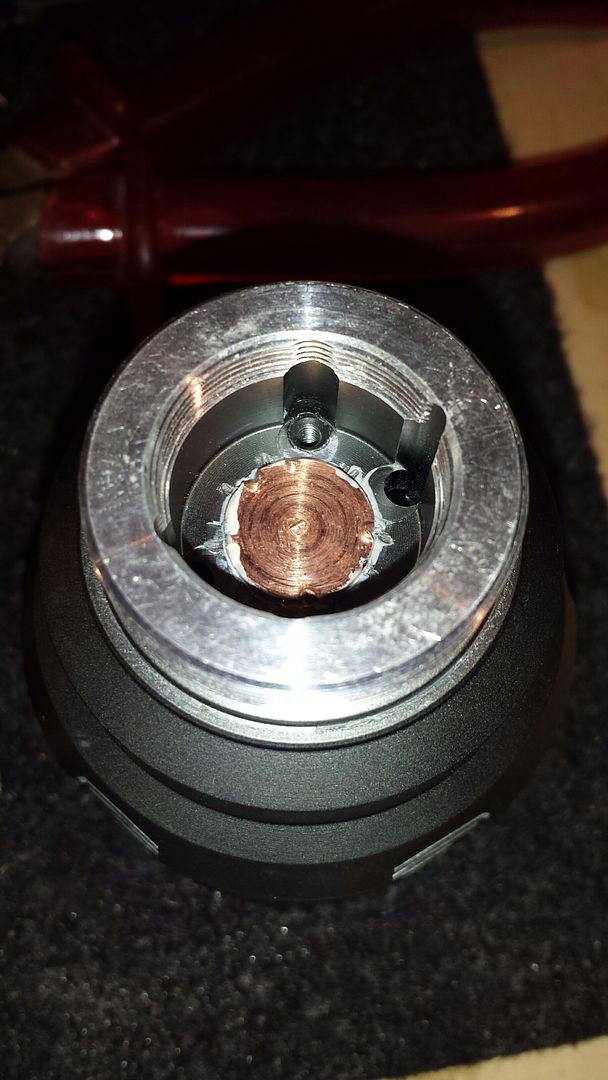
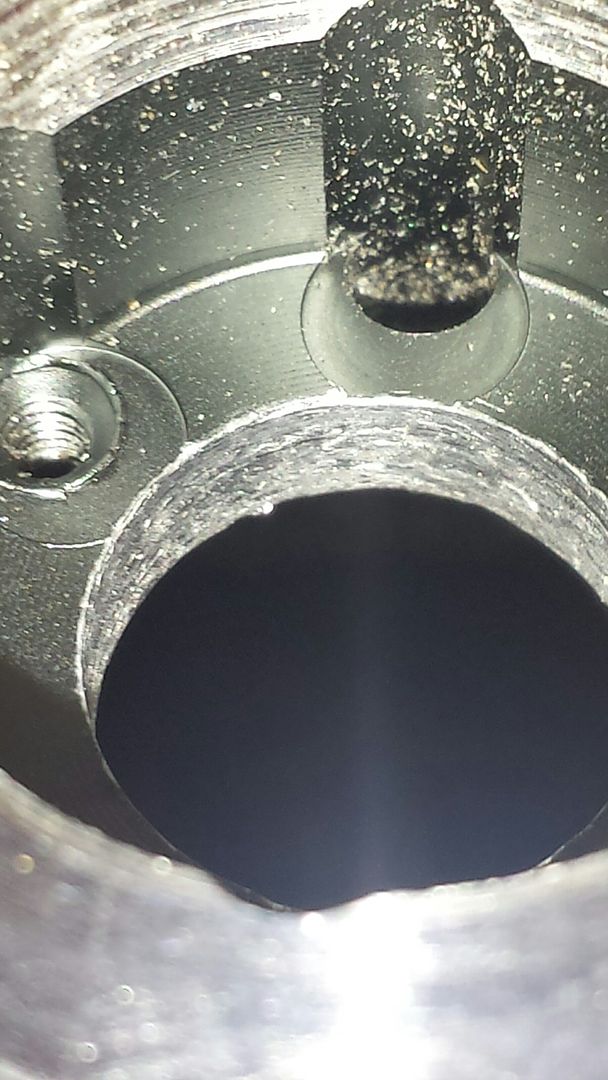
et voila!
mounted the LED (still domed) - the srews are gone meanwhile cause to thick)
I stacked 2 pcs AMC7135 380mA
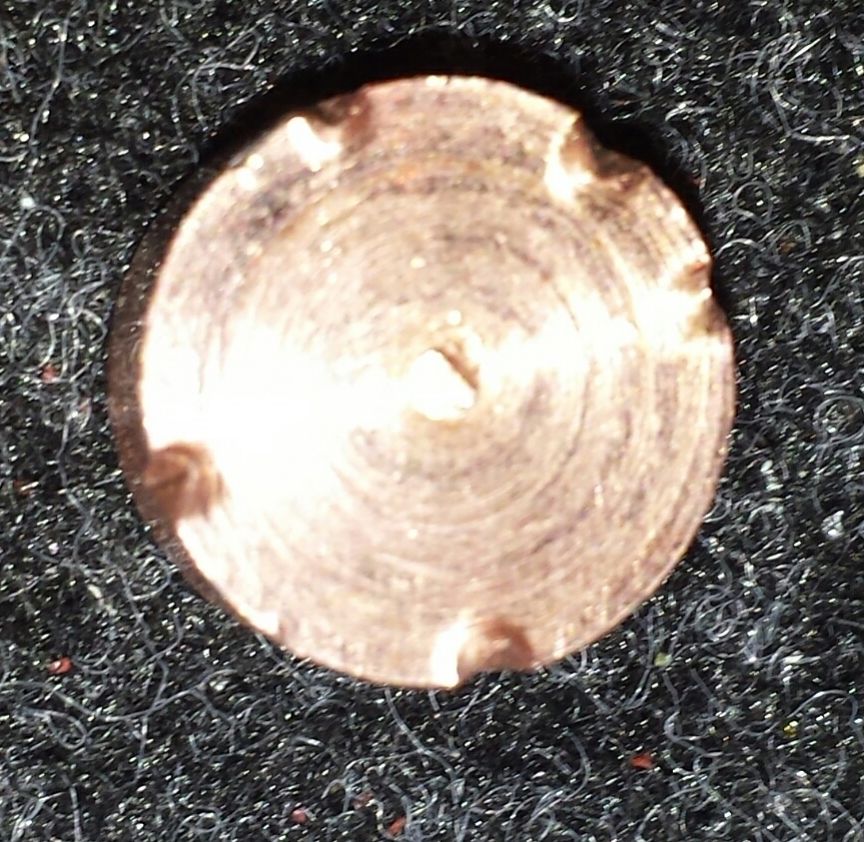
no pix from my “soldering skilz” - i would be banned for abusing a LED driver
i also changed the LED wires to some thicker ones - but didnt play with the (known as weak) tailcap…
but i have measurements:
(Amperes at Tailcap ( L / M / H )
18650 before: ? / 1,0 / 2,8 A
18650 after: 0,17 / 1,14 / 3,55 A
Eneloop after: 0,15 / 0,9 / 2,3 A
I finally got mine two days ago, the tailcap was literally giving me problems after a half dozen presses. The light is a nice hunk of aluminum, but I didn’t realize the Noctigon was too thick, and it’s not exactly a 17mm driver like I was told. Oh well!
Nice job though, I’m sure your soldering skills are no worse than mine.
This a nice mod job! I filled in the dimple with a little copper, than used plenty of AS5, but didn't need near as much as with the dimple. Mine I have cranking at higher amps, and it does really well with the heat.
You are losing 2.8% output by using the stock copper board w/dielectric layer, vs. a Noctigon or SinkPAD -- look at 3.5A on the charts/graph here: https://budgetlightforum.com/t/-/25978. But of course this doesn't account for other side effects, like heat over running it for several minutes.
Exactly - my point is the 2.8% is pretty insignificant. The 2.8% was easy to calculate from the picture of the notebook's recorded #'s. For 3.5A, SinkPAD is 888 and copper board is 863 - 2.8% difference.
Absolute #'s are somewhat rough, but relative #'s I have a higher degree of confidence in, just like the plotted graphs show. Lab equipment - that's funny. I work on the design of equipment that measures radiation emissions -- it's lab equipment, $5,000 to $12,000 cost. I have no more confidence in any that stuff on the market than I do my 35$ light meter.

 50
50