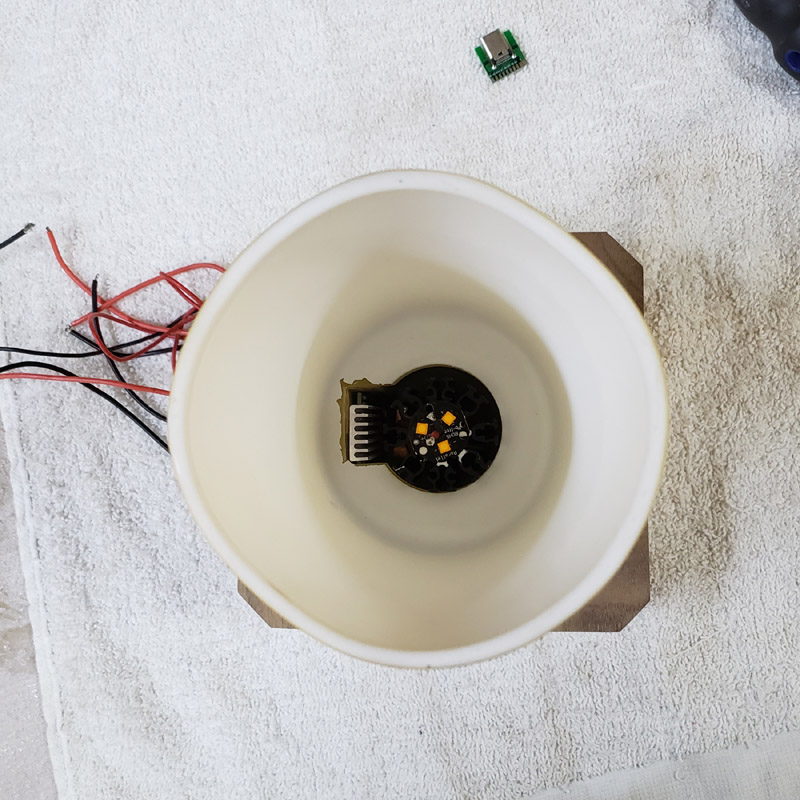
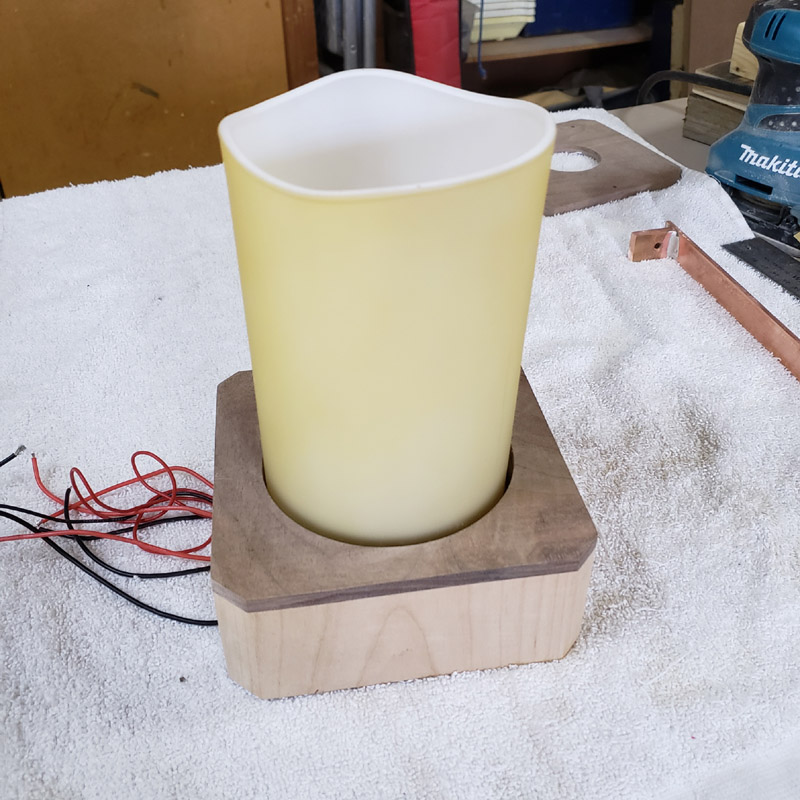
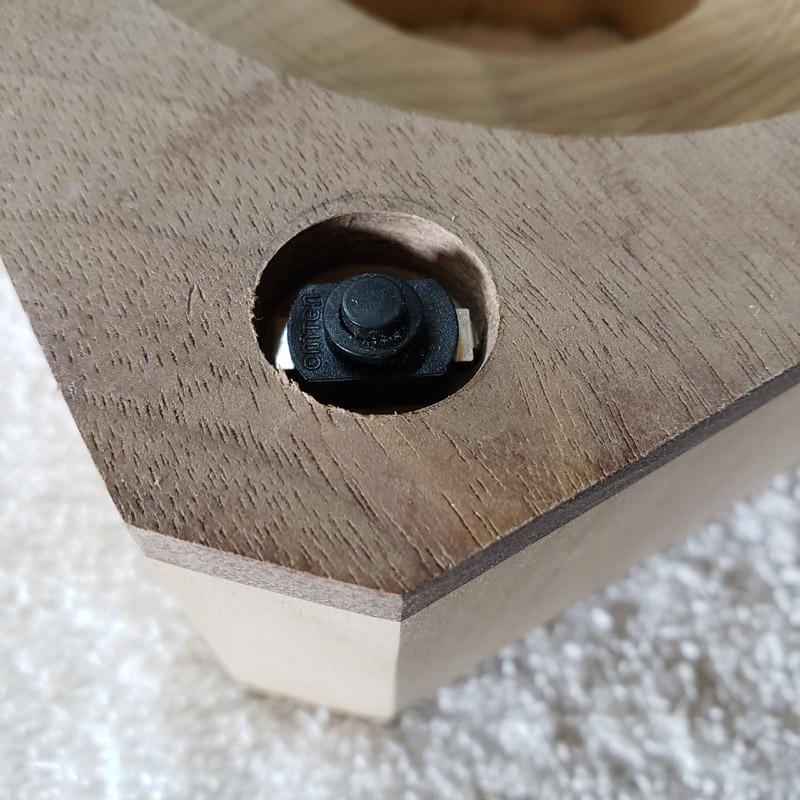
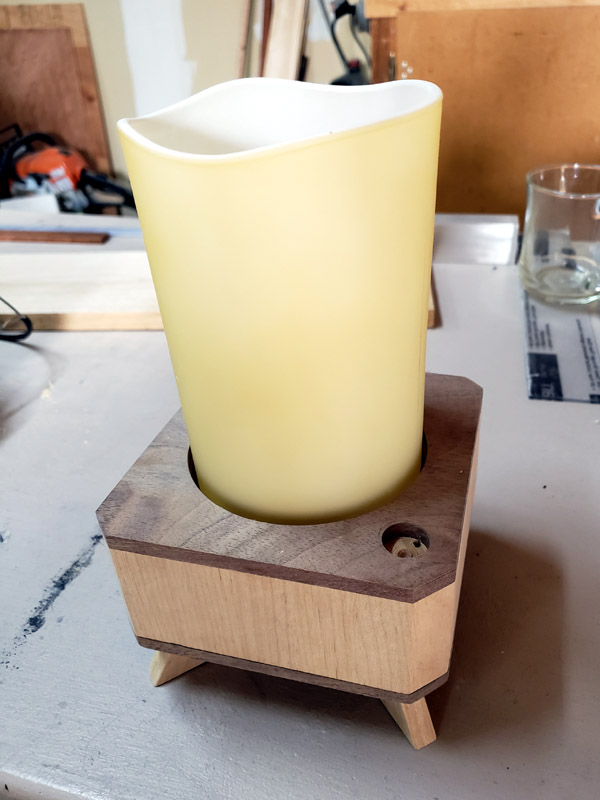
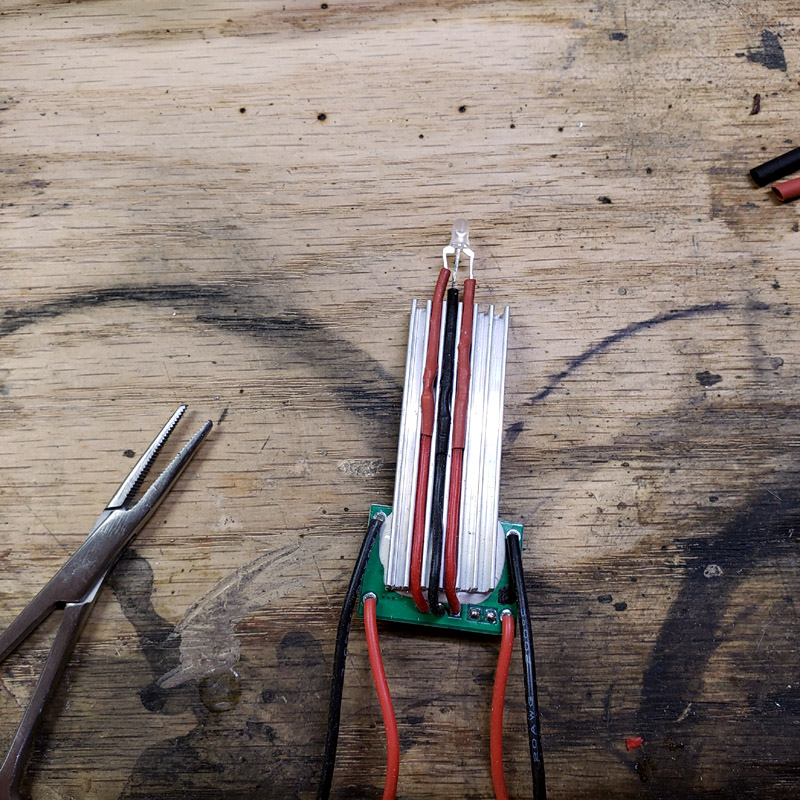
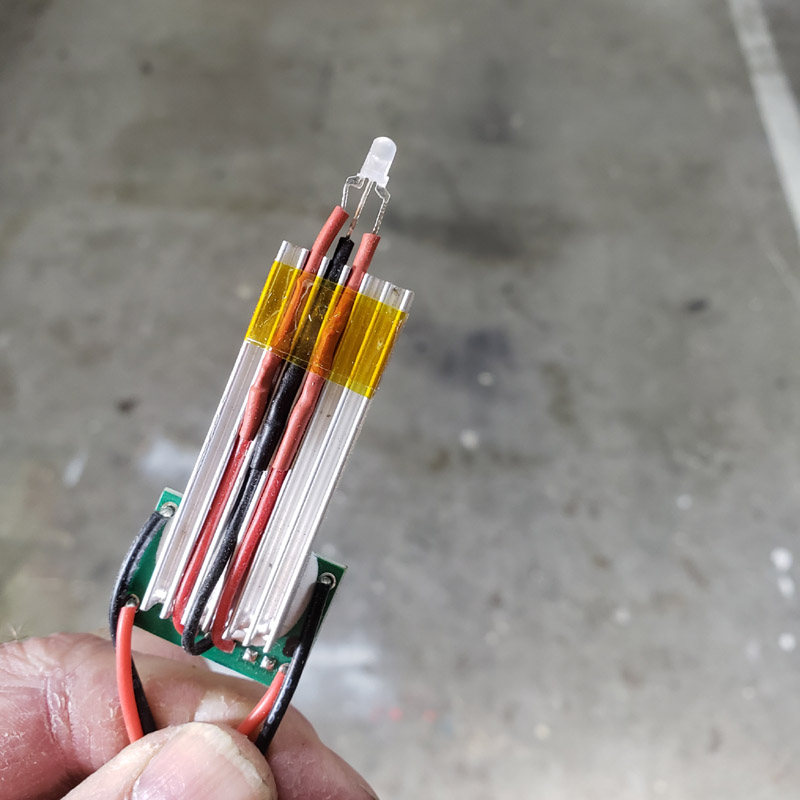
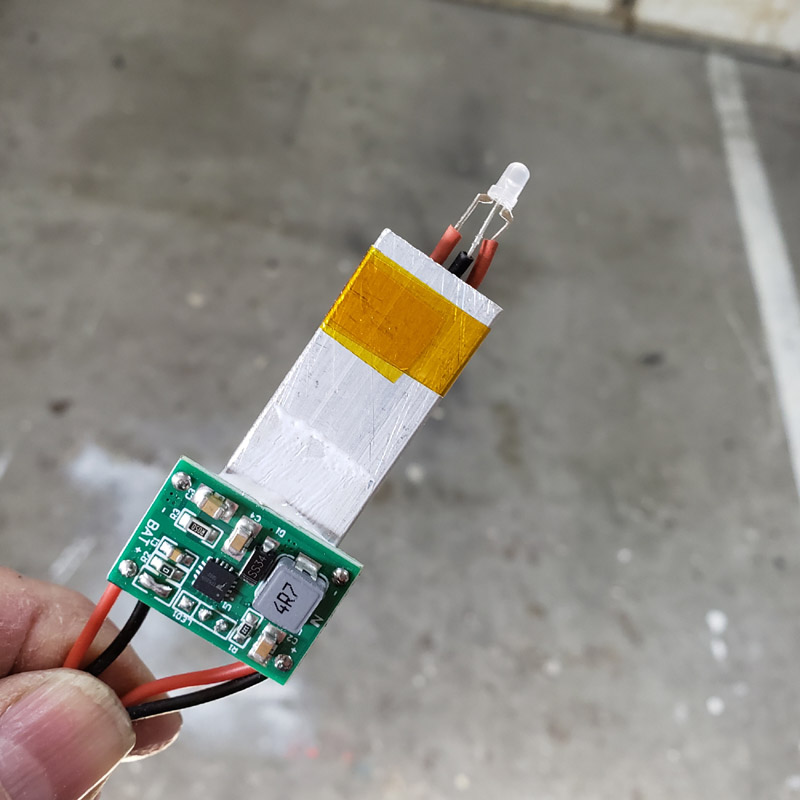
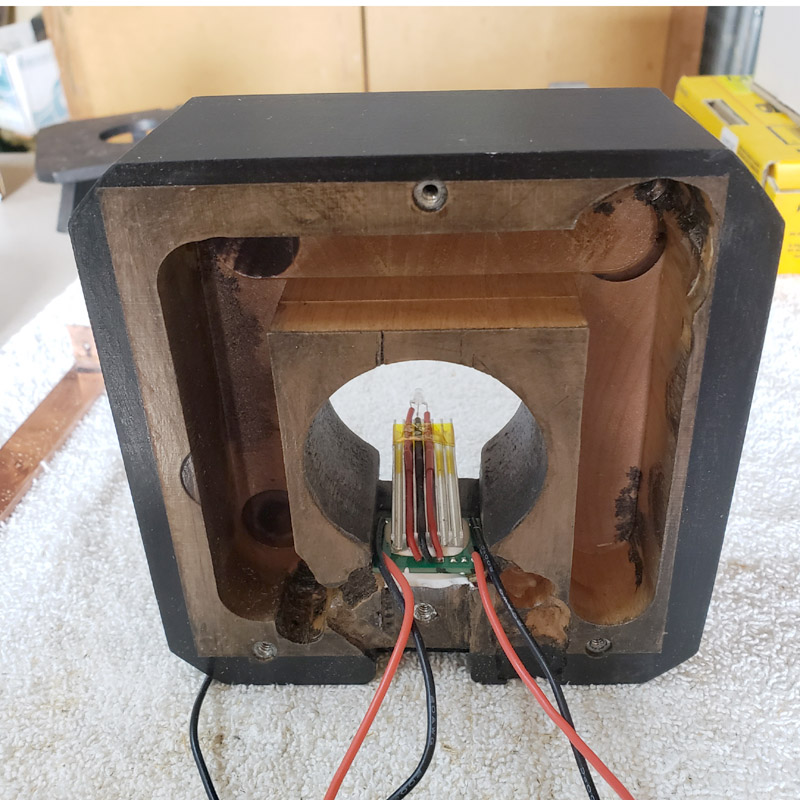
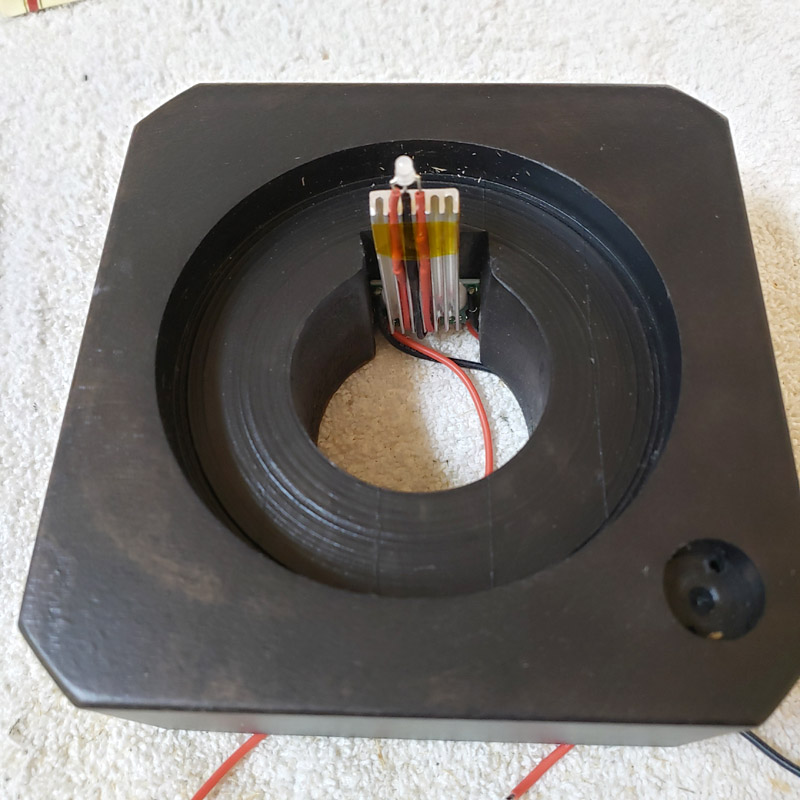
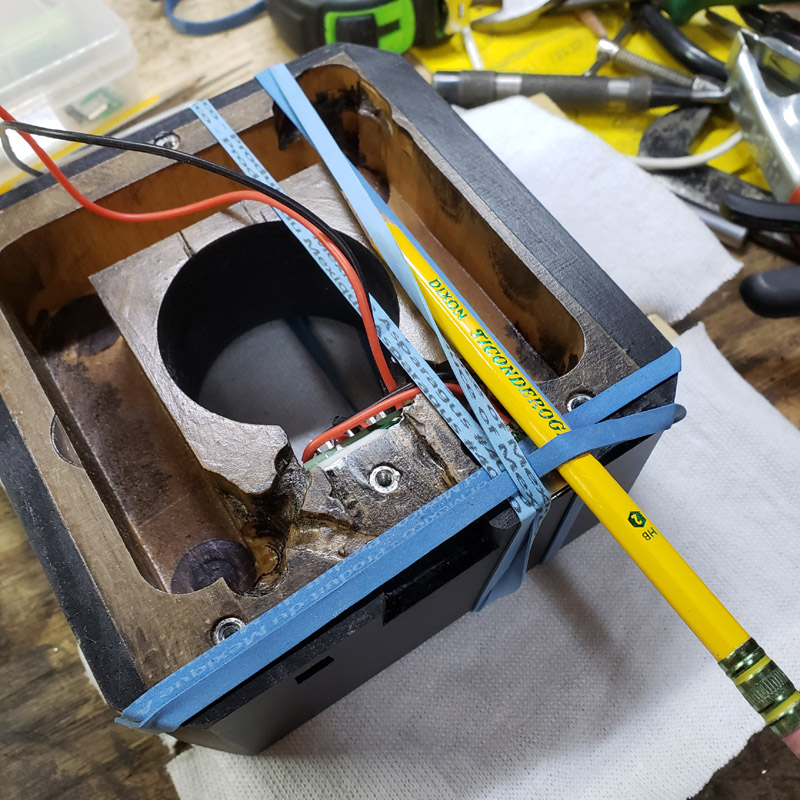
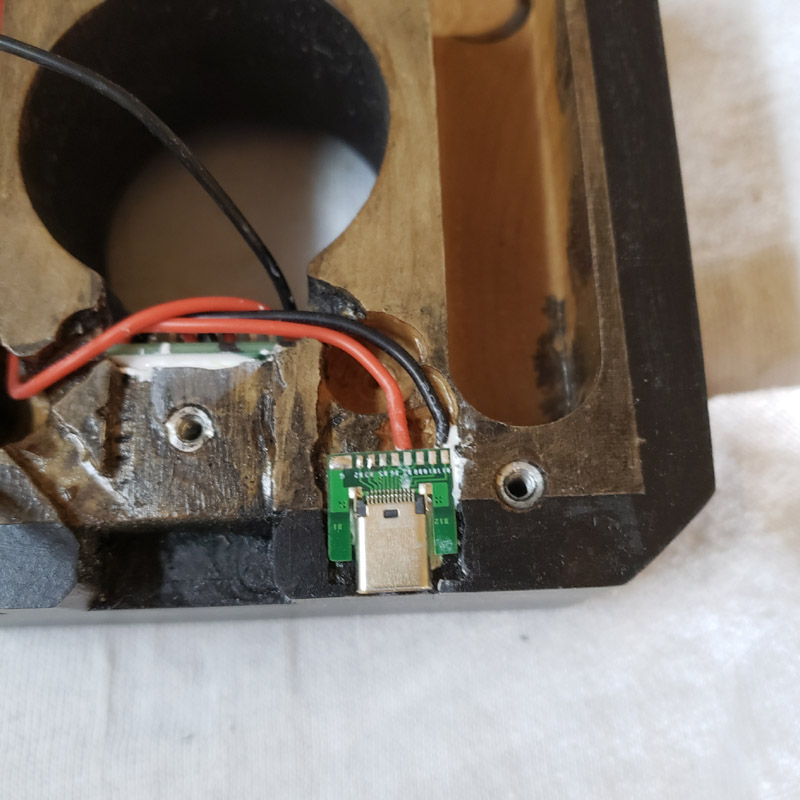
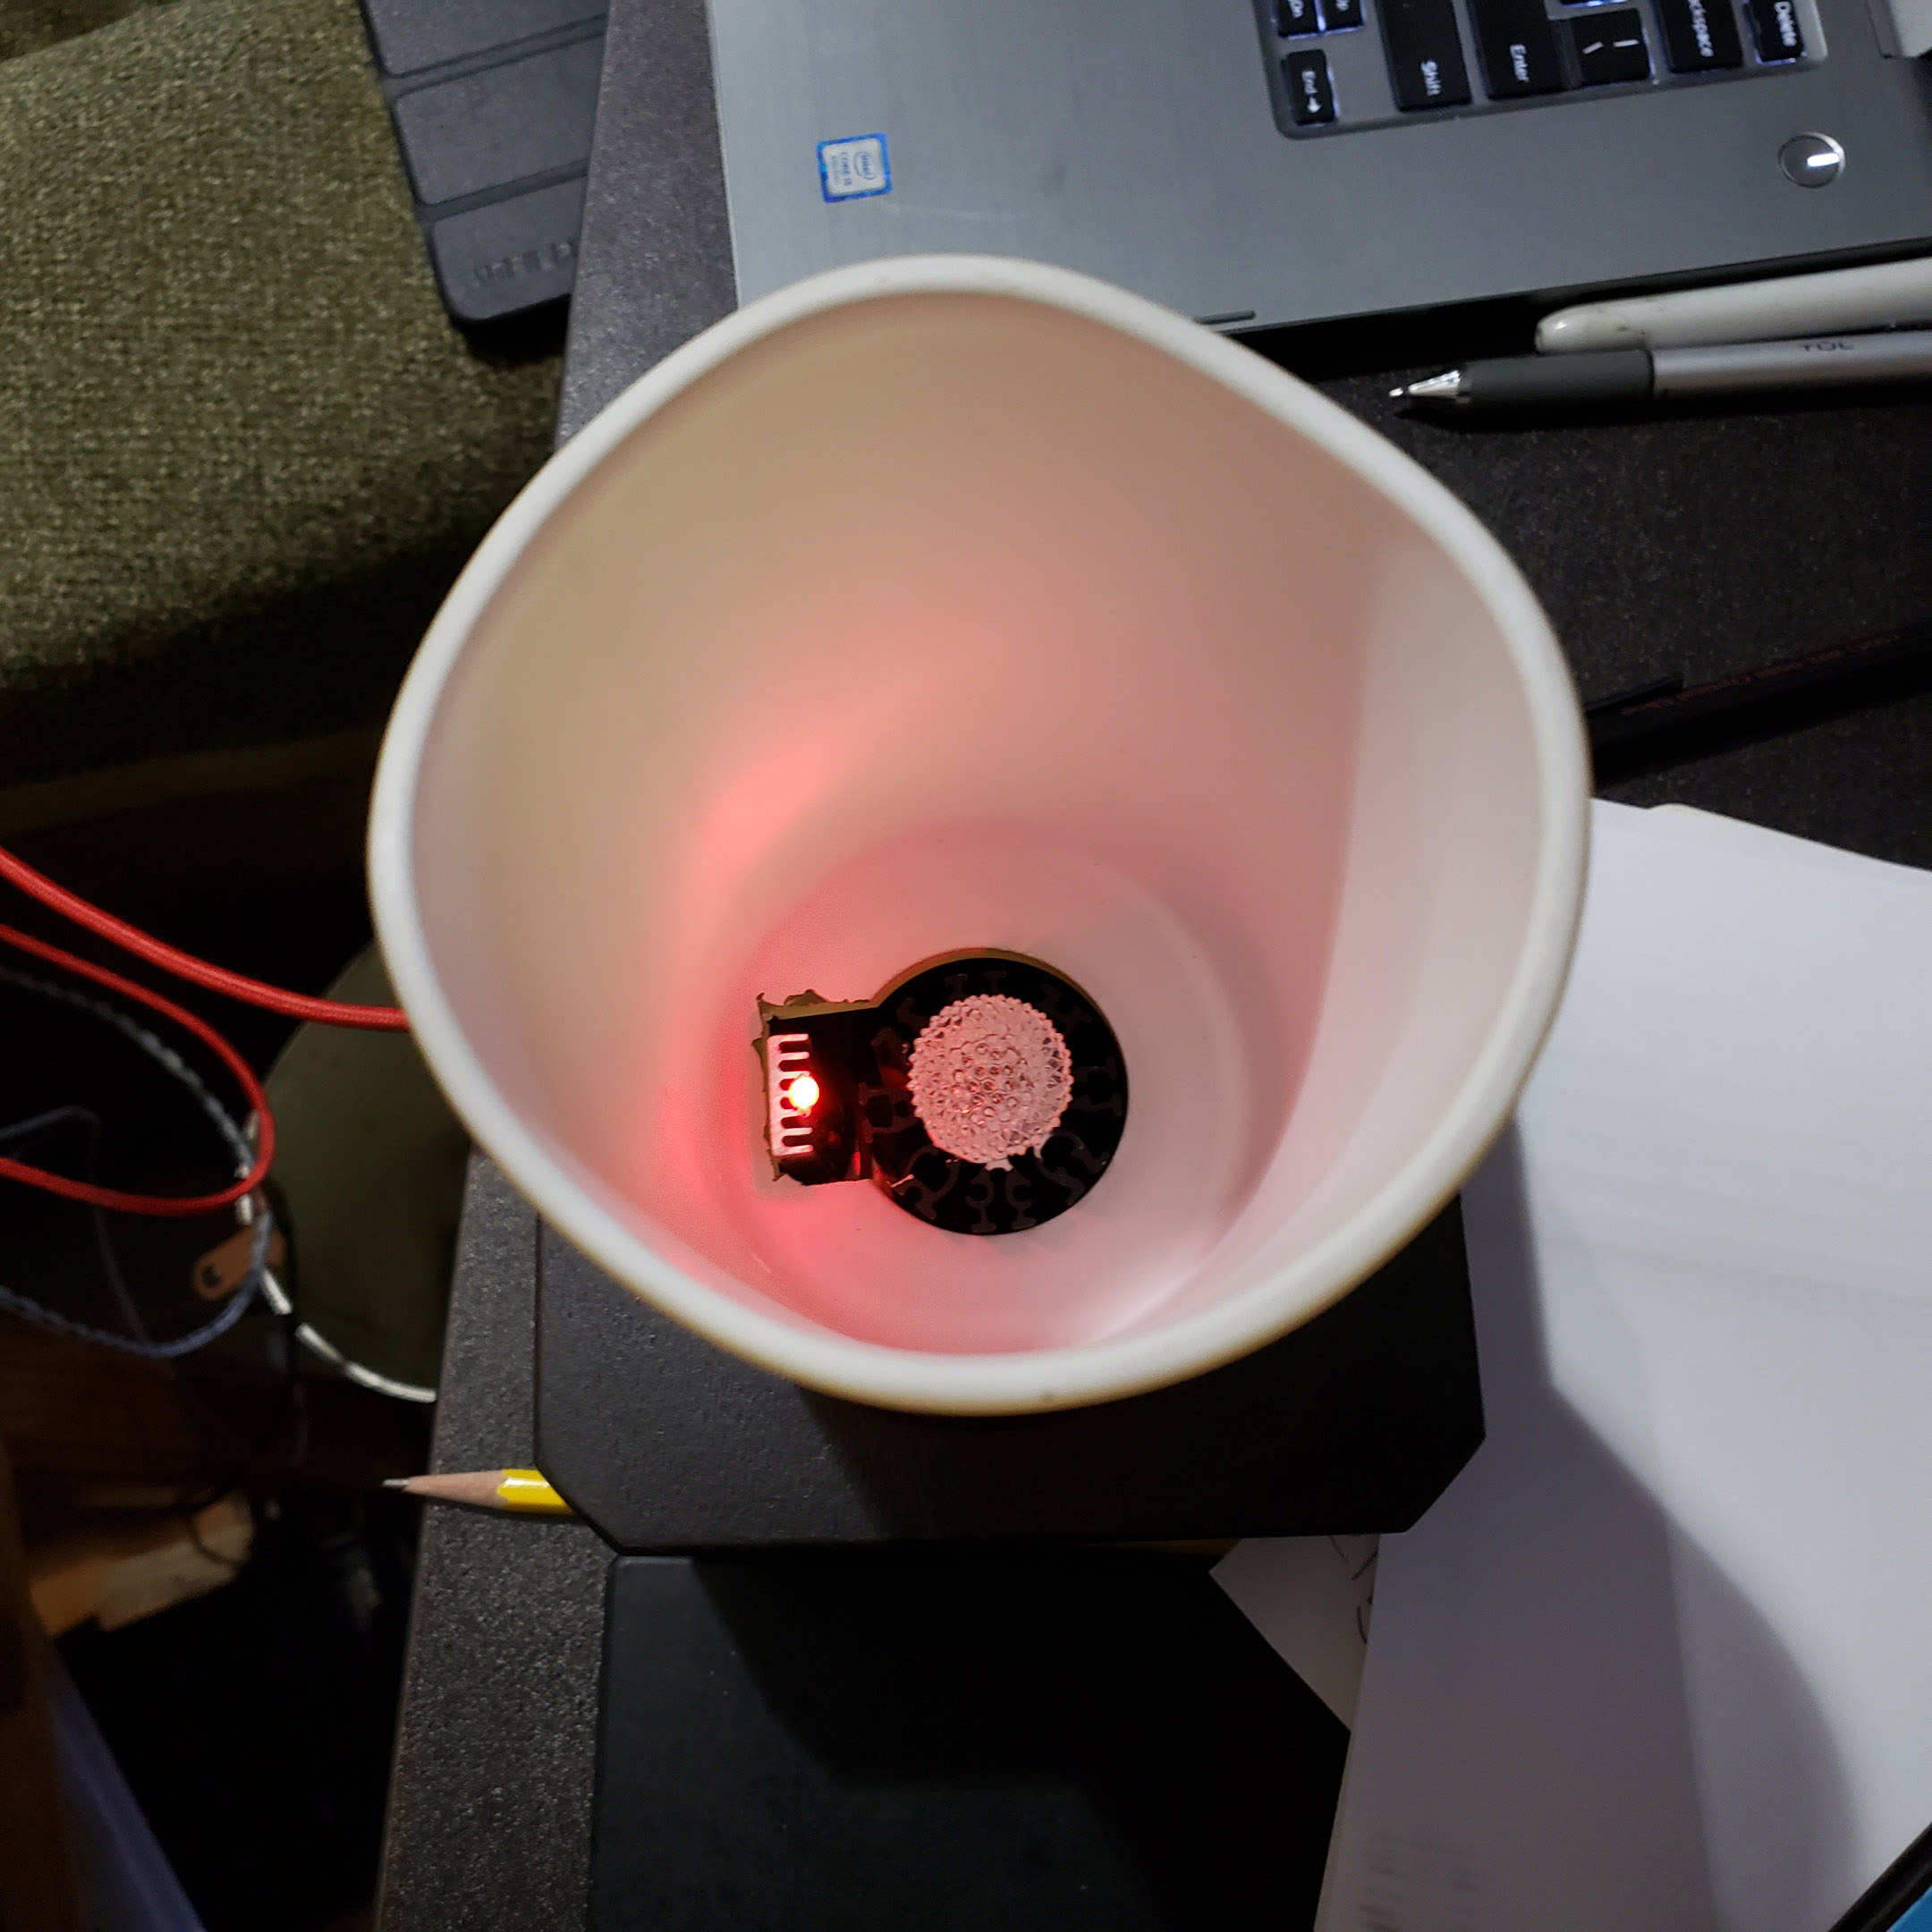
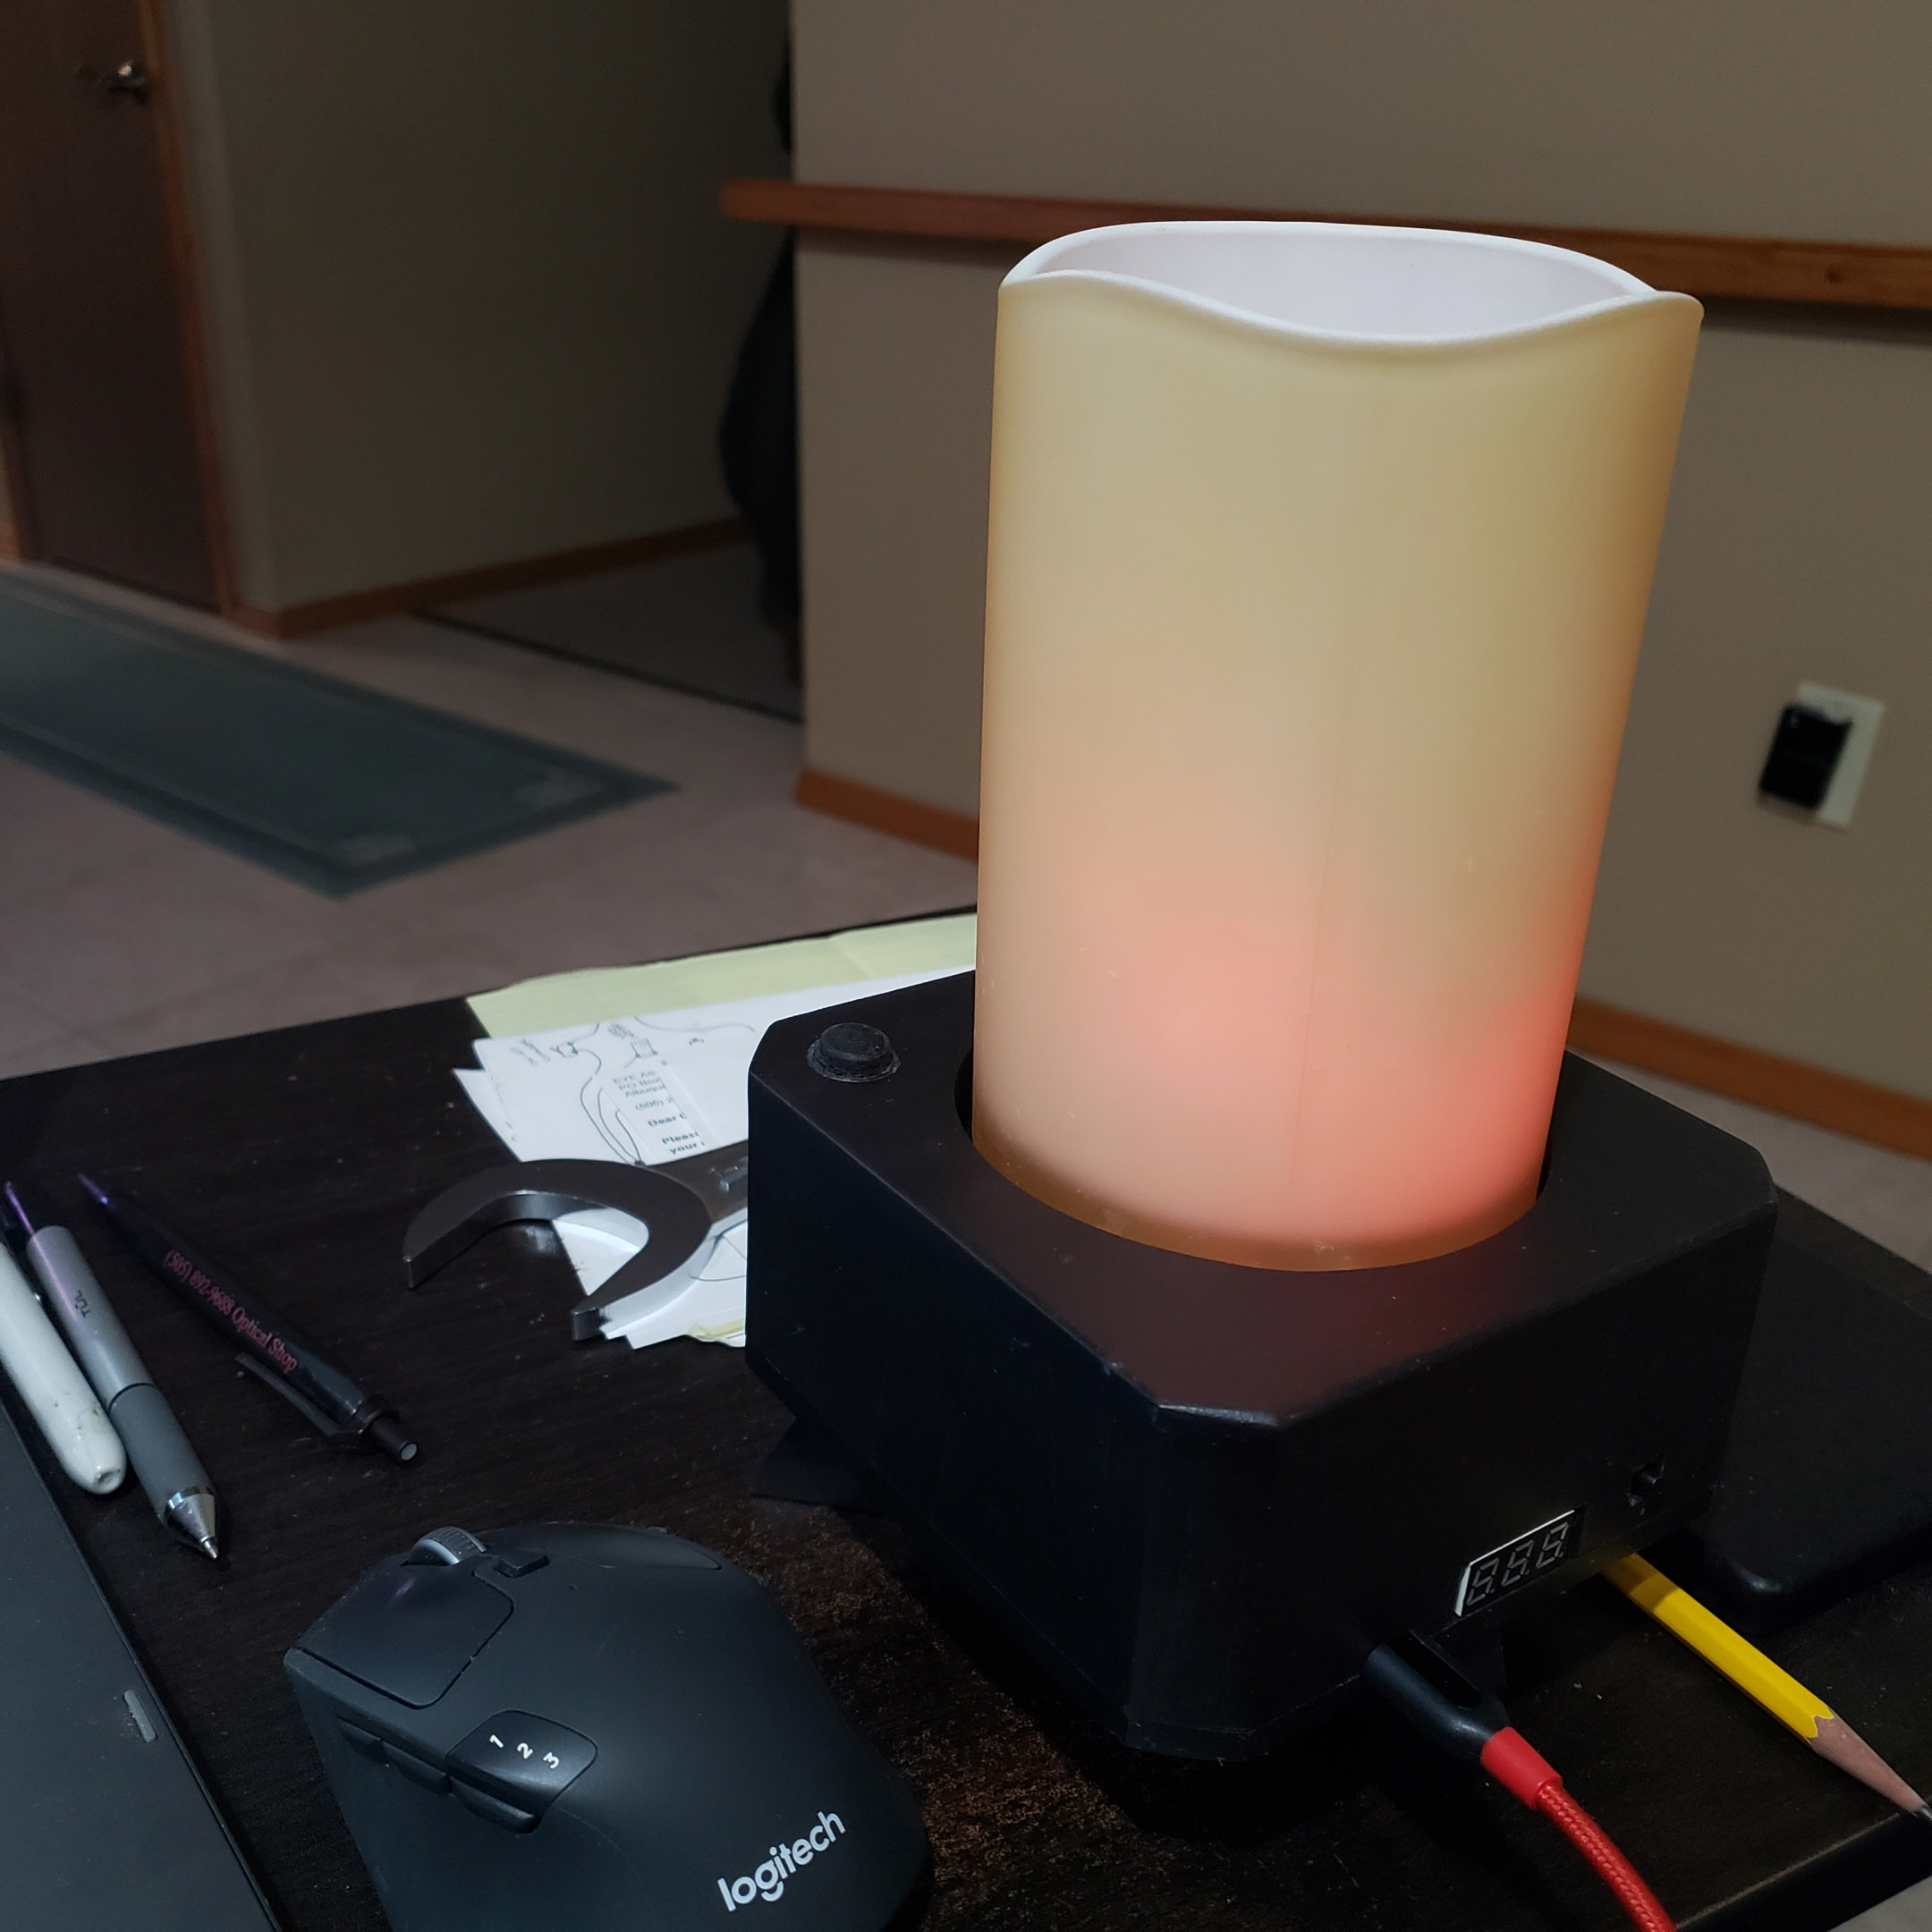
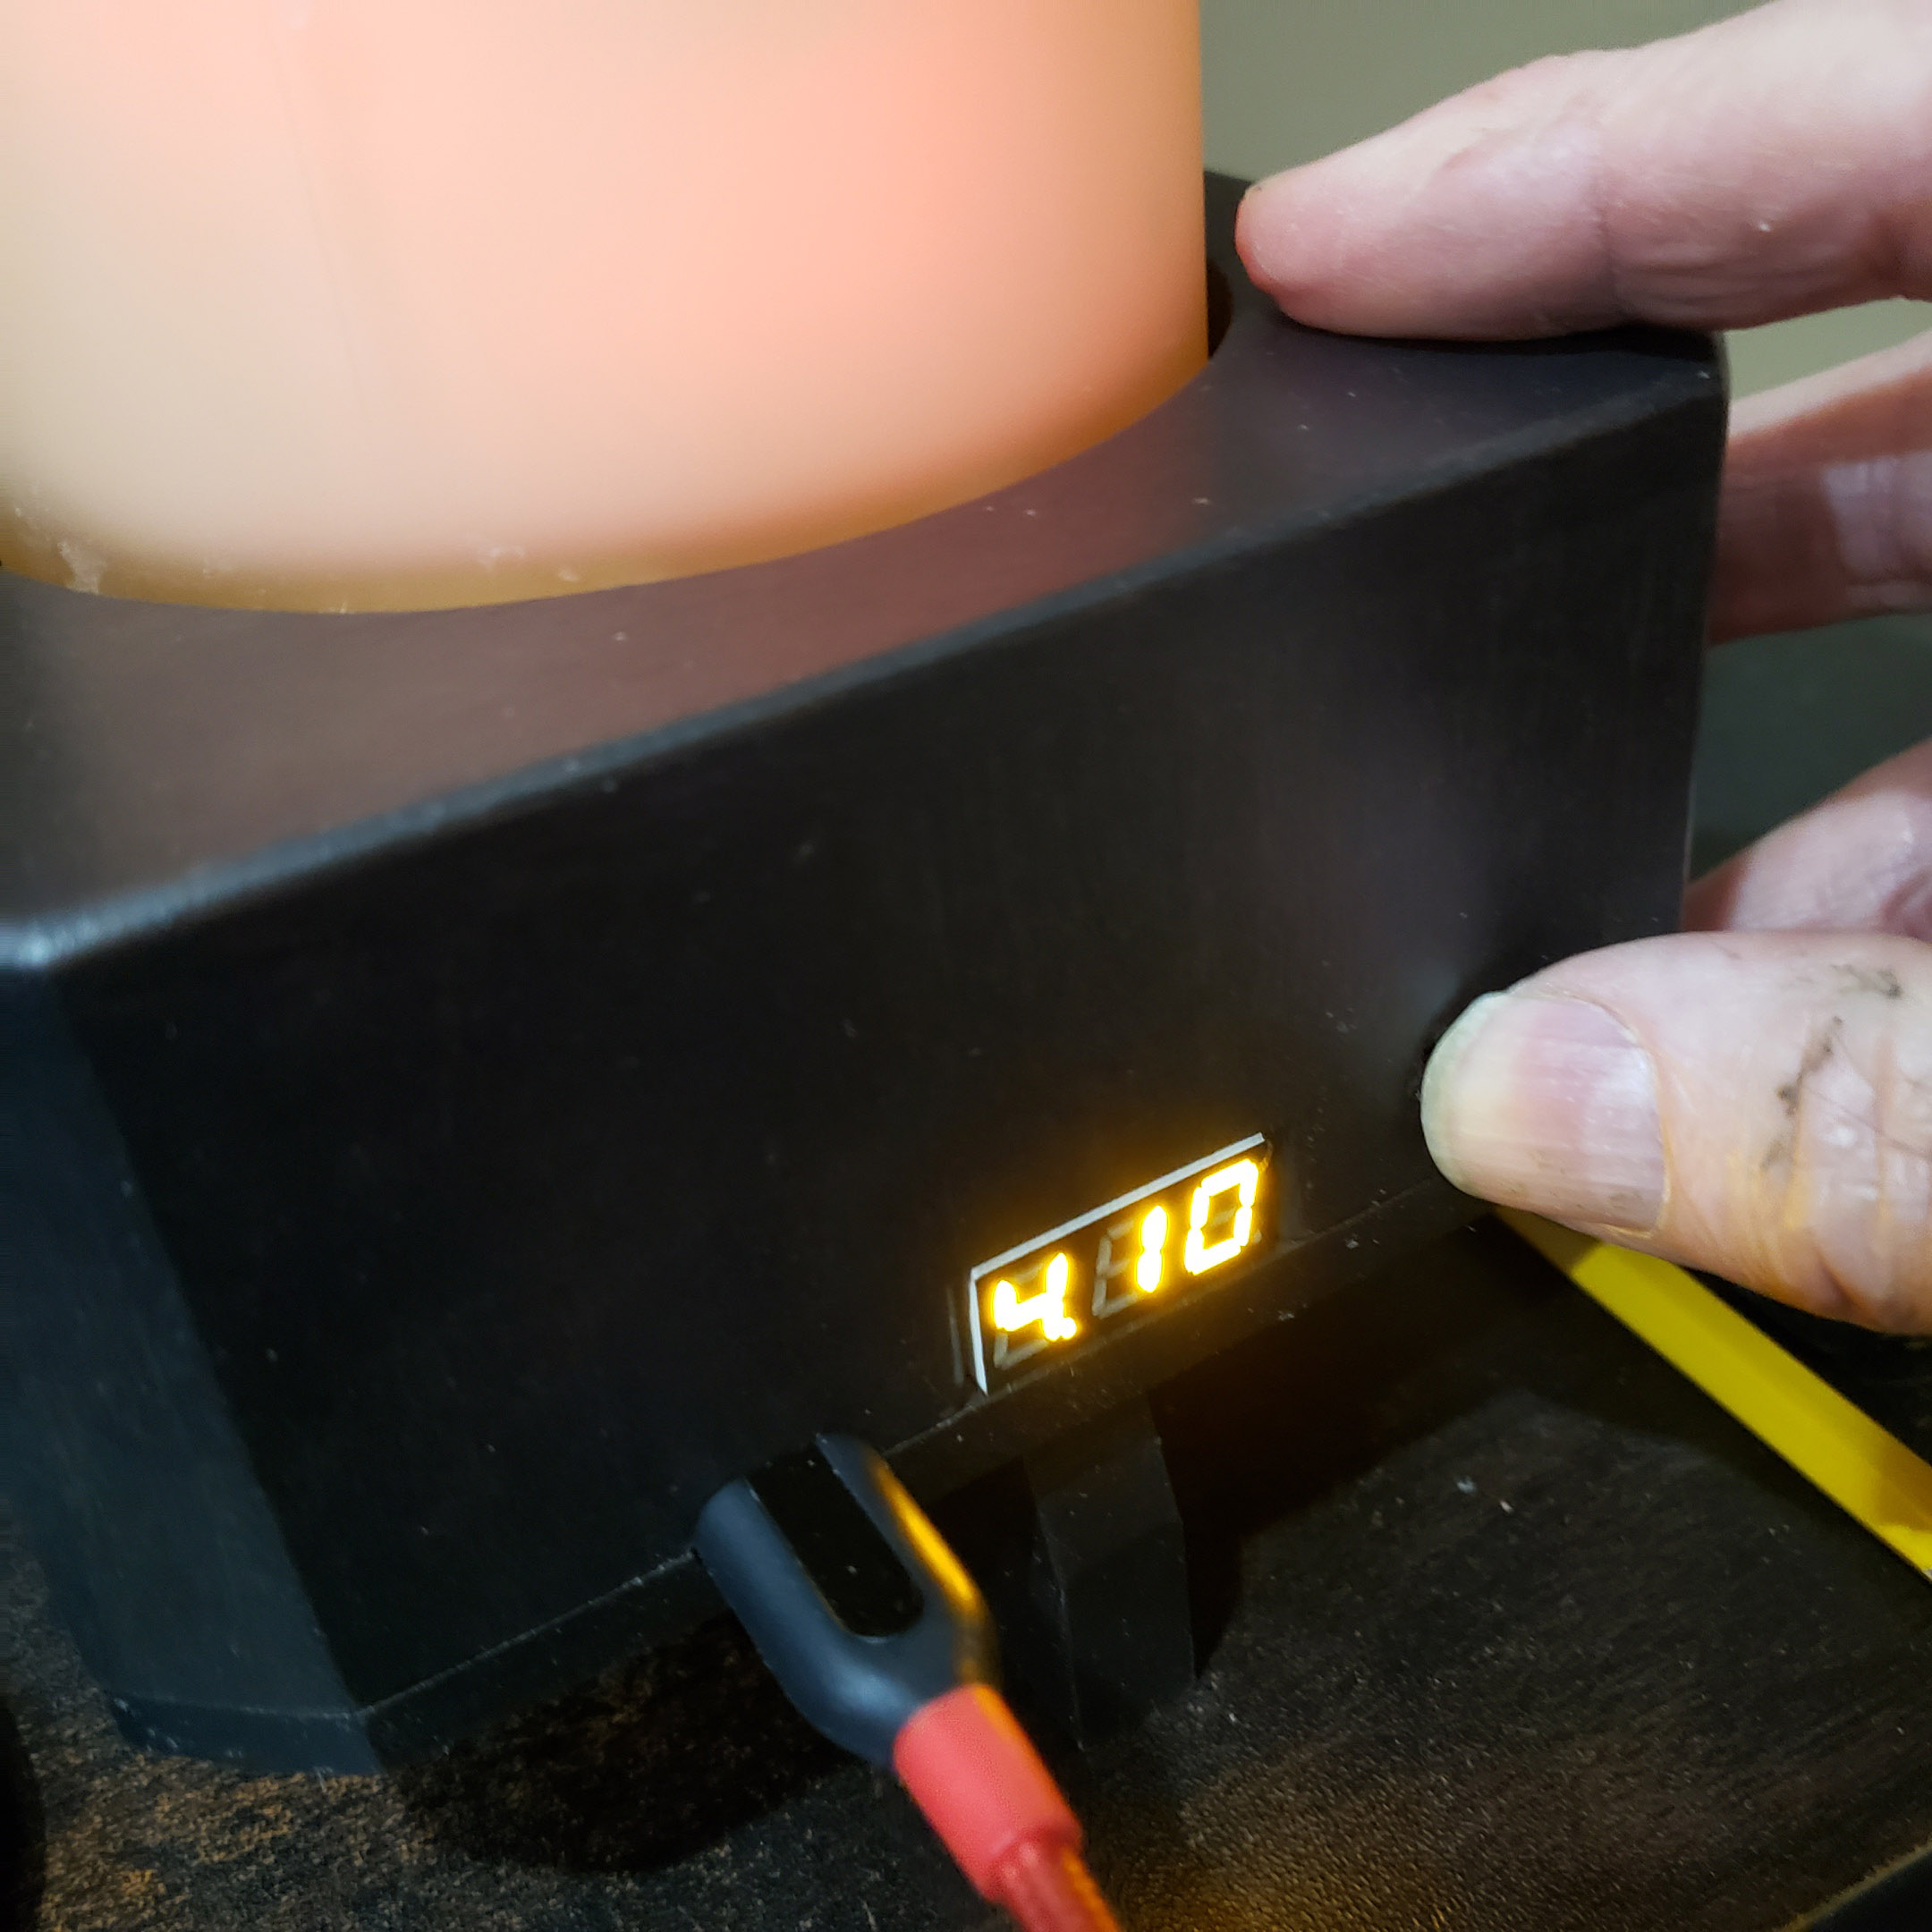
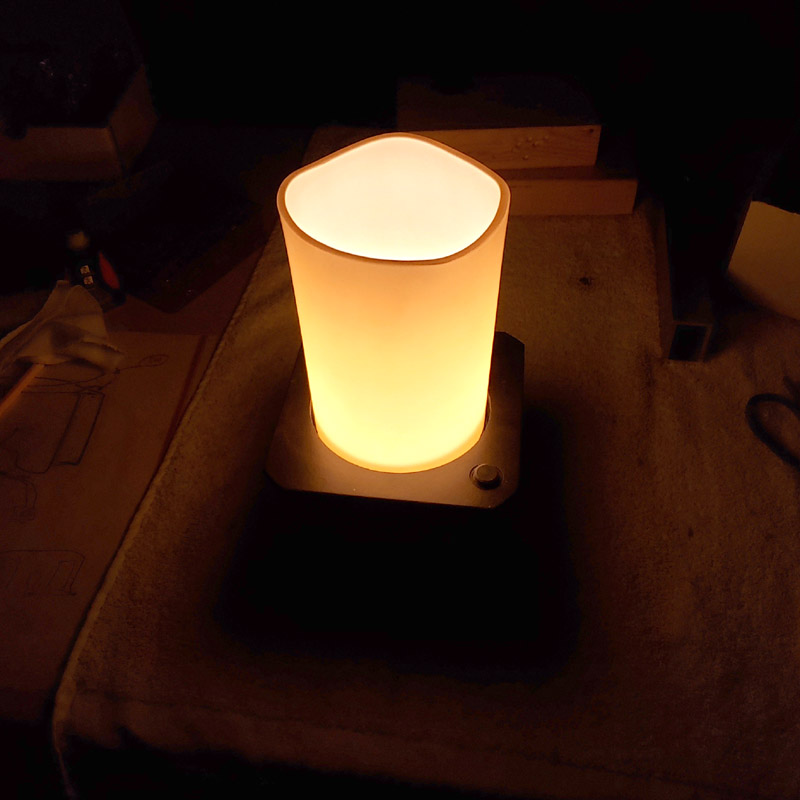
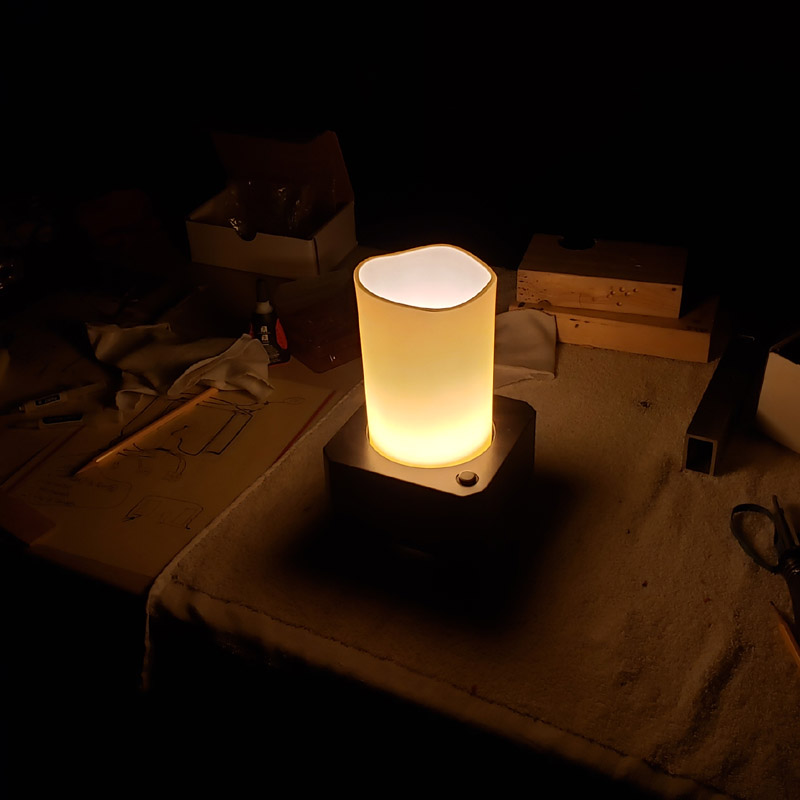
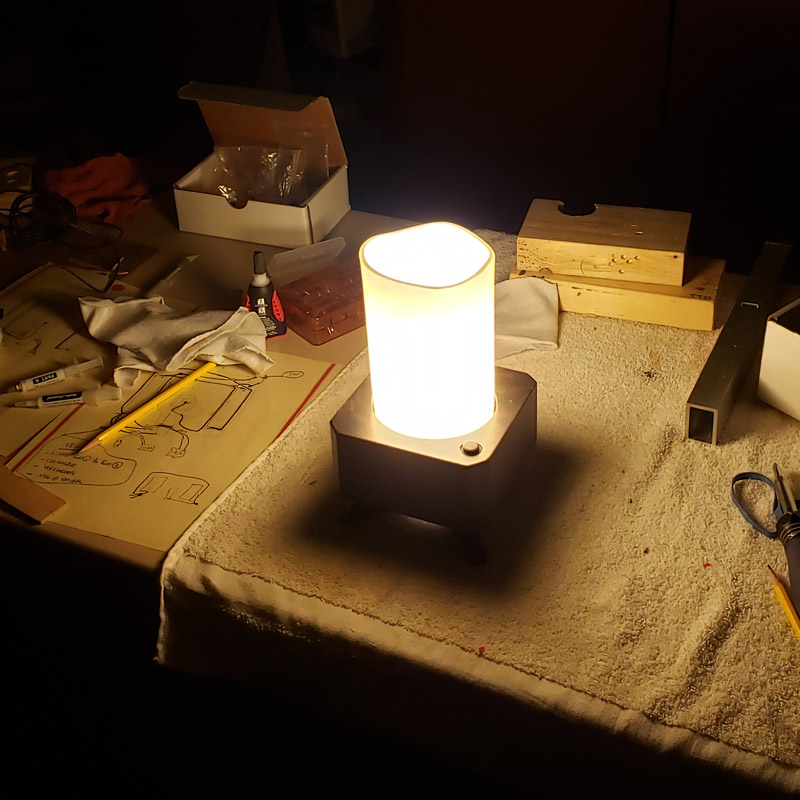
This was to be a Christmas gift, however, it is now planned to be a late January birthday gift. Still not finished though. I am awaiting two small parts. hey are scheduled to be here in two days time.
It began as glued up alder

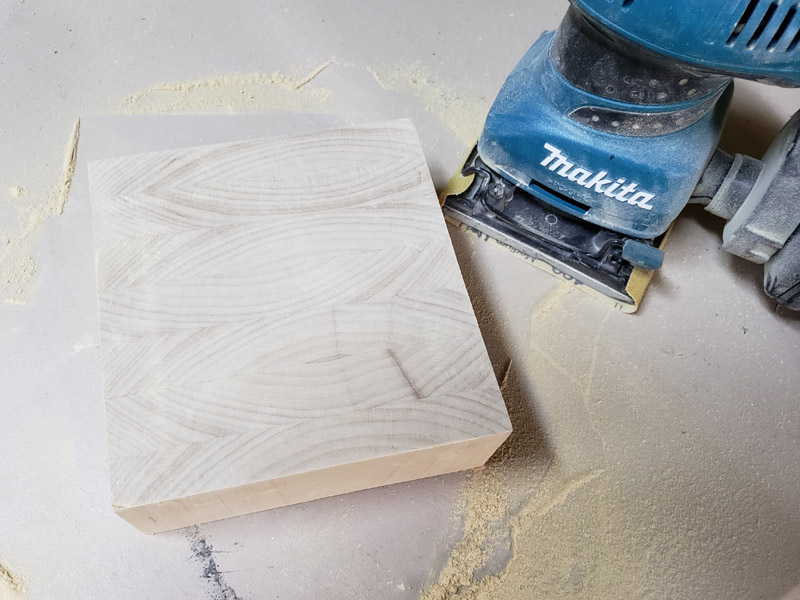
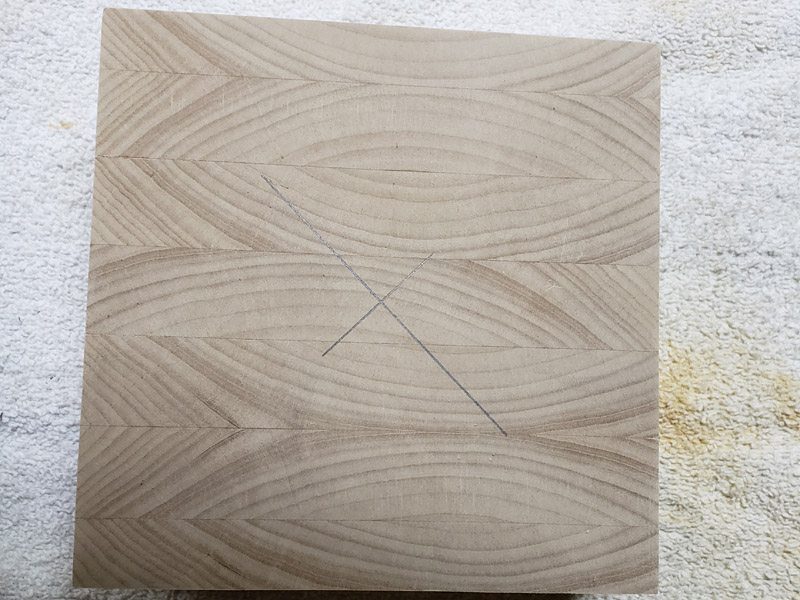
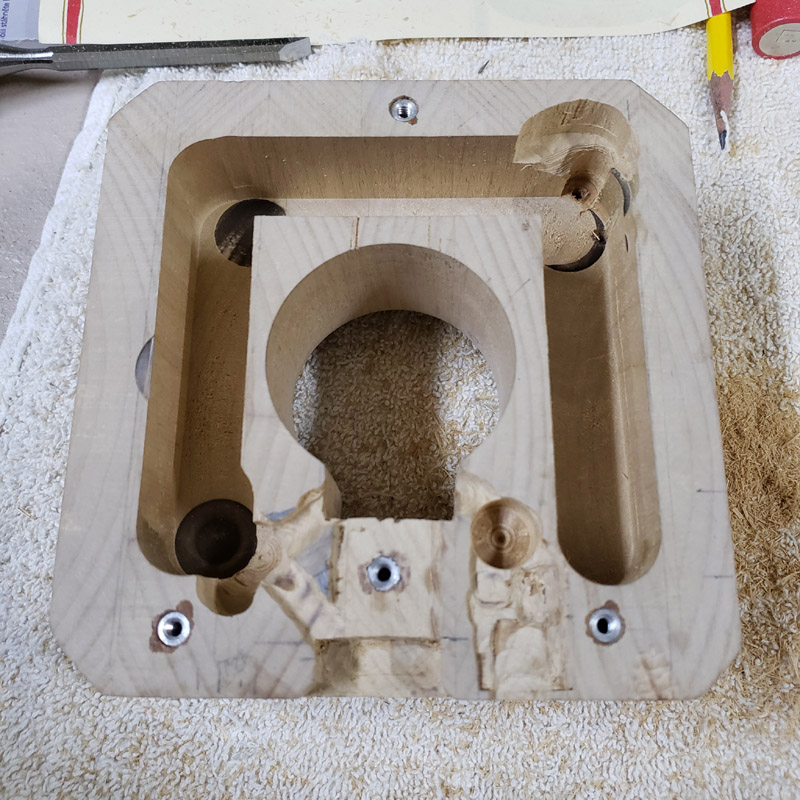
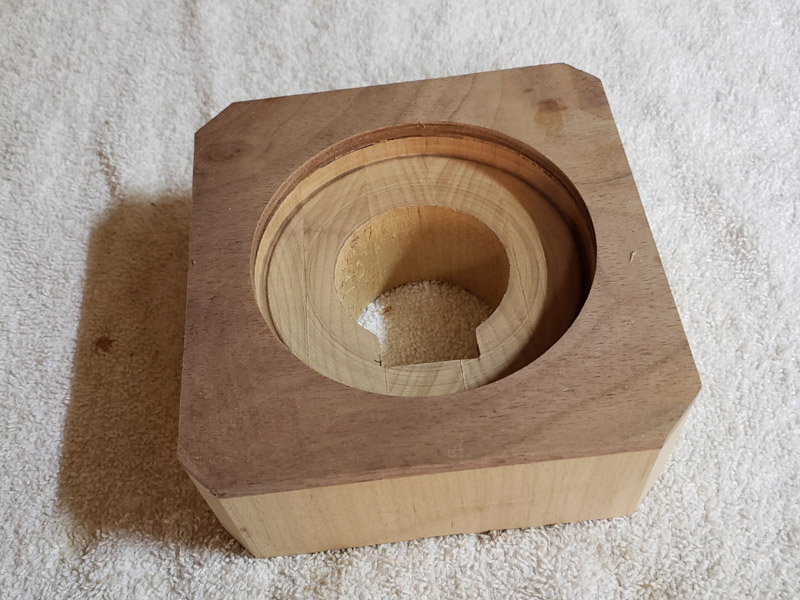
Once the wood was glued up I needed a large hole, drilled part ways through like a recess.
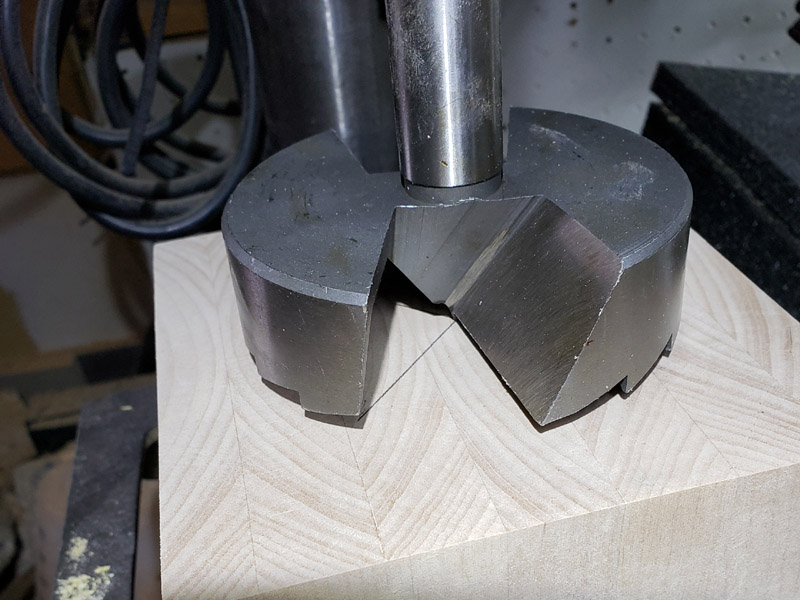
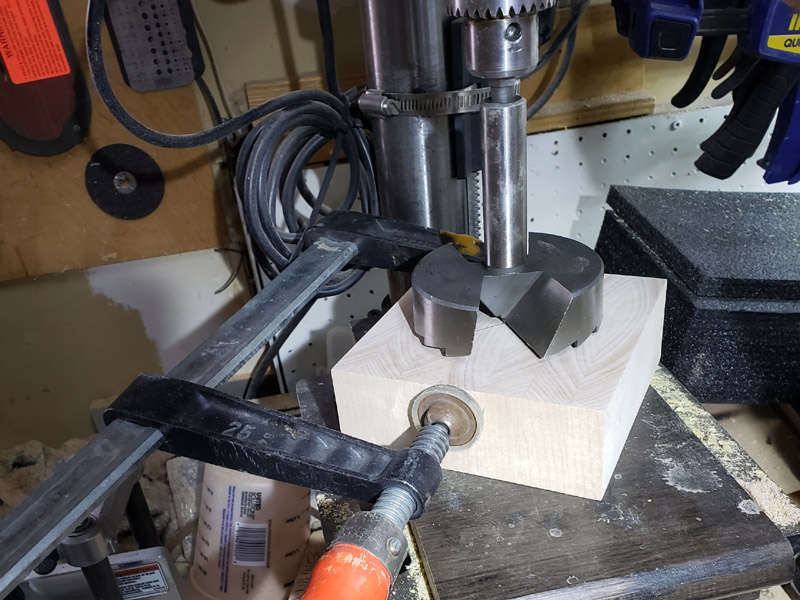
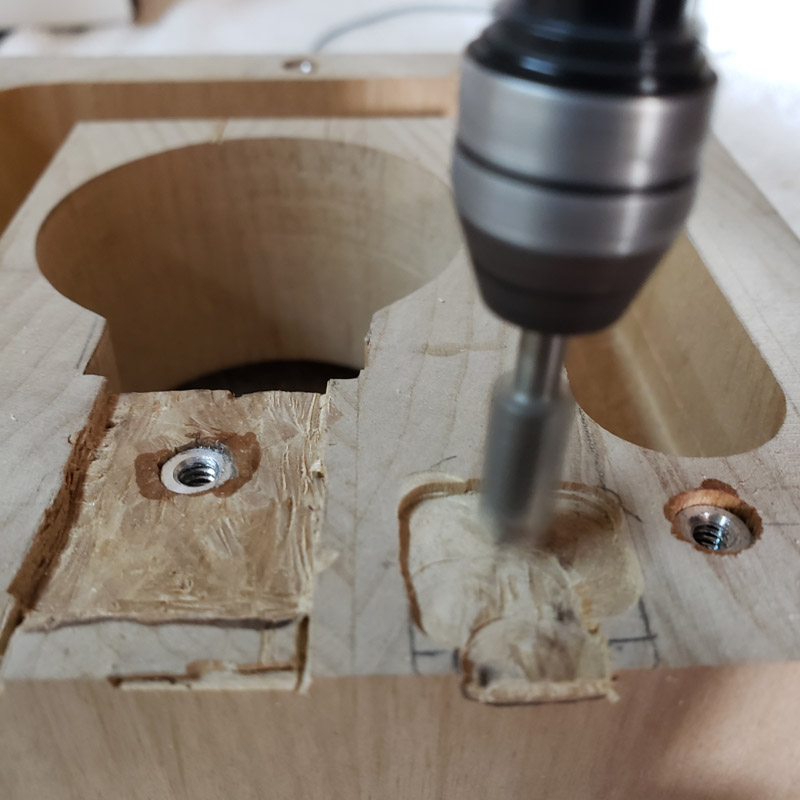
I ran into a glitch. The plan was to drill the 3-3/4” recess into the glued up end grain. I had an issue with the end grain not being sturdy enough the hold the drill point as I started to drill. The drill wandered a little and made a mess. After some thought I decided to laminate a 1/4” piece of stock onto the end grain.
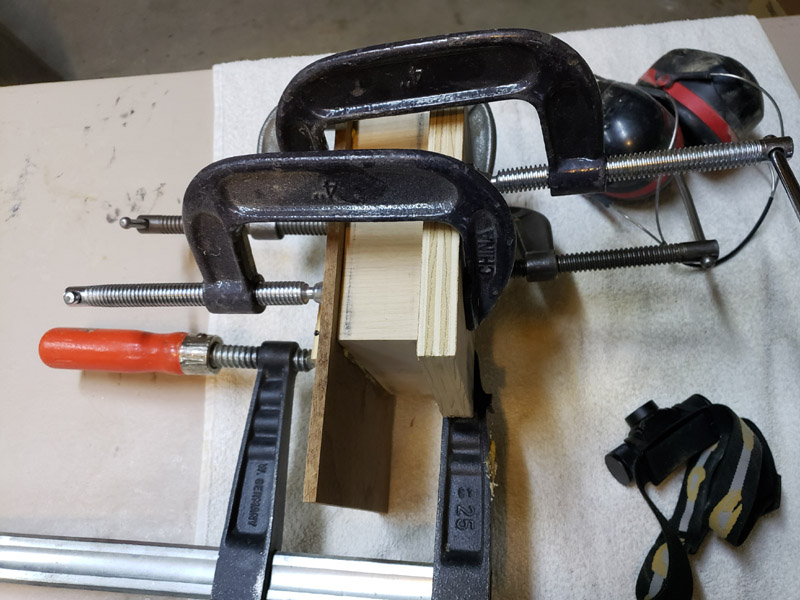
I drilled the hole in the 1/4” stock before laminating and then used that to guide the bit as I completed the recess in the end garin of the alder.
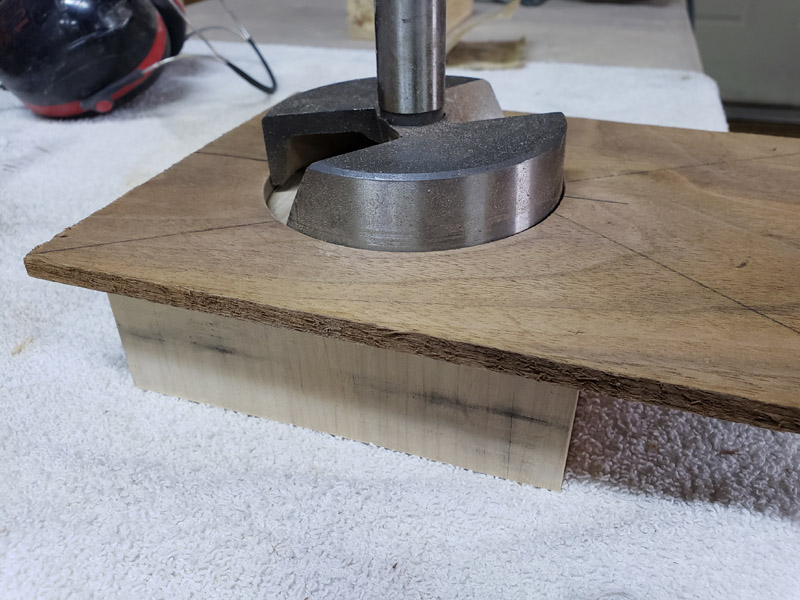
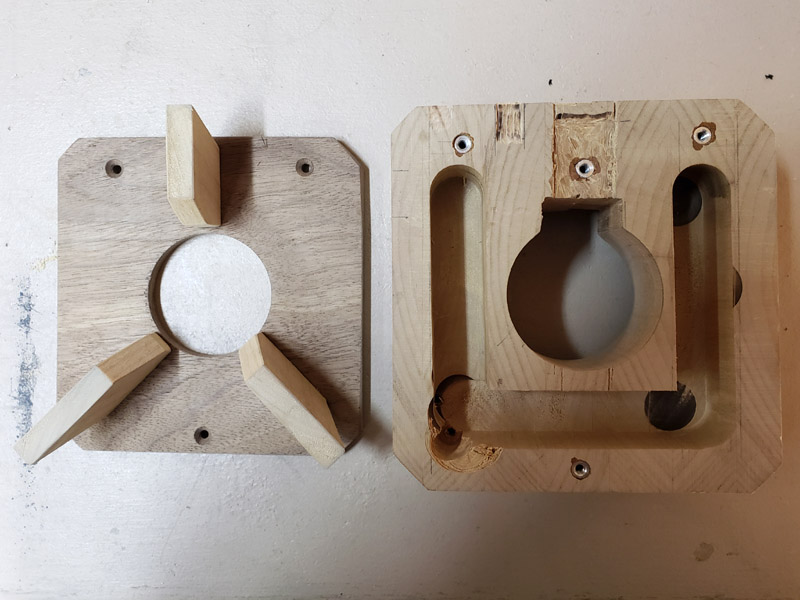
I used scraps to make up a jig to hold the work and guide the router for the next step. I also hole-sawed a 2” diamter hole centered on the larger recess. The 2” hole goes completely through the wood block.
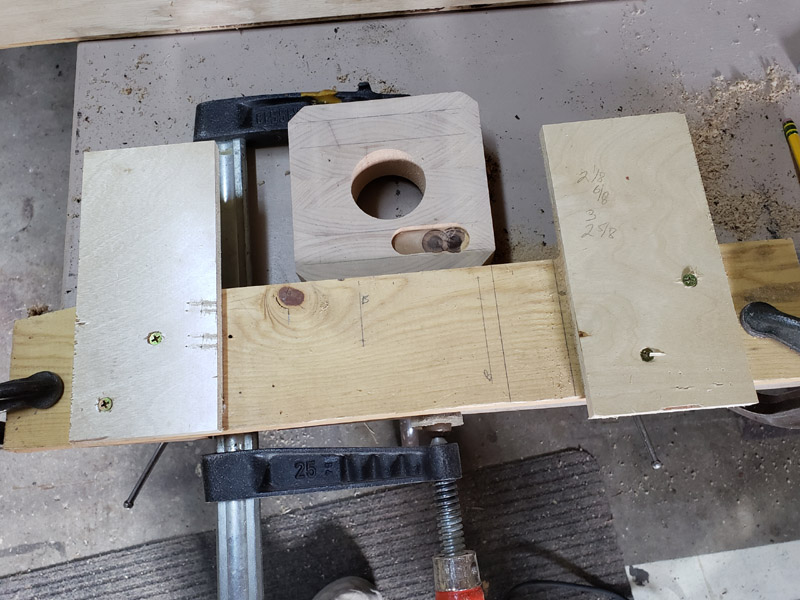
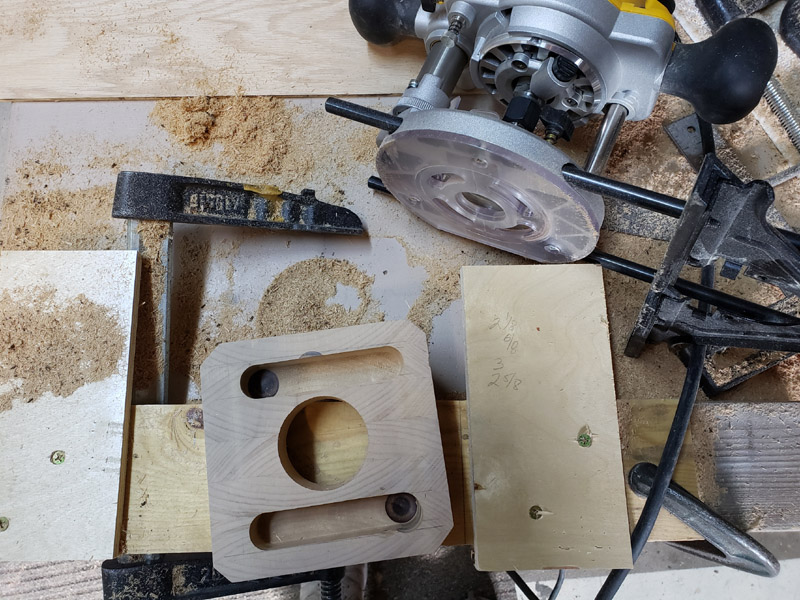
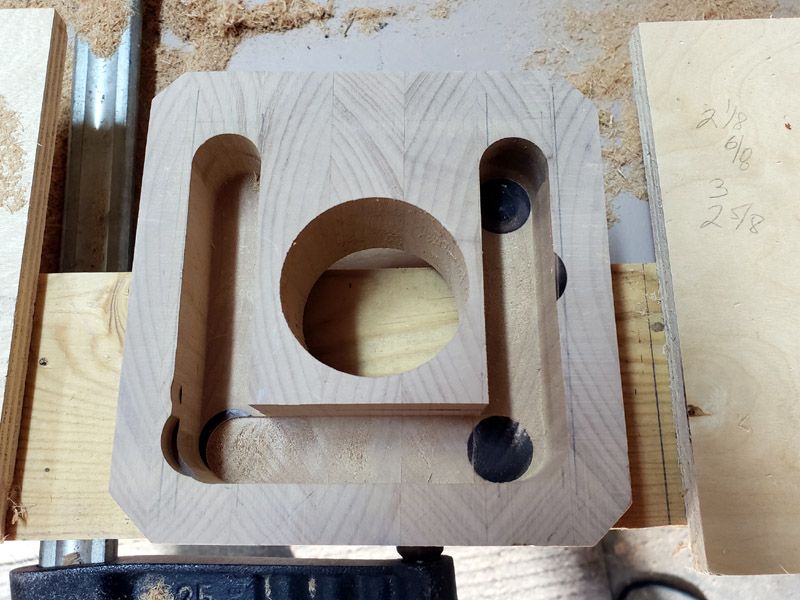
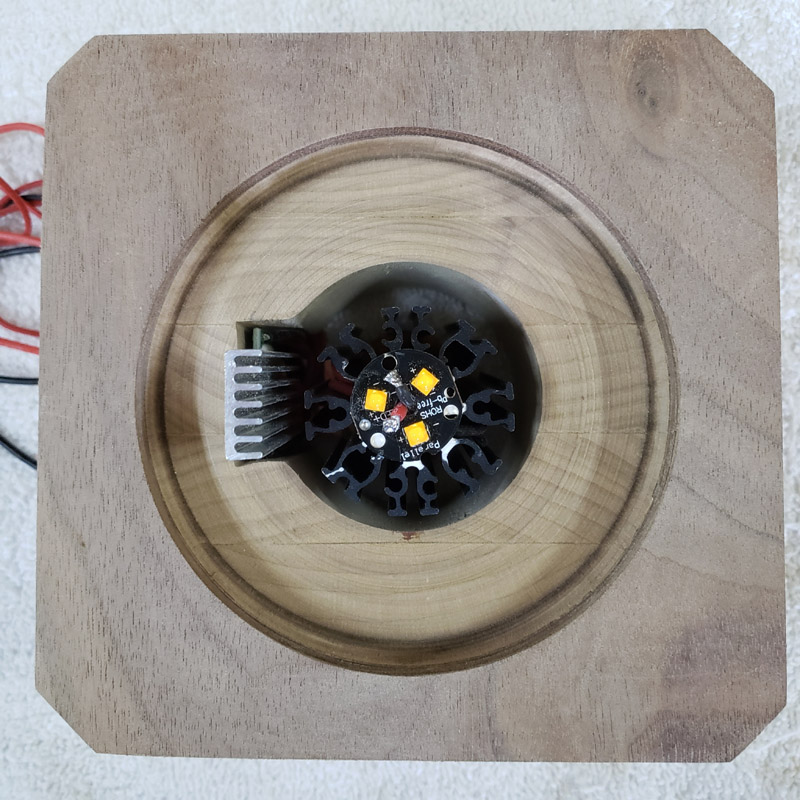
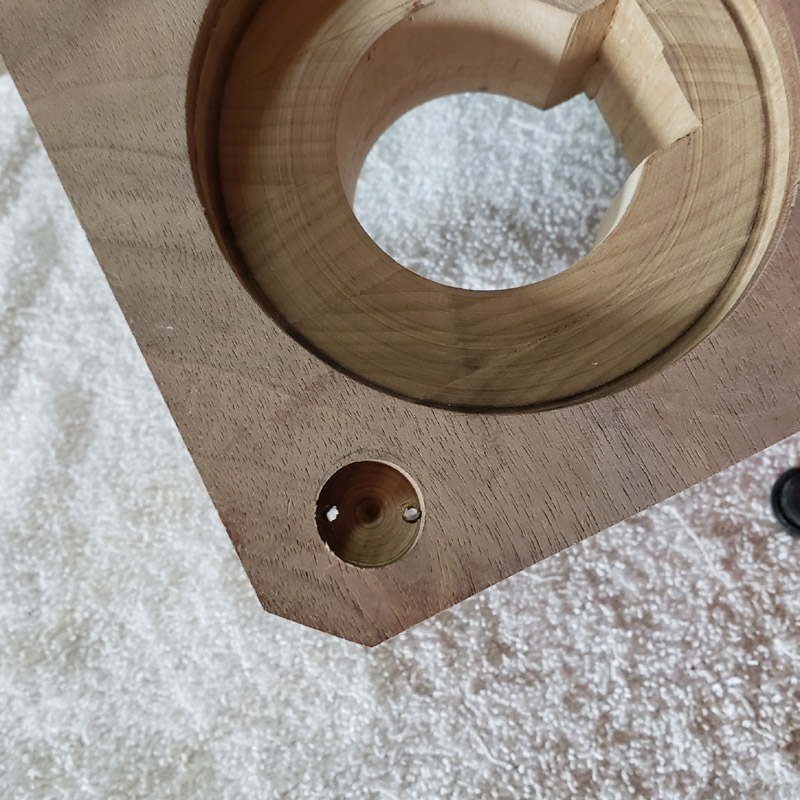
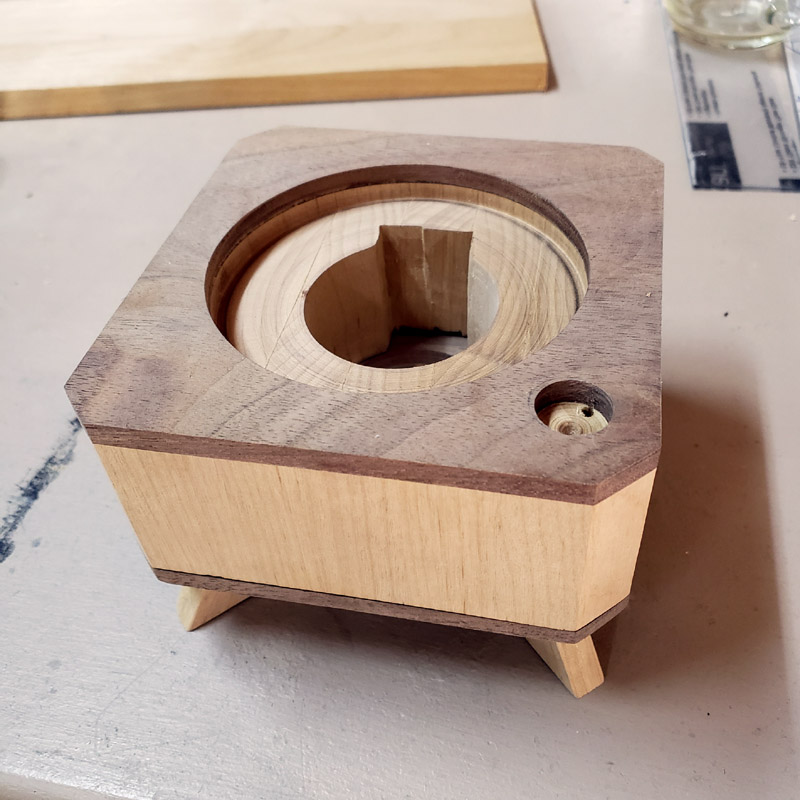
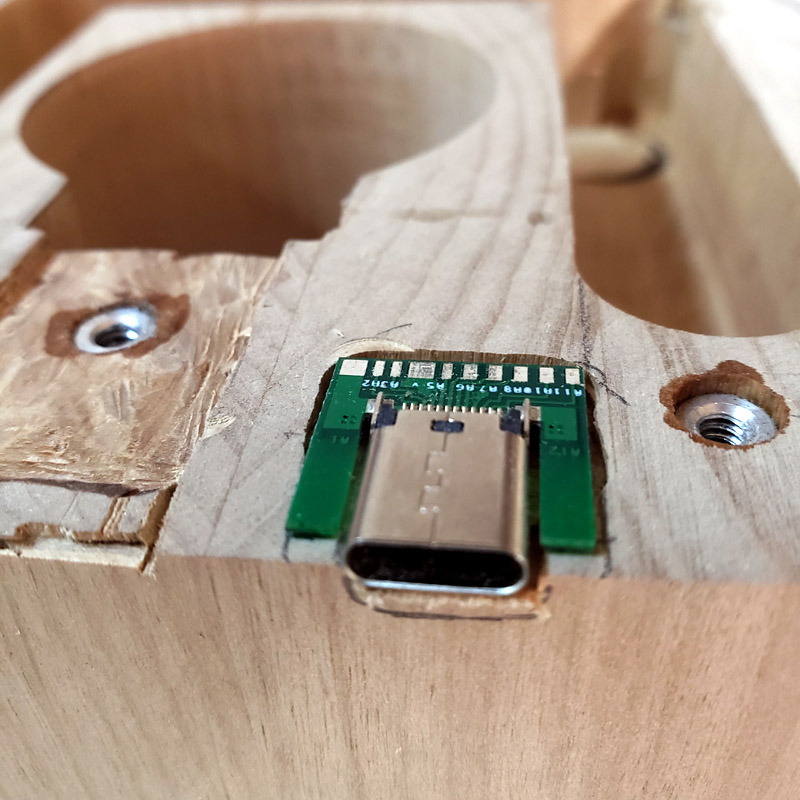
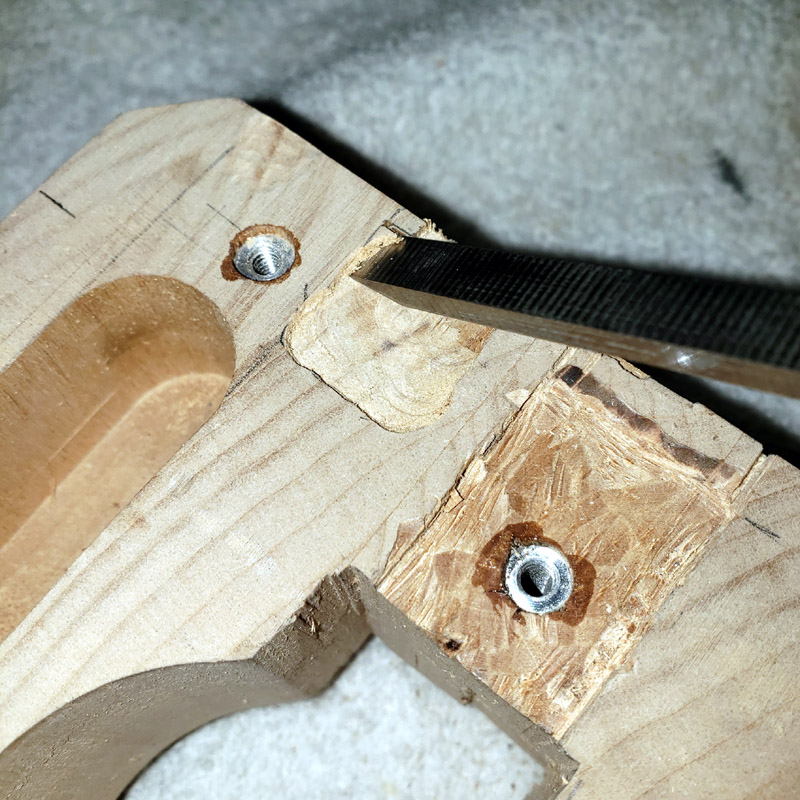
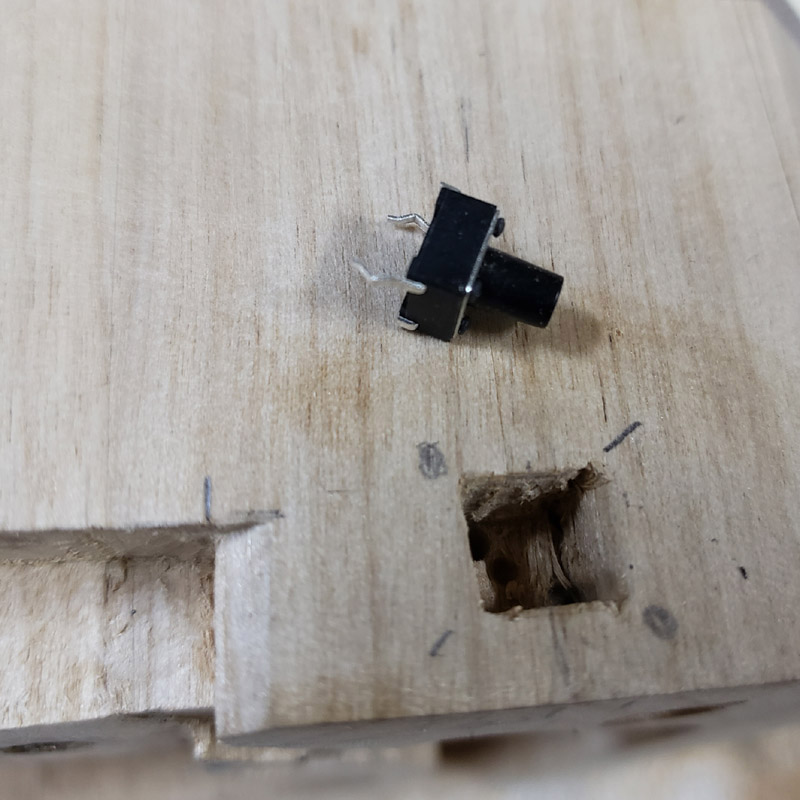
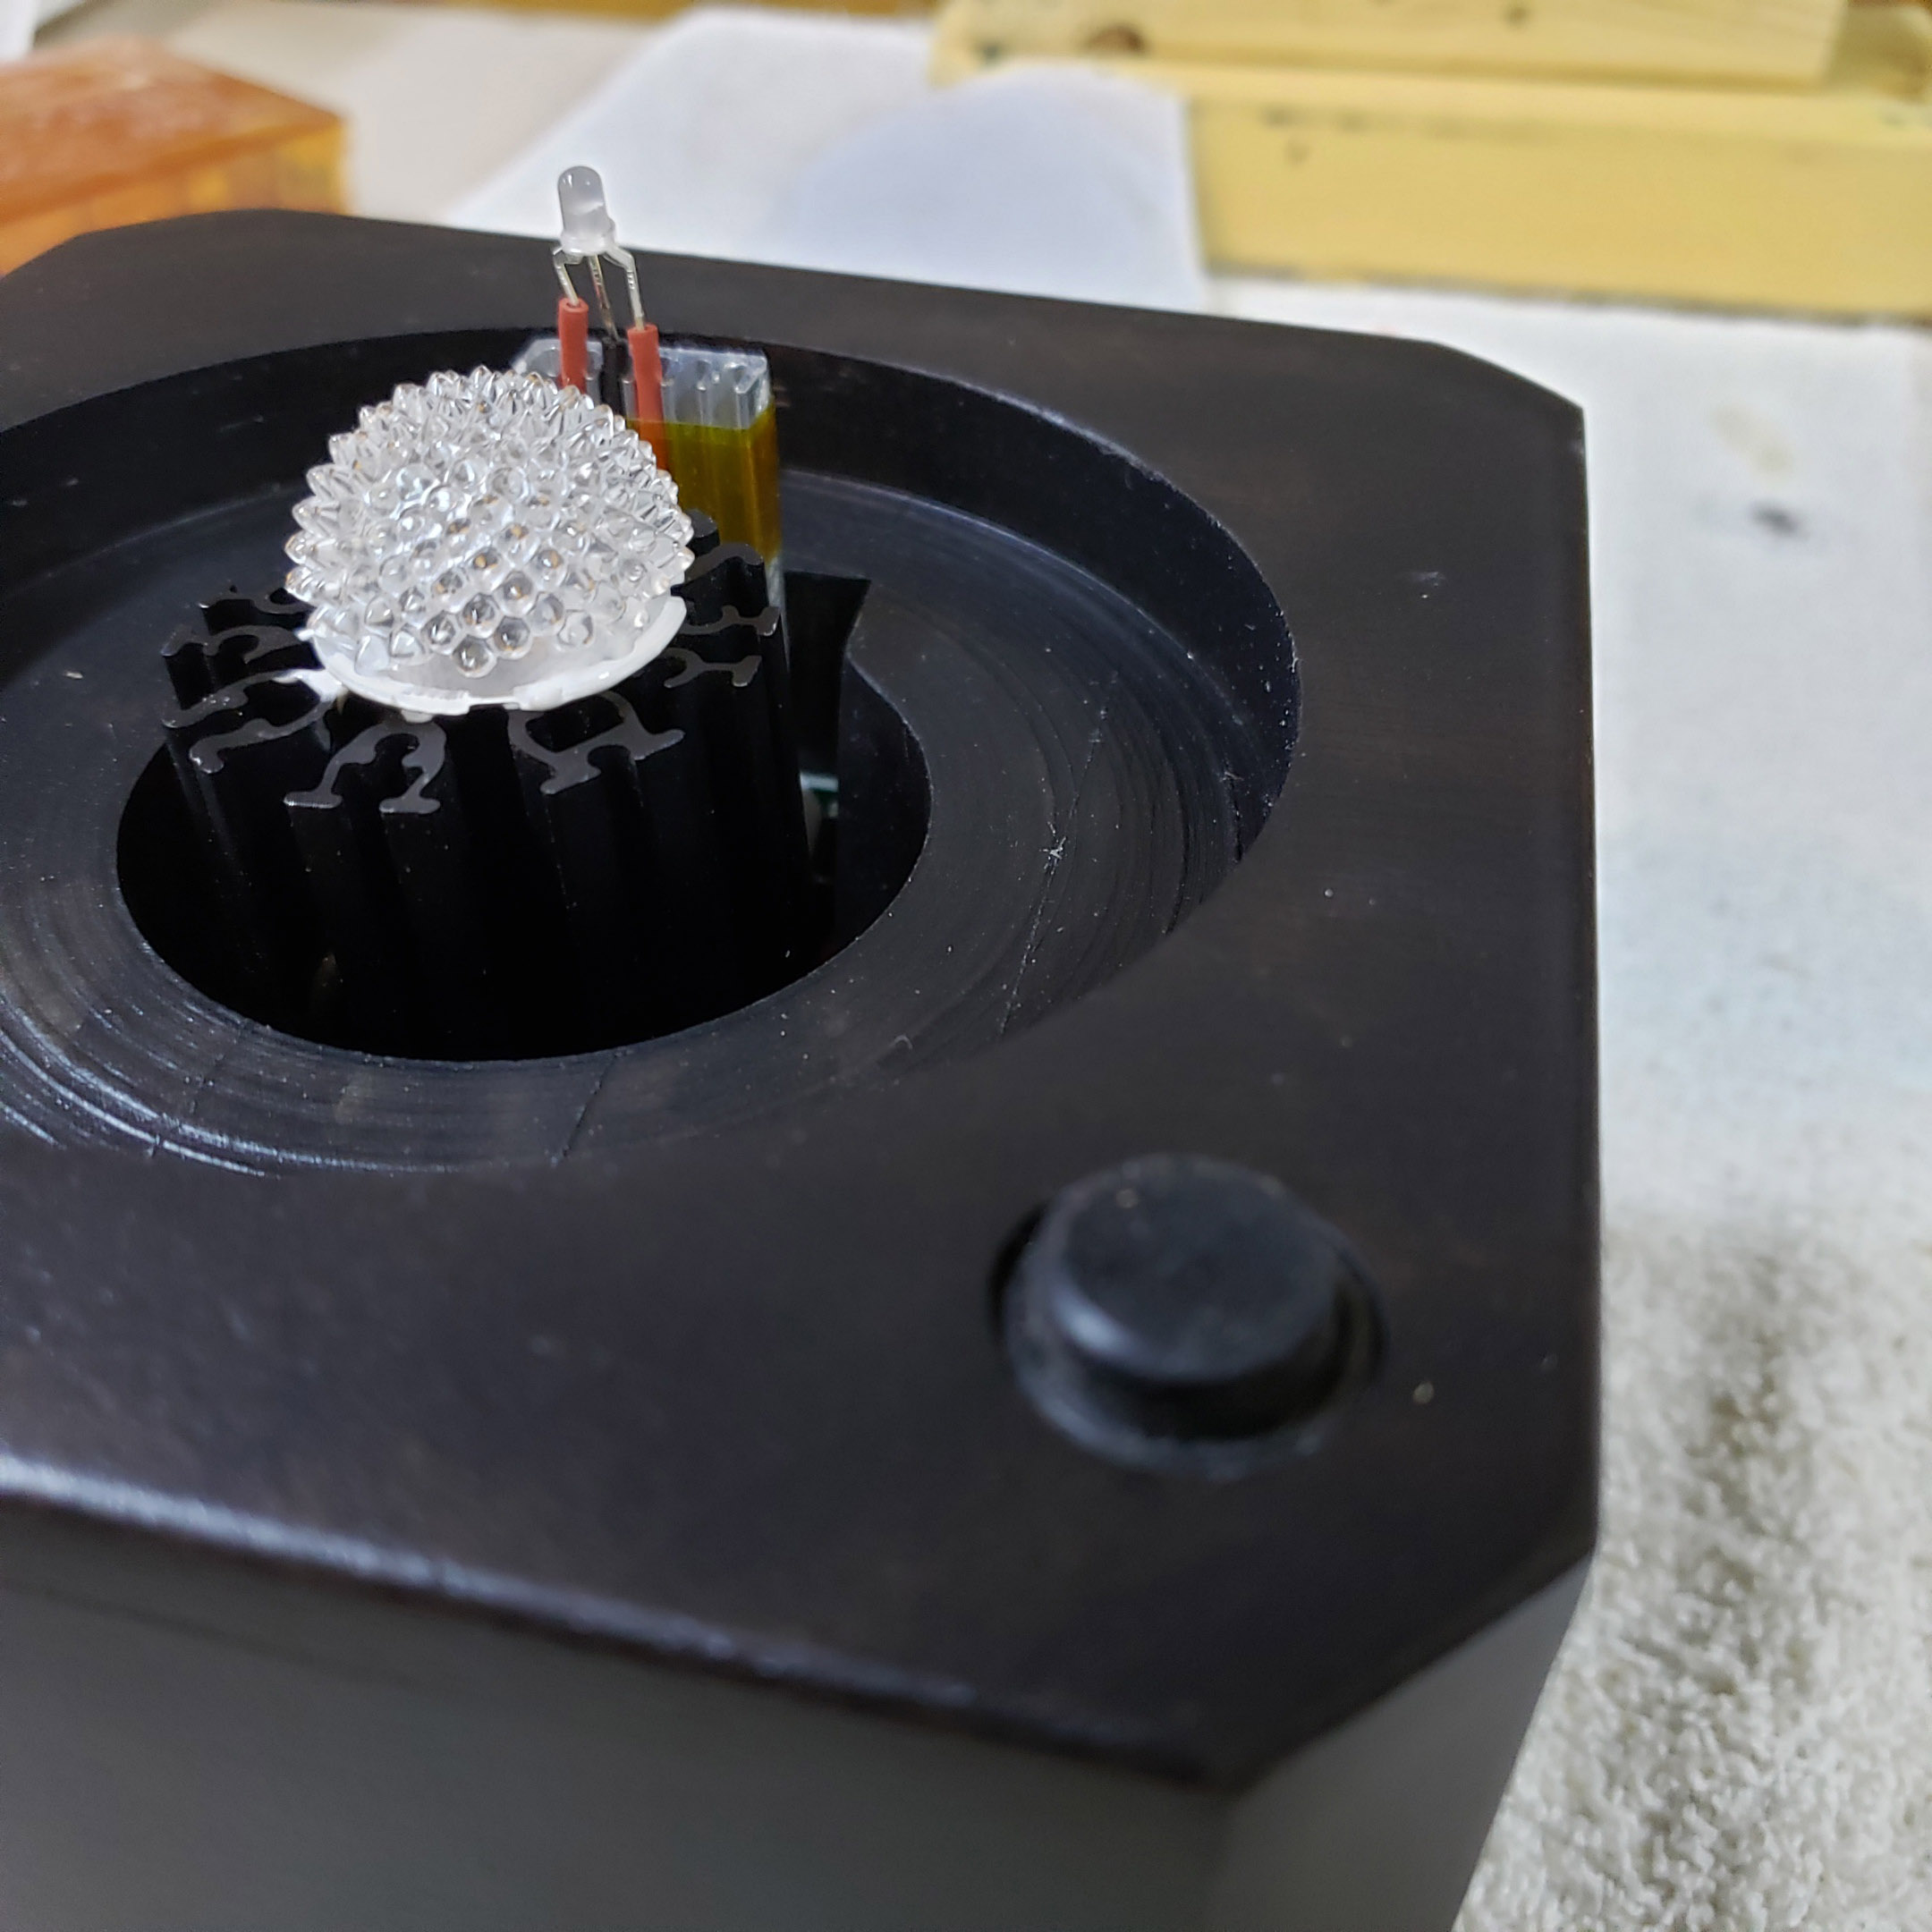
Here’s the top of the block showing the larger drilled recess and a slot I cut out with a handsaw and chisels.
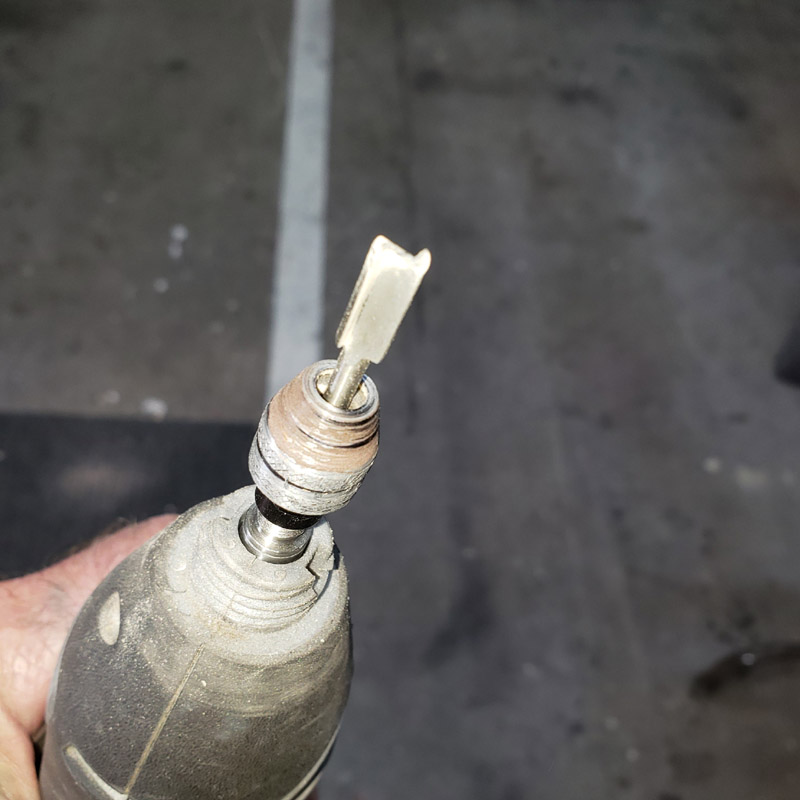
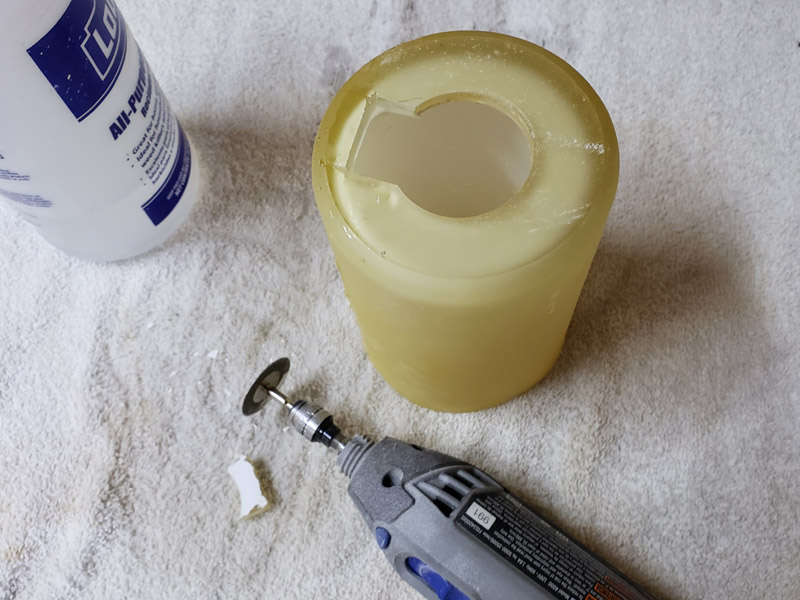
This is the bottom end of a glass lamp shade. It is a spare to the hanging lamps that we installed in my son’s home a year or two back. This was a spare leftover part. I had to cut a section out to clear some of this lamps inner pieces. I used the Dremel tool with a diamond cutoff wheel. Water for a lubricant and cooling.
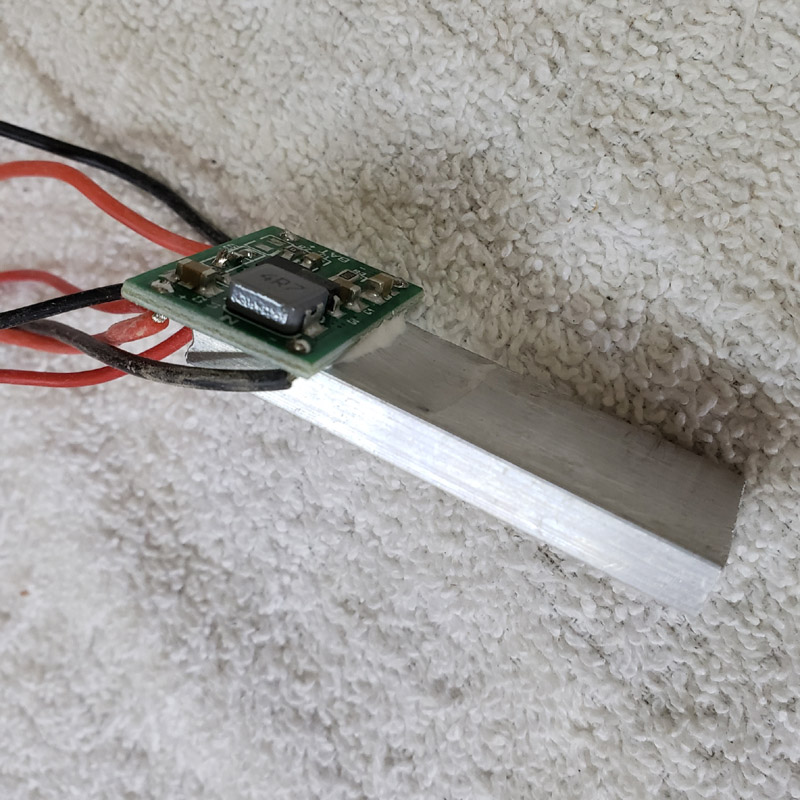
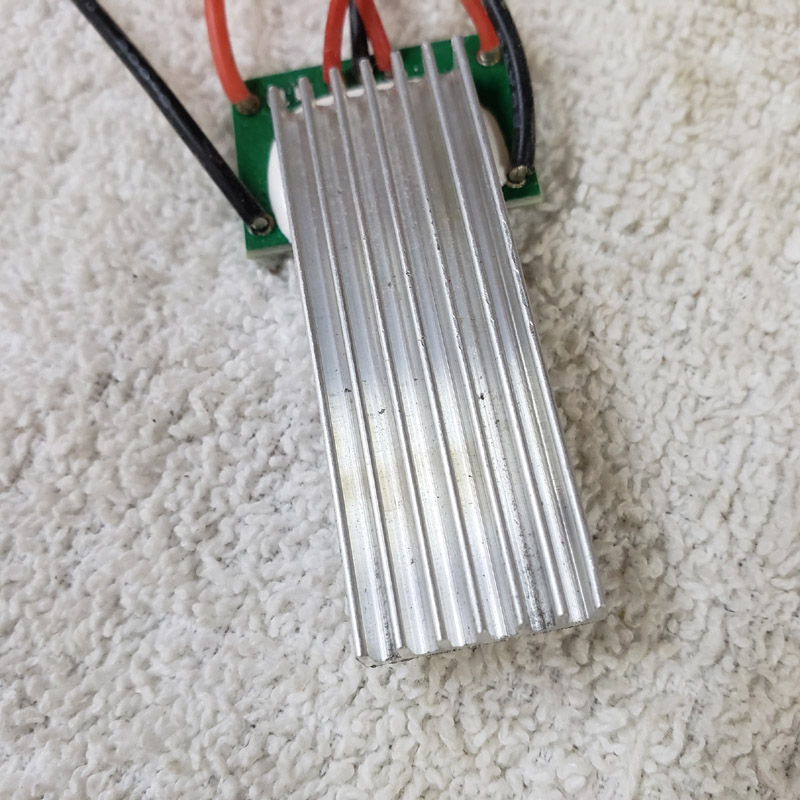
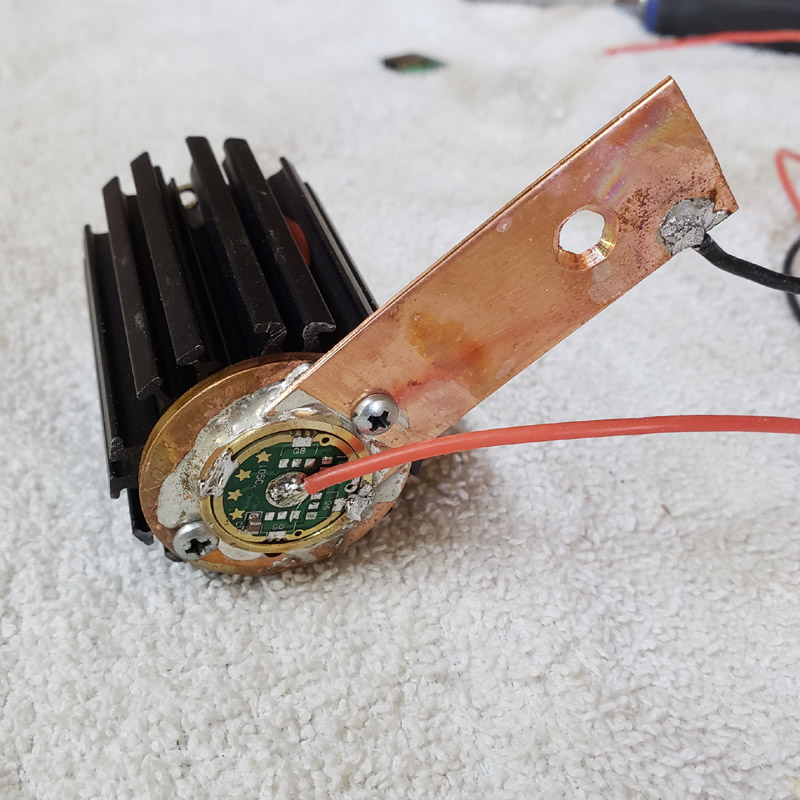
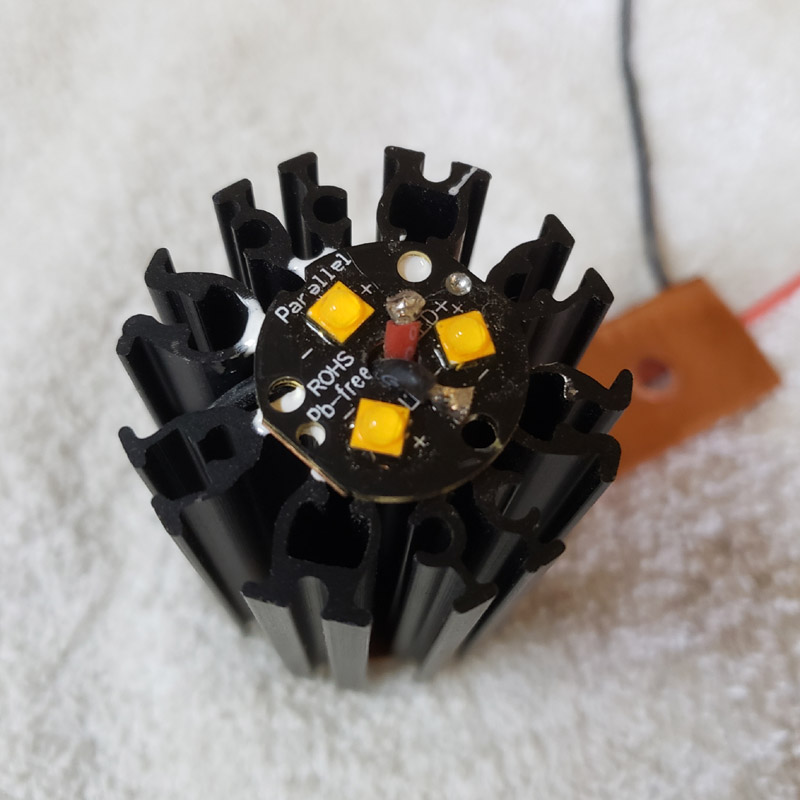
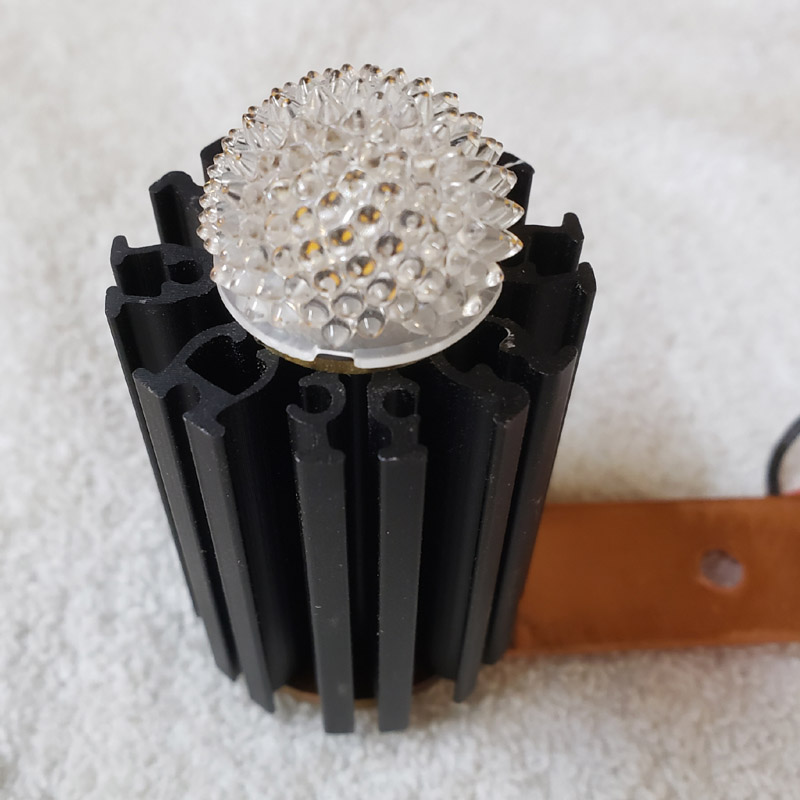
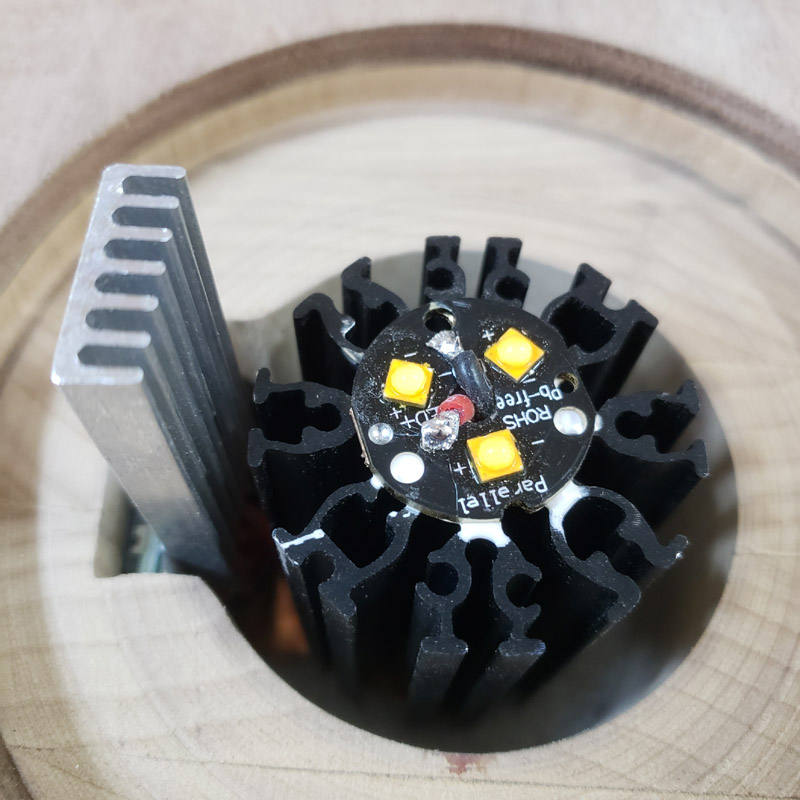
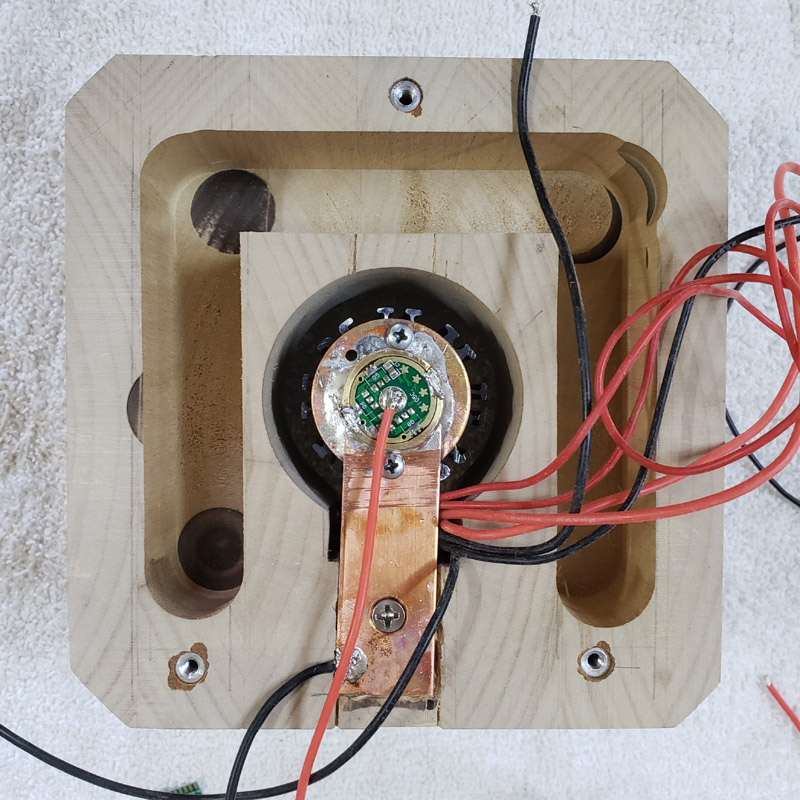
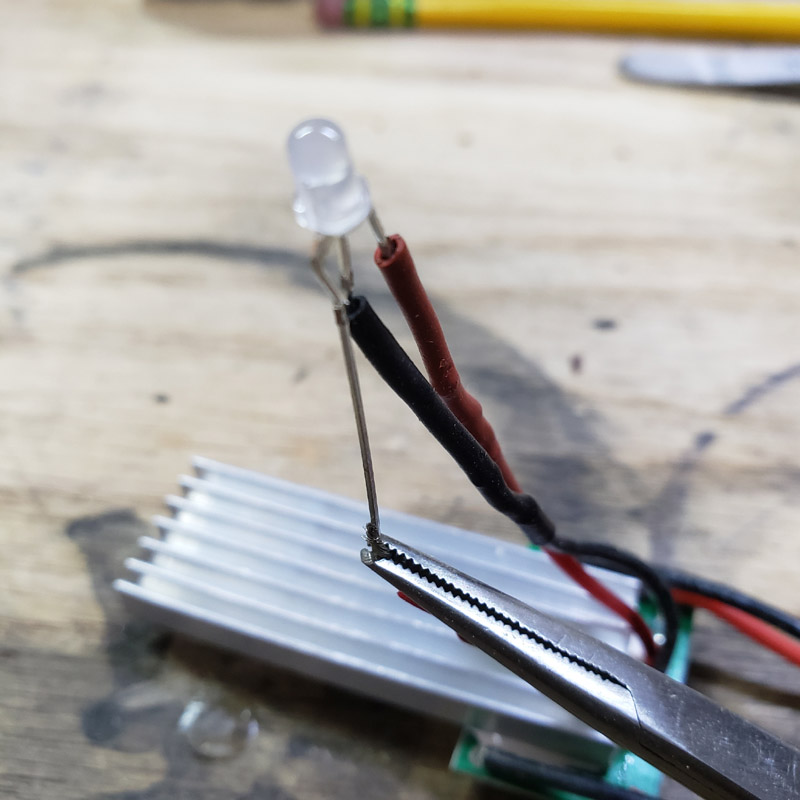
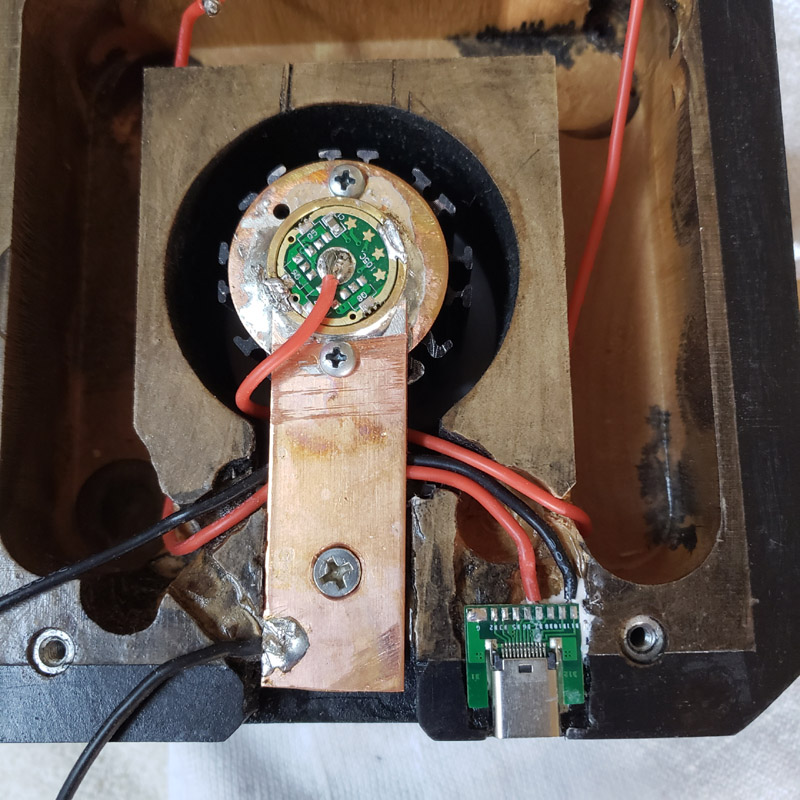
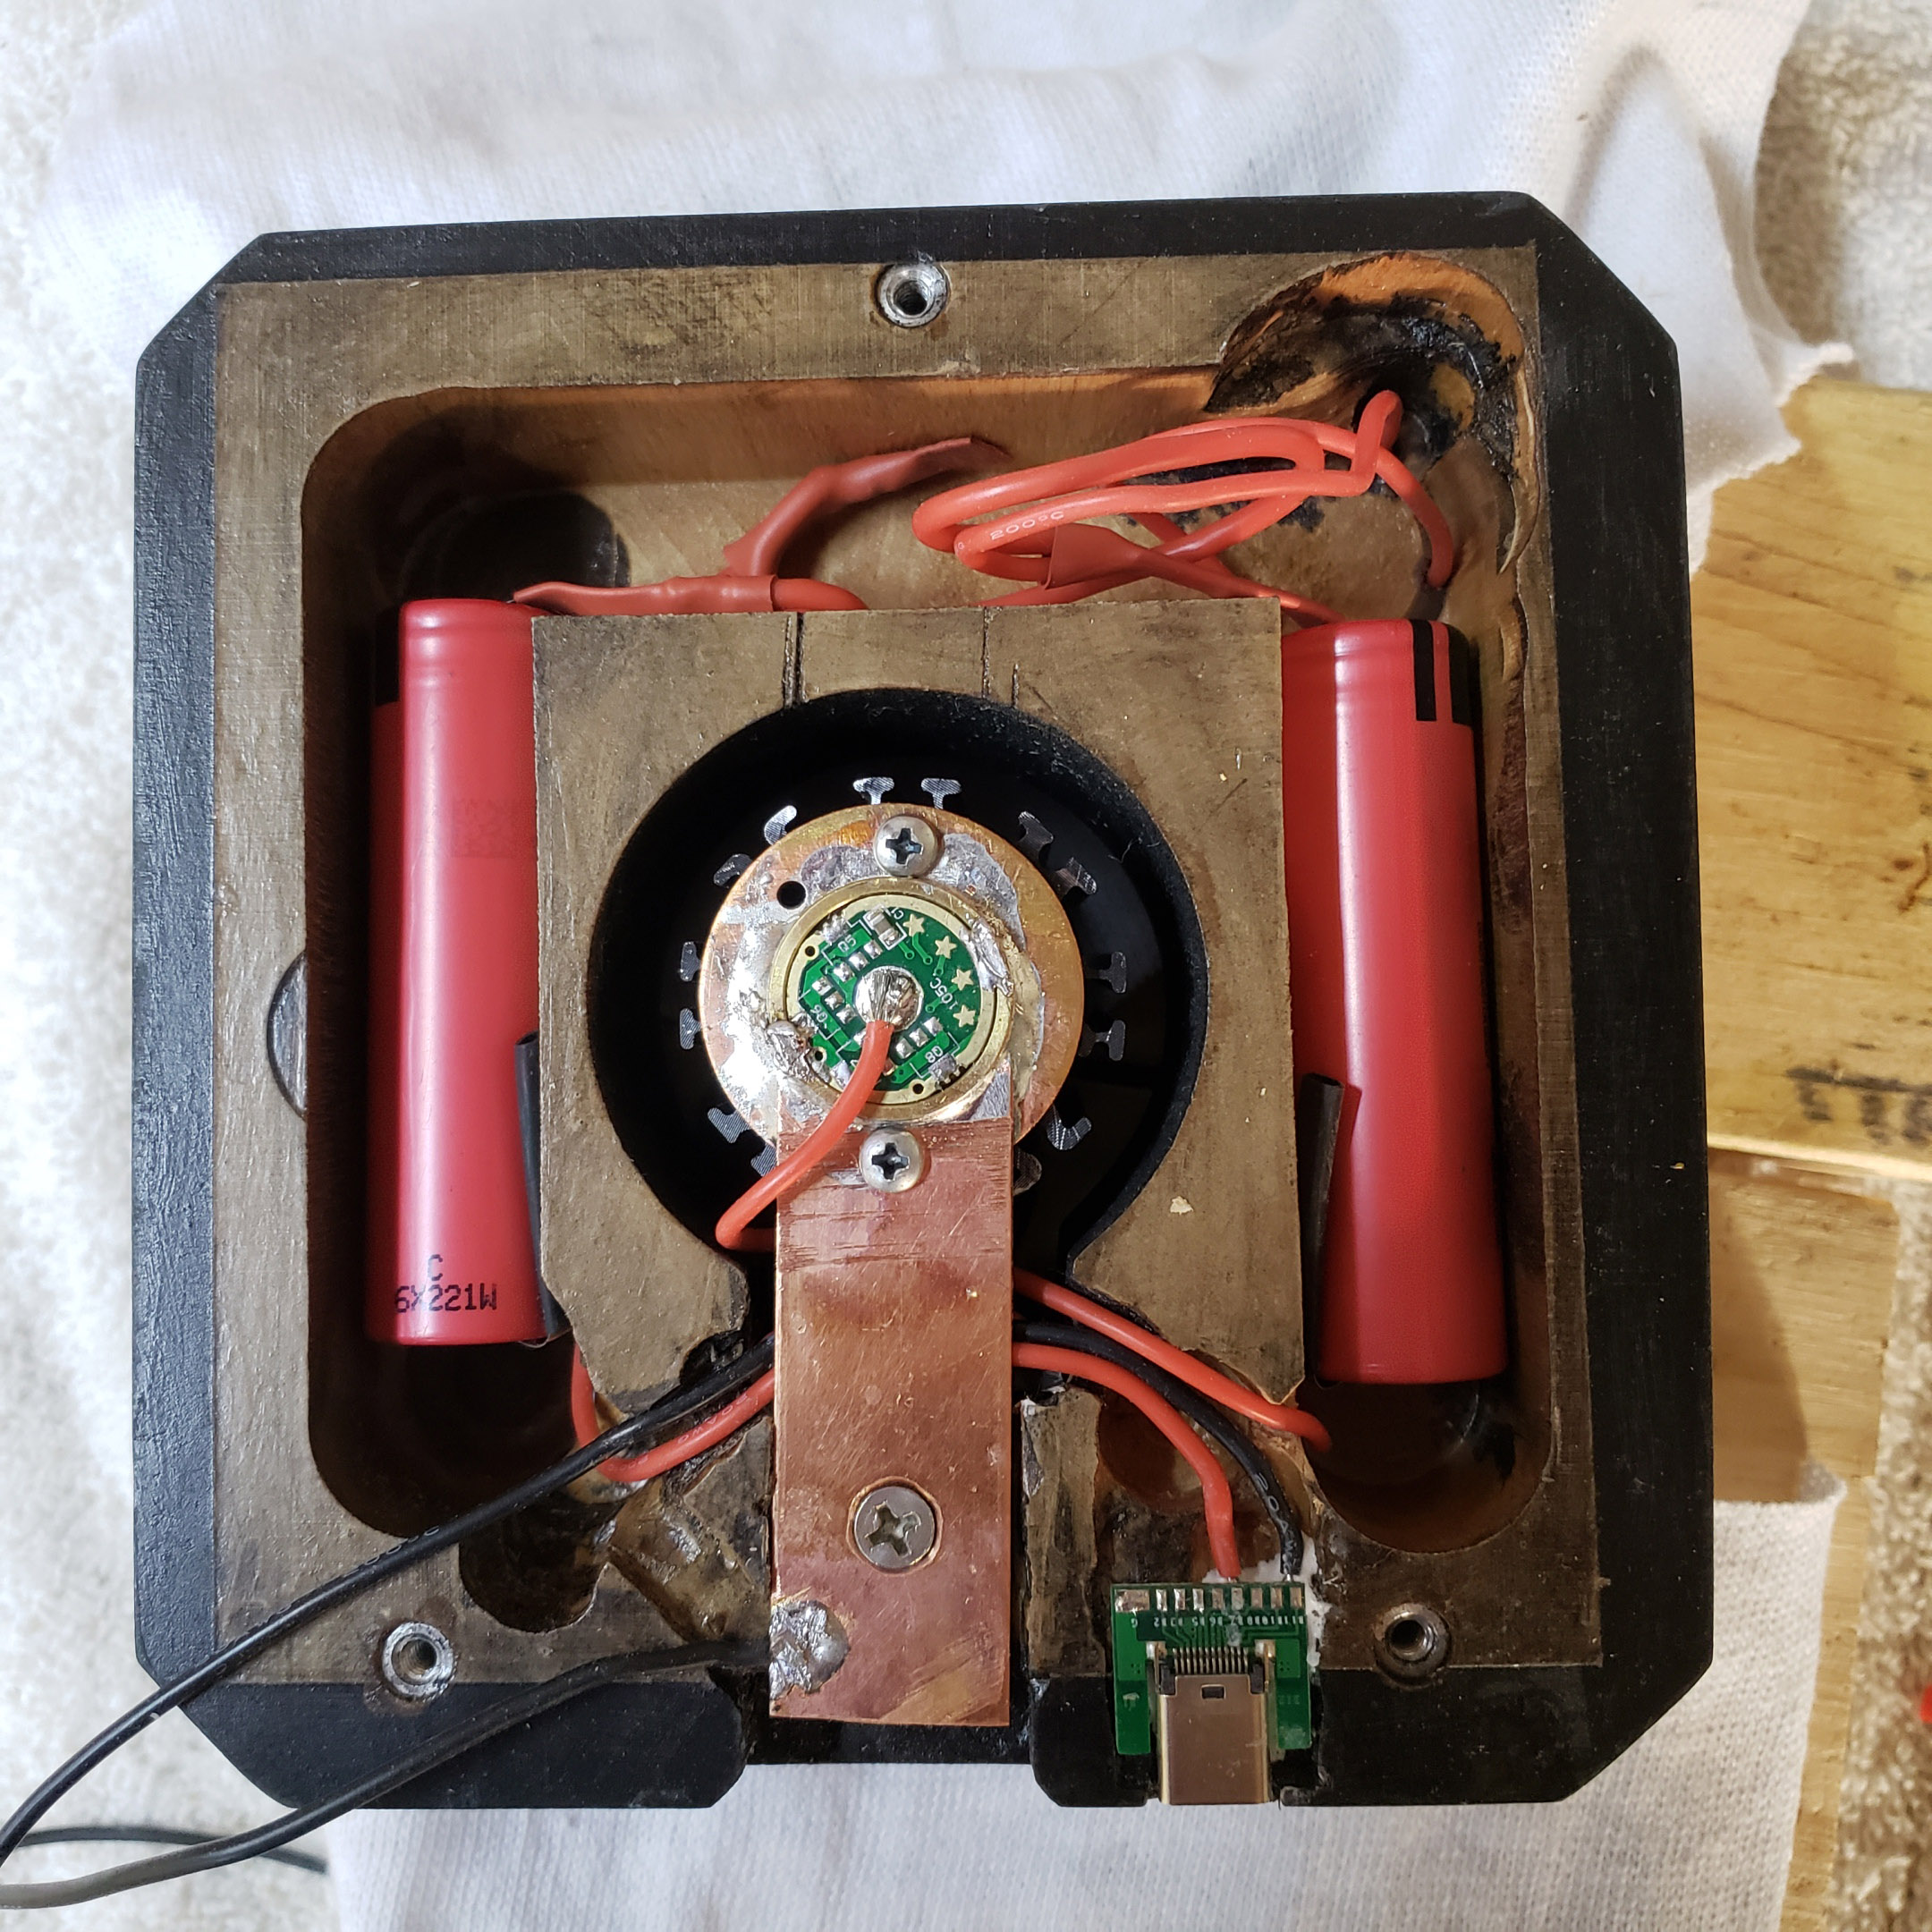
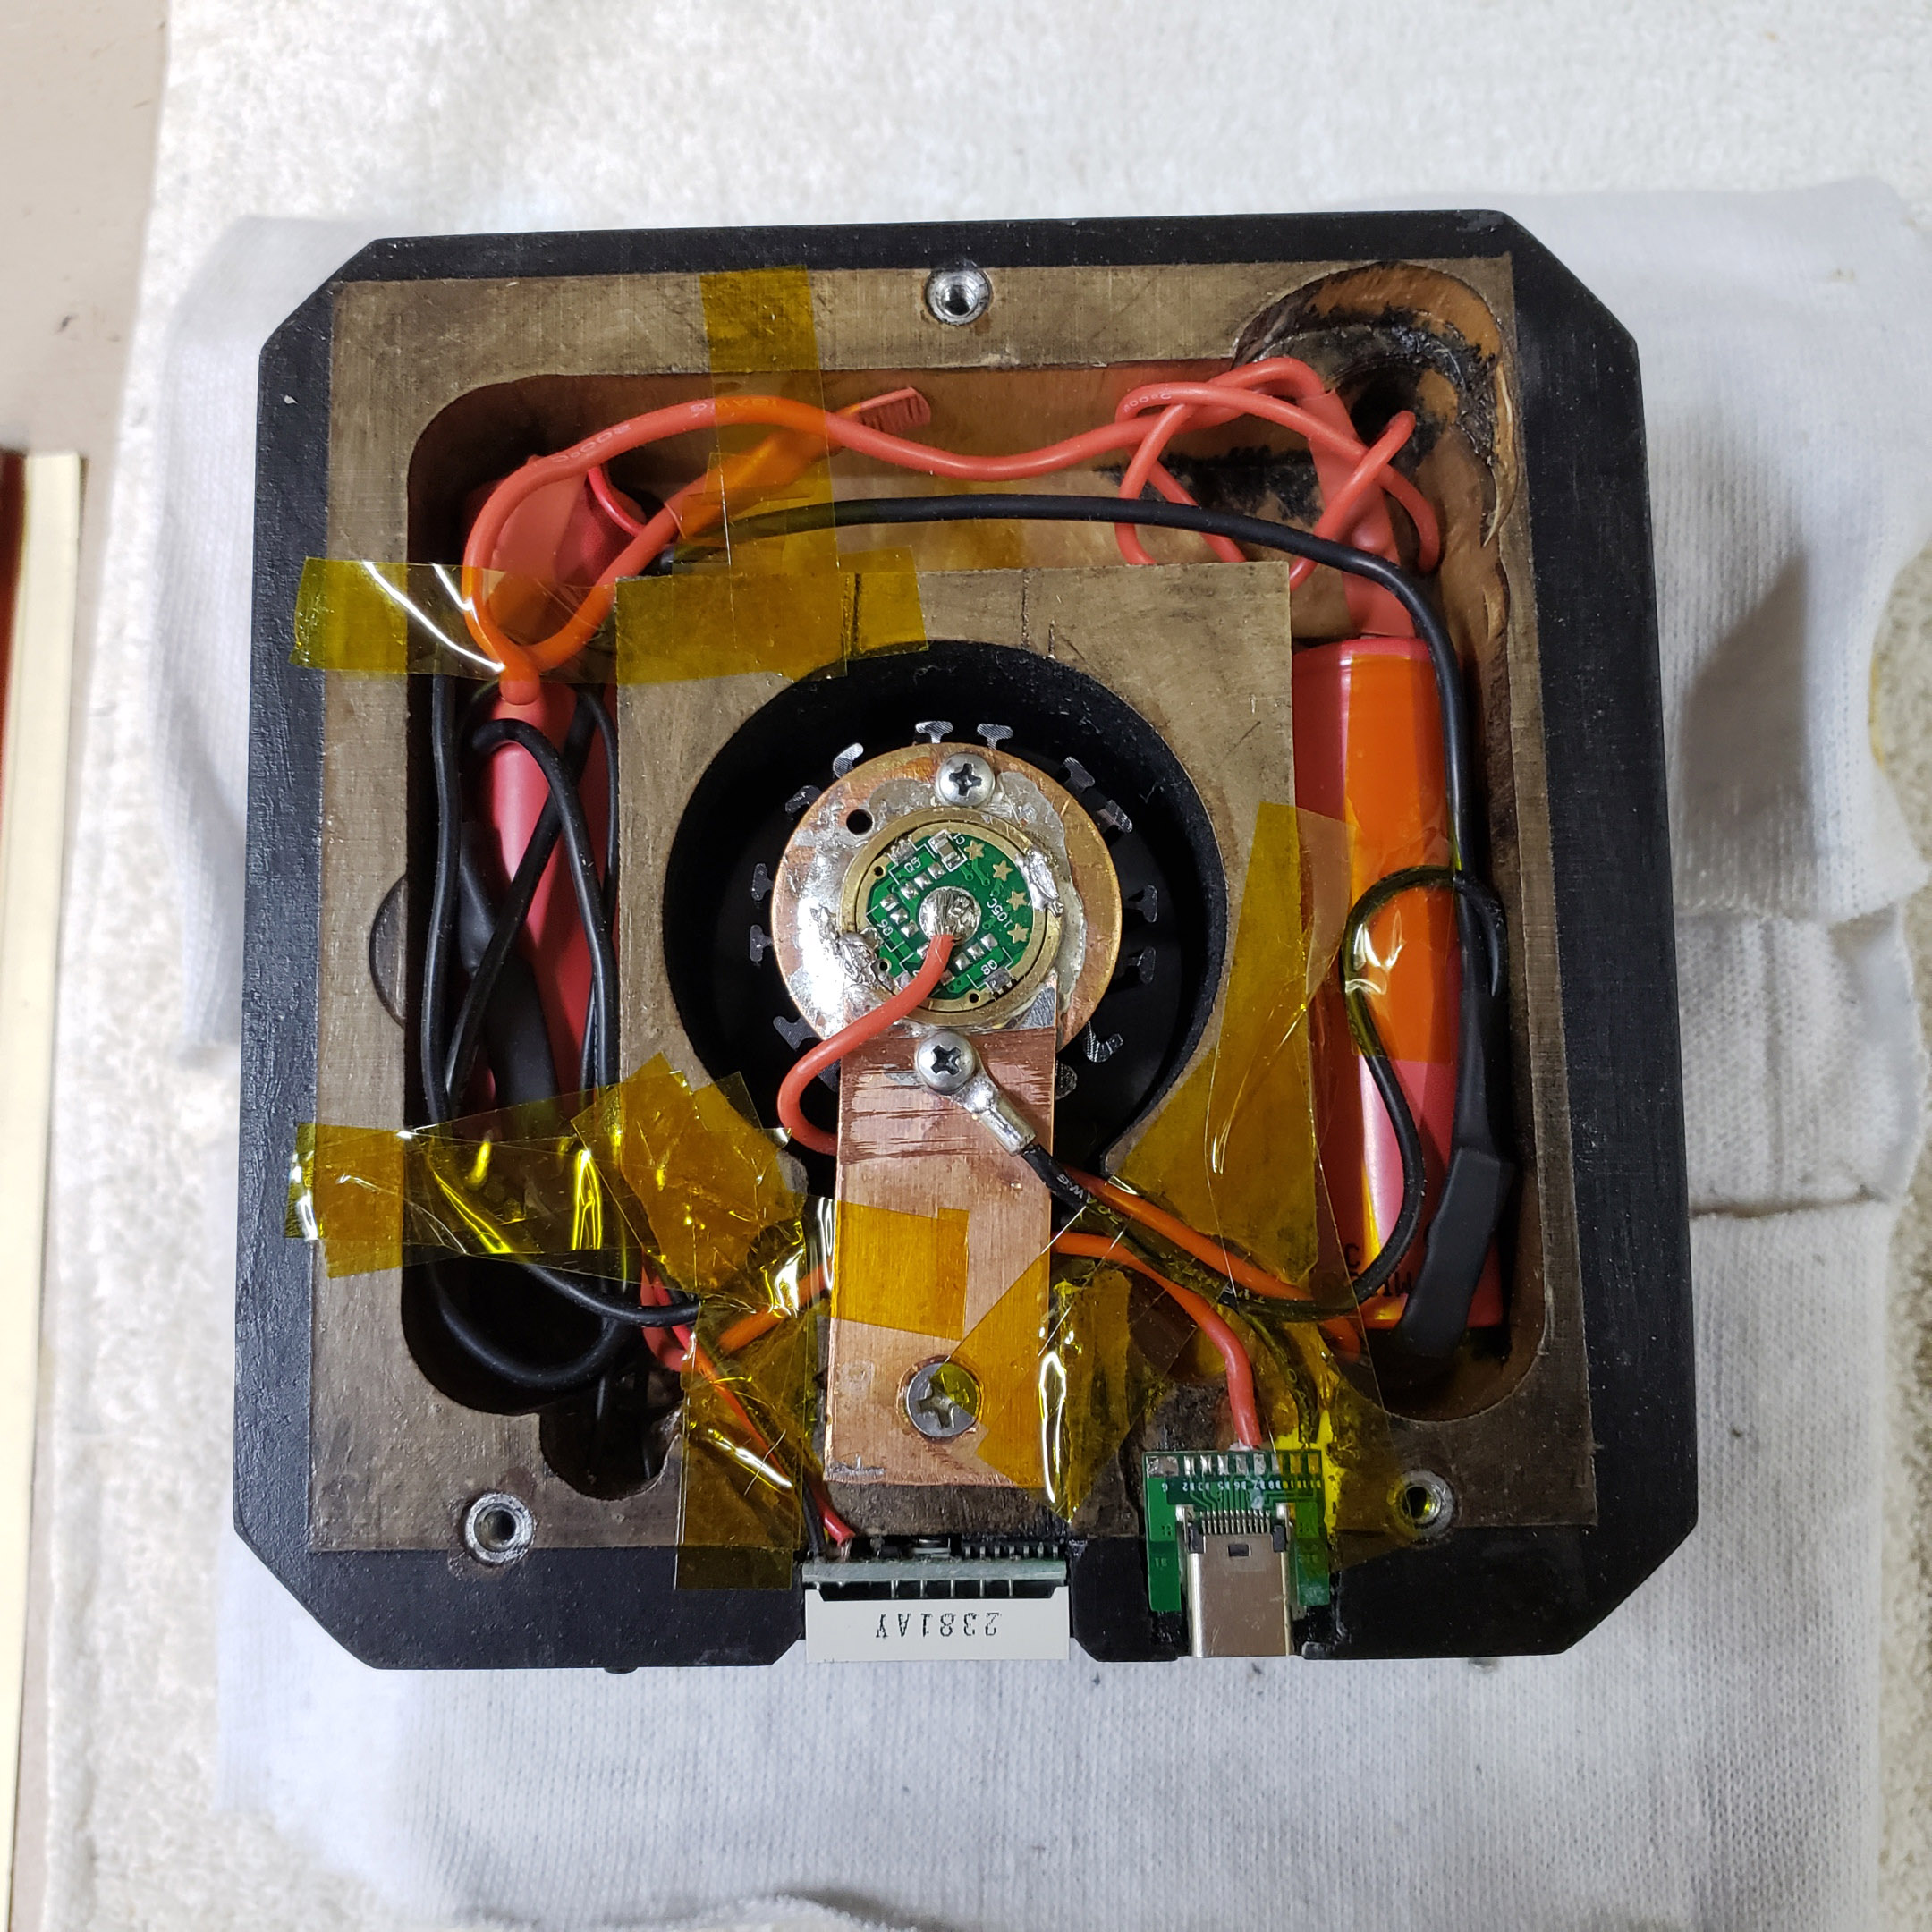
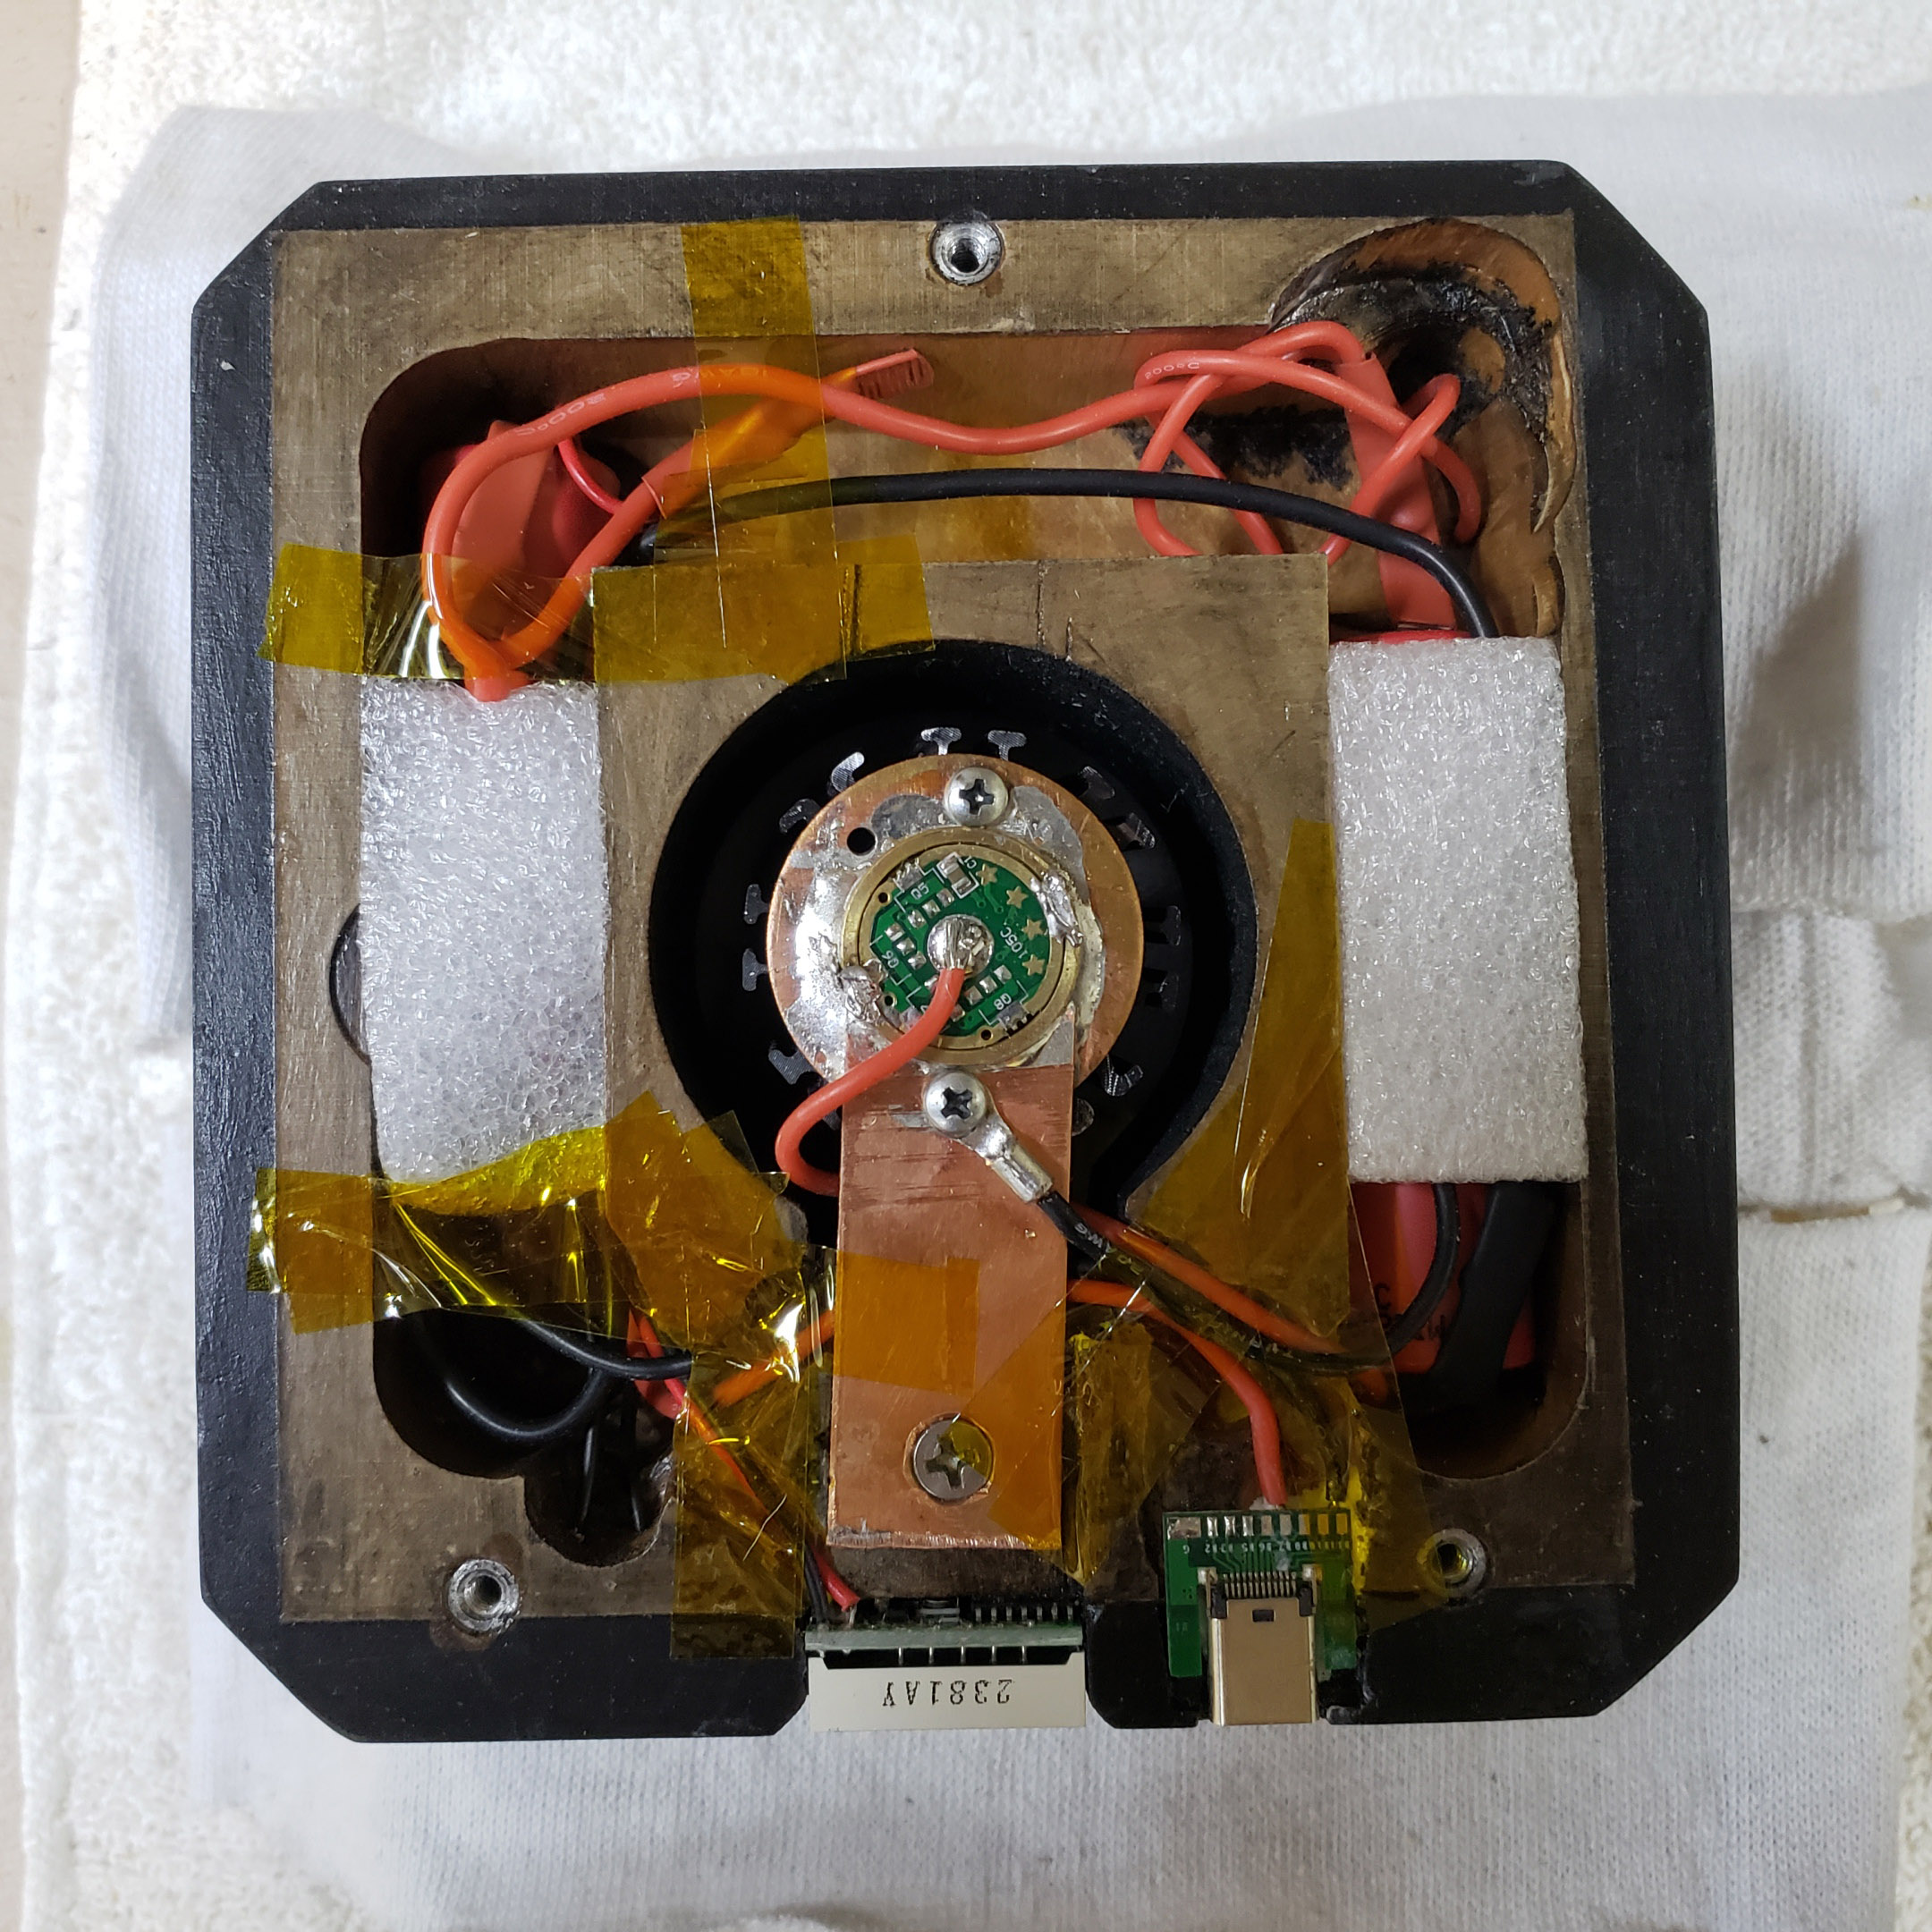
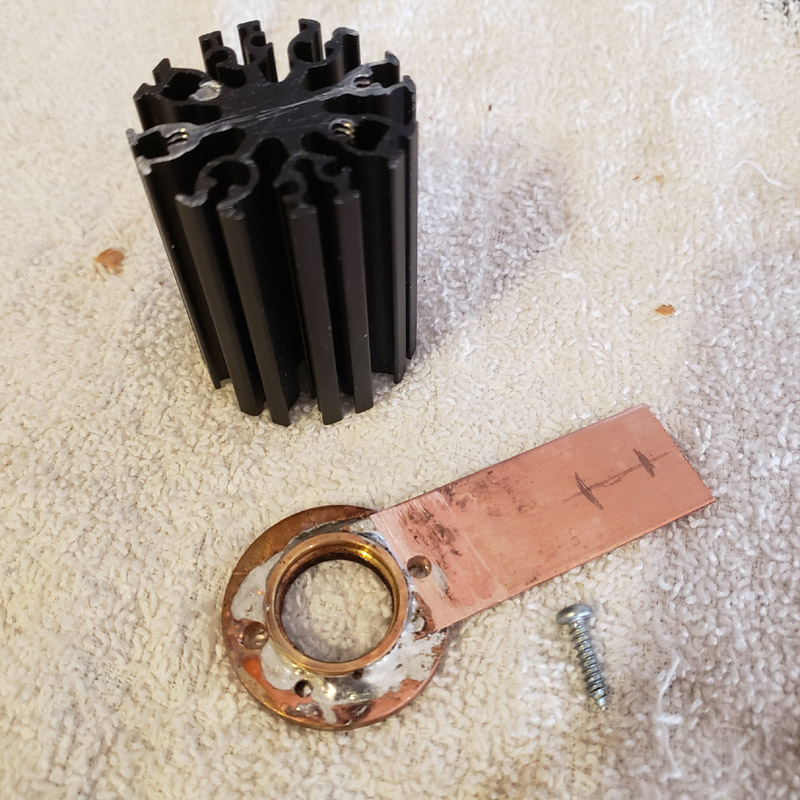
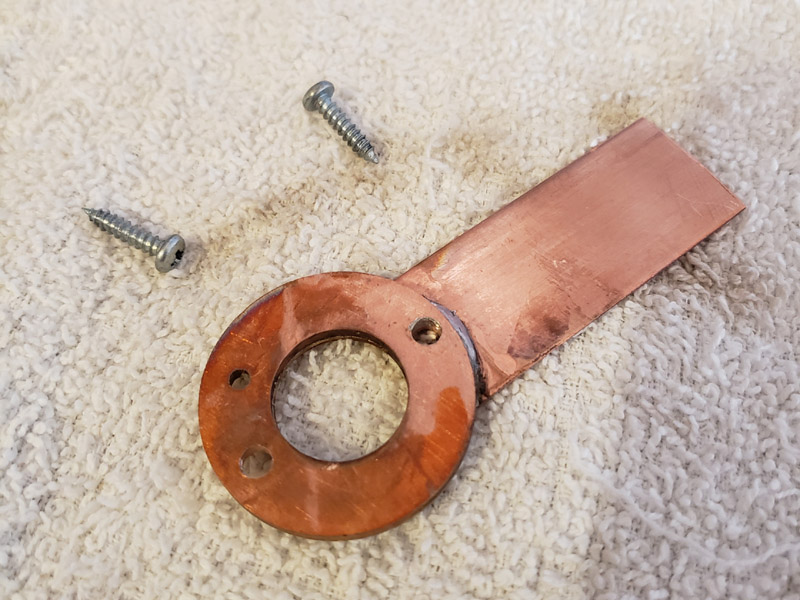
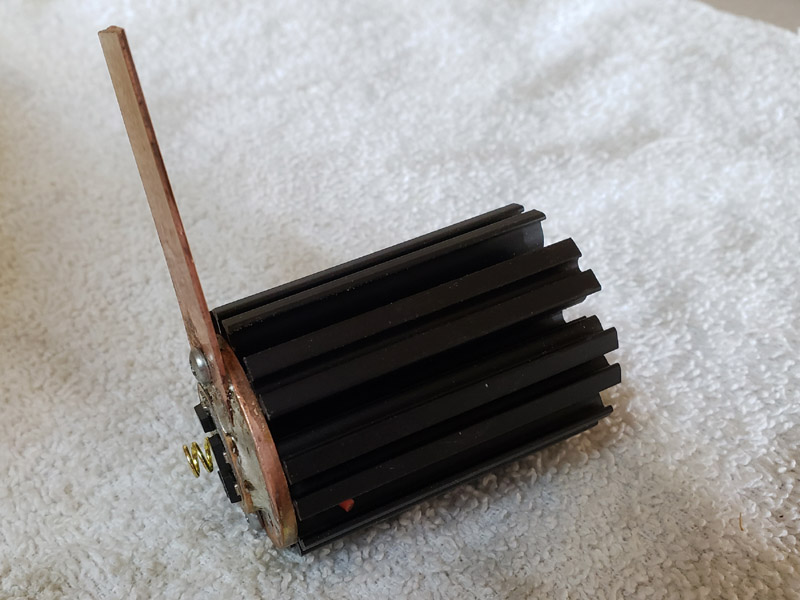
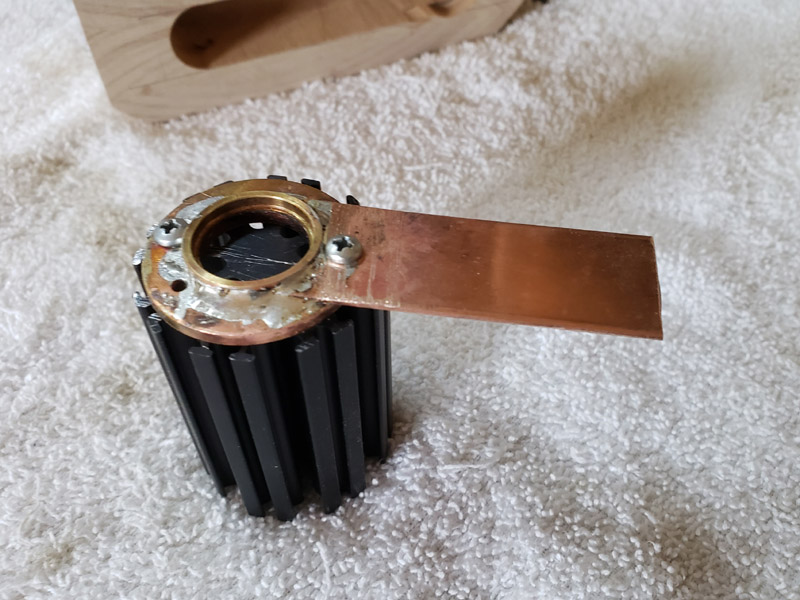
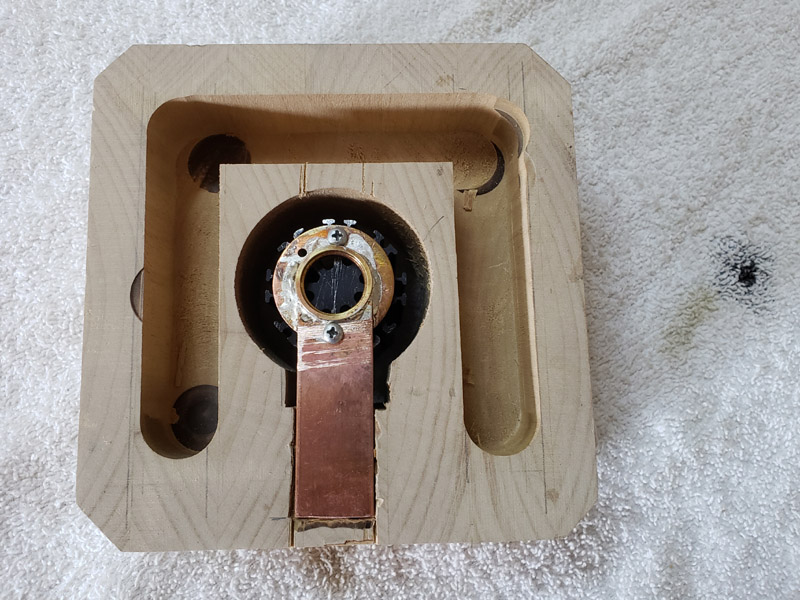
This is a 38 mm x 50 mm heat sink. It fits inside the bottom opening in the glass shade. The MCPCB will be mounted on the upper end. The driver will be mounted to the lower end. I made a mount. The 17 mm driver will be soldered to a 17-to-20mm brass ring, that is silver soldered to a copper washer, that has a 16 gauge piece of copper silver soldered to it, that will be screwed to the wood block. I hope that is clear.
There will be more pictures as I complete the light.
