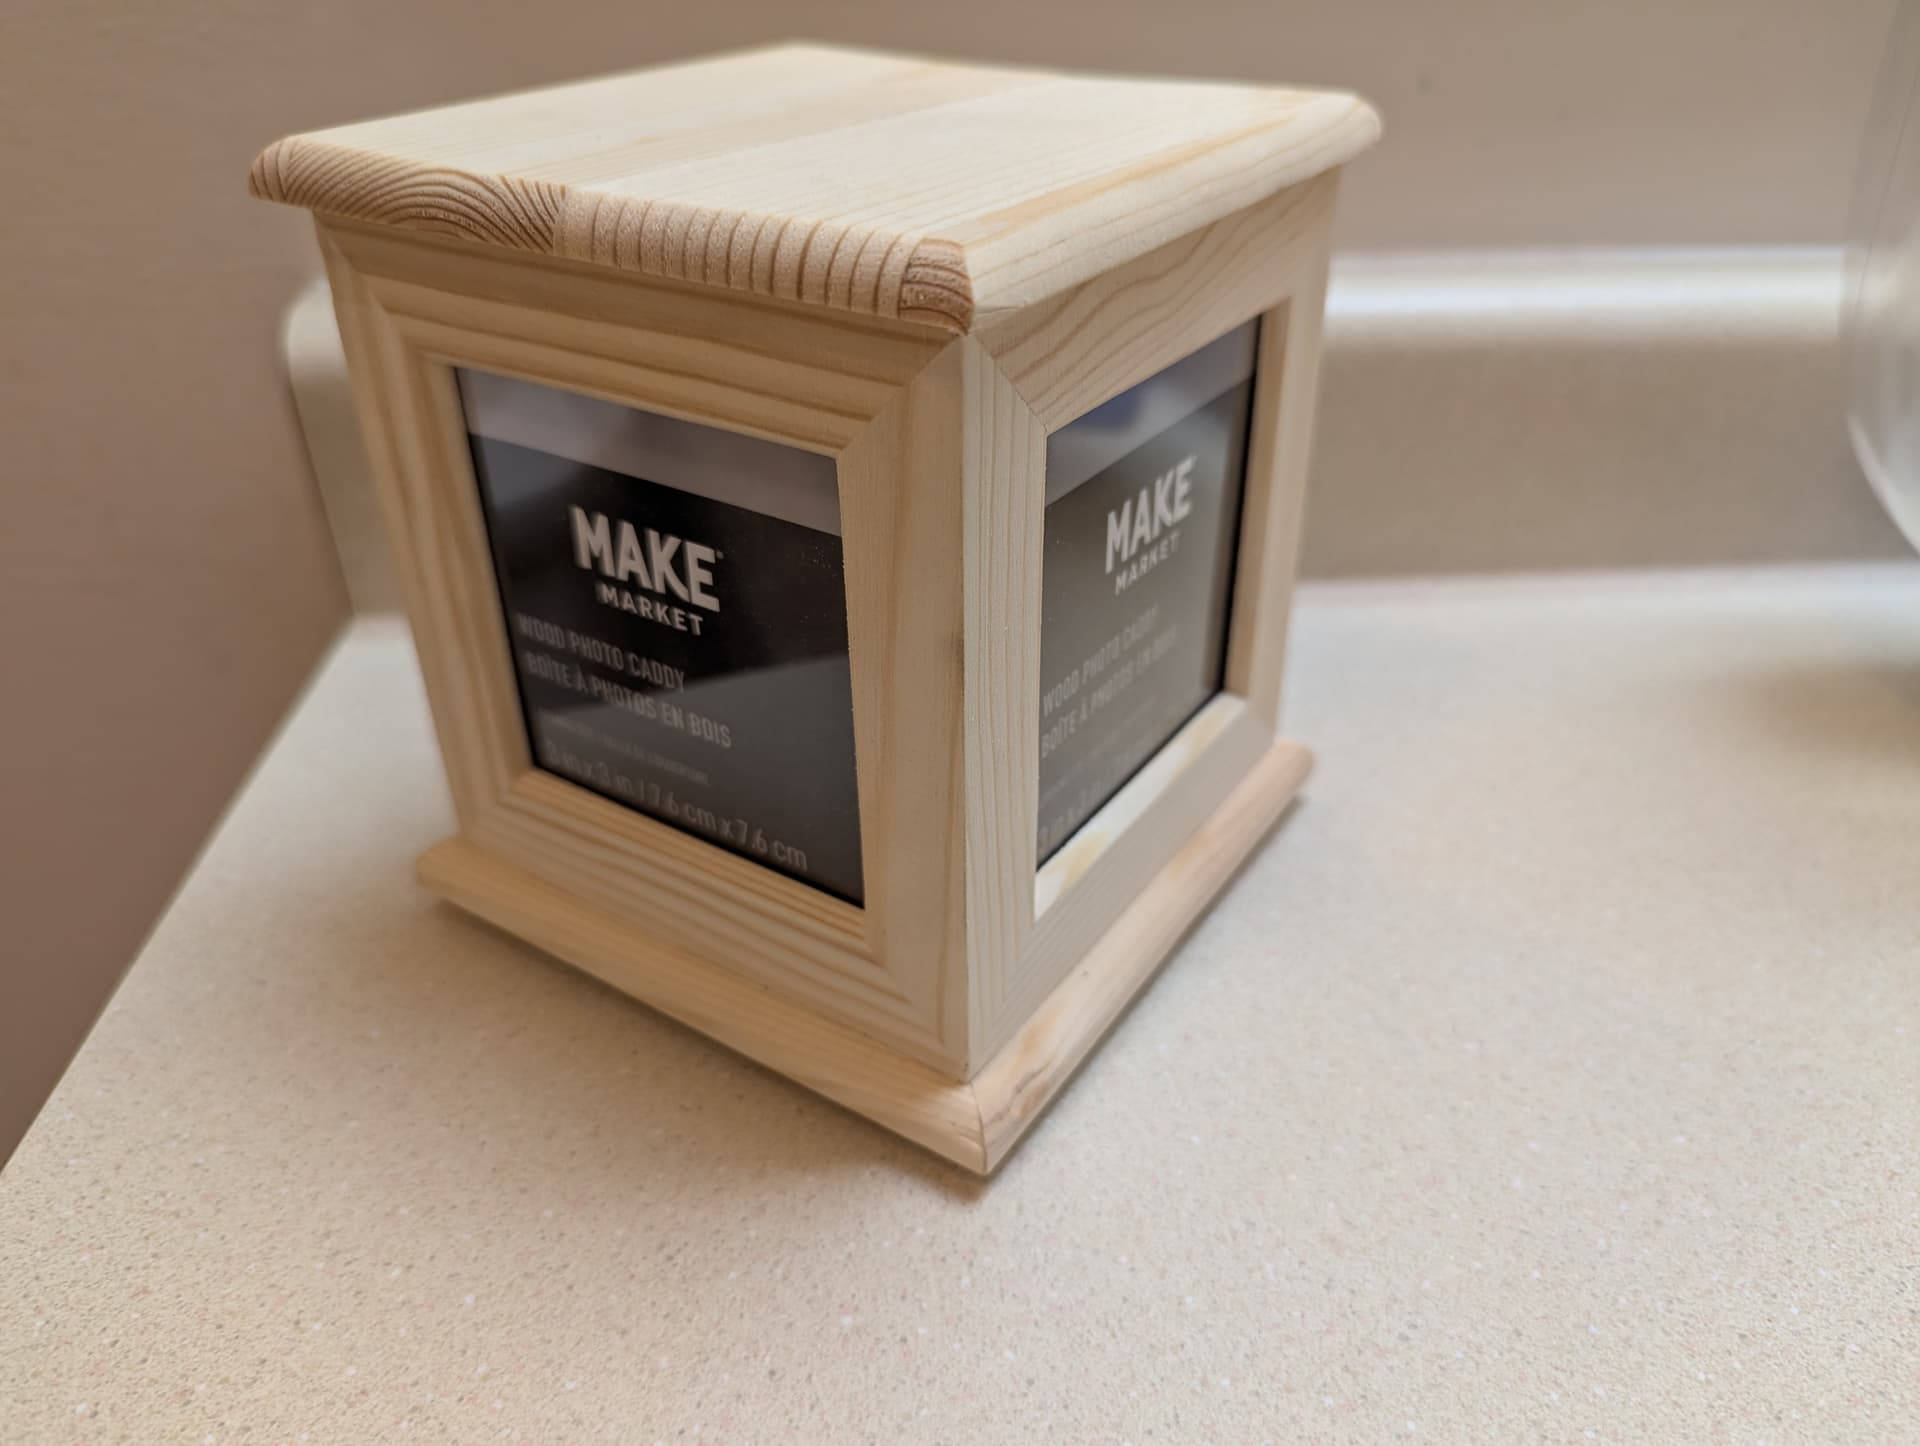
I’ve long-admired the creativity and skill demonstrated by participants in the Old Lumens contest. This year, I thought I’d give it a shot as well! I don’t have any ambitions in placing well, but I think I’ve finally learned enough to join in the fun. That, and I have a Christmas gift exchange coming up and have struggled to find a creative gift…
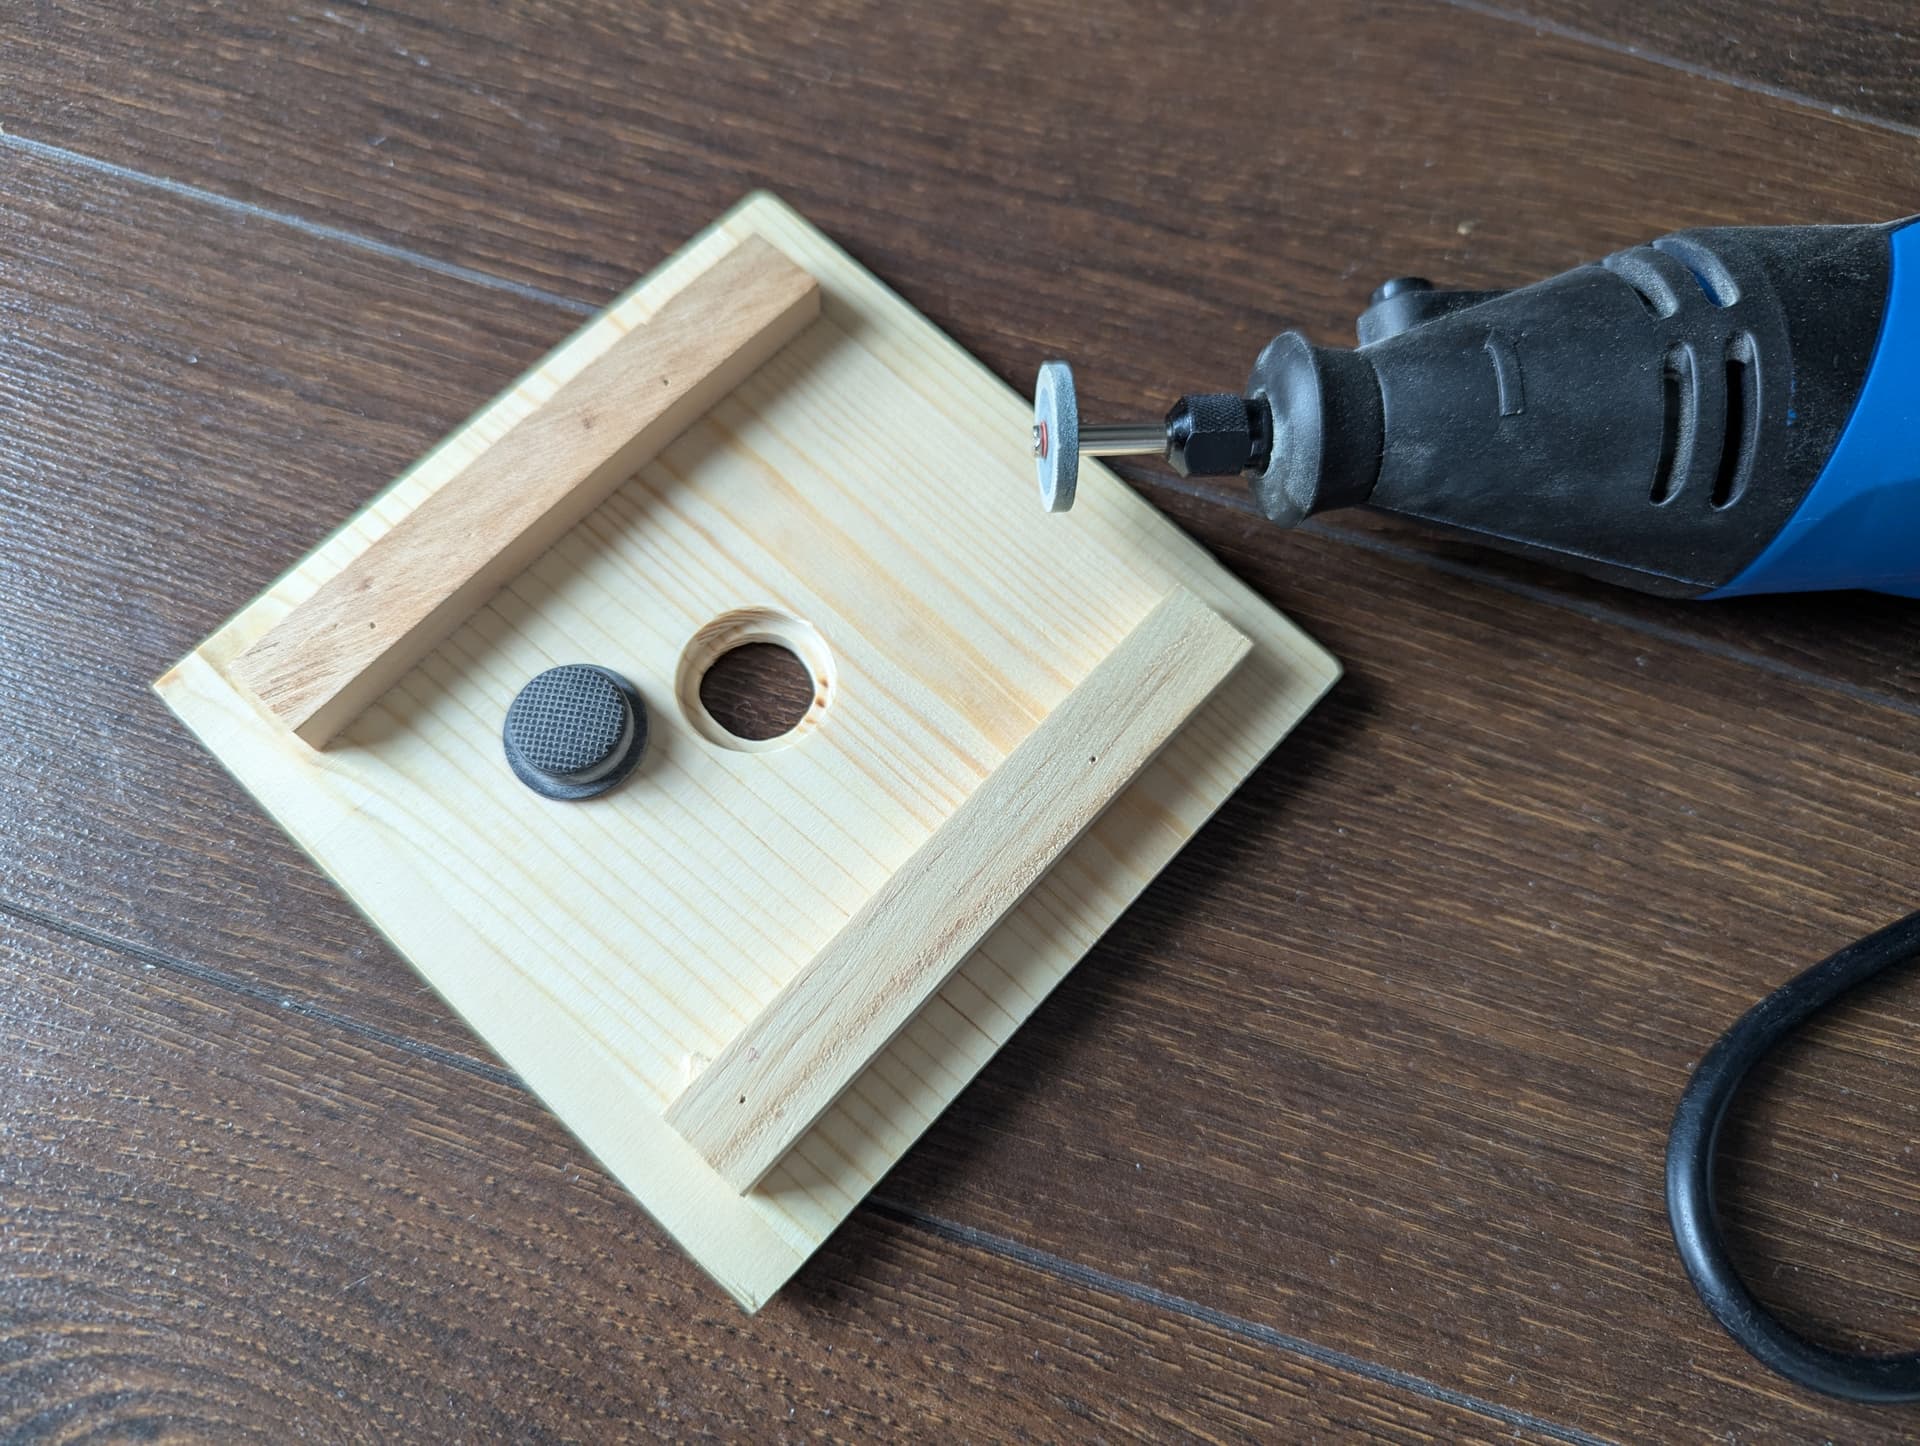
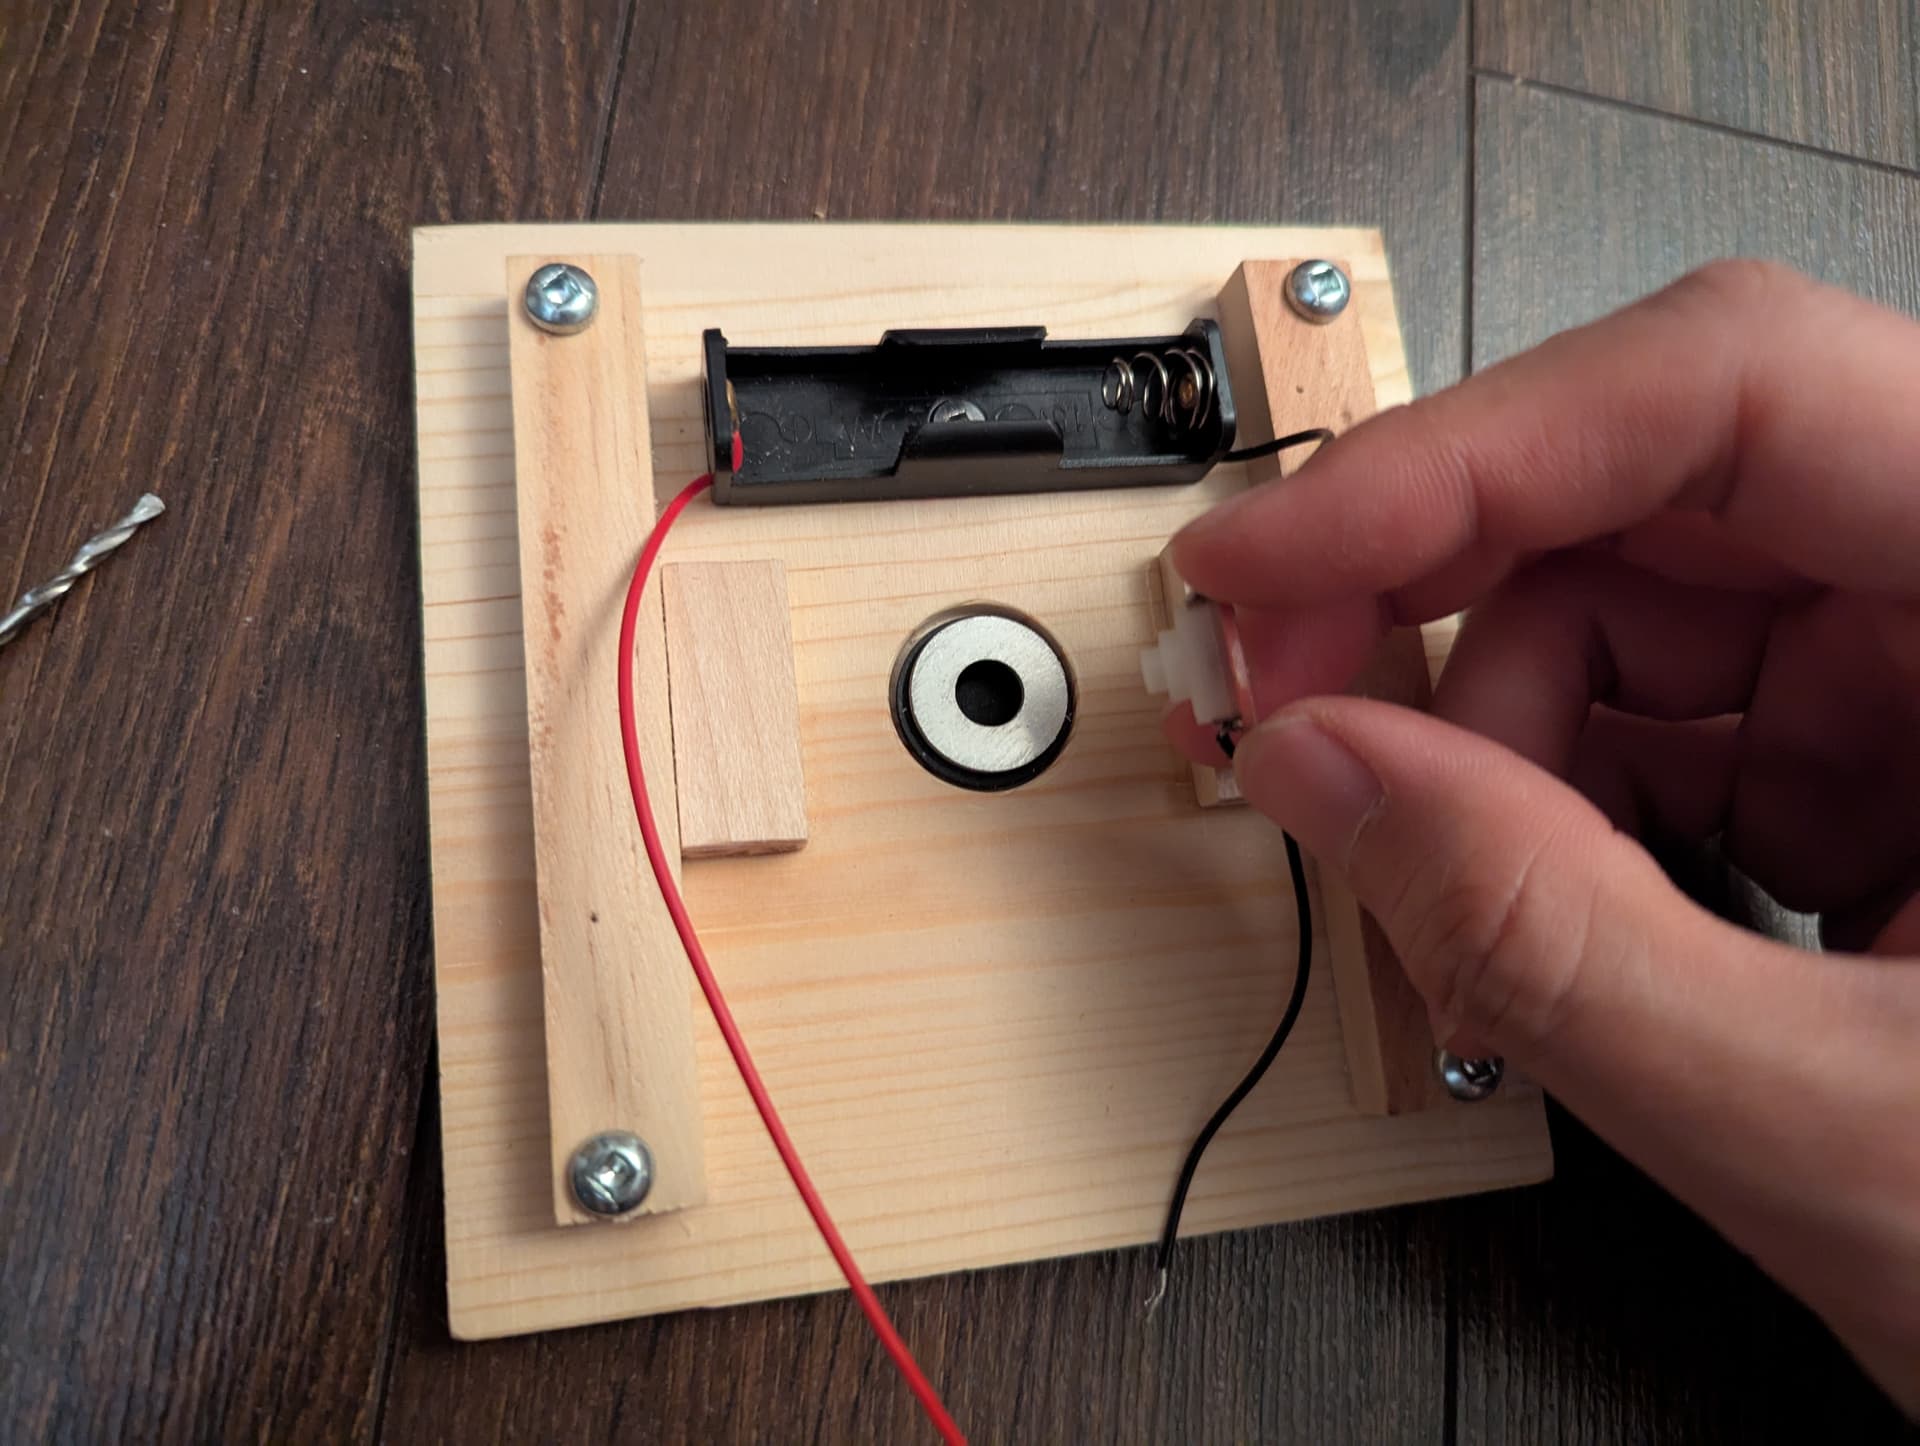
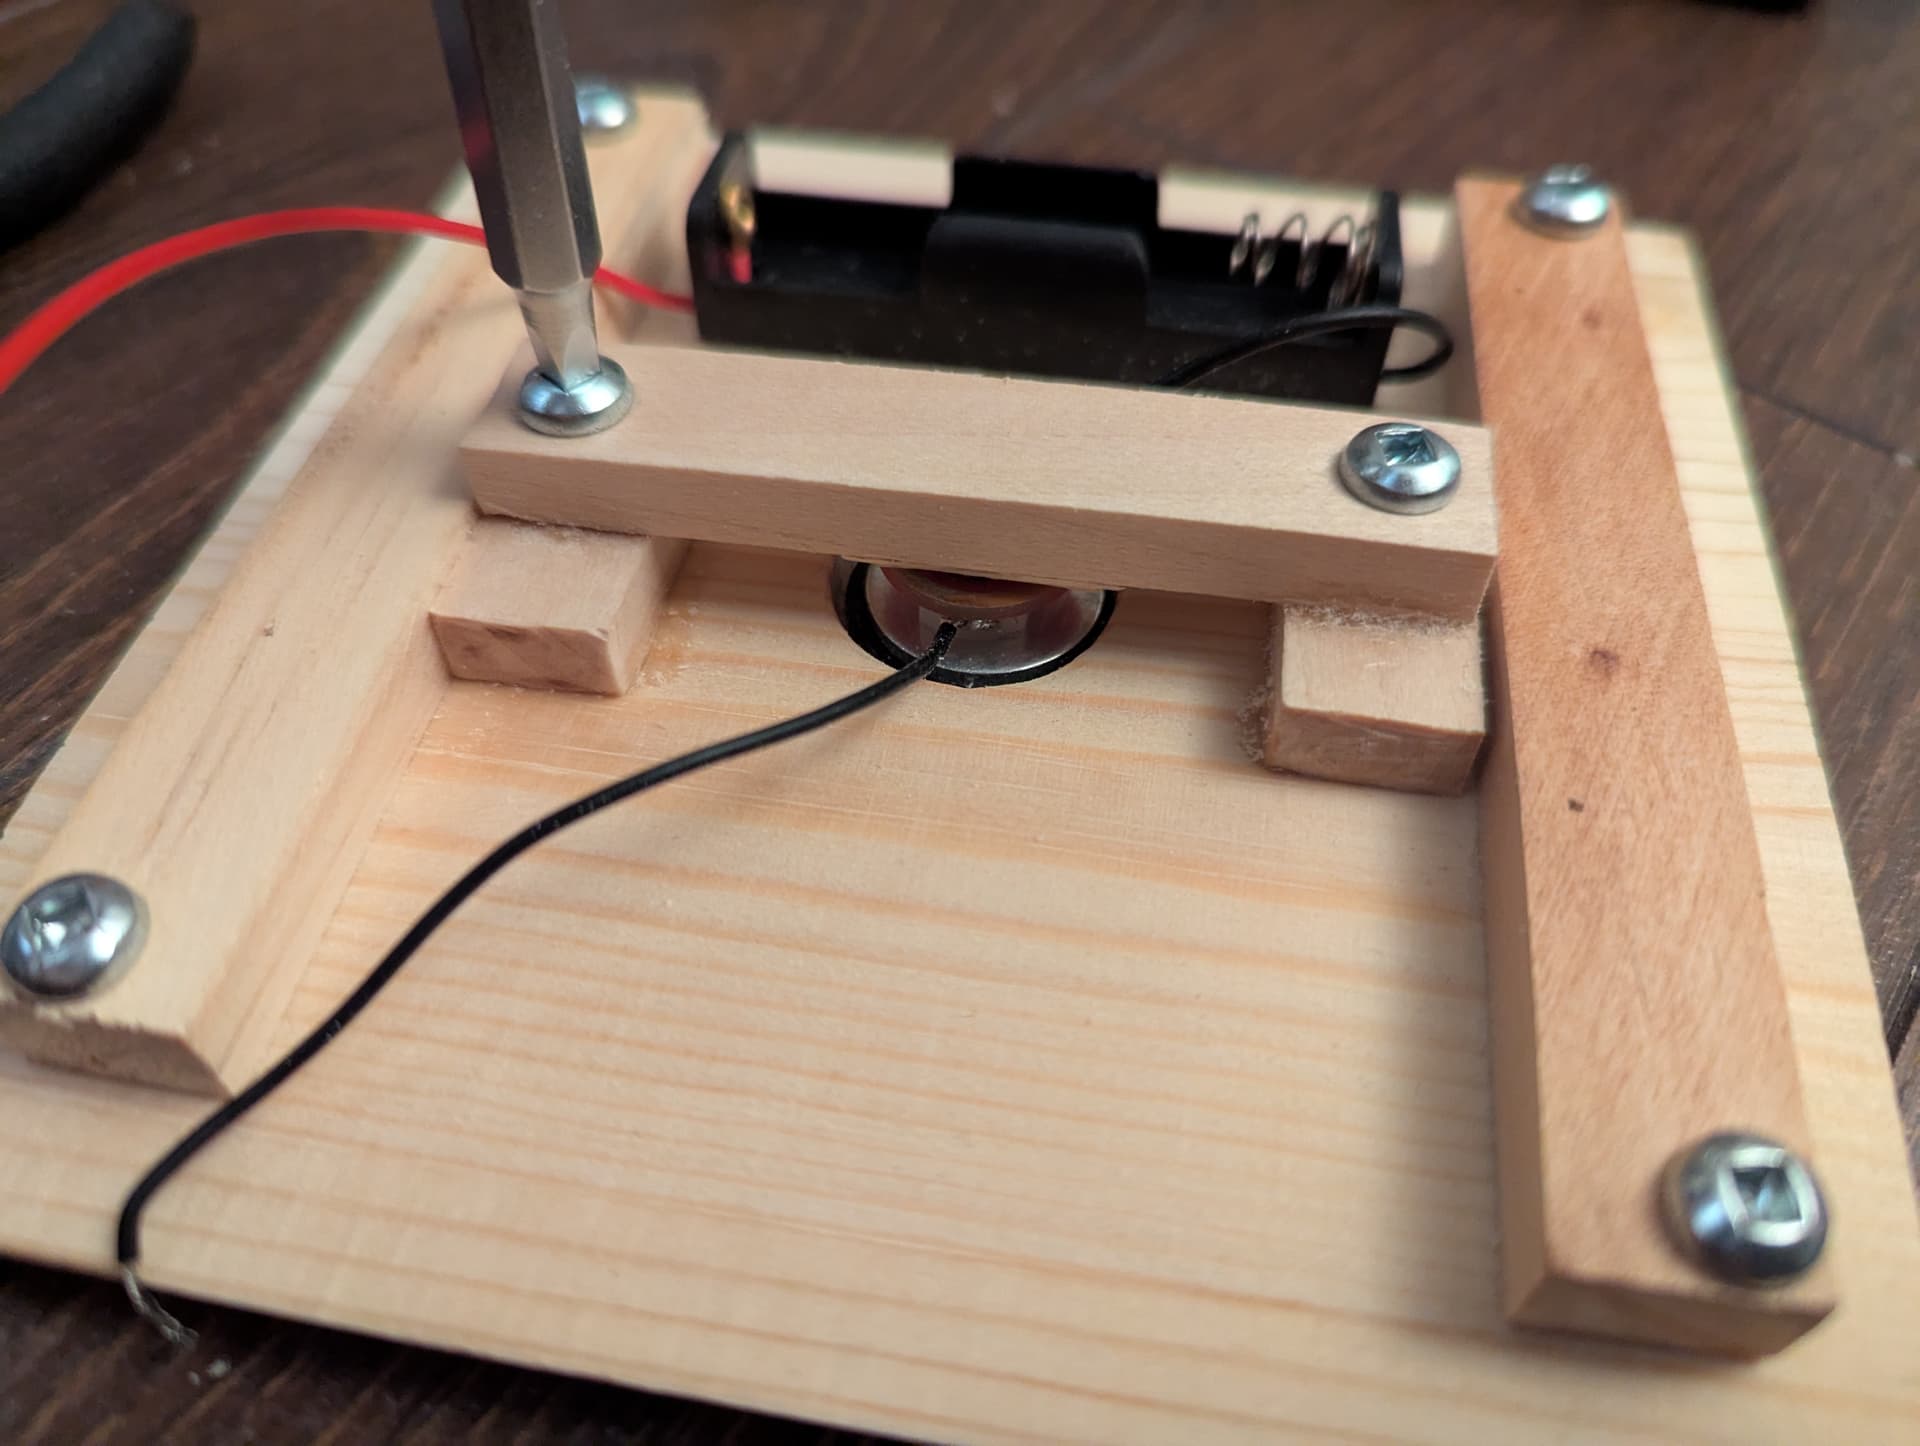
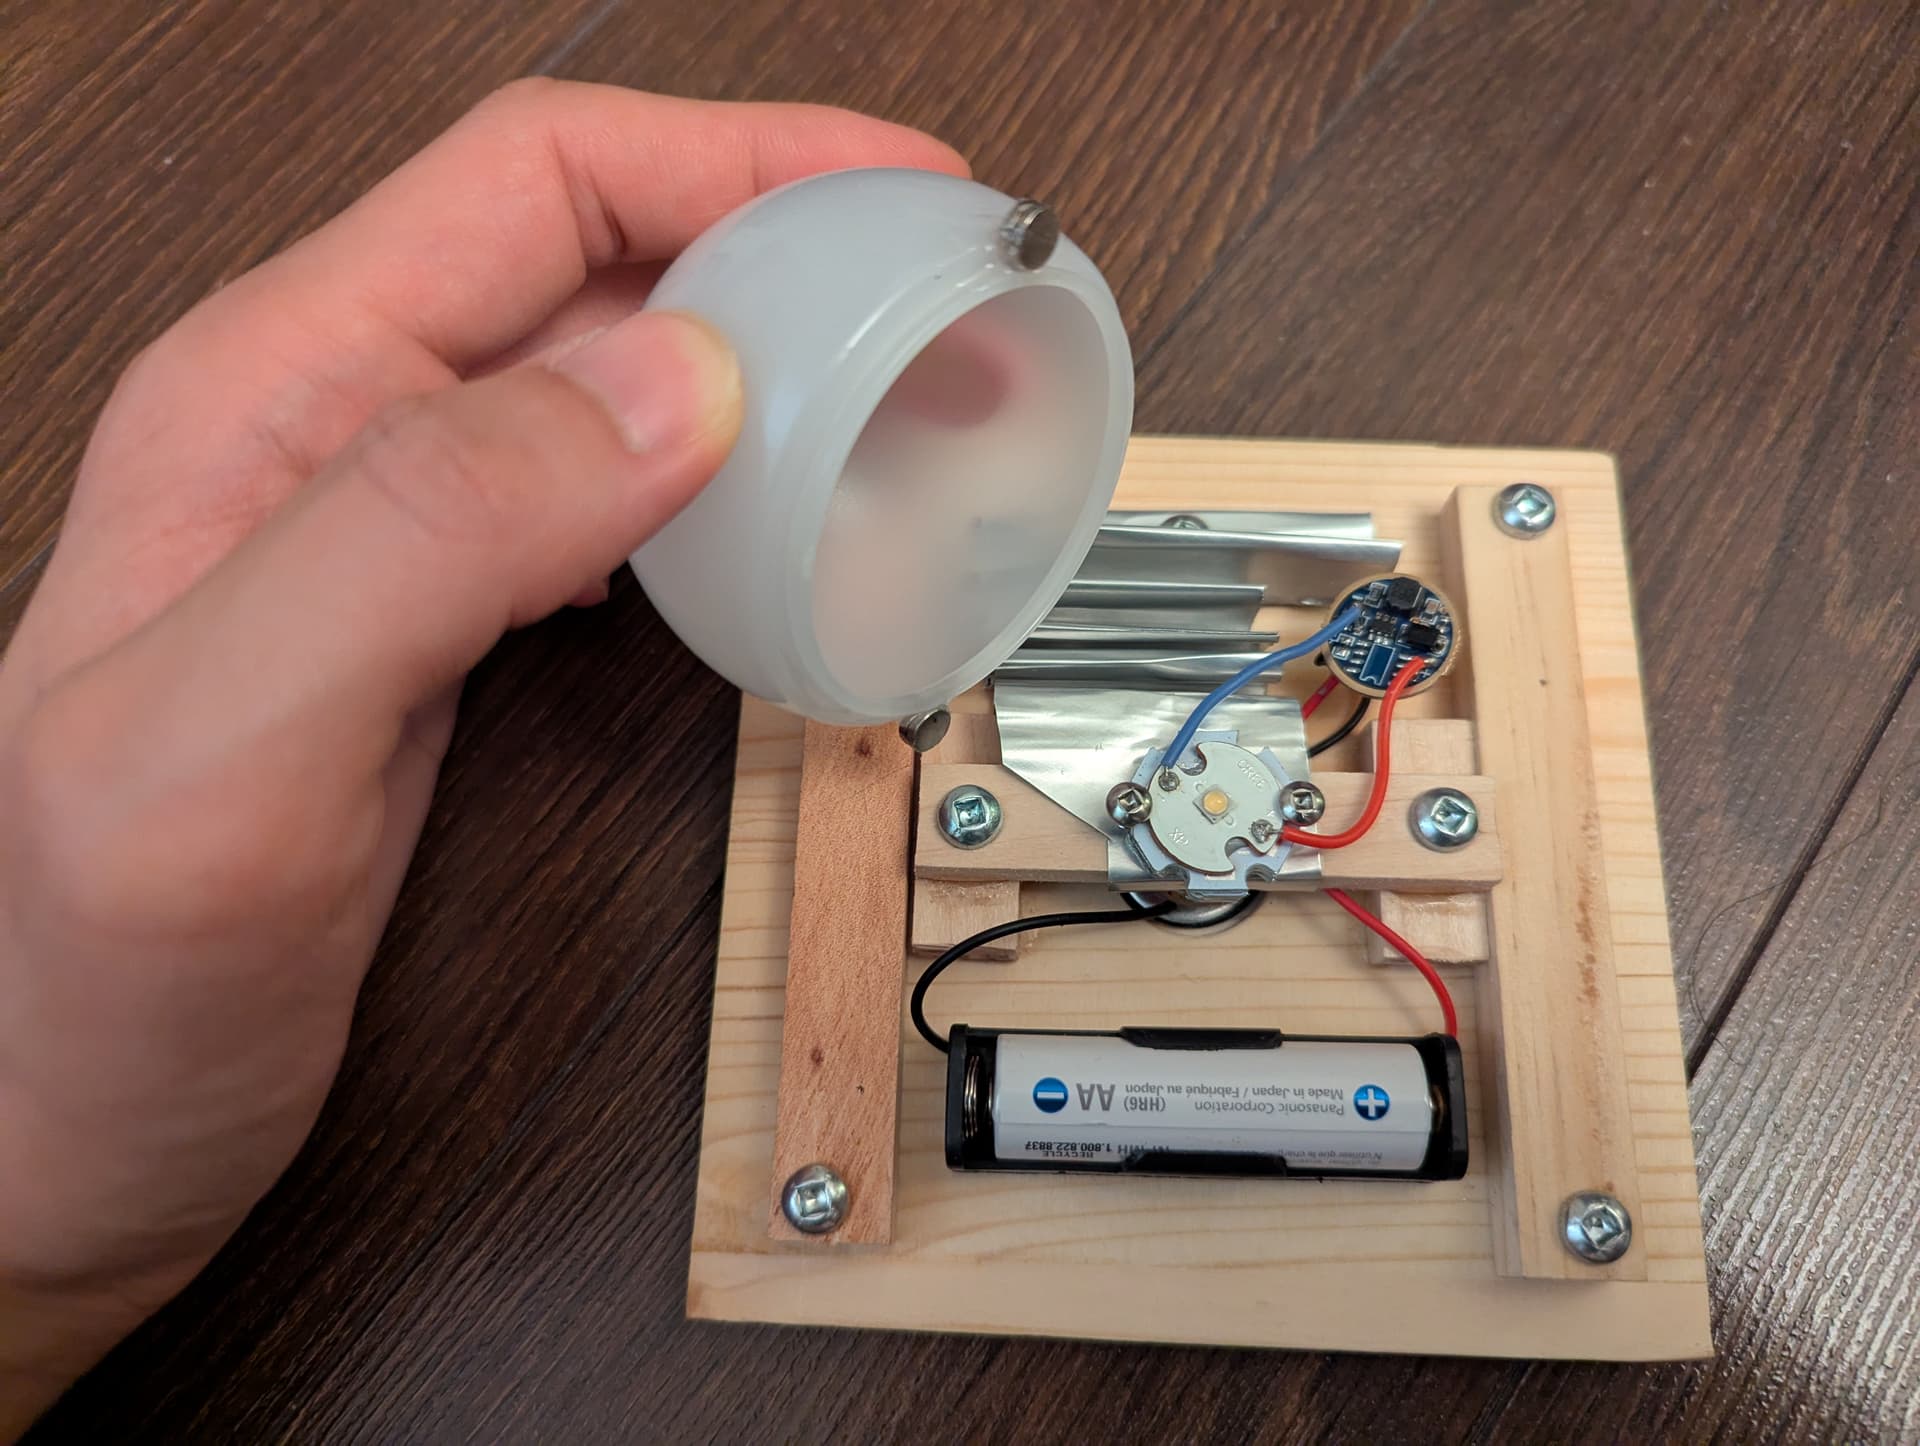
After some shenanigans with overly-long screws, I added a base against which the switch can be pressed, finalizing its installation. Things are starting to come together!
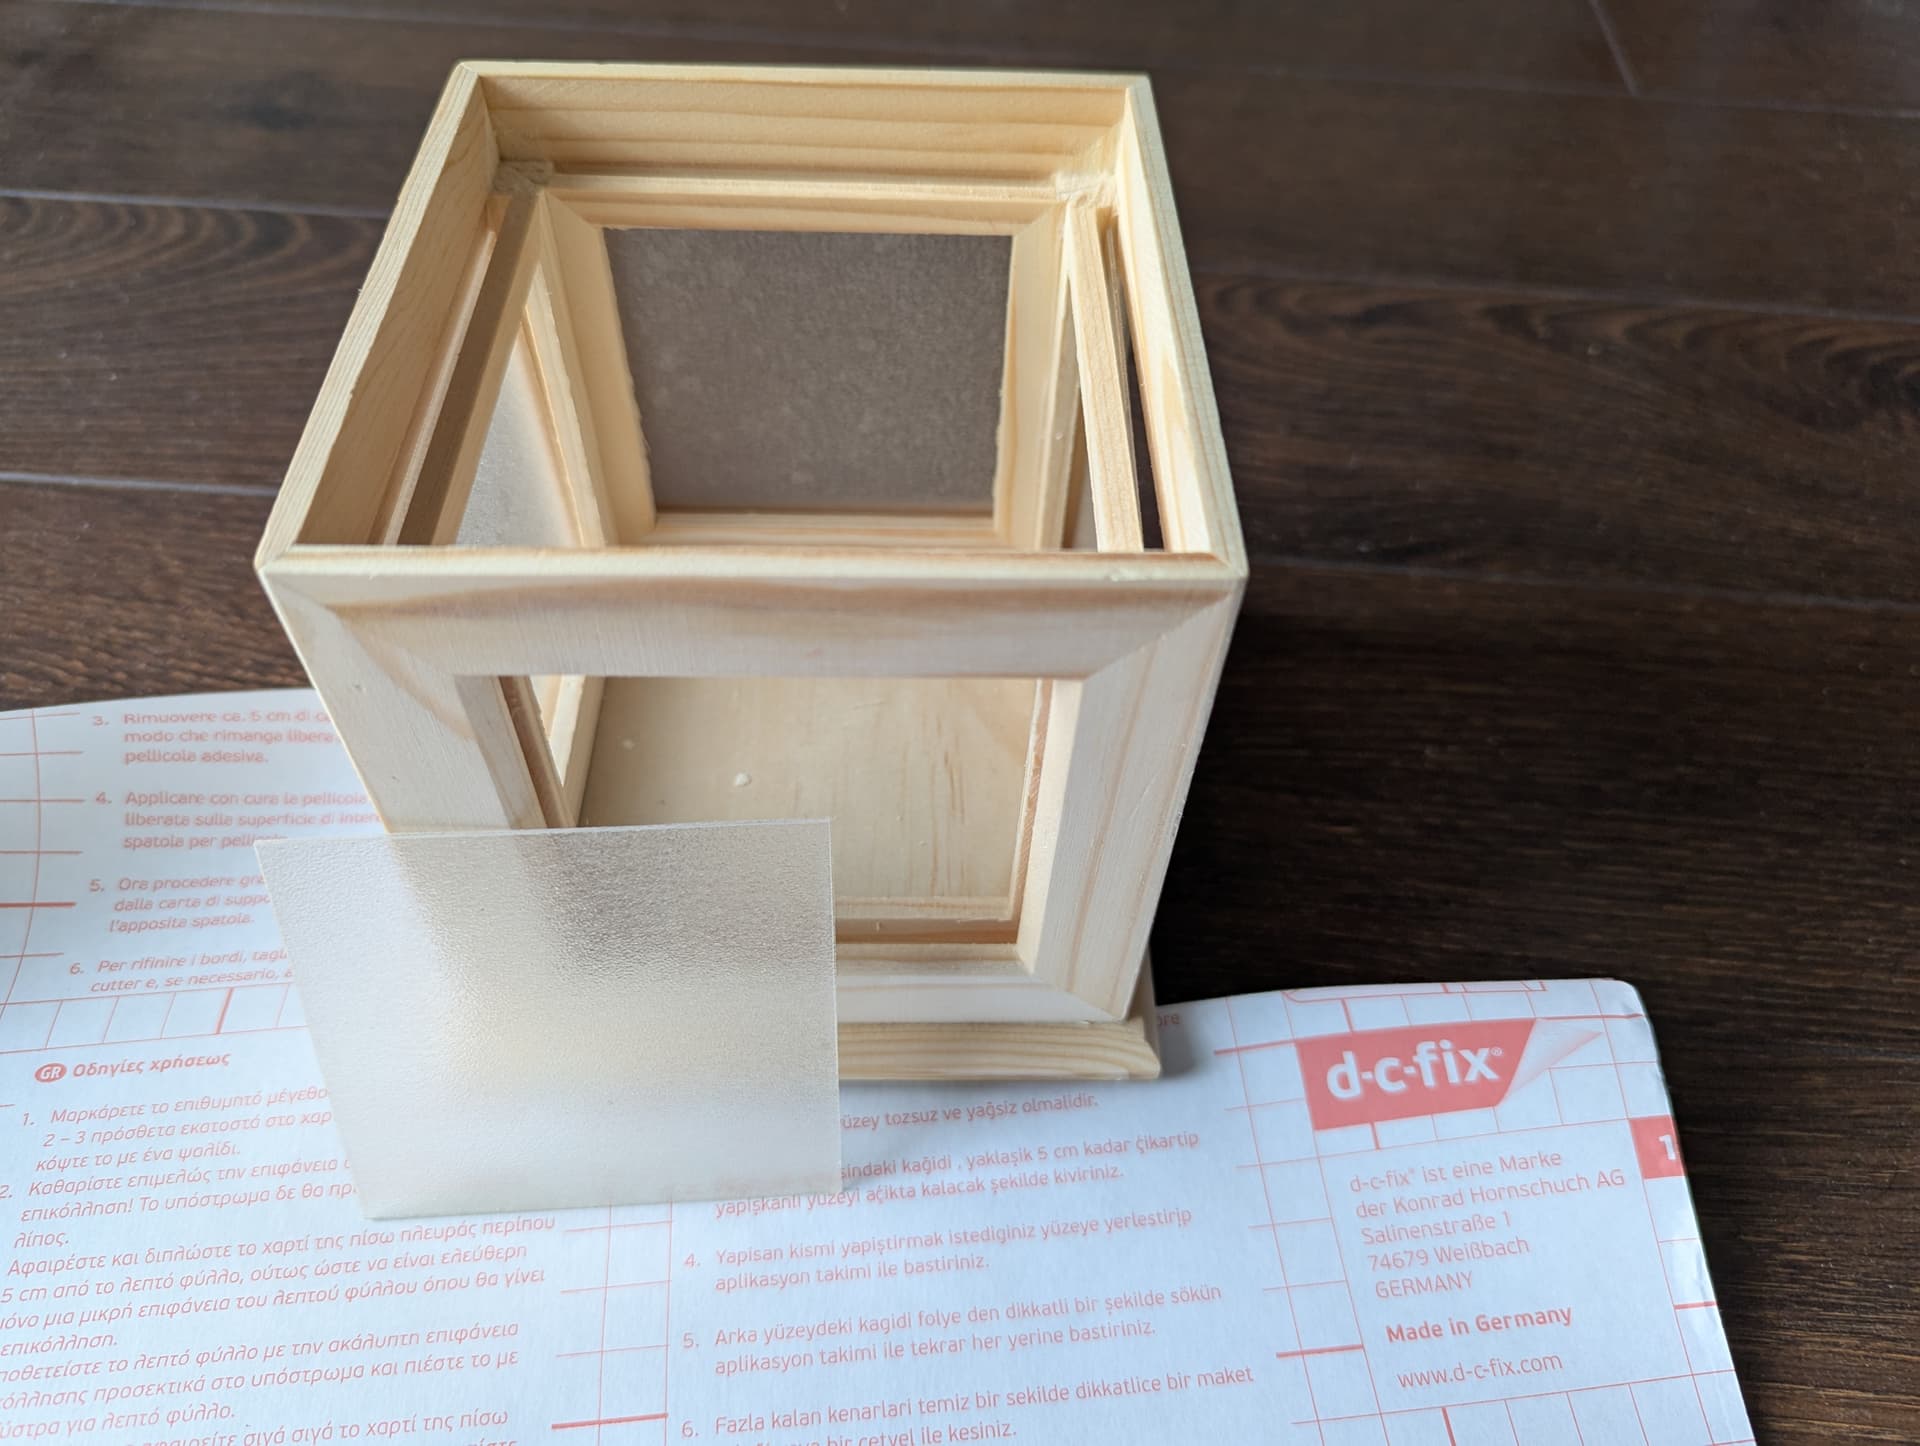
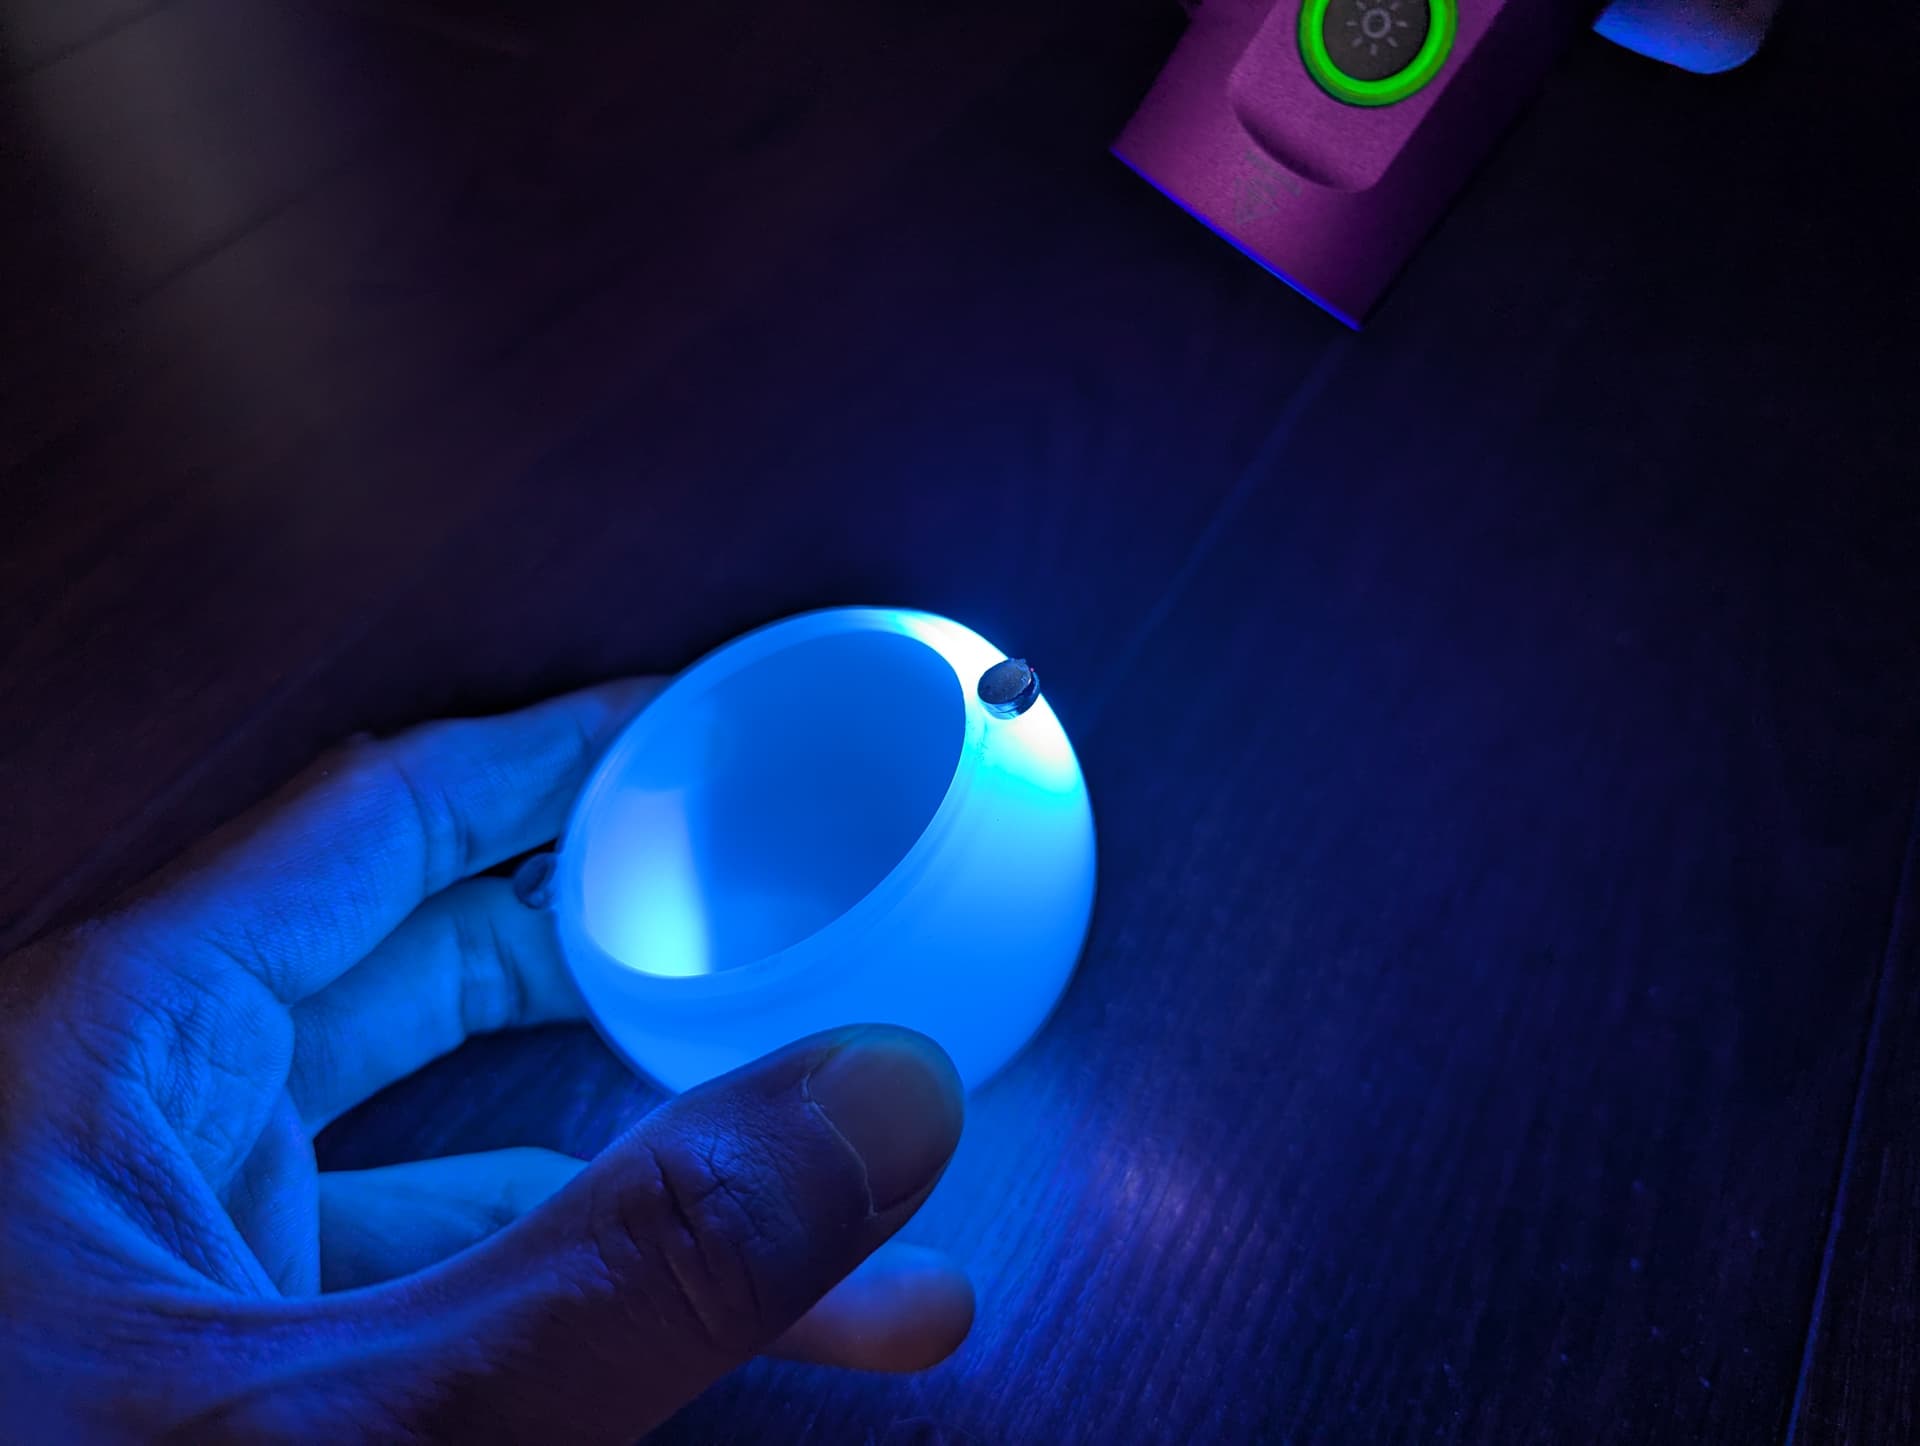
With the electronics in place, it’s time for some finishing touches! The bare LED, even behind the dc-fix, is quite harsh to look at. So a diffuser would be ideal.
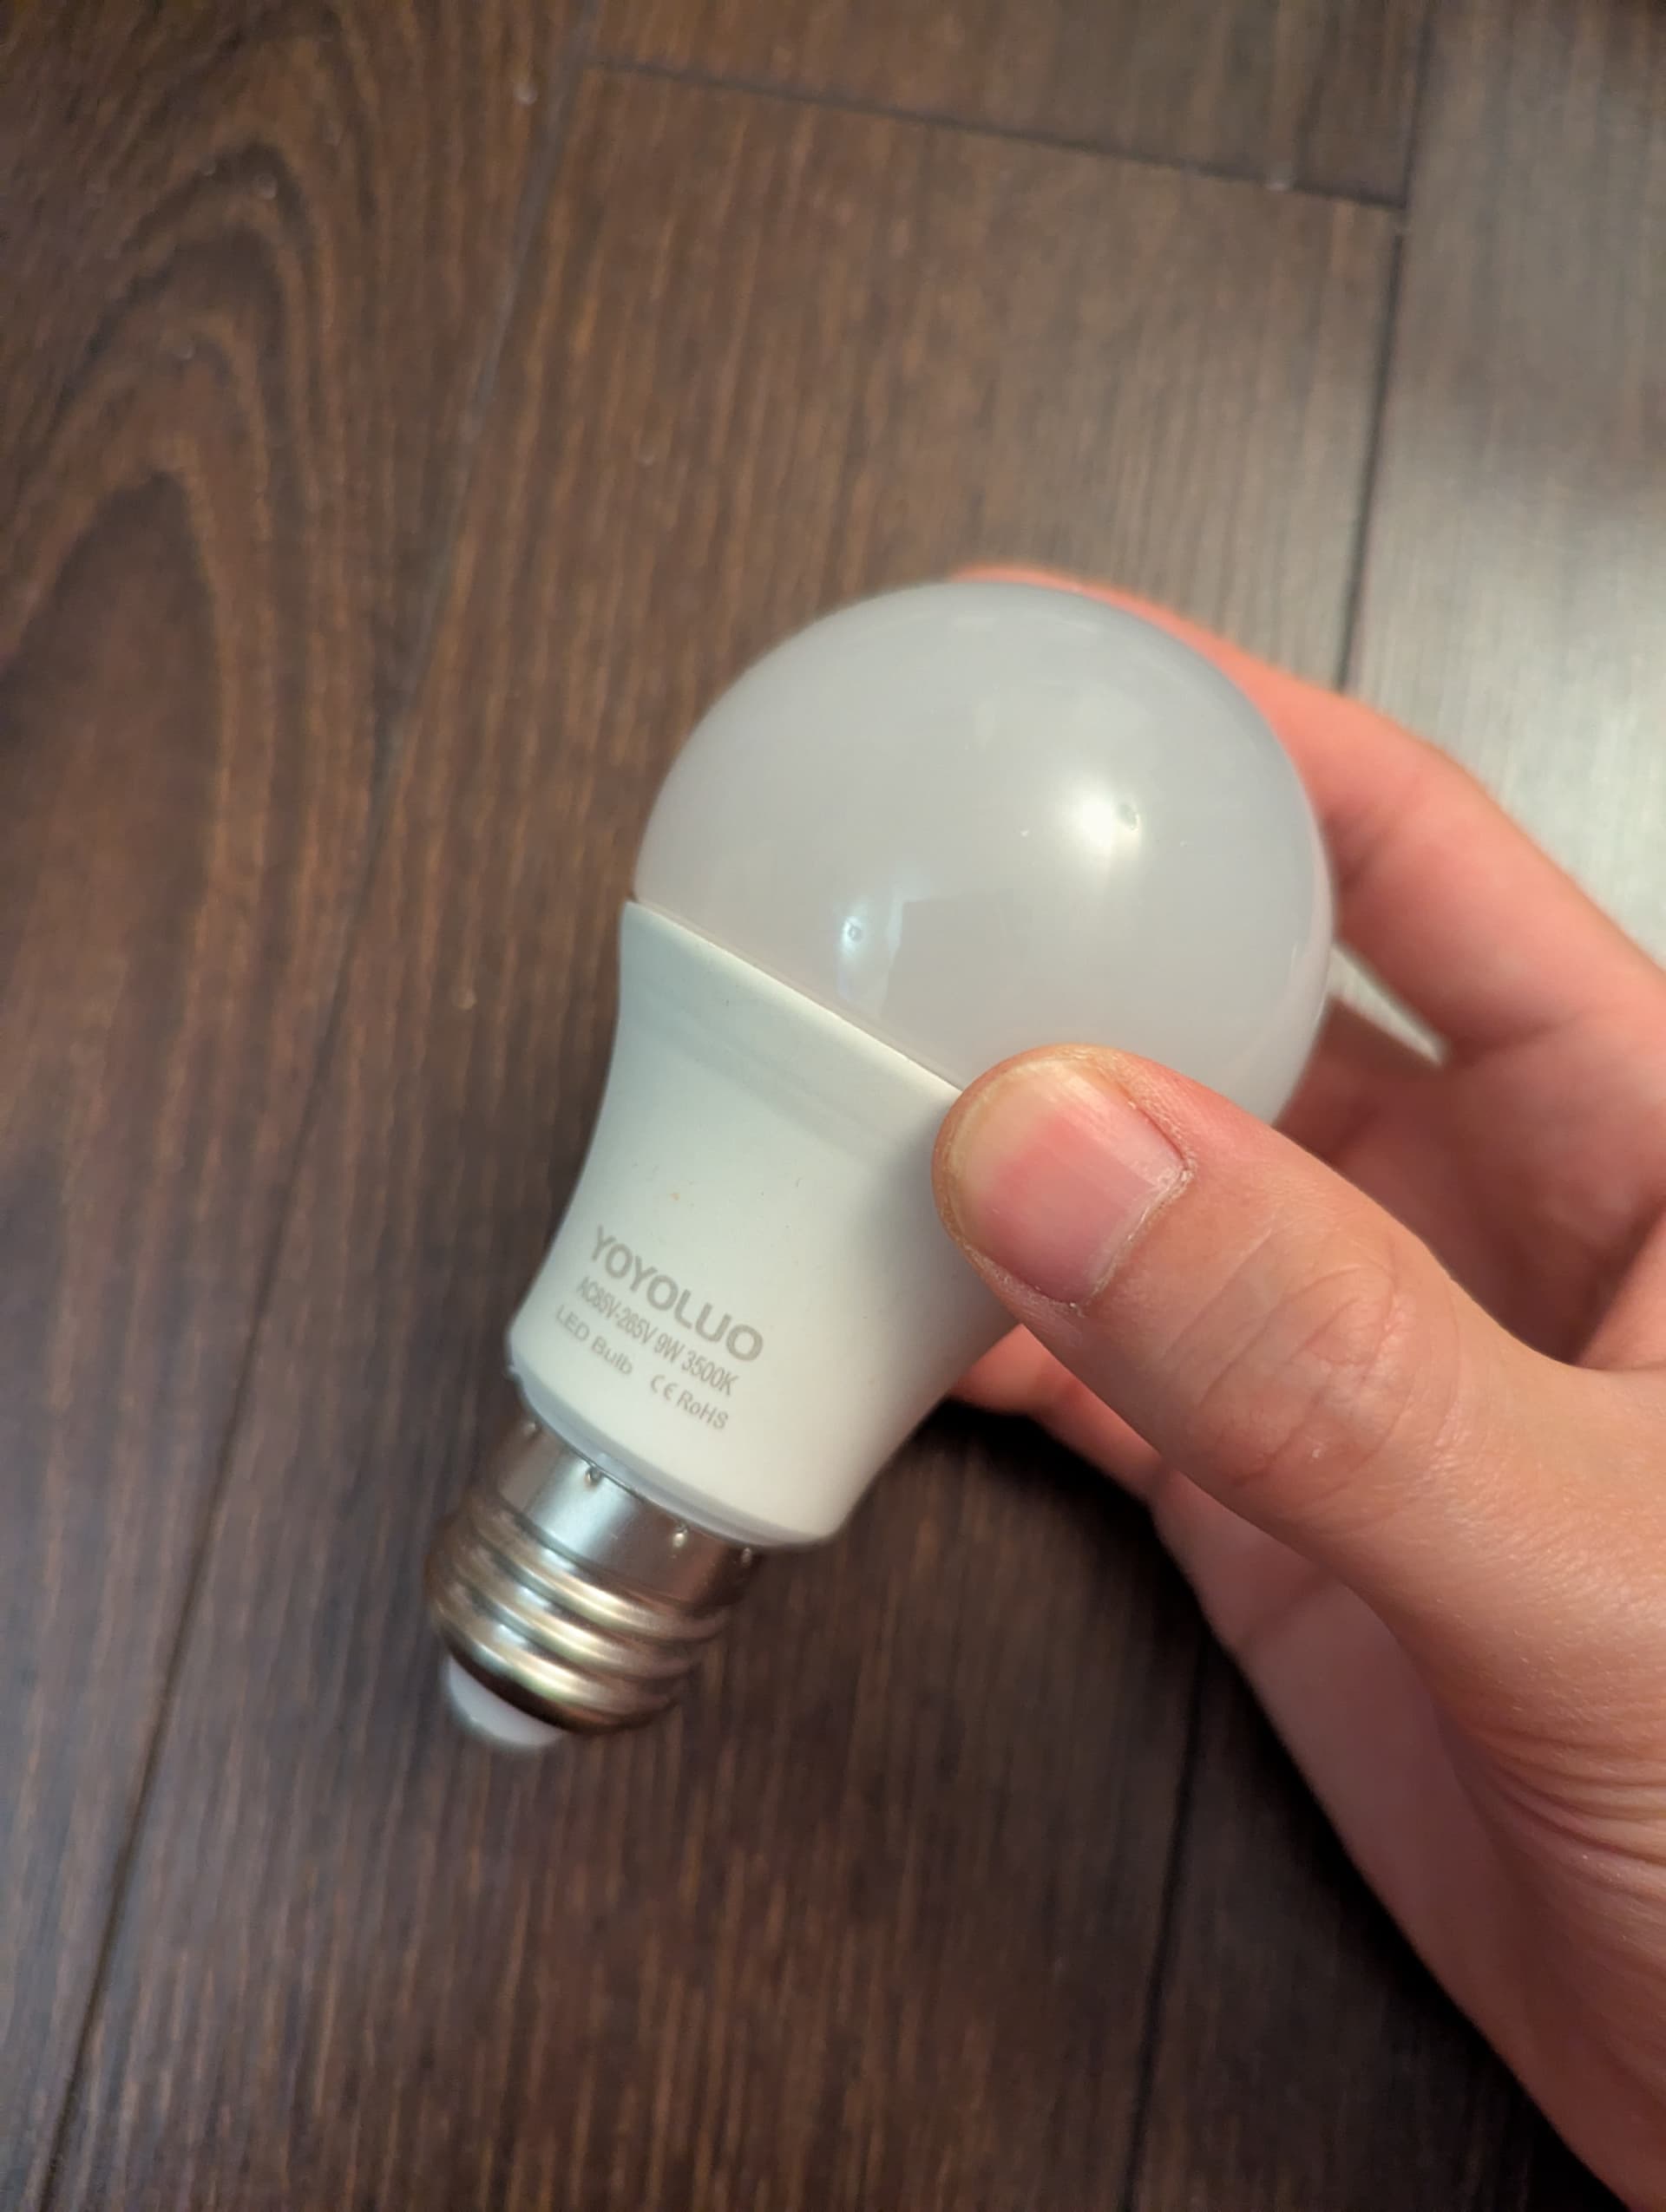
It just so happens that I kept around a burnt-out bulb for this purpose…
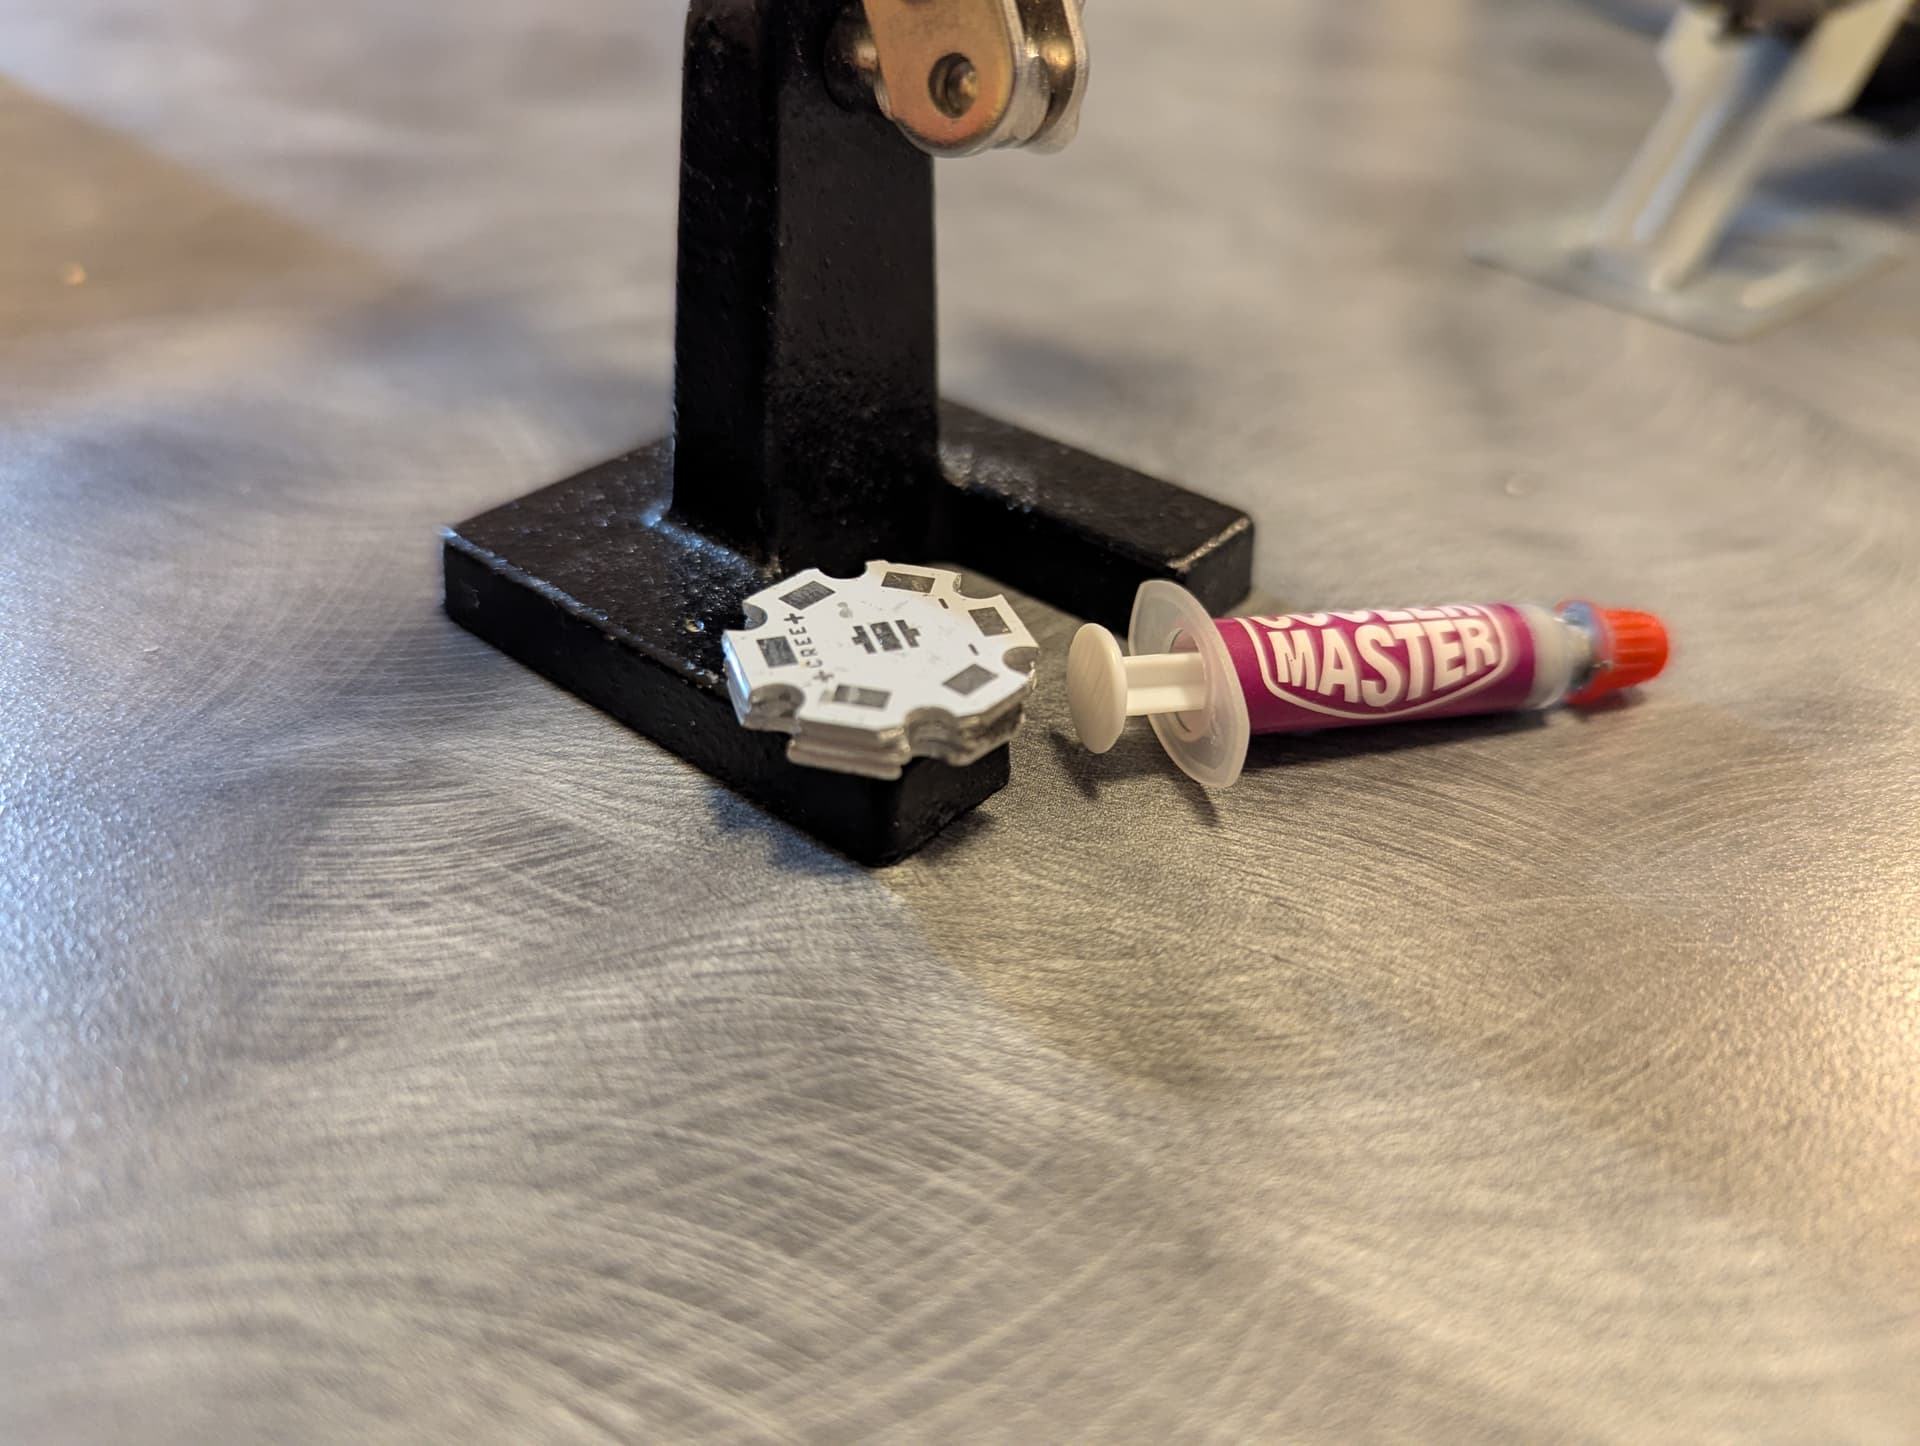
I decided to mount the diffuser with magnets, so the electronics are easy to access if needed. I attached the magnets with UV glue, featuring my Wurkkos HD01 UV:
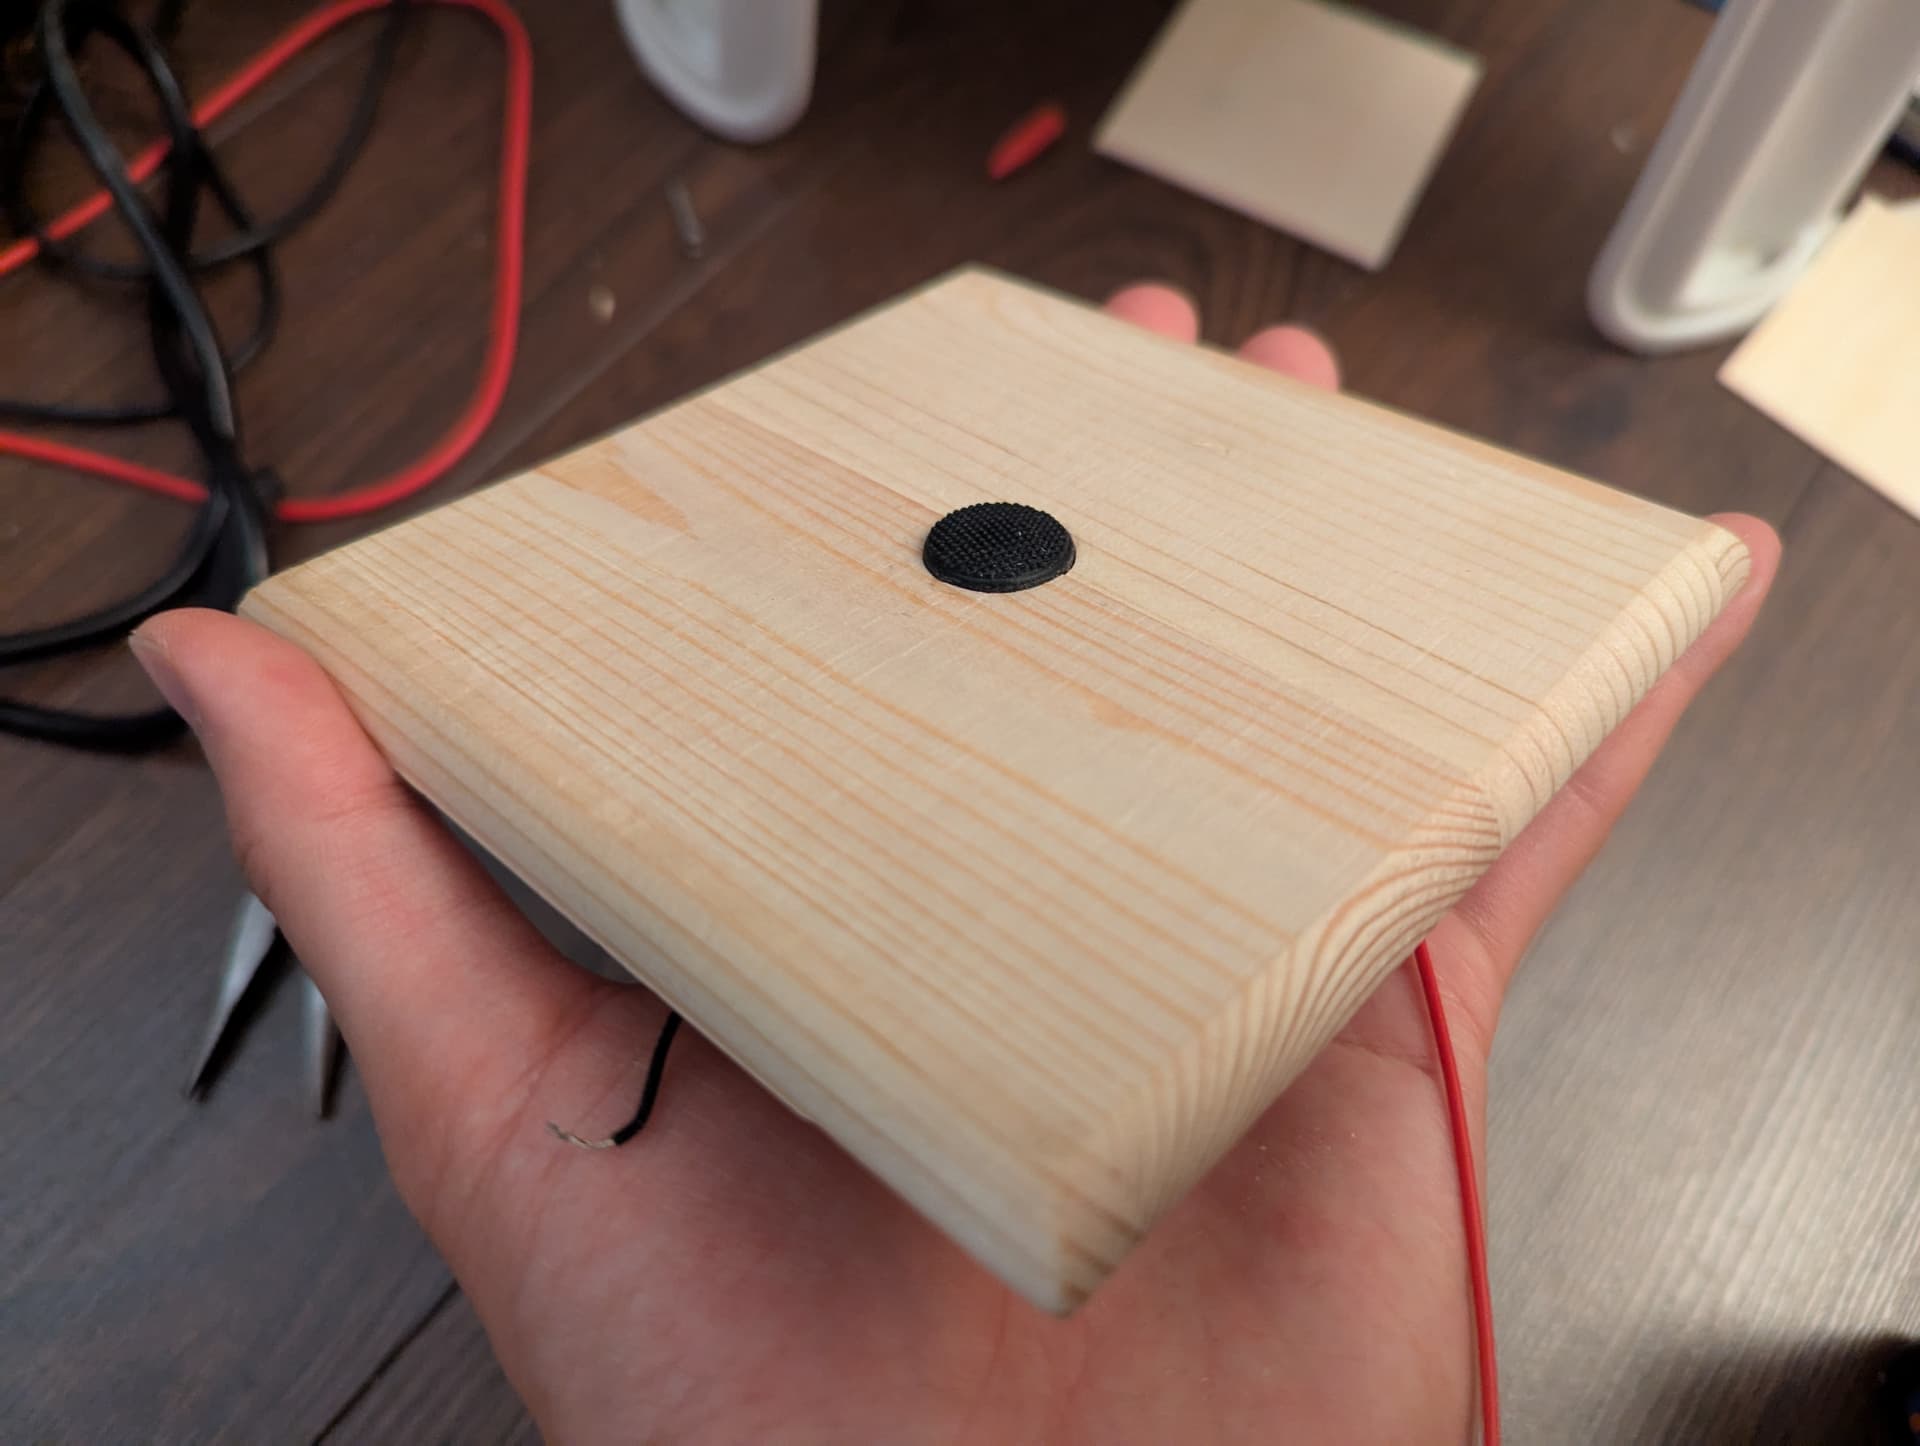
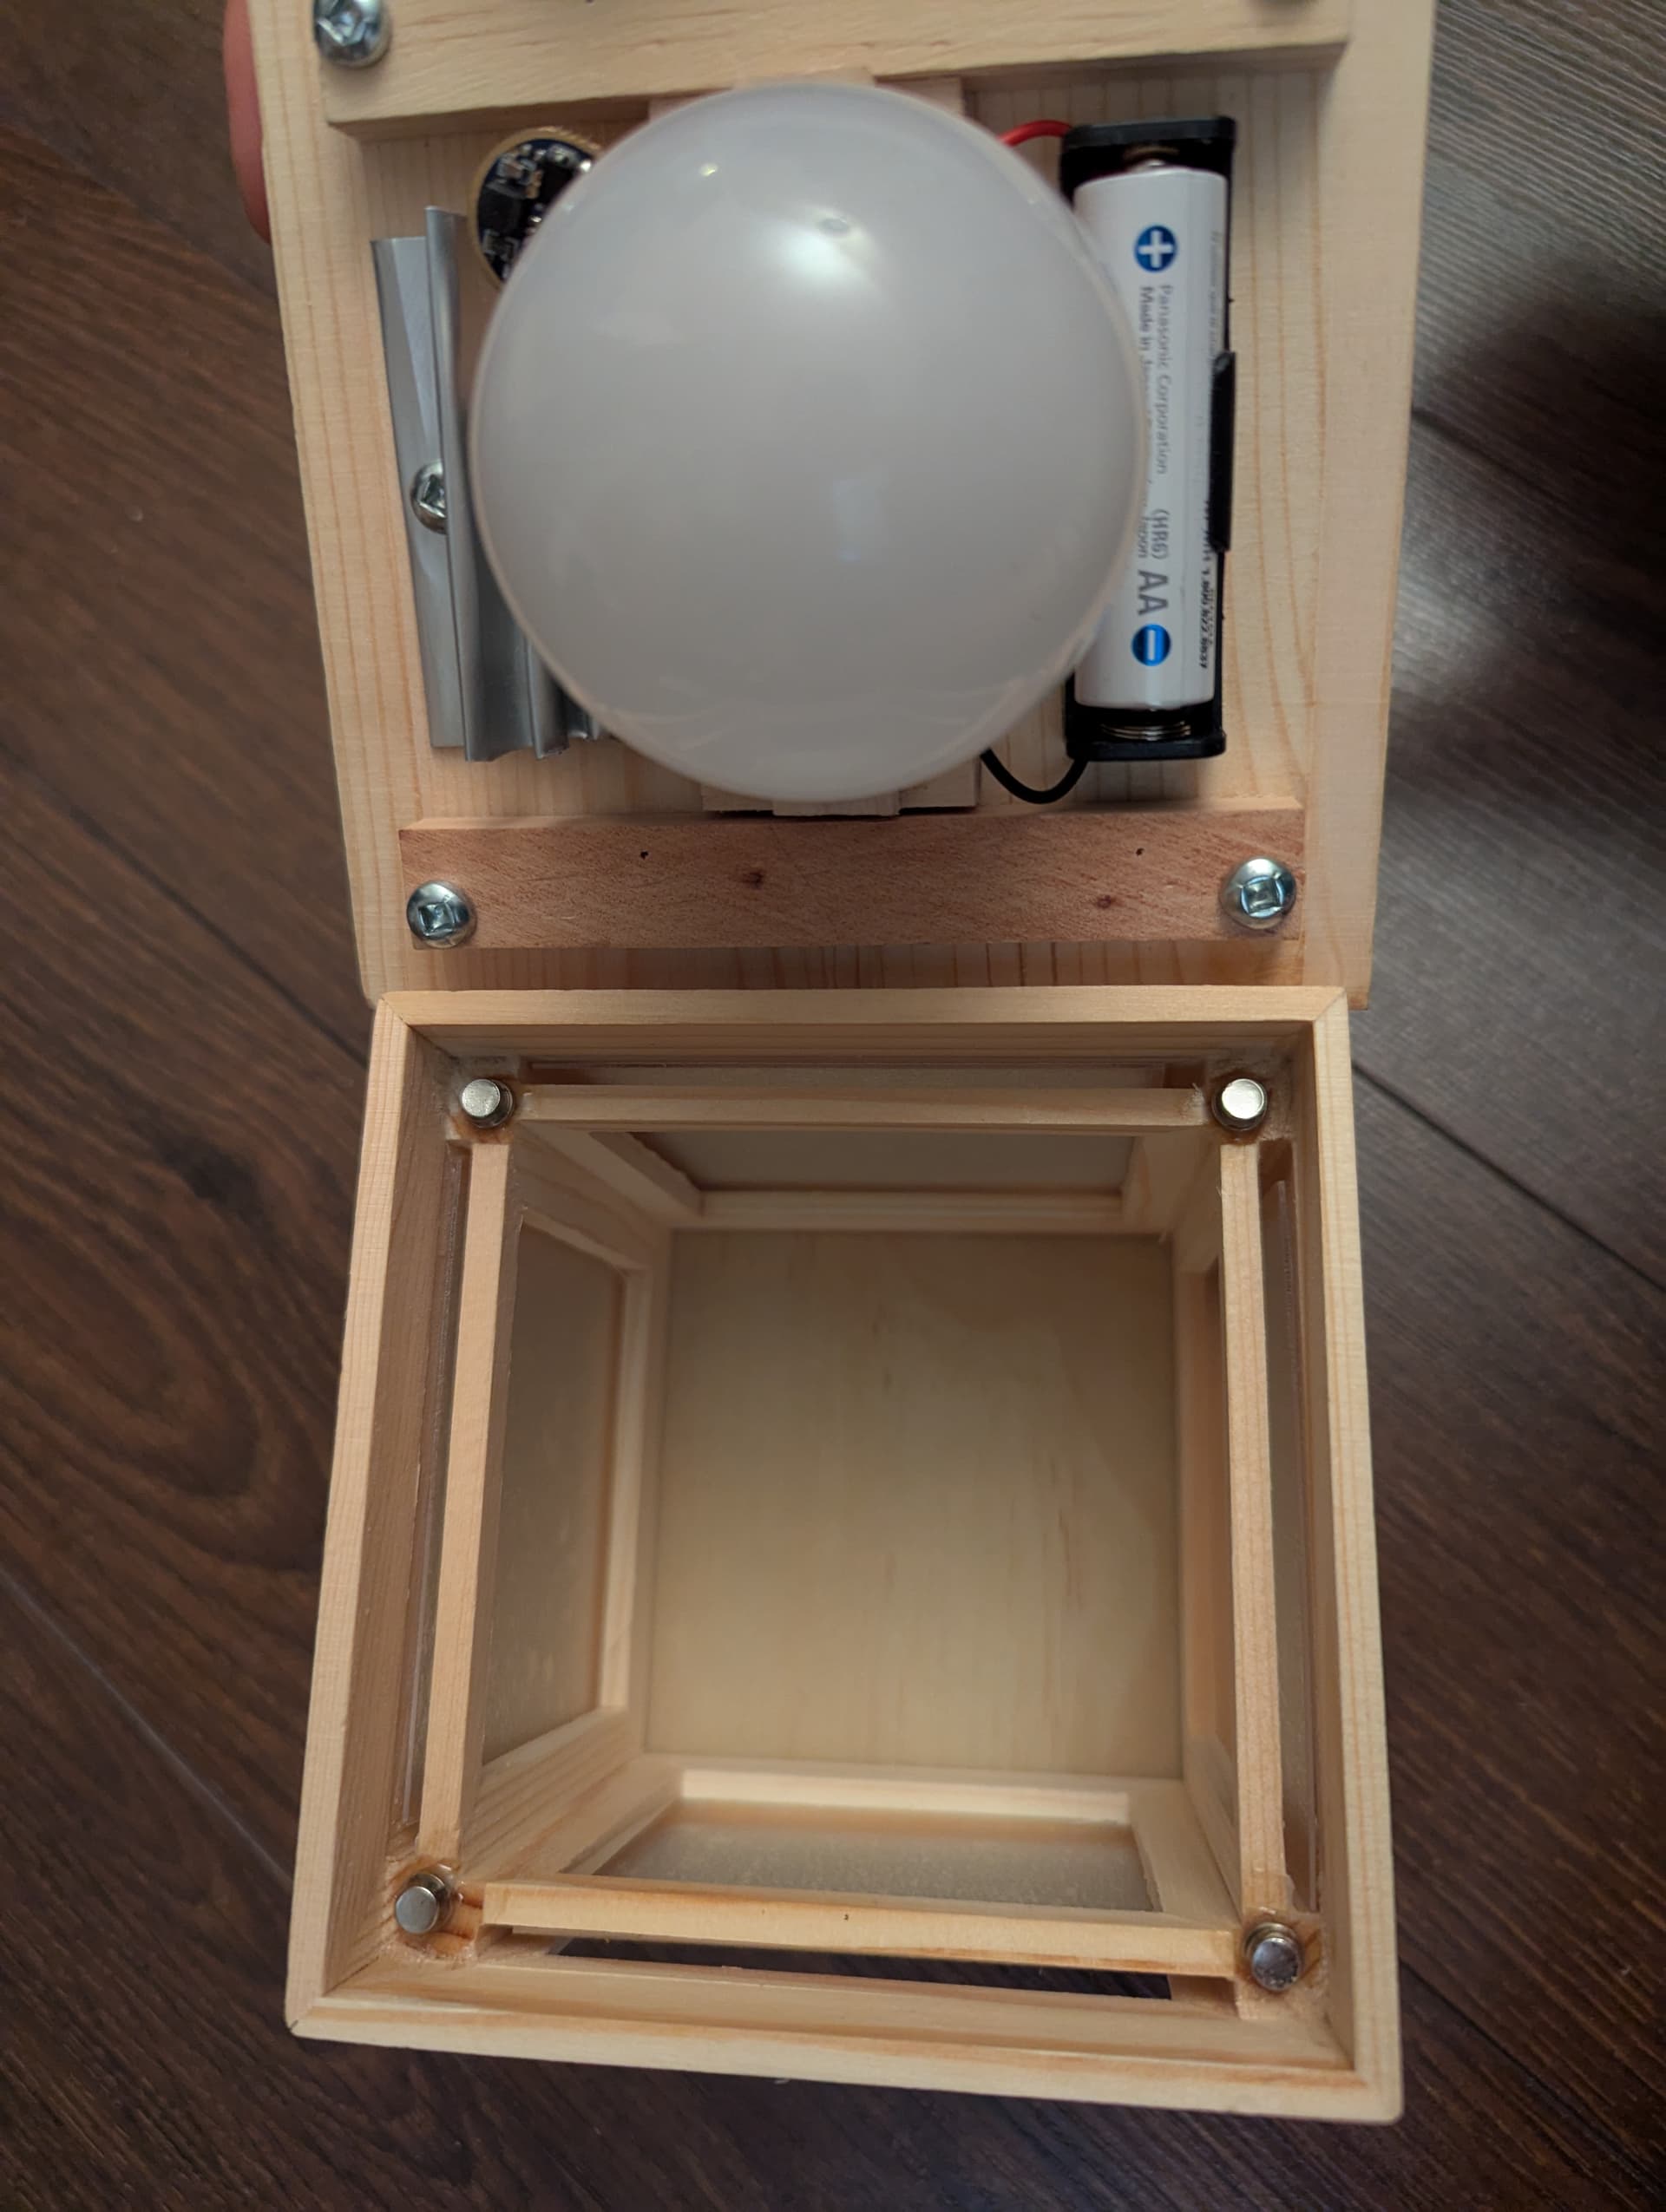
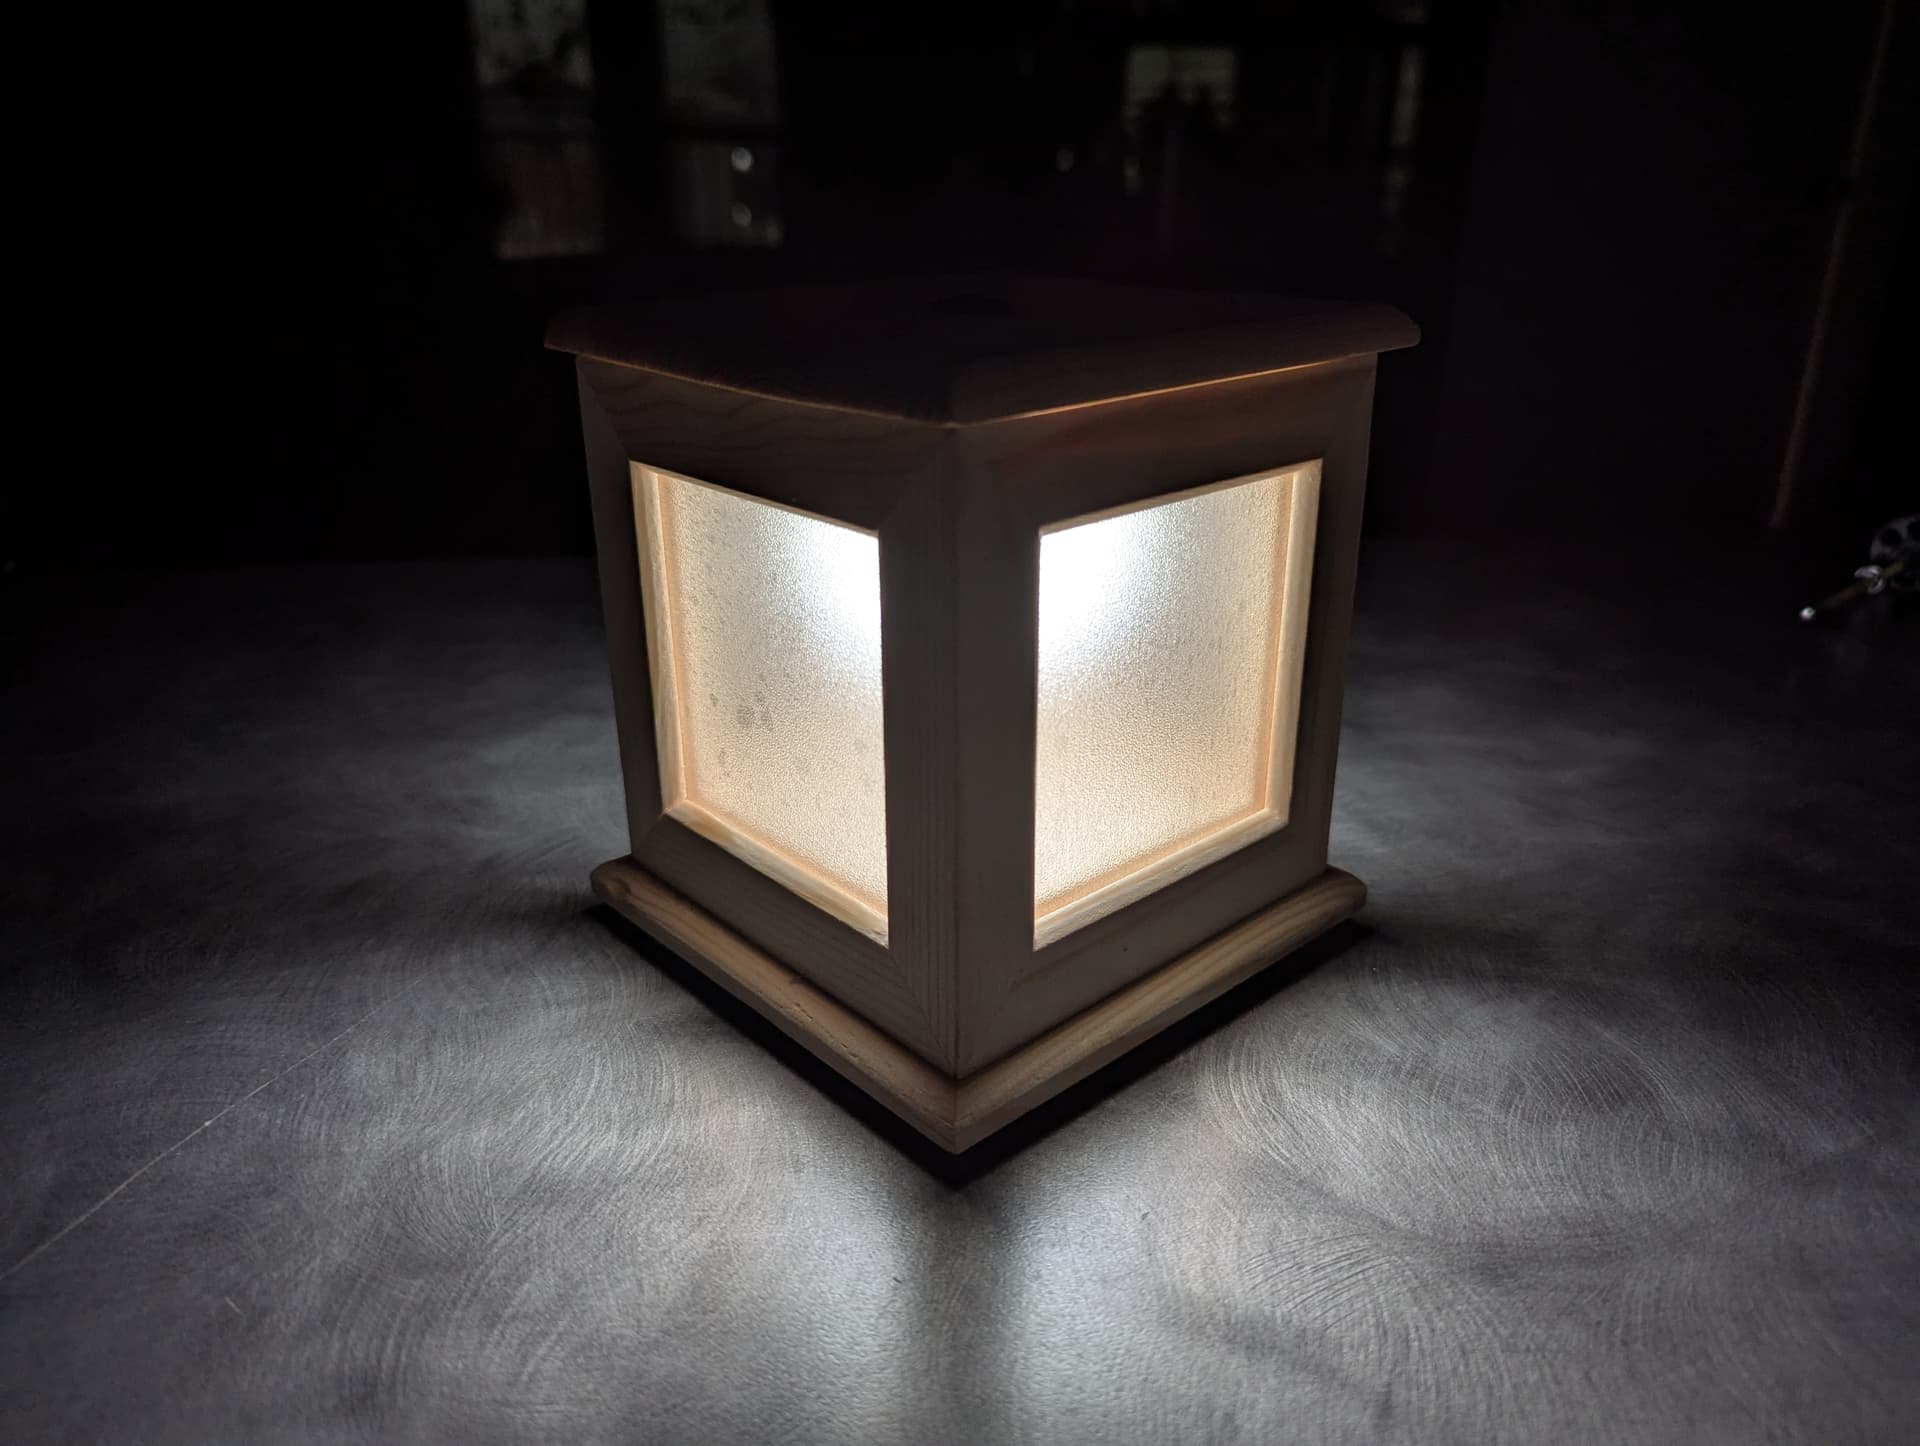
And with that finishing touch, this project is finished. It can now be wrapped for the gift exchange!
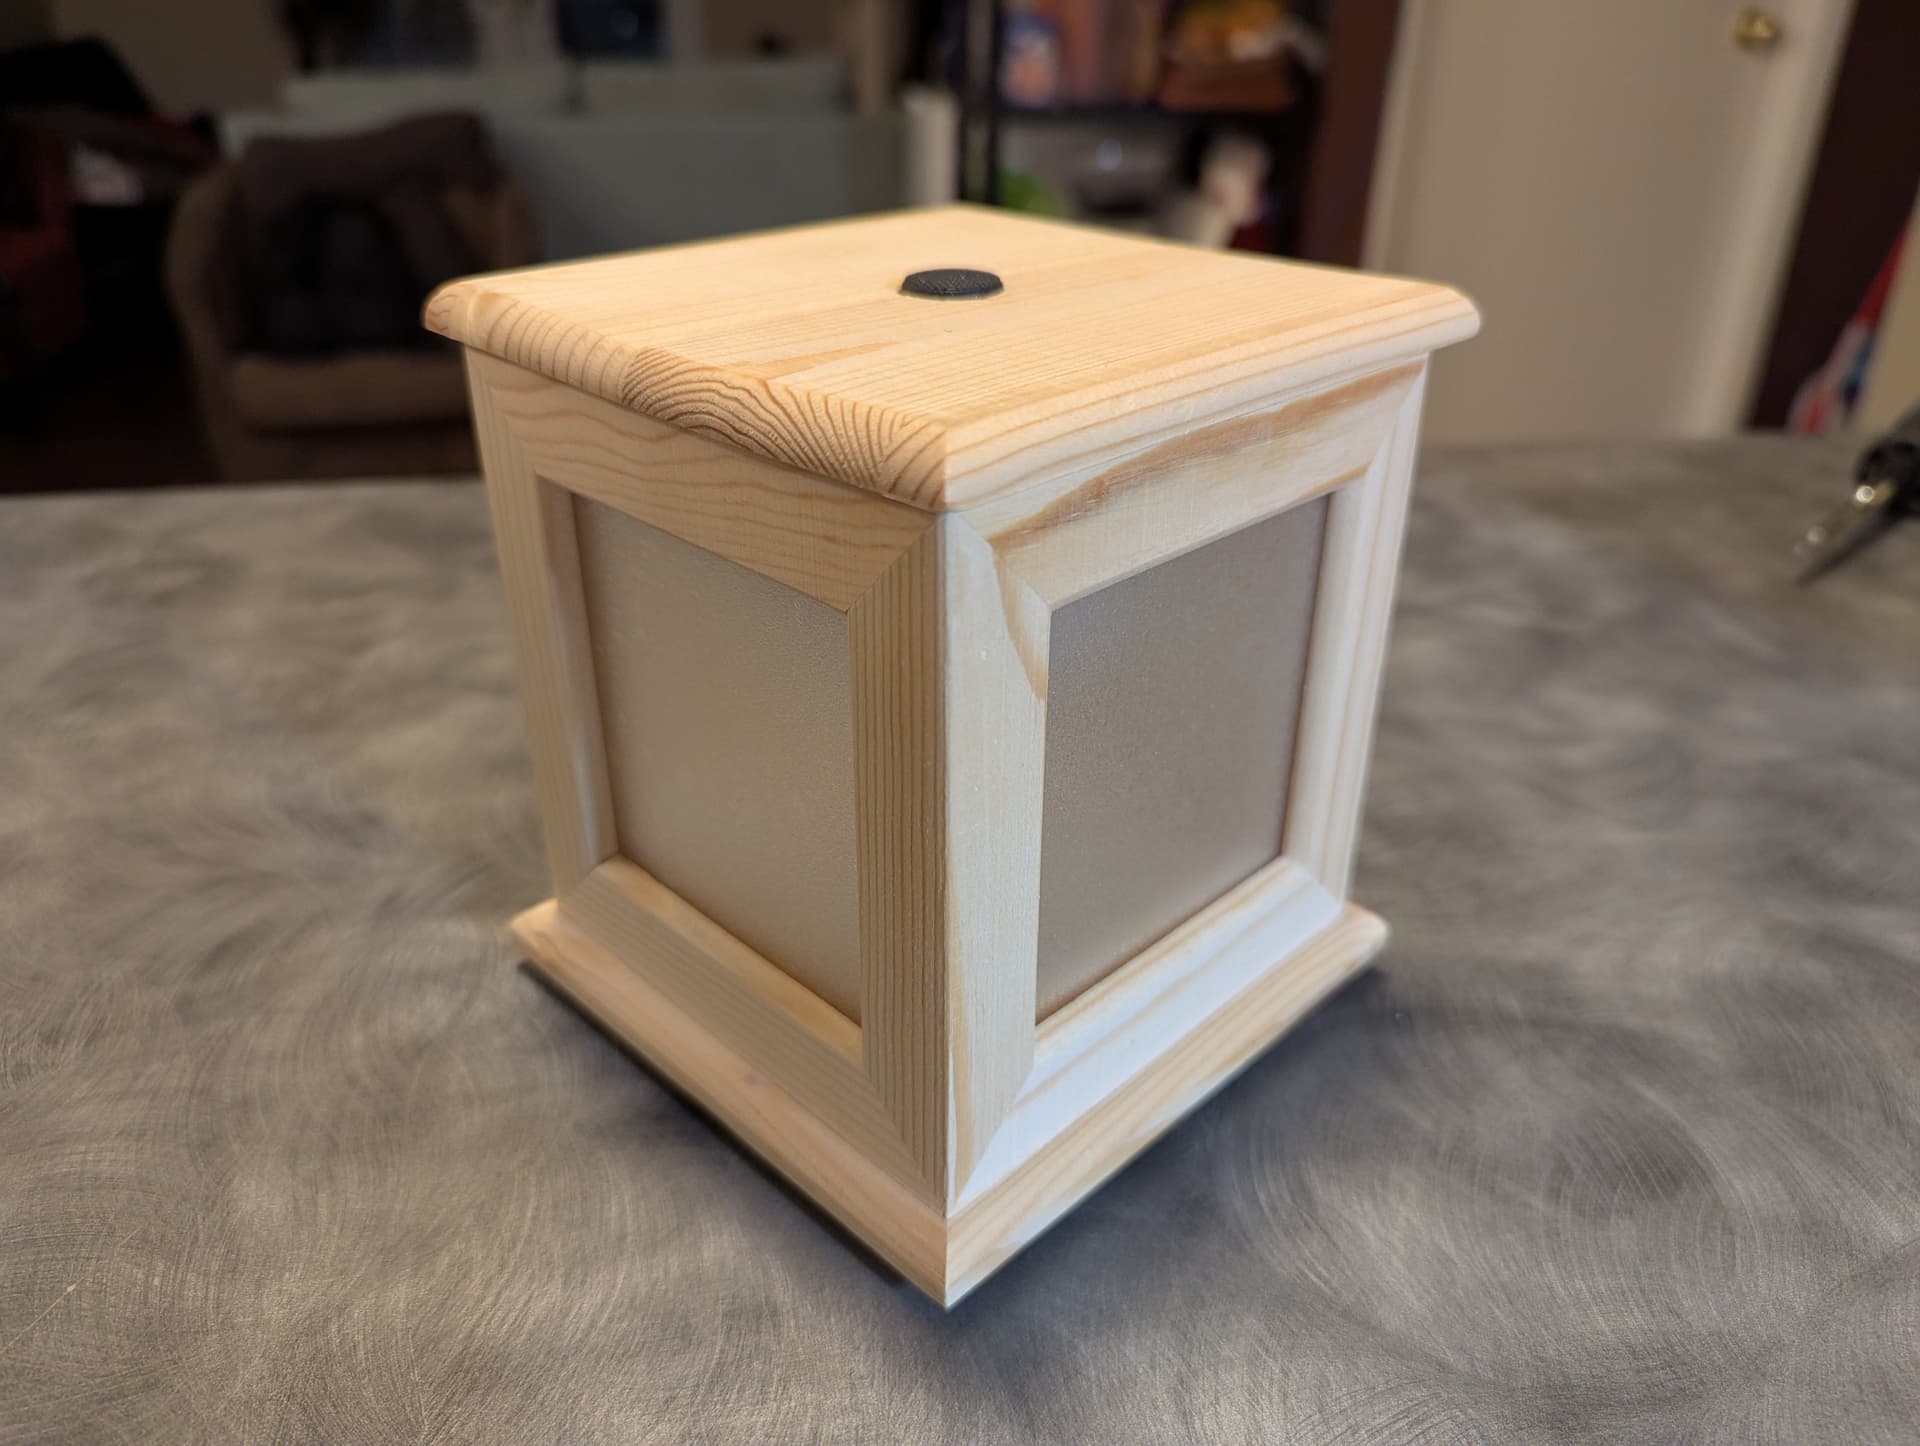
I’m quite pleased with how everything fit together, while retaining the understated appearance of the photo frame. This makes it a great sleeper light (in both senses of the word, since I envision this working as a night light).
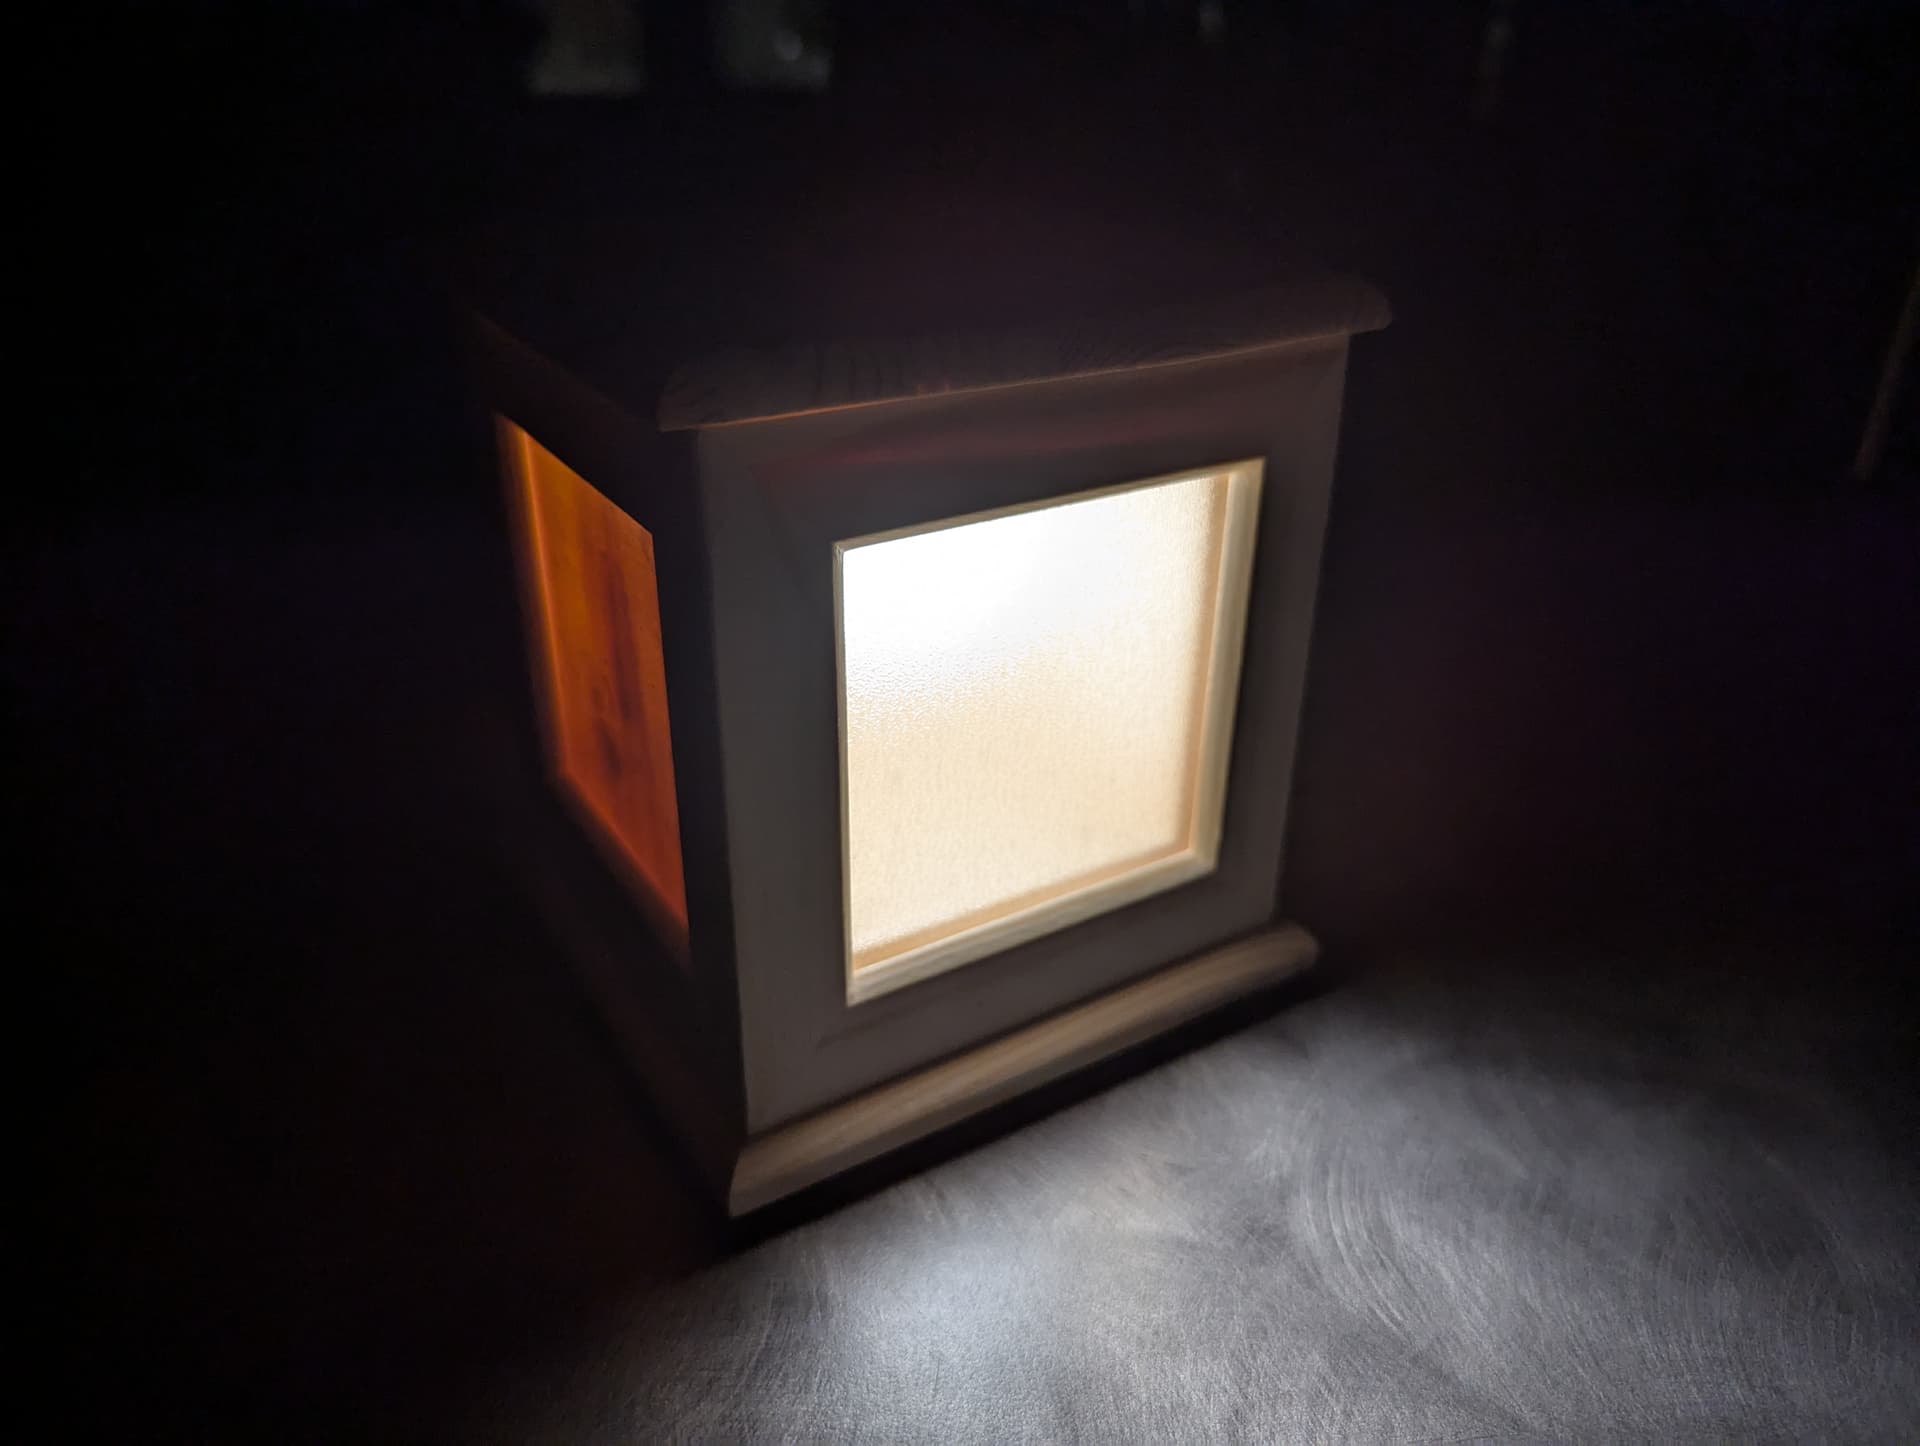
Bonus feature - the wood panels that went behind the photos can still be inserted behind the panes, allowing for the lamp to be turned into a directional light:
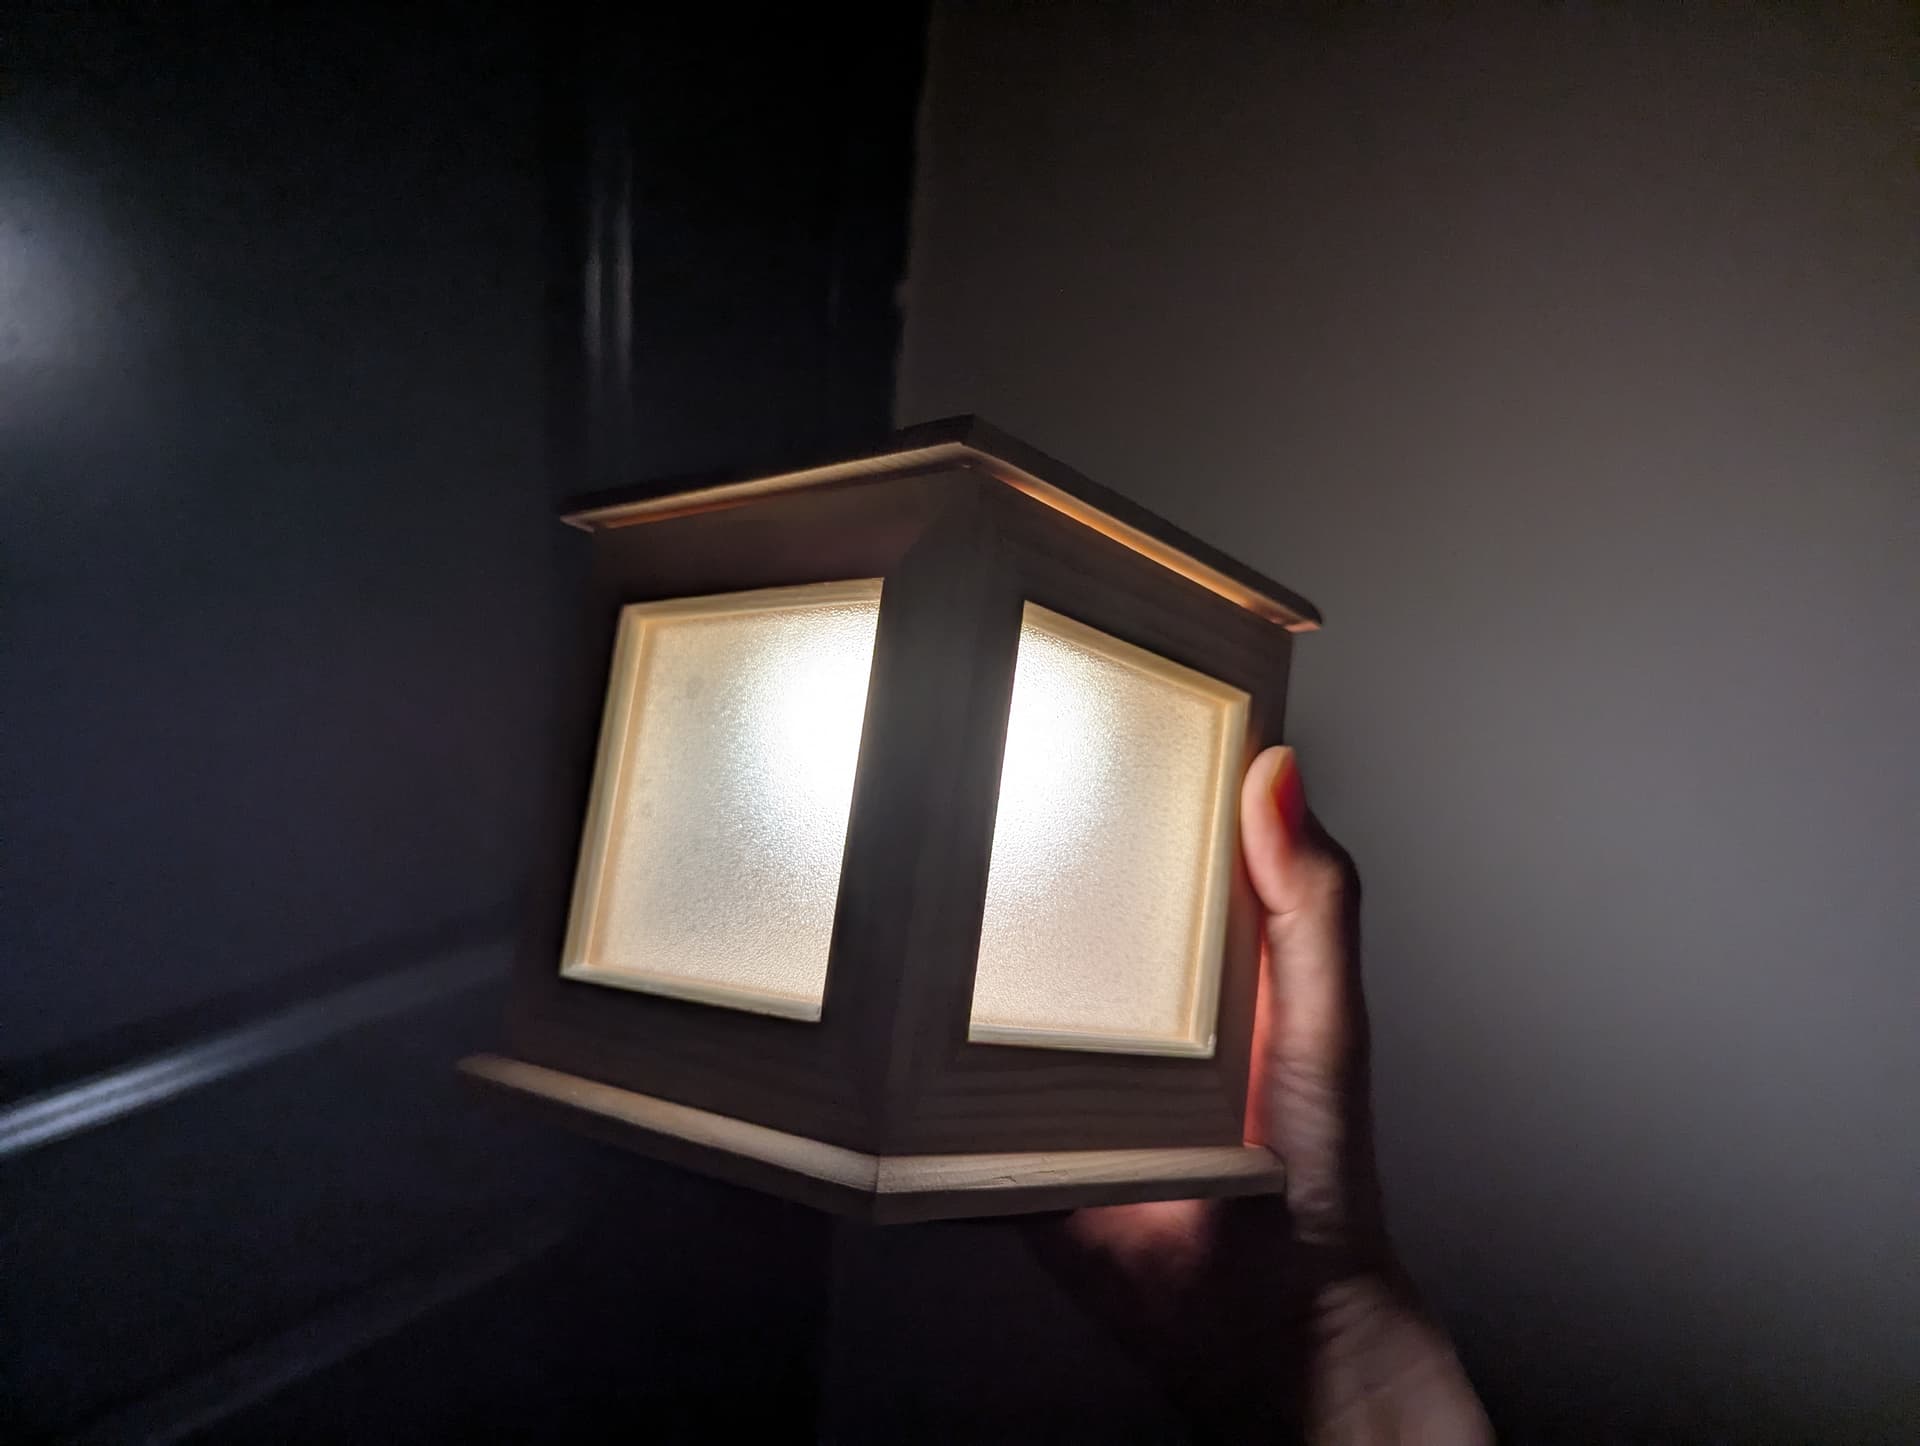
Thank you! The diffuser held up fine to the light being waved around and turned in various directions, but it was more easily dislodged by lateral force (like remove the lid and pushing sideways on the diffuser).
If I were to use this approach again, I would probably try adding magnets to both surfaces for a tighter hold, and maybe even adding guide posts poking inside the lip of the diffuser to ensure it can only be removed vertically.
That’s so cool! I really liked and I’m now looking for wooden boxes around lol… a cool idea, perhaps for v2 is adding a USB port for charging. That would make it perfect!
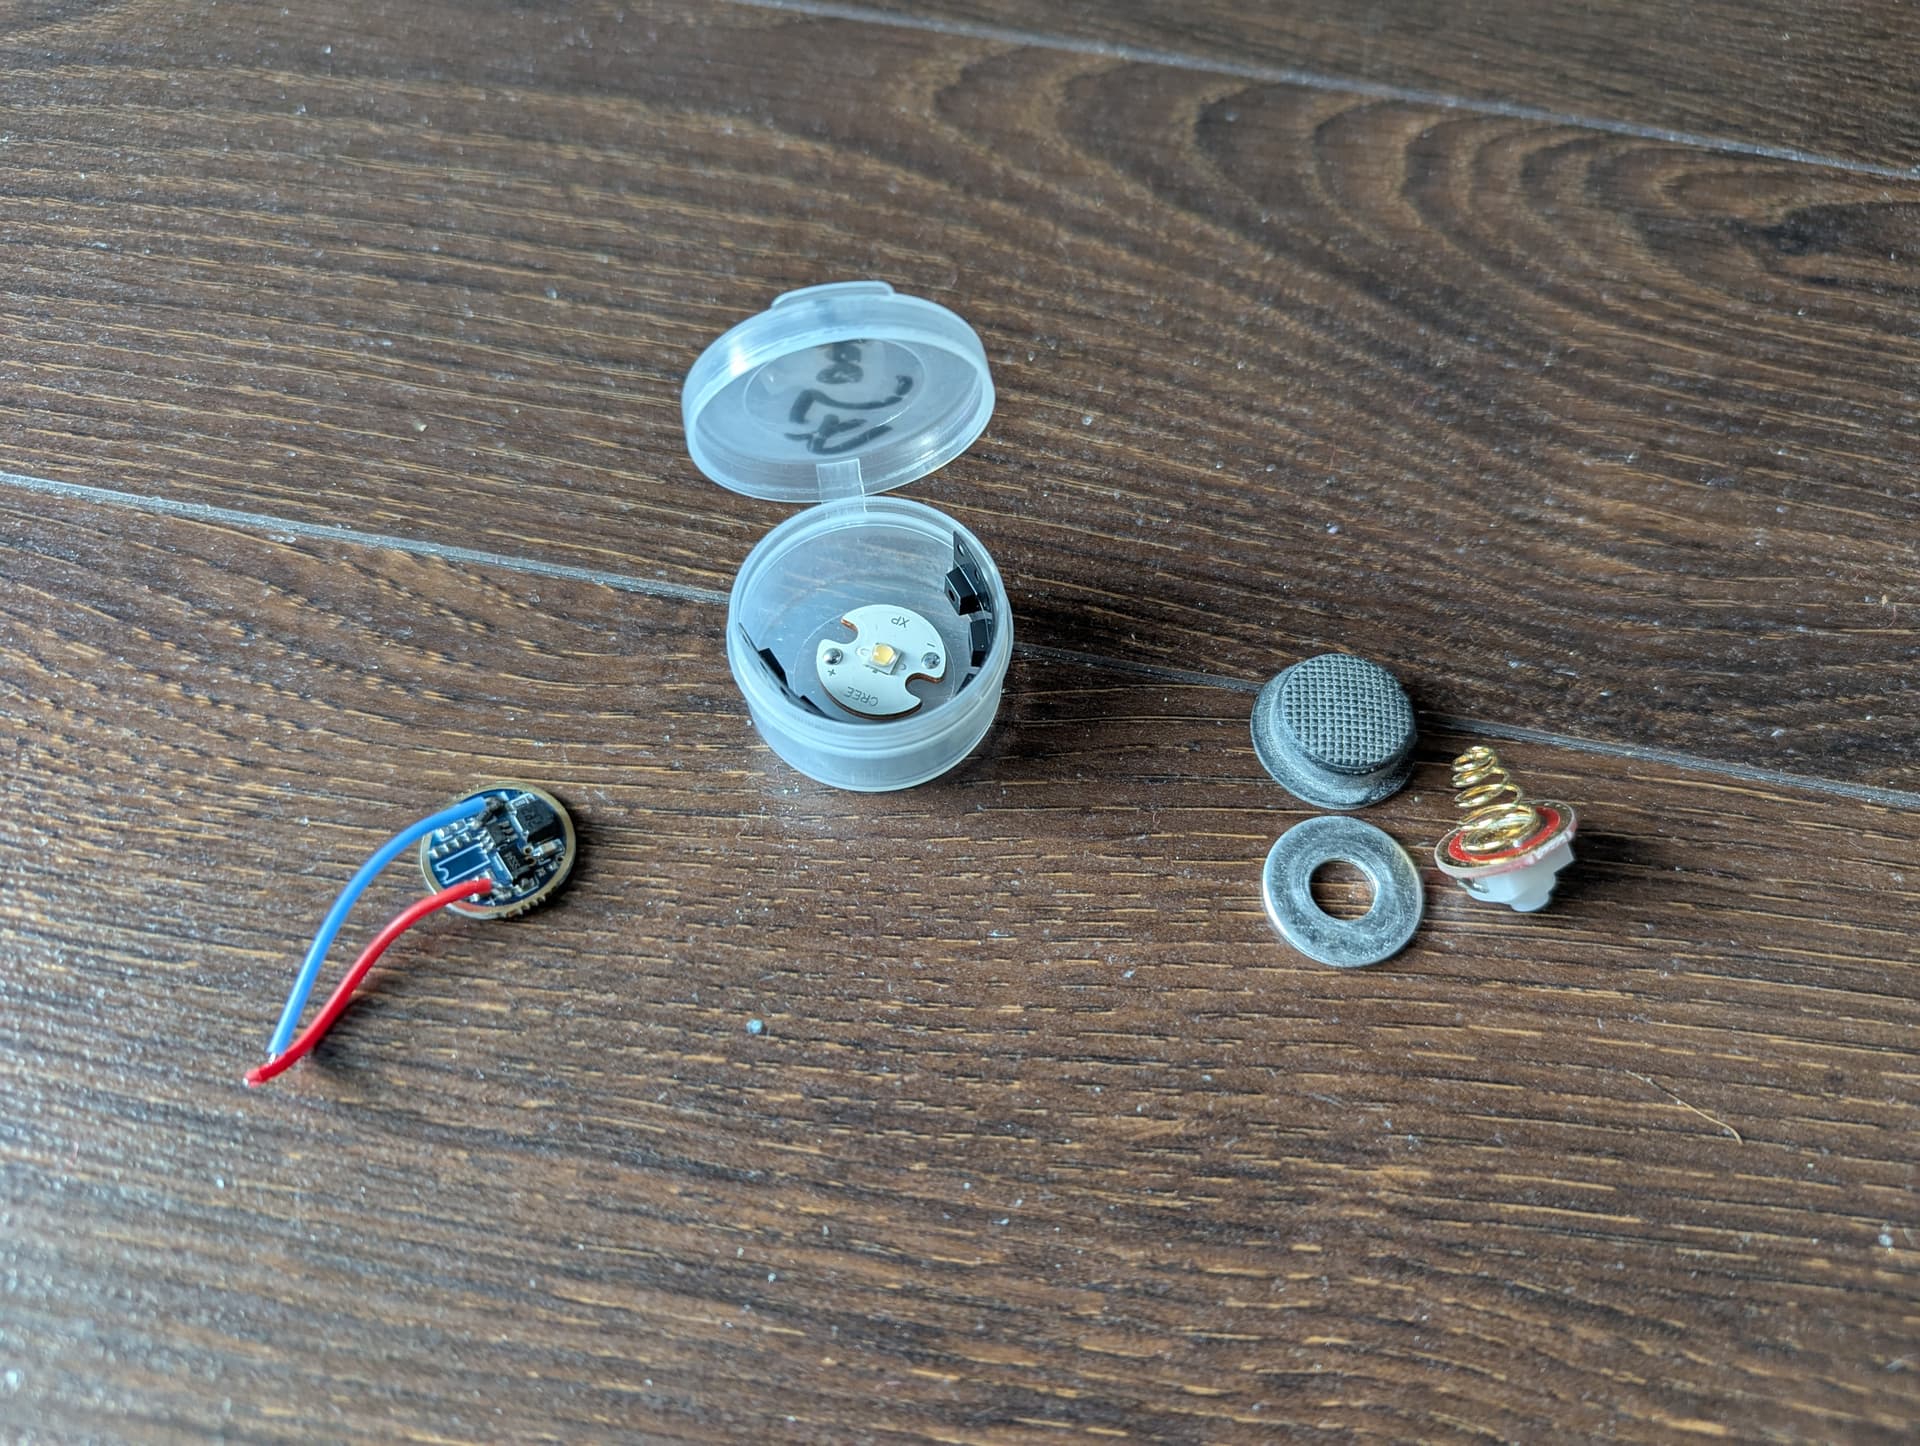
Thank you! This was a driver I bought long ago from FastTech claiming to be 800mA. You’re definitely right that I worried too much about heat - when I checked temperatures with an IR thermometer after running the light for a while, it was just 5-10C above ambient, with the battery being the warmest part! So the heatsink is really just there as decoration…
Charging is a great idea - it’d make for a more polished, convenient gadget that doesn’t need to be opened as much. I’m looking forward to trying this again in the future with more tools and more time!