Gchart, do you still have flashing kits for sale? I sent a PM but I’m not sure if you prefer posting here instead.
Is the only emitter option still 5000k? Hoping for 4000.
Hoping for Nichia 519A
Ordered one after reading the good reviews. I will probably swap in something in the region of 4000K.
Don’t have any lights with 519a in yet, so maybe this will have to be the emitter of choice for the swap.
Congratulations!
the SP10 Pro LED swap to 519a is simple because it fits on the stock mcpcb
Here are some before and after pics with 519a 4500K, both domed and dedomed:

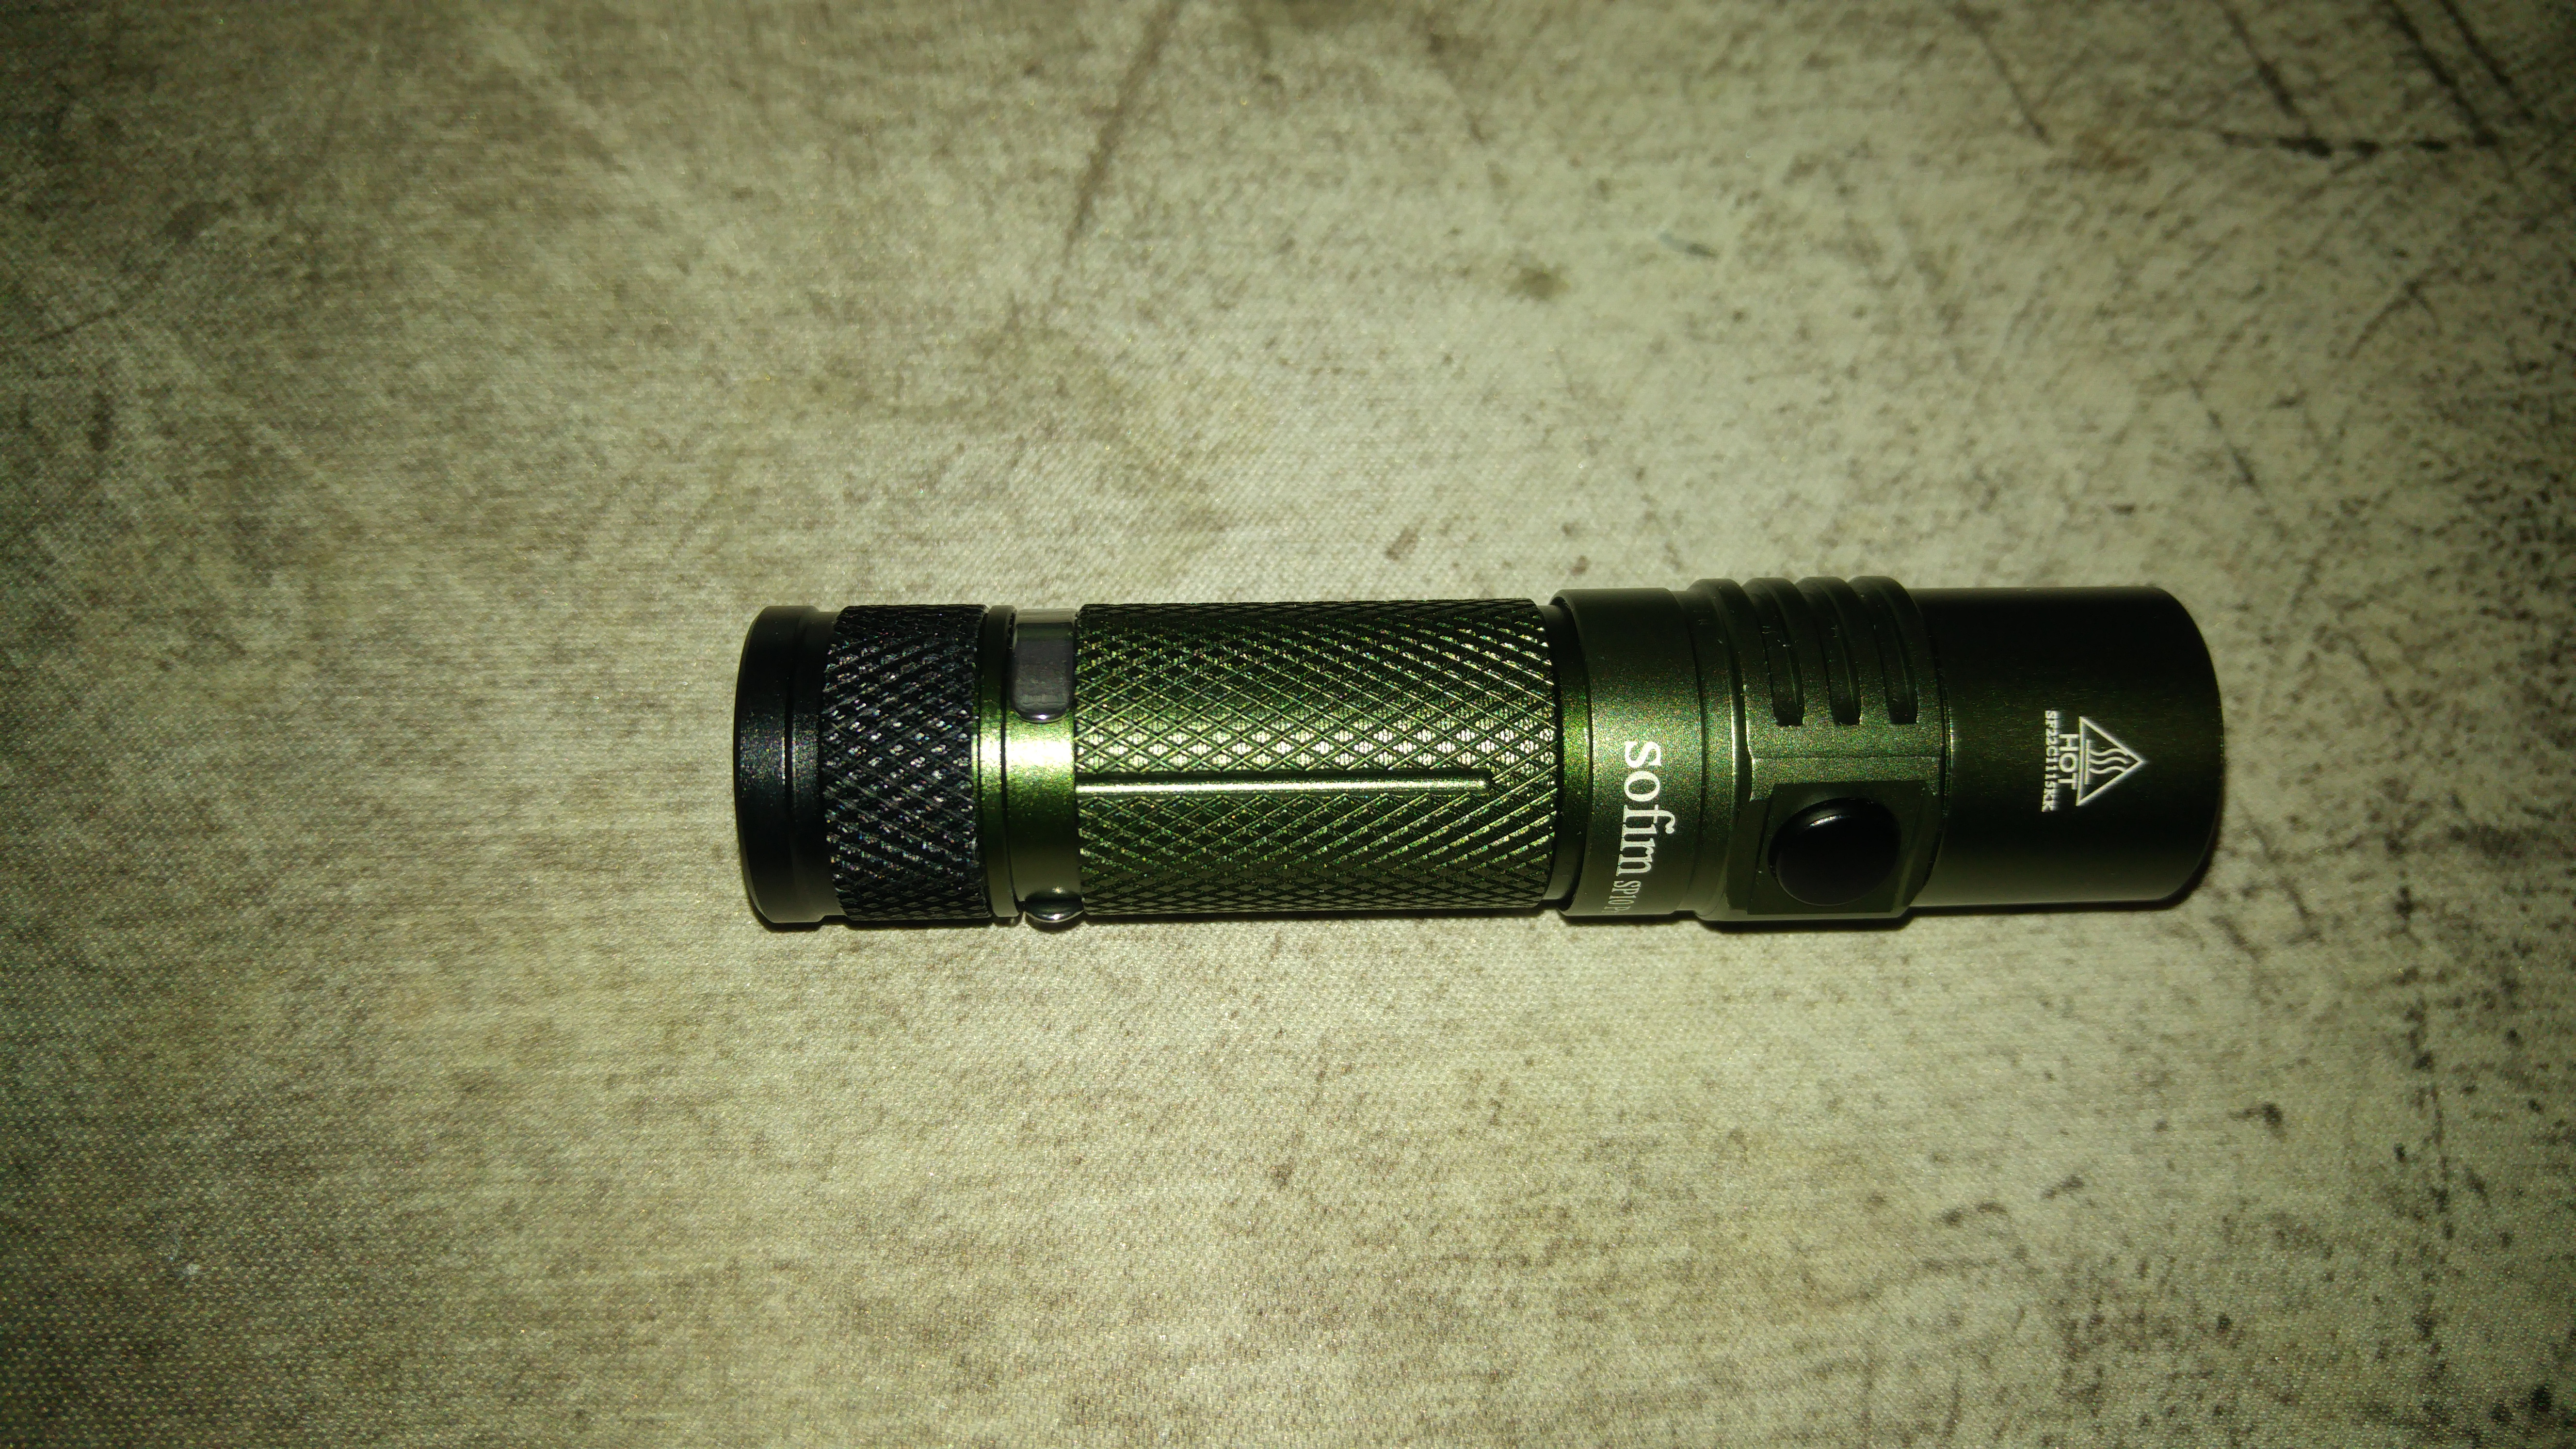
little update, on my SP10 pro magnetic tail drama.
They refused to send another, and demanded I buy something and they will just add it to the box. So I bought LT1 and they did add it but...
Well they did send a working one this time, but starting to think they are doing it on purpose.
And I know what's wrong with the first one.
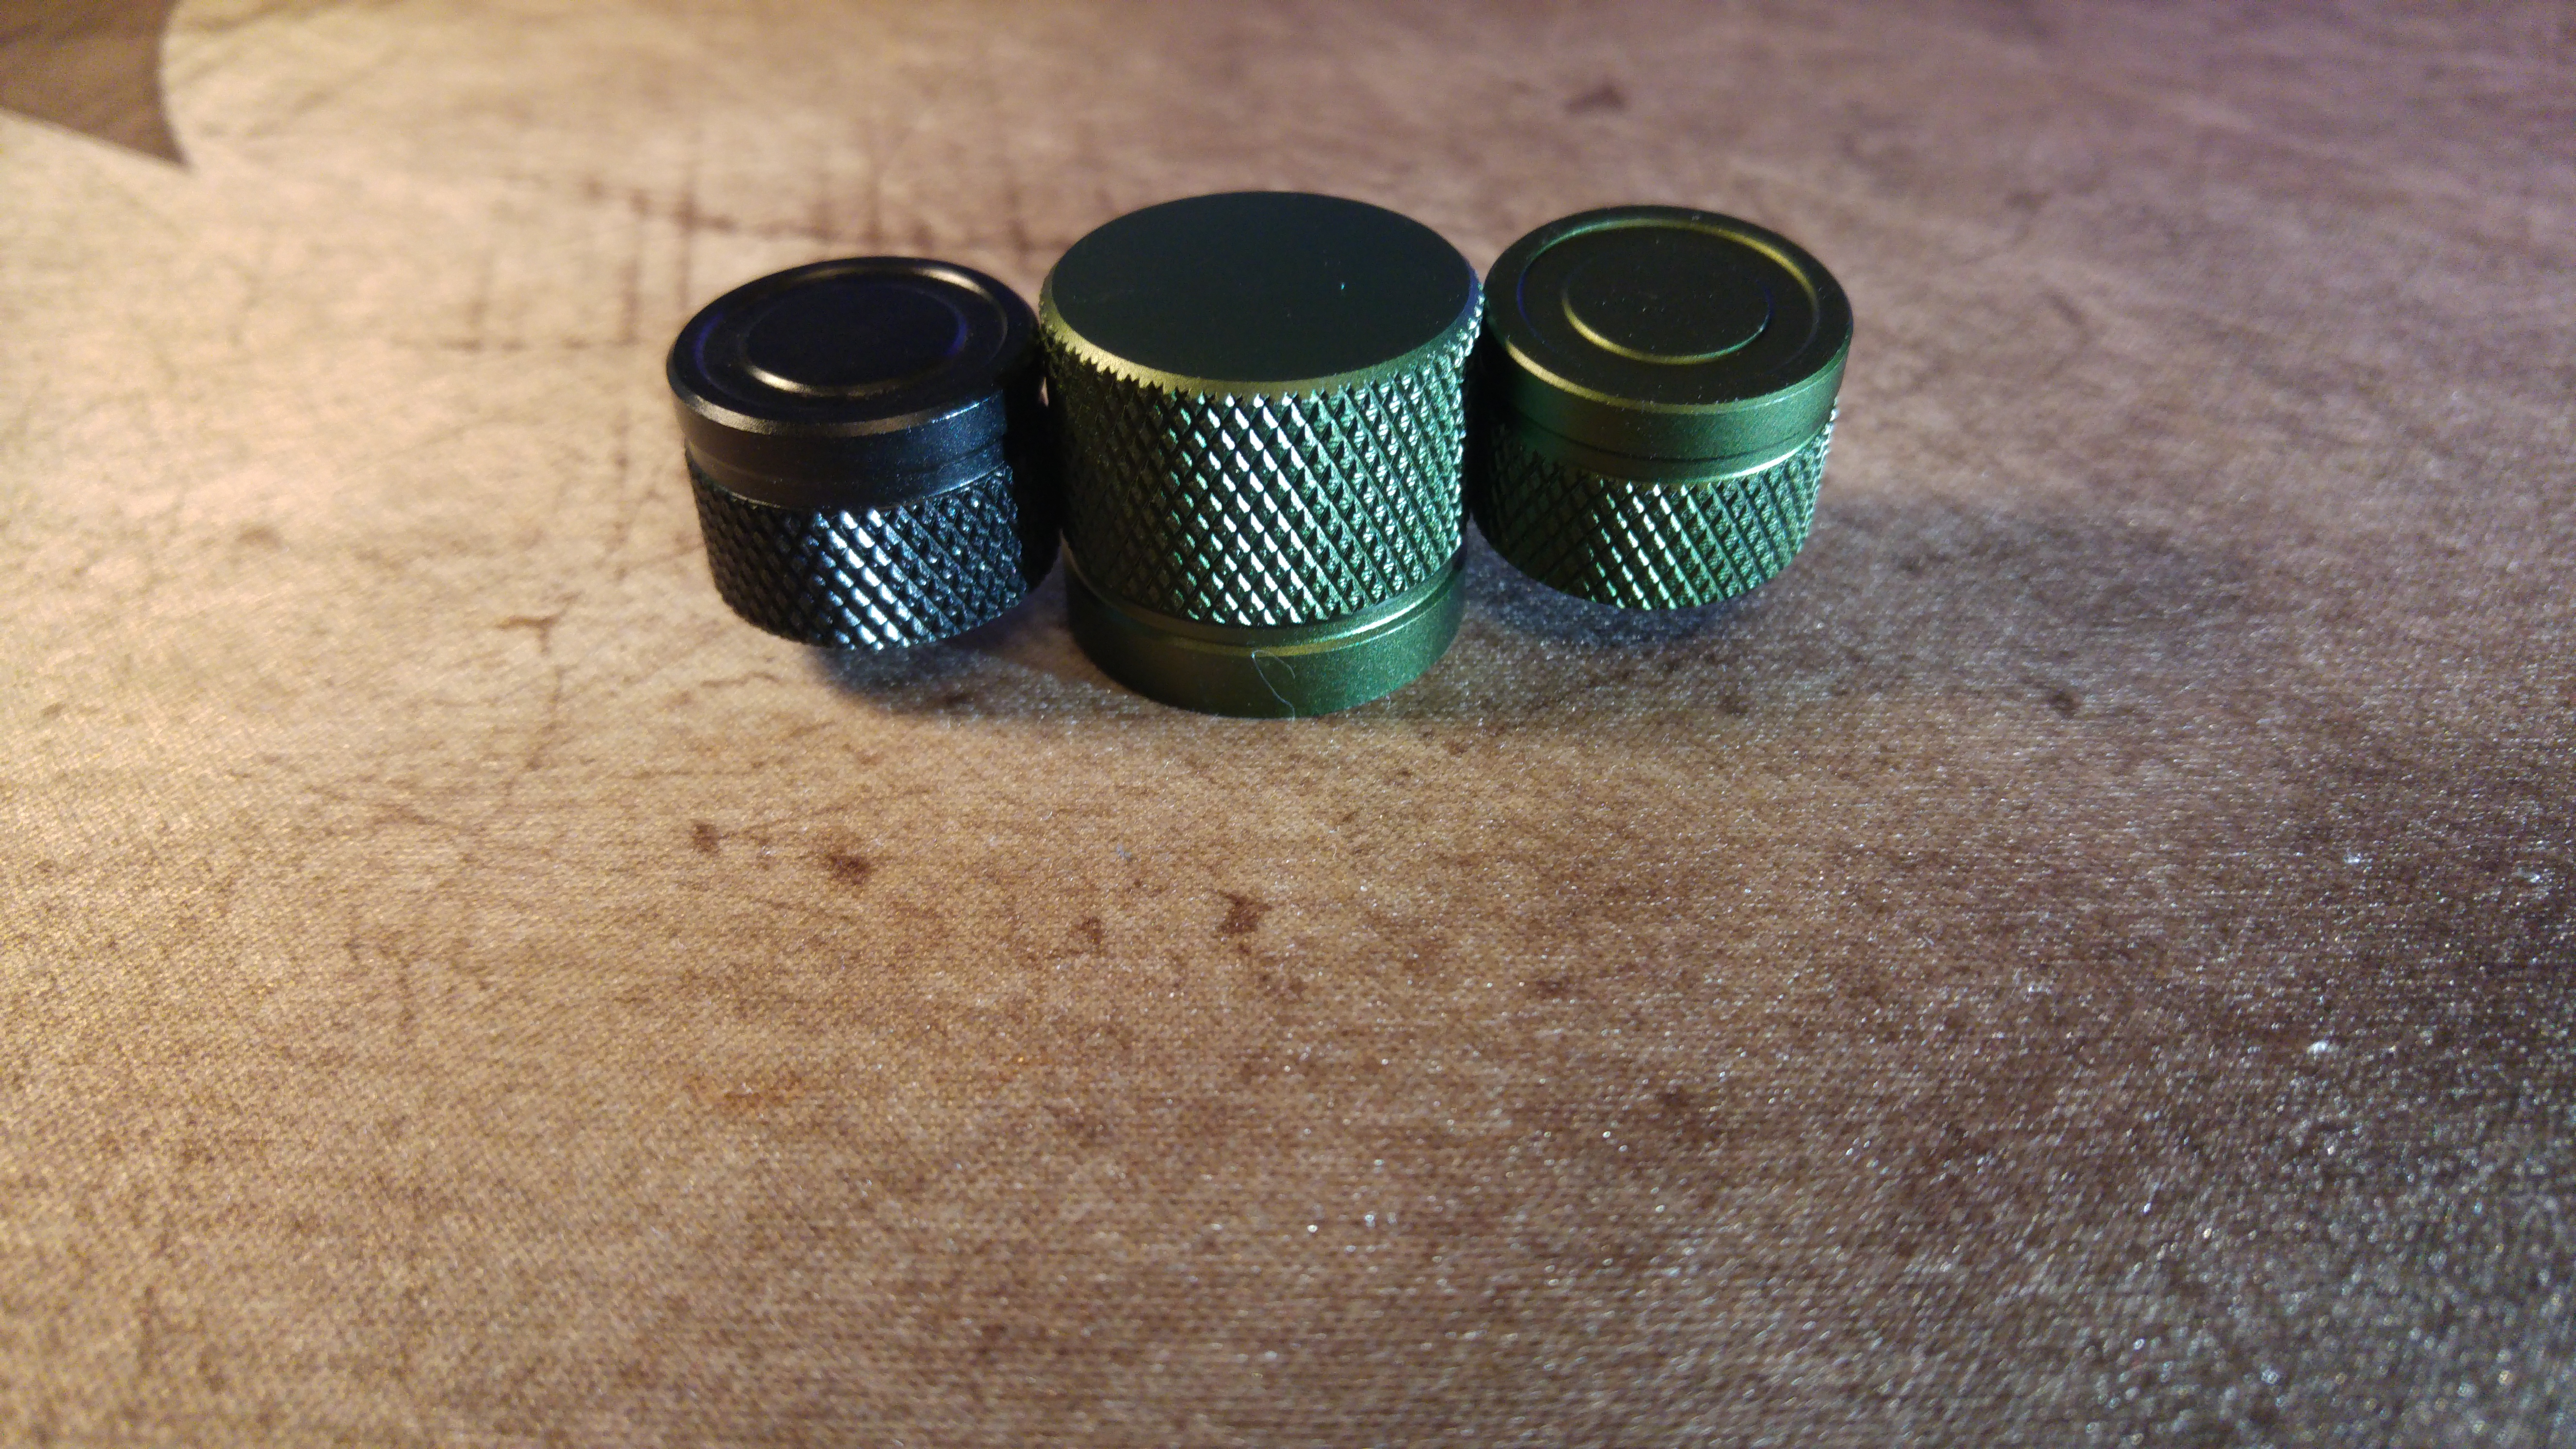
The outer size is really close, even a tiny bit shorter for the green one
13.857-13.861mm for green
13.861-13.866mm for black


The problem is with the depth of the contact surface in the tail.
8.90-9.05mm for green
8.16-8.25mm for black
and that's why the first one is not working.
https://youtube.com/shorts/RFq4jfAjtAc
what a tragic comedy of errors
hopefully you can find a way for the green tailcap to make contact with the end of the body tube,
some options:
use parts from the black tailcap
or
add something that works as a contact ring between tailcap and end of body tube…
for example,
some people use a copper washer, some use a bent piece of paperclip wire… does not really matter what you use, it just needs to make contact between the tailcap and the end of the body tube
or, the most destructive and non reversible option:
remove some of the anodising from the body and tailcap threads, so they become part of the electrical path
suggestion, in future, dont waste time trying to negotiate with customer service… use Paypal Dispute for item not as described, and just get a refund. Then buy again.
Can’t you just sand off the open side of the tailcap a bit?
It's not a rechargeable flashlight, so I don't want to add something that can fall, or change position when changing the battery.
Removing the anodization, would result in not being able to physically lock out it (and it does have a protruding side button, so I don't want to do it if I can avoid it )
That may create a fault, that I can cut my self, or scratch the threads. I don't want to sand aluminum, If I can avoid it (the aluminum dust), and it would remove the anodization.
I did pay 3.5$ and again 0.9$ for the second one delivery, like I want a good product. I don't have to be creative in fixing it, in the most safe form me way.
The problems you’re having are unbelievable!? That sort of thing usually happens to me… but thankfully when I ordered a red SP10 Pro with red magnetic tail cap (from their website) everything arrived in perfect condition and works as it should.
Measuring my tail cap (analogue vernier calipers) I get 13.90mm outside, depth 8.25mm to the magnet. I’d go with a spacer washer (brass, copper or aluminium would probably be best, but if you went with something ferrous/ magnetic it should stay in place when you disassemble it to charge/ change the battery?) Perhaps you may be able to remove the magnet/ spring and place a spacer under them in the tailcap?
https://budgetlightforum.com/t/-/56521/2083
I already did that (actually it just fell out as I touch the spring to see it). And I placed stronger and thicker double sided tape.
But that's not the contact surfaces, so it doesn't matter.
I could just buy a copper ring, but then there's a possibility it can change position, and I could damage something, if I try to screw it it, when it's not sitting flat.
I was thinking about to add some solder, but then I thought about it, and it would be tough, as I will just broke away the solder if I screw it to tight.
Yes, so "the same", as I get with the working black one. And I'm sure, that what it was supposed to be.
Thanks! I’m assuming MPCB is specific to the SP10 and a regular (eg. 16mm) won’t fit. I’ve struggled in the past with reflows as I don’t have a hotplate, but will give it a go.
Have you tried with a candle under the MCPCB, I used this method the other day, it works pretty well, just try to not get it ultra hot.
true, as you can see the SP10 MCPCB has a cutout for a screw:
 .
.
I would not enjoy grinding a generic 16mm mcpcb to have a similar cutout. Also, the generic 16mm mcpcb will probably be 0.5mm thicker, which will create a slightly larger gap at the bezel…
I can understand you being concerned about learning how to reflow, but I encourage you to learn. imho, it really helps to have proper solder paste.
https://www.amazon.com/gp/product/B0186IM0P0/
I put a little on the solder pads of the mcpcb, so I can see when it melts.
Here is an excellent video of one way to create the necessary heat:

here is an example of an inexpensive hotplate option:
https://www.amazon.com/Remover-Heating-Soldering-Welding-Station/dp/B07W1ZZH8T
alternate hotplate from aliex 4.17€ 50% OFF|LED Entferner Heizung Löten Chip Abriss Schweißen BGA Station PTC Split Platte 220v 110v 270w Grad|Lötstationen| - AliExpress
good luck w your reflow ![]()
soon it will be second nature to you…
I just got the SP10 Pro form Amazon. Why can’t I change the floor level for the simple UI?
I go into the advanced UI, click 10H, and enter the number of clicks to set the floor level, but when I go back to the simple UI, the floor level has not changed.
I can change the floor level in the advanced UI with the 7H clicks, but the 10H does nothing to the simple or advanced UI.
need to turn off first:
Simple UI config is 10H from OFF
Hmmmm……The Sp10 Pro Anduril 2 graphic chart shows 10H from ON in the advanced UI to set the simple mode ramping. I did it as you suggested from OFF and it worked. Thanks.
Edit- the chart I’m using shows 8/15/2021. Maybe there is a newer chart out.
> it worked
yay! ![]()
here is a good chart:
I see it now. I had not noticed that sneaky 10H line running up from OFF, over the top of the text boxes. I was just looking at all the lines from ON into the bottom of the text boxes.
glad it all makes sense now ![]()