I got my first SmallSun ZY-T08 from Wallbuys today and I decided to do something different with it.
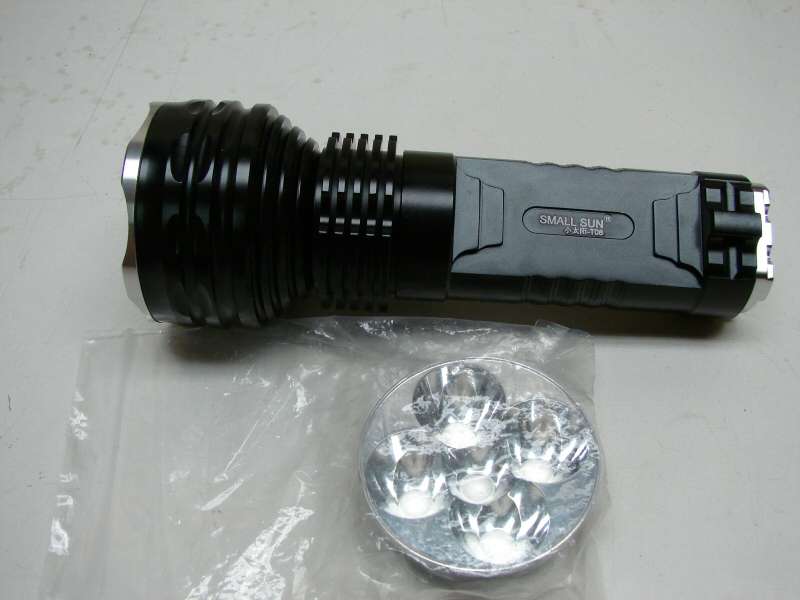
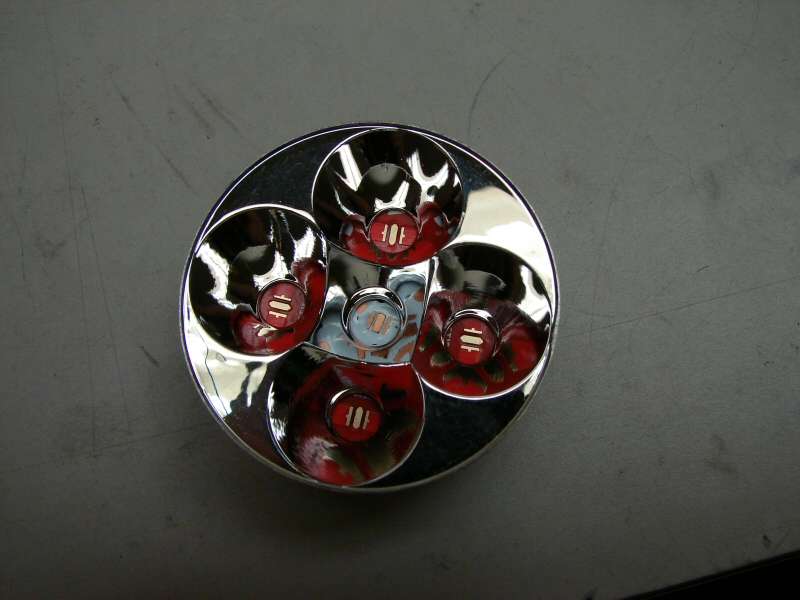
The 5-up reflector is from Tmart and it's close in diameter to the stock one.
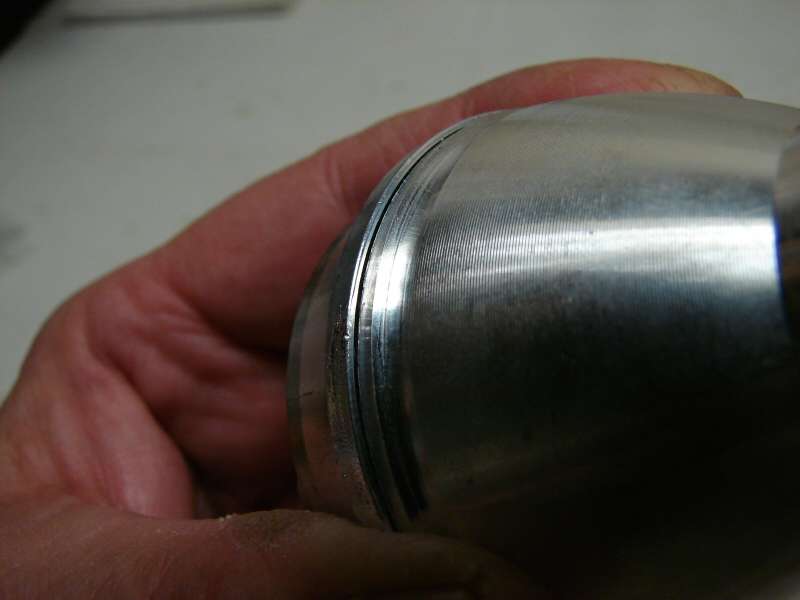
Close, but not perfect. I will need to work on the OD a little.
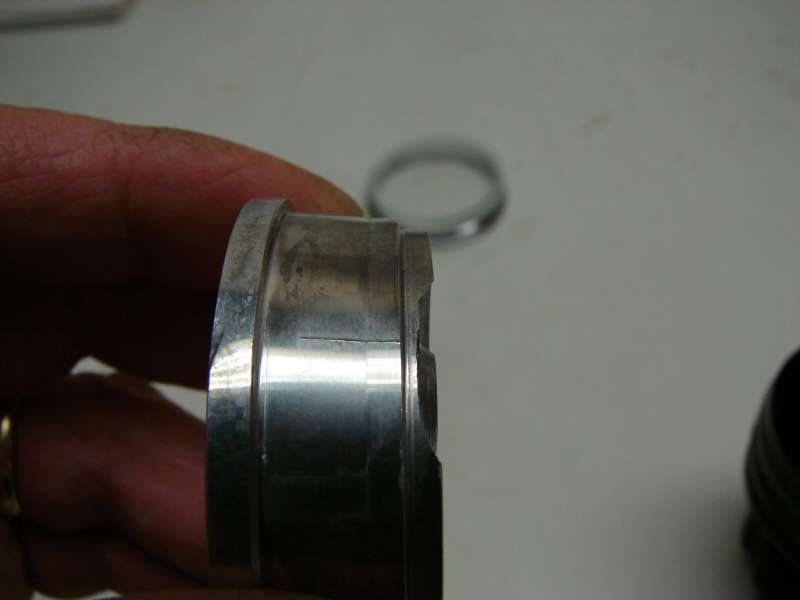
The other issue is that the stock reflector is tapered because it's only one led, where this one has very little taper, because it's 5 led. I will have to probably work on the taper of this reflector and definitely I will have to open up the ID of the head, as it tapers a lot, the farther down it goes. It will call for some work in the drill press, with an end mill bit. Well, a lot of work and a lot of luck.
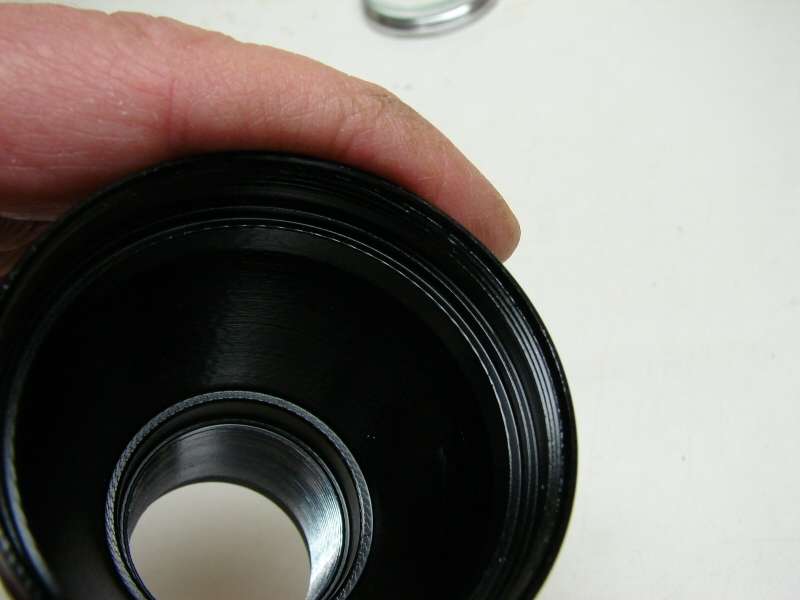
I cannot open the ID up deeper than 28mm from the top, because that depth is where the outside of the head starts to decrease for the finned pill section.
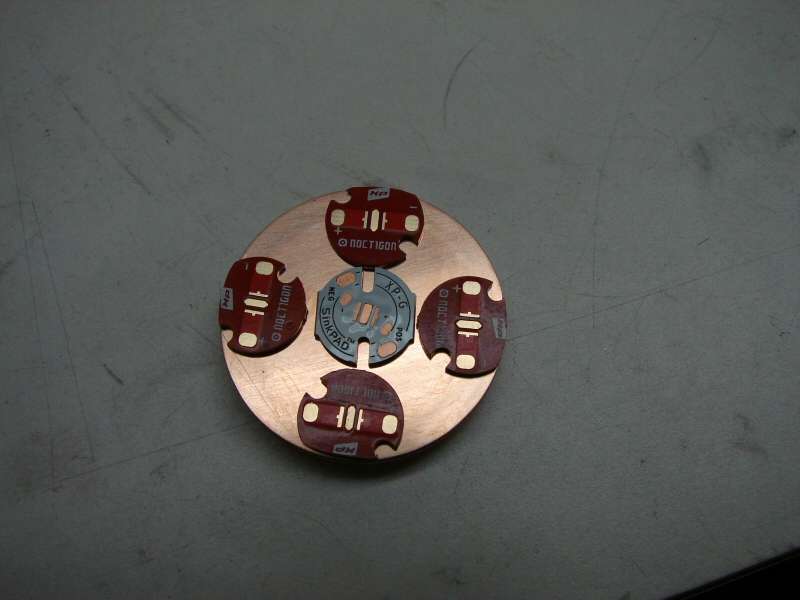
So, I have a bunch of different copper discs, some stars and a stick of aluminum stock. I think I will be removing the threads of the pill, so that the rod stock will be a press fit into the base of the head, coming up against the copper plates that hold the leds on.
What leds? Well, I am pretty sure they will be Nichias.
------------------------------------------------------------------------------
I had to remove some material from the Reflector and a lot from the head.
I had to do a lot of work to open up the head to take the 5 up reflector, but it works.
The heat sink is not going to be what I want, because I just do not want to try a taper. I am putting a short aluminum heat sink over top of the stock insert.

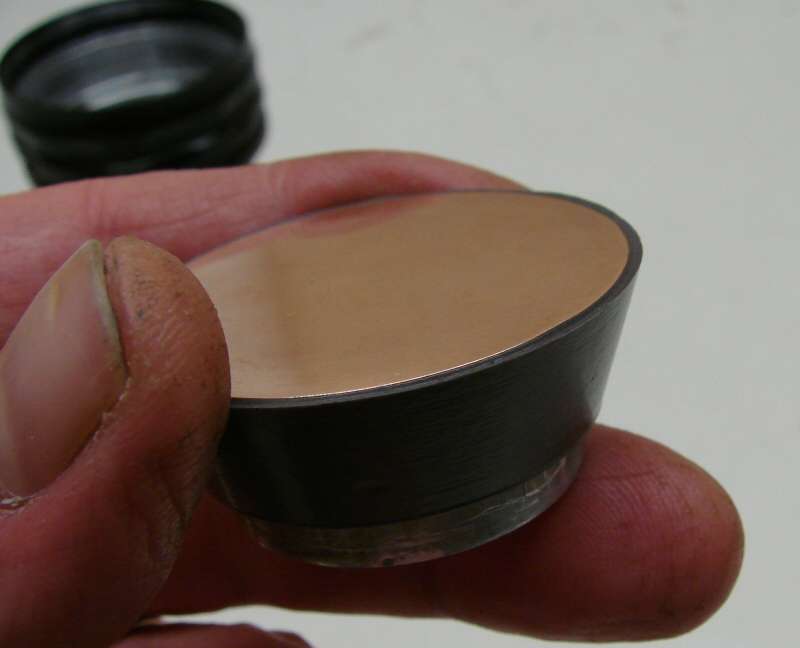
Then I will use copper discs soldered together. I heated them, because I need to flatten them and I sanded the edges, because they always curl from stamping out the discs.
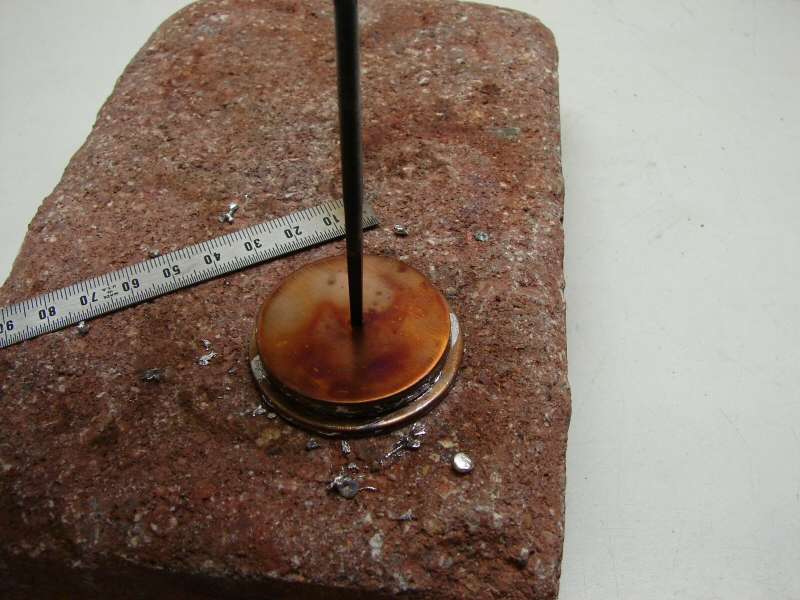
Soldering them together. I just press while heating and scrape the excess of with something steel, like my ruler.
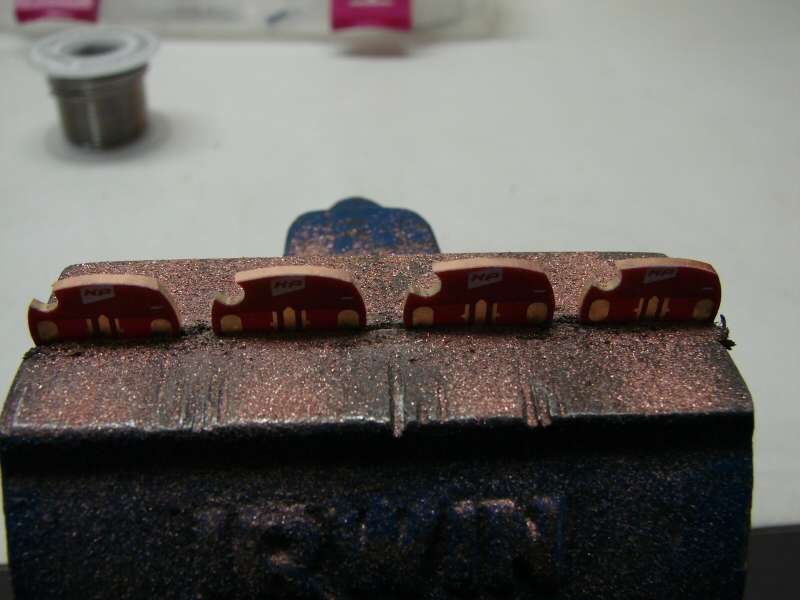
While that cools off, I went ahead and filed down the stars. They are too big to fit in the head, so I sanded down one side of them.
Looks like it will work.
I won't be doing much for a few days, since I don't have the leds. Supposedly five Nichias are coming from someone special.
I imagine some time next week.
--------------------------------------------------------------------------------------------------------
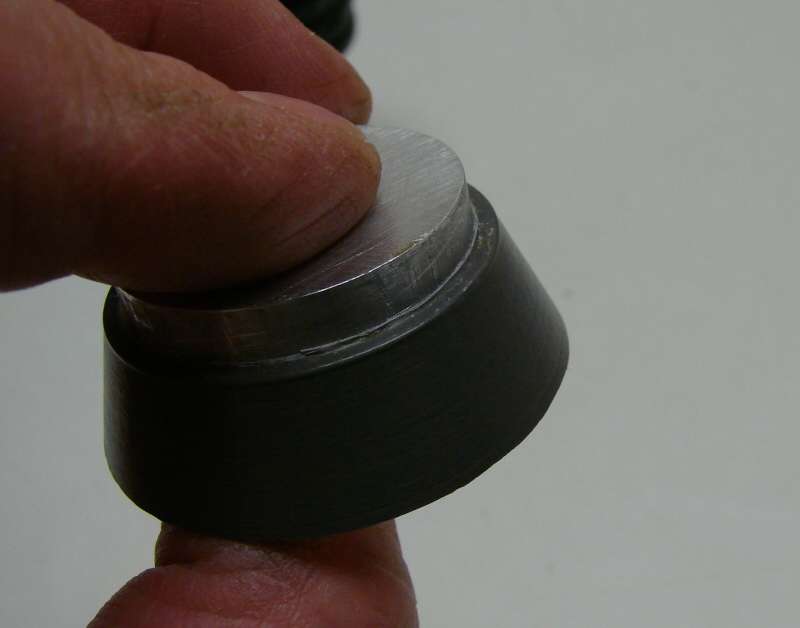
The Momentary Switch
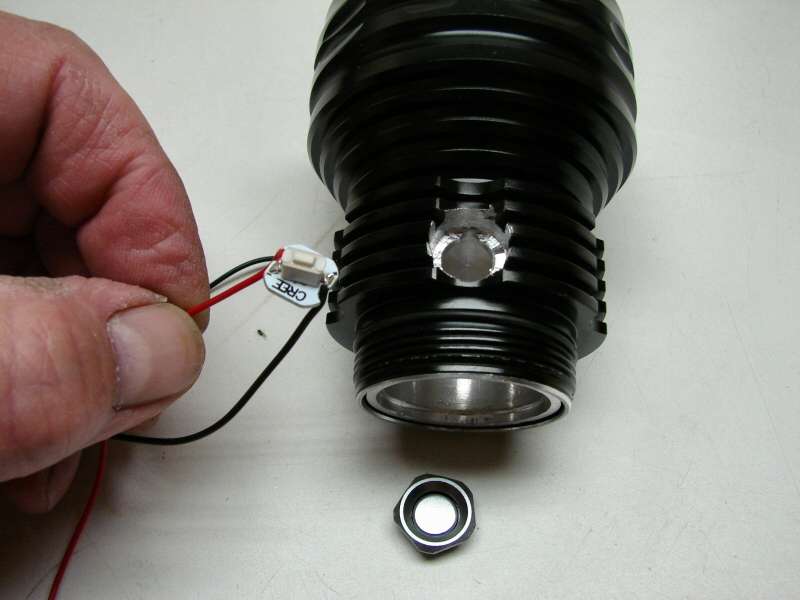
A momentary switch from Sparkfun. A button from a king, (or rook maybe) and a hole drilled out in the finned section.
Yes, that's hard to do, with a hand drill. I used several drill bits, starting out small and finally using a pilot hole drill for the final cut. In order to keep from jamming in the fins, I had to have the drill running and lower it very slowly till it made contact. Then I had to hold it from jumping, due to the fins. Not for the faint of heart.
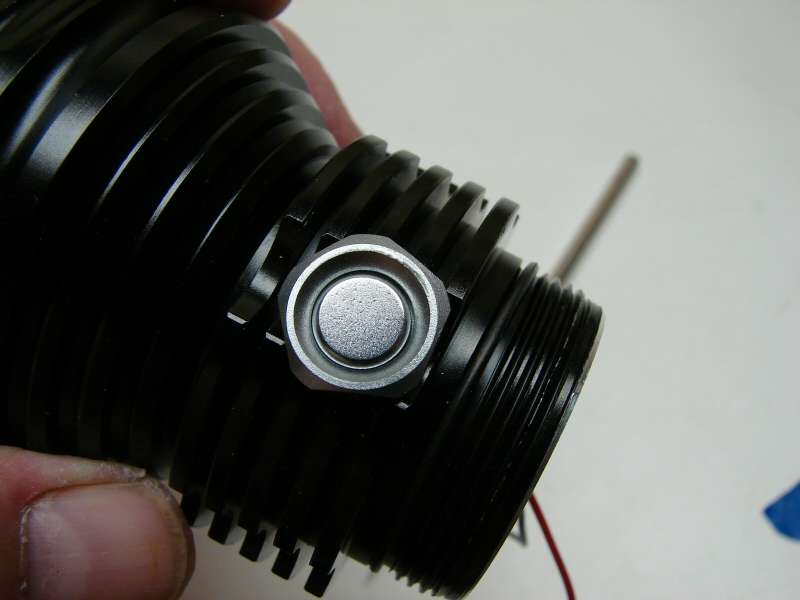
Came out pretty good.
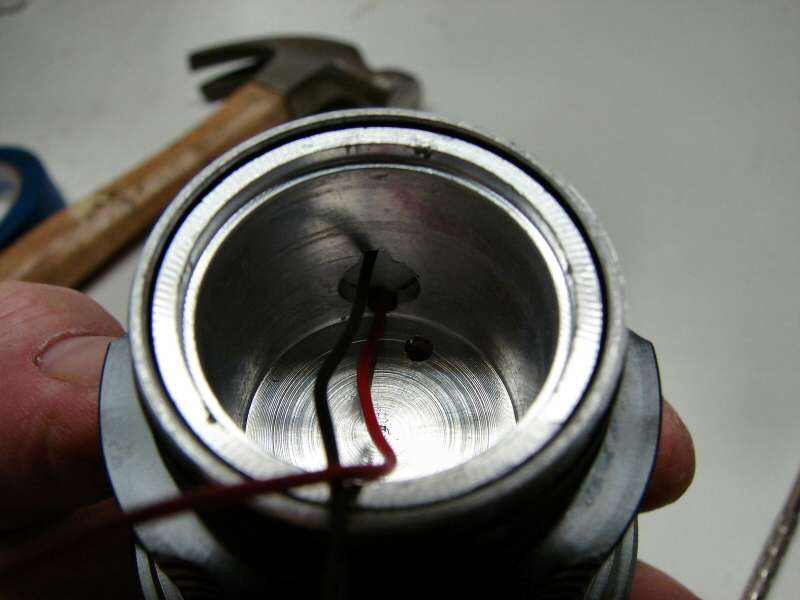
Inside. I had to keep the pill in, so it's drilled thru too.
The stock tail switch stays and now becomes a lock out switch for the parasitic drain from having a momentary switch.
---------------------------------------------------------------------------------------------
Filled in the gaps on the heat sink
There were a lot of gaps with the heat sink in the head, because the head has a taper inside and the copper discs were... well, just copper discs. I did not try to fit them into the taper, so I went with another way.
I remembered someone here, (I think it was comfychair), showing how to pot a driver and still be able to remove it later. I am fairly sure he did it with some type of wax, but anyhow, I used Johnsons paste wax and wiped it all down inside the head. Then I filled in with a bunch of JB Weld and pressed the heat sink in. In about 12 hours, I went from the back side and smacked the heat sink with a punch and it fell right out. All I had to do was a little trimming with an exacto knife and clean out the wax with alcohol.
I know, JB Weld does not transfer heat all that well, but it was either that or dead air space, so I made the decision.
----------------------------------------------------------------------------------------------------------
I got the leds and finished the light, but I really don't have photos. It's all been done before, millions of times. Put the leds on the stars, glue the stars on, assemble the head, put the driver in. Sorry, it's just one of those things. When I get a chance to finish something, sometimes I don't stop for photos.
Here's the finished light and beam shots.

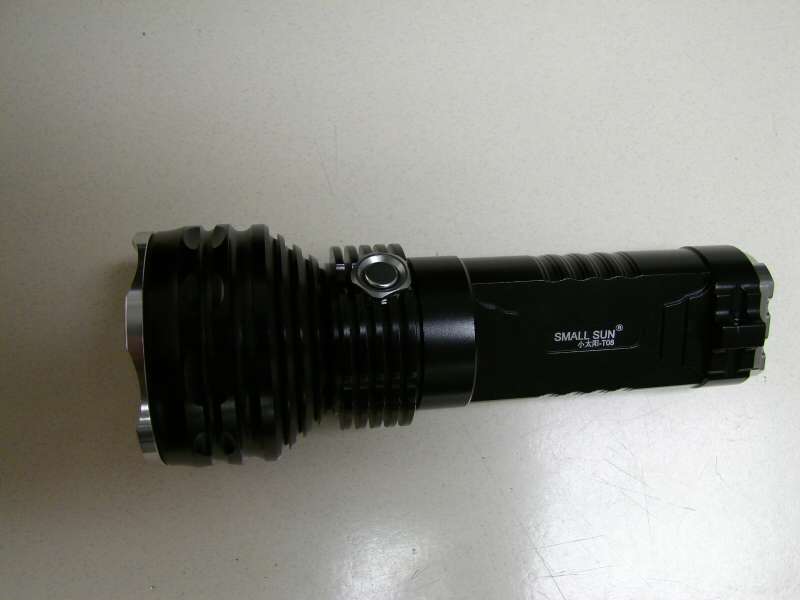
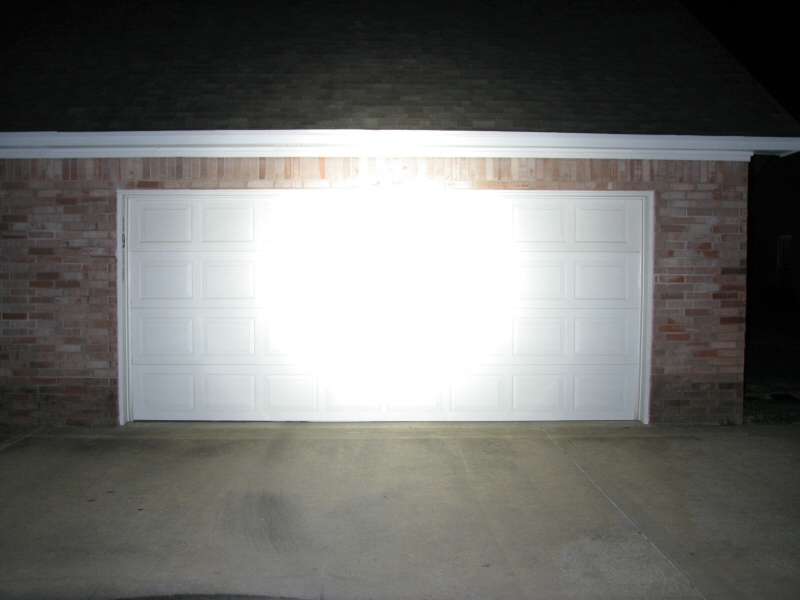

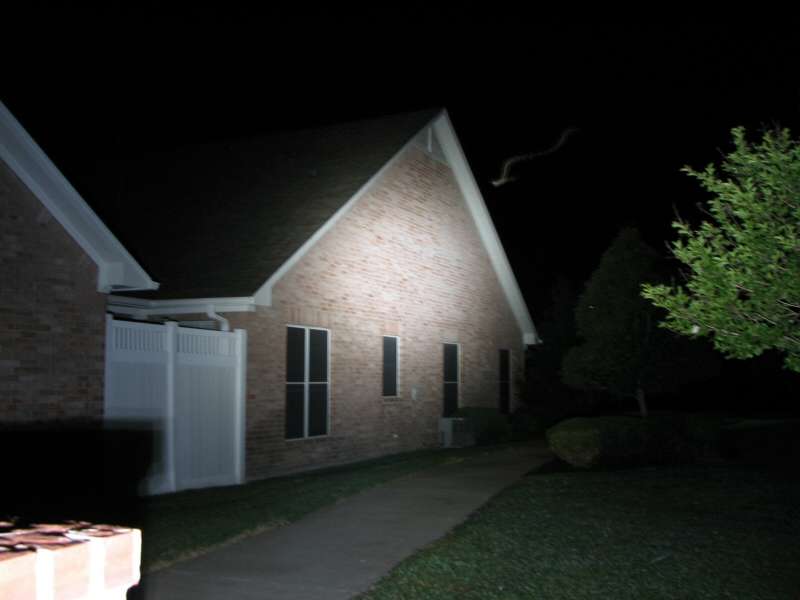
That's it. I put enough chips on the driver to hit 7.5 amps and it's really very bright for Nichias.