Tear down and mod videos for the Small Sun ZY-T08

Two problems I see with using an MT-G2 in this light are the fact that you can't get the reflector low enough, to get the tightest spot and that the switch is really only rated to about 1.5 amps. Both of these issues make for a harder to mod light. For those of you who do not have the experience, you might want to just put in an XM-L2 on the original star and put in a driver like the Qlite and let it go at that. It will still be an increase over the stock light and you could add a few chips to the Qlite, but I would stay below 5 amps with it.

For the rest... It's a lot of work to get there.

-------------------------------------------------------------------------------------

The first video is just a tear down of the light.

The next videos will be on the modding of the light for an MT-G2 and possibly an XM-L2

-------------------------------------------------------------------------------------

This video is one "one way" to fill the hollow pill.

There are other easier ways, including just leaving the pill alone and using a copper star. I imagine most will do that, but if you want more mass, then some method of filling the pill would be good. That can range from finding a small piece of aluminum or copper rod, to having a shop make an insert for you. Just cutting some copper discs to go inside under the stock shelf is probably another easy way. The way in this video is harder, but it's just the way I will be doing it for this particular light. The other lights coming will be done differently and I will show them when they get here.

-------------------------------------------------------------------------------------

This video is about the led/reflector issues with this light and an MT-G2

The problem is really about the fact that this light uses a 25mm star and the reflector base is made for that size star, so when we use a 20mm star, there are lots of clearance problems to deal with. It is less so for an XM series led, but the MT series needs to have the reflector down farther, to help focus.

------------------------------------------------------------------------------------

Switching from Parallel to Serial batteries with the ZY-T08

Fairly long video on how I switched from parallel to series batteries, for the MT-G2 mod.

------------------------------------------------------------------------------------

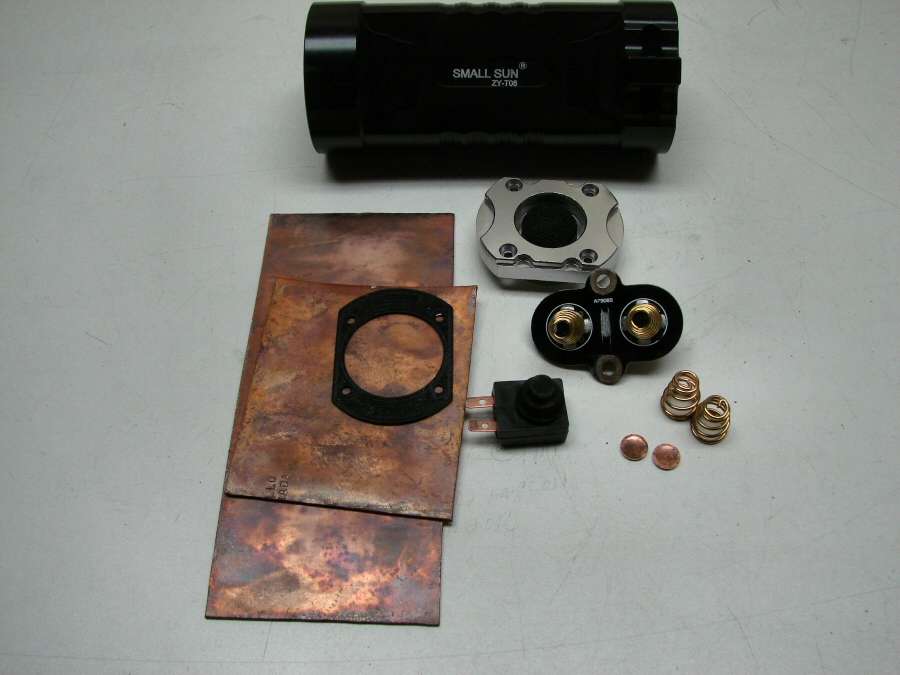
I just can't let that switch alone. I will be putting a Judco 10 amp in it.
zyju1

I will do a video of it, but I will be using copper sheet, to make a spacer, to fit the bigger Judco in the tail of the light.

-------------------------------------------------------------------------------------------------------------

http://www.youtube.com/embed/TNw-73a6vto

I replaced the stock switch with a Judco 10 amp. It took a long time and a lot of work. The video is long, too long, but that's how it is.

After doing all this, I would highly recommend staying with the stock star and reflowing an XM-L2 on it. Then just add some Copper discs under the star and leave it at that. It would be a LOT easier all the way around and I don't care for the beam of the MT-G2 in such a small reflector. The MT-G2 needs to be in a bigger diameter reflector, like the ZY T20 or a similar large reflector, 4x18650 light.

If you do the MT-G2 in this light, stick to about 3 amps and use a Qlite driver.

The FET driver did not work well here. I could not get above 3 amps with 20R batteries. I do not know why, but I plan to stick with the 7135 based drivers. At least I know the results of them and it's too much time and effort wasted, (personal opinion), with the FET driver.

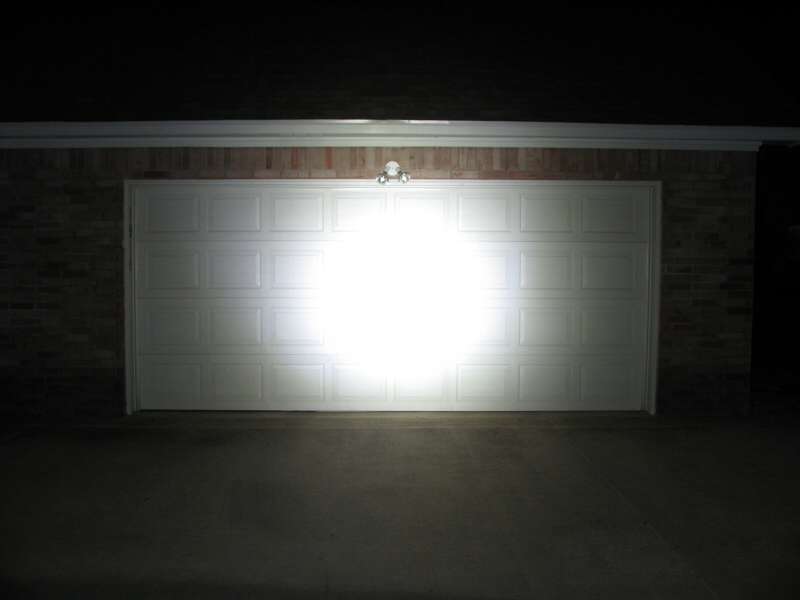
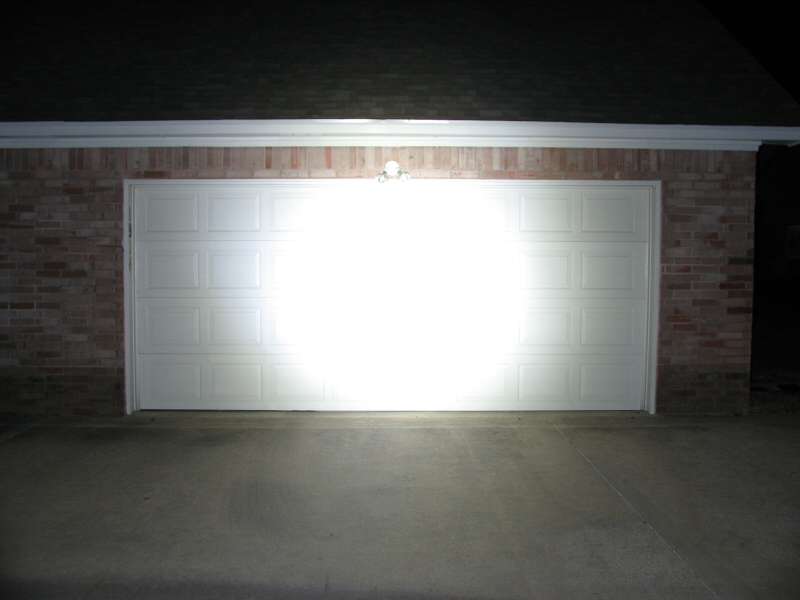
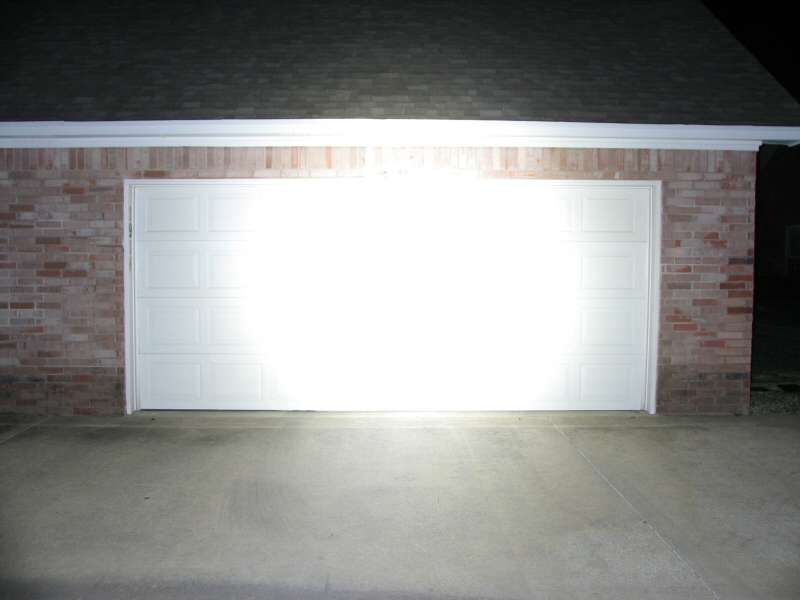
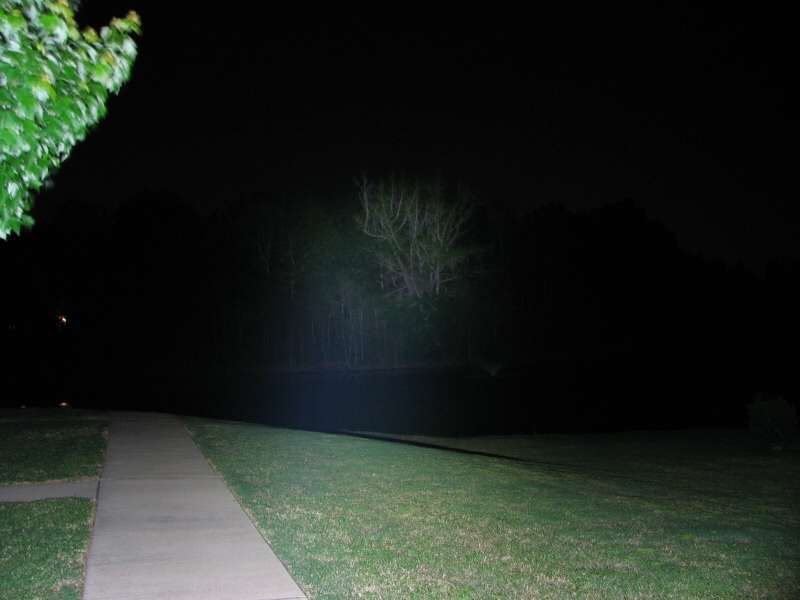
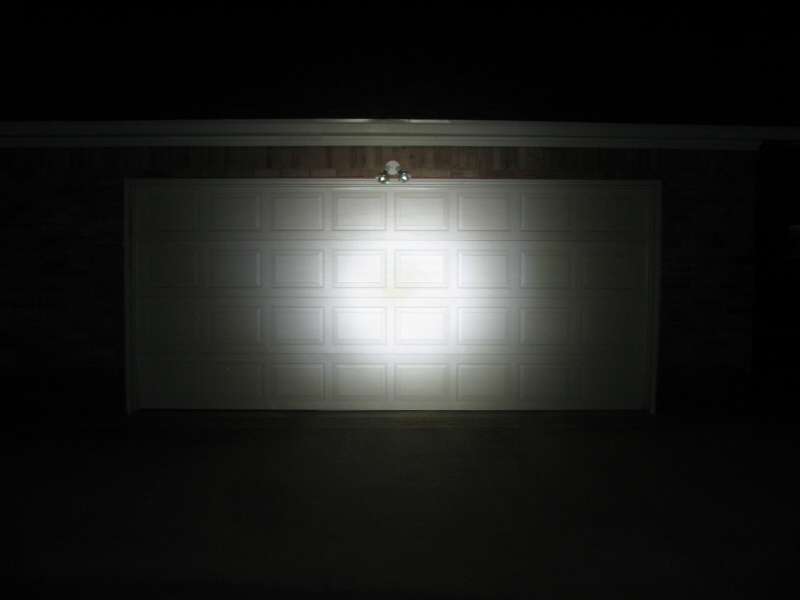
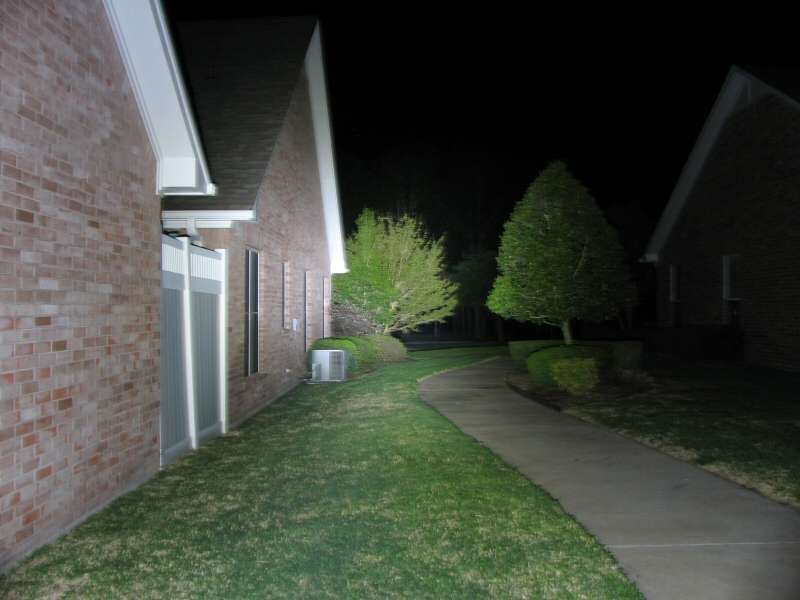
Beam Shots:

Remember, it's only about 3 amps, less than one third of what it was supposed to be.
13a1

13a2

13a3

13a4

The four shots above are the 4 modes.
13a5

13a6

---------------------------------------------------------------------------------------

That's all folks...

Reserved

Will be following with interest :bigsmile:

Cheers David

Thanks.

Nice, looking forward to the results.

subscribed!

I am sure this will be another great project from OL

I have this exact build planned once I finish up the current projects. For a long time I hated the look of the ZY-T08, especially the body but in my quest for the perfect host for a 2x series MT-G2 host its spec’s made it almost the perfect light for me.

I’m very interested to see what you end up with. I have one on the way from FT, ~3-4weeks should put it here right as I’m ready for it. I believe mountain Electronics has one left (I bought from FT cause I had a discount they owed me, $16 for the host, couldn’t resist) if anyone else is interested.

I have already modded a T08 with a dedomed XM-L2 U2 LED, but would like to see if OL has better methods in doing this mod. :slight_smile:

So it is still plastic reflector, not aluminum right?

EDIT: In my T08 mod I never changed its battery configuration, and what OL is going to do here is converting them into series and run a MT-G2, which is something that I’ve never done before!

The new batch claim to have ally reflector. But I havent watched the clip yet.

The light in the clip was sent by a member, not WB, so they might still be ally in the one the GB ends up with. The one on the WB page looks different to the plastic one though. Theres a substantial difference in the bottom of the reflectors (driver side), and they are heavily posted on the WB site. Doesnt seem like there can be a lack of understanding here. Its likely to be ally.

Be ‘interesting’ if it wasnt though…

Thank you for taking the time to making these great videos!
They are very informative for me as a newbie!
Looking forward to follow your modifications.
thanks
:) :) :slight_smile:

Did you already get yours from the “group buy?”

Subscribed and hoping mine comes as quick as yours.

Mine came from RMM, via another member who had him send it to me, so it's the plastic reflector, but the GB lights will be aluminum, or Wallbuys will be sending replacements for those who did not get aluminum. (Some prefer plastic, as it will not ever short out against the led wiring).

New video is in the OP. Not for the faint of heart... Actually, it's a very long and very boring video...

Another video added.

Updated the OP with comments and another video.

Subscribed!

Thanx for this ‘tutorial’ OL! :bigsmile:

Thanks! This exact mod is sitting in parts, waiting, waiting, until I somehow find that elusive beast known as “free time”.

The mods are done, new video in the OP.

Thanks OL. I got one of these a couple months ago from fasttech and it’s been sitting around. I’ve enjoyed your informative videos. I plan to keep mine parallel batteries and throw an xml2 in there.

Thanks OL. You have gone to extraordinary lengths to show us mere mortals what it takes to do this mod. I appreciate it immensely. Just a couple of points from my own experiences.

I to used to be disappointed in not getting a bazillion amps at the led and turn this led into a monster thrower. If you want a practical camp light or the like I have learnt from experience 3 amps is more than adequate with the bonus of extended run times.

When you hear members here saying that these MTG-2 leds create heat they aren't kidding. 3 amps will create more heat than any XML-2 at the same current.

I'm a big fan of this led and I'm waiting for the HD2010 build with this led to see how this goes. Without spoiling anything for OL I have modded my group buy light to run 2 x 26650s running at 2.7 amps at the led and compared to a few other lights I've had experience with am rapped with the way it turned out, keeping in mind that this is not a thrower. It is a damn fine everyday user light that will not hurt the ozone layer with heat output.

If I may ask a couple of questions. Why is your drill press table not full of holes? When I tried to fill a hollow pill using your method to fill it with copper I ended up with a hole in the side of the aluminium. What did I do wrong and can you fix it for me?

Again thanks OL for the effort and keep up the excellent work along with your experienced comments.