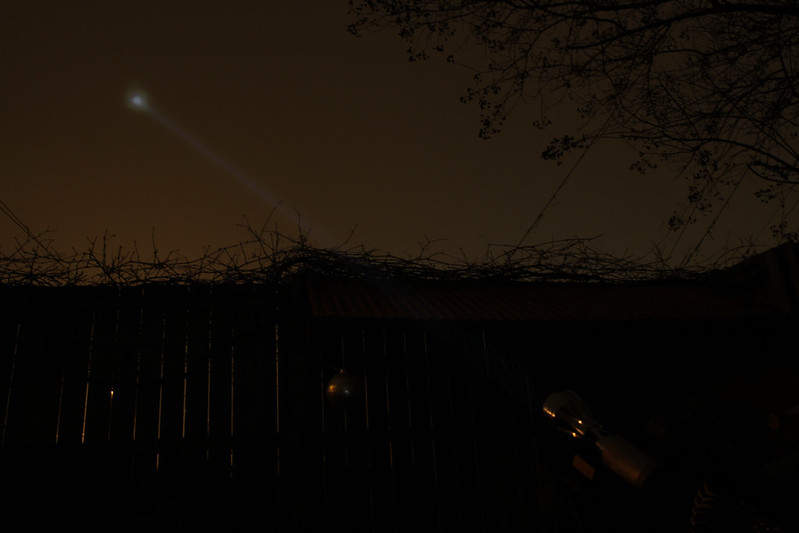
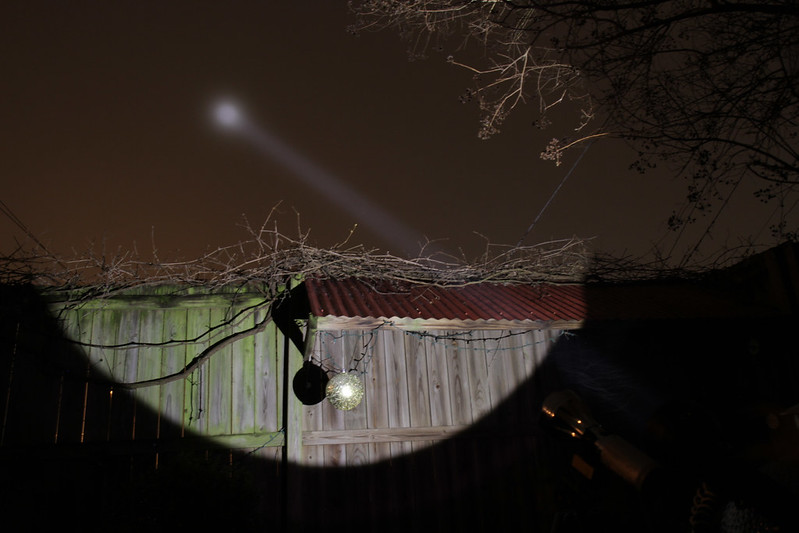
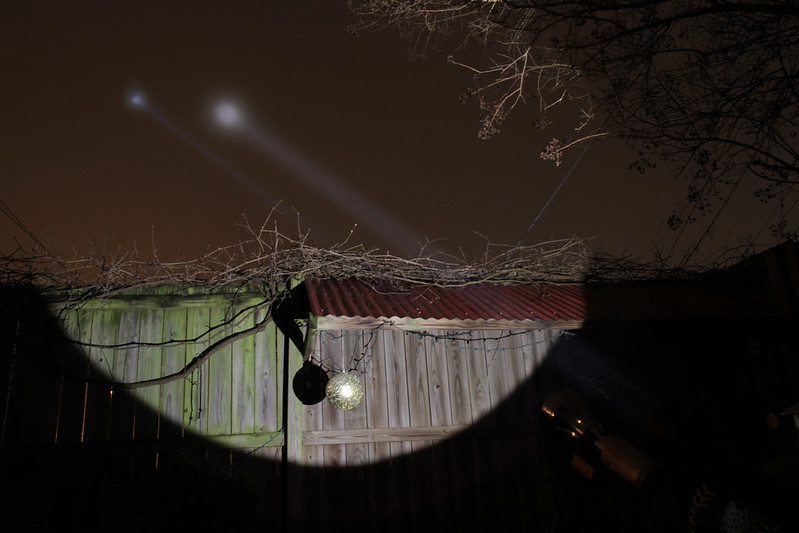
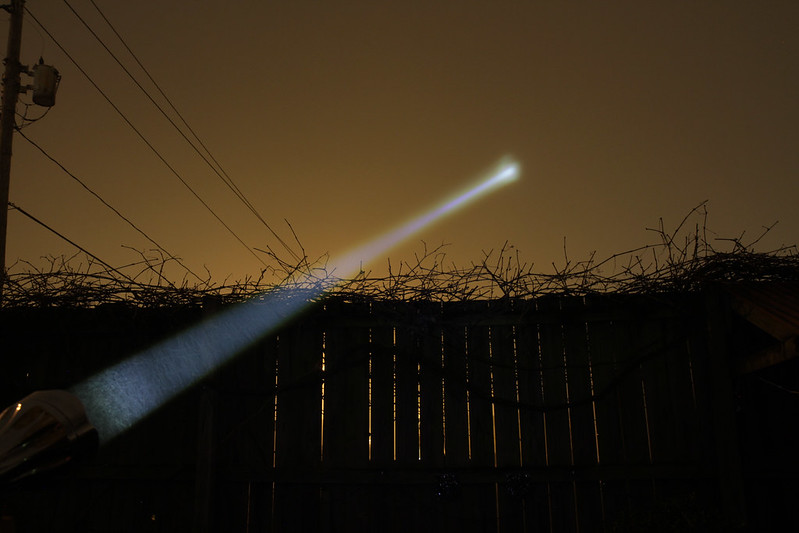
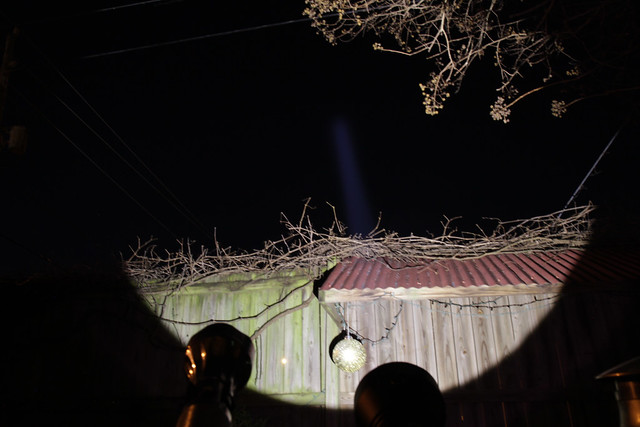
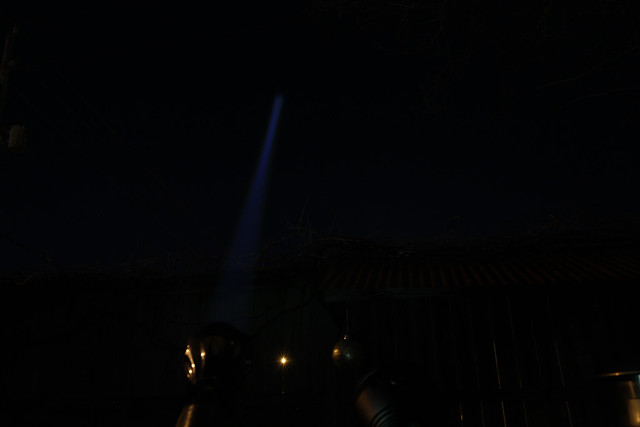
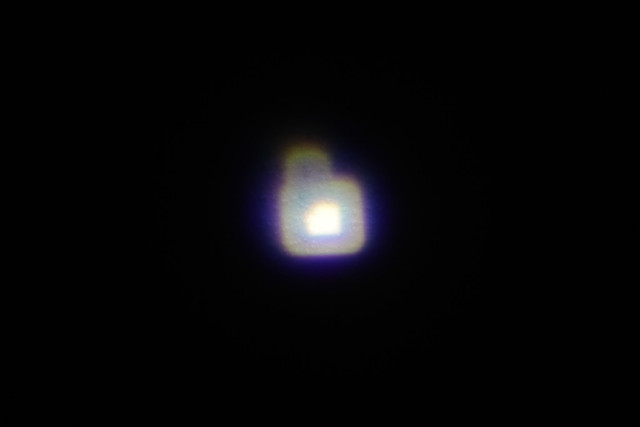
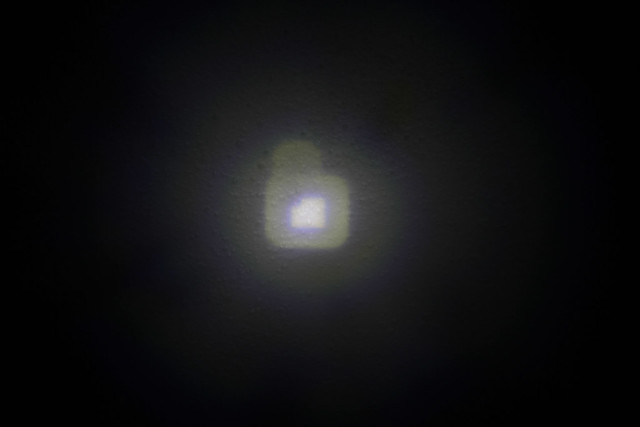
In 2014, I picked up a chrome Elephant host and turbo head. I built it up with an xp-g2 s4 2b, taskLED H6cc at 5 amps, 3 series battery holder, 78mm DX aspheric, and a wavien collar. I nicknamed this light The Sceptre due to its royal appearance.
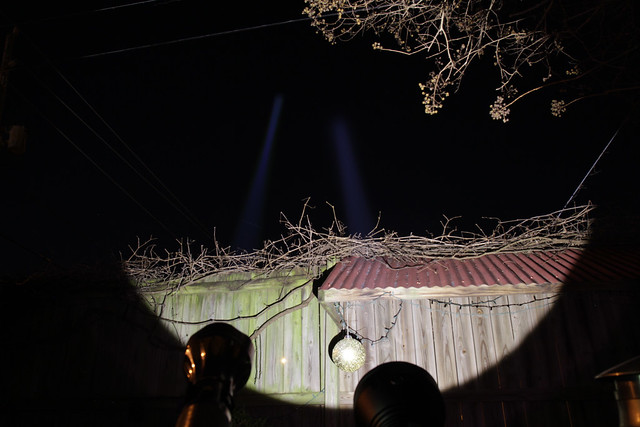
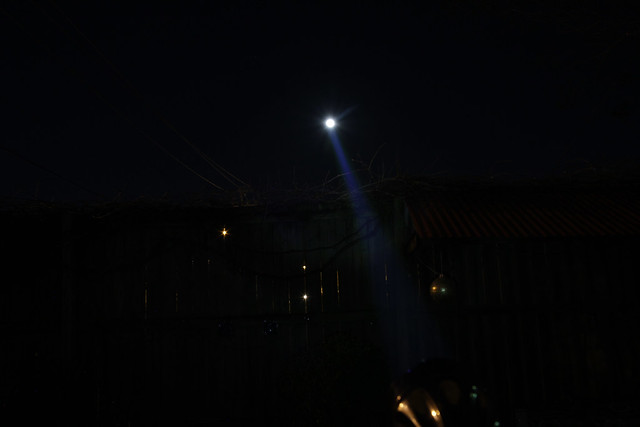
For larger photos go here
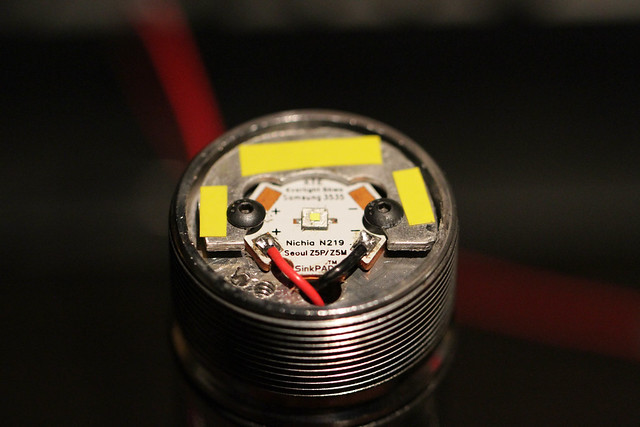
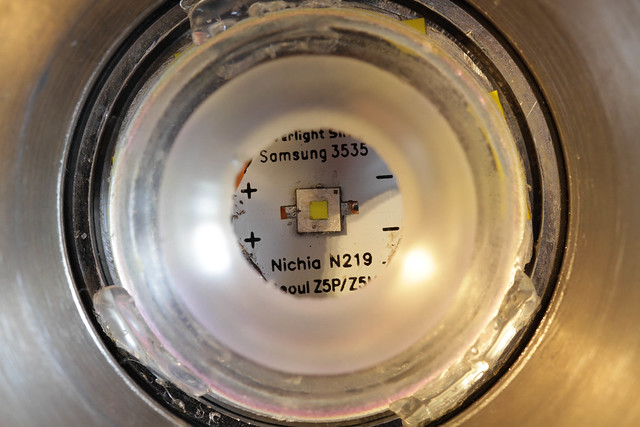
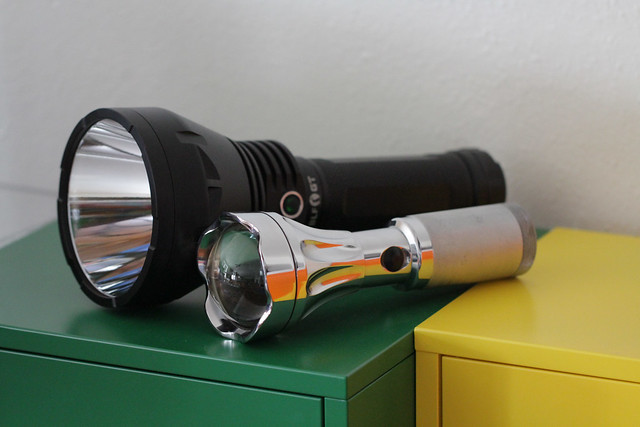
BLF GT for reference
This light was good for about 1m lux. I never got what I would consider to be an accurate lux reading. It went back and forth beating and losing to the GT, but it appeared brighter to the naked eye.
Around the same time, I read that a worthy LED upgrade has finally come along. Time for an overhaul.
Parts purchased for upgrade:
- Synios LED (Best of 10)
- 75mm Optolife lens (A298)
- Mag D Heatsink slug
- Noctigon 32mm XP mcpcb
- Convoy Biscotti driver (8x 7135 but I removed 2 to make it 6x 7135)
Design constraints:
- MCPCB must be electrically isolated from the host
- Wavien collar must be re-aimed for the Synios LED
- The LED module shall be capable of being inserted and removed from the Mag intact. (In my previous build, the collar was glued on after the slug was secured with a set screw.)
The Build:
MCPCB mods and LED mounting:
The MCPCB was drilled to allow access to the set screw hole in the heatsink slug. I also jumped the thermal pad to a nearby solder pad to solder the cathode connection.
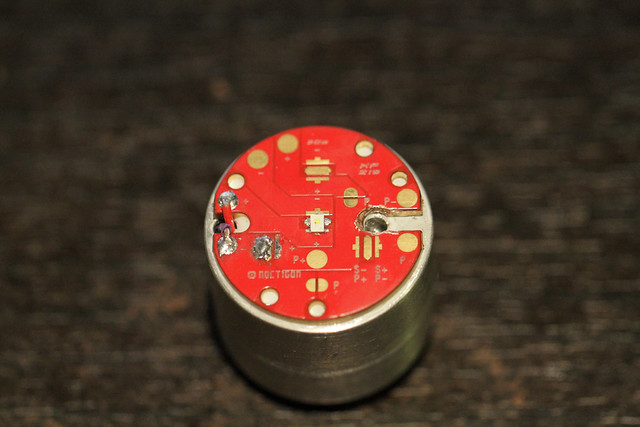
Arctic Alumina epoxy was used to electrically isolate the MCPCB from the heatsink slug. Since both the MCPCB and the heatsink had holes drilled into them by me, careful deburring was required.
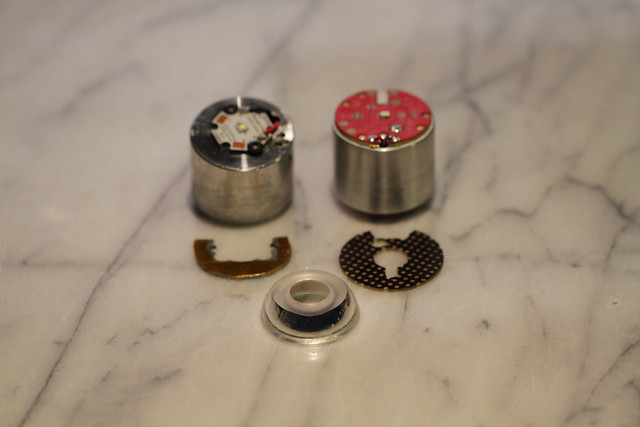
Old pill vs new pill
Wavien collar aiming:
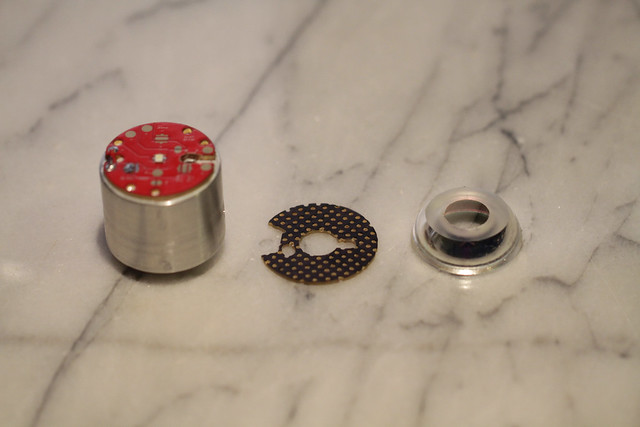
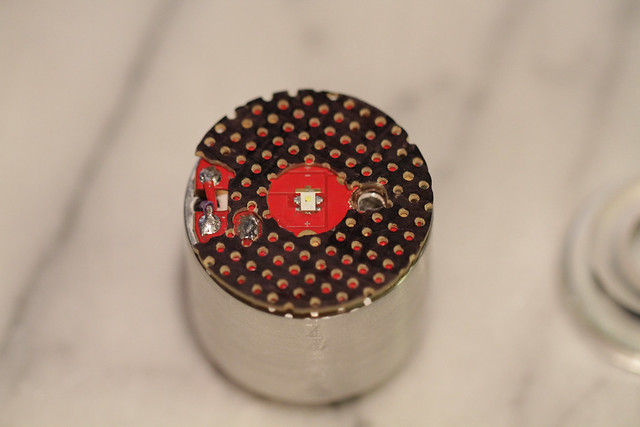
I scratched my head about this one for quite some time. Once the parts arrived, I used a stack of post it notes to roughly aim the collar. Then, I found a piece of 1.5mm thick prototype board. I sanded it down to the perfect height, cut it into a circle, drilled a hole in it, cut relief for the solder pads and set screw hole, and sharpied it black. I made the circle slightly larger radius than the wavien collar but still small enough to fit inside the mag so that I could hot glue the collar to this piece directly. This piece is the one I spent the most time and thought on.
Heatsink prep:
I drilled a small hole for the wires, then I drilled and tapped a set screw hole aimed such that it would be accessible with the wavien collar on the light.
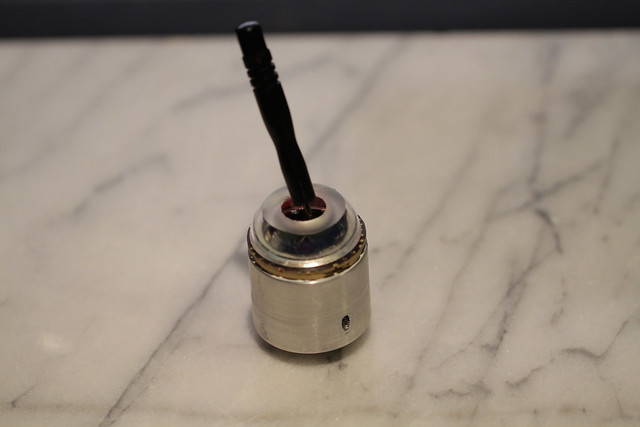
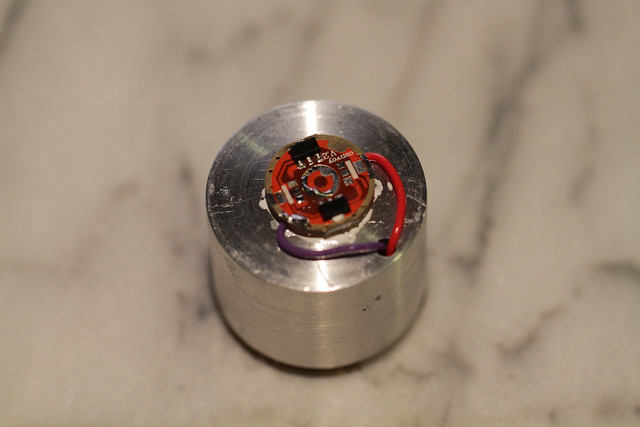
The driver is simply epoxied to the back with arctic alumina.
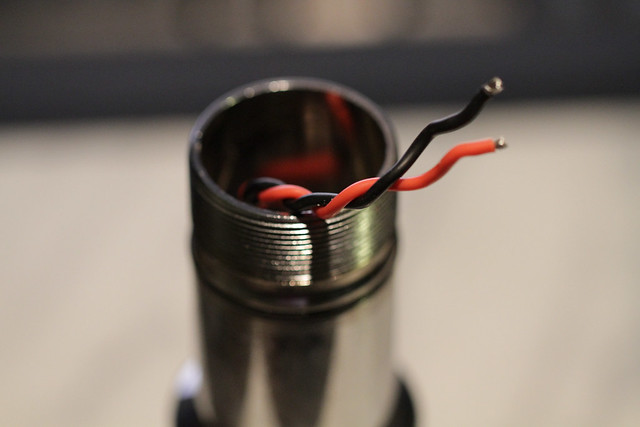
Speaking of the driver, it needs to be powered by 4v instead of 12v. I happen to have the 3p battery holder for this host also, so it was taken out of the parts bin and put into use.
I used 22ga teflon insulated wire due to its small diameter. I did not want the wires to touch the collar - only the custom spacer. I used 18ga silicone wire between the mag switch and the Biscotti driver, and made the wire run extra long for ease of installation.
Lens upgrade - or not:
The Optolife lens fits beautifully in the FM3X head. Unfortunately its focal length is a bit short and it does not quite focus the die as well as the DX 78mm lens. I plan to do testing on both lenses with a lux meter fairly soon. For now, visually, the DX 78mm seemed better so I am using it.
The light went together great. I am thrilled with how it came out. I like how the Synios LED uses 1/3 the power of the XP-G2 and does not require a buck driver.
Measurements:
Soon.
Beamshots:
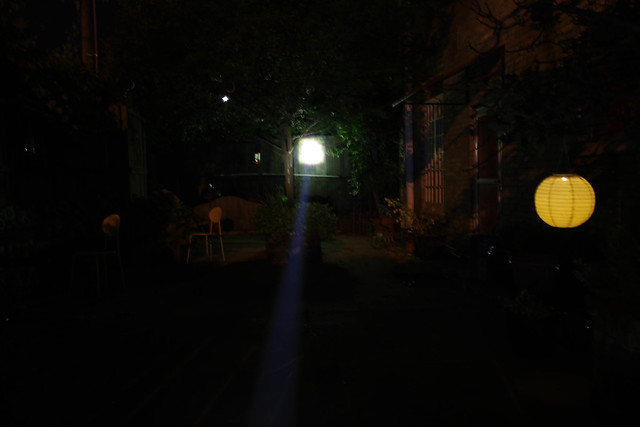
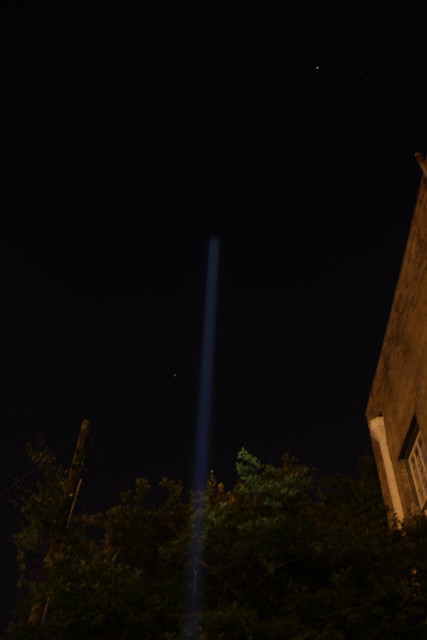
Here are 2 shots from its previous life with xp-g2 s4 2b. I know they are crap. I’ll get better ones with the new light and my BLF GT.
Thanks for reading!
