Lapping,yeah.
Very precise like allways with collar,
Cause of the screws
it was the easiest collar ever to install.
Regards Xandre
Lapping,yeah.
Very precise like allways with collar,
Cause of the screws
it was the easiest collar ever to install.
Regards Xandre
Rdubya18- Nice work on those scales!! I'm not one who has ever paid attention to bone scales, but you have done great work there!
@ Rdubya18
Never worked bone. Does it carve with the same tooling as wood (hand knives/scrapers)? or did you use a rotary tool (as Dremel)?
If the latter, how do you keep the workspace so clean? I see you have a mini belt sander in the background.
And, did you polish the knife scales or is that lacquered?
Also, the crest inlay – nice dexterity in the cut-out!
Xandre links (at Taschenlampen Forum) require membership for viewing. That’s a disappointment.
Nothing of his control, but still sucks.
WOW!
that turned out really nicely
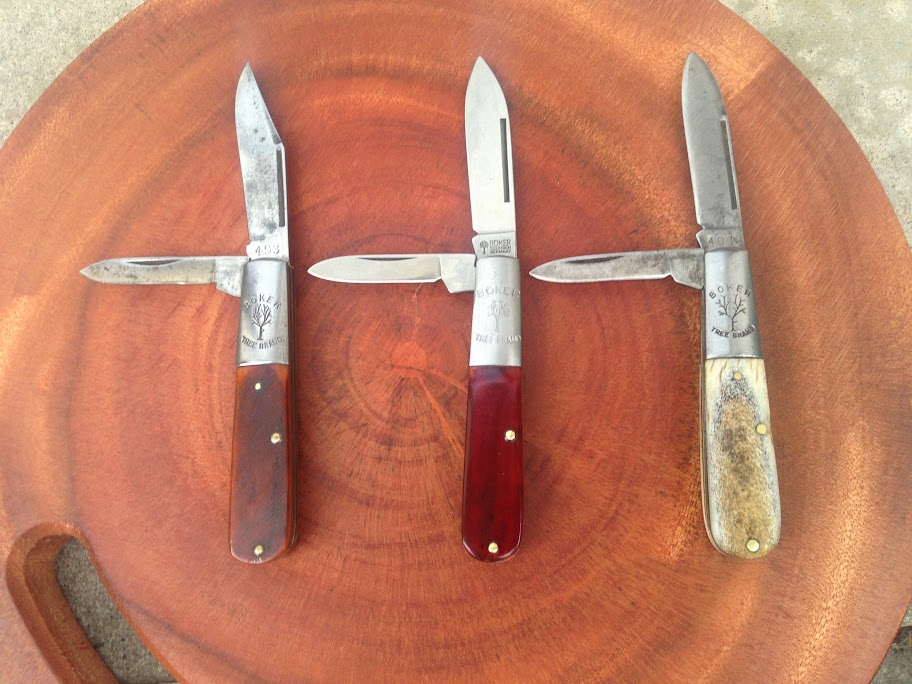
thanks for sharing your StaggErring photos
knife on right uses second cut stag (shows the softer marrow)
 .
.
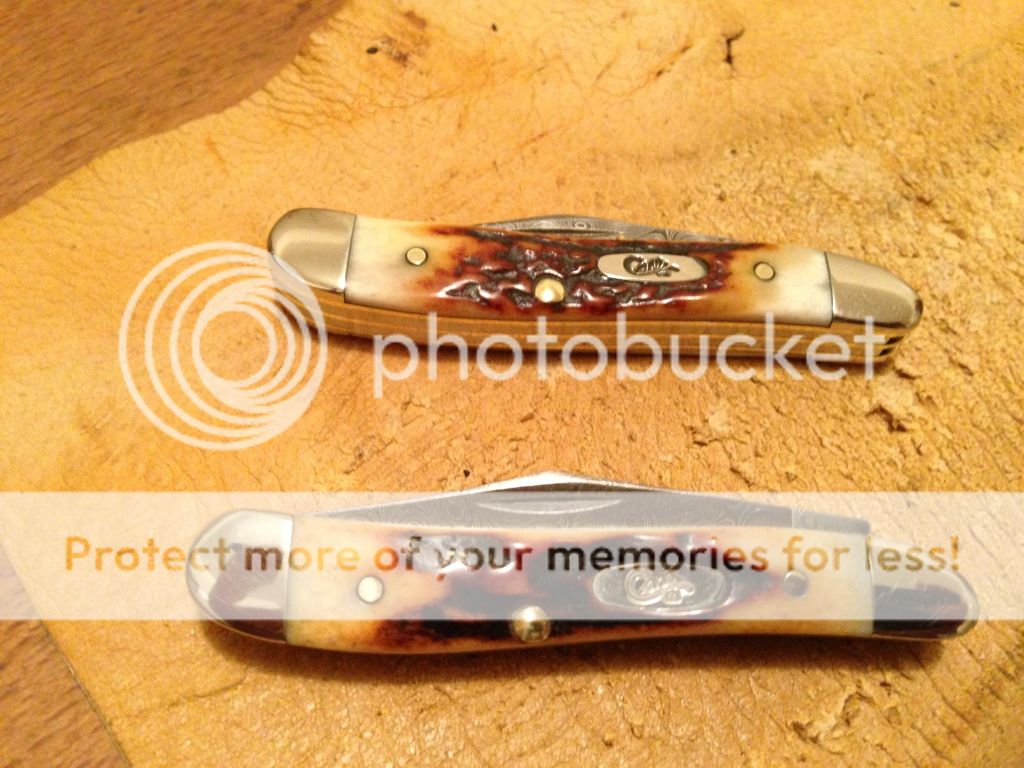
And some peanuts with first cut stag:
 .
.
Merry Days
yea i was eyeing that 1" belt sander too.. i need one of those, especially just a cheapie from HF.. they are worth their weight in gold when you need one.
Yeah , mostly like wood , hard wood . I used a dental bit on a drill press for the inlay . I tried freehand with the dremel , but my old wobbly hands didn’t do as well . I also used that little belt sander for the finale shaping . That nice shine is just polishing it . Polishing the raw bone looks good too .

This is one just polished .
Today I finished my Wurkkos TS21 mod. It uses 4x Luxeon V’s. 2x4000K and 2x5700K bought from Led4Power.


I enlarged bezel a little and sanded down Carclo quad narrow optic to fit. I needed 1mm thick spacer under the mcpcb.
Light is very floody and bright, tint is good, but it builds heat very quicky. No surprises there.
From tail it draws 21A.
Quite useless mod, because you can use the top of the ramp for max 15 seconds, turbo is almost instant hand burner.
Sorry for the bad picture quality

Today, a Thrunite TH20 to SST-20 4k emitter, and sapphire lens. Big fan of the UI of the TH20. Enough to order two more as spares.
Awesome. Was the bezel easy enough to unscrew? Kicking myself for not buying when I saw it on sale recently.
Quadrupel, that’s great! ![]()
James C, the bezel wasn’t too hard. A tiny bit of locktite was found. I used a single wrap of Scotchblue painters tape and non-marring, plastic jaw pliers. No heat was needed. The lens is 17mm x 1 mm.


brushed Manker e05ti
mtn15 driver with bistro
sst20 4000k
20* TIR
glow tape gasket
glow tape button
Working on emitter swaps on lights from the L3 Illumination grab bag. Today I put an SST-20 2700k in an L11C. This was my first time using the 2700k. I think I like it. I’m really starting to appreciate warmer lights at night and a more neutral CCT during the day.
Mod process:
- Use a heat gun to soften the glue in the bezel and remove it. If necessary, which it was today, use a file to make some “flats” on the brass pill to grab with a wrench for more leverage, thus not damaging the threads. Grippy gloves really help removing the bezel.
- Remove wires from MCPBC. Not much room in here so a small soldering iron tip would be a big help. Unfortunately I don’t have one. Try not to melt too much of the wire insulation.
Here’s a pic of the pill with bezel removed. You might have to zoom in, but the wires are actually folded back on themselves which makes removing them a bit trickier. I try to come at them from the side with the iron and push them out of the way as the solder melts. The insulation melts very easily and the wires are very small gauge. There’s a little bit bunched up in the driver recess if you need extra, but be careful.

The grab bag was 10 lights, five AA clickies (L10C and L11C are very similar), two AA twisties, and three AAA twisties. I’m very happy all ligths were the 4-mode with firefly. Only one had a stock Nichia 219at and the rest were XP-G2. That’s fine, I don’t like that particular Nichia very much anyway. These will be X-Mas gifts. Most of the recipients won’t care about CCT or even tint.
The L10C clips will get sanded a little so they don’t get in the way of tailstanding. I have a bunch of TIRs and three CCTs of 219b on the way but they won’t arrive in time - oh well.
From left to right, SST-20 2700k, SST-20 4000k, Nichia 219at 4500k, Nichia 219b 4500k, XP-G2 R5 maybe 5500k(?).

Cool, thanks for showing ![]()
Funny thing is, yesterday I was talking about this light with a fellom member and you showed this mod ![]()
I was wondering if you could take a photo of the driver and how it fits, and if you could give some info on the head structure !
Thanks in advance and enjoy ![]()
im curious about this too! I have been very interested in this light, but heard the UI leaves much to be desired (IIRC strobe was in the main menu, or something about the order of modes was crappy)?
would love to mod and own this little Ti light.
I have a Nitecore Tm28 i want to do an emitter swap on, the pcb appears to be glued to the body, not screwed like in most cases. the diameter of the opening is only about 1 inch. what would be the best approach to swapping the 4 XHP35? im going for the same led, just in higher CRI and more neutral. any help?