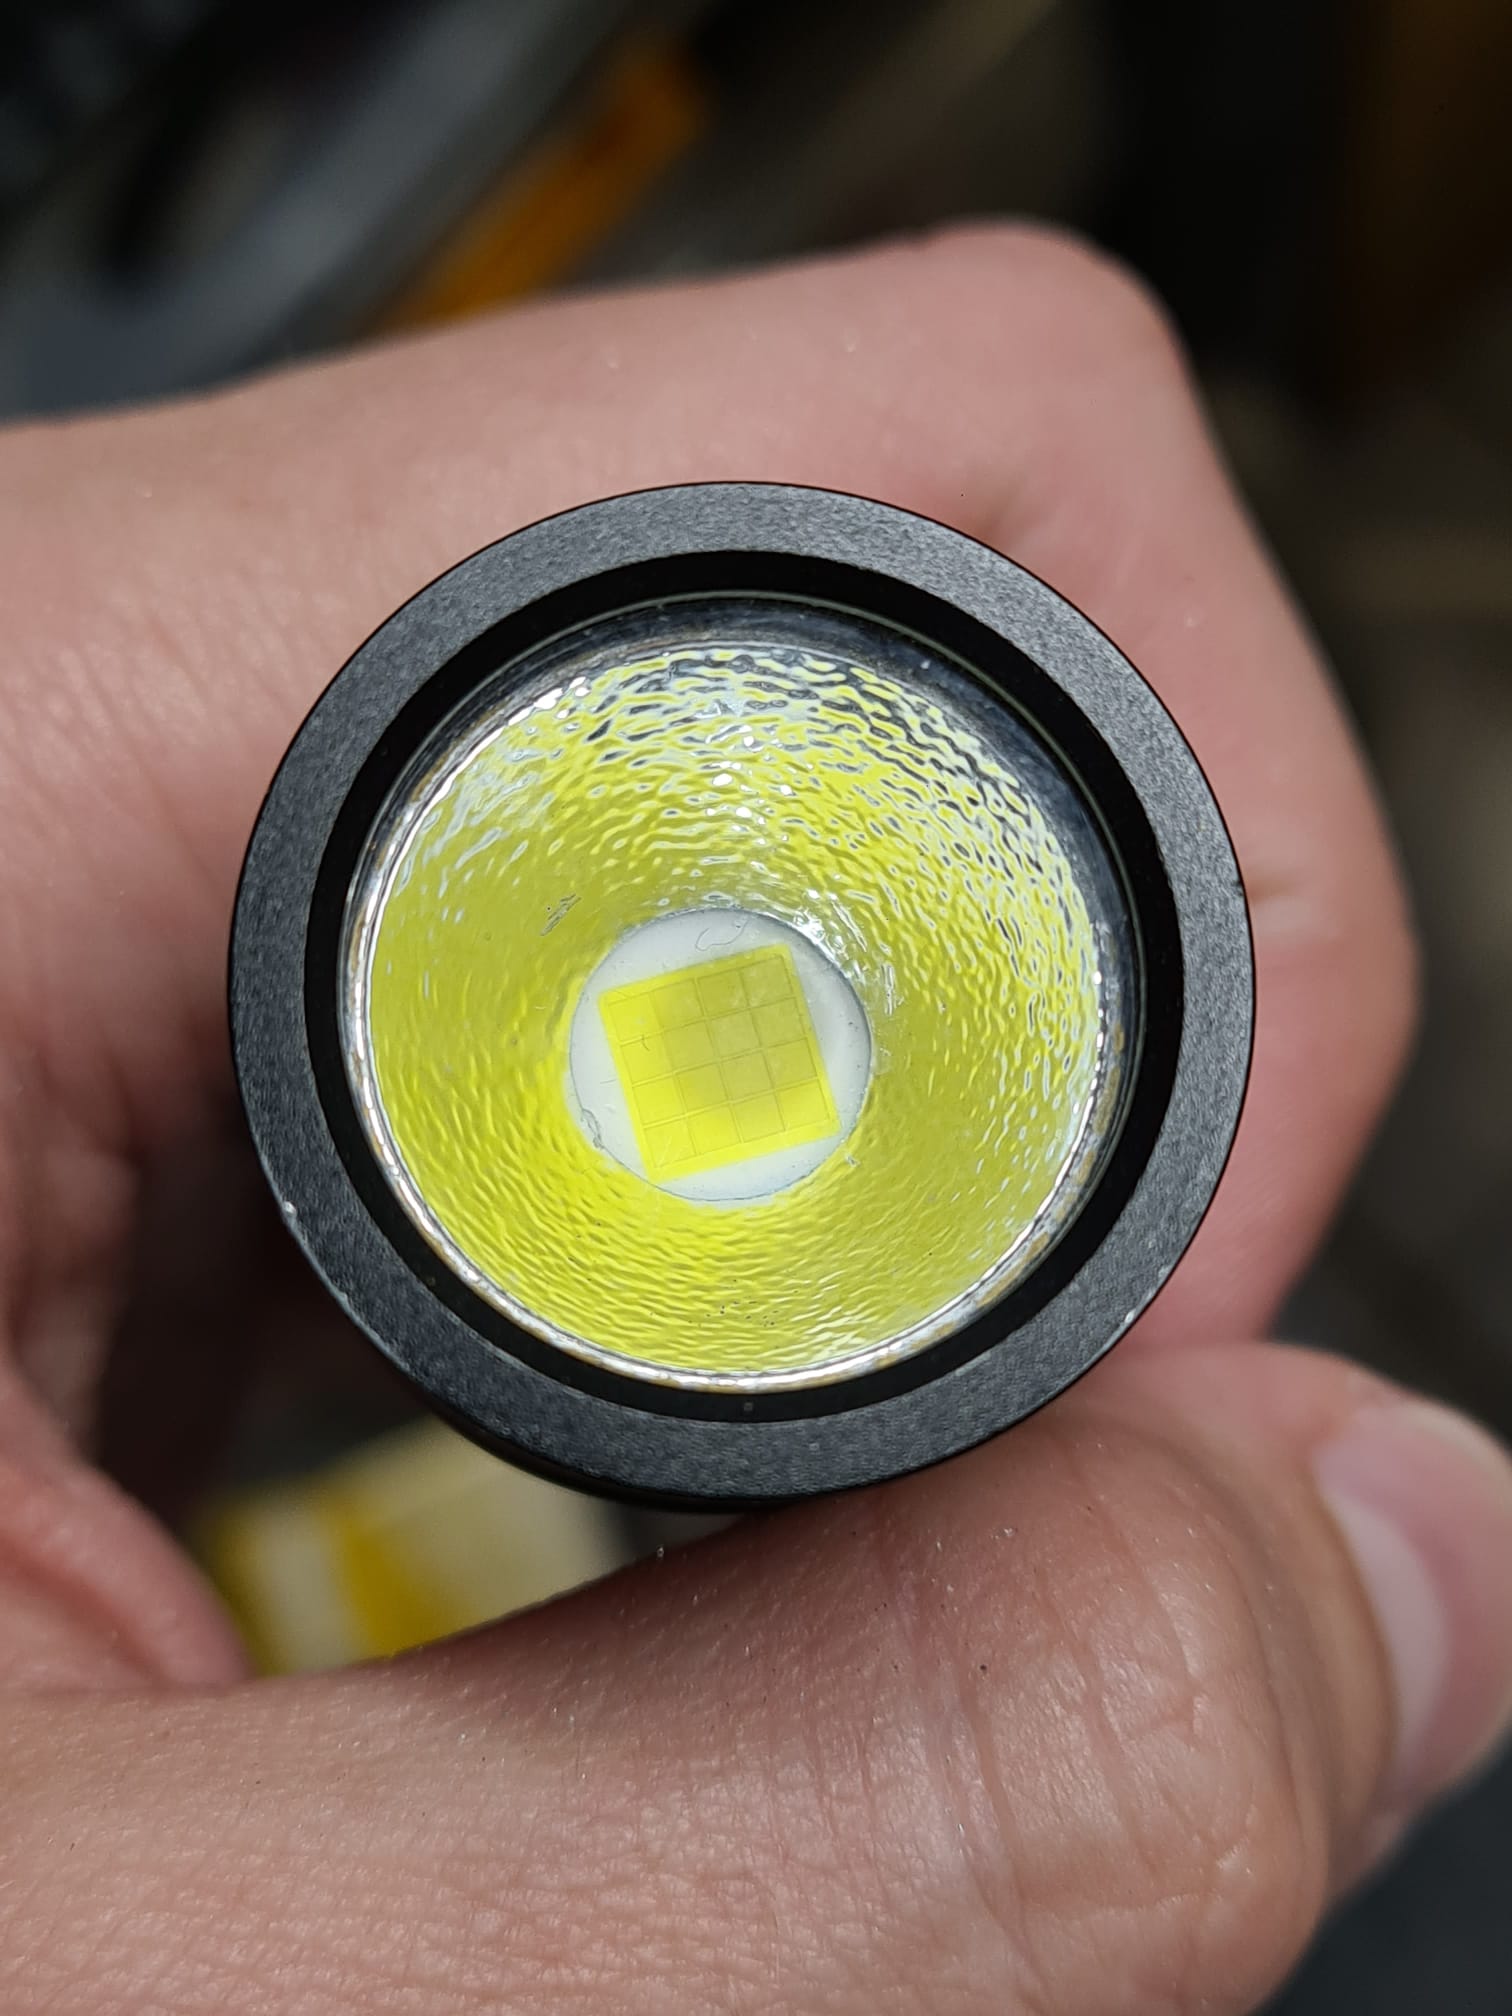
So its done.Wurkkos WK15 with SFH55.Killer:) Original 7,7 amps,now 12,3 amps.308 lux vs.420 lux.Love it.

8 Thanks
Dephosphoring: For Science!
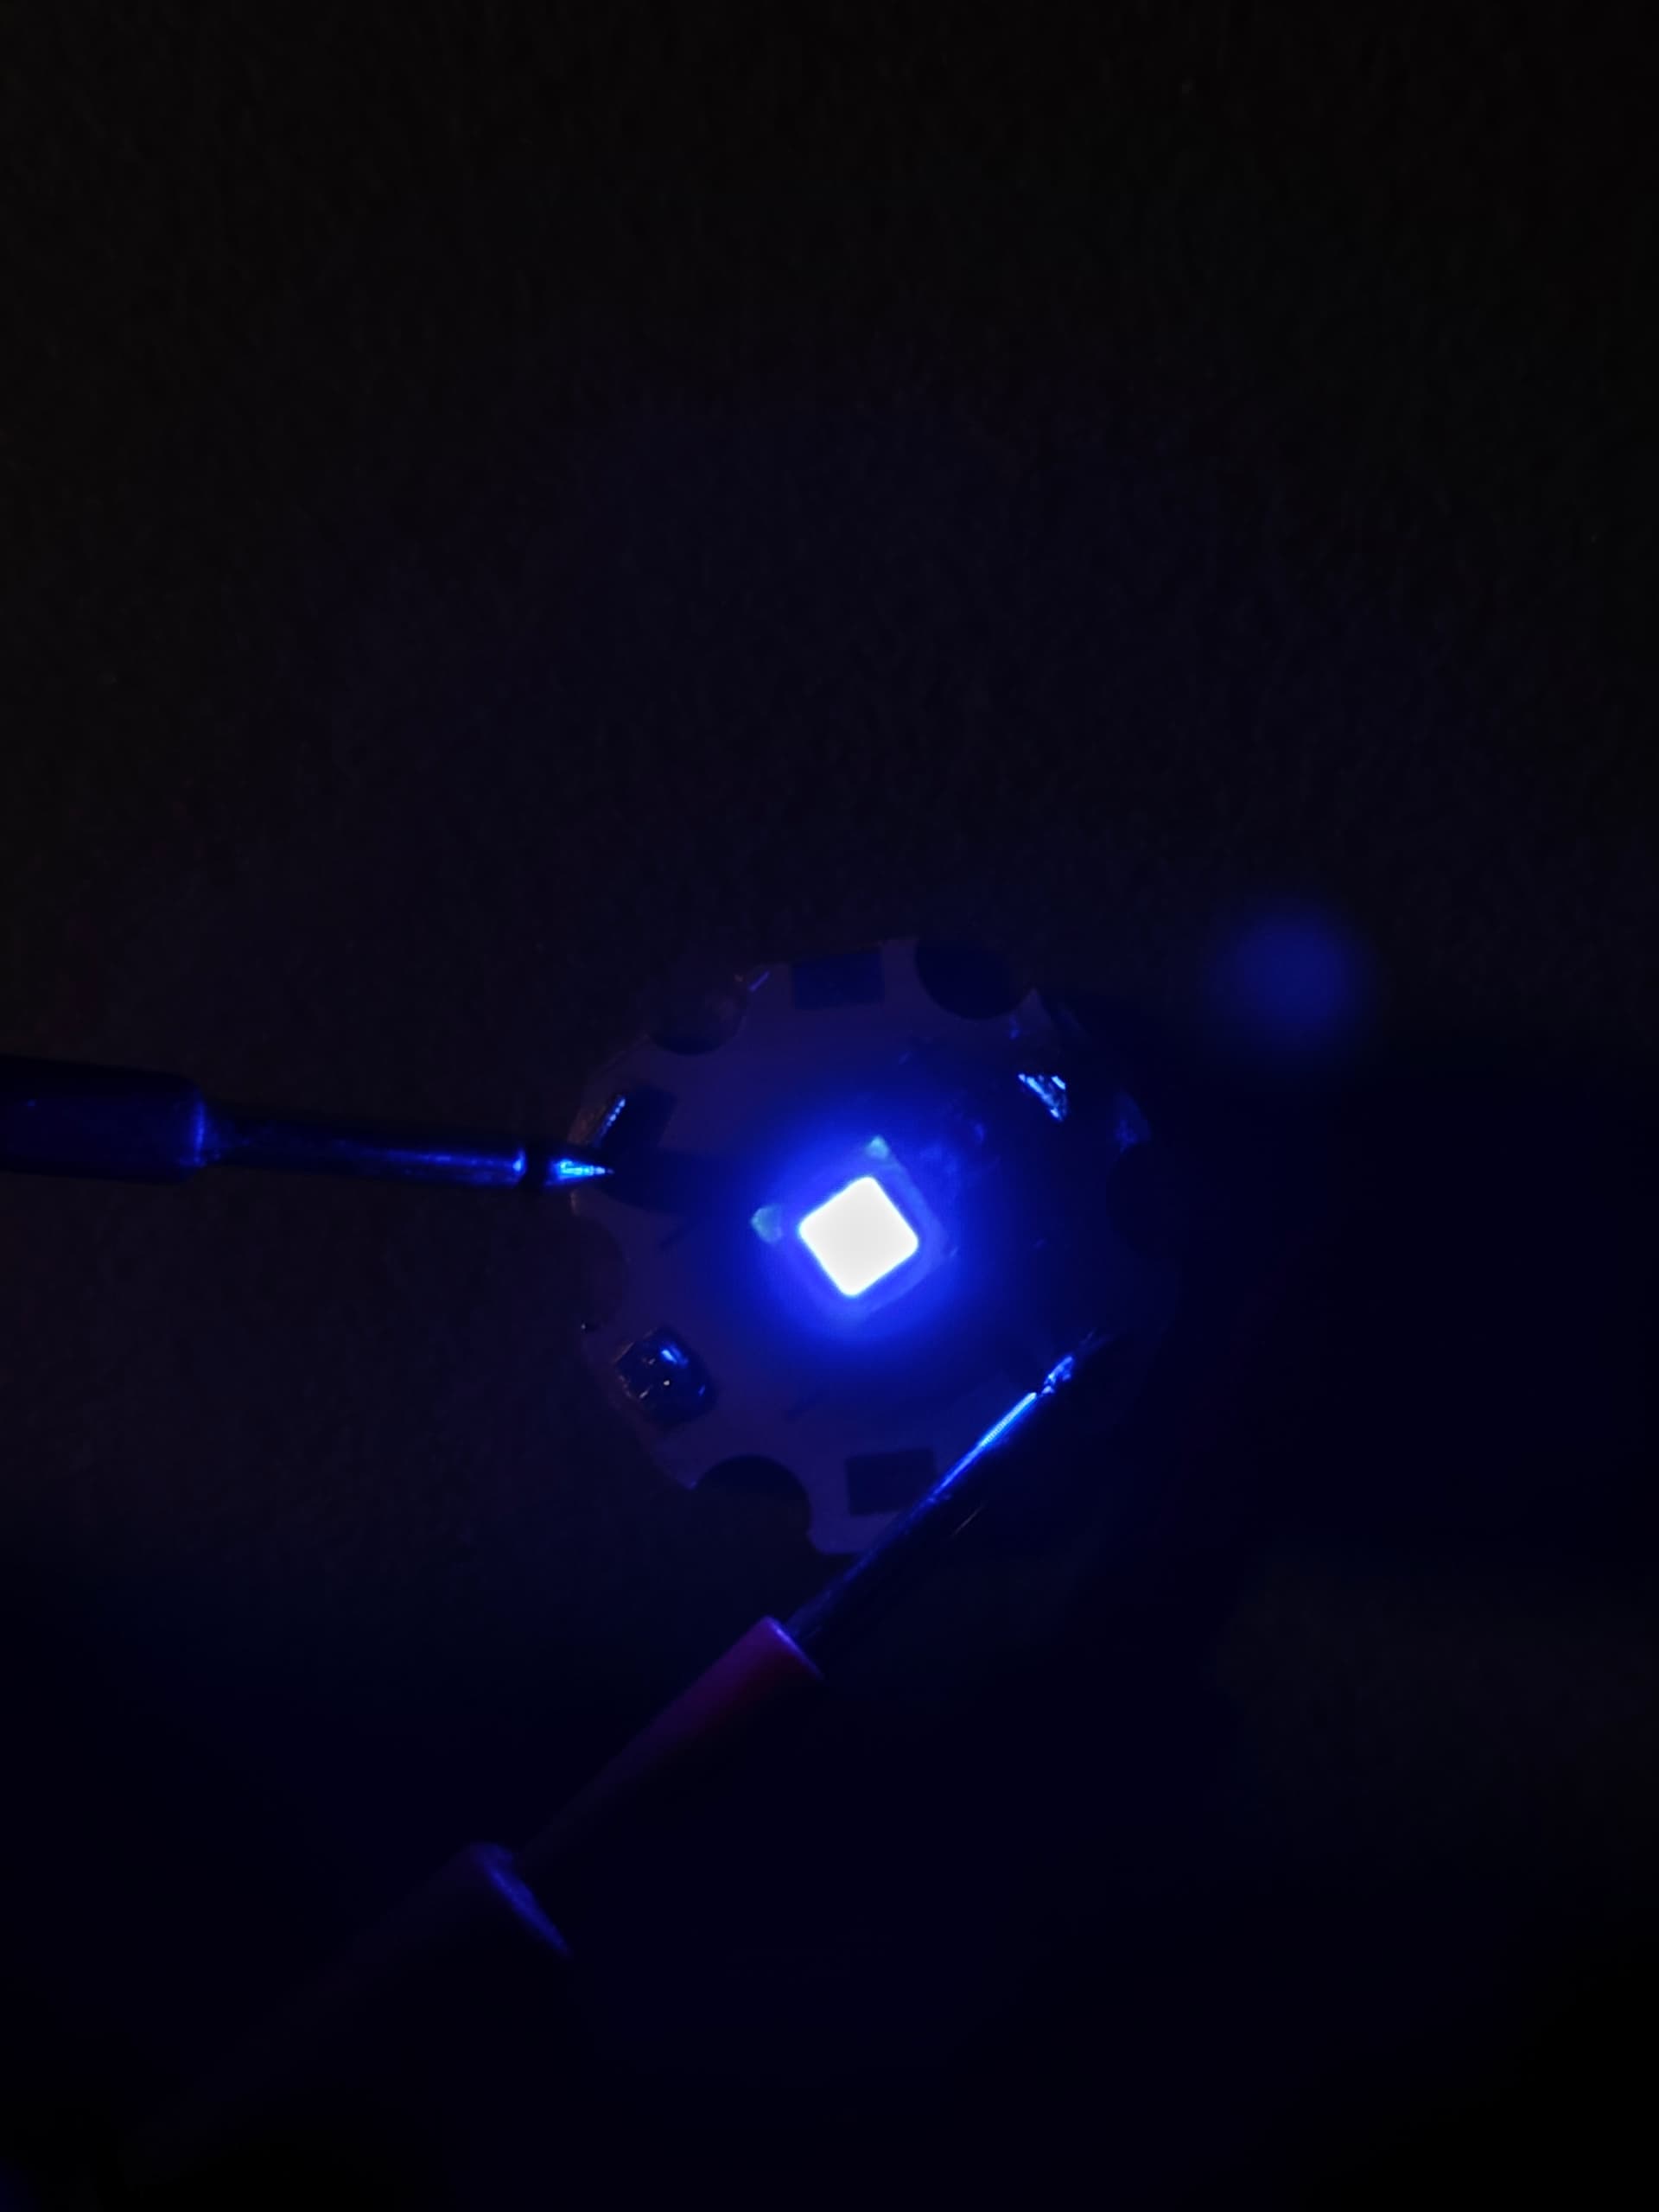
I had this generic 5050 quad die from an old zoomie laying around, which I dedomed (decapitated) a long time ago.
For Science, I want to standardize a way to succesfully removing the phosphor layer.
Using a tiny tweezer and some rubbing alcohol, I scraped the surface of the dies. It completely removed the phosphor and left a glass-like reflective surface.
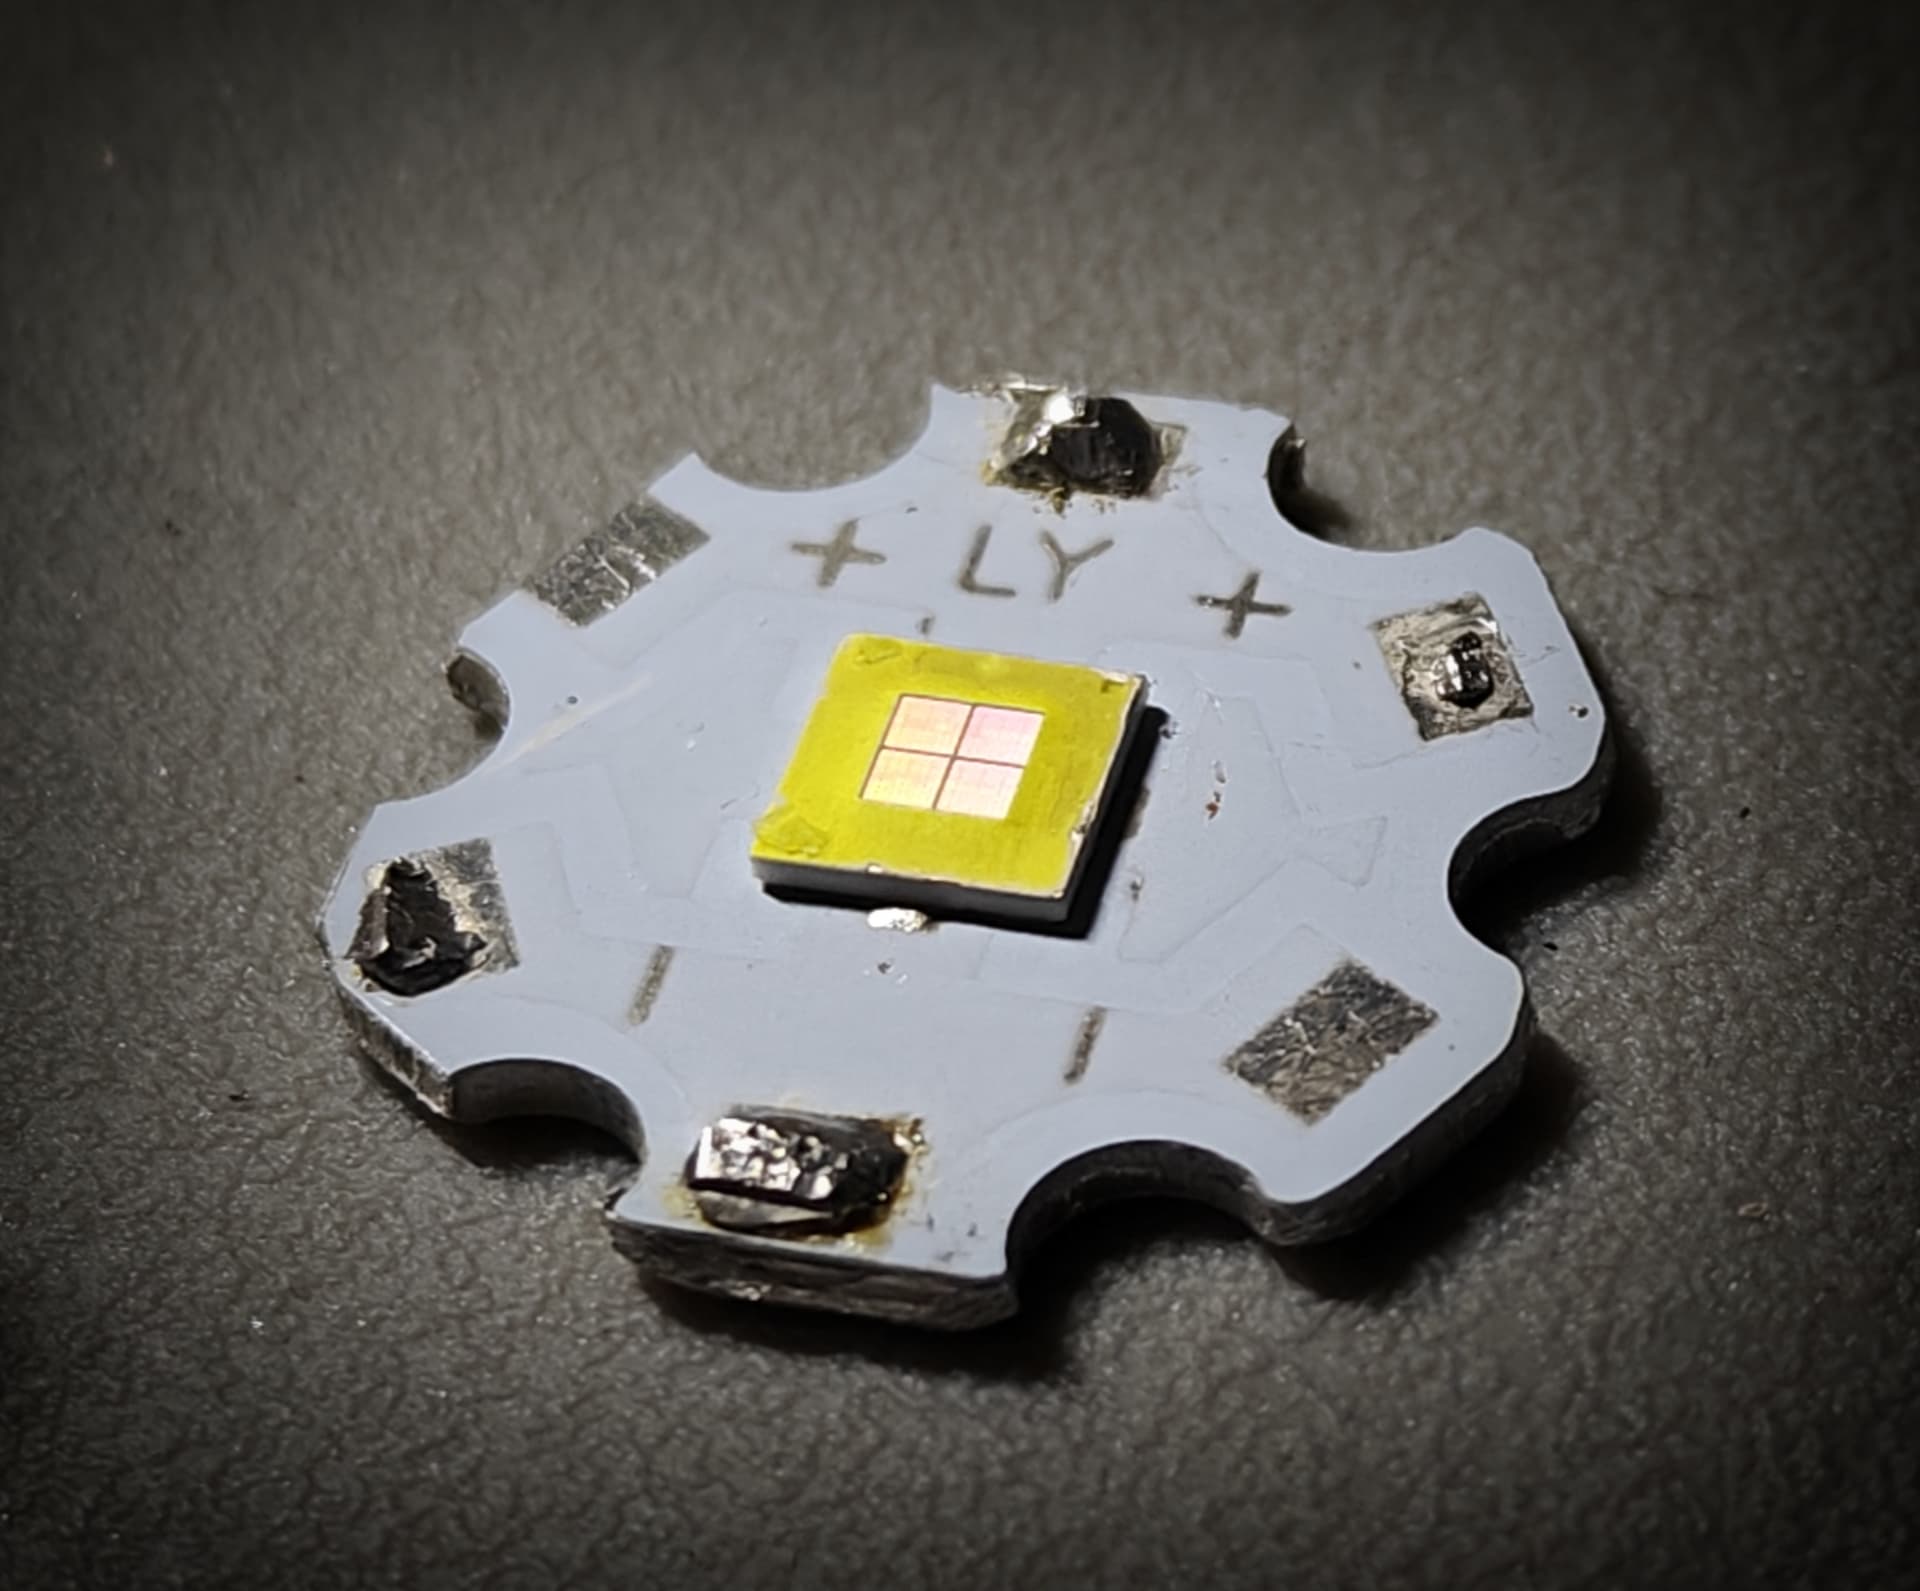
So it worked!?
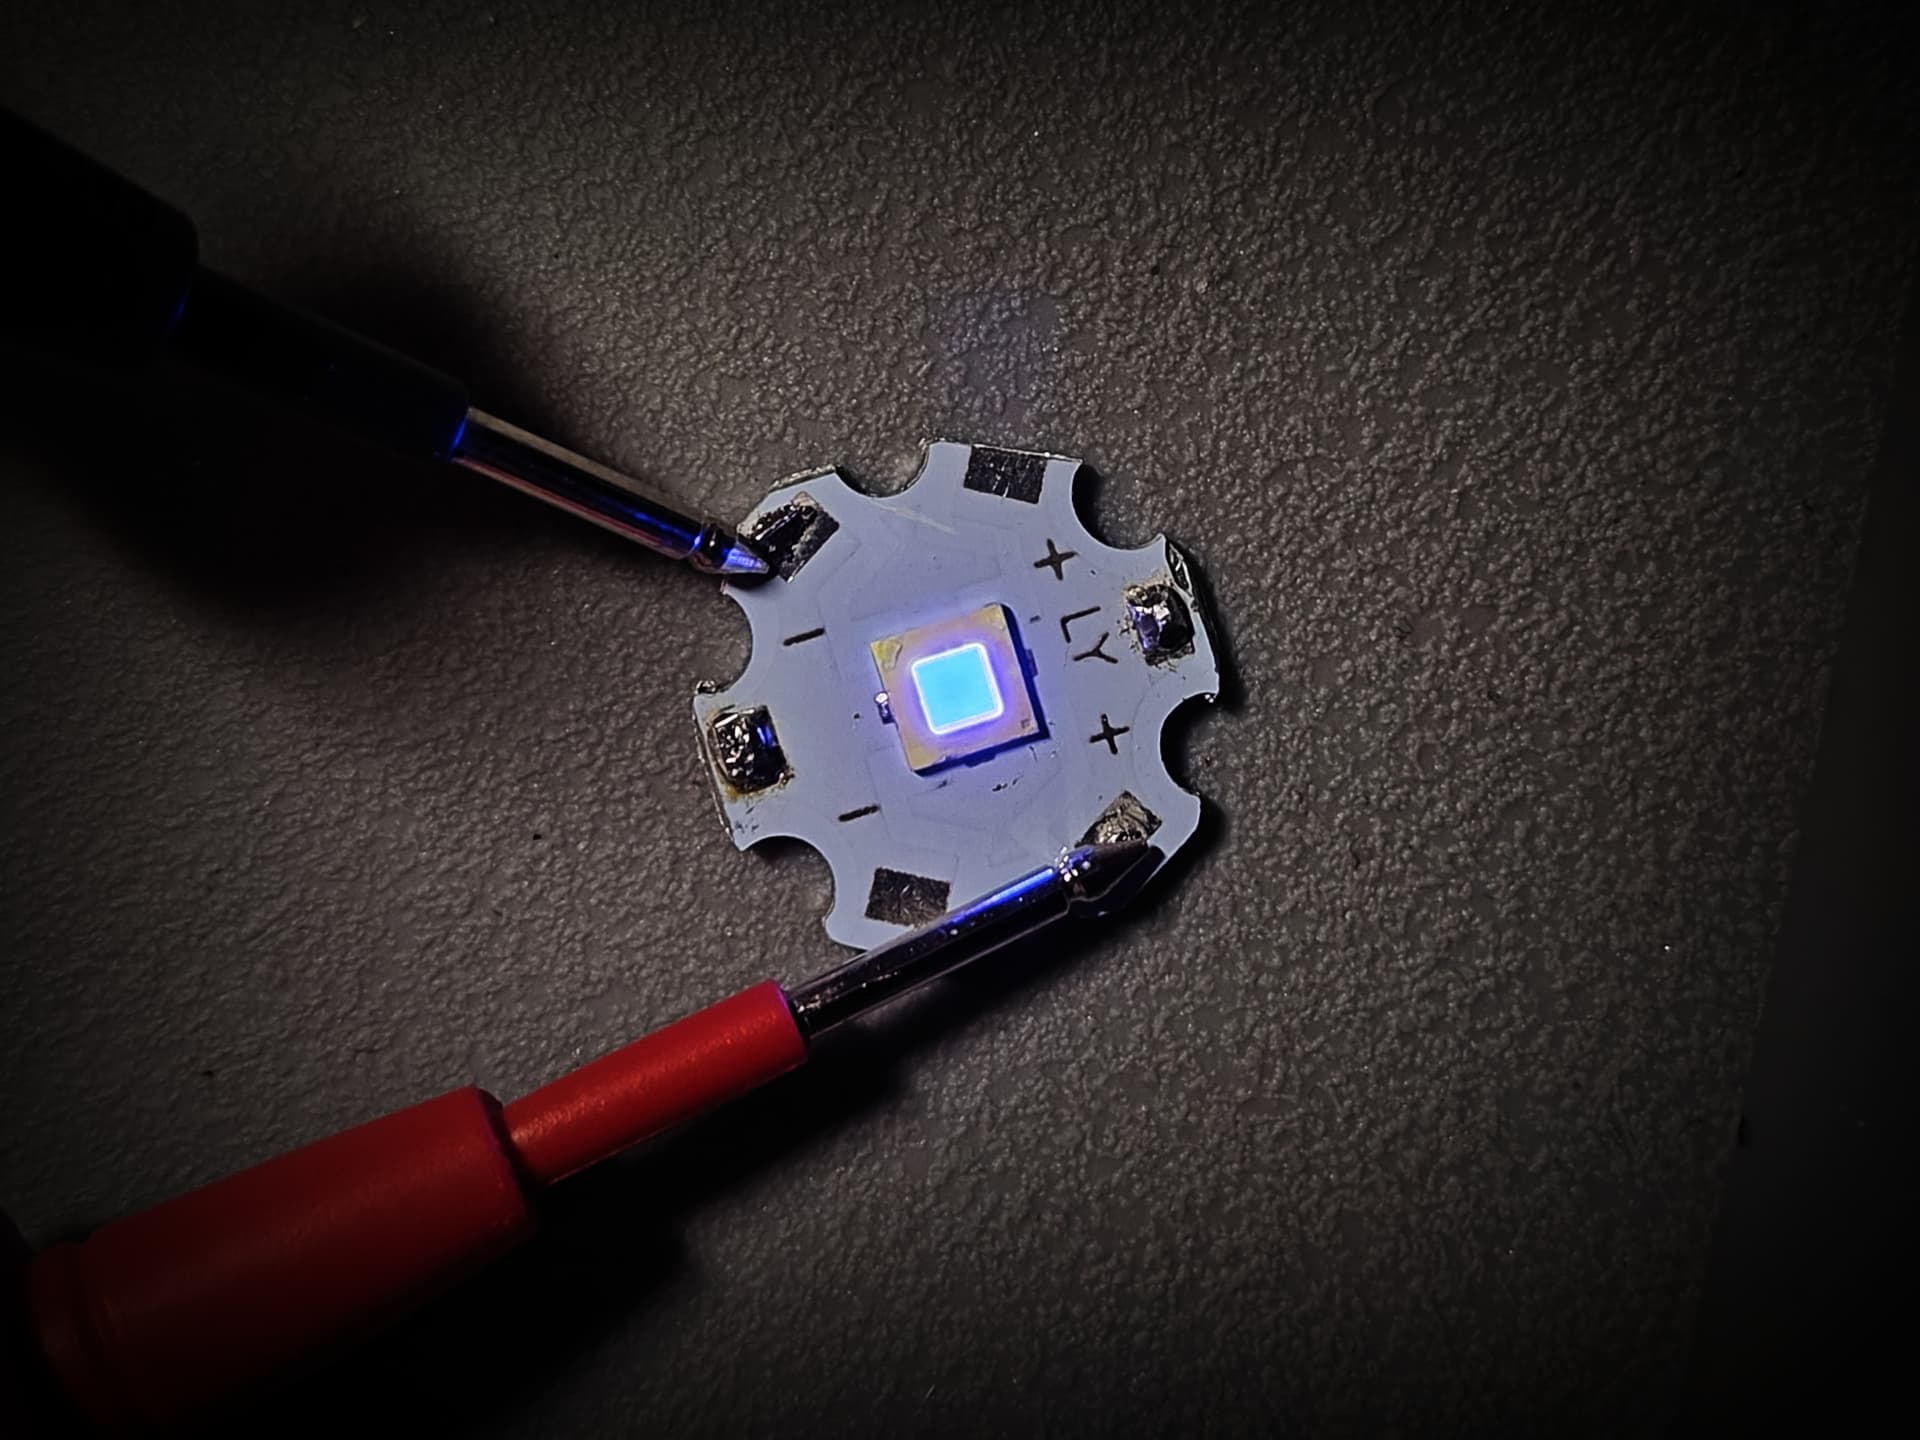
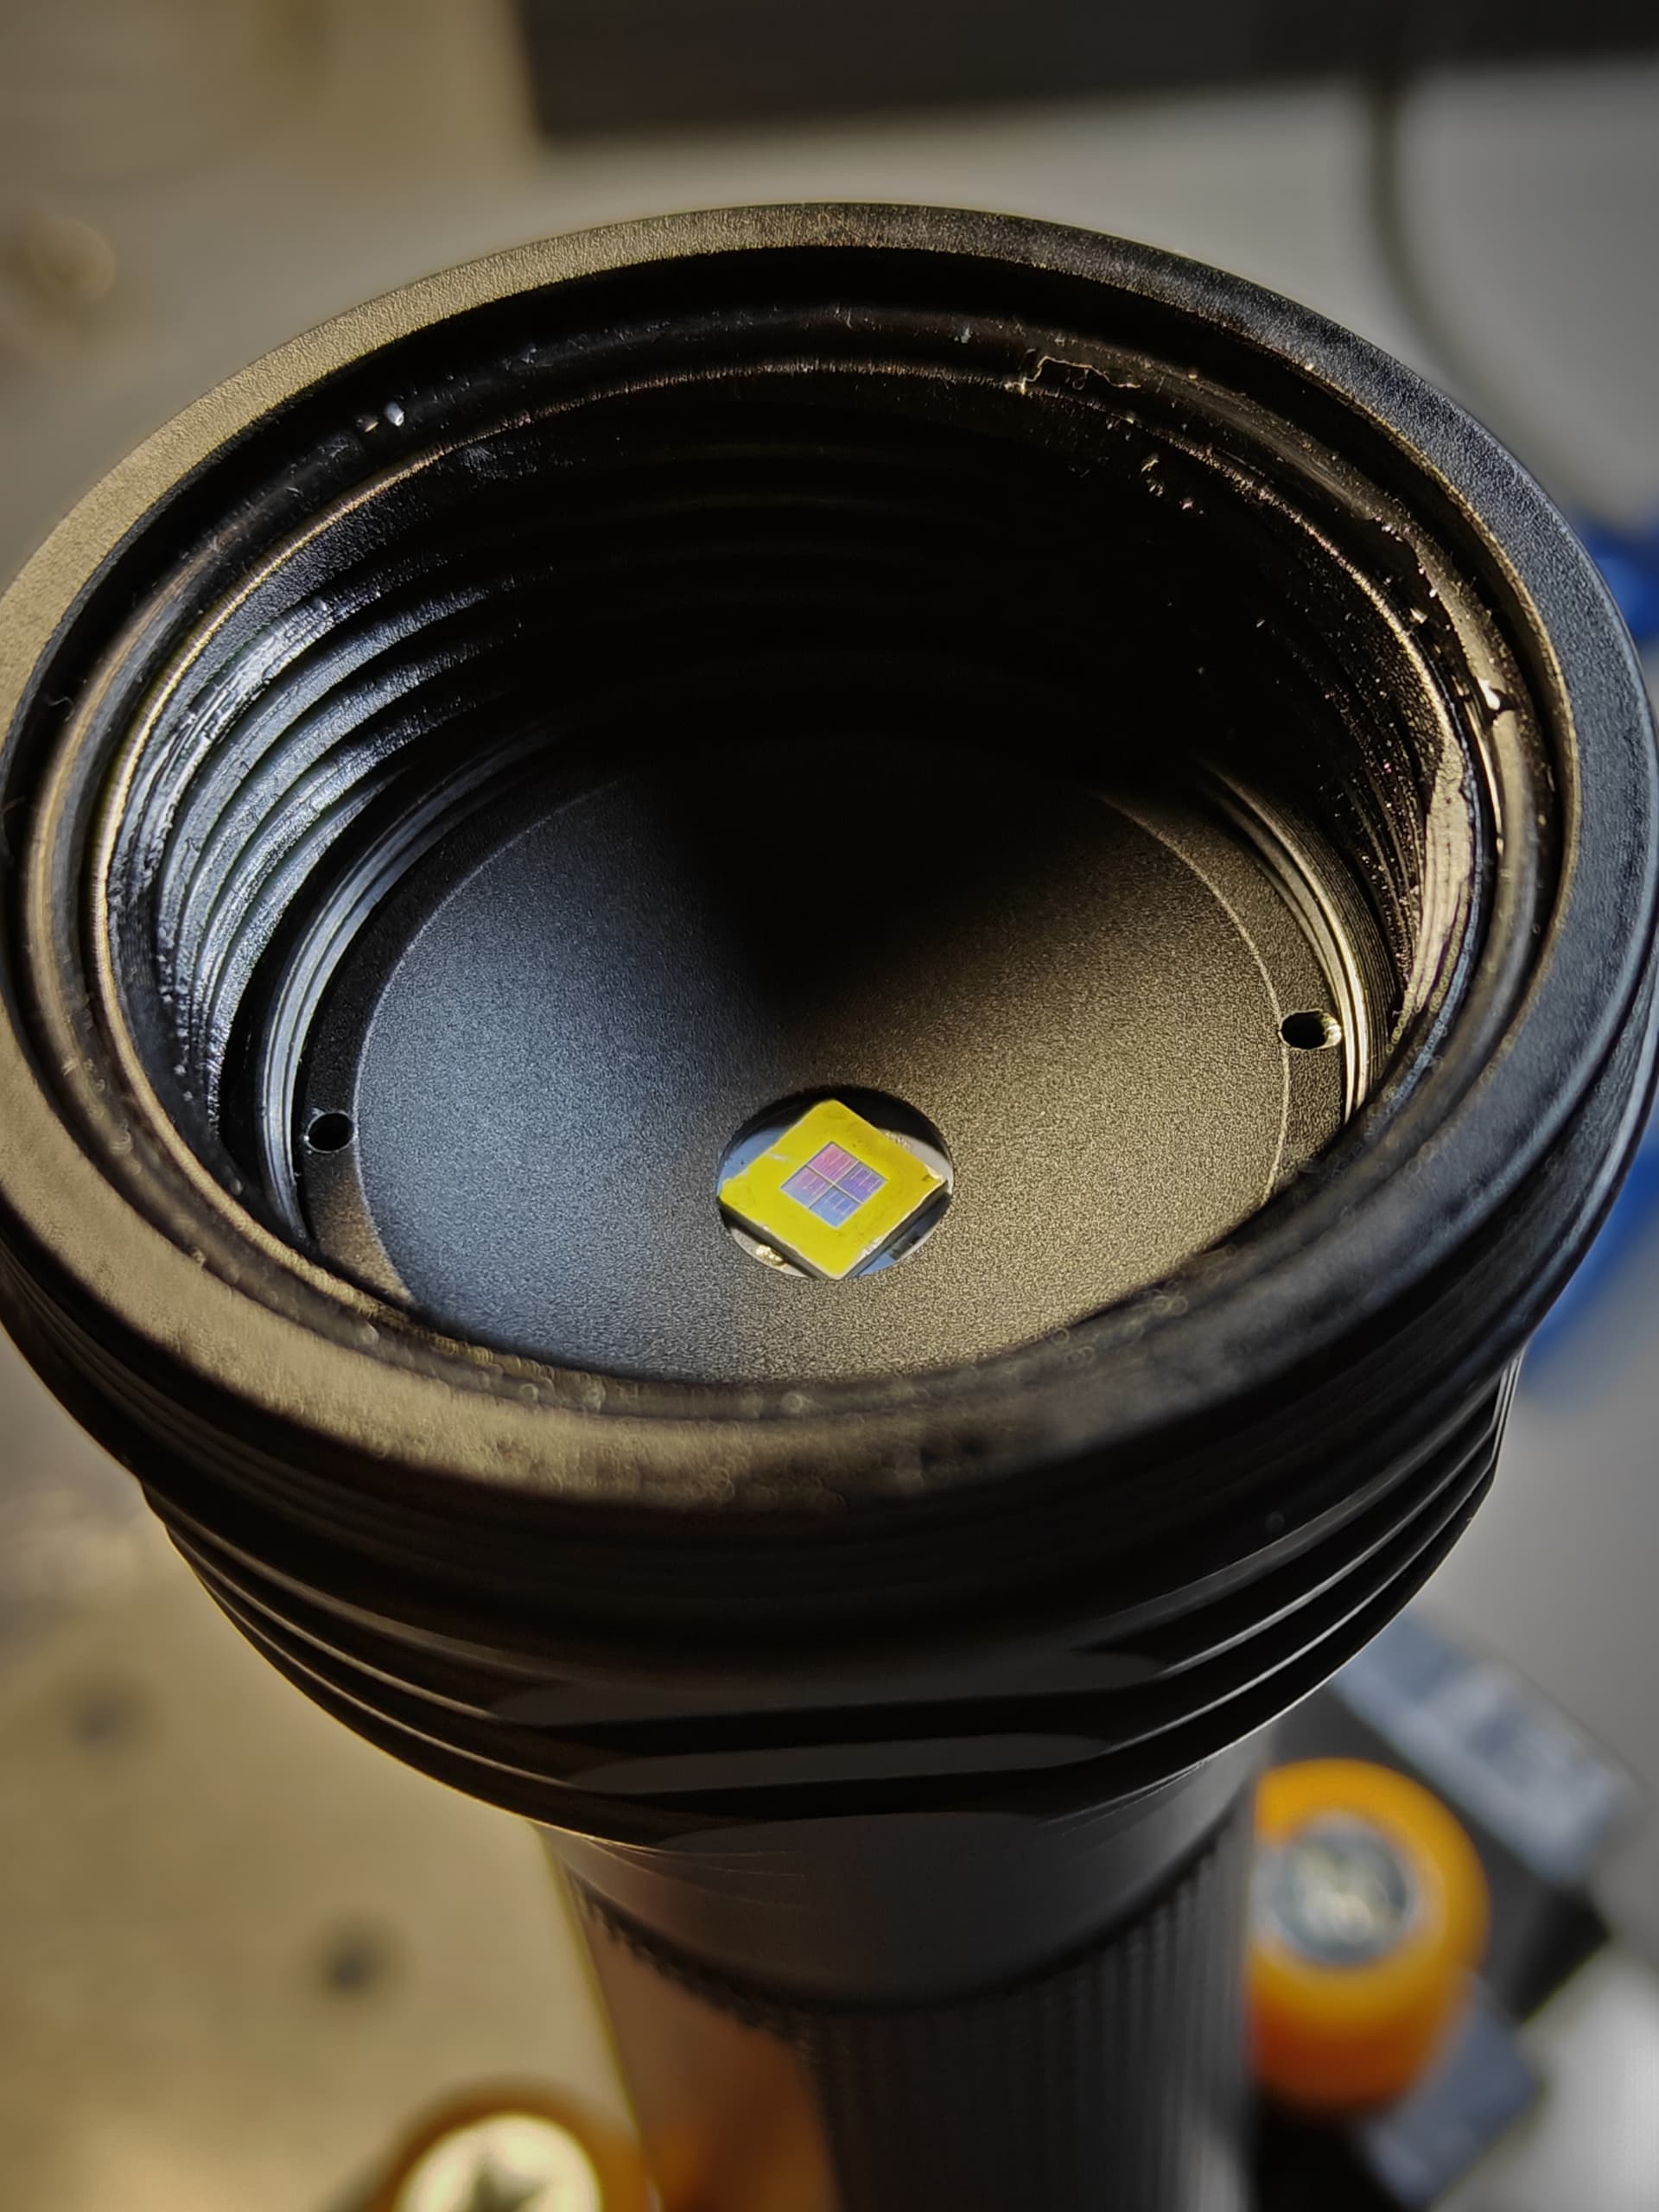
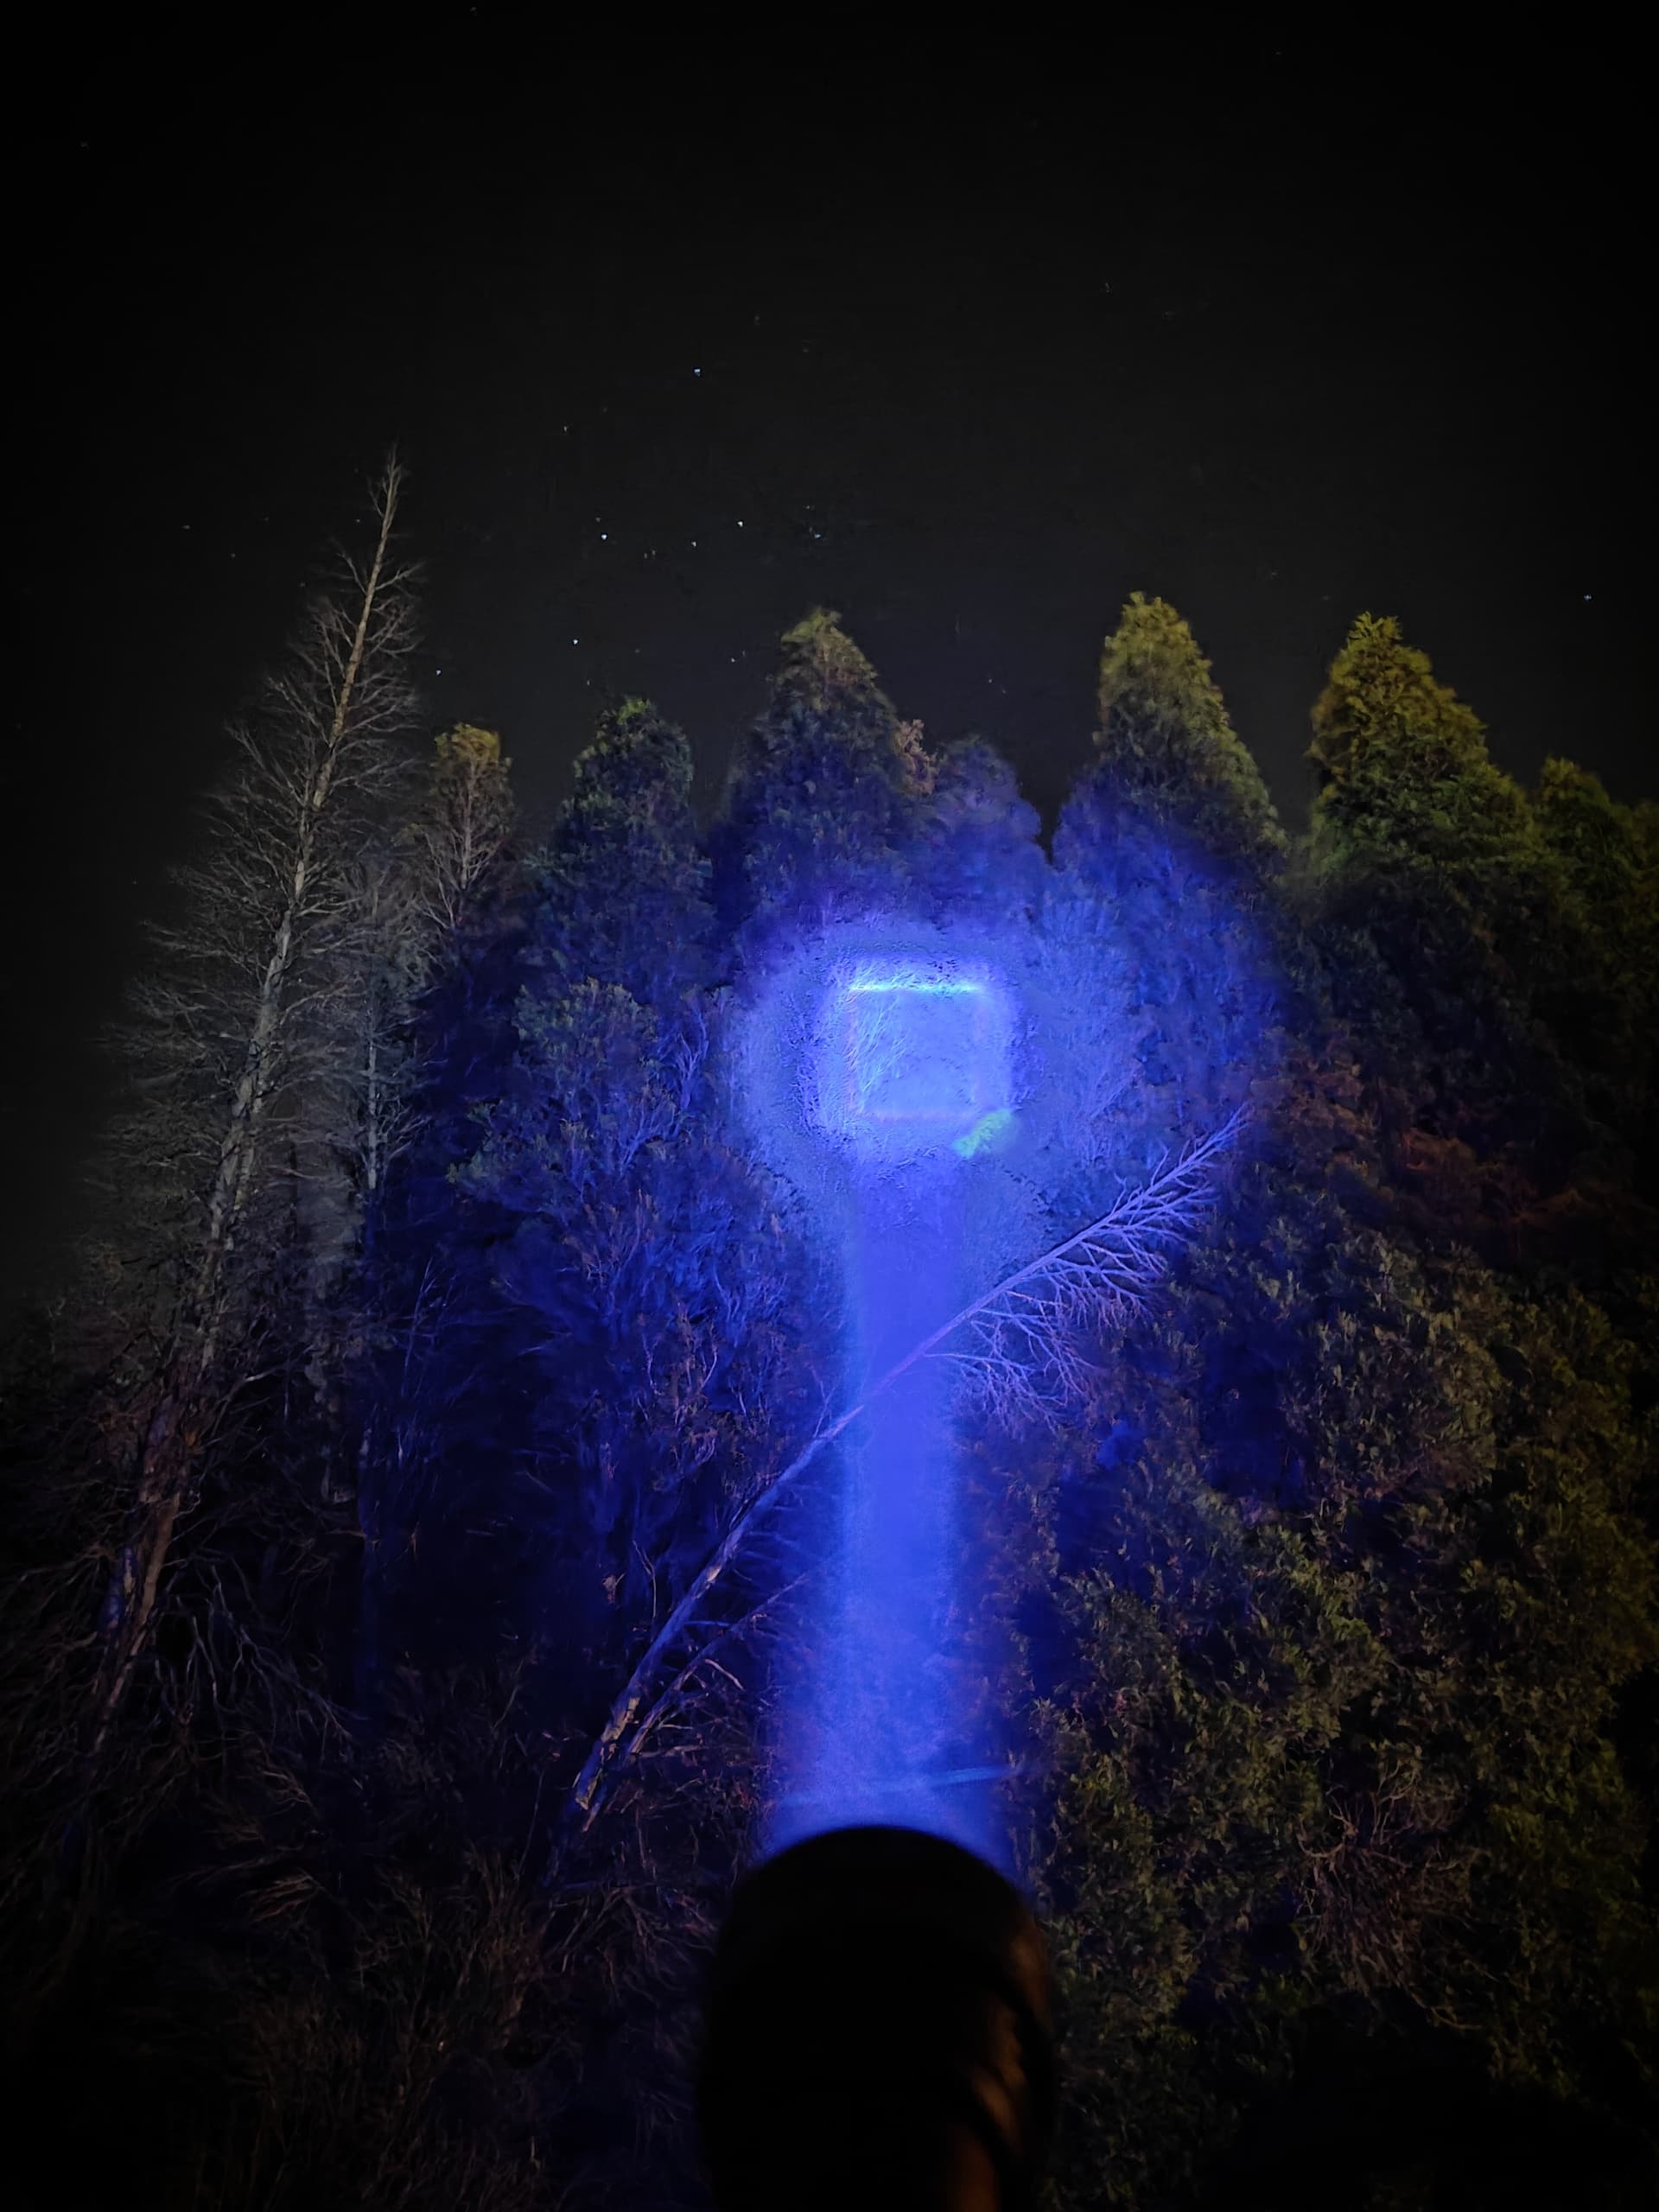
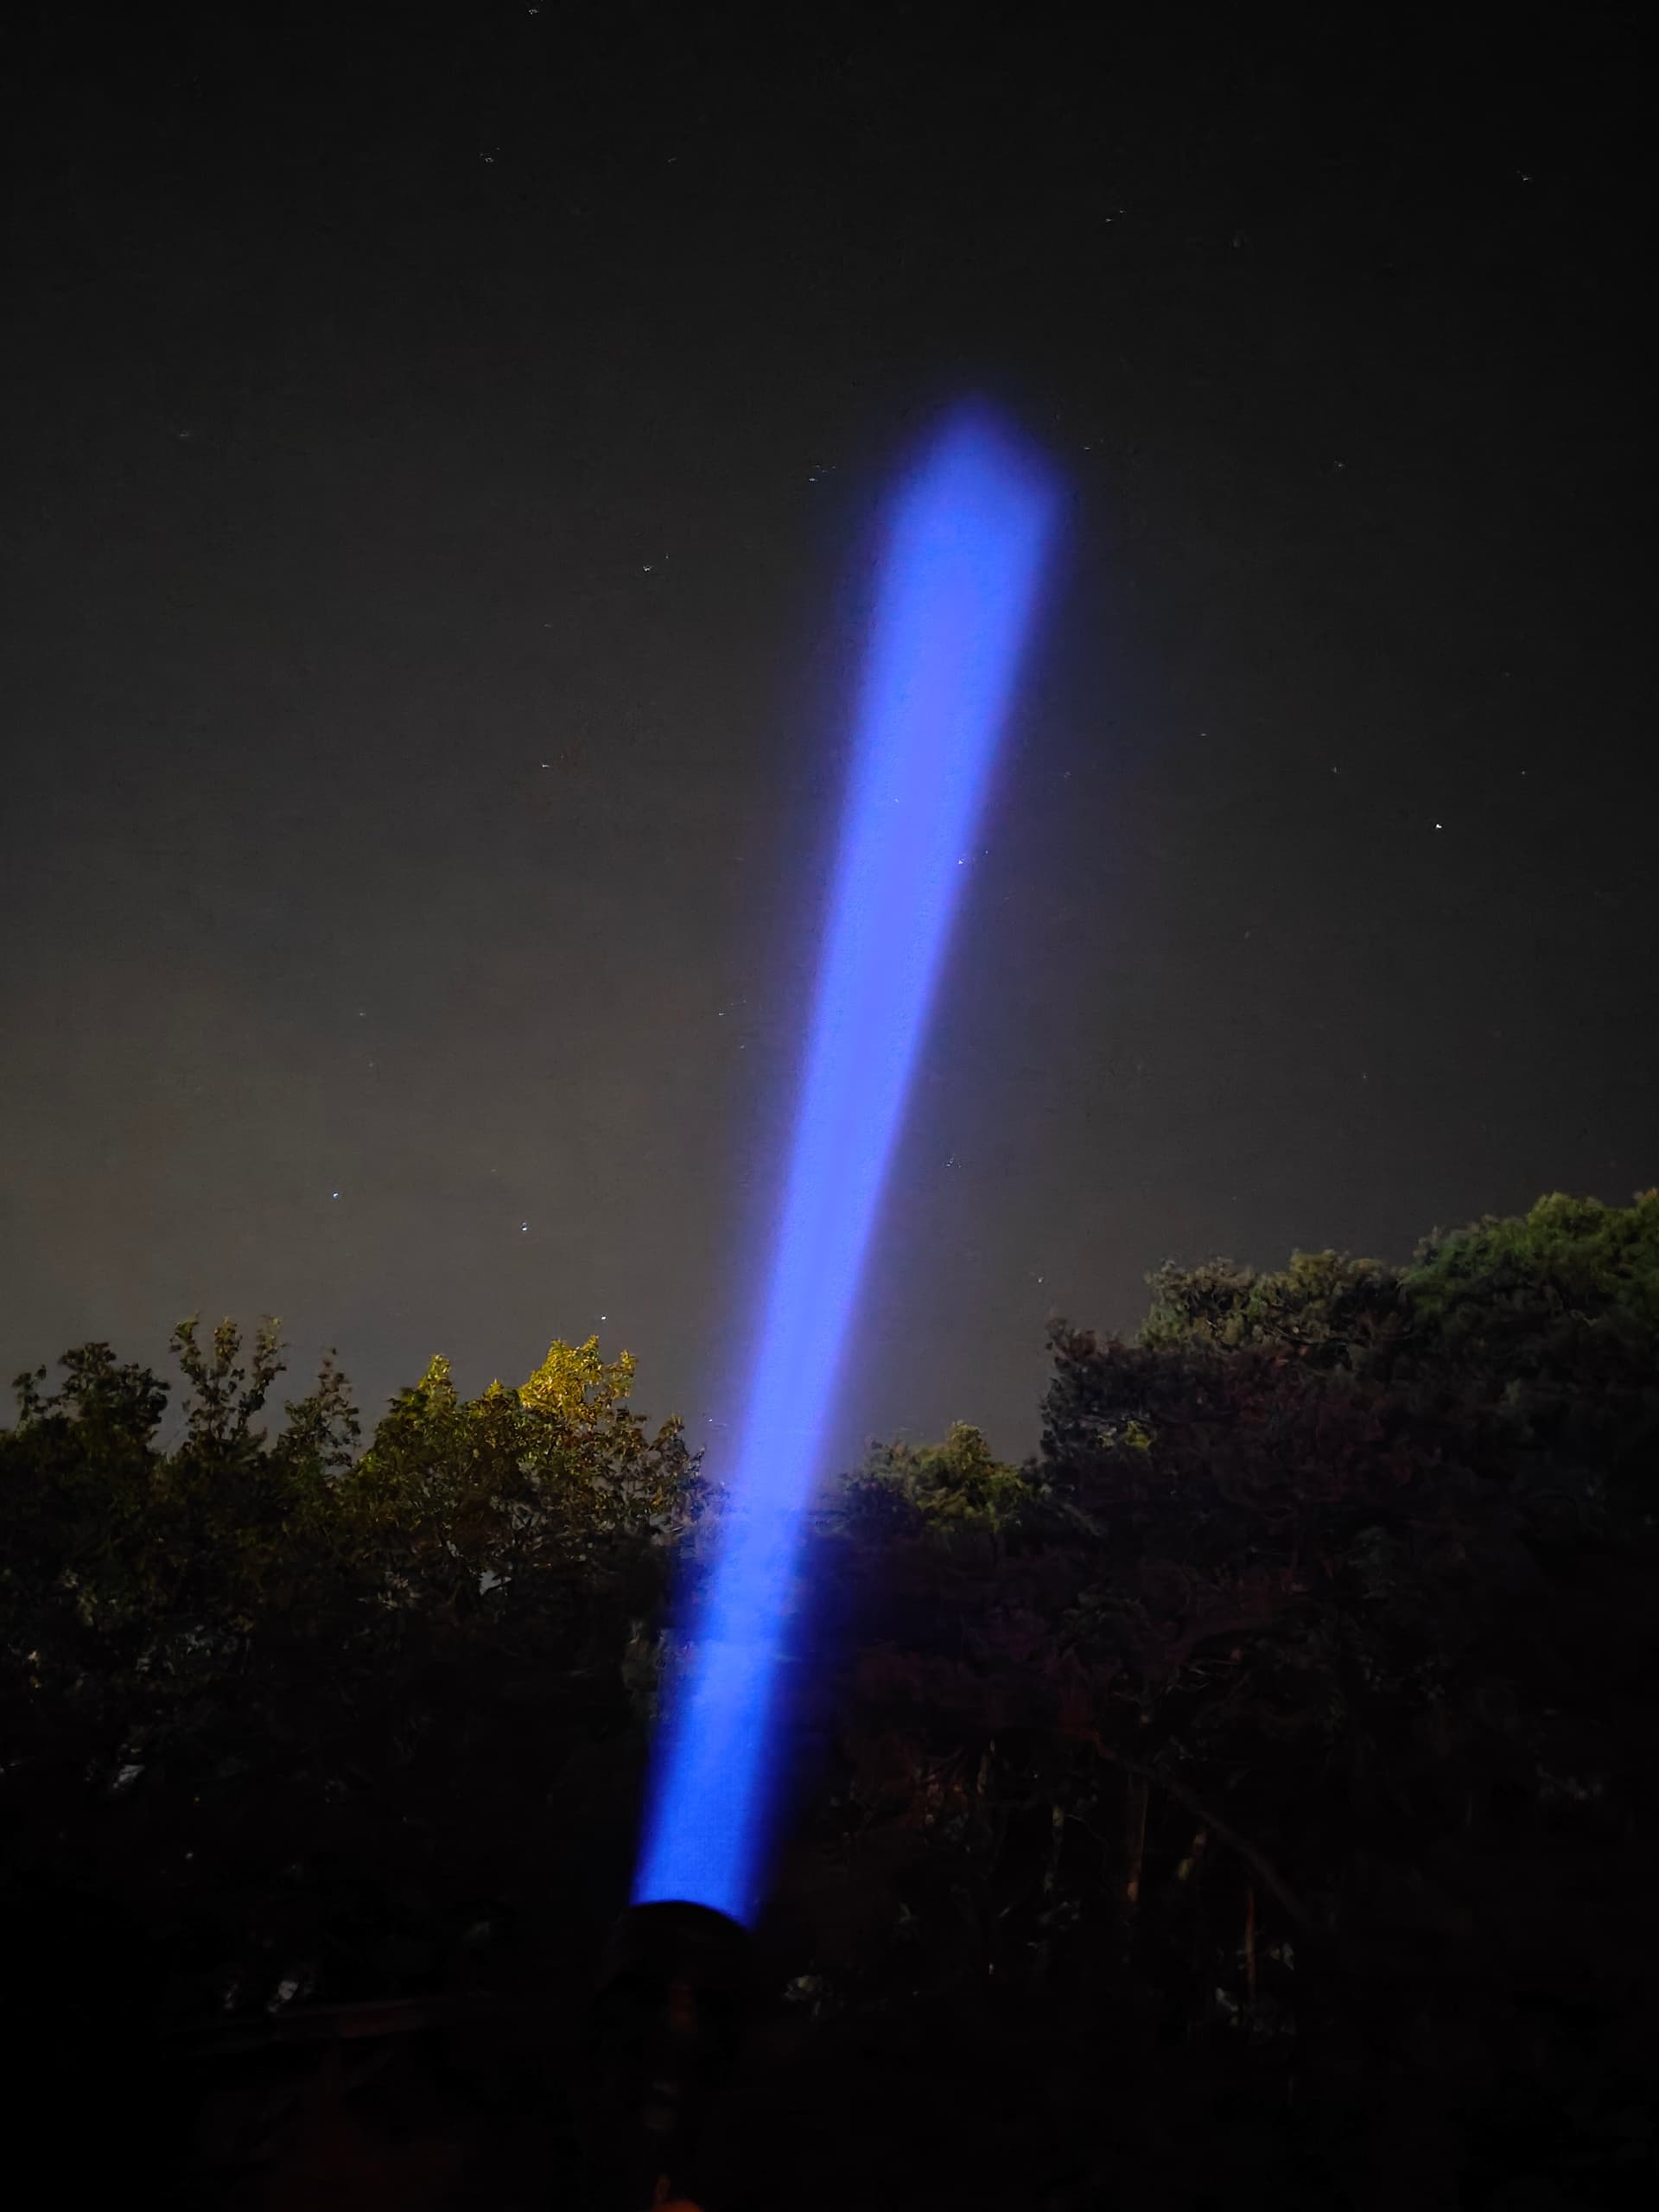
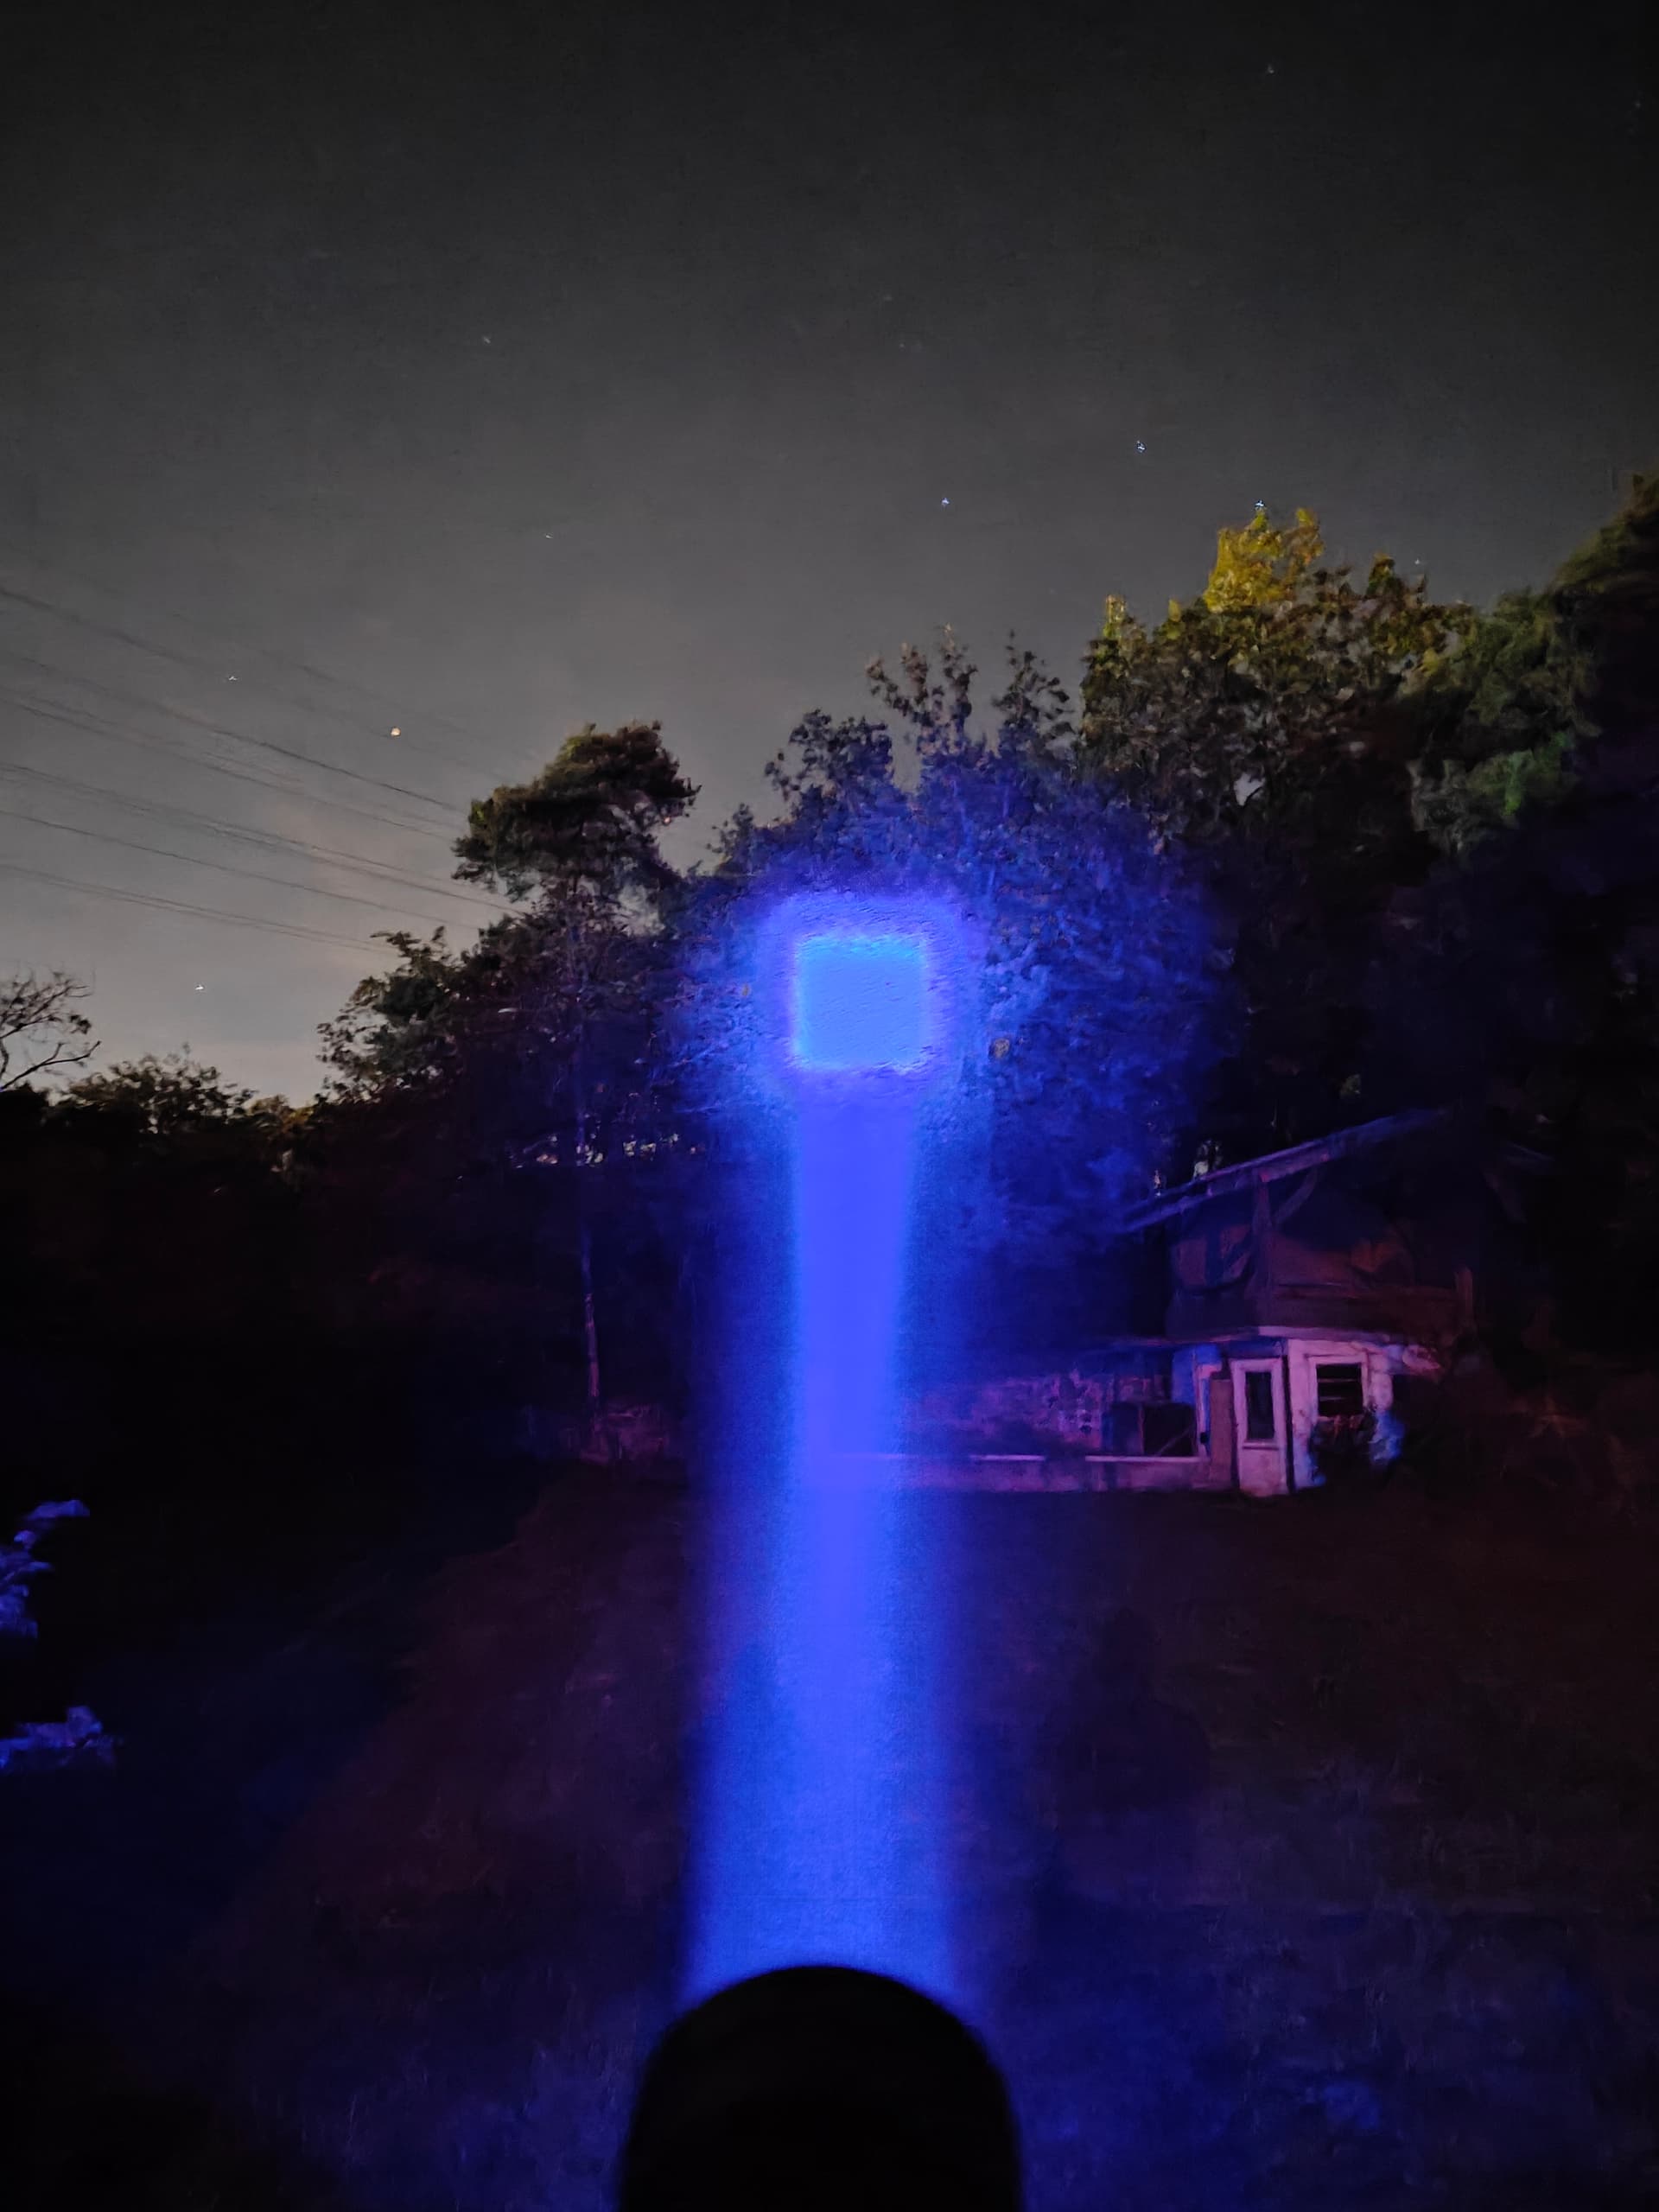
I mounted it in my Z1 host for some tight, square beams. Driver is a convoy 3V8A buck.
The blue is way more intense than my camera can capture. Deep, mind flaying blue/purple.
Next up: SFT-40!
That is all, For Science
8 Thanks
That’s a CSP LED mounted on a 5050 package, that’s why it’s so shiny, and that’s why the dies survived being rubbed. A wire bonded die like Luminus uses on the SFT40 are usually white, dull and very fragile, and they don’t resist this kind of abuse like a CSP LED does. You can do this on a LH351D, it will survive this process just fine.
2 Thanks
Wow, thank you for that information! Makes a lot of sense now, and I’ve never dabbled this deep in the actual structure of an emitter. I still have a lot to learn.
Now on to researching which emitters are what type!
I really want to dephosphor an SFT or SBT90.2 but that wont work it seems. I can maybe try and find a chemical solution to remove the phosphor…
Don’t bother doing it to SFT or SBT, if you want lots of blue light you can do it to a XHP70.2 or XHP50.2, they aren’t as expensive as the SFT or SBT and they kept working when I unintentionally dephosphored them (i ended up removing all the phosphor and if my memory is serving me well the dies are also shiny and quite robust)
If you have a SBT or SFT lying around and you really want to dephosphor them, then go for it, but it would be harder to do. And remember to post the results here ![]()
Yep, I did this mod unintentionally to an XHP50.3 (3V) that I had fitted in an S2+ with a TIR. I went to change the TIR and the dome stayed stuck inside the old TIR. My teenage daughter loves the “new” flashlight mod, but I wasn’t so happy.
It’s now very much like what UV lights do at nightclubs.
2 Thanks
I forgot what i need to make a shiny tailcap for Convoy s2+…Which mini leds people use? thanks
First mod!
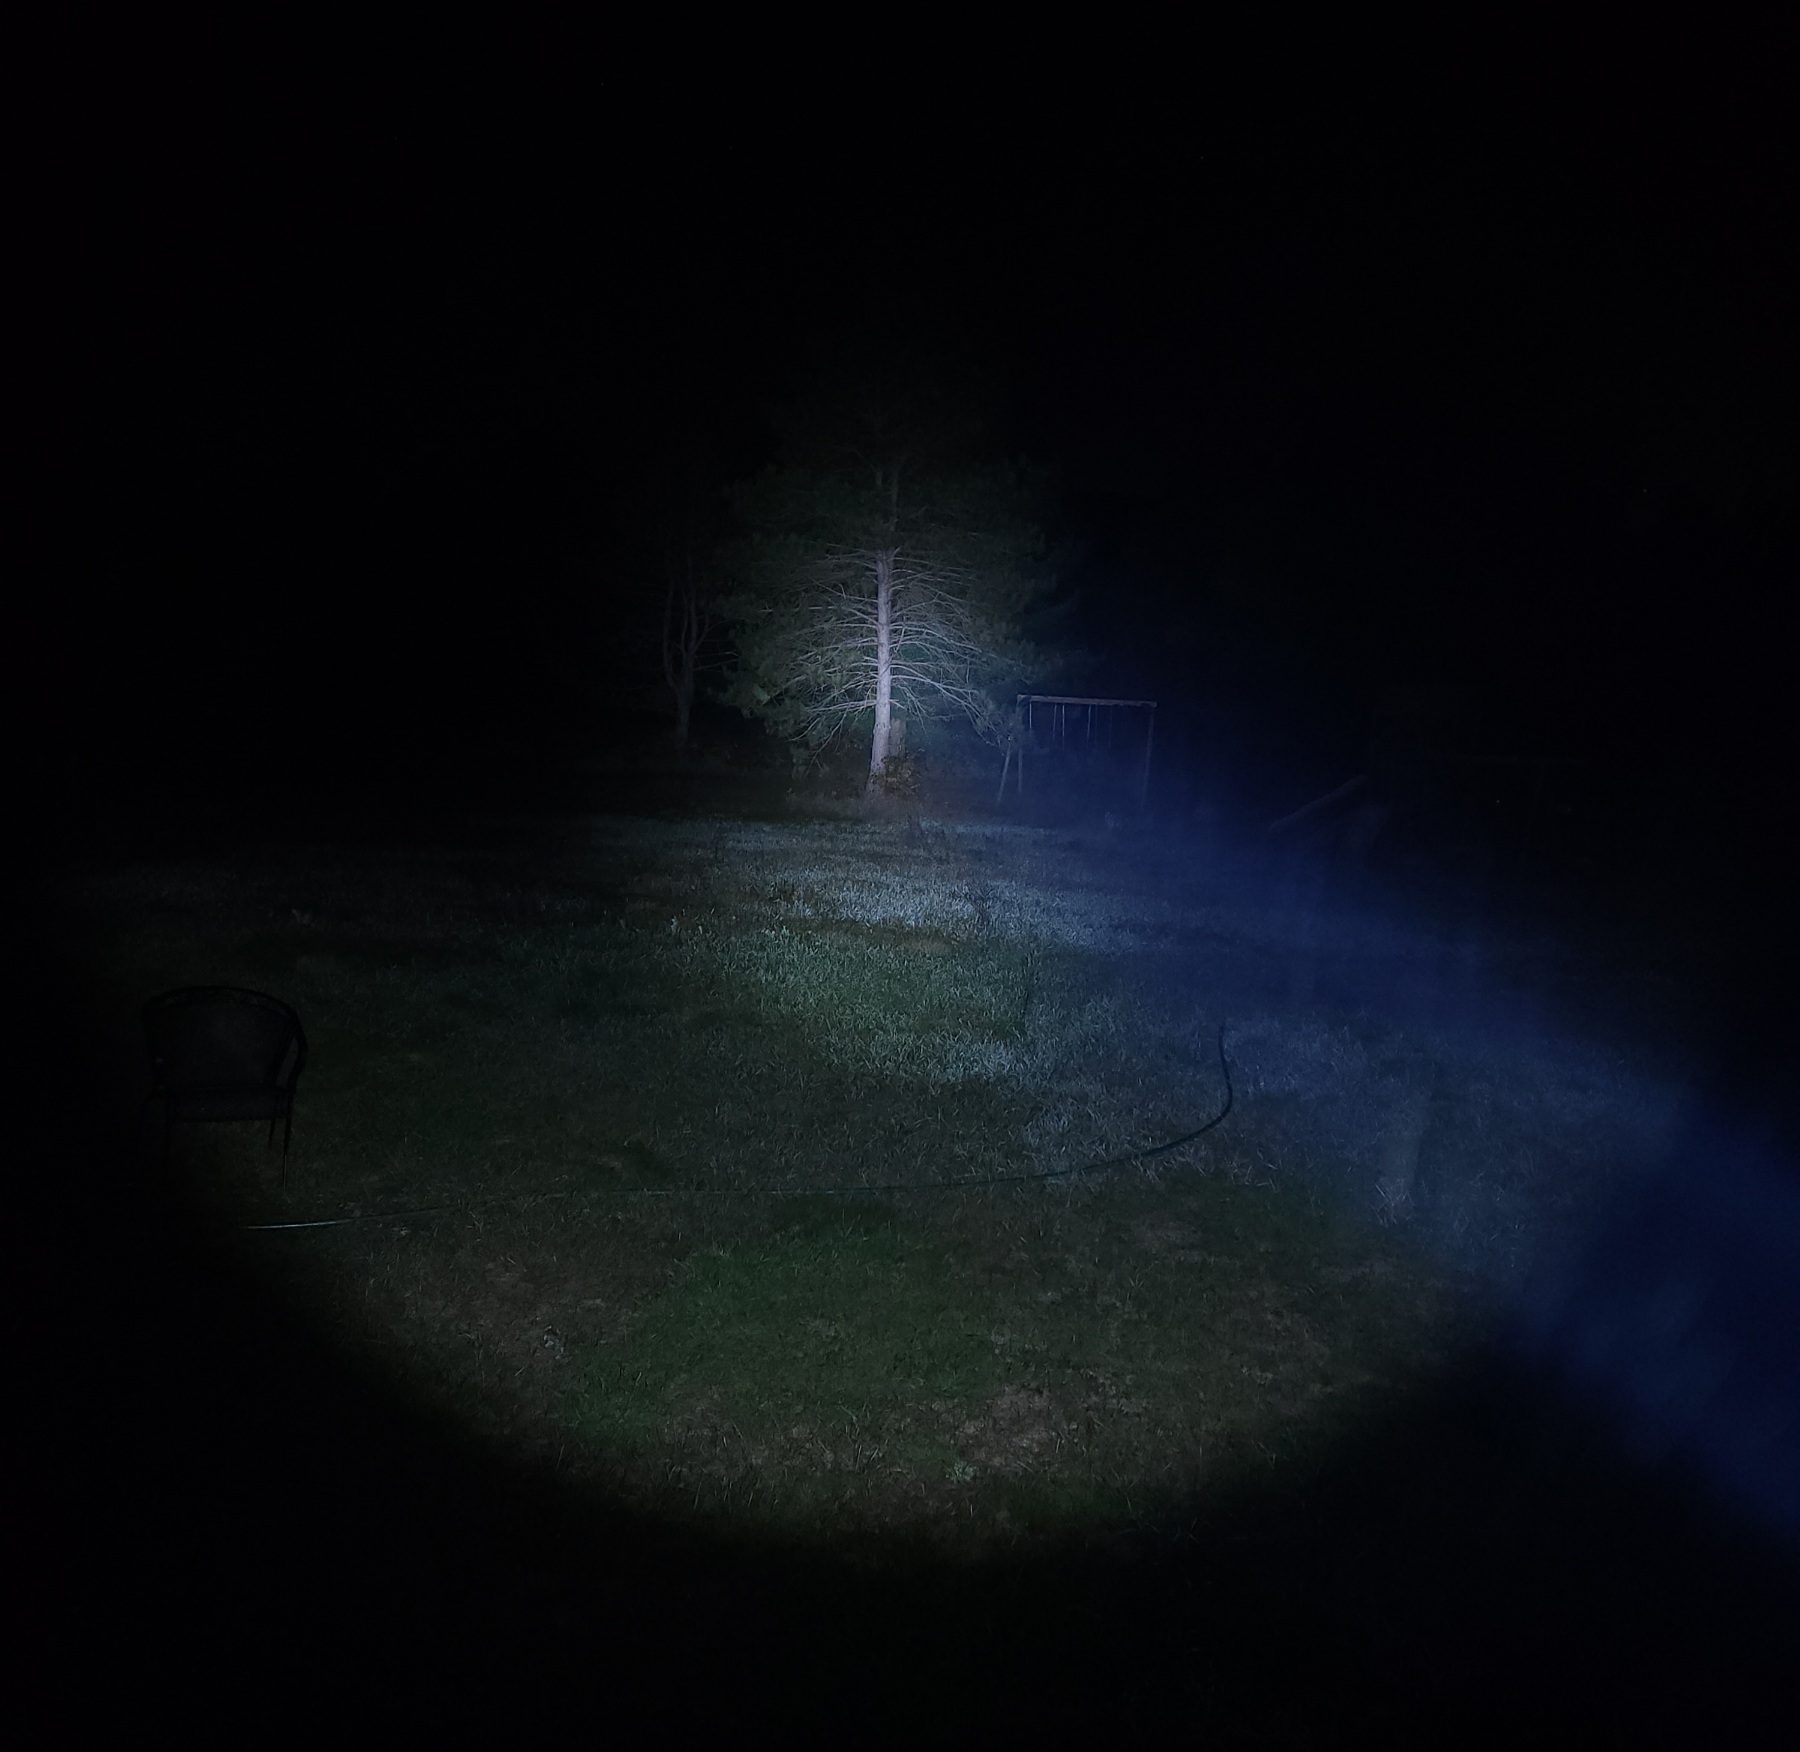
Put cslnm1, 5a driver and smooth reflector in a Convoy t3 to make a little thrower.
It was a neat first flashlight build. Throws great for its size and hold output pretty well. Quite a few artifacts in the beam.
Might try convoys 5050 round eimitter. Supposed to be intense, low heat, match well with the 5a driver, fewer artifacts with the small reflector?
Tree is just shy of 100yards.
7 Thanks
I’m curious about those. But the relector opening on the T3 is probably too small, right?
1 Thank
I put an Optisolis LED into a modified AA flashlight. I had a leftover 4000K Optisolis that I got from eurekatronix last year. I saw the 16mm copper MCPCB for nichia 276A on the Convoy website and it looked like a good fit.

I reused the single mode AA driver which produces 350mA.
Overall the beam was ok, but the Optisolis hotspot had a strange off-centered blob. So I put some Dc-fix #3 between the lens and reflector and wow, what an improvement!
The beam turned out great and the tint is slightly rosy.


6 Thanks
Good to see the tradition lives. Y’all keep it up! ![]()
(Yes, I too have small lights with that massive SFH55 emitter. And far too many SBT90 lights.)
It is what it is. ![]()
3 Thanks
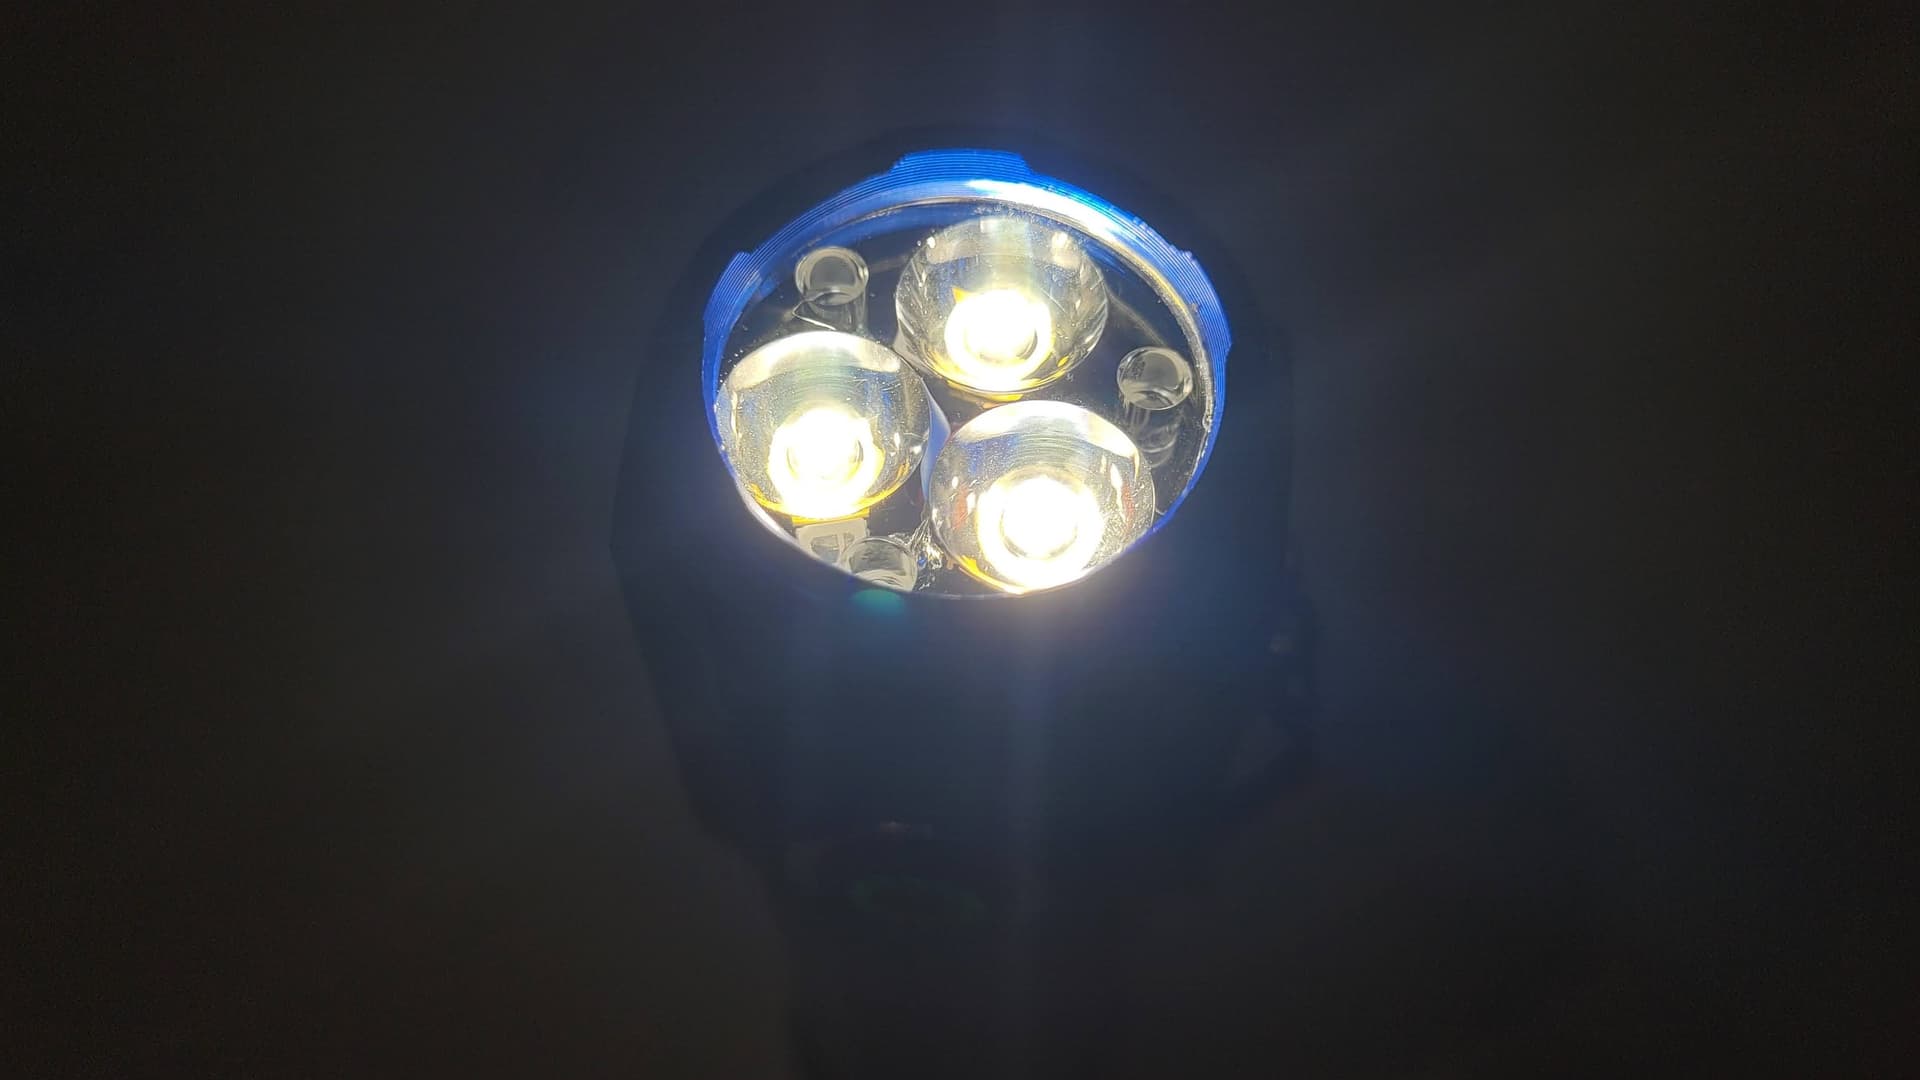
Modded a 5 USD light today! (Yes, it is a triple from the factory, and it is dual channel too.)
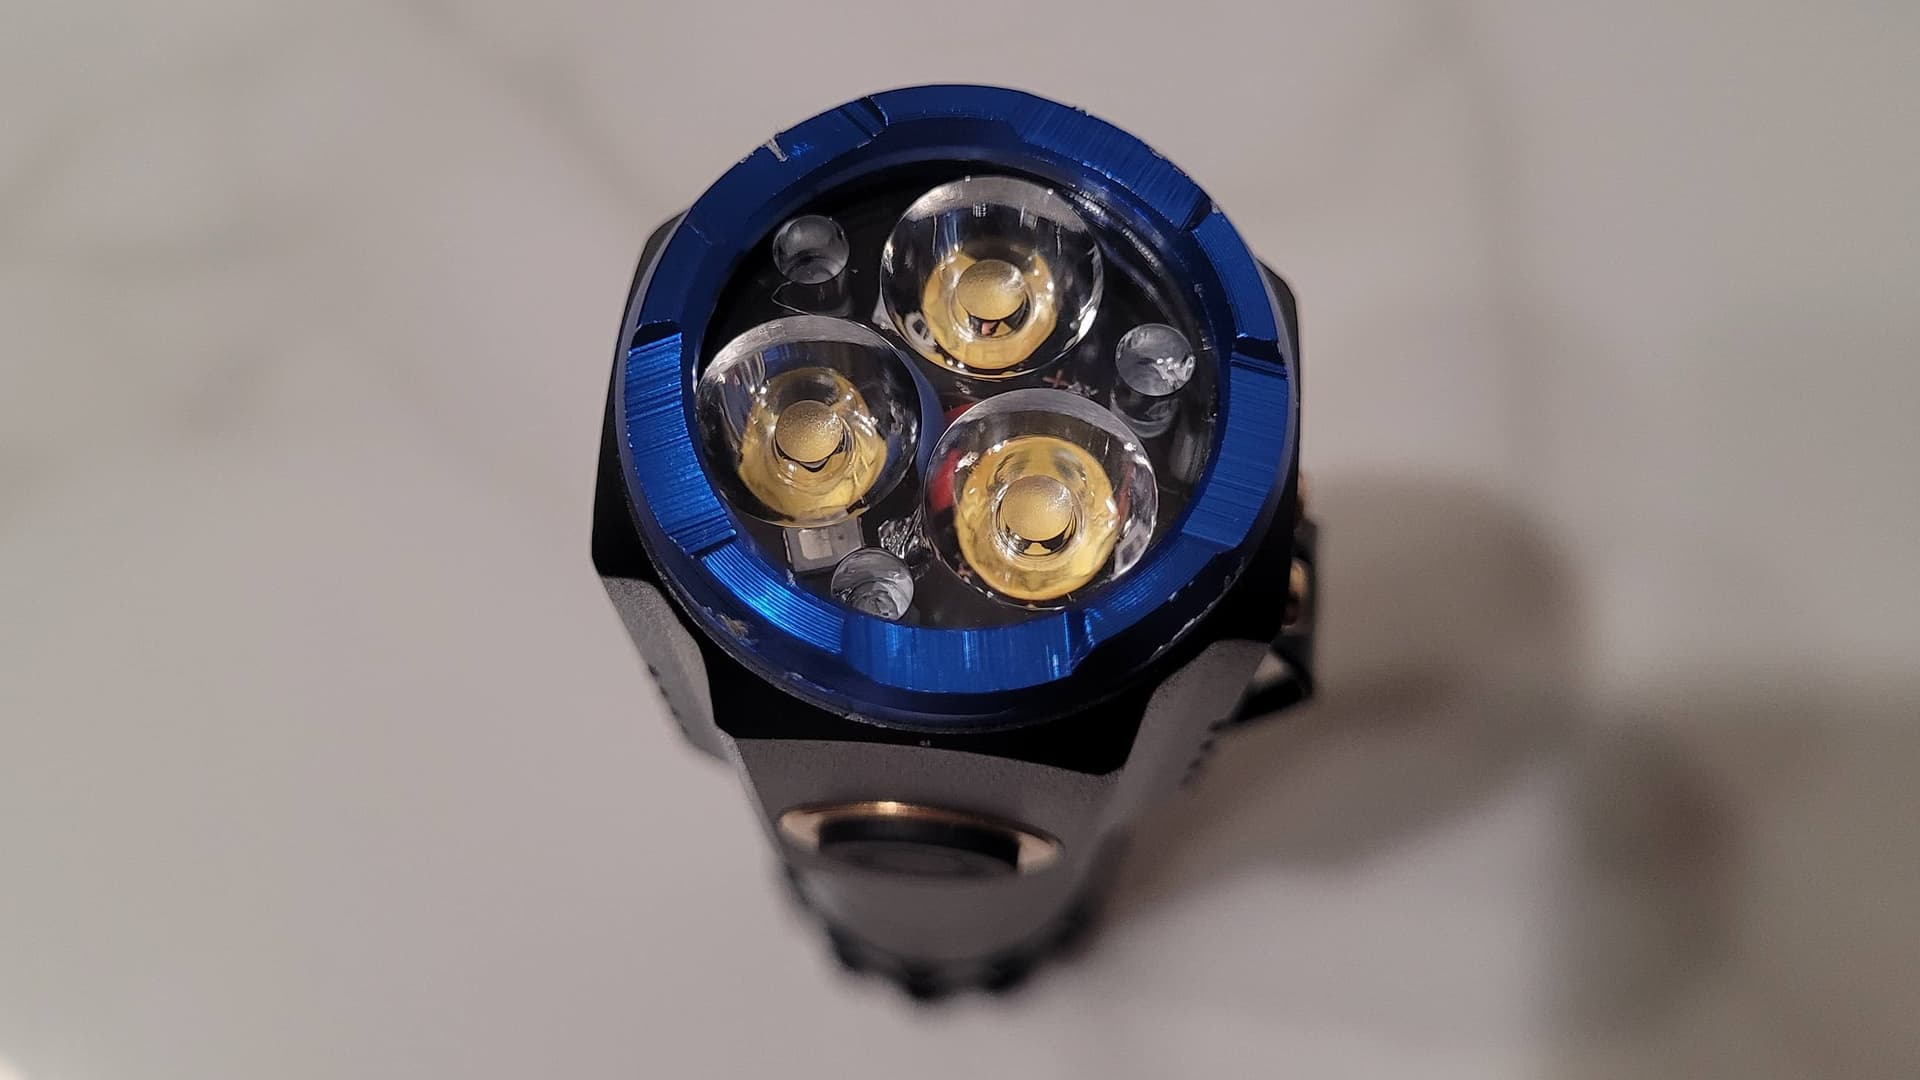
Out with the cool white emitters,
In with the 4000K 80 CRI Seoul Semiconductor. (Please bear with my horrible solder joints, the factory used a type of solder that is very hard to melt…)
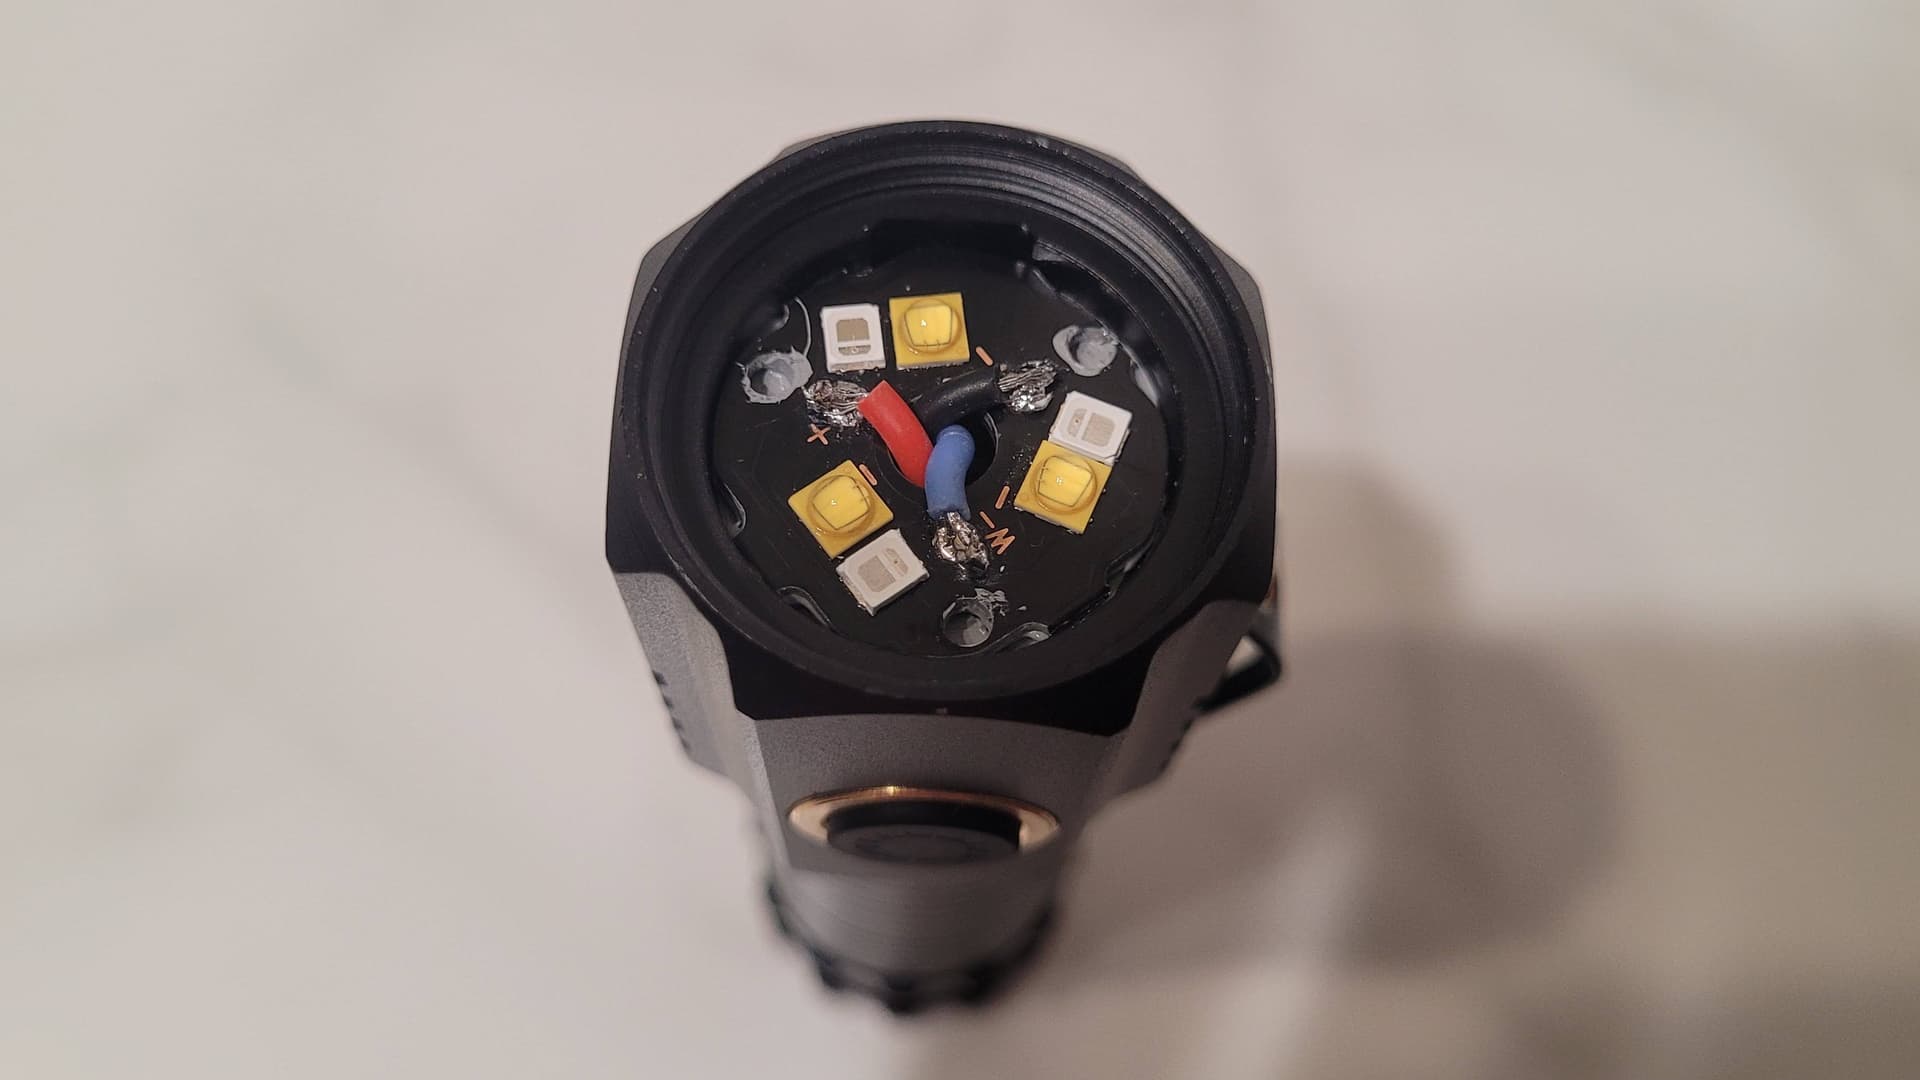
Just a simple emitter swap, but I am happy with it!
5 Thanks
Wow, what $5 light is that?
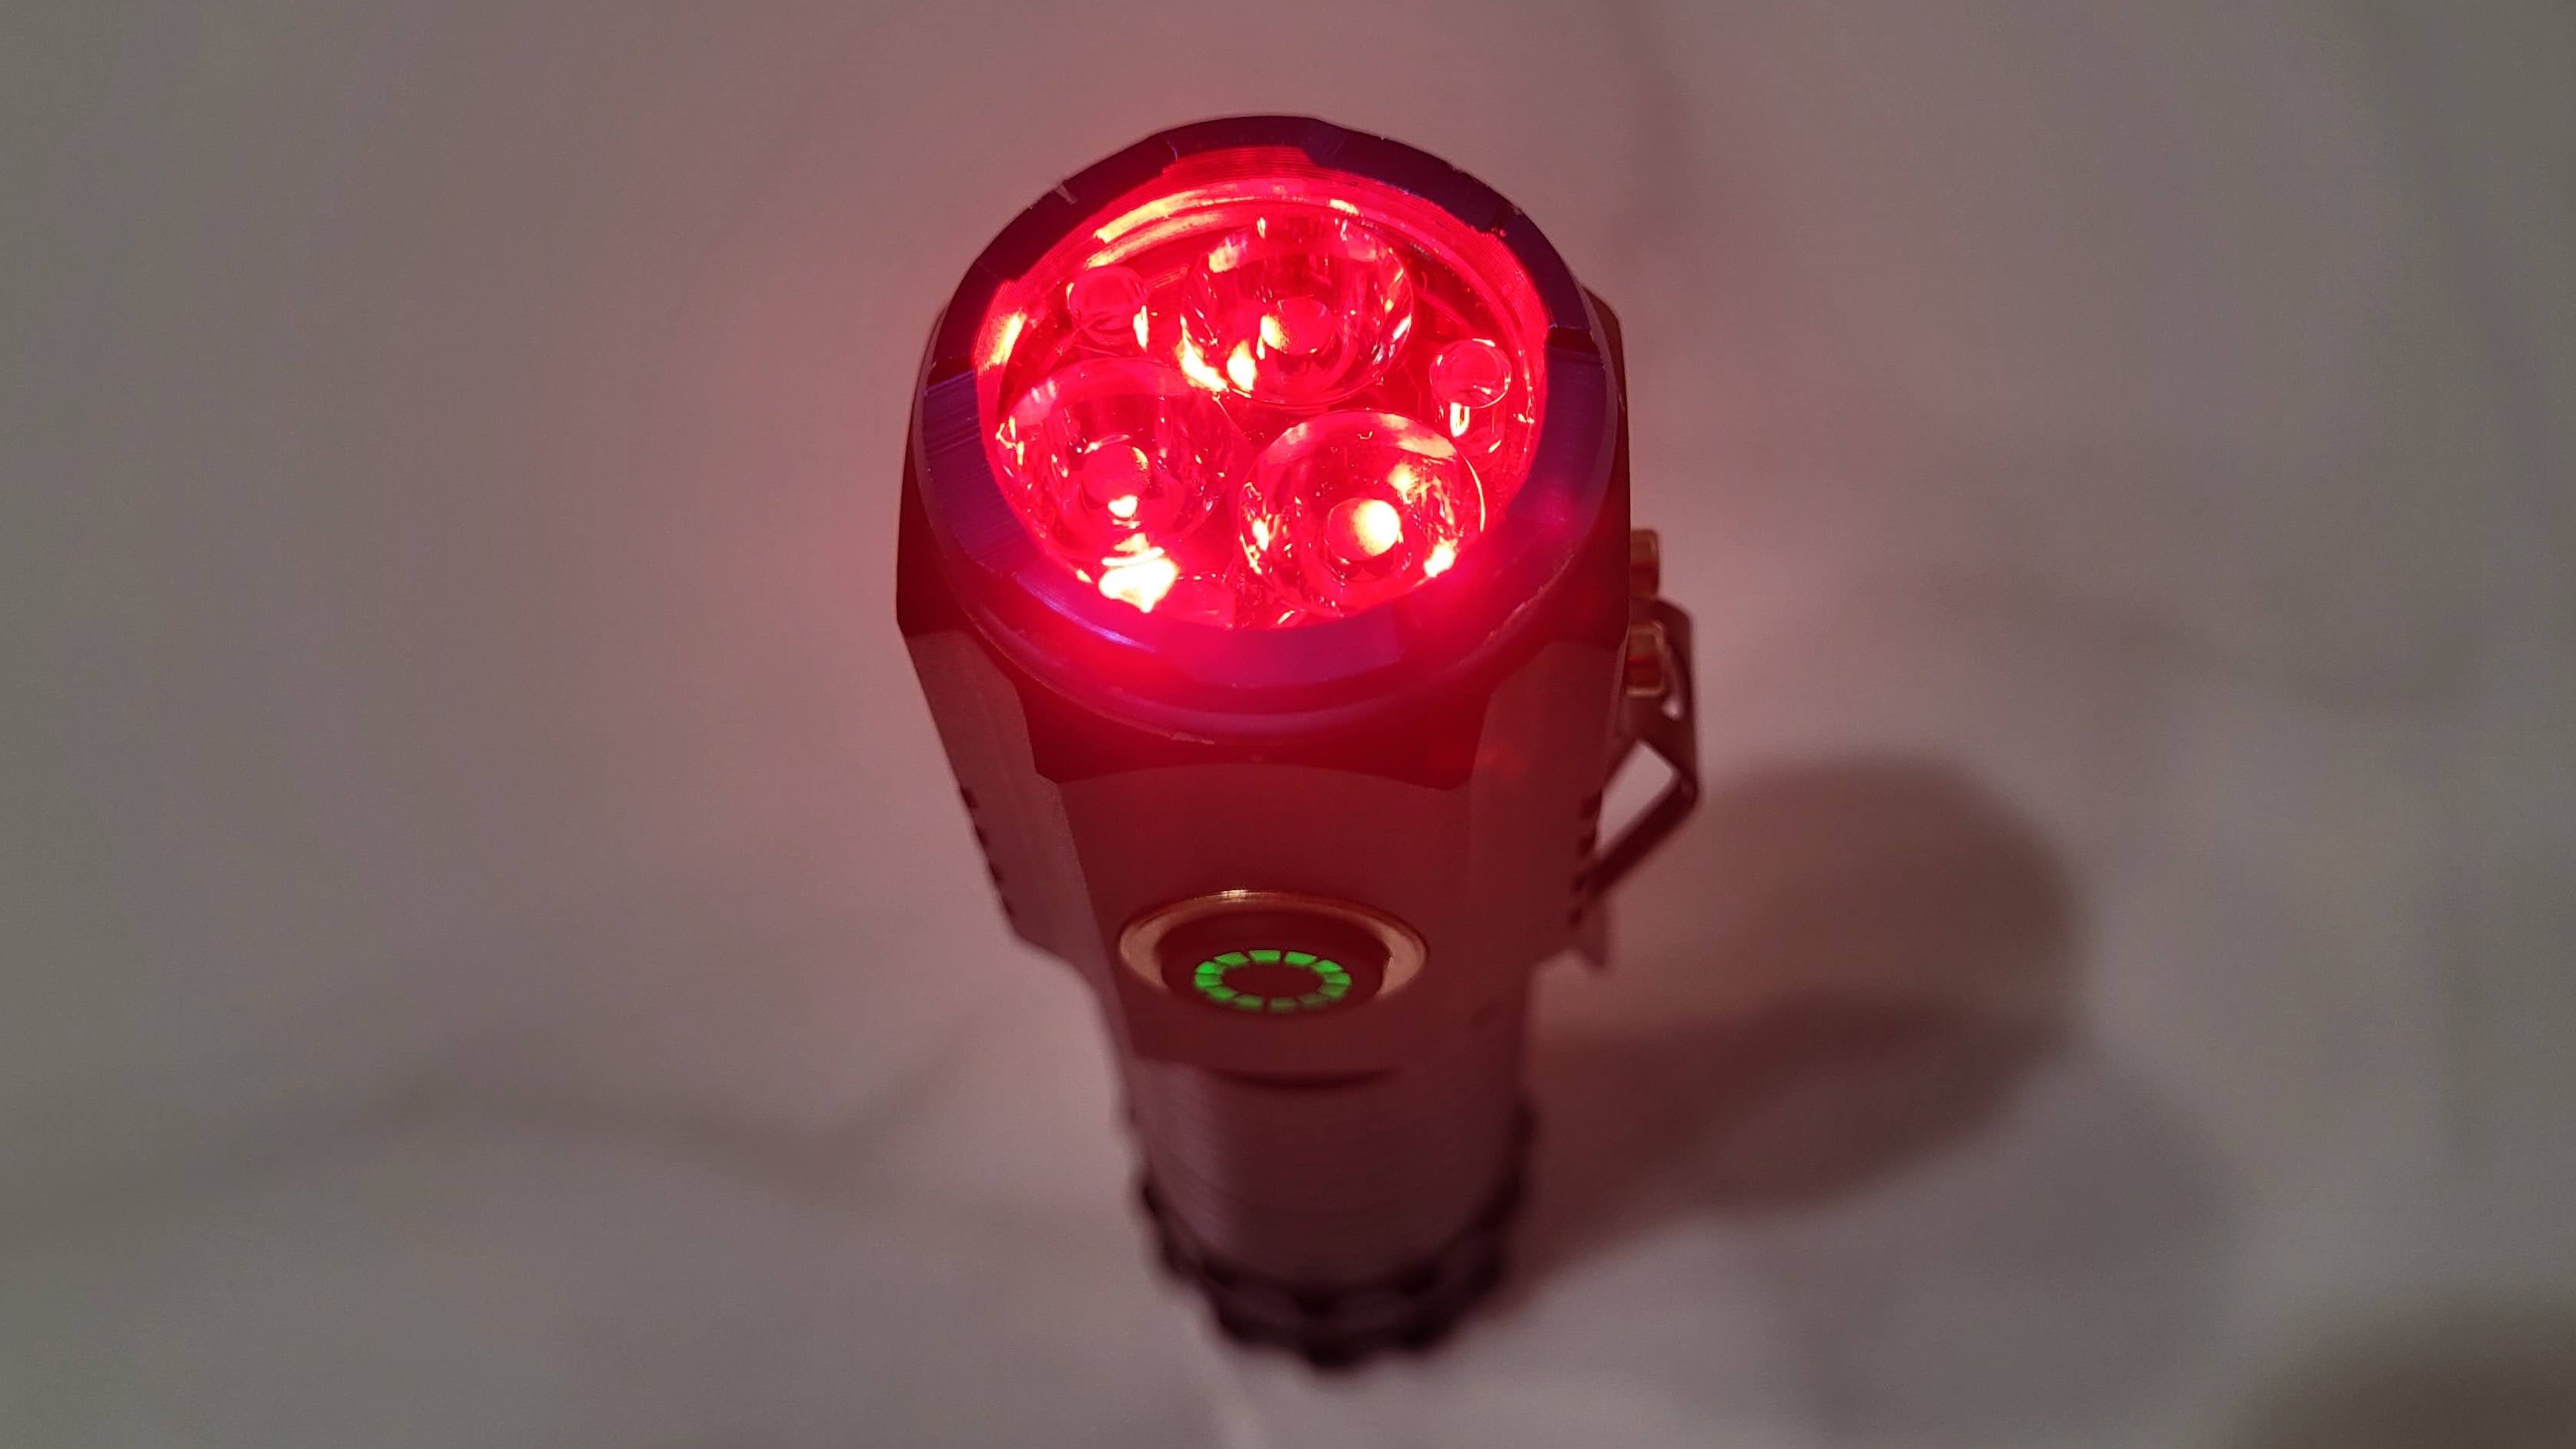
Dual channel, triple, lit sideswitch, looks like proper BLF stuff.
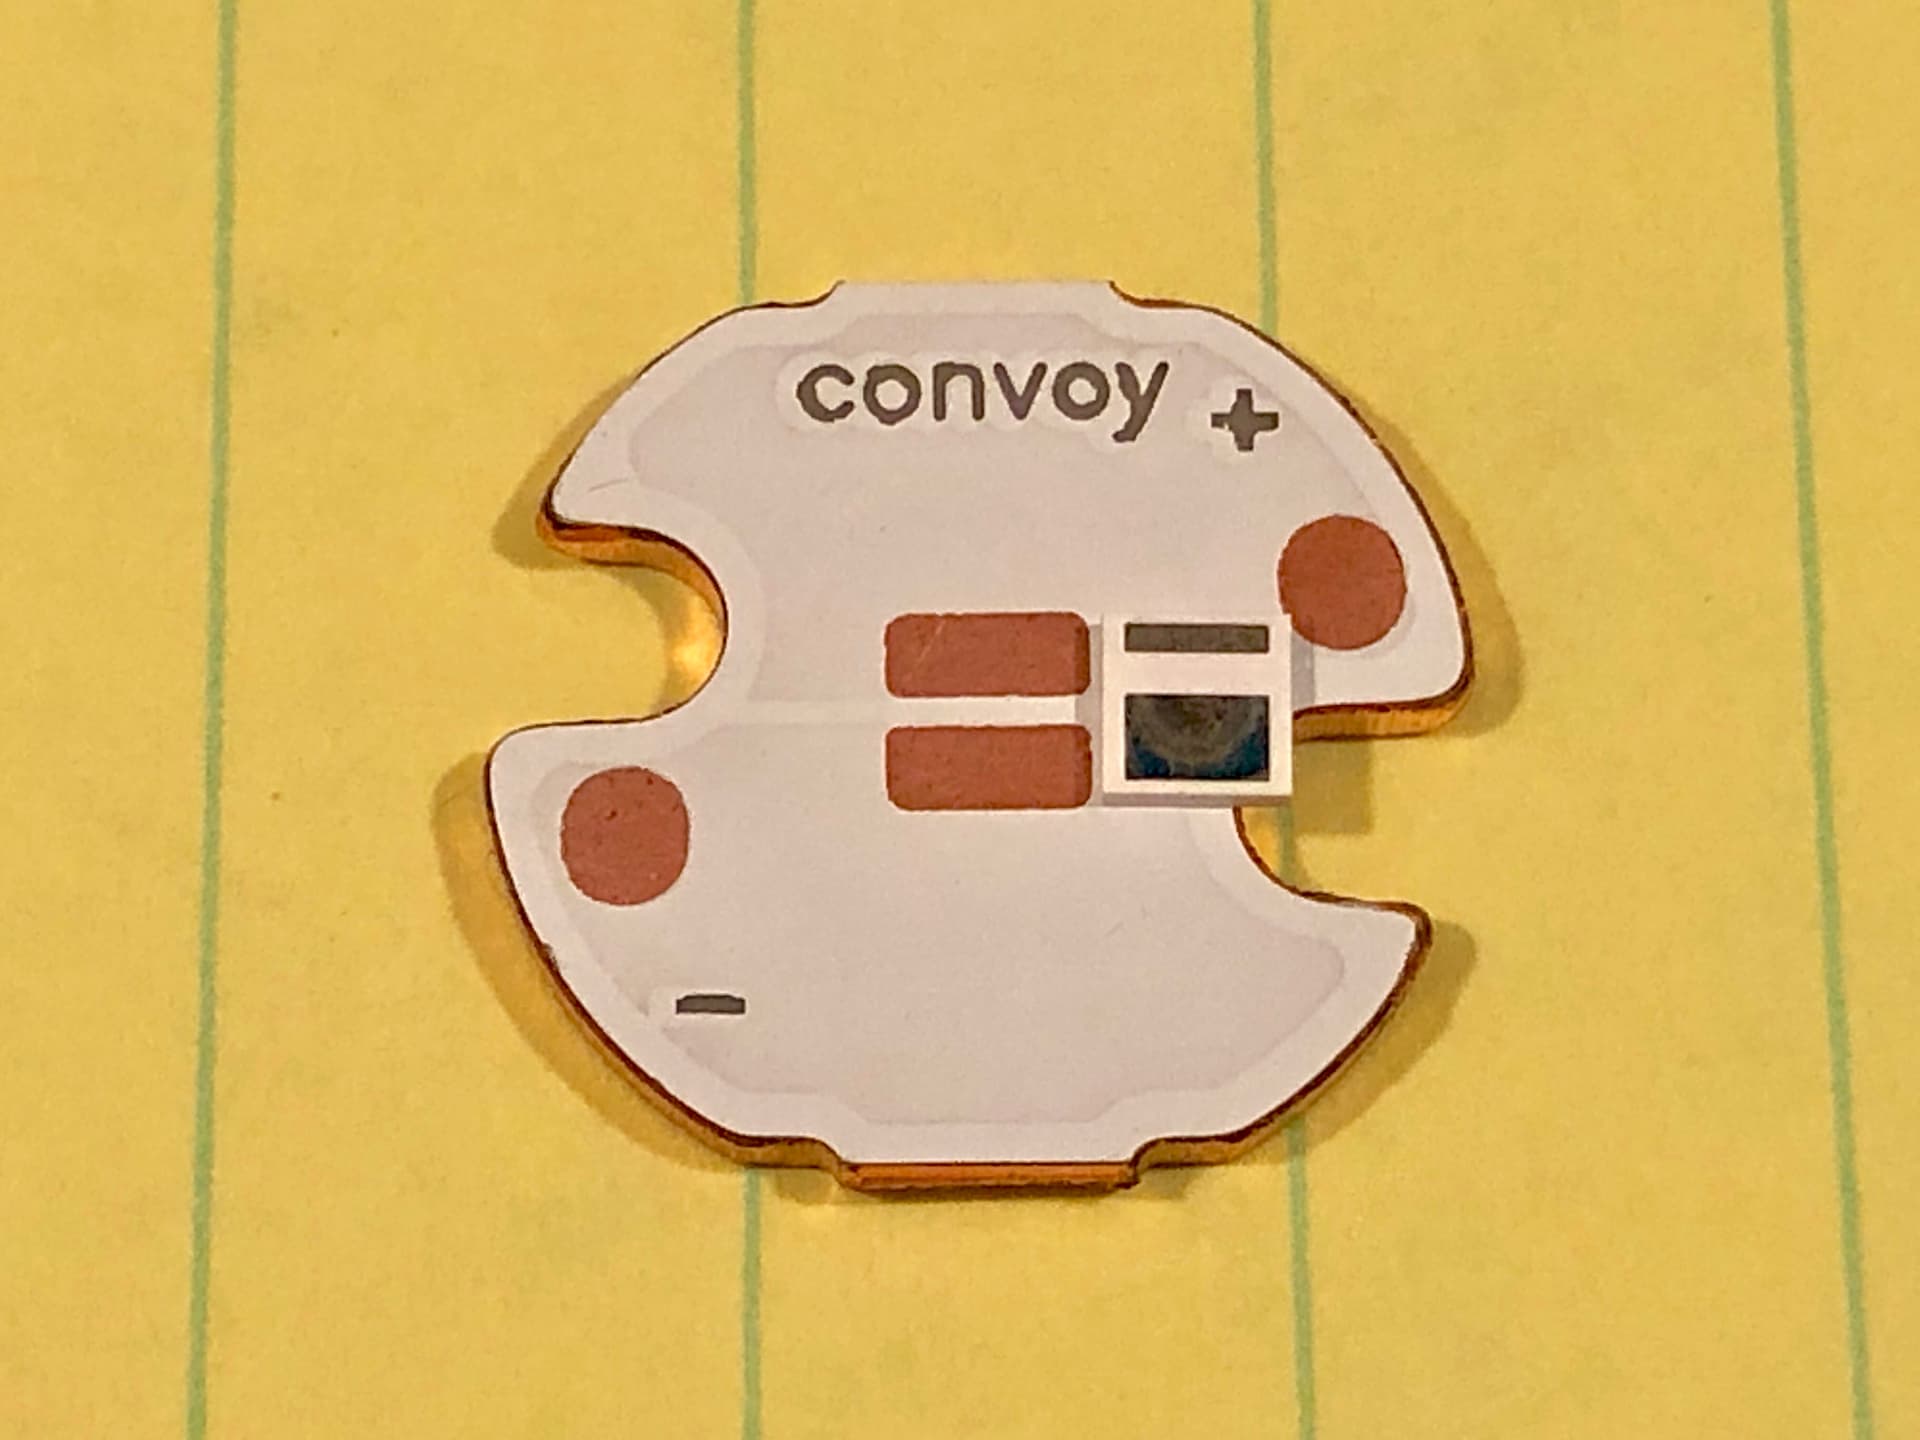
Also, looking at the pads on the LEDs you’re putting in it looks like the MCPCB has CSP/Optisolis/Sunilke/E17A/E21A etc pads, which would be a great find.
(I don’t know what the correct way to refer to that dual pad structure is, anyone who knows feel free to enlighten me ![]() )
)
Also, for the difficult to melt solder, flux is your friend. Add flux.
1 Thank
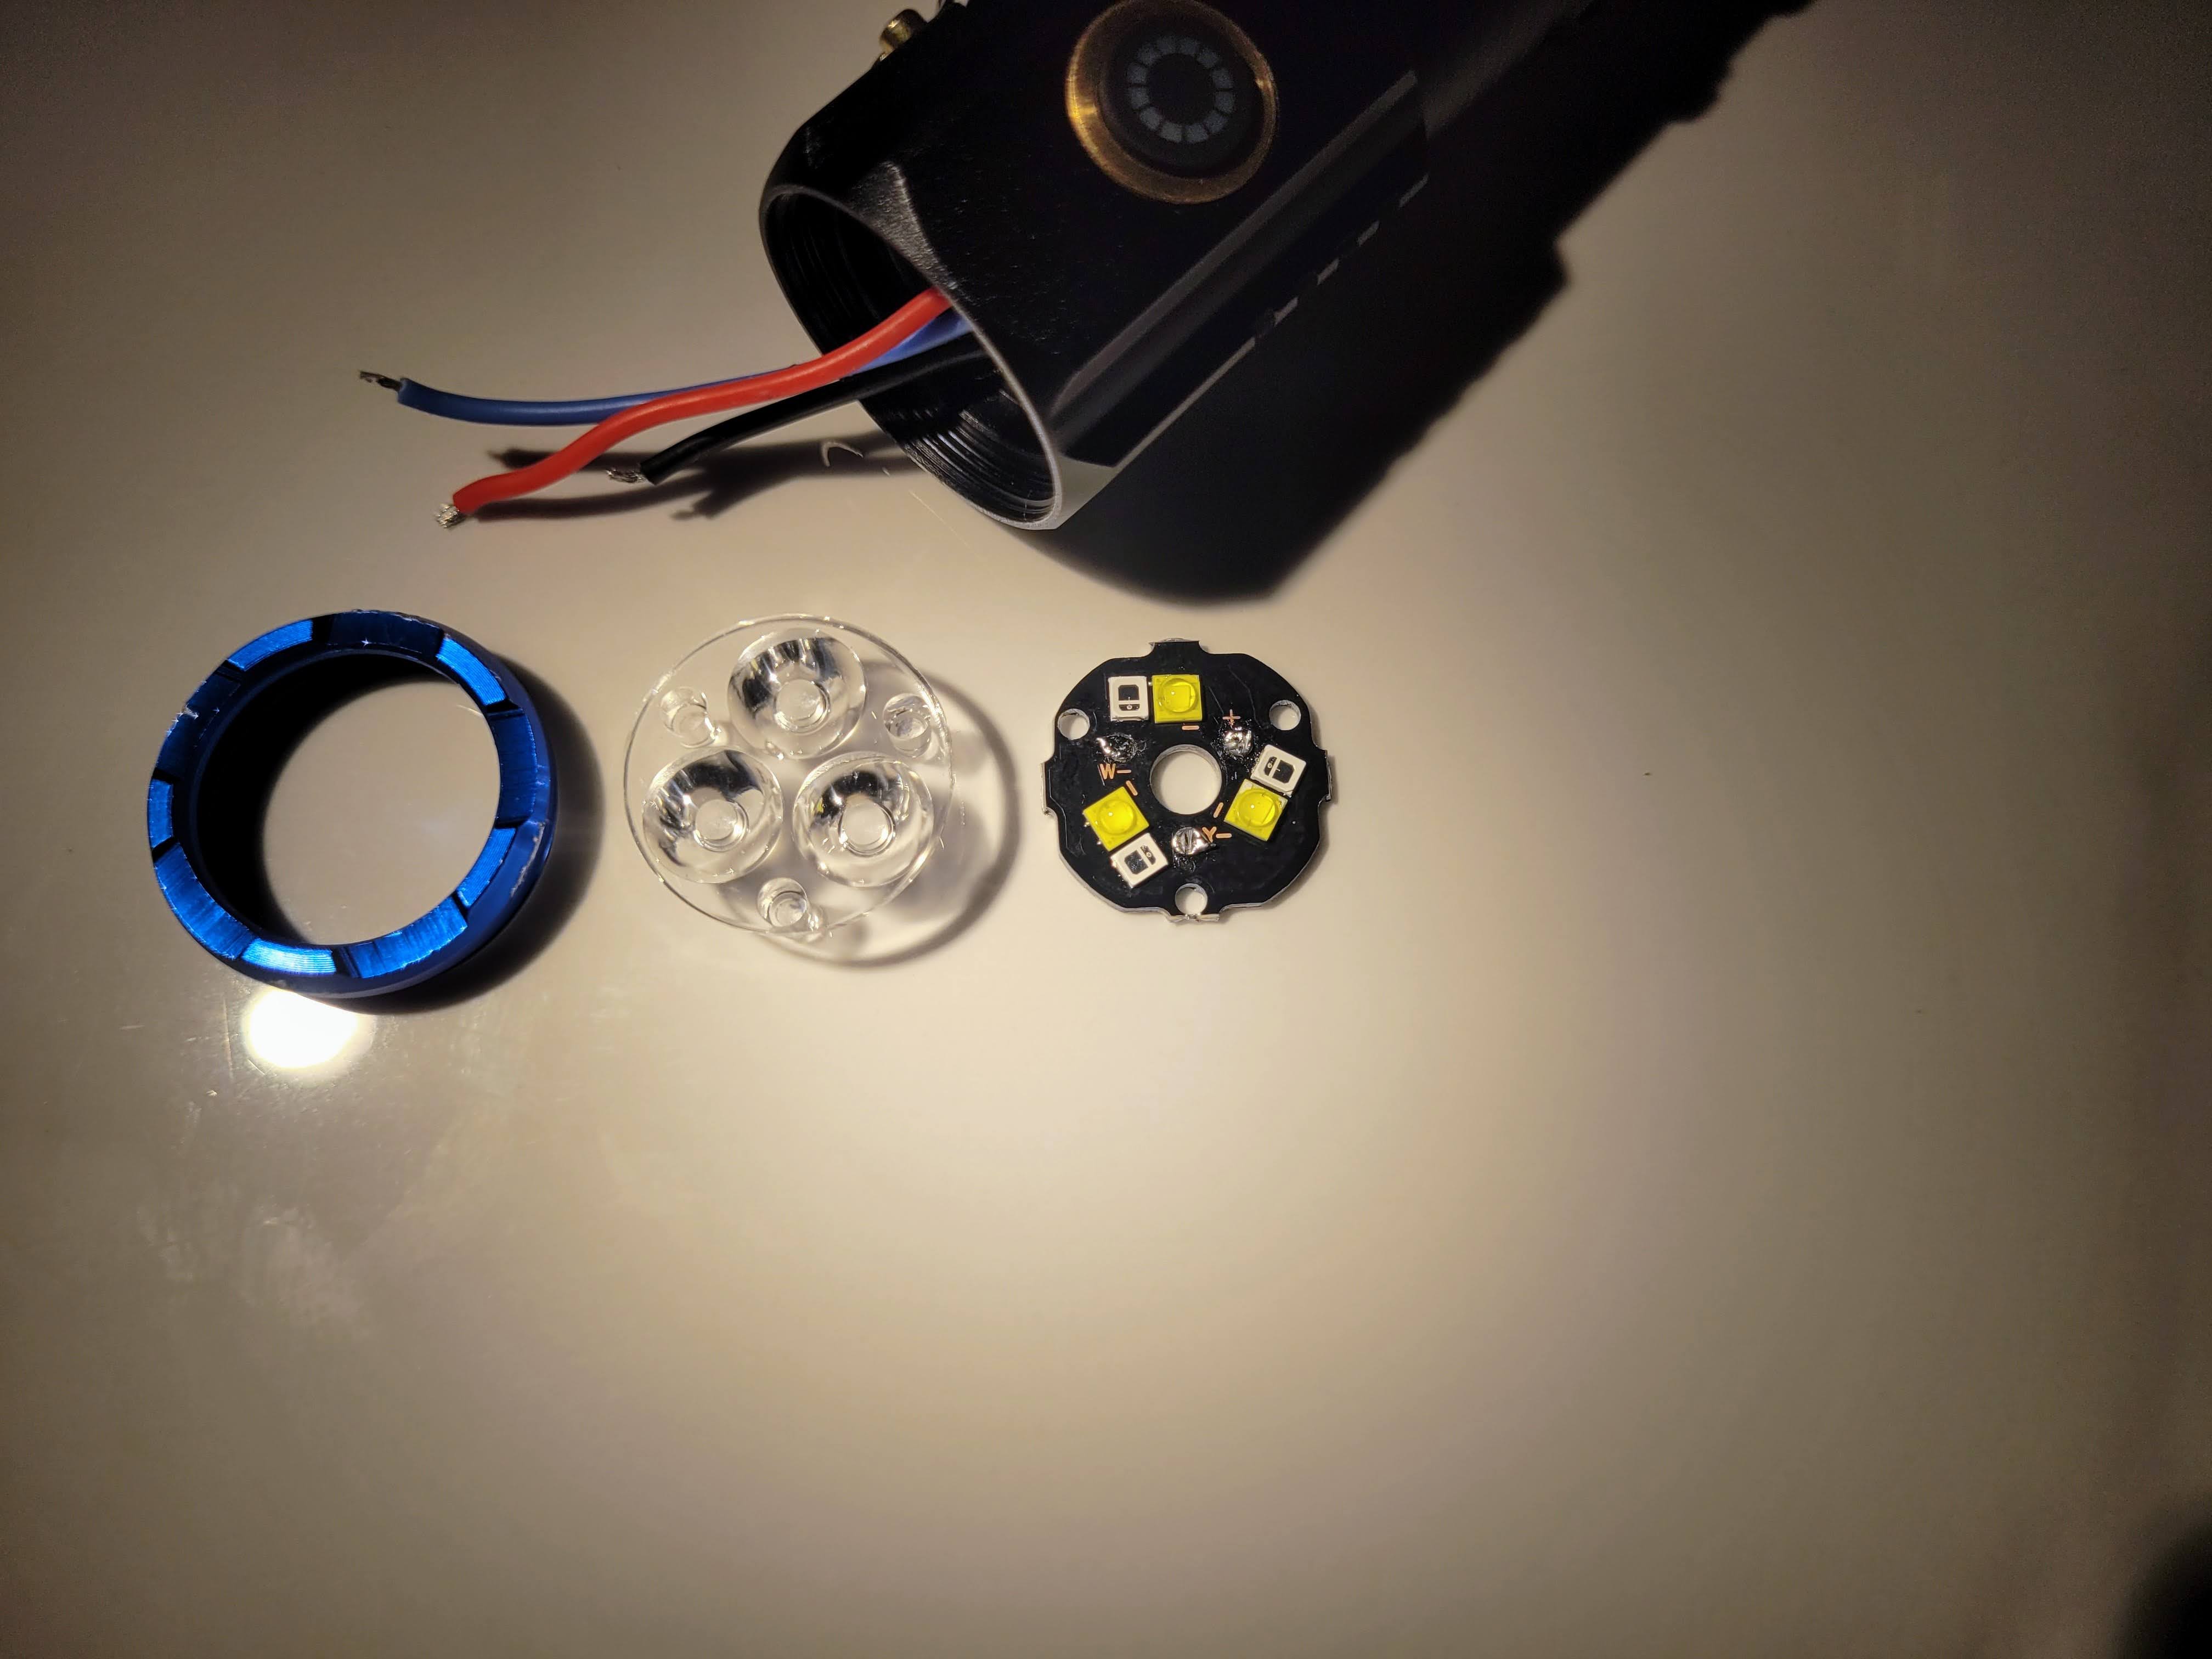
It’s a no name light I bought from Taobao, the model number is S450 something.
Heck it even has USB-C charging, magnetic tailcap and 18350 shorty tube. The UI is the usual cycle through strobe stuff, but the hardware alone is a steal.
The pads for the main LEDs looks to be the common 3535 footprint, I didn’t check the pads for the aux LEDs (white thing) but it could be the type you are talking about.
Thanks for the tip on the flux!
2 Thanks
Lol, i thought the white LEDs in this picture were the new ones you were fitting, i thought you’d placed them upside-down next to the original LEDs to represent the swap.
Now i get that they’re the second channel LEDs ![]()
But yes, that is a lot of hardware for the price, nice!
Haha, it is probably because the new LEDs look very similar to the original ones, and the red LEDs being “white” doesn’t help either.
If only there is a way to change the UI…
To have a fighting chance of finding out it would be an idea to post a picture of the driver to show the components used.
Good idea, I didn’t intend to start a thread for this light but now I might.
1 Thank
BTW…Which kind of 21700 was used in your mod?
I think it was a P42a from Molicel iirc
Don’t really have any other 21700s