Slightly file the gasket?
The 7mm opening is too narrow on the reflector, it would touch the emitter.
Sanding the reflector would be an option, but i am not confident that i could do it without messing up the centering.
3 Thanks
Yeah it’s not the gasket, it’s the added pressure of the too small reflector opening. I had a similar experience as well, with a reflector of the same size on my boruit D10. Lost the corner of an 50.3 HI, but for the moment it still works. When tightening down the bezel, once it is ‘screwed down’ all the way, I back it up about a half turn. So far that seems to have kept the silicone or whatever the covering is from splitting further.
2 Thanks
What if you would shave the corners of the led with a razor first?
It appears they only come with OP in that size, strange.
1 Thank
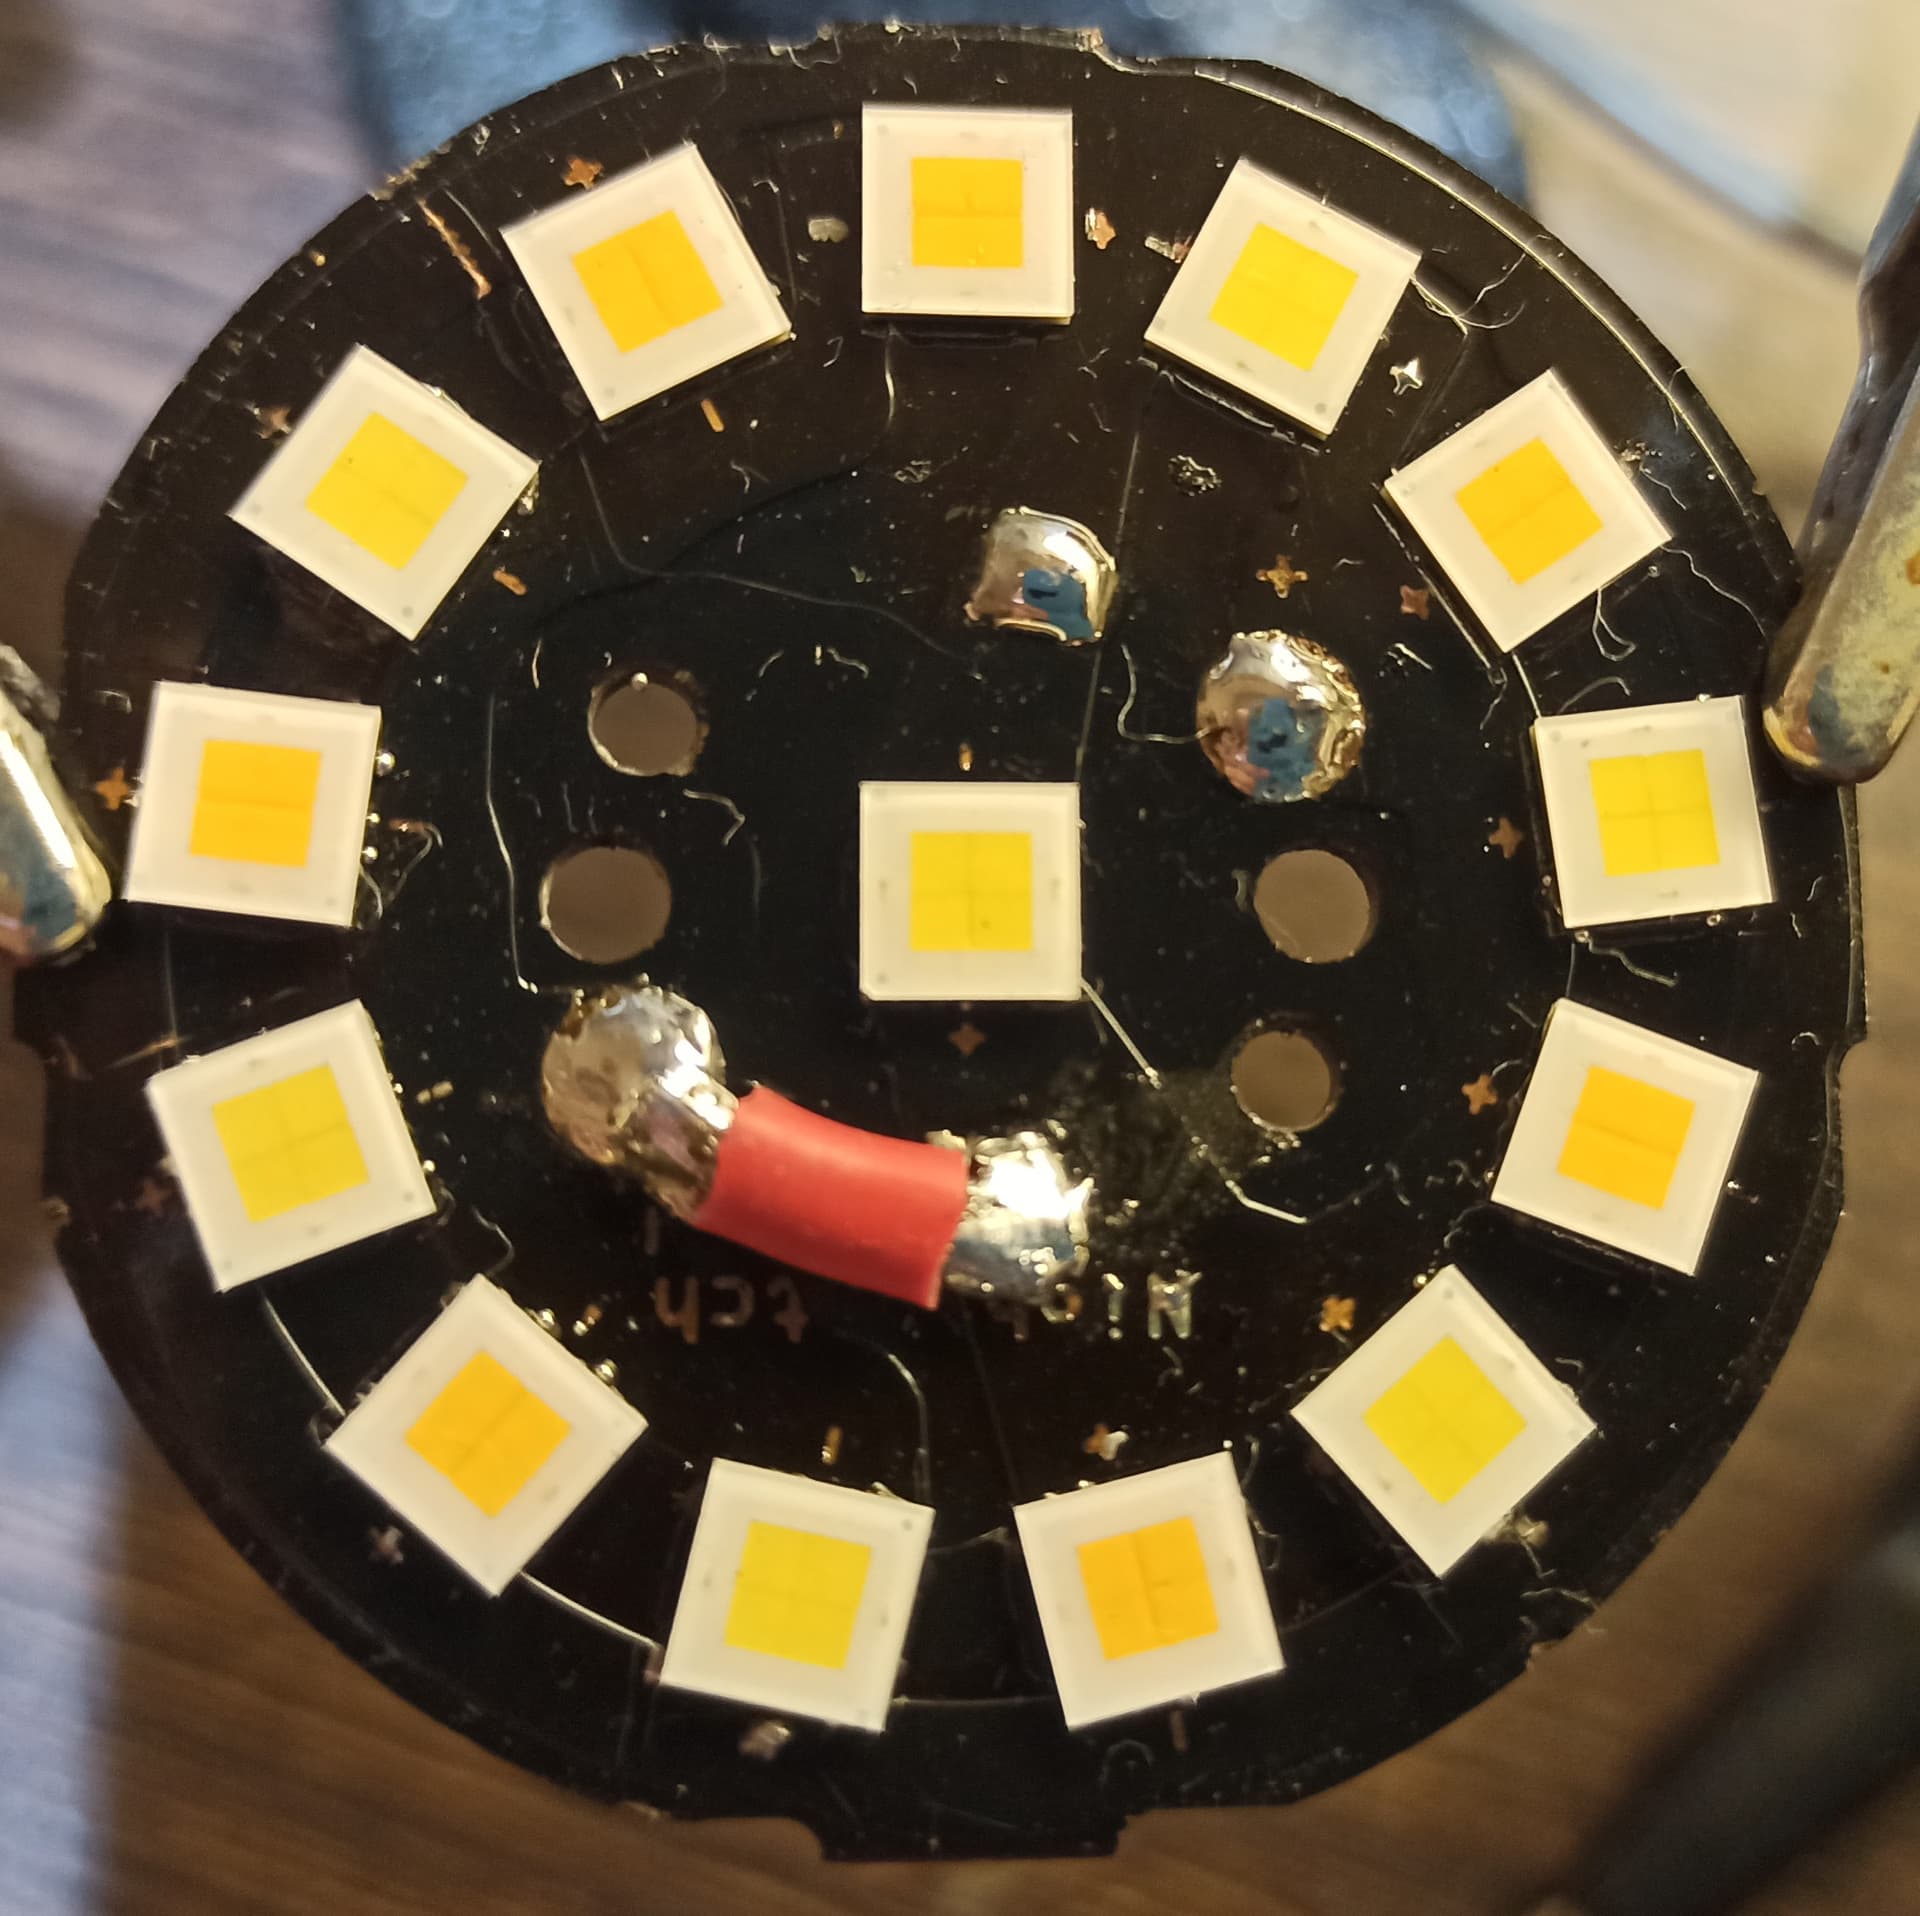
Modding Nightwatch NS14R for 90cri XHP 50.3Hi’s. 5700K/3000K mix. Needed jumper and reversing of 50% of the leds and new negative pad.
17 Thanks
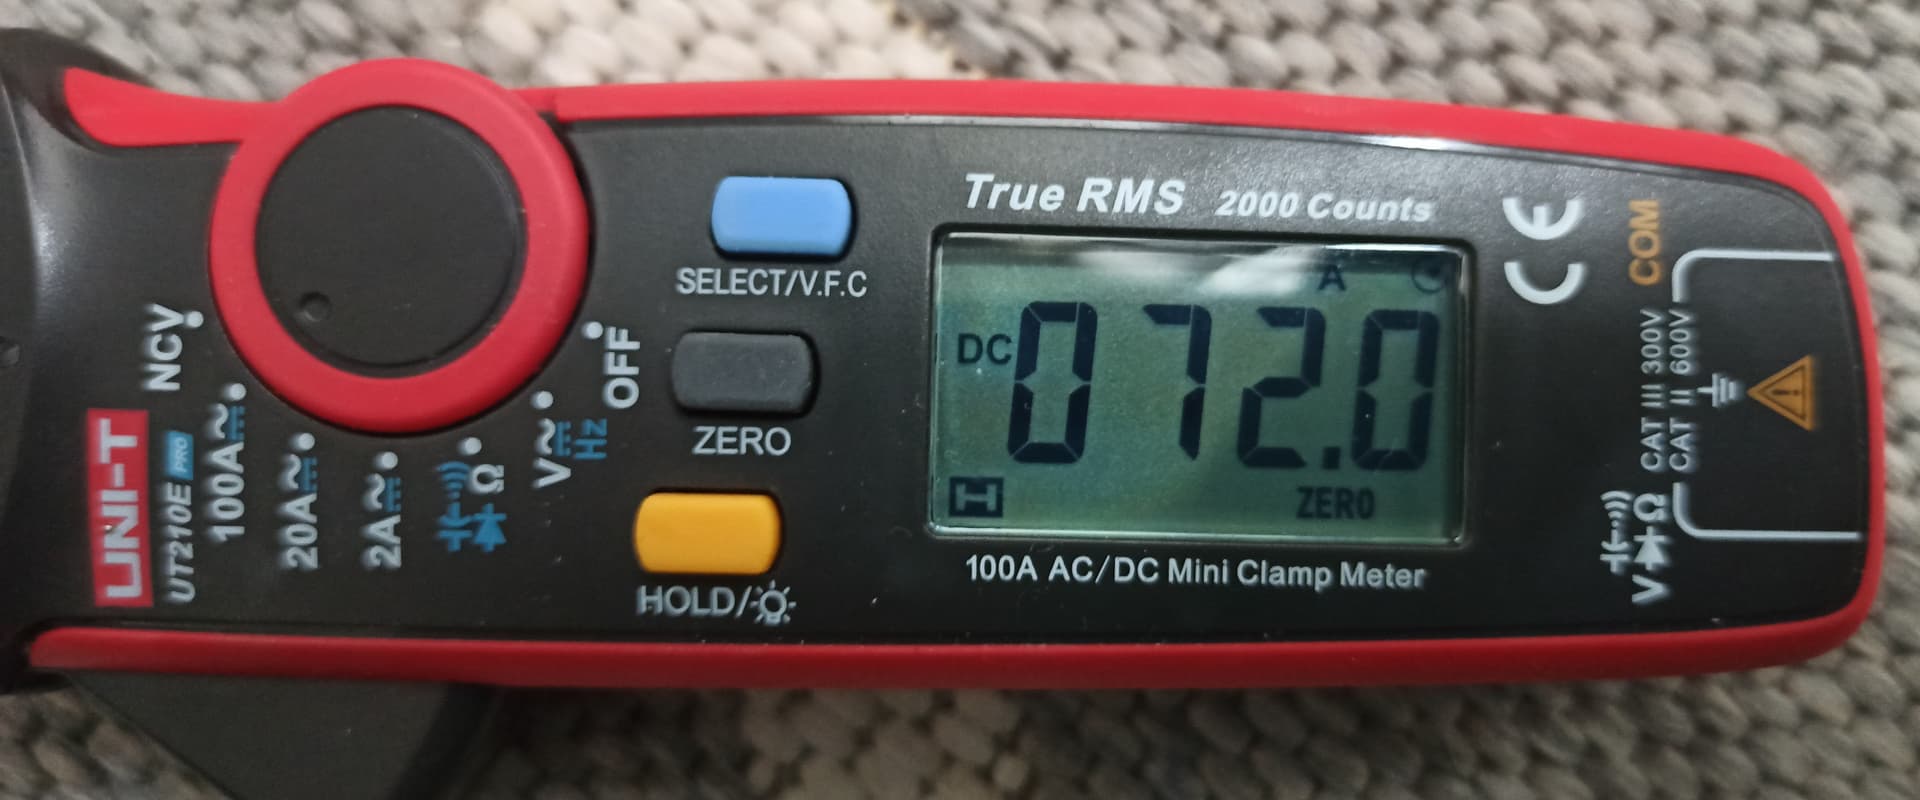
Jesus Christ, that’s a lot of amps lol
7 Thanks
WOW ![]()
1 Thank
Is that at 6V as well?? That is mental
2 Thanks
Battery and driver screaming for help
10 Thanks
Wow! Just estimating that’s over $60 in LEDs!
And reflowing 14 of them (and very nicely) is impressive.
Very gutsy mod and it looks like your efforts paid off. ![]()
3 Thanks
Yeah, 6V
2 Thanks
Stock leds had 70A current draw as well, so not so much of a difference.
2 Thanks
Also he find liquid copper inside😂
1 Thank
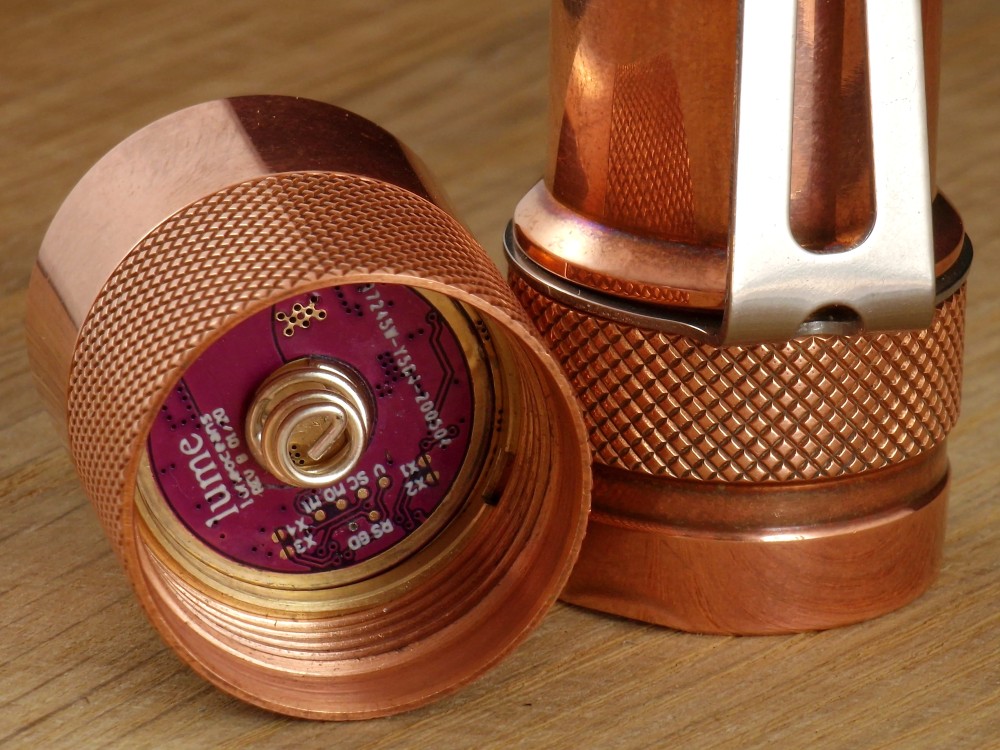
During my first modding attempts (here and here), I managed to damage the RGB AUX connector pads on a couple of Lume1 drivers - the R pad on one of them and both the R and B pads on another. I think I had my soldering iron set at too high a temperature and melted the adhesive that fixes the conductive pads to the board. I’ve learnt my lesson now.
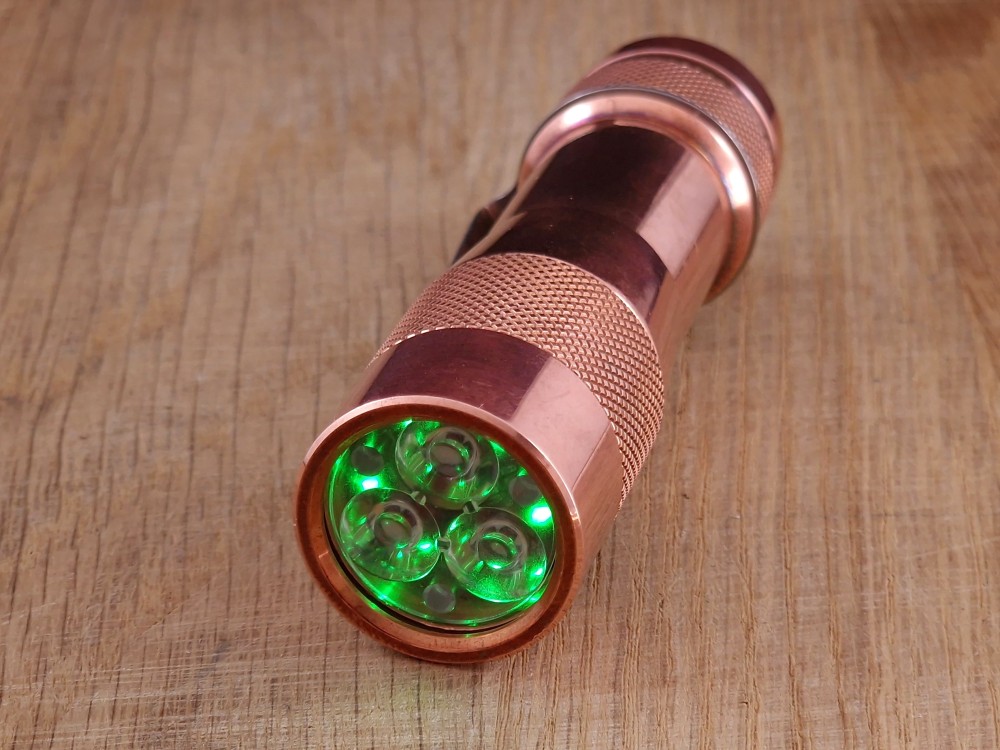
I recently got hold of a copper FW3C and my original intention for this one was to mod the 1+7+FET driver to add single-colour AUX. However, instead of the 1+7+FET driver, I realised I could instead use one of the damaged lume1 drivers for the same purpose - providing single-colour AUX, but with a more efficient driver. I used a Lume RGB AUX board with only the green channel wired up and with the resistor shuffle to reduce the intensity of the green LED.
In order to have the proper Anduril 2 UI (without the menu options for cycling through the different RGB AUX colours), I had to build a custom Anduril 2 version for the lume1 driver - described here (scroll down for all of the changes needed).
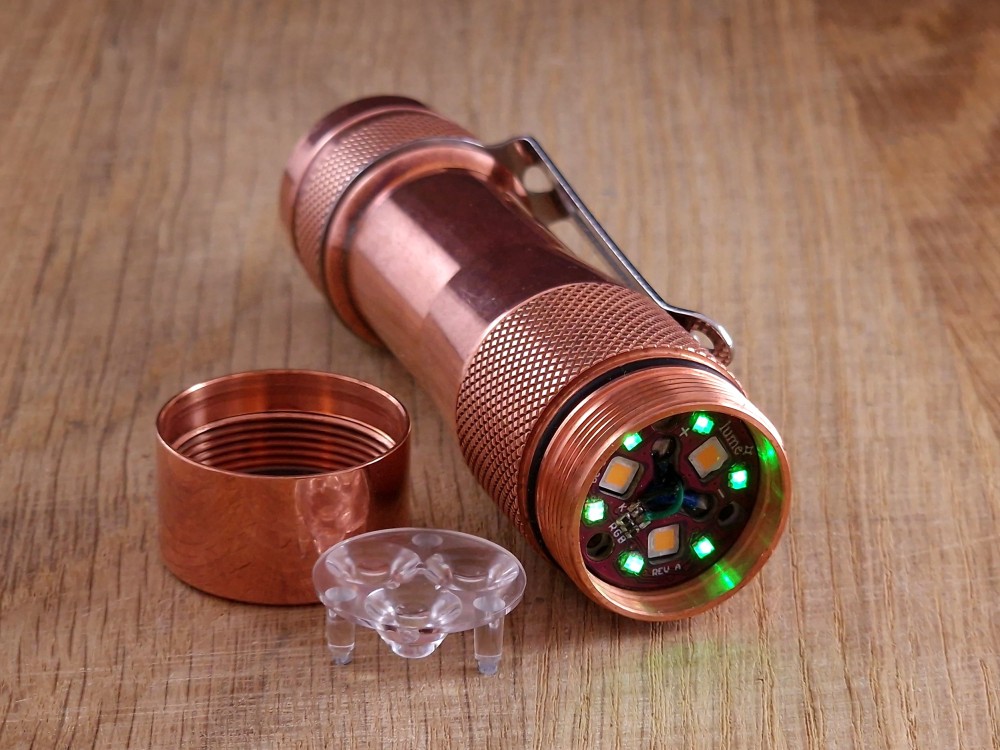
Finally, all of the different parts were put together. While doing the driver swap, I also added 5000K dedomed 519As. Last of all, I replaced the light’s switch with one from an FW3X, since the original switch was quite mushy.
The result is an FW3C with 5000K dedomed 519As, a Lume1 driver, single-colour green AUX and a custom Anduril 2 UI for a single AUX colour. I’m pleased with this one…


8 Thanks
Even if the pads are broken, you probably could solder the wire directly to the resistor.
It’s the pads on the driver, not on the AUX board. I tried soldering the wire(s) to the MCU pins, but they’re too small and I gave up before i did any further damage.
1 Thank
Ah, ok. No any trace anywhere from the MCU towards that pad where you could scratch the silkscreen to reveal copper? Might be worth a try.
1 Thank