I re-modified my triple 4000K SST-20 S2+ that I made 5 years ago.
I got the FD2 bin LEDs from a group buy and the tint is very neutral (and in my opinion boring). For SST-20s, I guess that’s not bad since they are not at all green, but I rarely used the flashlight and considered replacing them with sliced 519As.
Then I thought instead to slice the SST-20s to see if that would improve the tint enough. I sliced them down to 1mm and it worked wonderfully. The tint is now slightly rosy and I’m impressed!
I like having a variety of LEDs in my collection, so I’m happy to keep these.
Some time ago, I modded a black FW3A to add AUX to the 1+7+FET driver and upgrade it to Anduril 2.
After putting the light back together, I found the AUX LEDs far too bright. I’ve since learnt that this is because the resistor values need to be chosen for the driver used. The lume1 driver has a lower voltage for the AUX connections than the 1+7+FET driver mod. The higher voltage on the 1+7+FET driver means higher current through the same resistor and (much) brighter AUX LEDs. This is quite apparent side-by-side with a couple of lume1 mods.
To fix this, I needed to choose higher resistors for the green and blue AUX channels. After some measurements, some calculations and a bit of trial and error, I ended up with a 3,9kΩ resistor for the green AUX channel and 1,2kΩ for the blue channel (compare this to the 330Ω and 100Ω resistors used for green and blue, respectively, with the lume1 driver).
The result is much better. With the chosen resistors, the blue/green mix provides a similar AUX brightness to my lume1 mods.
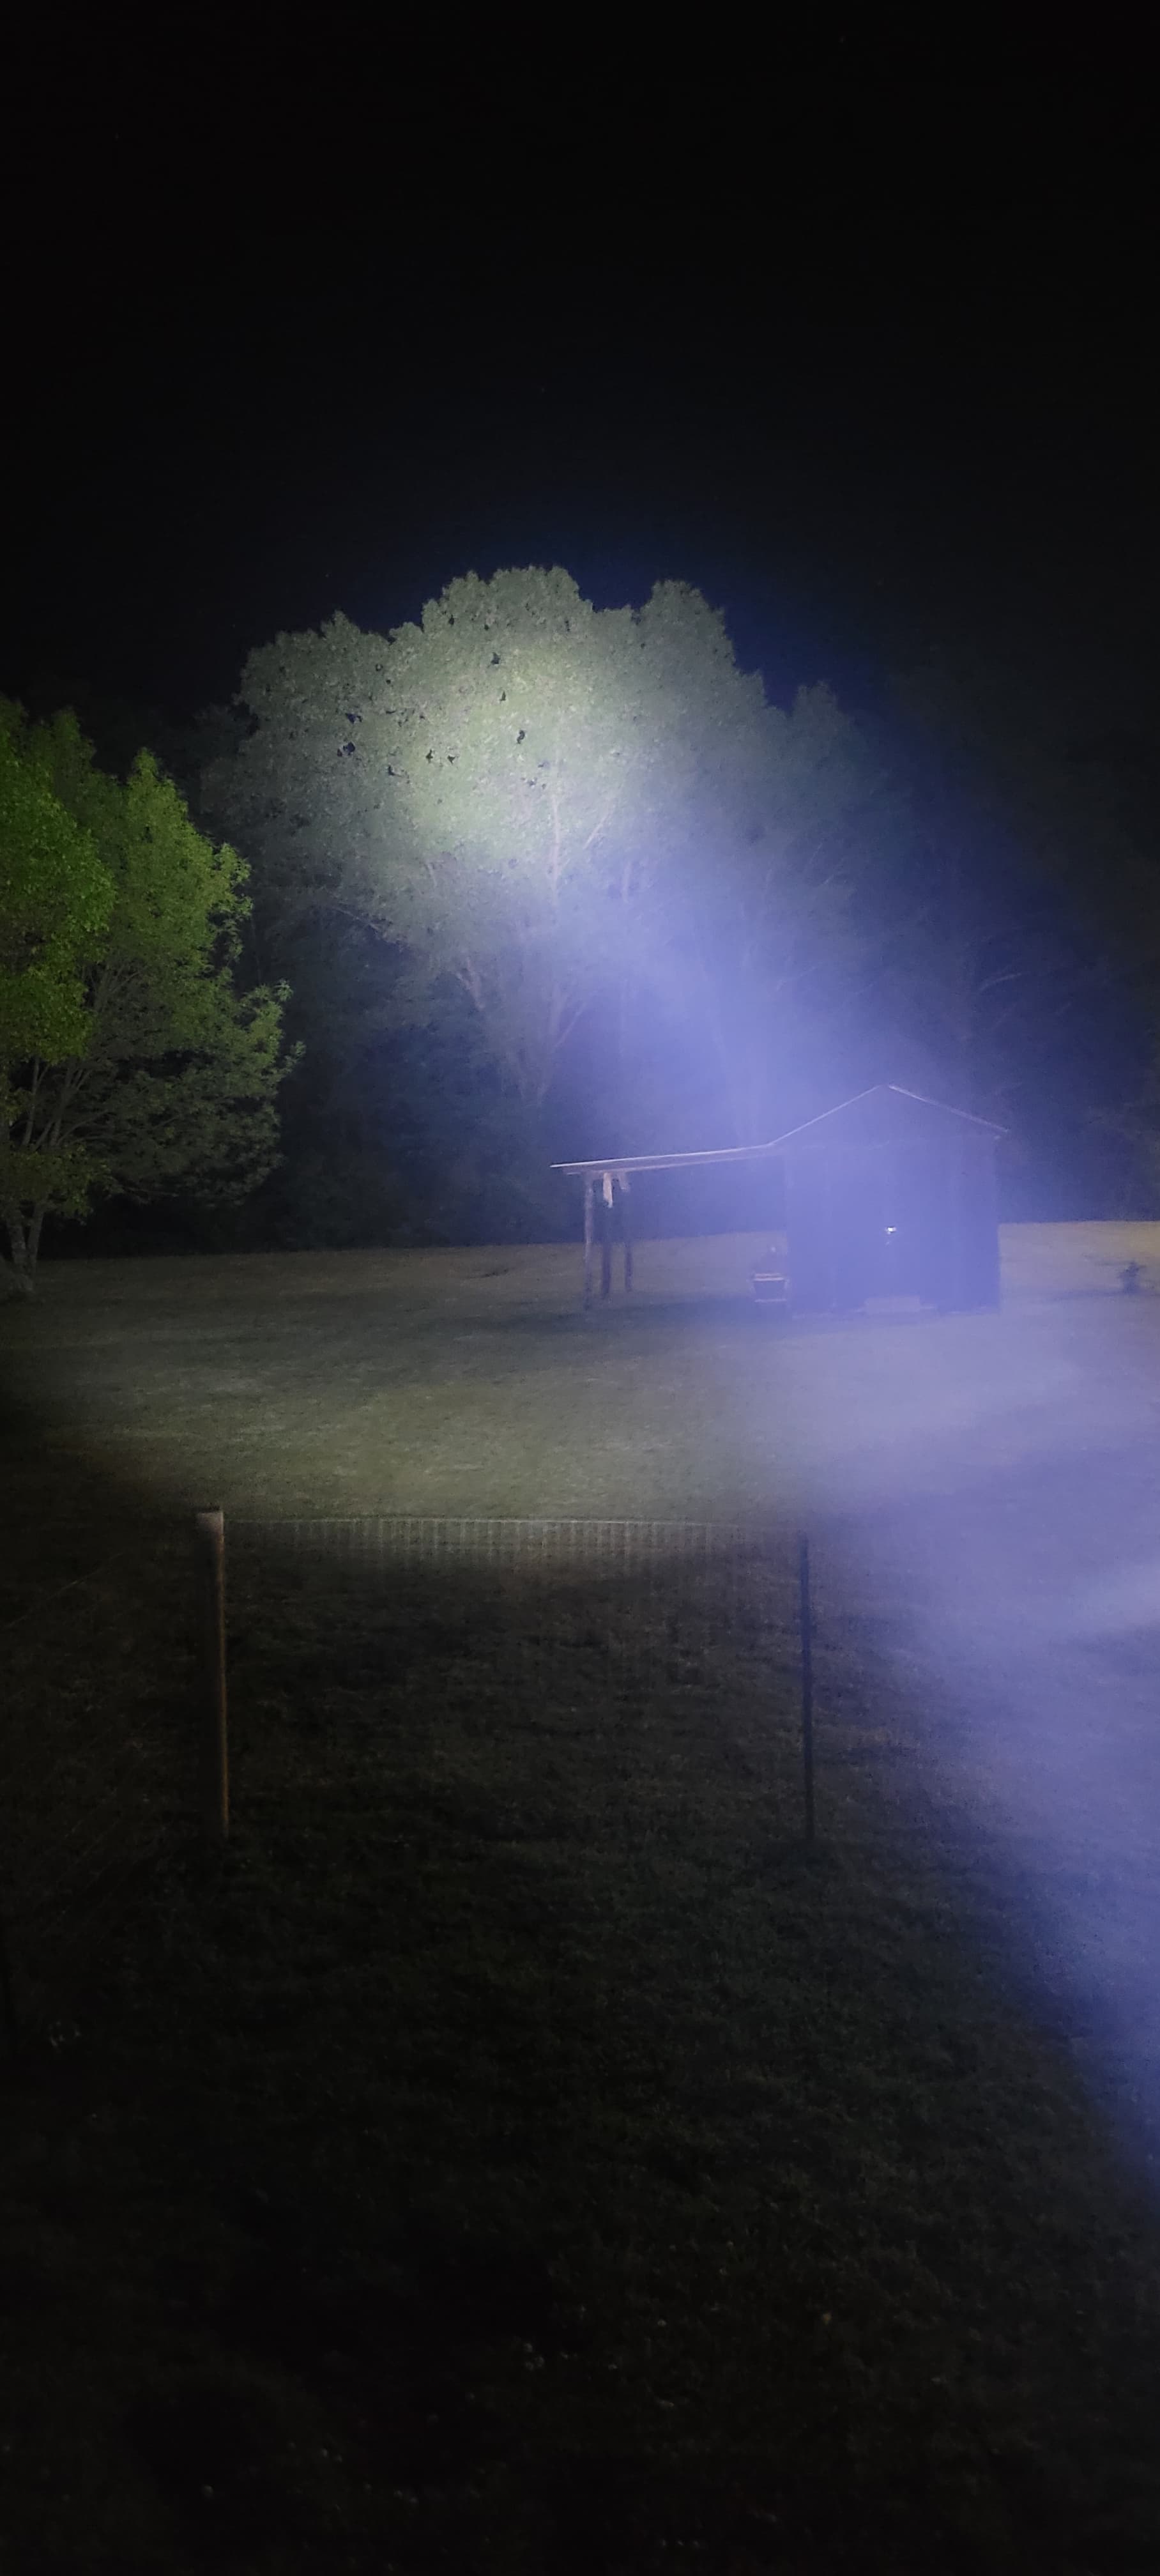
Although I was originally aiming for the same cyan as my lume1 mods, I find the more blue variation is much better with the black host. The photos don’t quite capture it, but the AUX on the lume1 FW3A in the photos is a little greener than shown, and the AUX on the black FW3A is more an ice-blue.
Not the cleanest/prettiest spring-bypass I’ve done, but a spring bypass nonetheless!
Did an 18 AWG spring bypass on my Wurkkos TS30S Pro, since it only has a single spring at the tailcap.
I don’t have a proper way to measure lumen output (no lumen-tube or sphere), but I did make a series of ceiling bounce measurements with my (cheap) lux-meter and tried to keep all parameters the same between both ‘runs’.
It ended up in a (roughly) 6,5 to 7% gain in lux output, between “before and after”. Not a shocking improvement, but still a slight improvement anyways.
I’m still doubting if it is worth the effort of taking the TS30S further apart, to also replace the “driver-wires” to 18 AWG… (I don’t know what the stock wire gauge is and if it’s worth taking the flashlight further apart.)
My SRT9 has been sitting on the shelf for a long time, mainly because it was picky about flat-top cells, and it wasn’t special enough to order button-tops for it. Well, it’s picky no more!
The trouble was with the M2 screws that hold the tailcap PCB down; they stick up higher than the + contact. I could’ve blobbed solder onto the contact to make it taller, but instead I turned 2 of the screws into flatheads: