Ze Germans lost ze war… Why?? Some say their flashlights was not bright enough…
All I know is… I had to mod one… Maybe several… I have tree. Two are still stock. ![]() (I have some nice ideas that I might put to life)
(I have some nice ideas that I might put to life)
Some music to get in the right mood: (Old-Lumen style)
")
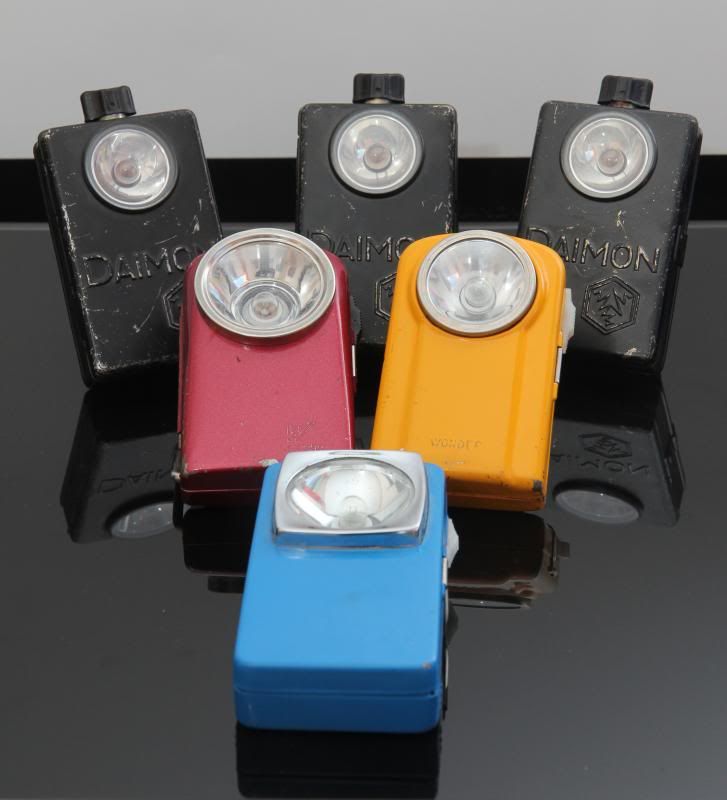
Now, lets look at what we have.
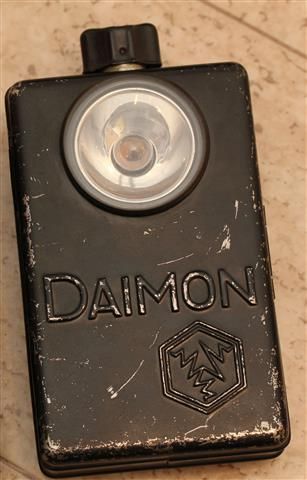
Its not what I would consider the most classical WWII light. The one with the filters. But its a German Daimon light. As far as I know, its from the WW2 period. This type of light have my favorite design. And the condition was good. If anybody have some interesting info or facts about it, please share. ![]()
For this particular build. I wanted to keep it nice, simple and fairly stock looking both on the inside and outside.
Problem was the reflector…
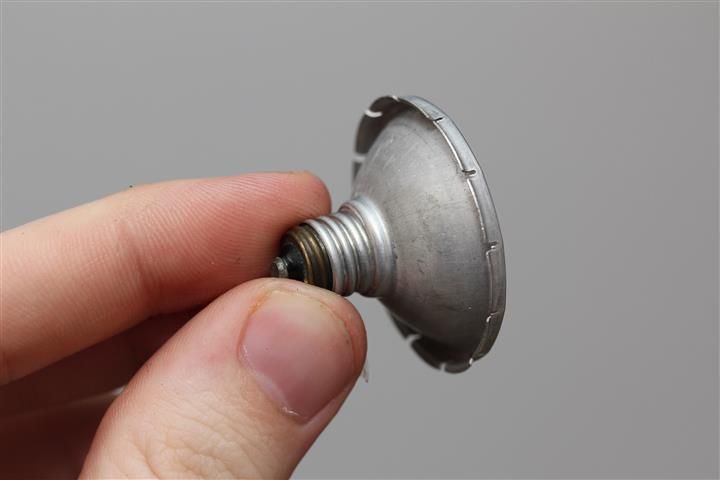
Even modified, it was way too big for an XP-G2 on copper.

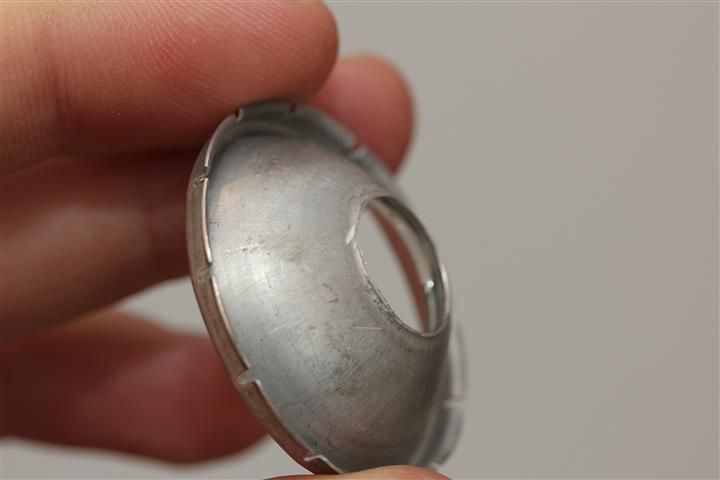
I tried the reflector on both XP-G and XM-L emitter…

XM-L was actually better, since it had less of a dark hole in the middle. But still not good enough for me.
I tried cutting even more off it than I did at first, but still same results with both emitters.
So, in order to get a nice beam, and not just pure flood. The option fell on a P60 reflector. It fit quite nicely in lenght with a pill.
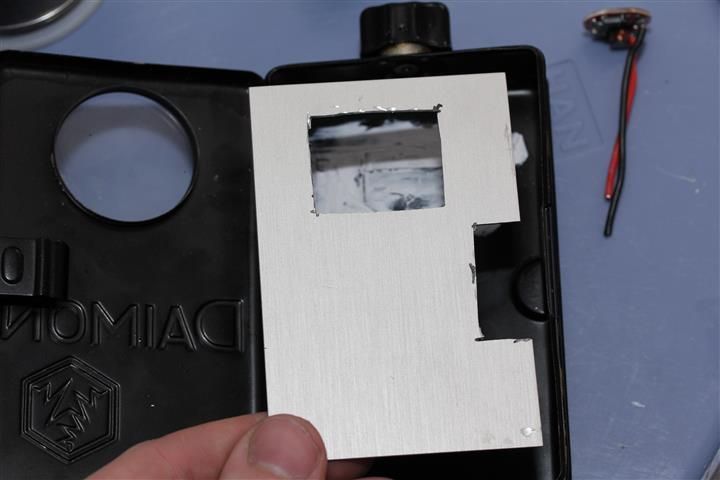
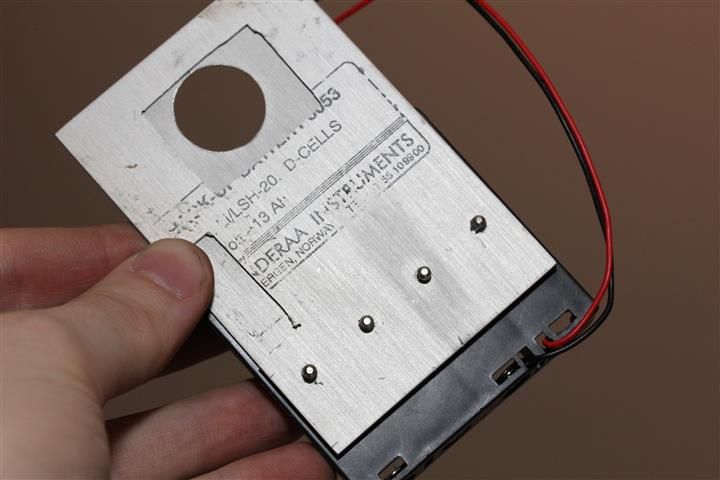
Here is one of my earlier pictures. Brushed aluminium plate. A battery box that fits perfectly!
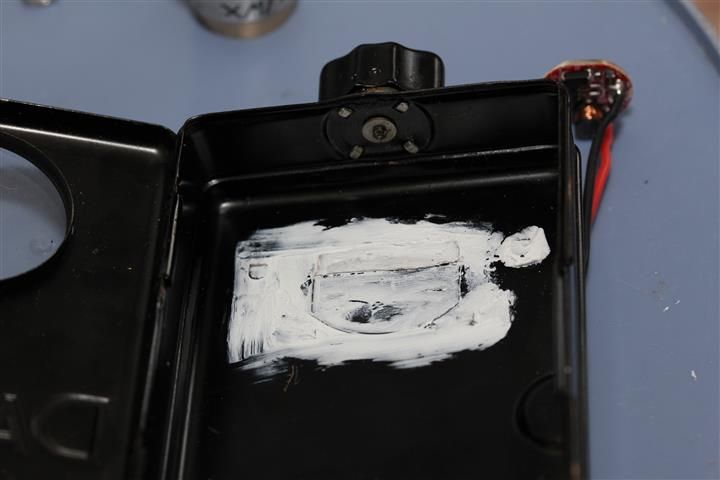
Modified the light for a flat surface. Also added some brass so that the pill with transfer heat better to the body. Added fujick to make sure moist would not get easily in from the backside.
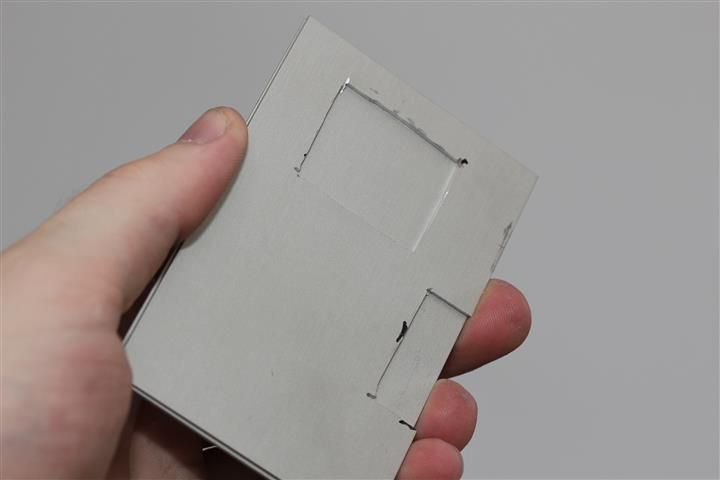
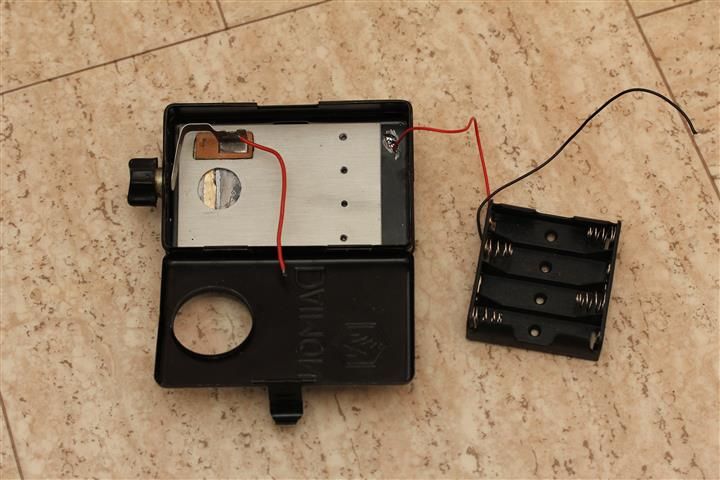
Modified bottom plate.
Sits nicely onto a top-plate.
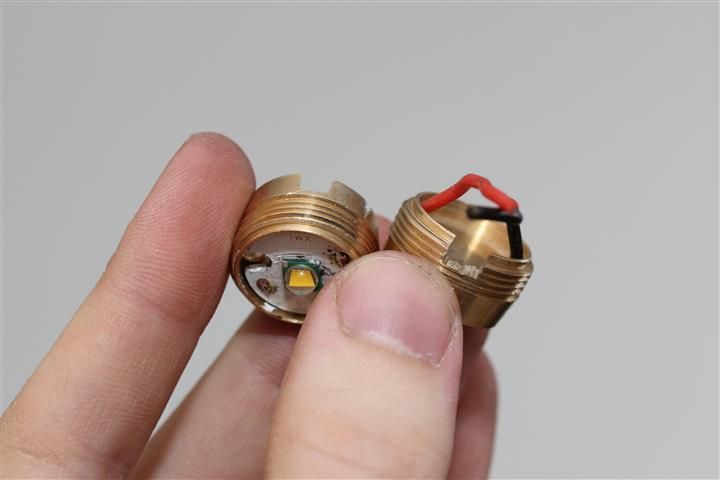
This is an early picture of the modified pills. Also known as. Driver circuit holder, and the pill. Some more modifications had to be done to make them perfect fit.
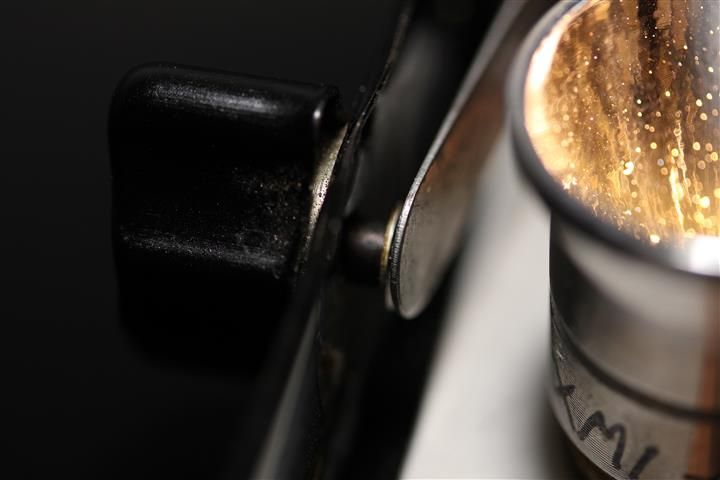
In order to let the stock switch function nicely, and look stock, I used most of the stock parts. In order for that to sit nicely in place without ever having to worry about movement I cut into the top plate… Hand work, with a dremel… Most of the work on the light are done with a dremel…

Made threads so that the battery box could be screwed in place. Screws was later cut.
I made a hole for the P60 too.

Used the positive side on the battery and attached it to the box.
The driver holder get isolated from the flashlight. Tested everything. Used JB-weld to fasten the aluminium plates the flashlight.
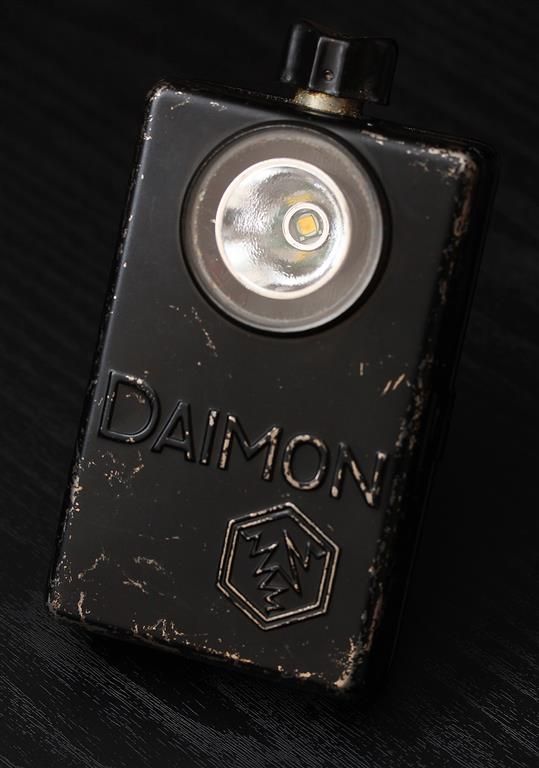
Finished result:
I did consider something around the reflector, but for now, ill keep it that way. Its nice and simple.
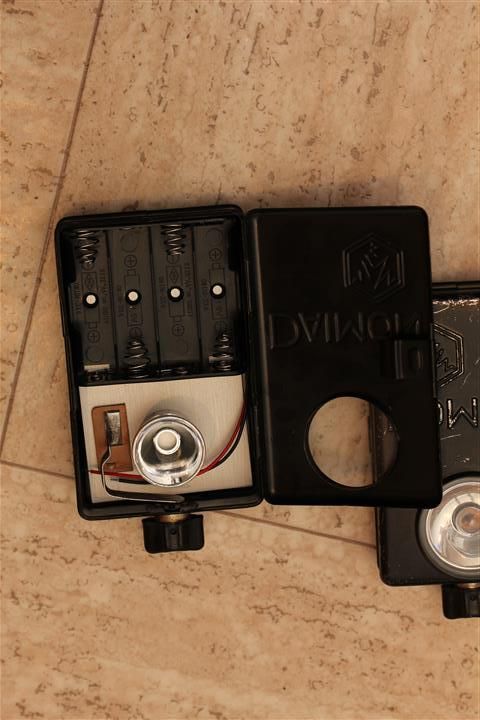
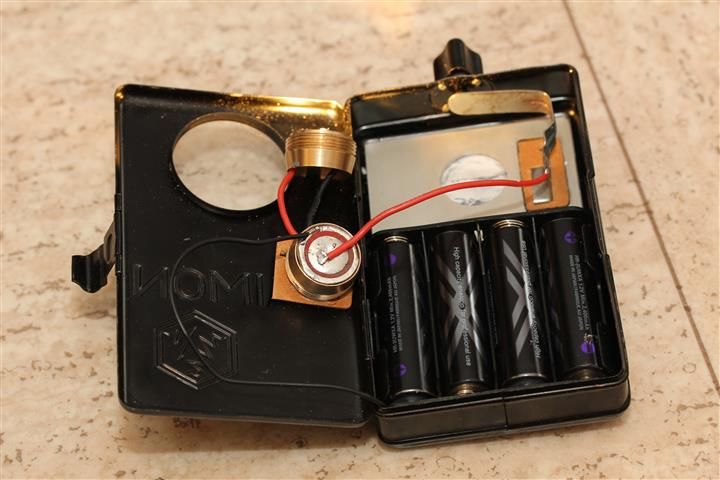
Inside:
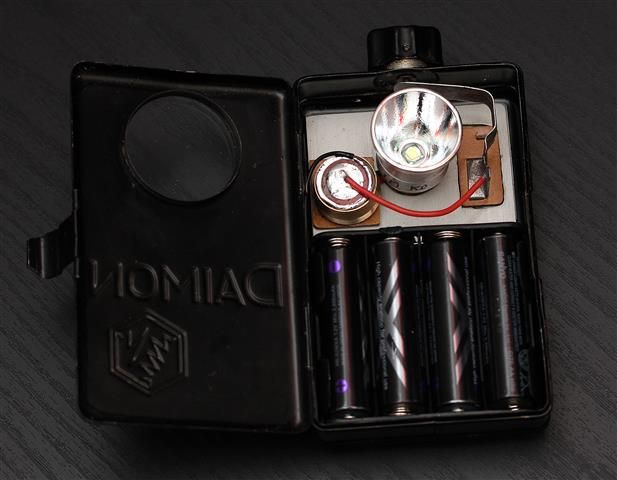
To keep the vintage look. This is a warm white XM-L. 3000k. I like that color.
Driver is the KD 3-18V. That gives out 1,5A to the led. Which for this type of build is enough.
The driver is a simple 1-mode, and you can throw every type of battery on it. Its regulated, and will give 1,5A even when cells are fairly low on voltage.
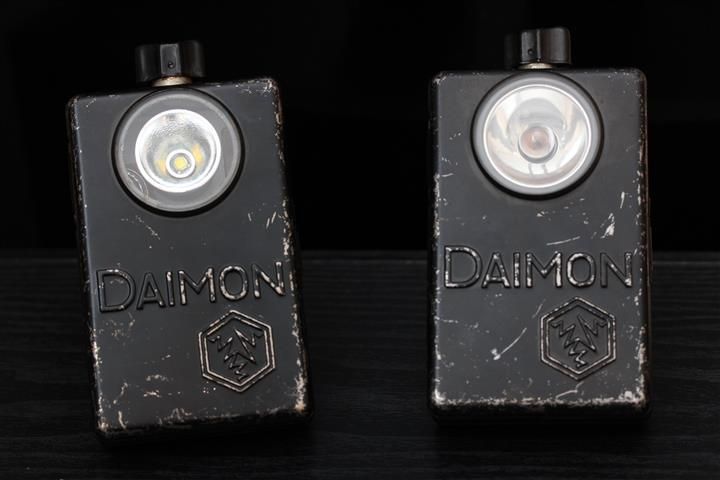
Compared to stock:
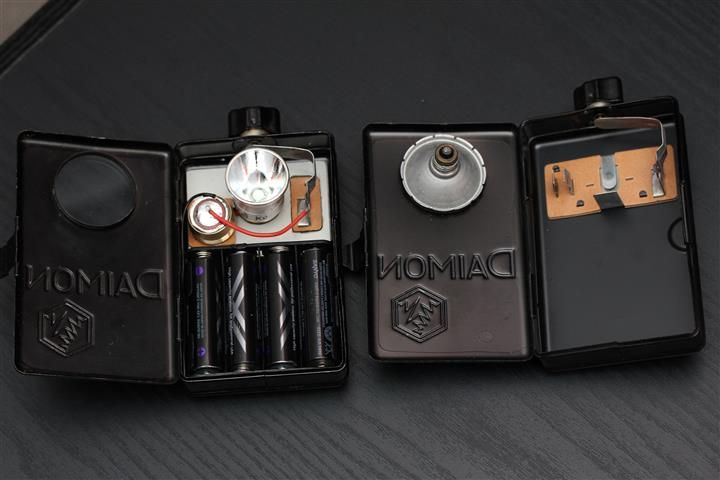
Stock switch function perfectly! Checked resistance before building the light. It was basically close to none. So no modifications were done to that.
I dont have a battery for the stock light. But lets just say, that it would be no match!

For a vintage light. This is BRIGHT!
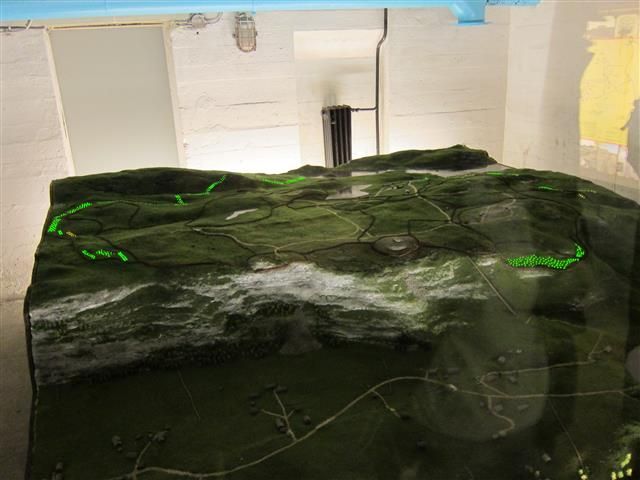
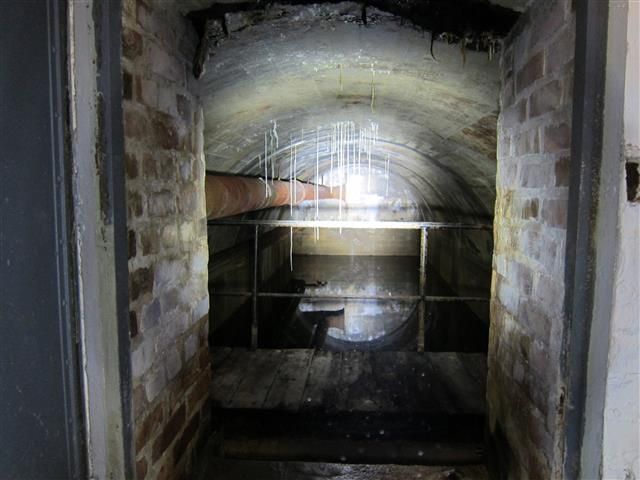
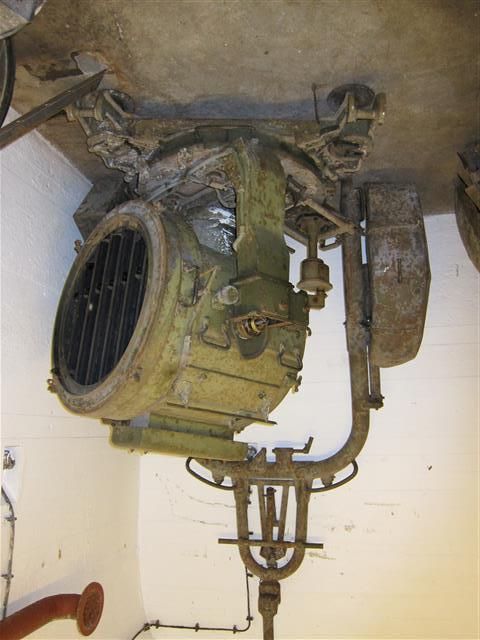
Future plans… Use in in the facility below and the area around this cannon.

Would see my house from this location today, far away in the distance…

Today there is a simple “resturant” where the Cannon was. From that place, you can get a guided tour inside a large facility!

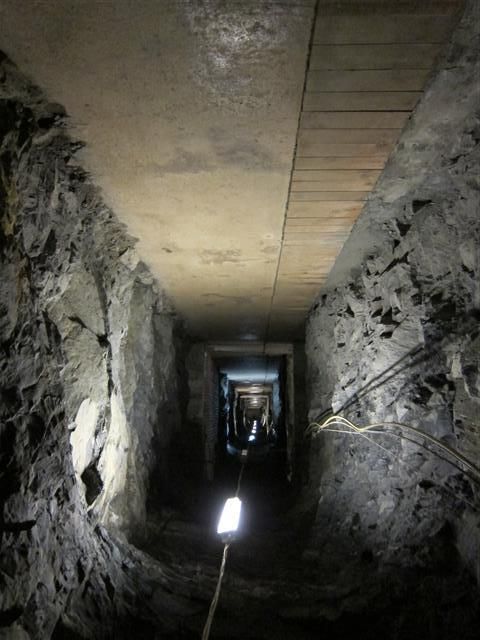
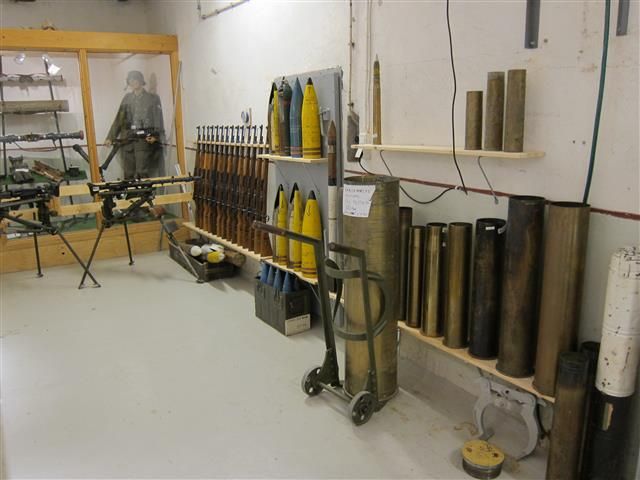
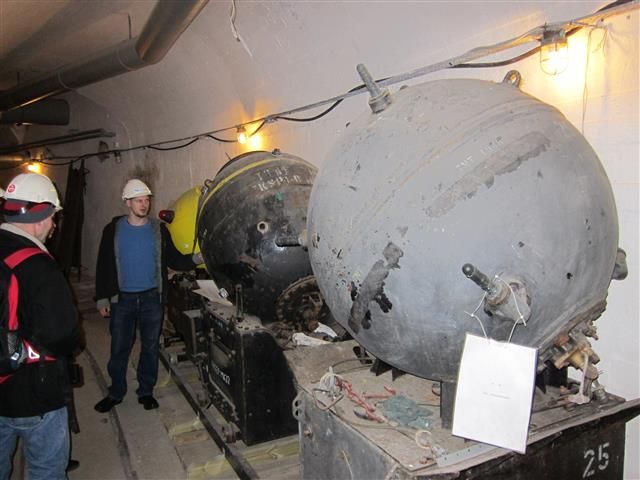
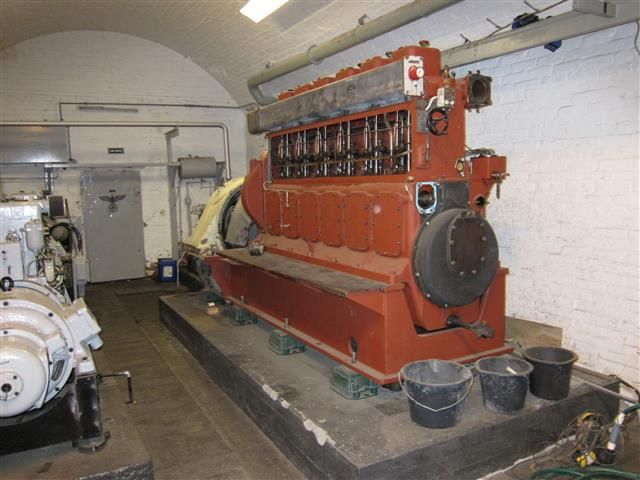
The place was called “Fjell festung” in German. The Germans built it under the second world war… Very nice place to check out for a flashoholic. Why? Lets just say that that area holds lots of more stuff than just what a guided tour would give you. And you could spend a whole day there, and not have seen everything. Despite not taking a guided tour, and despite that many places are locked down… Its a lot of stuff in that area!
I regularly go for a little flashlight tour there… Might take some outdoor pictures with the modded flashlight from that place.
Hope you liked the modding done to the light. Thanks for reading…

 ):
):
