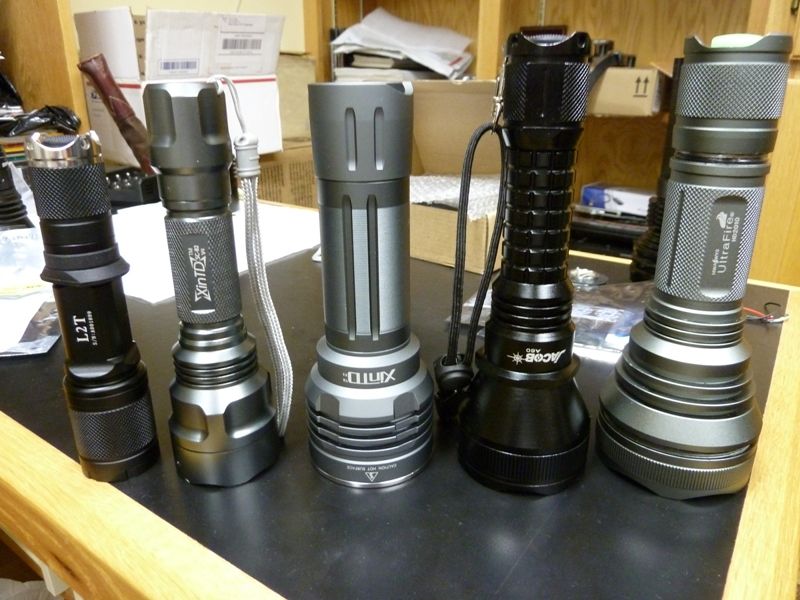
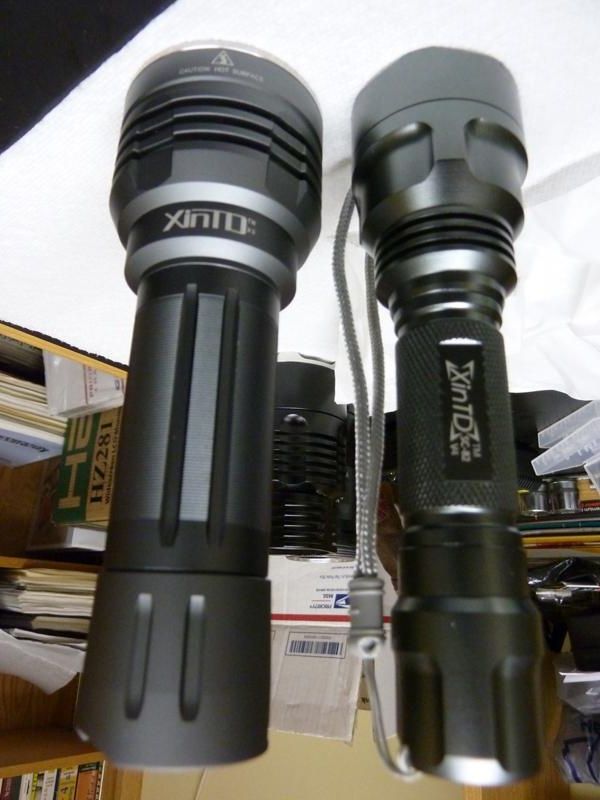
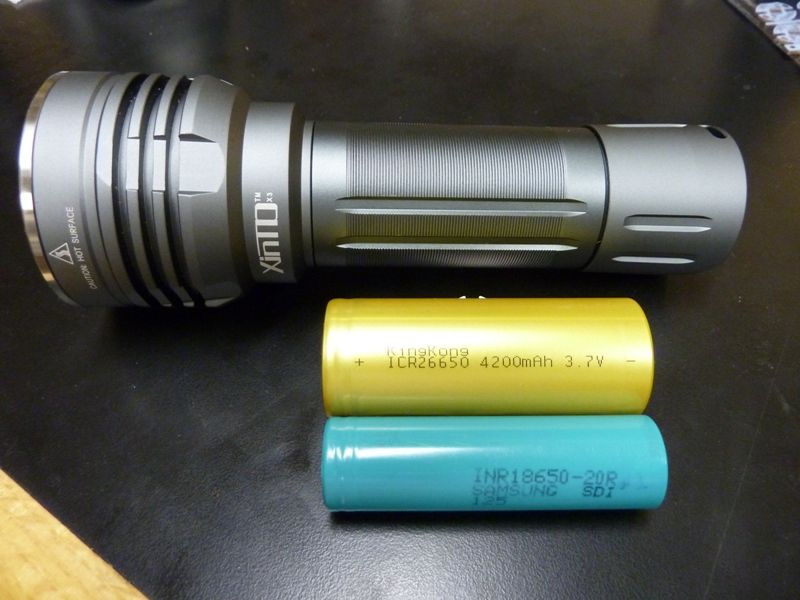
I'm not sure if anyone has mod'ed one yet, but I started on a mod to change out the emitter/star to possibly U2 1A or 1C on a copper star, boosting up amps to 4.5A, and custom programming the driver to modes I want. I felt compelled to post what I found so far.
Update 08/18/13: See post #5 for details of the mod and the test results!
Here's the product listing: http://intl-outdoor.com/xintd-x3-xml2-3aa-flashlight-p-739.html
Here's a review in progress: https://budgetlightforum.com/t/-/20211
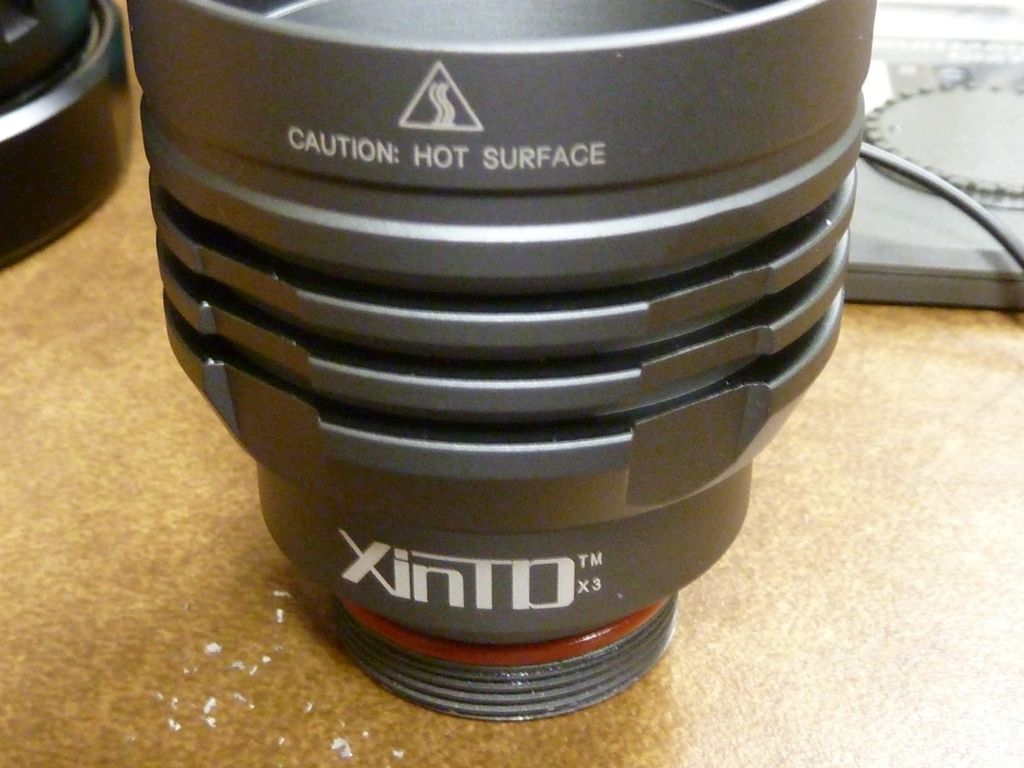
I'm impressed with the light, the look, solid feel. I'm not happy it's not just a standard 26650 form factor, but has extra width with no provided spacer for a 26650 cell. I ordered mine with the T3 warm white LED, which I really like. First thing I did was put in a King Kong ICR 4200 and did measurements:
694 lumens at start, 666 at 30 seconds, throw of 36 kcd
The throw # is impressive for under 700 lumens, so this is why I decided to pump it up and see what I can get out of it. As leaftye pointed out in his review, it's a unihead construction, making working on the star difficult because you have to work down into the head. Coming stock with an aluminum star is a shame for a light of this caliber. Here's some pics of the break down.
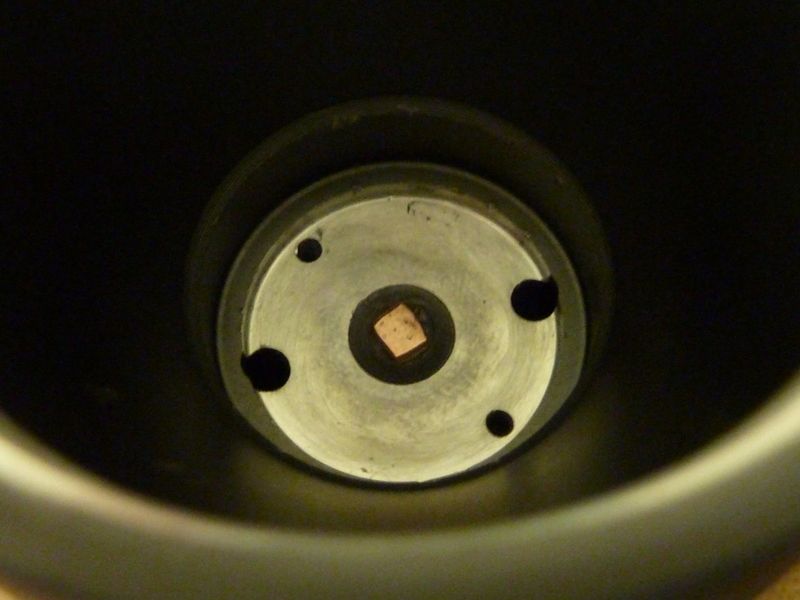
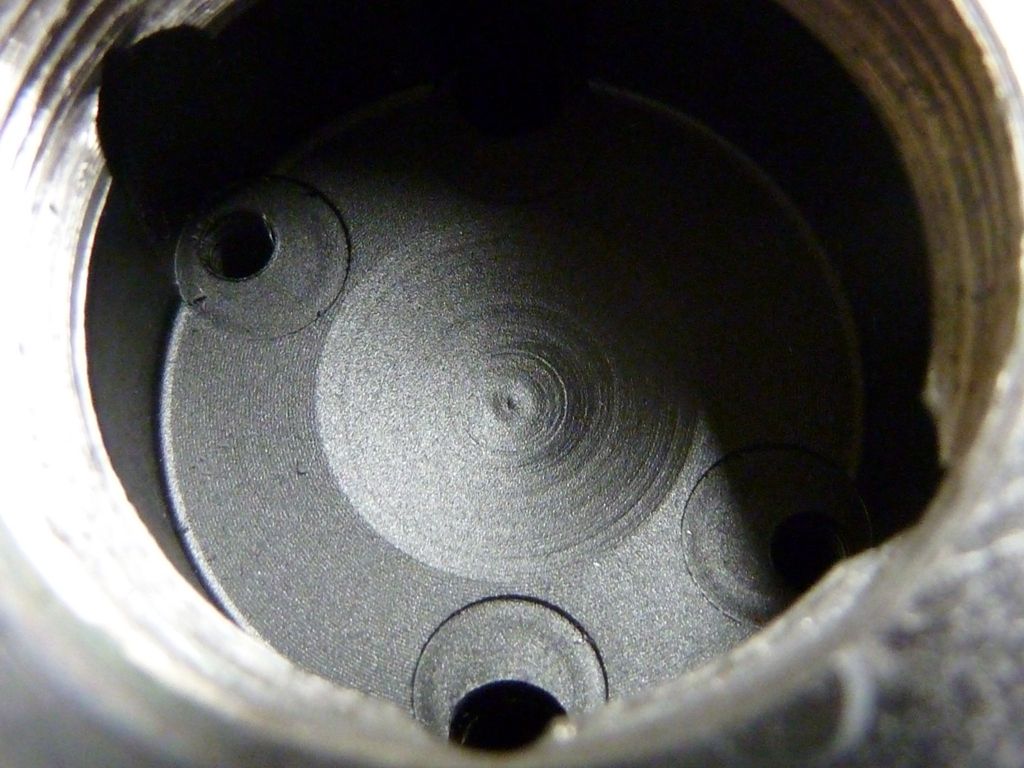
Here is a view of them empty pill, driver removed:
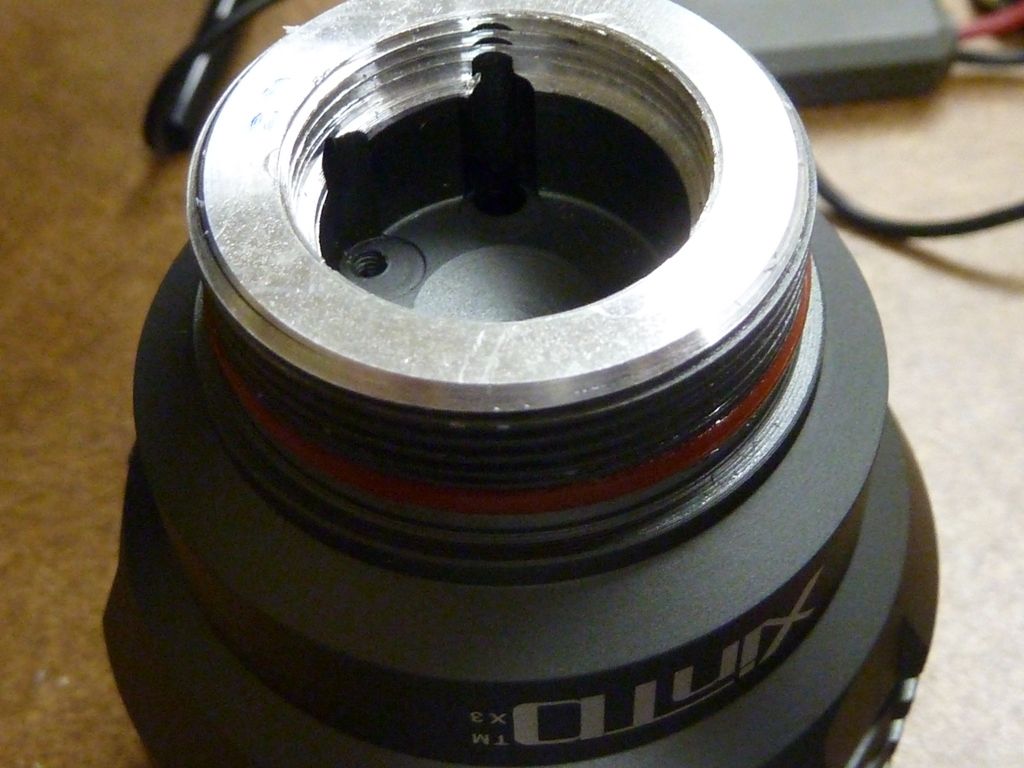
Notice the depression in the center - was thinking of adding full width copper discs, but that is a big hole:
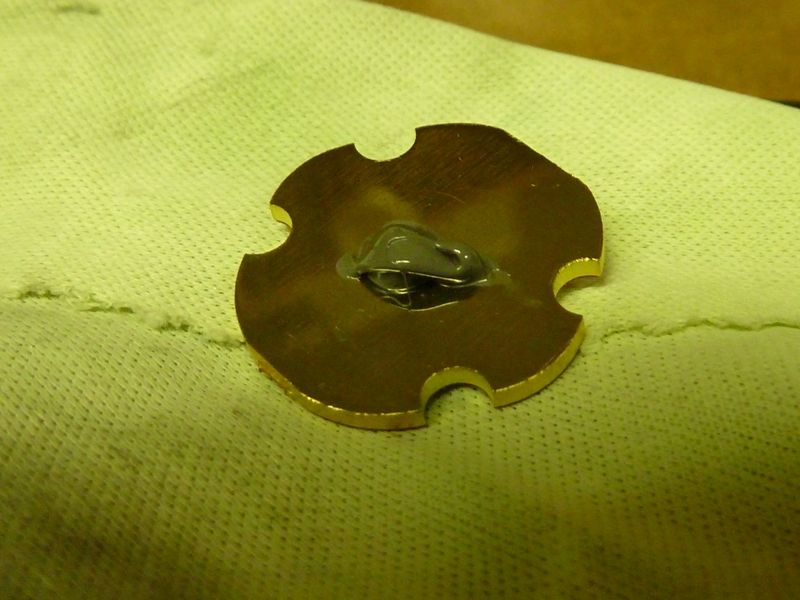
Here's where it gets strange. The pill top is nice and thick. The surface under the star is polished. I found a iPhone/iPod repair kit that had the perfect size star driver to fit the screw heads that secure down the star. For some unknown reason, they used an epoxy instead of grease under the star, Below is the removed star. It took some coaxing to get it out, specially at a angle with no leverage (straight down) but eventually gave way.
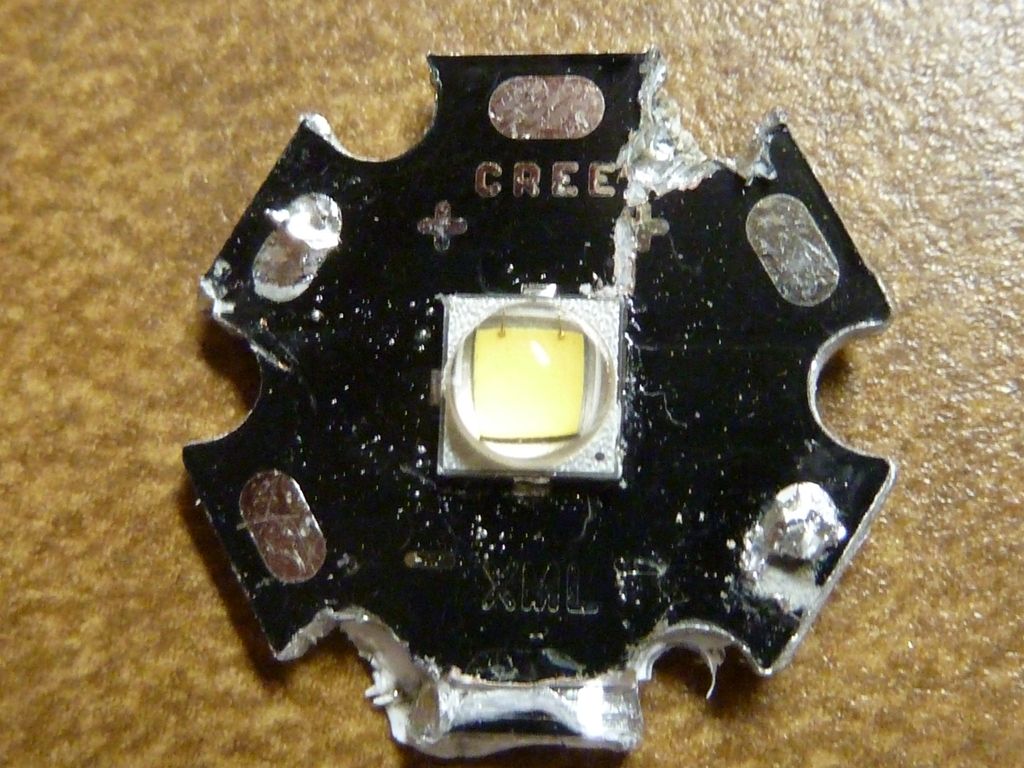
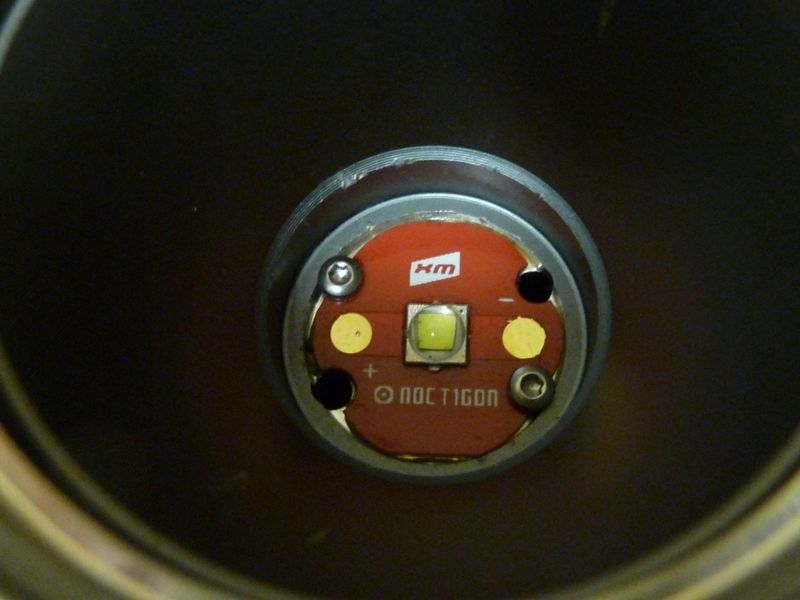
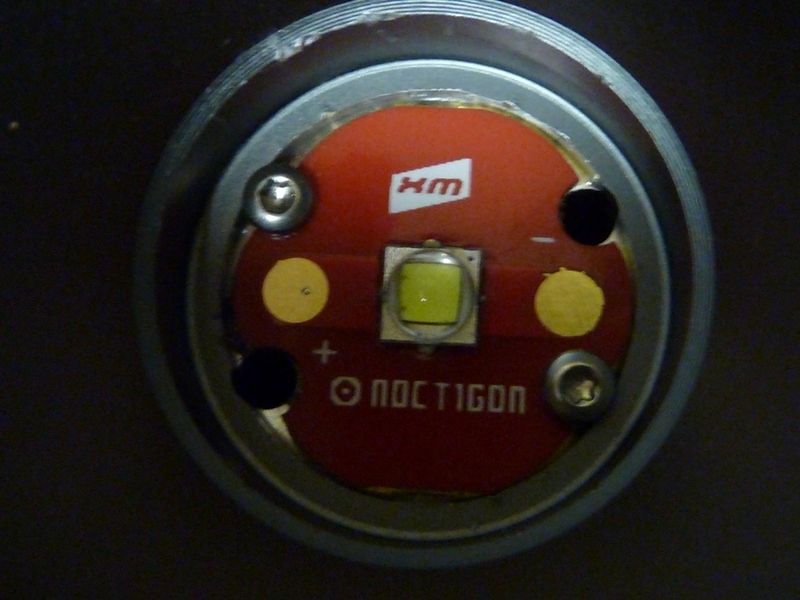
Here's a view of the head:
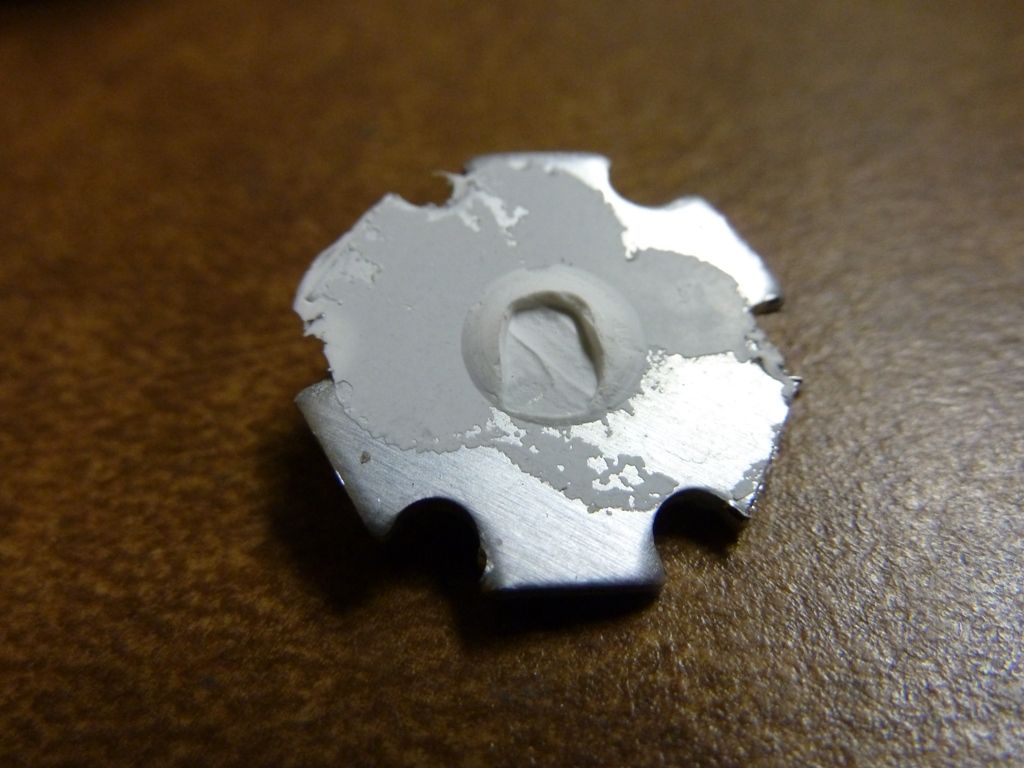
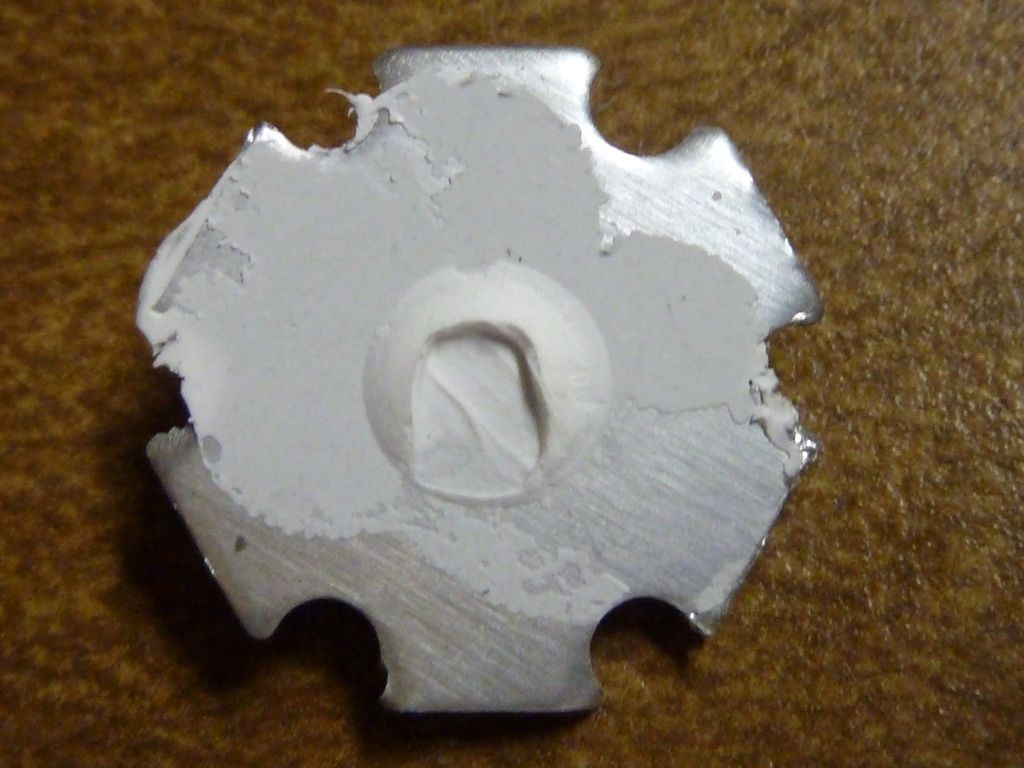
The bump of epoxy is caused by this:
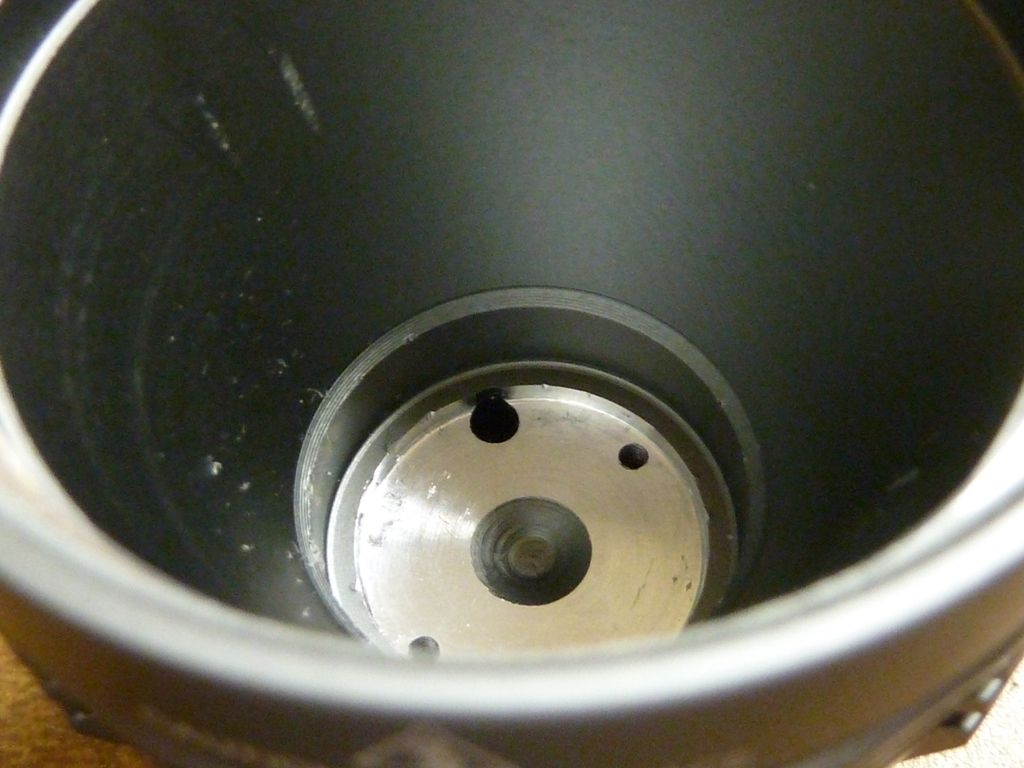
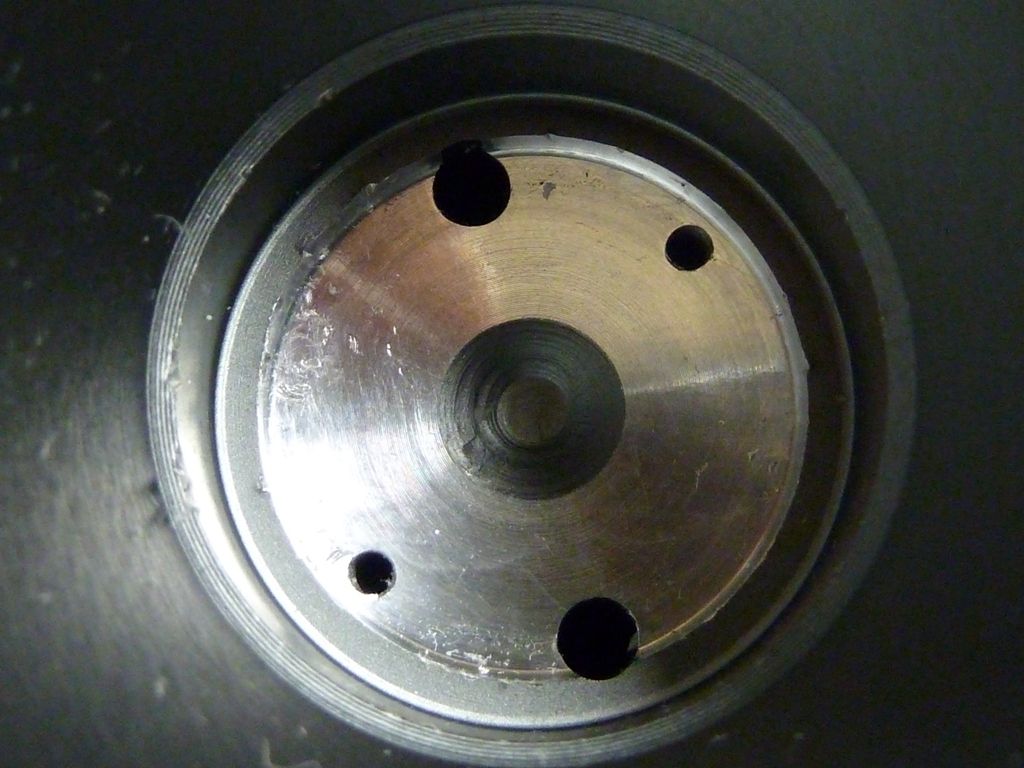
Note in the photos above, I cleaned up the surface of the pill top by removing the epoxy (maybe fujik), then cleaning with iso. alcohol. The scratches are from the screw driver and pliers I was using to try to remove the star.
Now that hole is directly under where the emitter is mounted on the star. I measured it roughly at 1.2 mm deep, which is deeper than the hole on the underside of the pill. Why?? Why would they kill such a good design? Is it easier to machine this way?
I'm sooo disappointed now, but my plan is using a 20 mm Noctigon, though I'm considering mounting the Noctigon on a copper disc to get a bit more thermal transfer out of it, though the height may be an issue. I'm thinking it will take a lot of AS5 to fill that hole, so maybe for a filler, I'll use some copper filings I've been collecting, mixed in with the thermal grease.
Another thing is they obviously didn't use enough thermal epoxy to even completely fill up the hole, or for that matter, didn't use enough to cover the full alum star contact surface.
For a good quality, not so cheap light, I'm a bit disappointing finding this kind of deficiency. I'll pm Hank with a link to this thread so he knows. Maybe it's not that bad once you fill the hole and use a Noctigon - I'll find out.
