Unfortunately, due to several unexpected events, I didn’t had time to building the light I have planed. I didn’t even order components.
Although there is almost no time left, I will try to build a simple torch from components I have at home or can buy localy.
Like many people here I want an EDC torch from copper. I don’t want to build it from copper piping because it comes out rough. On the other hand, I also don’t have a lathe to process a copper pipe and make taps.
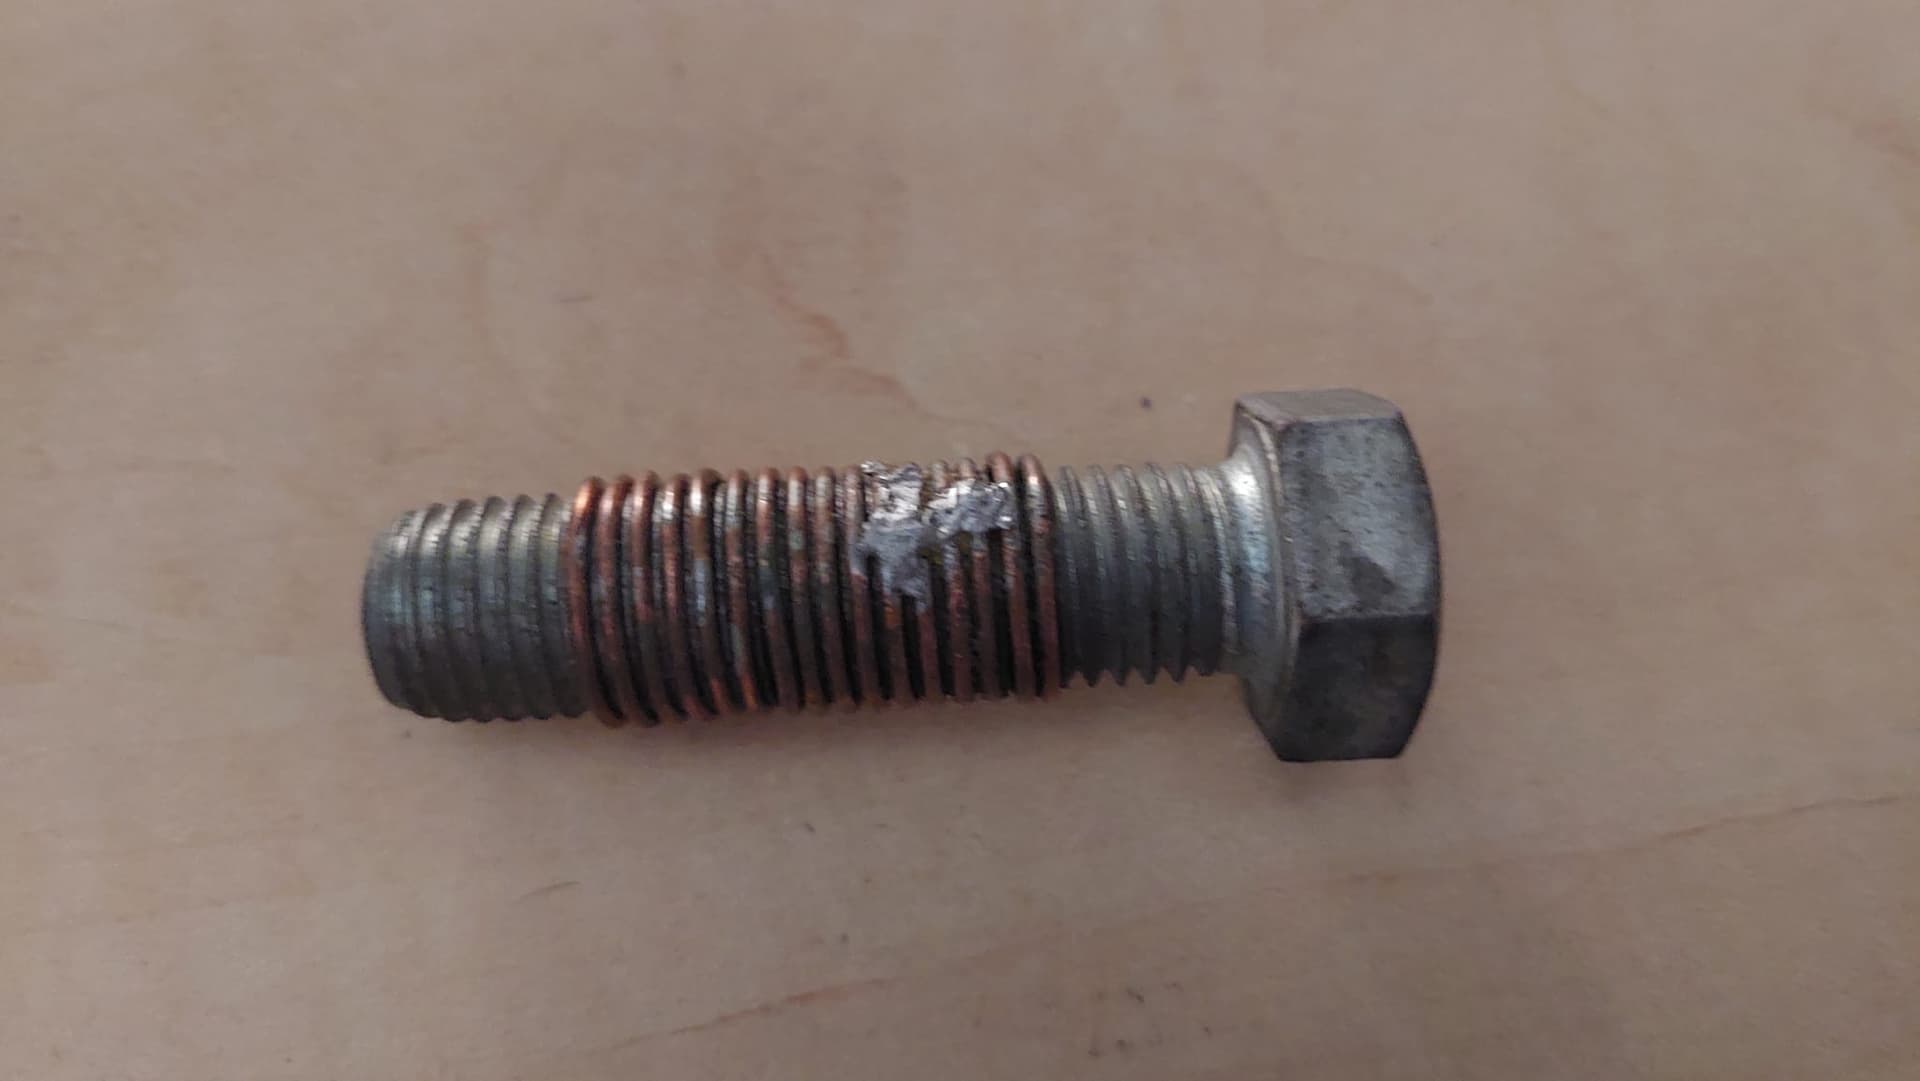
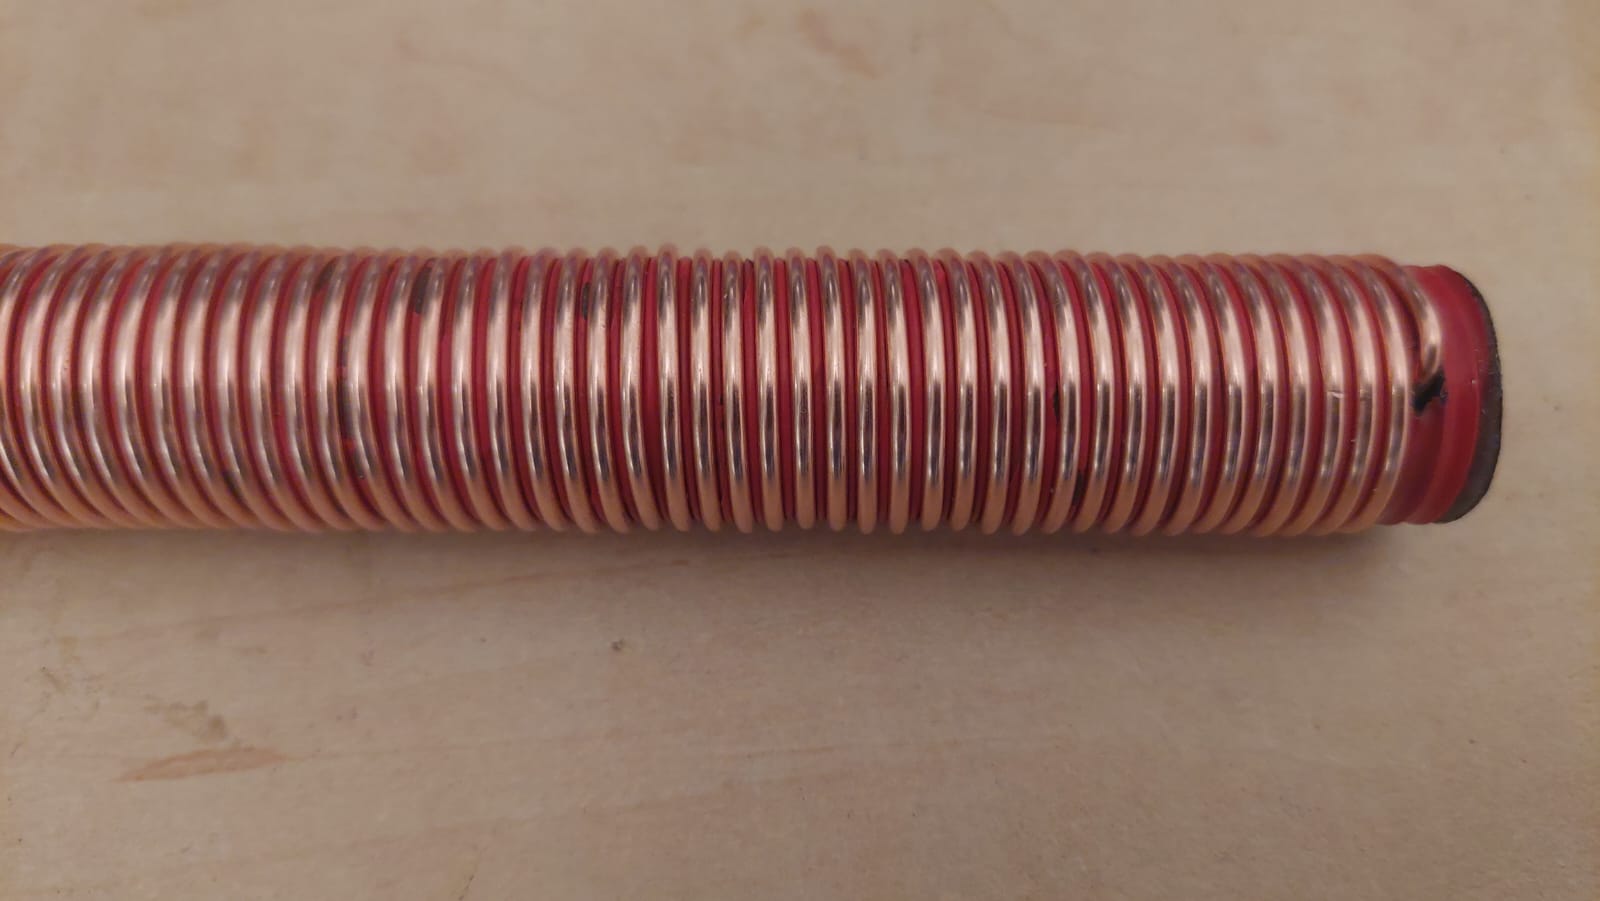
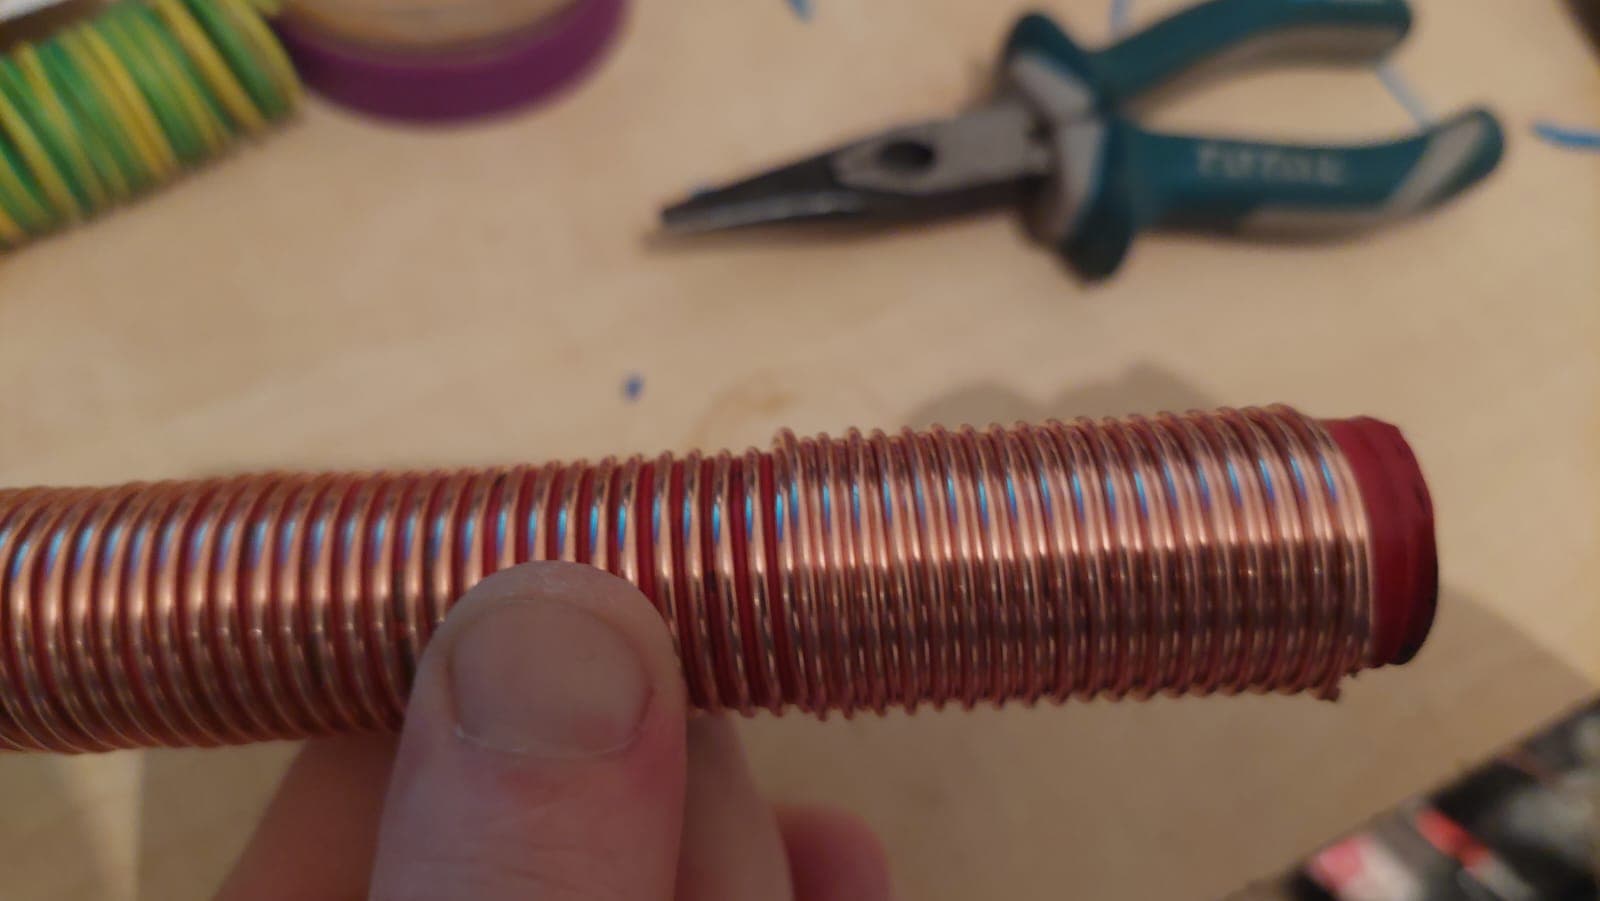
My idea Is to build the body from copper wire wraps on top of a screw and thus get an internal thread.
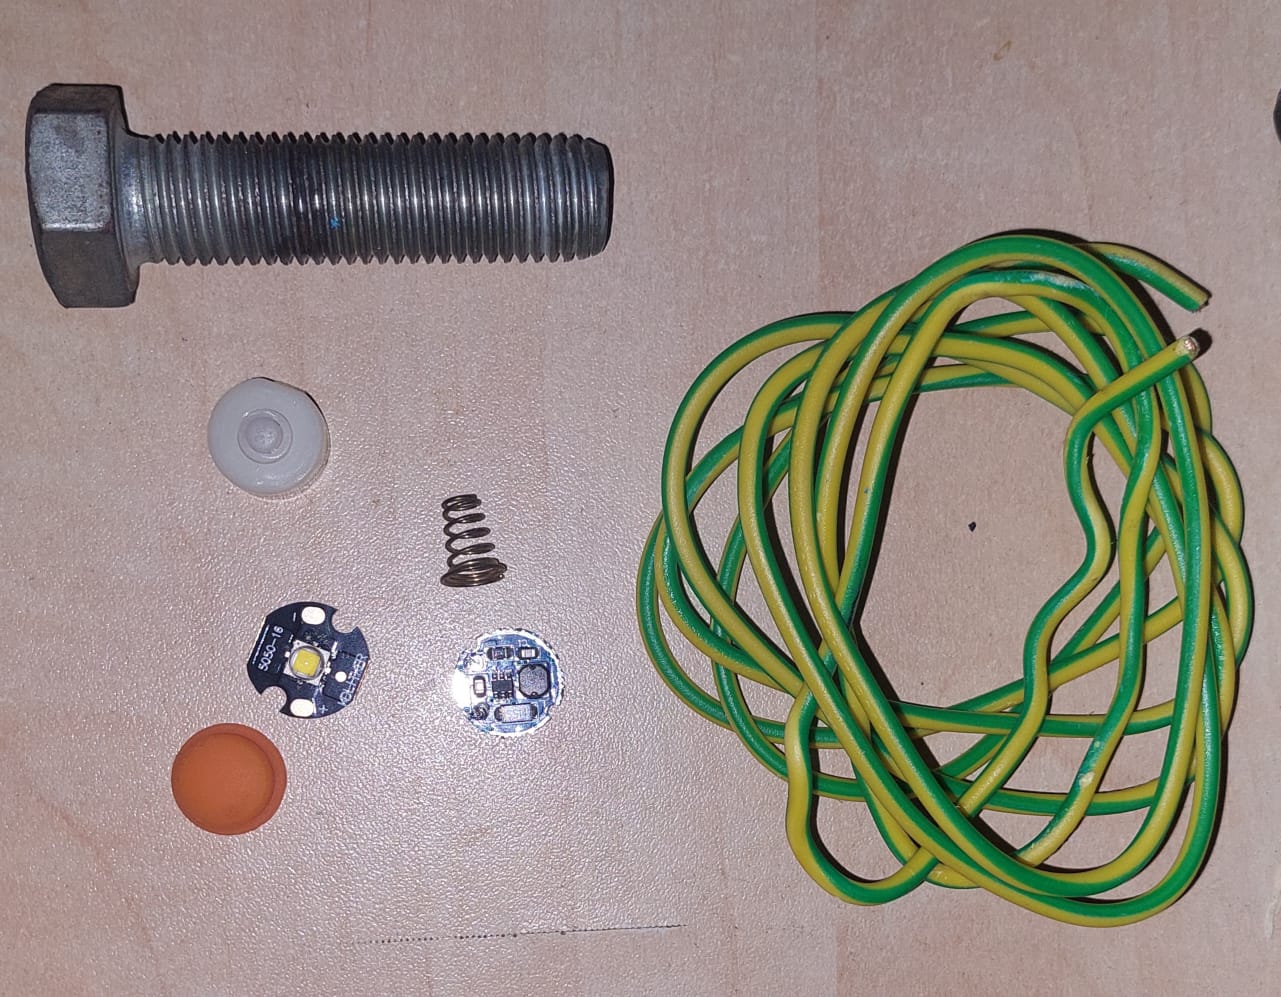
The component I am planning to use are:
A big screw (unfortunately not big enough for 18650 cell).
Copper wire.
Simple 1.5V driver and emitter from an old torch.
A clicky switch and rubber boot.
Not yet decided about the optics.
Not the most successful beginning:
My idea was to solder the copper wire to create a copper and Tin pipe that would be beautiful and conduct electricity.
Sadly, the screw act as a heatsink and I couldn’t melt the tin and solder nicely, not even using a burner.
Tomorow, I will try to glue it and then solder without the screw.
Interesting construction Yuvals, might I suggest there may be a problem though, in your first attempt the gap between the coil is huge and will cause issues even on the 2nd type of attempt, especially strength wise (remember the copper will be annealed after soldering so will be softer) . I would suggest carefully removing the spring from the tube, then somehow compact it before trying to solder it - maybe put a weight on the top or lightly clamp it? this way will make it much stronger, be easier, use less solder and end up looking much more pleasing to the eye as there will be much less solder visible between the copper coil. Either that, or wrap a second layer of copper wire in the gap you have created by winding the first layer then solder all of it, that would be much stronger and not really look any different. Can’t wait to see the final product!
Also, rather than try to use a soldering iron, use a flame torch like plumbers use, it will heat the item up much better and allow the solder to flow freely, the problem is the thing you wind the solder round is stealing all the heat, with a torch it wouldnt be such an issue, especially with that pipe you are using now.
To be honest I don’t know, it is the only solder I have, and it works very good for all the soldering (PCBs etc.) I did before.
Unfortunately, I don’t have a lot of time before the deadline to buy a special solder.
I have to keep this gap since I plan to use the screw for the pill and the top and bottom caps, so I need the tread to be compatible.
I am planning to do a 2nd wrap using a thinner wire to increase the contact area. will test it tonight.
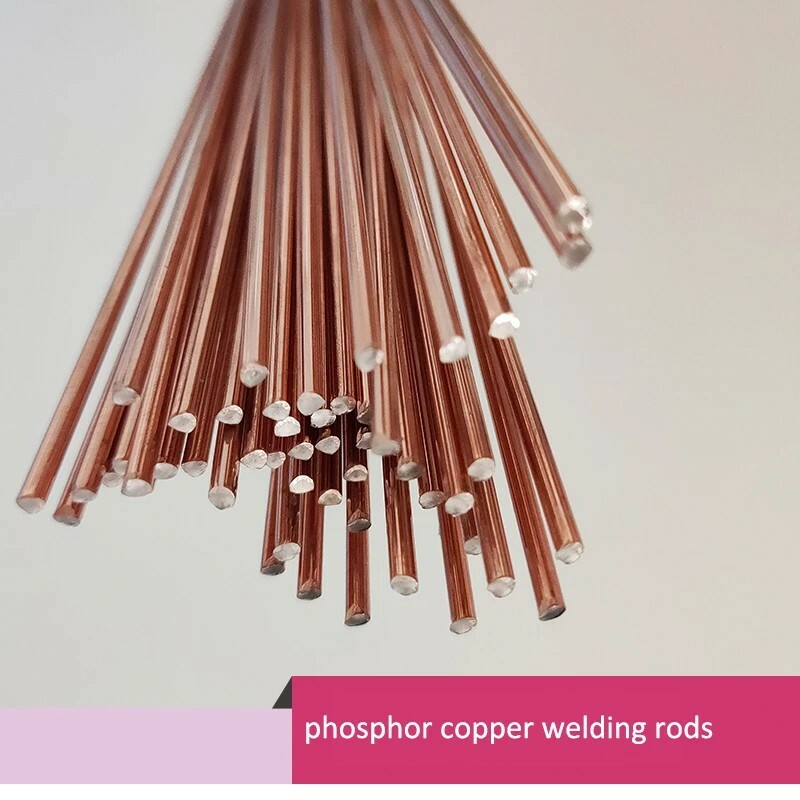
Ahh I see what you mean! well I’d definitely go with the laeving the coil as is, then wrapping the second layer, then soldering both layers at once. Also I was thinking, on ebay they sell low temperature braising rods, maybe you could get some with copper in, like these
Their description,
The brazing rod has execellent ductility, highly durable and smooth flowing.
It is widely used in copper to copper, copper alloy brazing.
The benefit of this brazing rod is no flux is required when brazing copper.
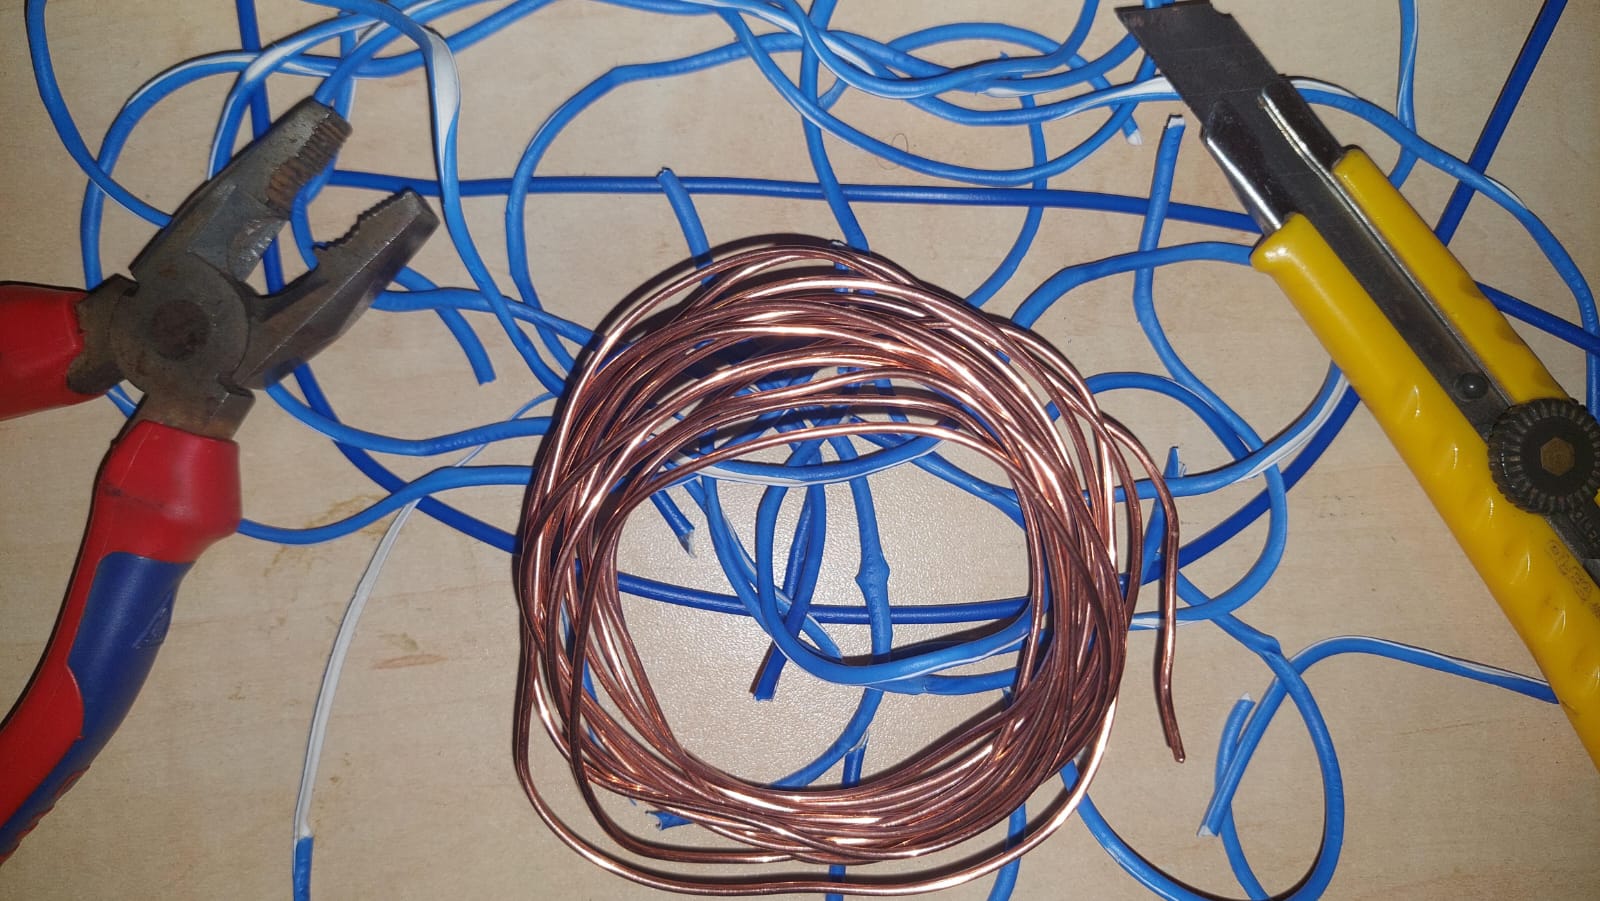
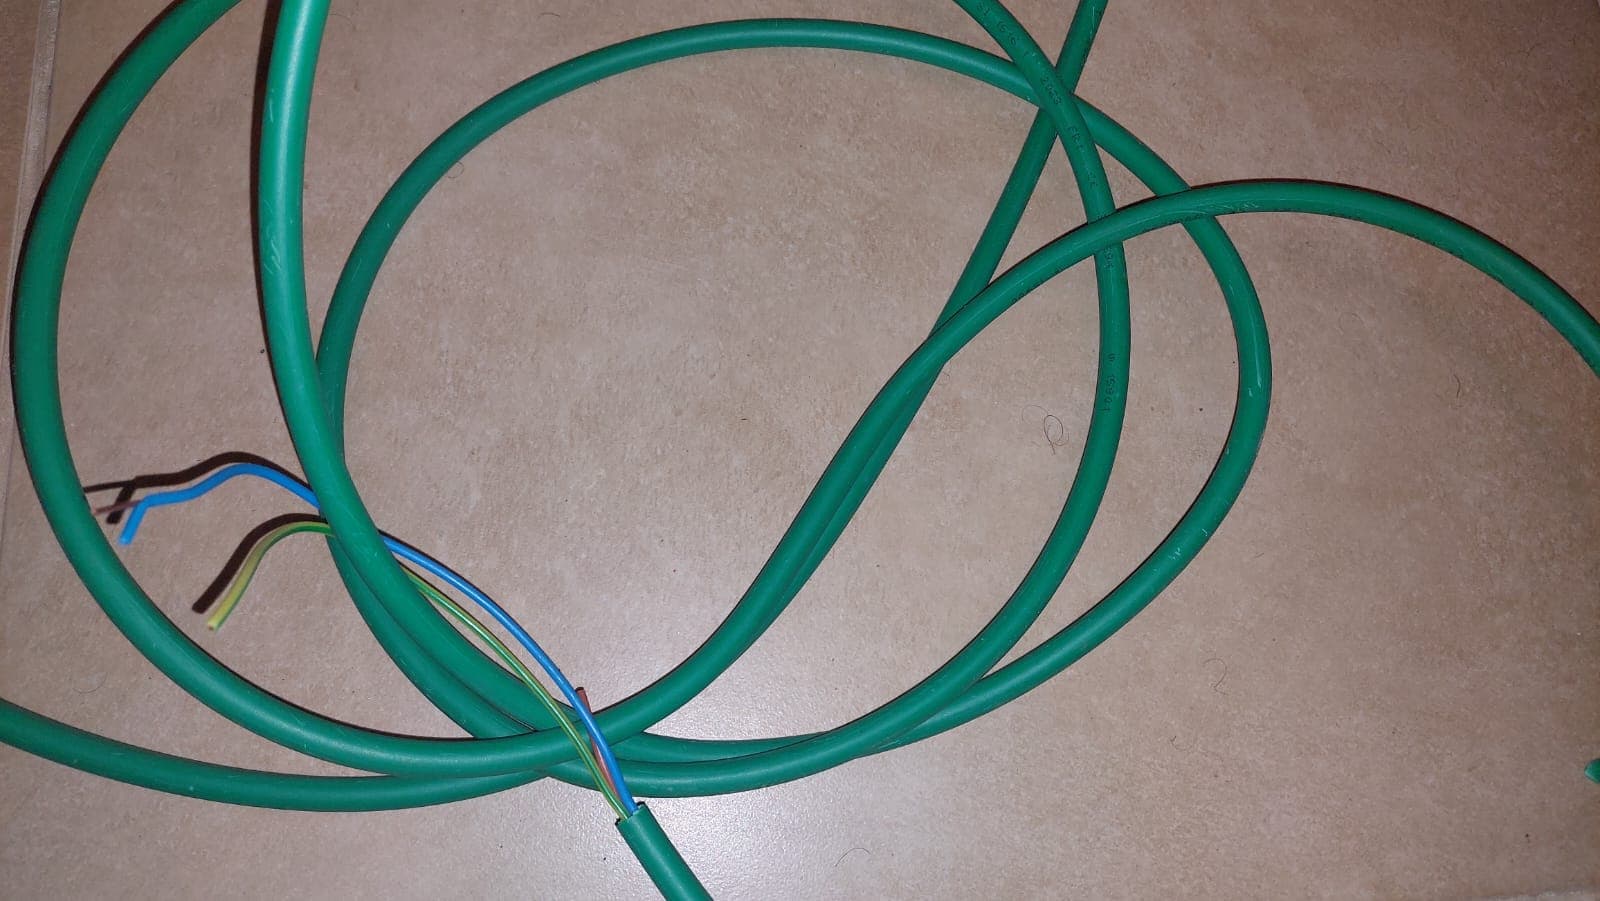
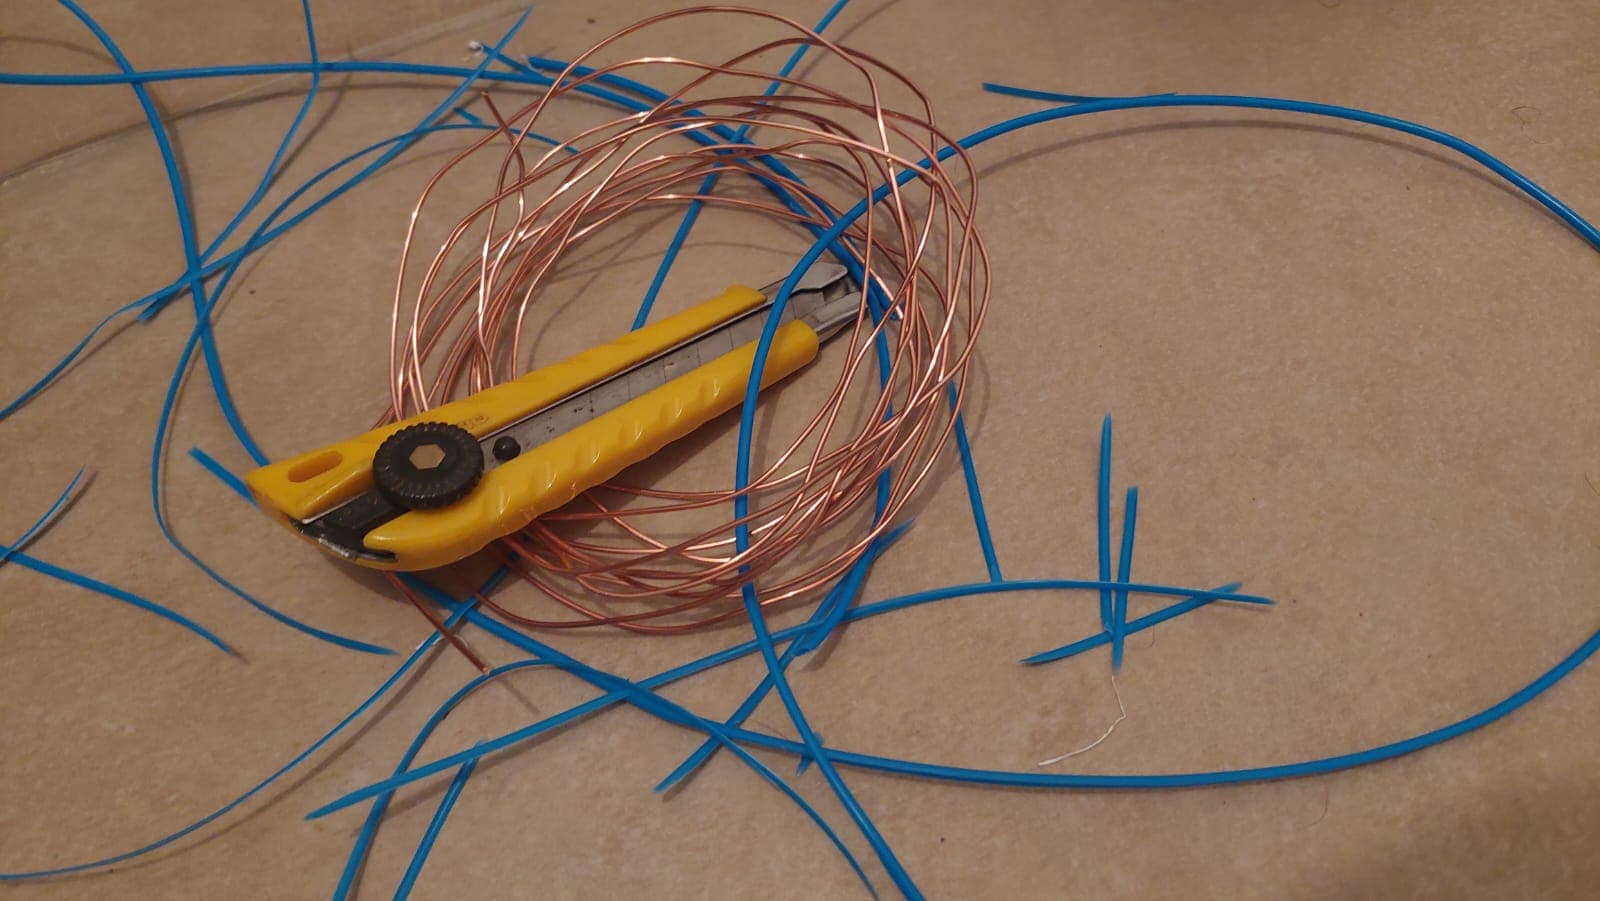
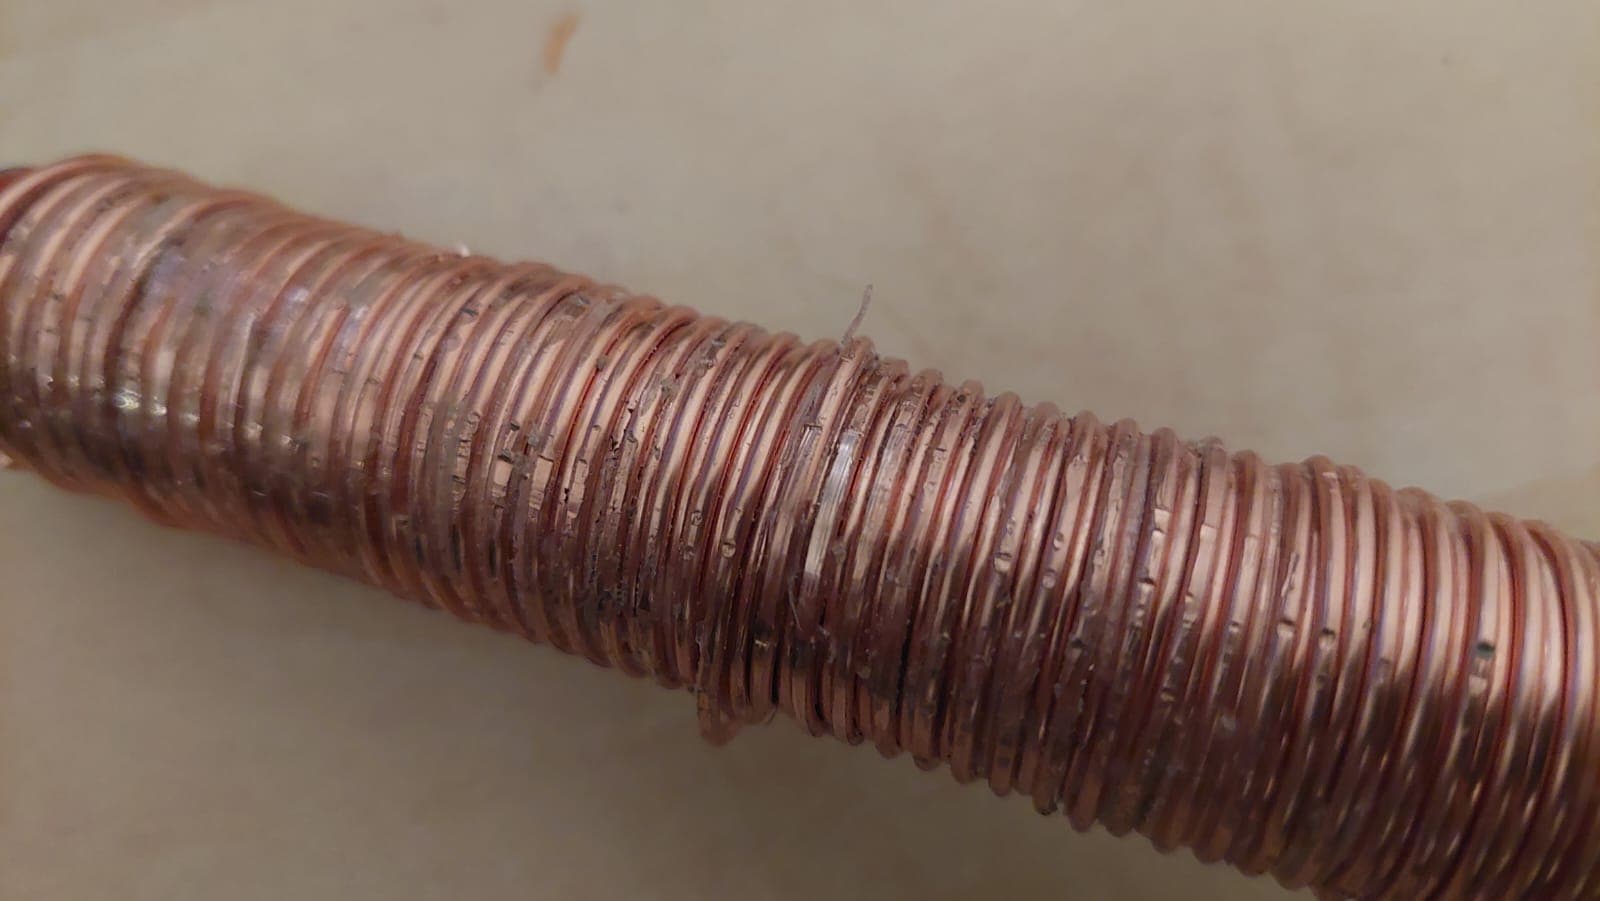
In order to cover the gaps Between the wraps on the screw to add strength and nicer look as @G0OSE advised I bought a thinner wire and hat to strip the insulation
IMHO it looks very nice. But I probably wrapped it too tight or used too much glue, so I am not able to remove the screw.
I will try put it in a wise or use a plier (or both).
Well done mate, that does look very nice indeed! no idea how to unbond it though…is that a plastic cover on the pipe? Maybe you’ll just have to live with it and use a thinner battery as you were going to do before. These things are sent to test us lol!
How much spare wire do you have? it may be that you have to start again, but maybe put a single layer of parchment (greaseproof) paper around the tube first so you can unscrew the copper shell once it is glued? so it wont bond to the pipe, it will bond to the greaseproof paper which hopefullly the glue won’t adhere to, especially if you lightly grease it first.
Apparently, I have to start over again.
I was not able to remove it from the screw and damaged it while trying.
I will try use some grease or another lubricant to make it easier.
Yeah that darn super glue… stick like crazy when you don’t want it to… sometimes not so well when you do want it to.
Could you use a copper tube of the right size to wind the wire onto. Then you wouldn’t have to remove the form.
That would require a re-think on how to mount the tailcap and head. I believe YuvalS was using the wound copper wire over the bolt threads to allow use of bolt thread plugs on the ends, once the copper was removed from the bolt. It is a real problem I have been pondering with no results. The idea is interesting but fraught with issues to be solved. I do like the idea of the wound copper for the visual effect.