REVIEW: Manker Nichia AAA Keychain light aka "Boney" PIC HEAVY

This is a cockroach light, meant to survive where other lights do not, i.e. keychains of non flashaholics, gloveboxes with years of non-use, etc. Years ago I had a CMG Infinity light in white(ish) tint, the original cockroach light. It was a low output/really long runtime, AA light and supposedly indestructible, waterproof etc… mine died in less than a year after eating perhaps three batteries worth of light output. At the time I had paid a fairly hefty sum of around $25 for it and was disgusted with the fact it died relatively quickly. I liked the idea of a low output /high run time light, but the fact it died on me so soon soured me on the “indestructible” light idea, well spending that kind of money did at least…

Now I read this post and thought maybe it was time to revisit this type of light… I love the AAA format and being cheap, I found the Manker Nichia AAA for less than the other lights in the above link…
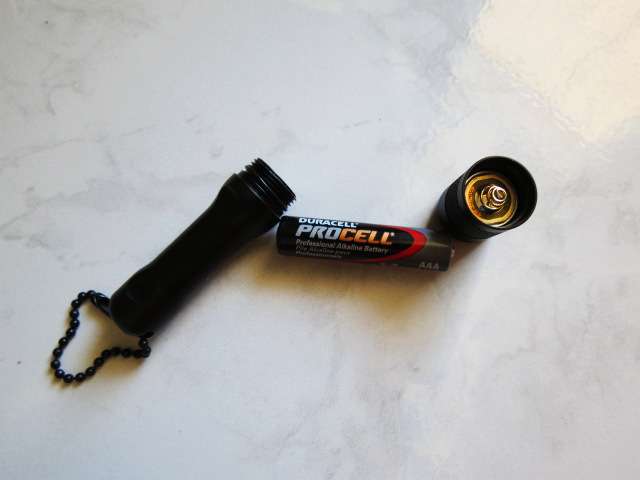
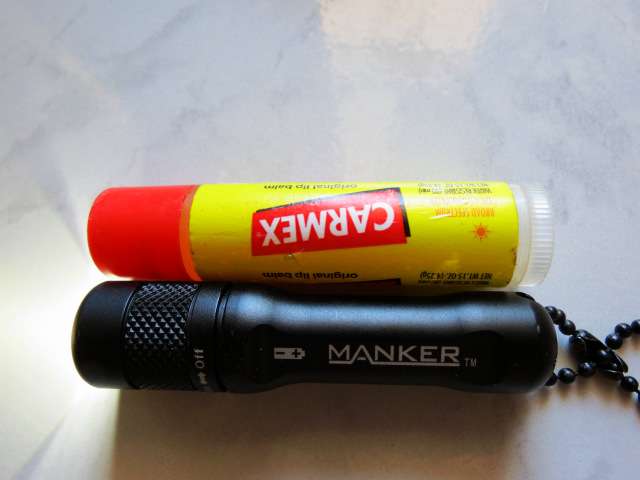

It is not a sophisticated light, one mode, takes Alkaline, NIMH and Lithium primary batteries, but provides enough useable light to make it worthwhile.

So here is my review, I purchased this light with my own funds and was not provided any compensation for this review.

Well machined and decent anodizing. The body has the battery orientation symbol on it and an On/Off twisty reminder, nicely done.
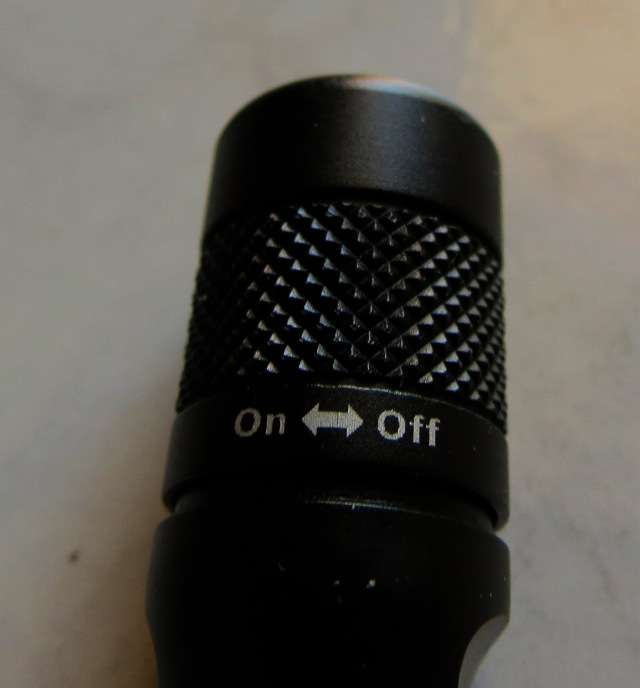
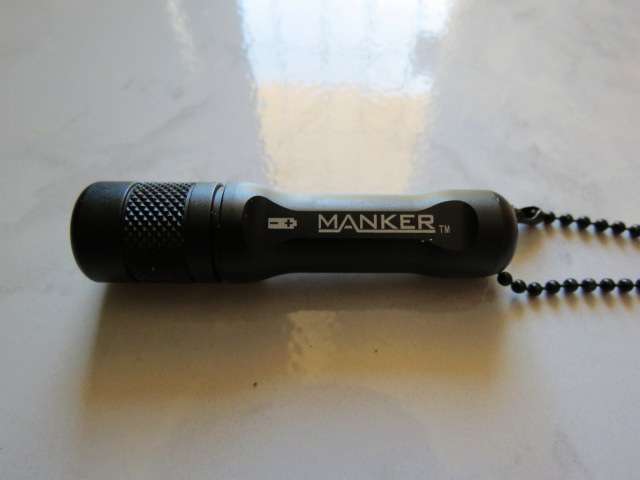
The only sharp edges on this are at the lanyard/split ring attachment point and should not present too much of an issue. Finding a split ring entails a skinny one of at least 3/4” diameter. The problem is that the split ring has to be skinnier than normal, I could not find one in my meager collection that fit. The hole is about 1/8” (.125”) wide, but buried in a .575” trench through the back of the light, so the ring would have to be over 3/4” diameter to allow it to fold out of the way if you wanted it to tailstand. . It is a very secure lanyard/attachment point, but not easy to find a ring for. The wear you see is from me being rough trying to find a split ring, the finish is actually pretty tough.
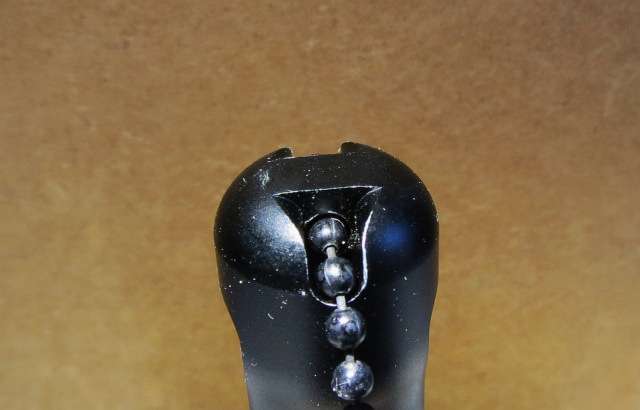
I found some ball chain and cut a piece to make the attachment for the light, this allows it to tail-stand, barely. The flat spot on the tail is small and requires a flat and level spot for it to tail-stand. It is not great, but works if you don’t bump the table…
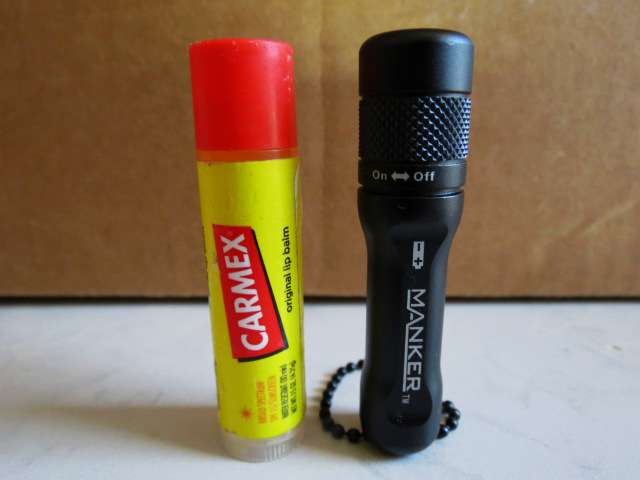
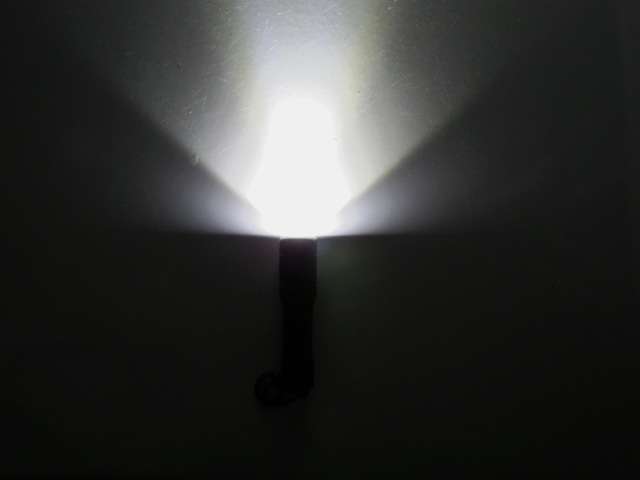
The emitter is supposedly a Nichia NSPW500GS-K1 which looks great on paper for this application and indeed should be a good choice. The beam on mine has kind of a figure 8 hot spot though and is kind of purplish for a “white” LED, sort of the norm for these 5mm LED’s. It is rated by the manufacturer as 18 Lumen, but appears to be about 10 lumen to me. I do not have a light measurement device, so that is a guess in fact. Regardless, it is plenty of light for its intended use.

Beam above is about 4 feet from the wall.
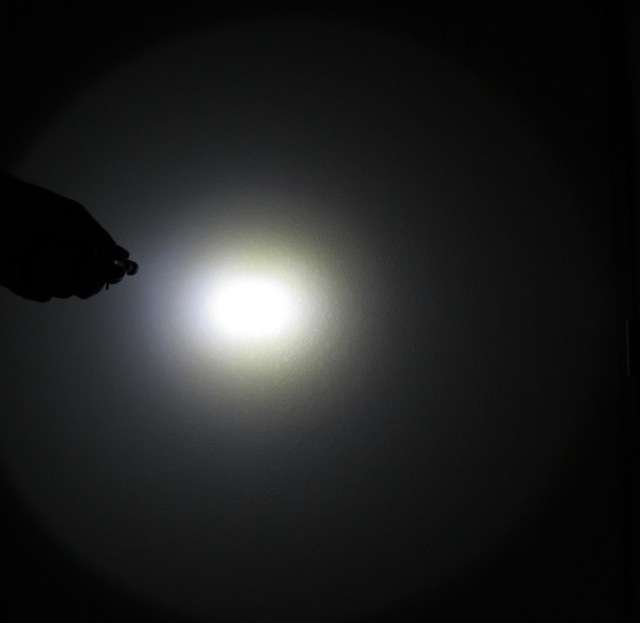
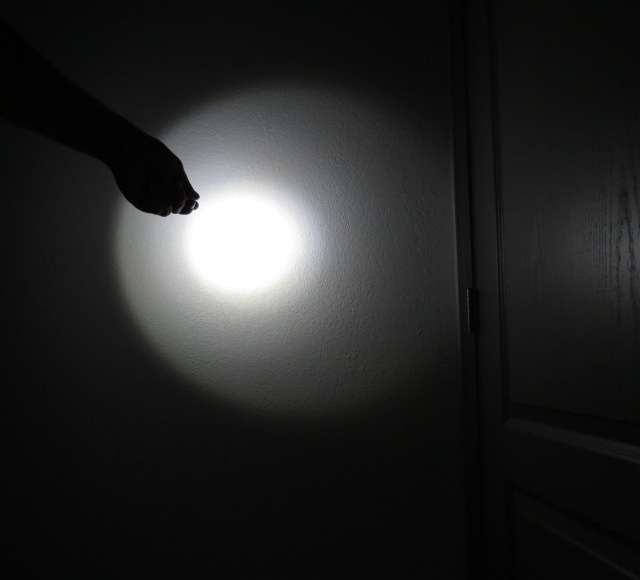
The beam above is about 16” from the wall, at a slight angle.
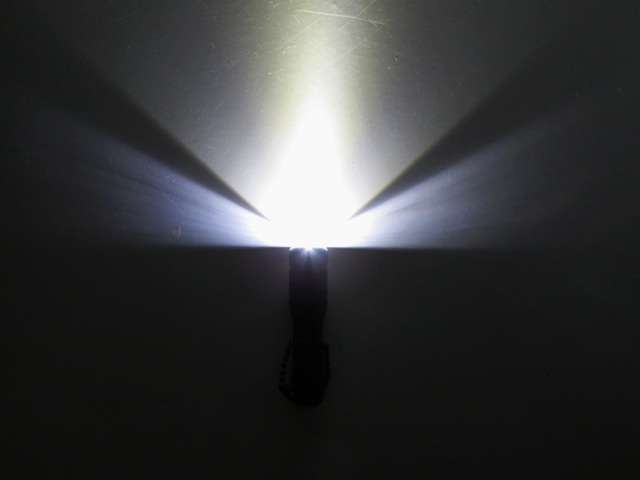
The beam angle shot, you can see the ring from where the LED sticks up above the “reflector” area, it is not that noticeable in use, but shows up well in this shot.

The pictures show the light being able to headstand, but my copy was a little tipsy when I did this… Due to the LED sticking out about 0.015”.

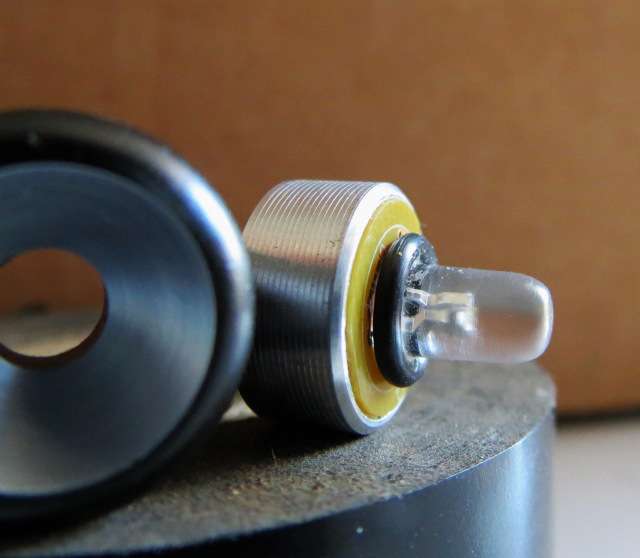
The Pill is potted well (fully encapsulated) and the ring of the pill is 13.5mm dia by 7 mm thick.
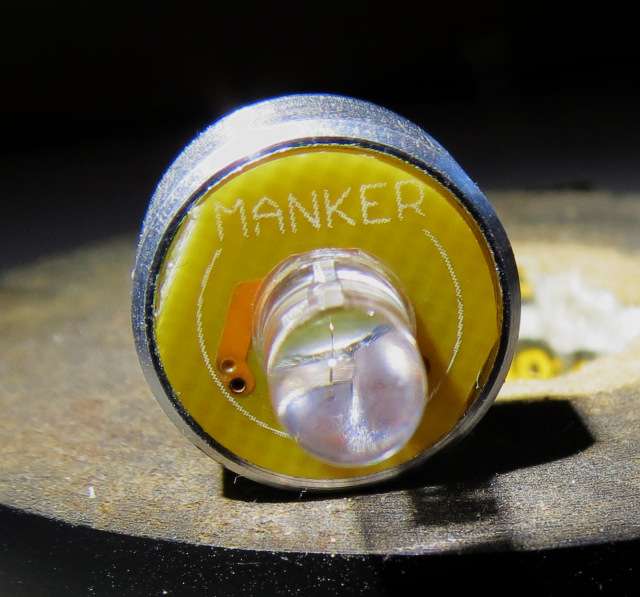
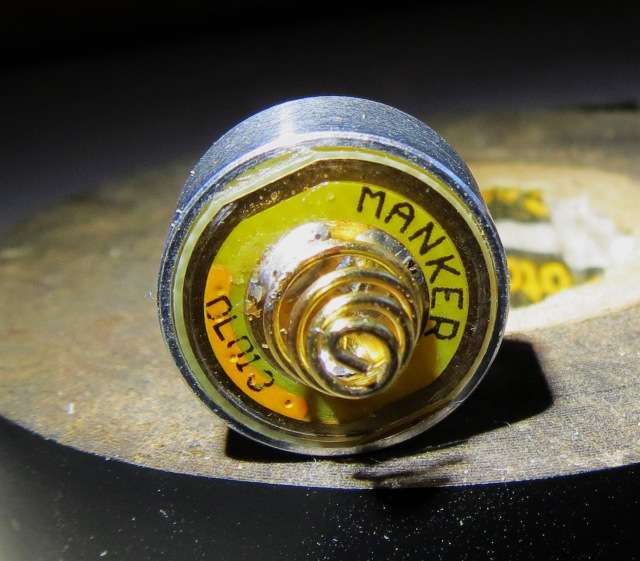
The light works by screwing the head down until the outer ring in the back of the pill contacts the top of the body/battery compartment which is free of anodizing. This completes the circuit and the emitter provides light. Basically the one spring in the light is the switch mechanism as well, pretty nice layout for a light like this.
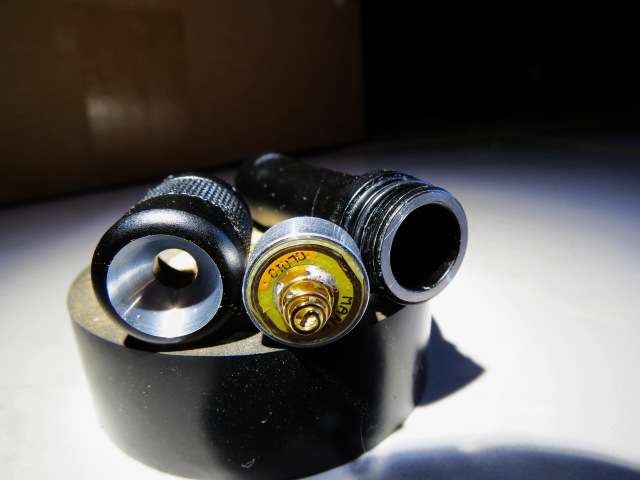
The battery is +side AWAY from the emitter, but it has reverse current protection, I tried a backwards inserted battery just to see if it would cause a problem, no issues, the light did not come on until the battery was inserted correctly.
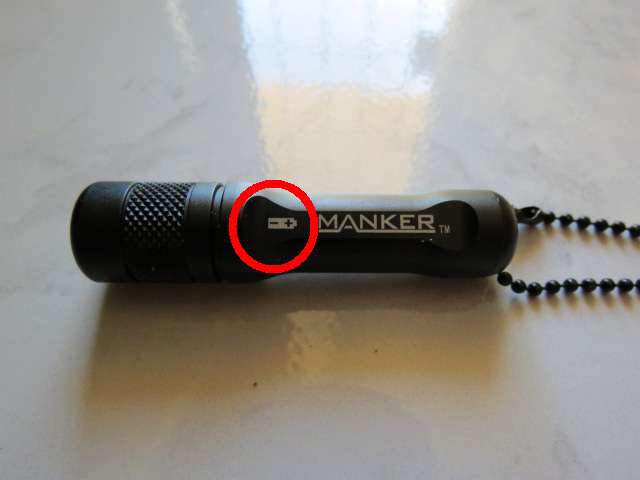
It took Lithium primaries just fine and ran at the same brightness as alkaline, so the run time should be phenomenal (and it is already great on alkaline) . I tried a 10440 and the light did not come on, there was no apparent damage to the emitter or driver, but it is not Li-Ion friendly. The other three types of batteries this light takes, more make up for the lack of Li-Ion support. I do not have any NiMh to test it with unfortunately.

Best I can tell, the emitter/pill pulls 44ma when running on a fresh energizer (1.586V) battery and about 32ma on the depleted duracell (1.173v after 1 hour rest). The pill/emitter has about 61.2Kohms contact to contact when checked.

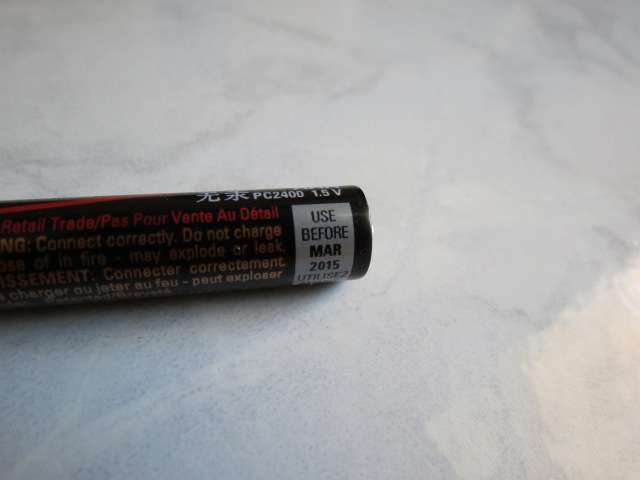
The run time on a Duracell ProCell (best before March 2015!) was about 15 hours before it started to significantly dim, it is rated for 8 hours on the package.
The light then went into a progressively dimmer mode as time went on. It was finally low enough to look directly into the emitter at about 18 hours into the run. The voltage at 15 hours was around .850V and when it ran down to “look-into-it” level, it was about .660V. Once you let the battery rest, the voltage climbs back up to around 1.1V and you can get a few more minutes at a time of useable light, but the ultra low would be OK in a totally dark room with adjusted eyes…. This run/rest cycle went on for another 10 hours before I stopped trying it. This is with a Duracell that was past its use by date by two months . If you leave the battery overnight to “rest” the light will run another hour or so of useable light… I give up on this vampire for figuring run-time… The very definition of a cockroach light.

Improvements I am thinking of doing would include sanding the LED slightly below the level of the reflector, to minimize the side rings in the beamshots and allow you to put it on its head should the want arise. I think first I will “buff” the LED and reflector with some 0000 steel wool to even the beam out as it seems these 5mm LED’s have that figure 8 beam when they are made well….
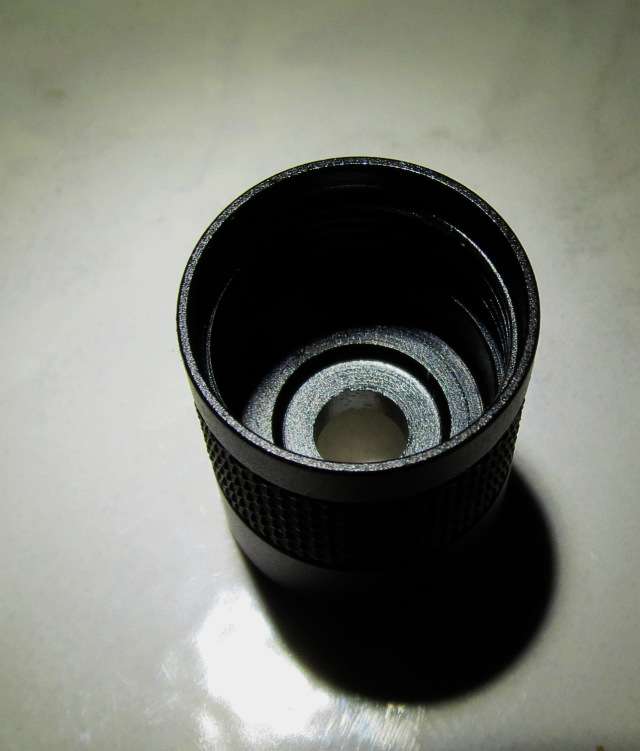
I may include a small o ring on the actual LED itself as it looks like there is a slight shelf in the head for sealing against the led shoulder anyway, but it seems to be fairly splash proof regardless… I did put it under the shower head for a few minutes with no adverse effects.

In conclusion, I feel this is a very good light for the money. Definitely a light for those around us that are not as into lights as we may be. One of these on a key-chain with a Lithium Primary (L92) battery should last well over two years for someone who uses it on occasion. I will be buying more of these in the future and stoking them with the lithium primaries for glovebox use and other long term storage/low use flashlight needs. This is a very nice little light for the ~$8 US they are asking for them. The color selection is good too for the body colors: Silver, Gold, Blue, Pink and of course Black. For $30-40 you can get 4 of these and a four pack of Lithium primary batteries and be well prepared for small light needs for the next 10 years…

This link is for where I found them on BangGood and is not an affiliated link.

This is the link to M4D M4X’s deals page, he has a code there for these lights that takes them down to $5.50!!! Thanks M4D M4X!

The manufacturers link HERE They call it the “BONEY”
good review!

I have one too - but did not had the time to finish a review
I have to look very hard into your work what could be added…

Very nice review. Thank you for posting.

Thanks for the review.

This light has about the same build as the famous Fenix E01, which is a great 'cockroach' light as well, in fact the Fenix has been proven quite resistant to destruction by various torture tests (run over by trucks and such).

The post referenced in my initial paragraph on the “other” forum was fairly substantial abuse. Plain and simple abuse, and two of the four lights survived…. The Fenix E01 and the Klarus Mi02, which now looks to be discontinued. I like to be cheap about things, and when I saw the Manker AAA at 30-50% less than the others, figured I would try it out. I was very pleasantly surprised, and with a minimum of time, have an almost perfect light for long term storage/intermittent use…

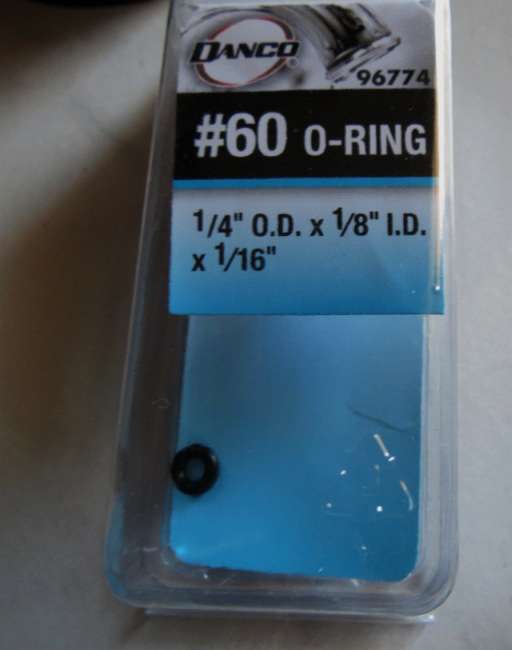
As far as the time spent “polishing” the reflector and LED with a green scotchbrite pad, about one minute. This was after a minute of sanding the LED lower with 400 grit wet dry paper, so it does not stick out of the head. I picked up some #60 O-rings ( 1/4” OD X 1/8” ID X 1/16” thick) in a big box store and slipped one over the LED when I popped it out, another minute. The light now builds up pressure, so it seems it is fully waterproof and the beam is whiter and more of a flood with the Three minutes of work done.

I tested the pressure build up by cooling the body in the freezer for a few minutes, then without a battery in the light, putting it together until tight. I then backed the head off about 1/4 turn like it was in the “off” setting and put a heat gun to it for a minute until almost too hot to handle. I then proceeded to unscrew the head and heard a “Pfffht” or burp once I got the head close to coming over the large sealing O-ring behind the threads… It did not do this without the additional #60 O-ring I put on.

The mods I described in the original post are complete. I sanded the LED down to just below flush with the edges of the head, then polished the LED/Reflector area with a green scotchbrite pad for a minute or two. I further polished it with one of those Mr. Clean Magic Erasers for another minute or so. I had to go by a big box store and in the plumbing section I bought a box of #60 O-rings that fit perfectly on the led (tight, but not too tight), now the light is fully sealed…. It kind of reminds me now of the old joke about what do a Walrus and Tupperware have in common? They both like a tight seal… :wink: So here are some pics….


The LED showing the “frosting” from the Scotchbrite and the position of the O-Ring, you can see the not so domed end on the LED where I sanded it shorter too.


The O-rings, if anyone is interested. Check the plumbing section…


The new beam angle shot, much floodier, and the rings have all but disappeared from the original beam-shot!


The close in beam shot, from maybe 14 inches this time, quite a bit more of a practical flood for this kind of light, the camera settings were the same as the original post beam-shots. It seems much whiter to my eyes and the camera is pretty close to what I was seeing.


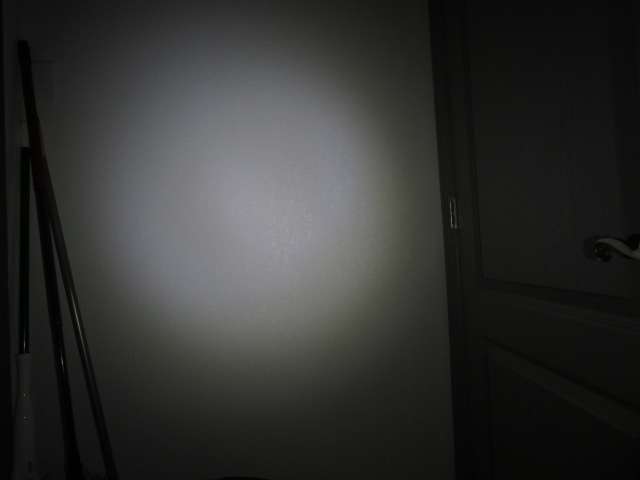
The WIDE beam shot, taken from the same distance from the wall as the original post (about 4 feet). The beam is wider and brighter after the mods. I cropped the original beam-shot as the area around the light spill was dark on the same camera settings. I left this one un-cropped and now you can see the broom handles as well as all of the door that you could not in the original beam-shot. The mods have really improved this little light, which was good to begin with, and now it will reside with a Lithium Primary on my key chain for the foreseeable future.

If you are new to flashlights and want to do your first mod, try this little light, much fun and a great return on the mods for its useability. If I should decide to torture test this little bugger, I will update here with what I do to it. Thanks for reading!

nice!

thanks for sharing!

Cool mod for a 5mm led.

Nice to see a remove able metal pill, many of this type are plastic with easily bent/broken contact tabs. Should be possible to ream the head for a 10-12mm optic or reflector( I’d go with an optic to avoid also needing a lense) with a 10mm SinkPad and one or two 7135’s on the back. Was the 10440 a flat top or button top? Some AAA lights can only make + with a button top cell.

The 10440 was a button top and the design of this would probably not have made contact with a flat top as it goes toward the base of the body. I agree with being able to ream the head, and there is some substantial metal in there ( for a light this small ) that would make modding like you outline possible… Perhaps in the future when I have time, I will “hot rod” one of these… would be cool to get a relative boatload of lumen out of this light for a minute of runtime… LOL

The pill is pretty solid, the next ones I got in had them glued with a bit of clear threadlocker and it took some “end of sharpie” pressure to break them free, but no issues after that. The first one just pushed out with fingertip pressure. I am really liking this for what it is, plus the shape just molds into my hand…

HA, but it does take two 10180’s with room to spare… hmmmmm

Nice light for not a lot of money. Thanks for the review!

Took it camping this weekend and found out I will be continuing to carry this little budget gem… I had it on the keyring and would use it to walk around the campsite by hanging the keys inside the shirt collar (t-shirt) with the light outside pointing down, worked great, I am really liking this little light. It gave plenty of light in a truly dark place that I could look for firewood, walk around and see what and where I was going and even seemed much too bright in the shelter if there were no other lights on… Comfortably brighter than my DQG 18650 Tiny III on low mode…

I was playing with the light at work, drop testing it. About 5 feet onto concrete several times ( I had done this a few other times) and the light quit… Now I get to cut apart the pill to see whats inside, and have a host for modding this little light. I have to say, it took quite a bit of nonchalant torture prior to giving up. At less than 6 bucks I bought it for, still impressive.

Now what to do with this light for modding. Any suggestions?

Awwww.
One drop and it dies
have you asked the place you got it whether they’ll replace it?
EDIT, my mistake, multiple drops

That shouldn’t happen for a “cockroach — survive everything” light.

Aside — for anyone trapped in a longtime dark with a little AAA light, I recall Gransee of Arc Flashlight pointing out that at least for his Arc AAA, once the battery is down to where it’s doing a “moonlight” — you’d get more light by leaving it on continuously from then on, instead of turning it off — because turning the driver back on was more of a drain on the cell than the minimal moonlight drain.

Not sure that generalizes to this light, but as a general counterintuitive notion.

Its always the last drop that gets it… It was by far above 20 drops from about five feet before it died. I have some time at work waiting on things to complete, so I fiddle with the lights I am carrying. The last few weeks it has been this one, and initially I dropped it from about shoulder height accidentally, so it lived and I continued to drop it. Initial drop was onto office hall tile (linoleum?) and most of the rest (accidental and purposeful) were onto epoxied concrete.

This thing never stopped producing light, I ran out of patience actually on one 7 year old “new” battery. The lumen would get below one, then when turned off, it seemed the battery recovered some and you had 3 or so lumen (decreasing steadily) for half the time the light was off roughly before the light was as dim as before. It did not quit making light, I ran out of patience.

FWIW, you can probably fix your CMG Infinity by hitting it with a hammer.

Seriously.

Get a straight slot screwdriver, place it strategically by the threads around the driver, and tap it with a hammer. Here’s how it looks after four taps:

The issue is that the driver loses contact with the body, and by deforming the body a bit you can restore contact. Quick, easy fix, and then it’ll probably perform as it was originally intended.

OTOH, mine was only about a lumen of light and had a tint of like 8500K. It was cool fifteen years ago, but now I just don’t really care about a lousy blue lumen, even if it’s bulletproof.

That is probably what happened to mine… It is long gone now. Nice work on yours, if only this forum had been around back then…. I agree on the output, mine was at the most a couple of lumen, but it beat lighting a candle or the heavy incandescent lights of the time for what I wanted. It and a spare AA would have given a week of light all night, spectacular for the time. I used mine for about a year before it just gave up the ghost, maybe three AA’s digested by it.

How hard do you think it’d be to replace that LED? I’m thinking my favorite PC Amber Rebel, if I can get a 10mm Sinkpad in for that (not sure I can find that size for the Rebel, yet)

The “pill” and LED are one unit, so it looks like the entire assembly has to be replaced. When I have time, I will cut the old pill apart to see what is in there. For a rebuild, I am kicking around a joule thief idea, perhaps with a UV LED, just ideas at this stage…